If you regularly need to print envelopes, be it for personal invitations or business correspondence, you want to make this process as easy and efficient as possible. Instead of manually formatting each envelope, you can use Word's Mail Merge feature to automatically generate multiple envelopes with different recipients. In this tutorial, you will learn how to print envelopes and prepare them for mailing.
Key Takeaways
- Mail Merge in Word allows you to automatically create multiple envelopes.
- You can import recipient data from an Excel spreadsheet to ease printing.
- Word offers various functions to customize address formatting.
Step-by-Step Guide
First, open a blank Word document and navigate to the "Mailings" tab. Here you will find the "Envelopes" option.
Click on "Envelopes" to open the window for envelopes and labels. In this window, you can enter the sender's address and recipient's address. This example demonstrates how to set up a mail merge for multiple recipients.
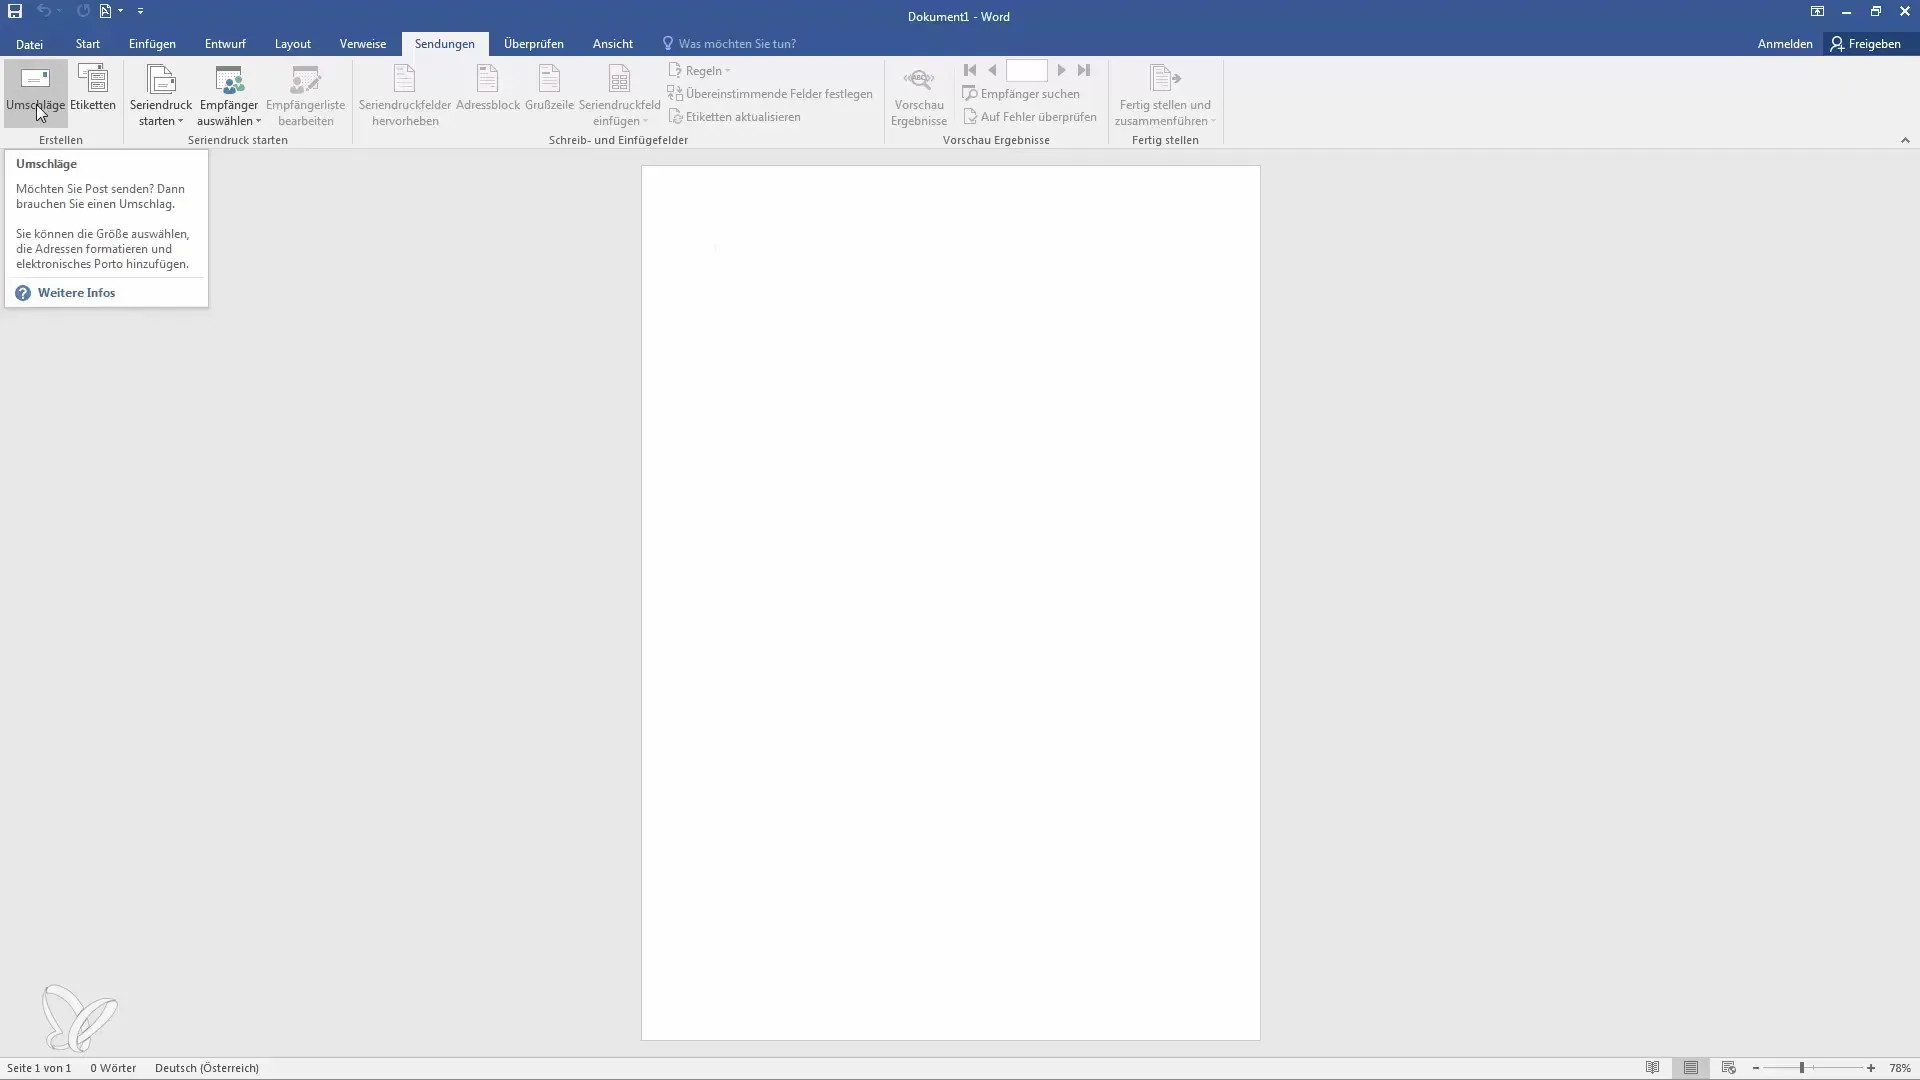
You want to print multiple envelopes simultaneously. To do this, go to the options and select the appropriate envelope format. The default format is "DL." If you want to use a different format, you can adjust it here.
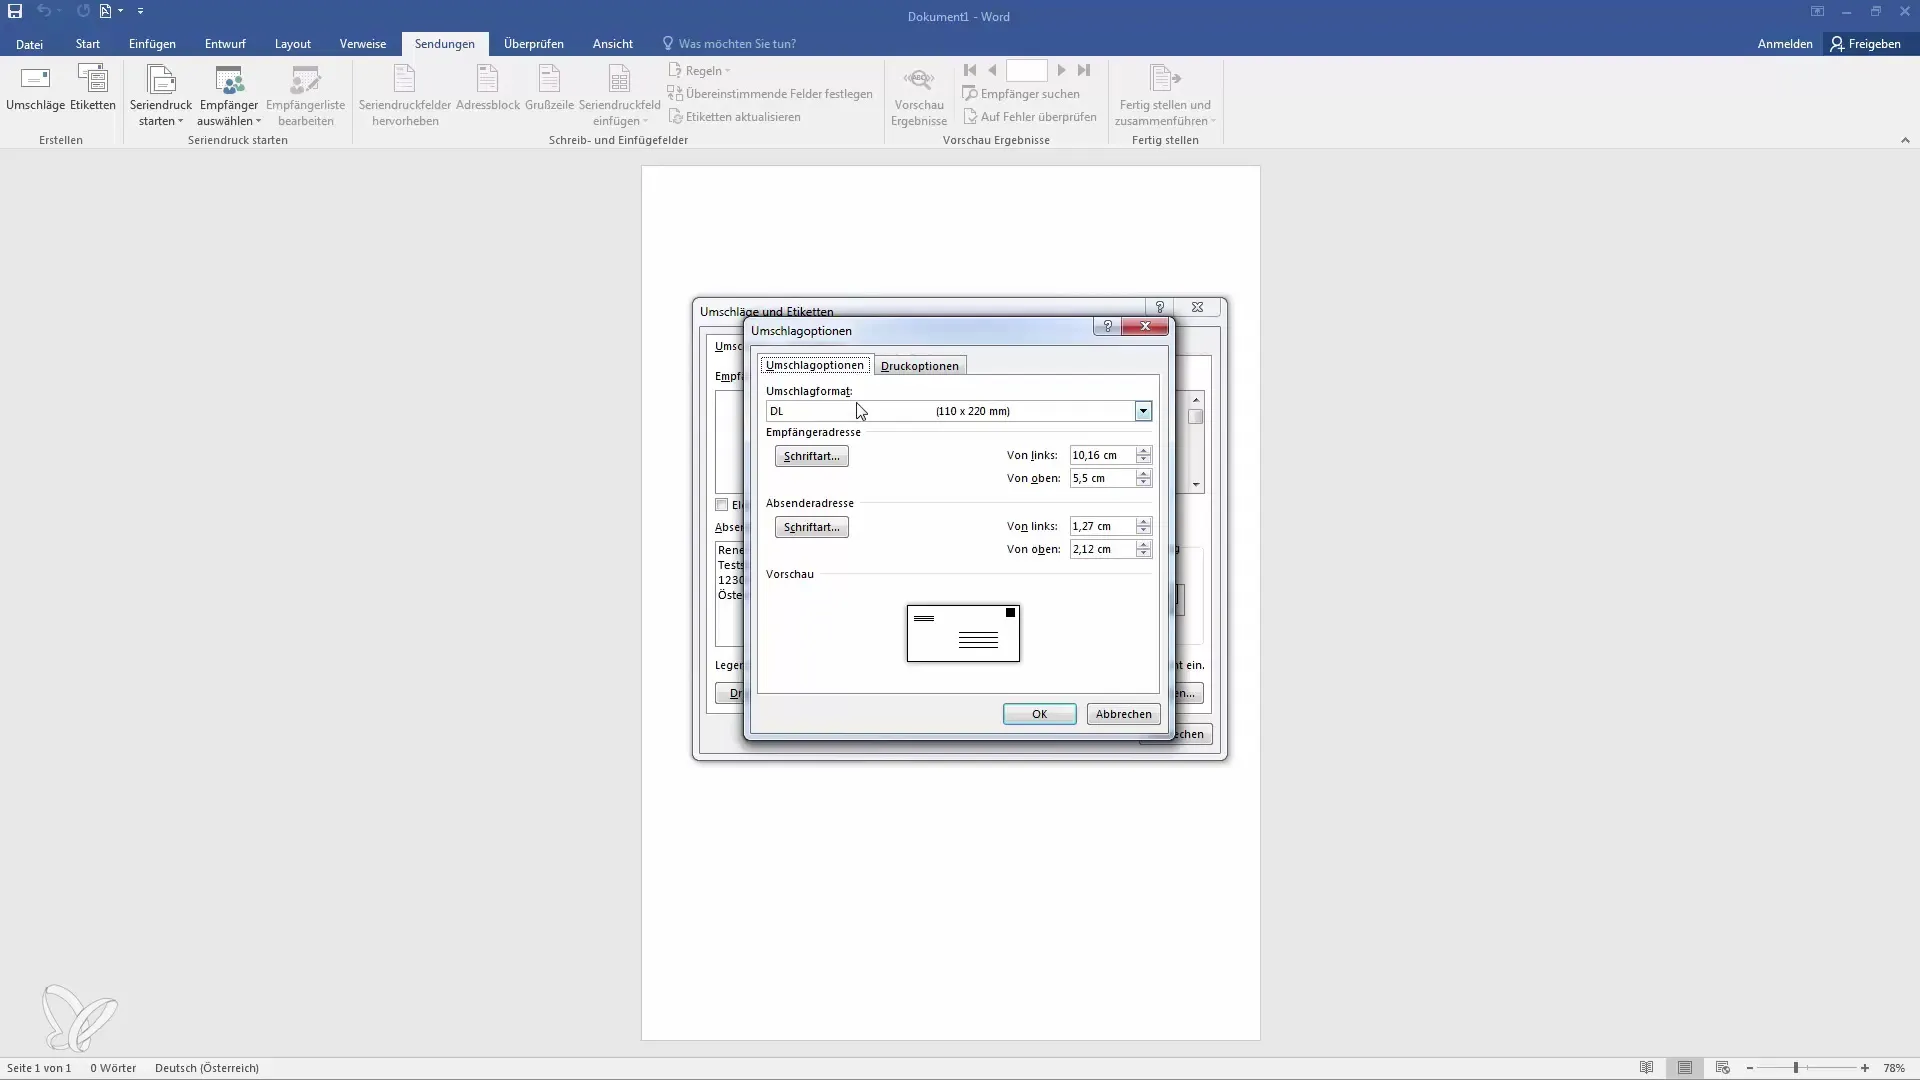
One important thing to note is the printing option. Depending on your printer model, the way the envelopes are fed may differ. It is recommended to use a simple A4 sheet as a template for a test print to see how it is fed.
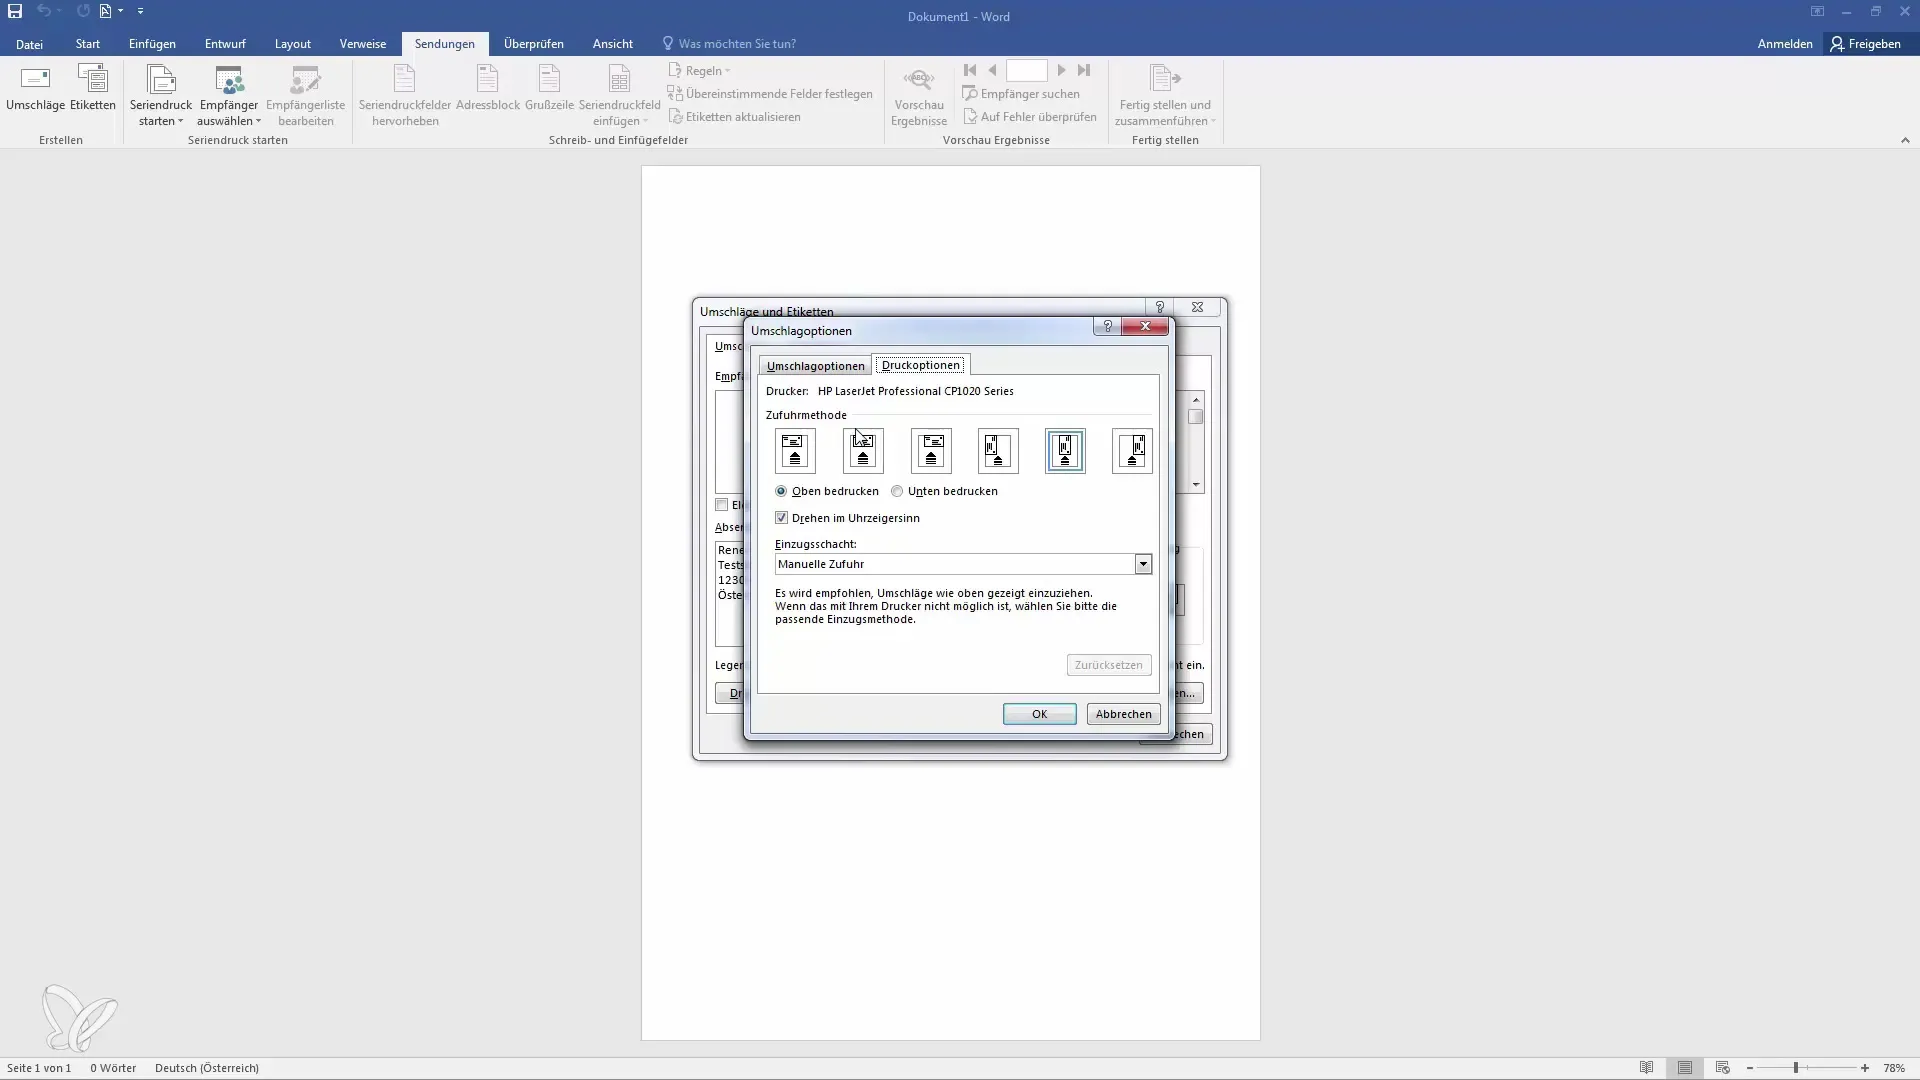
Once everything is set, click "OK" to add the envelope to your document. This will give you a document with the sender's address and space for the recipient's address.
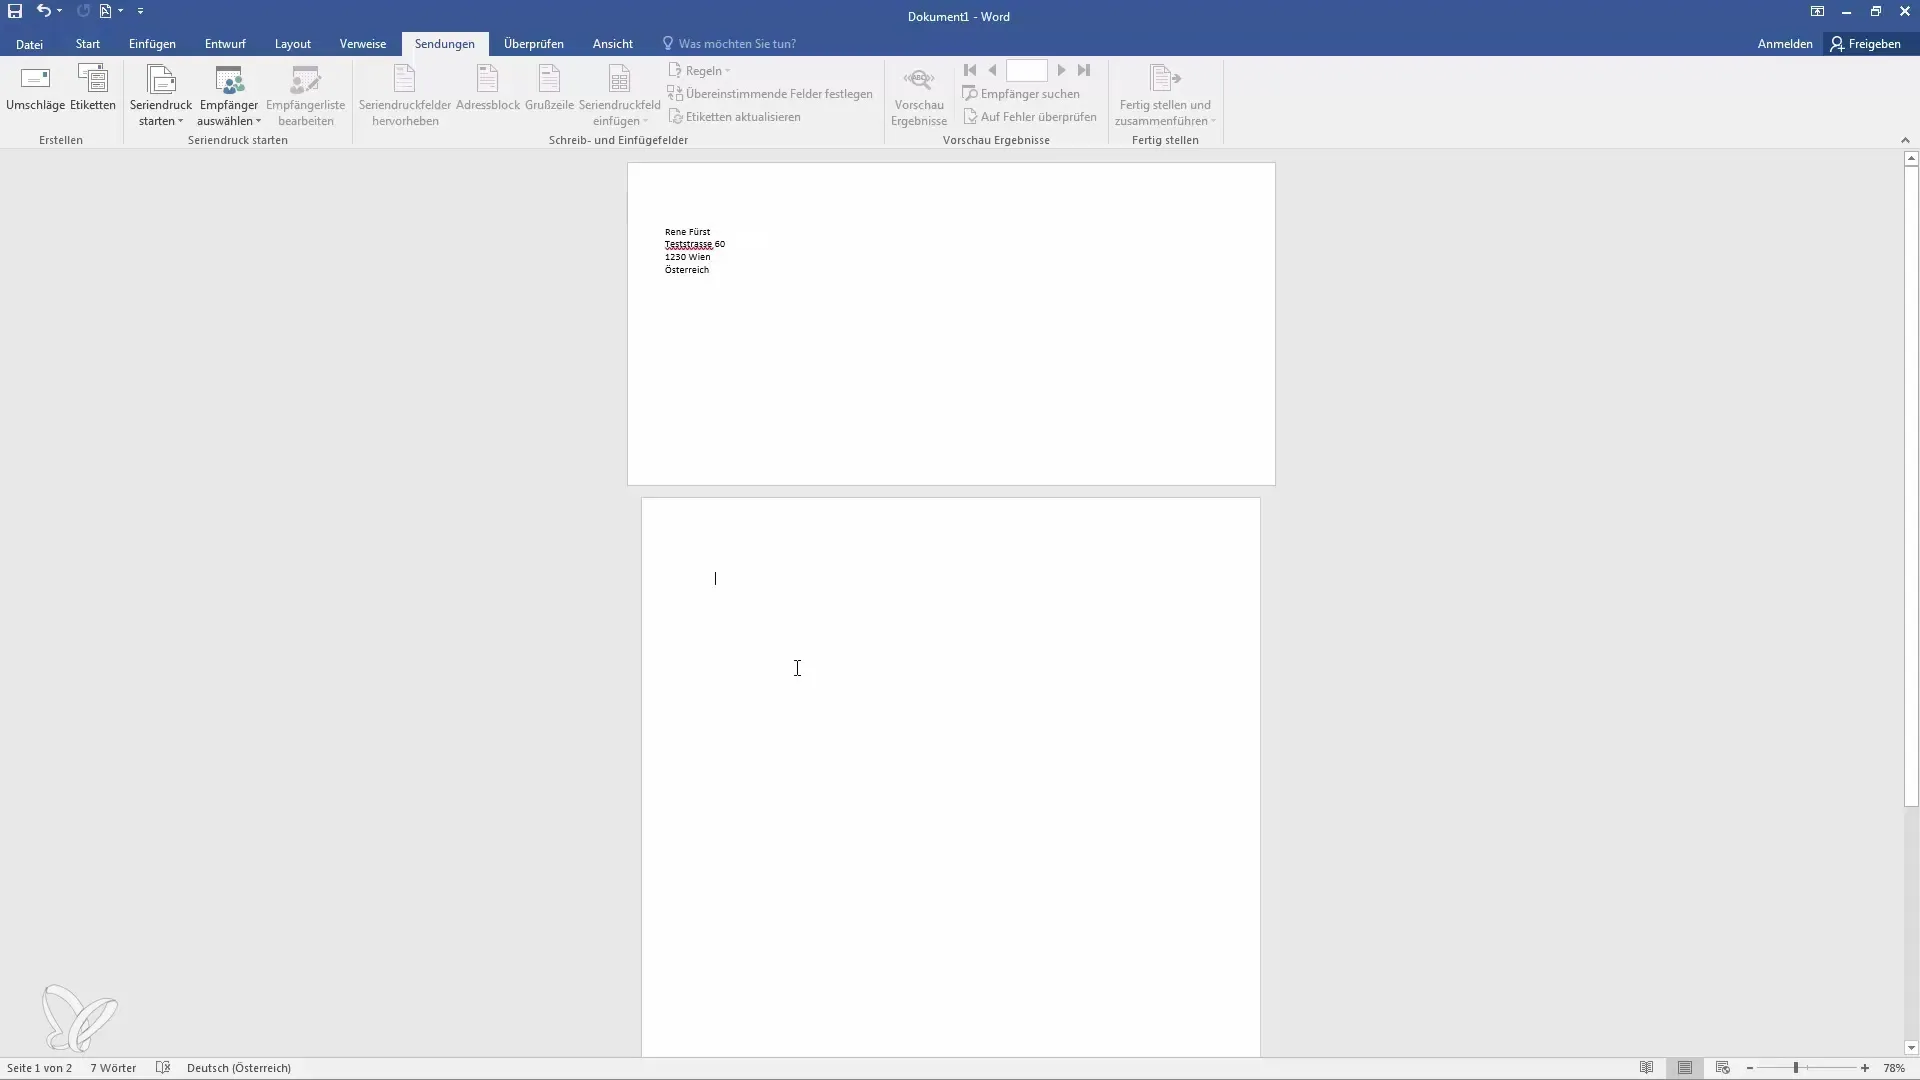
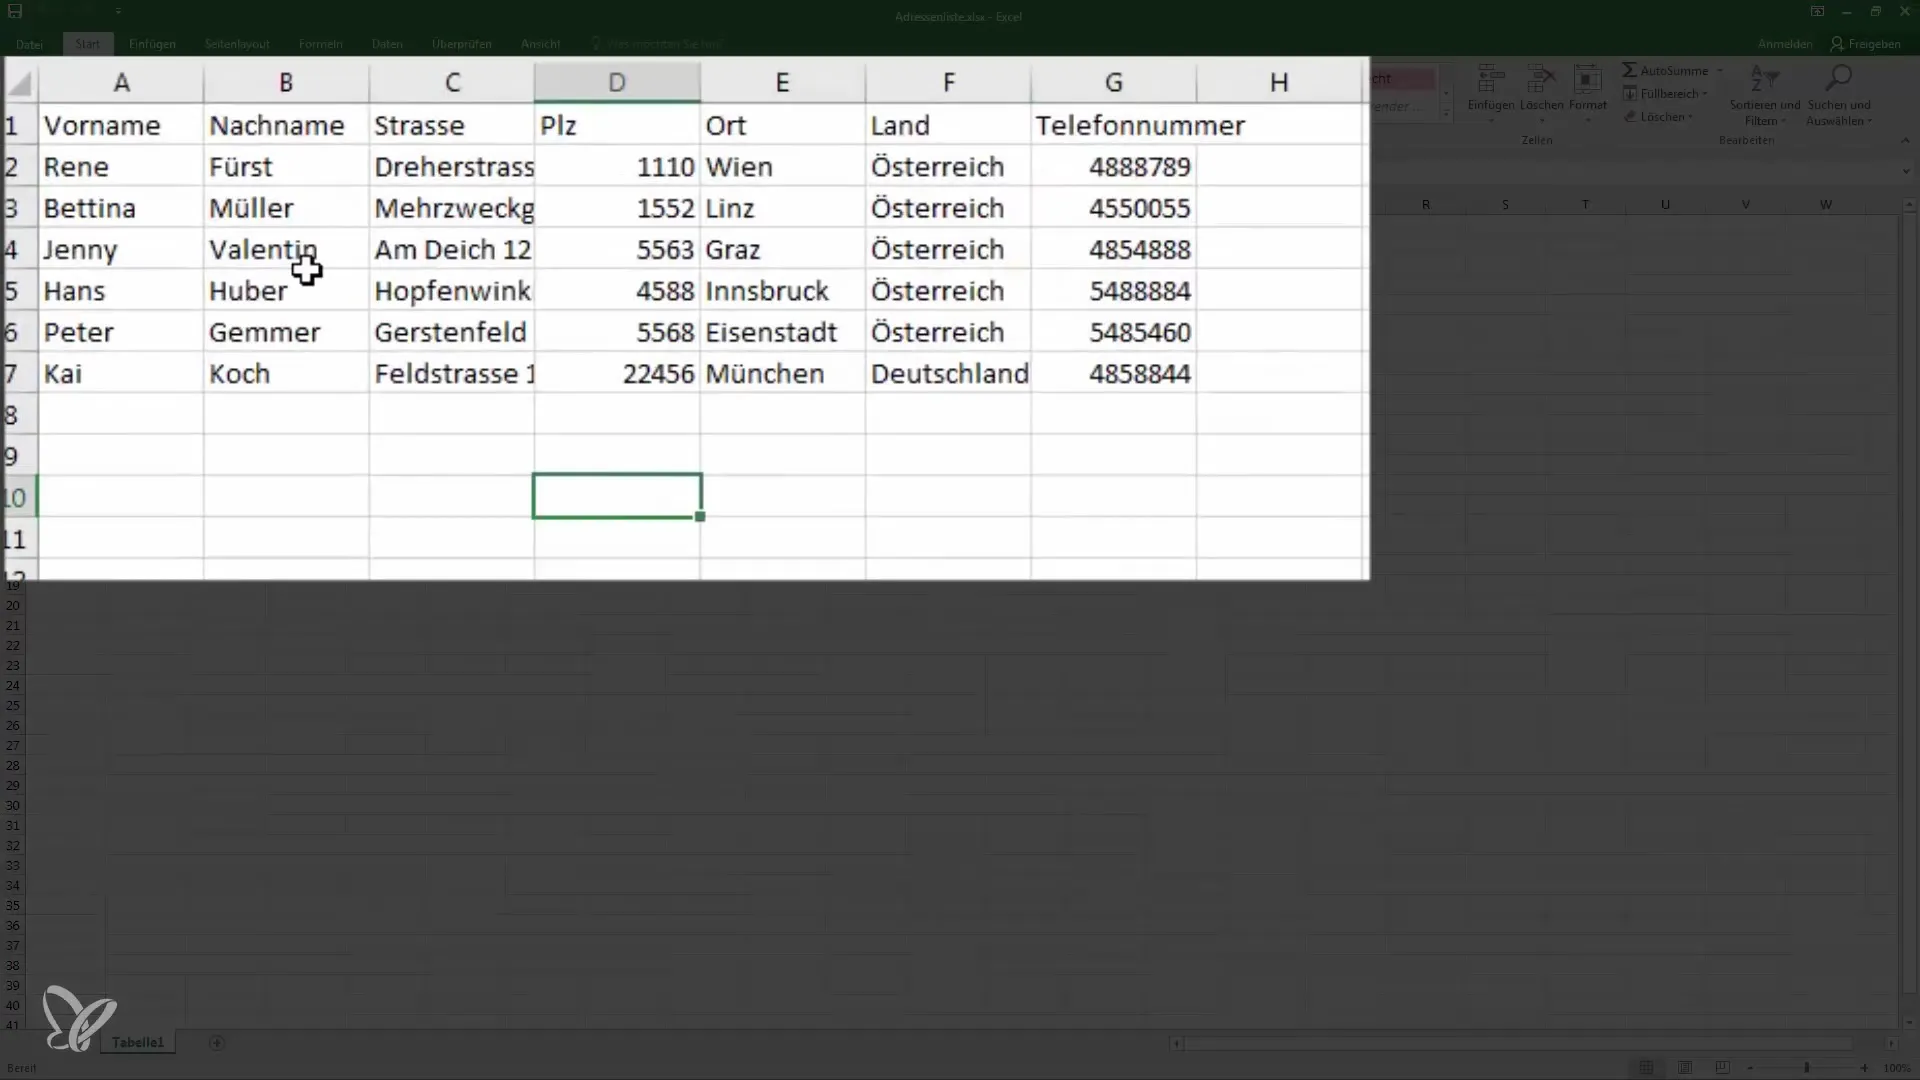
Now it's time to import the data for the mail merge. You should have already prepared an Excel file with a list of recipients. This file should contain the corresponding columns for first name, last name, address, etc.
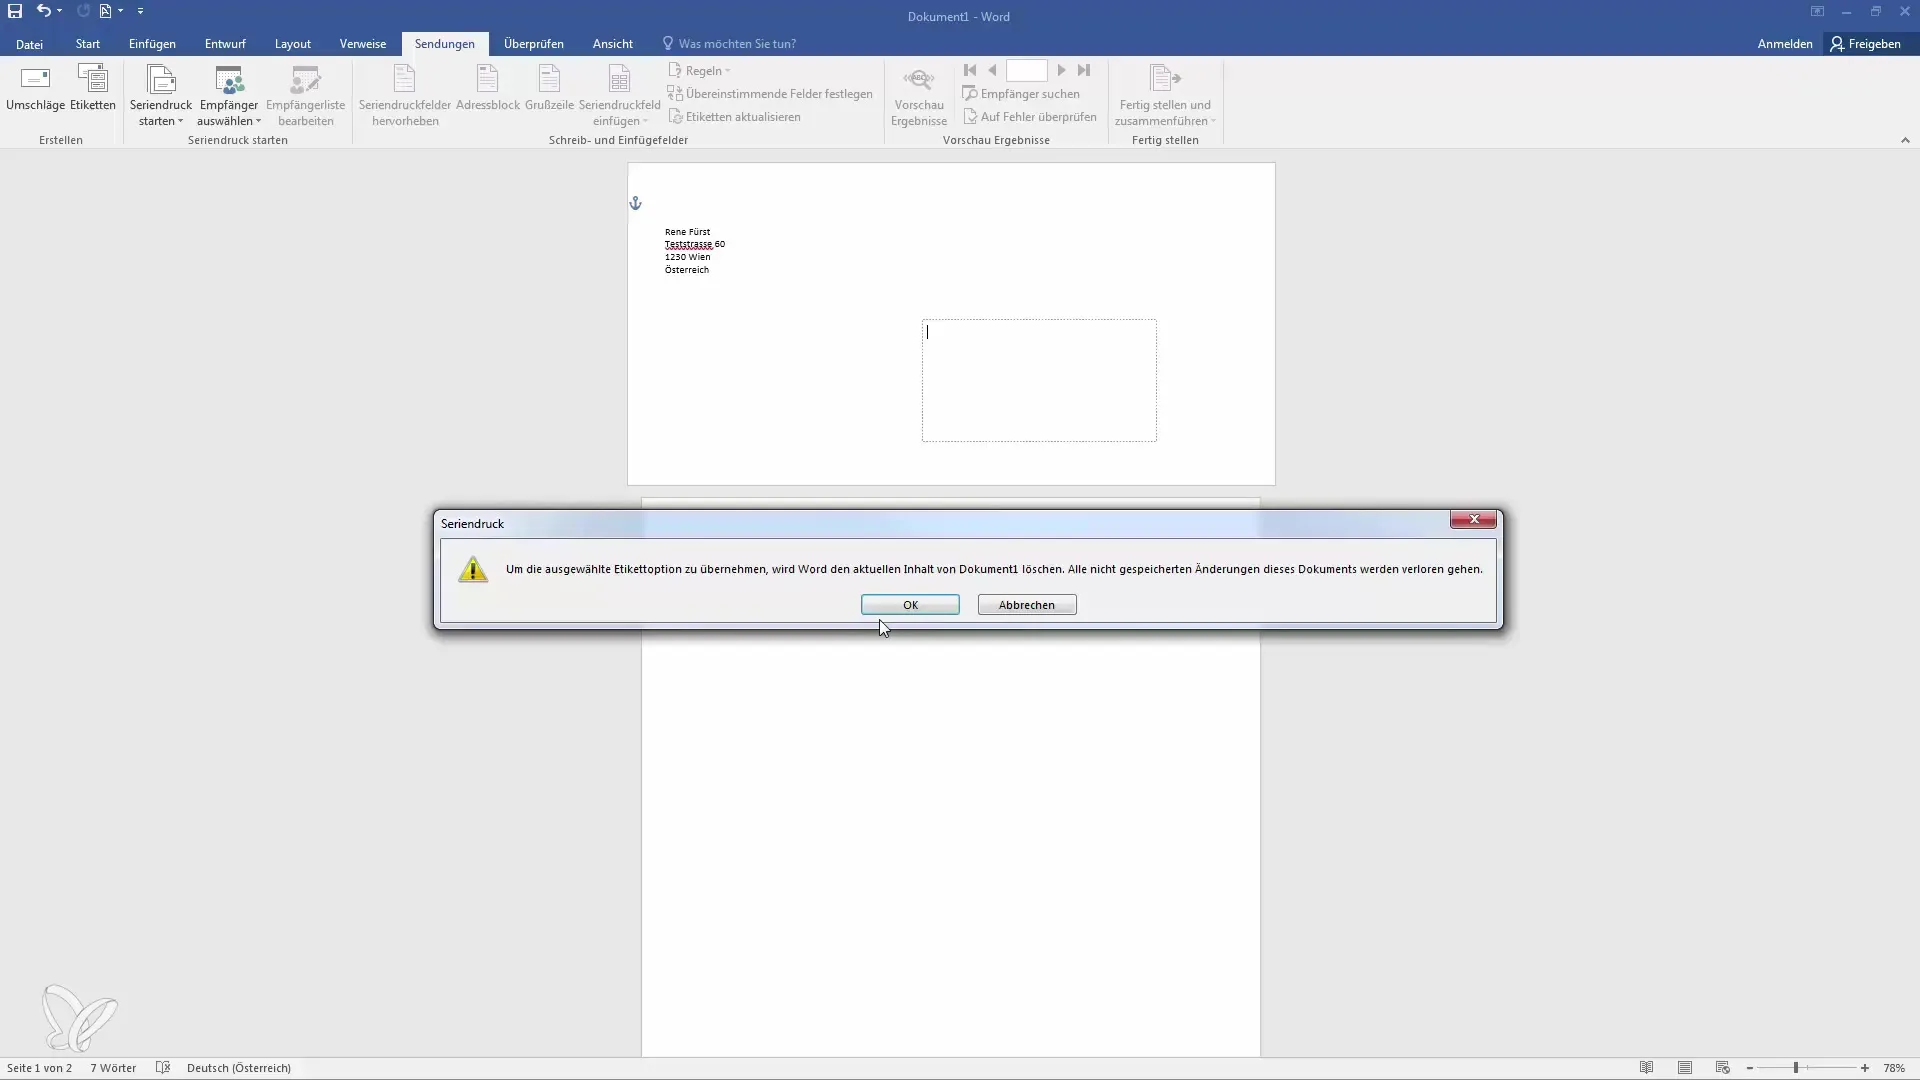
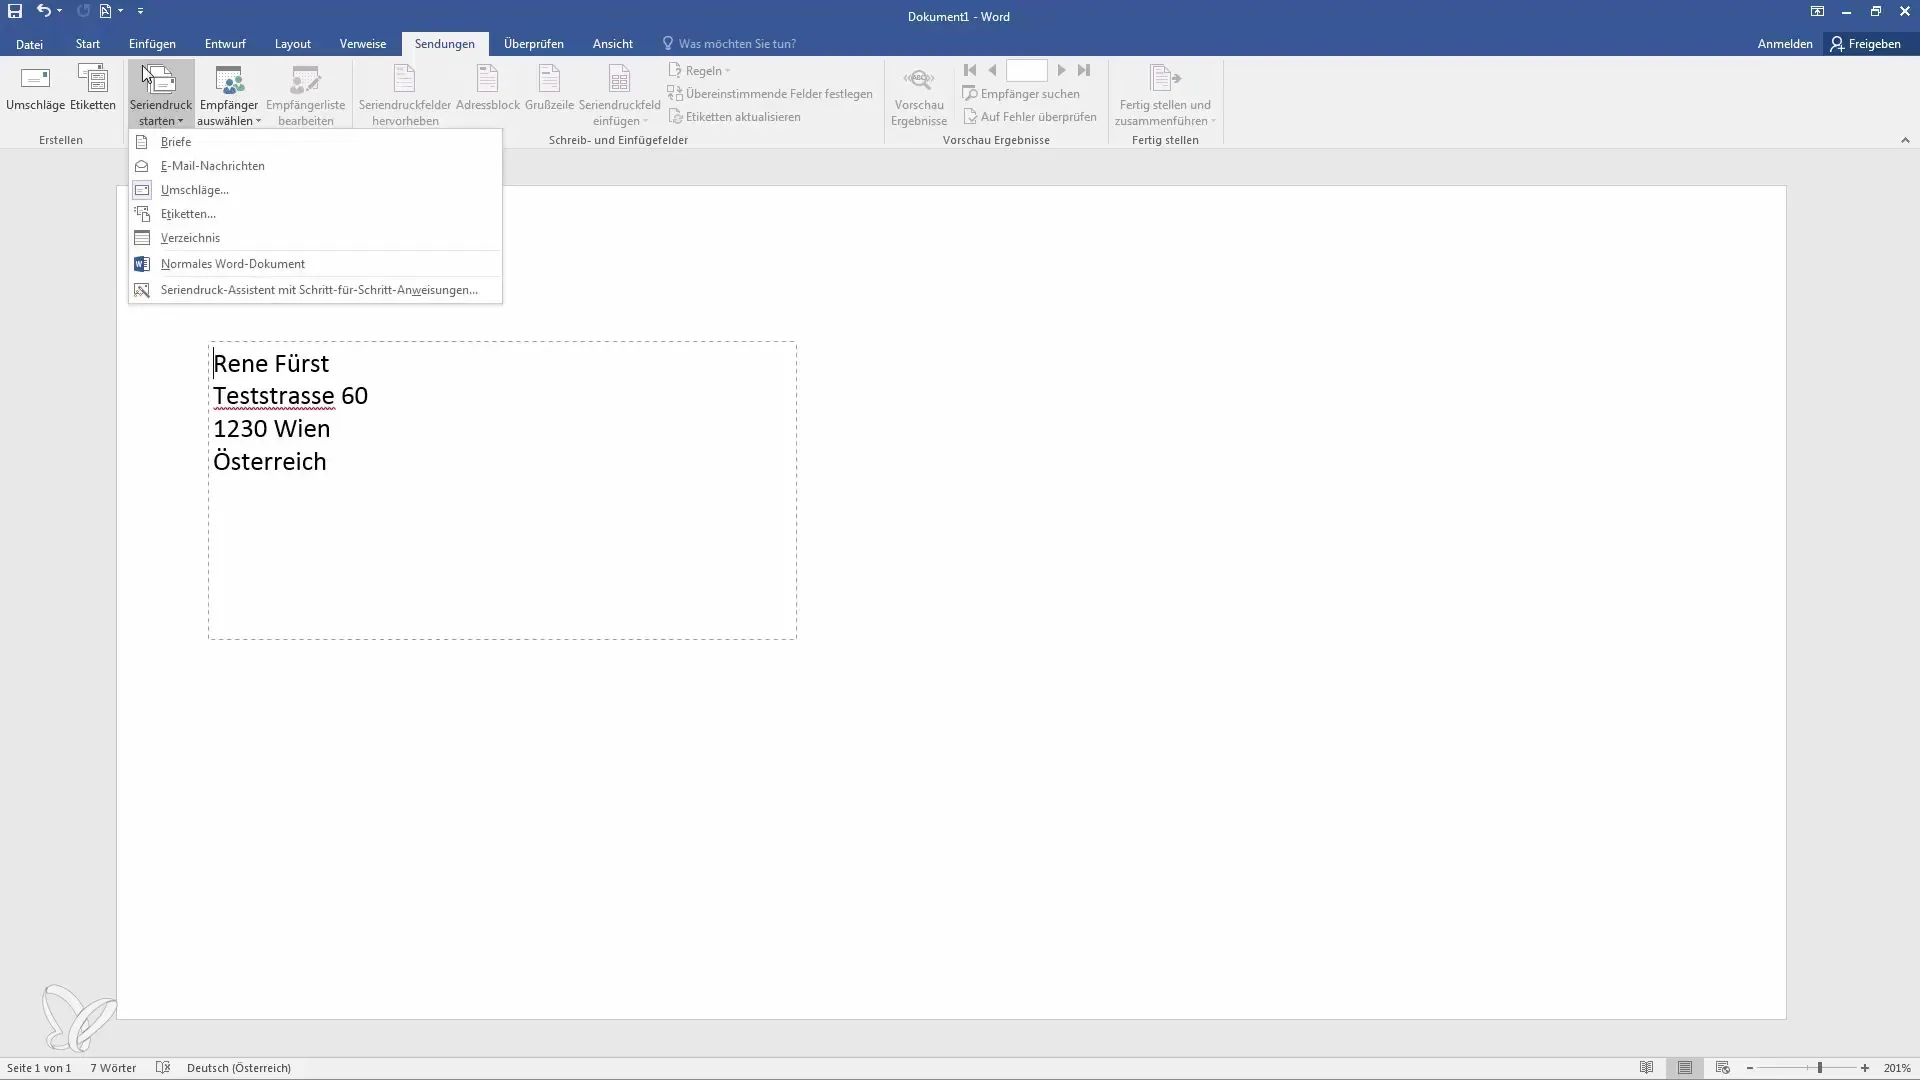
Close your Excel sheet and return to Word. Select "Start Mail Merge" and then "Envelopes." Word will ask you which envelope you want to use for the mail merge. Choose your necessary envelope.
After clicking "OK," the envelope will be displayed on your screen. Under the "Mailings" tab, you will now also find the option to select recipients.
Here, you can either create a new list or select your Excel sheet. Choose the Excel file and confirm which table you want to use.
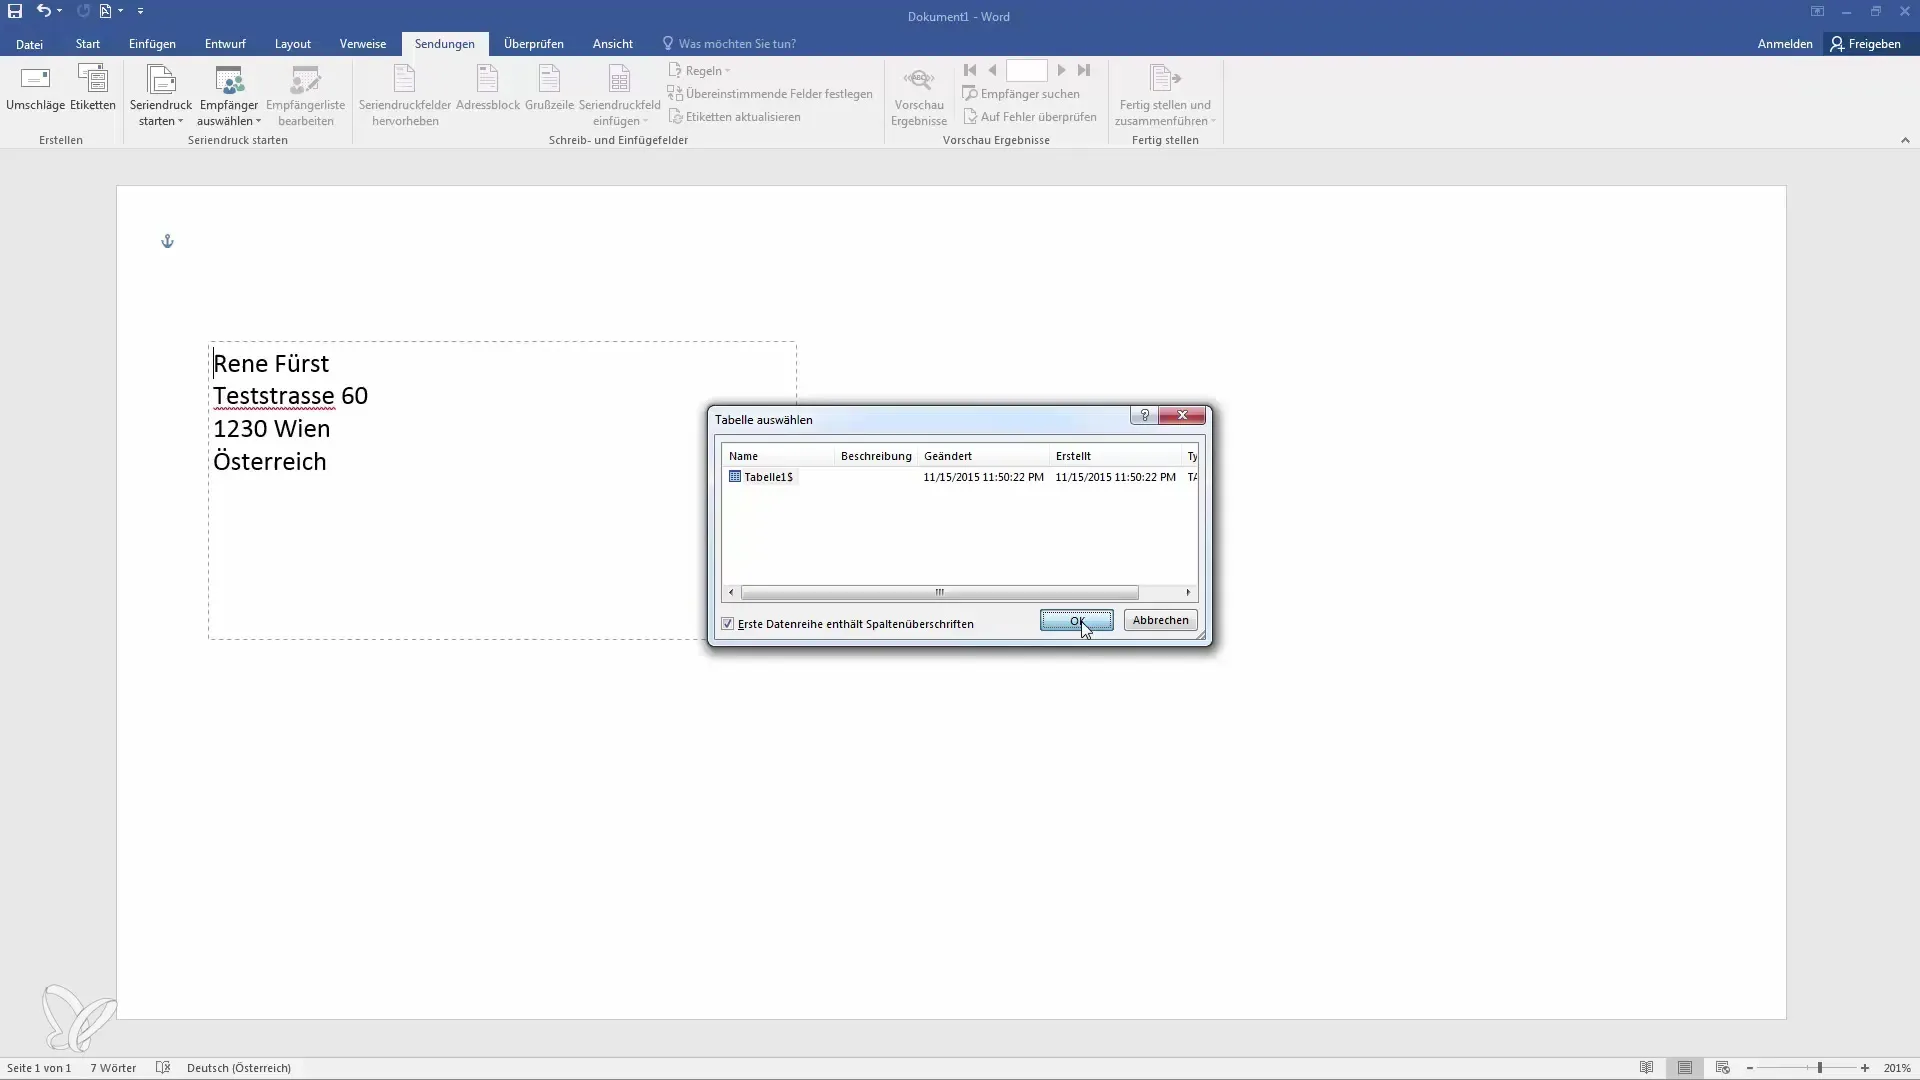
Now all recipients are available in your document. You can edit the recipient list to ensure all necessary data is correct. Word also allows you to filter the list or remove duplicates.
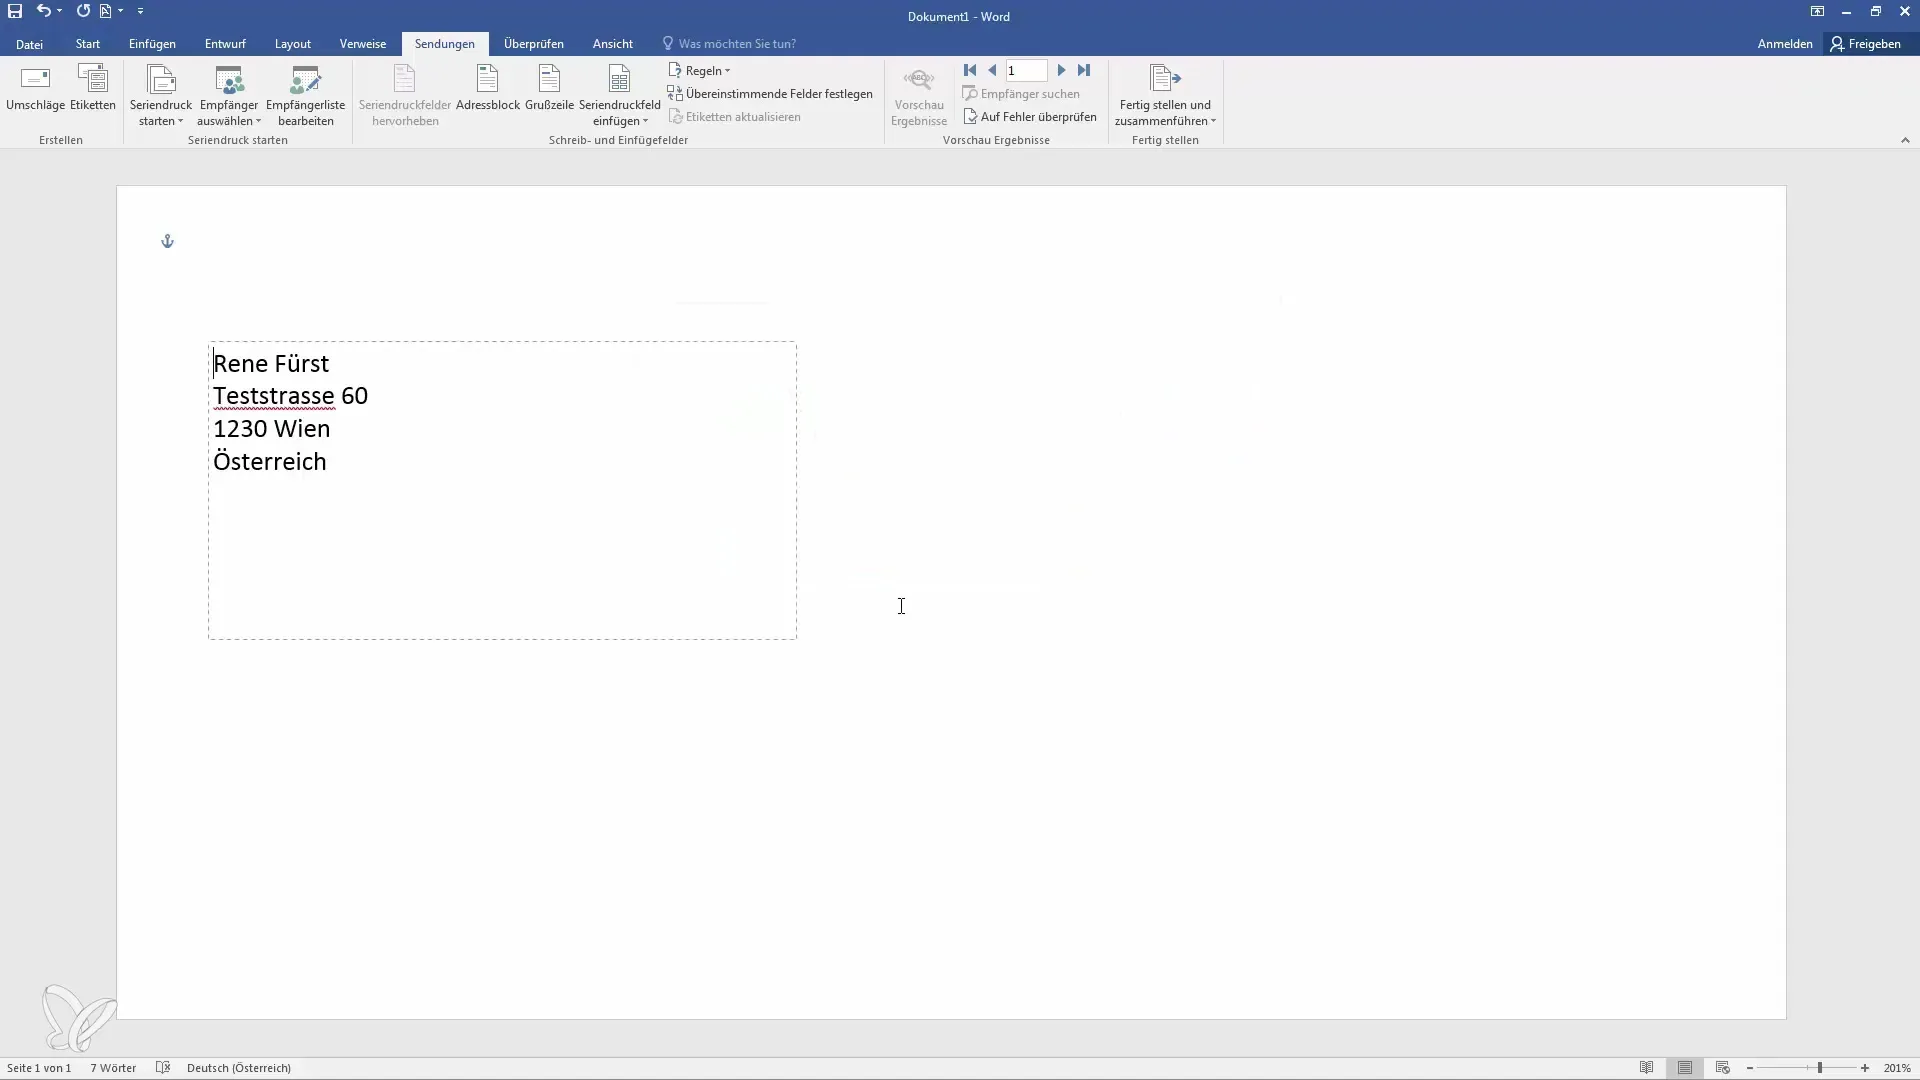
Now you can define the address blocks for the envelopes. Click on "Address Block" to customize the address elements that should appear on each envelope.
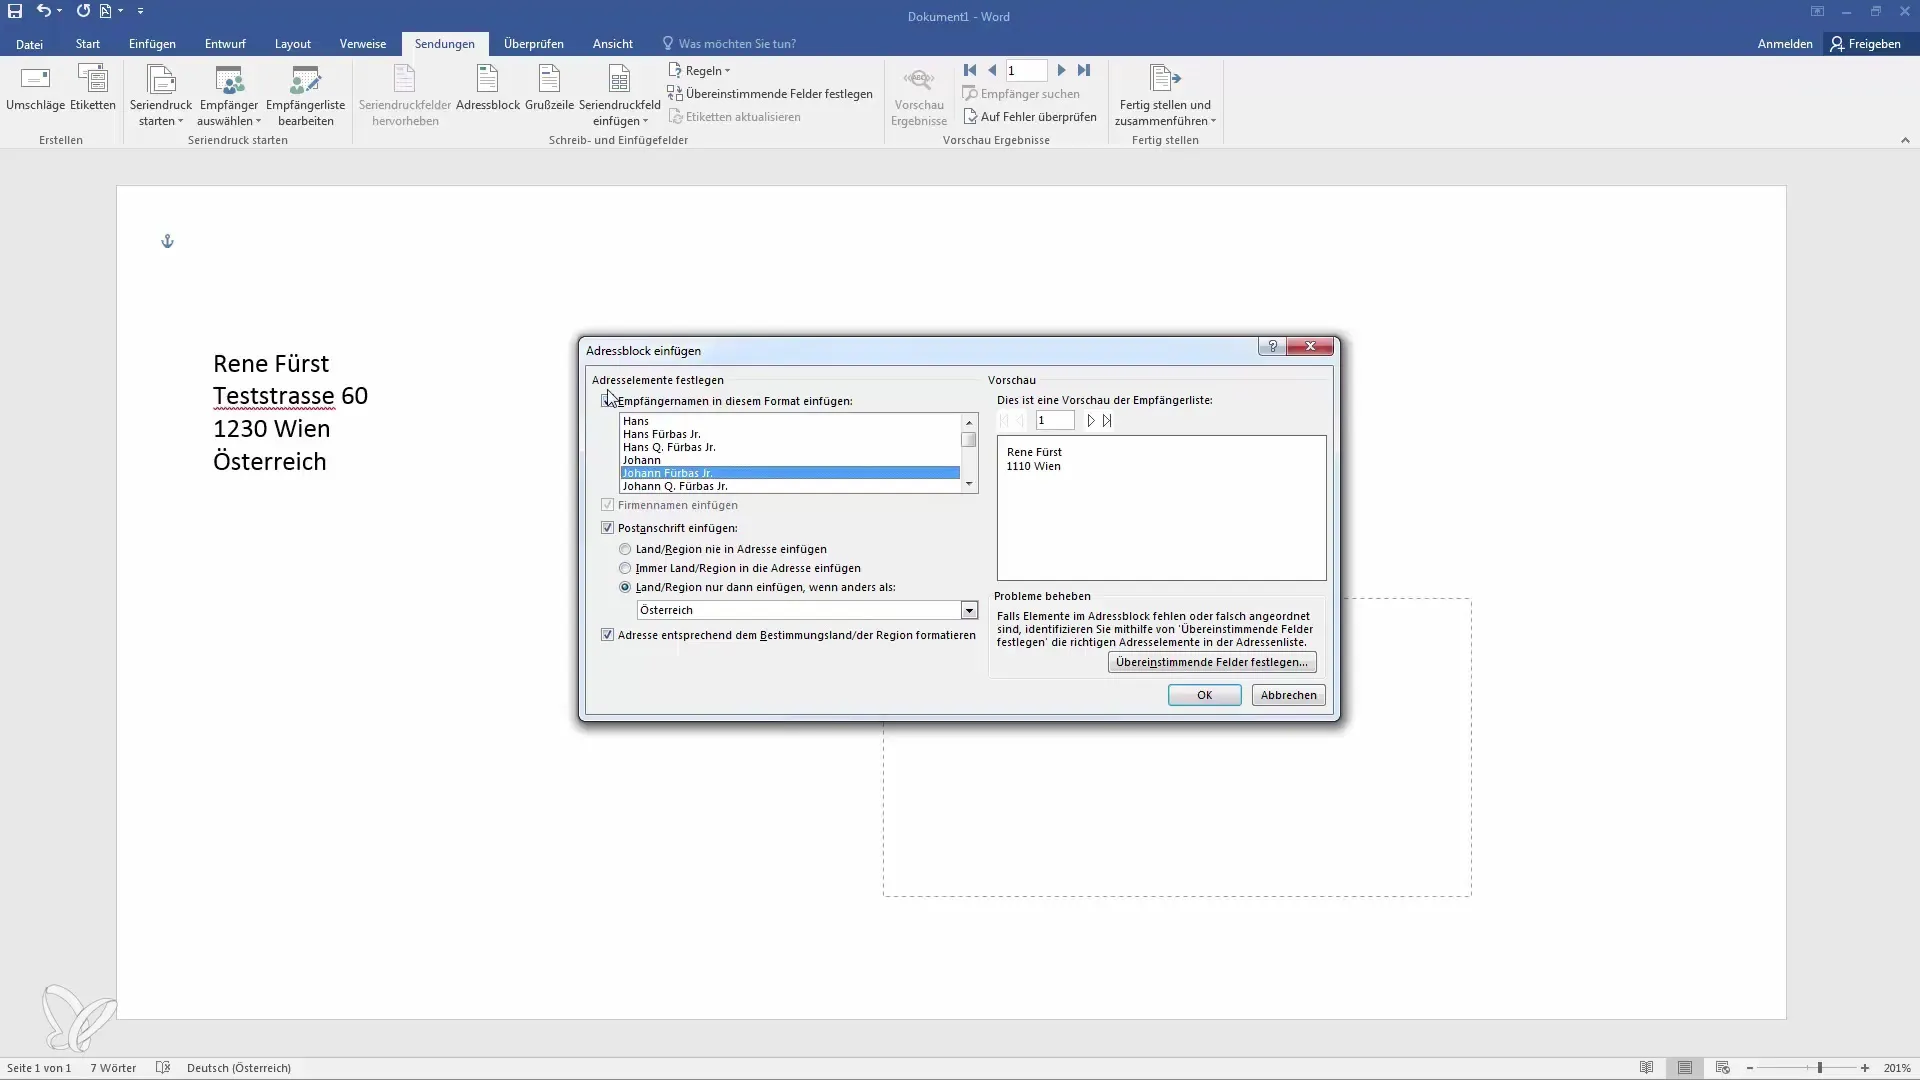
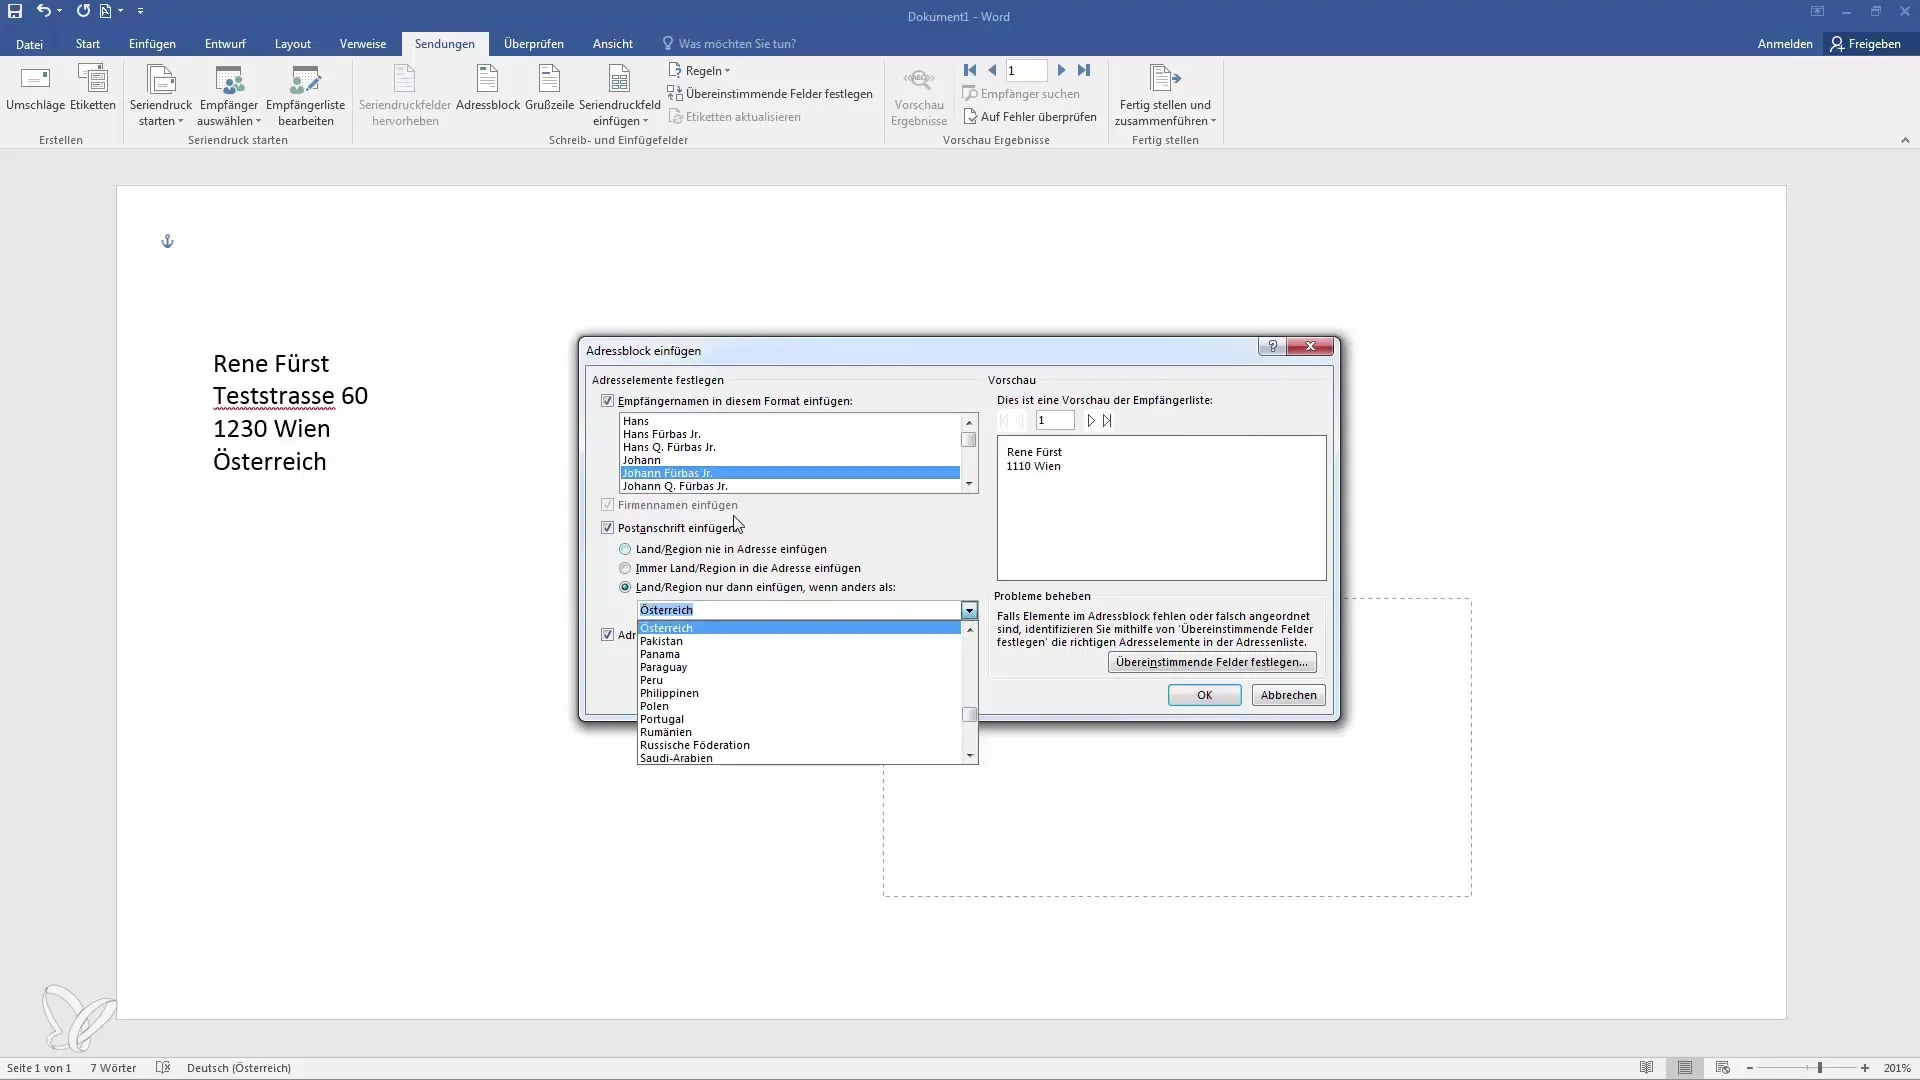
If you have specific requirements for formatting, such as only including the country for international mailings, you can also adjust these settings.
Once you have everything set up, you will see in the preview window how the envelope will appear. If you want to make changes, you can easily adjust the position of the addresses.
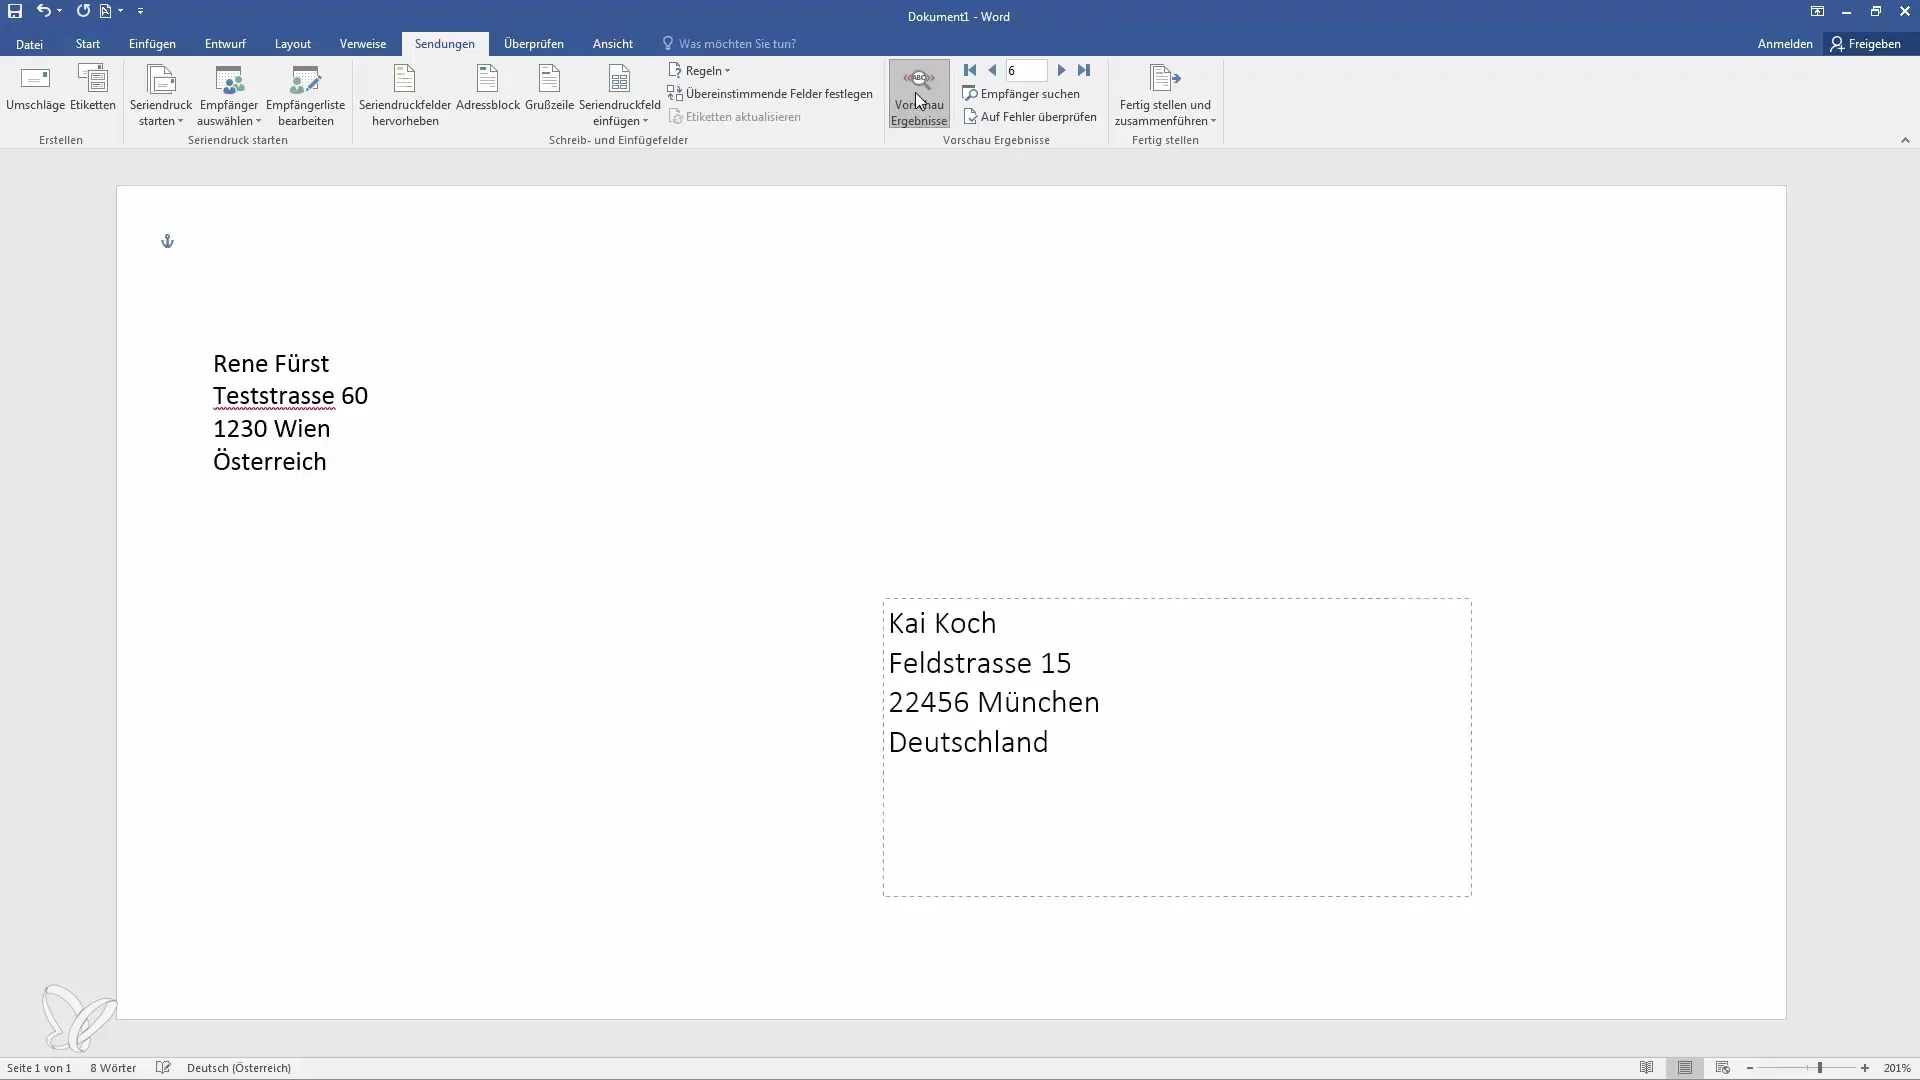
By clicking "Finish & Merge", you can create the print file. You also have the option to send the envelopes to an email or transfer them to a new document.
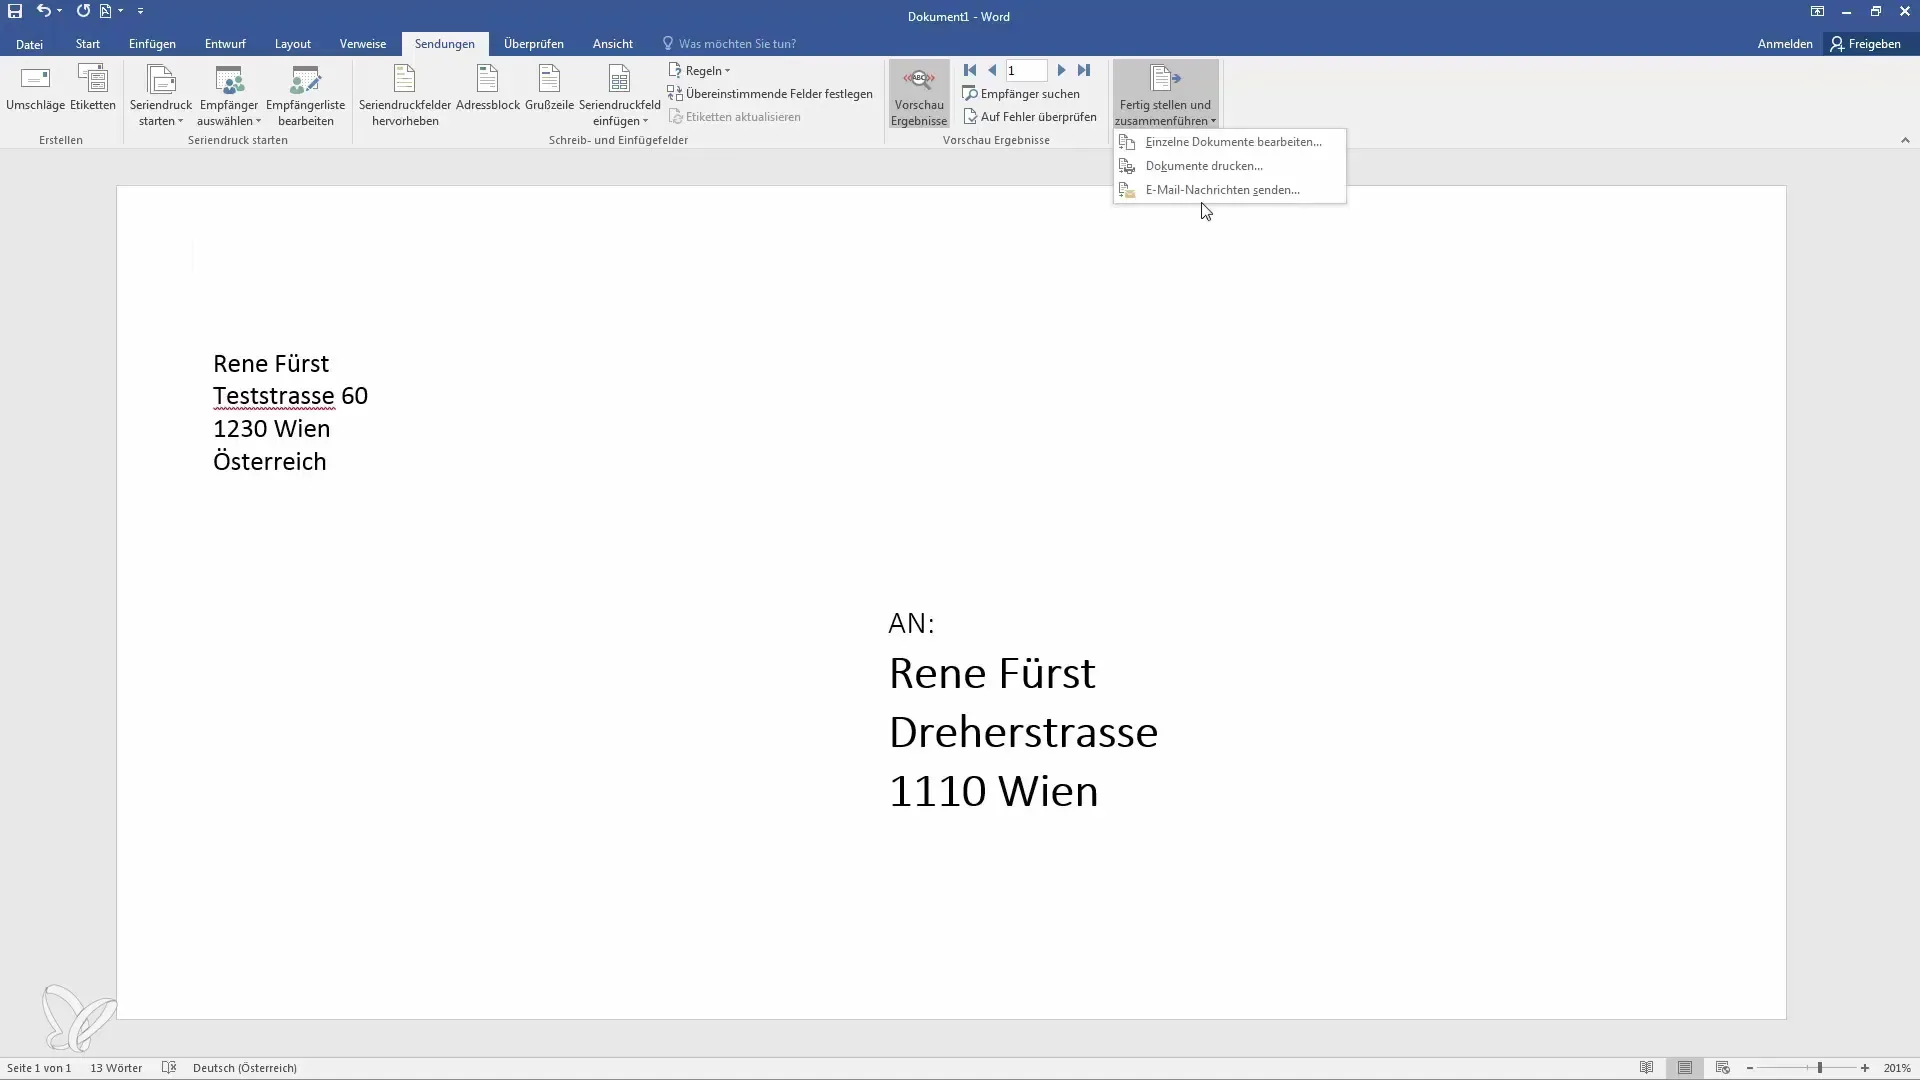
Now you can see that Word has created each individual envelope. You can now send them to your printer or delete them as needed.
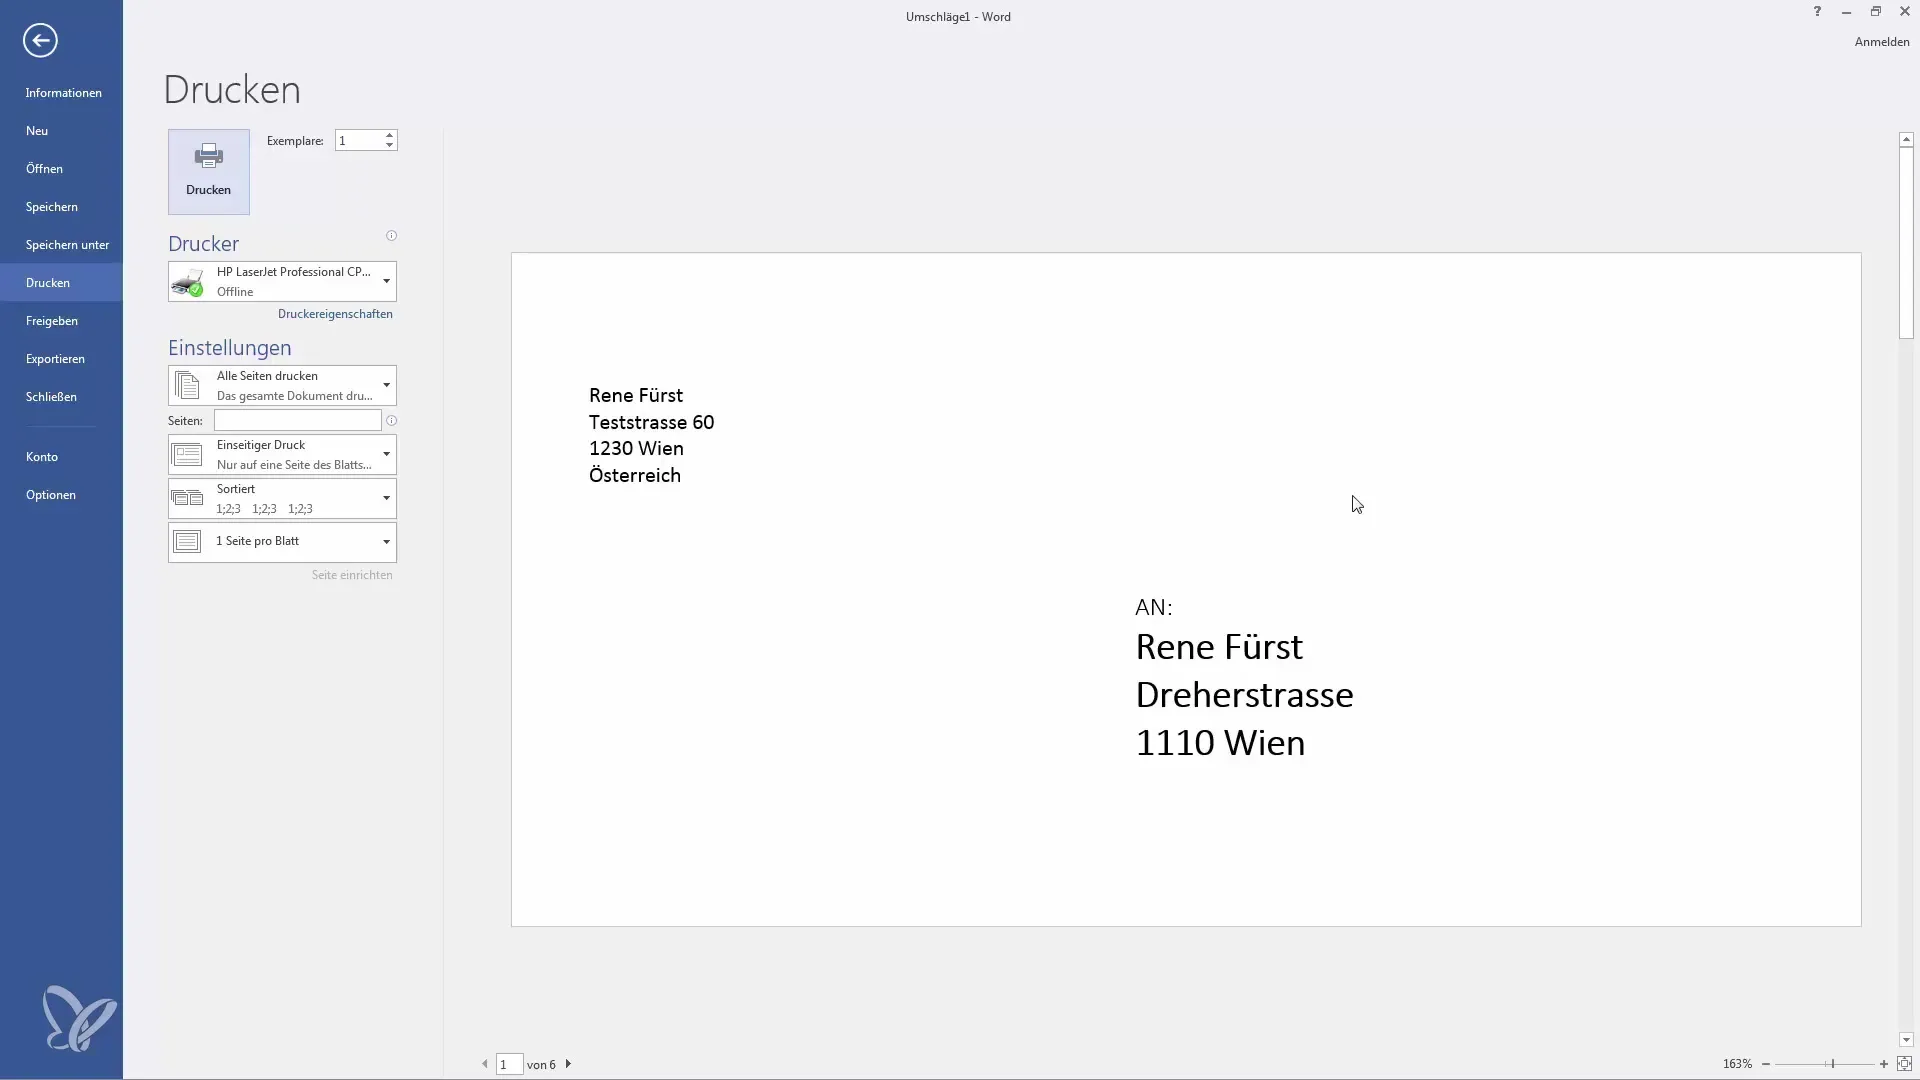
In summary, through these steps, you have learned how to efficiently print envelopes for multiple recipients by using Word's mail merge function.
Summary
With the steps described above, you are now well equipped to create envelopes in Word and prepare them directly for shipping. You can effortlessly work with large amounts of data and print numerous personalized envelopes in no time.
Frequently Asked Questions
Which formats can I choose when printing envelopes in Word?Standard envelope formats include DL, C5, C6, as well as other common formats.
How can I customize my recipient list for mail merge?You can edit the list in Excel to ensure that all relevant data is correct.
What should I do if the addresses are not displaying correctly?Make sure the columns in your Excel sheet are named correctly and the address blocks in Word are configured properly.
Can I edit the envelopes after the mail merge?Yes, you can customize the generated envelopes in the new document before printing them.
Can I send envelopes via email?Yes, you can also directly send the envelopes via email by making the appropriate settings in Word.
