Microsoft Word offers numerous views to help you edit and design documents more effectively. Each view has its own functions and is suitable for different requirements. In this tutorial, you will learn how to make optimal use of the Read Mode, Print Layout, Web Layout, Outline View, and Draft. This way you can structure and design your text more effectively.
Key Takeaways
- Read Mode allows distraction-free reading.
- Print Layout is the default view for editing documents.
- In Web Layout, you can see how your document would look as a web page.
- Outline view helps you create a clear structure.
- Draft mode focuses on text without distractions from images or formatting.
Activating and Using Read Mode
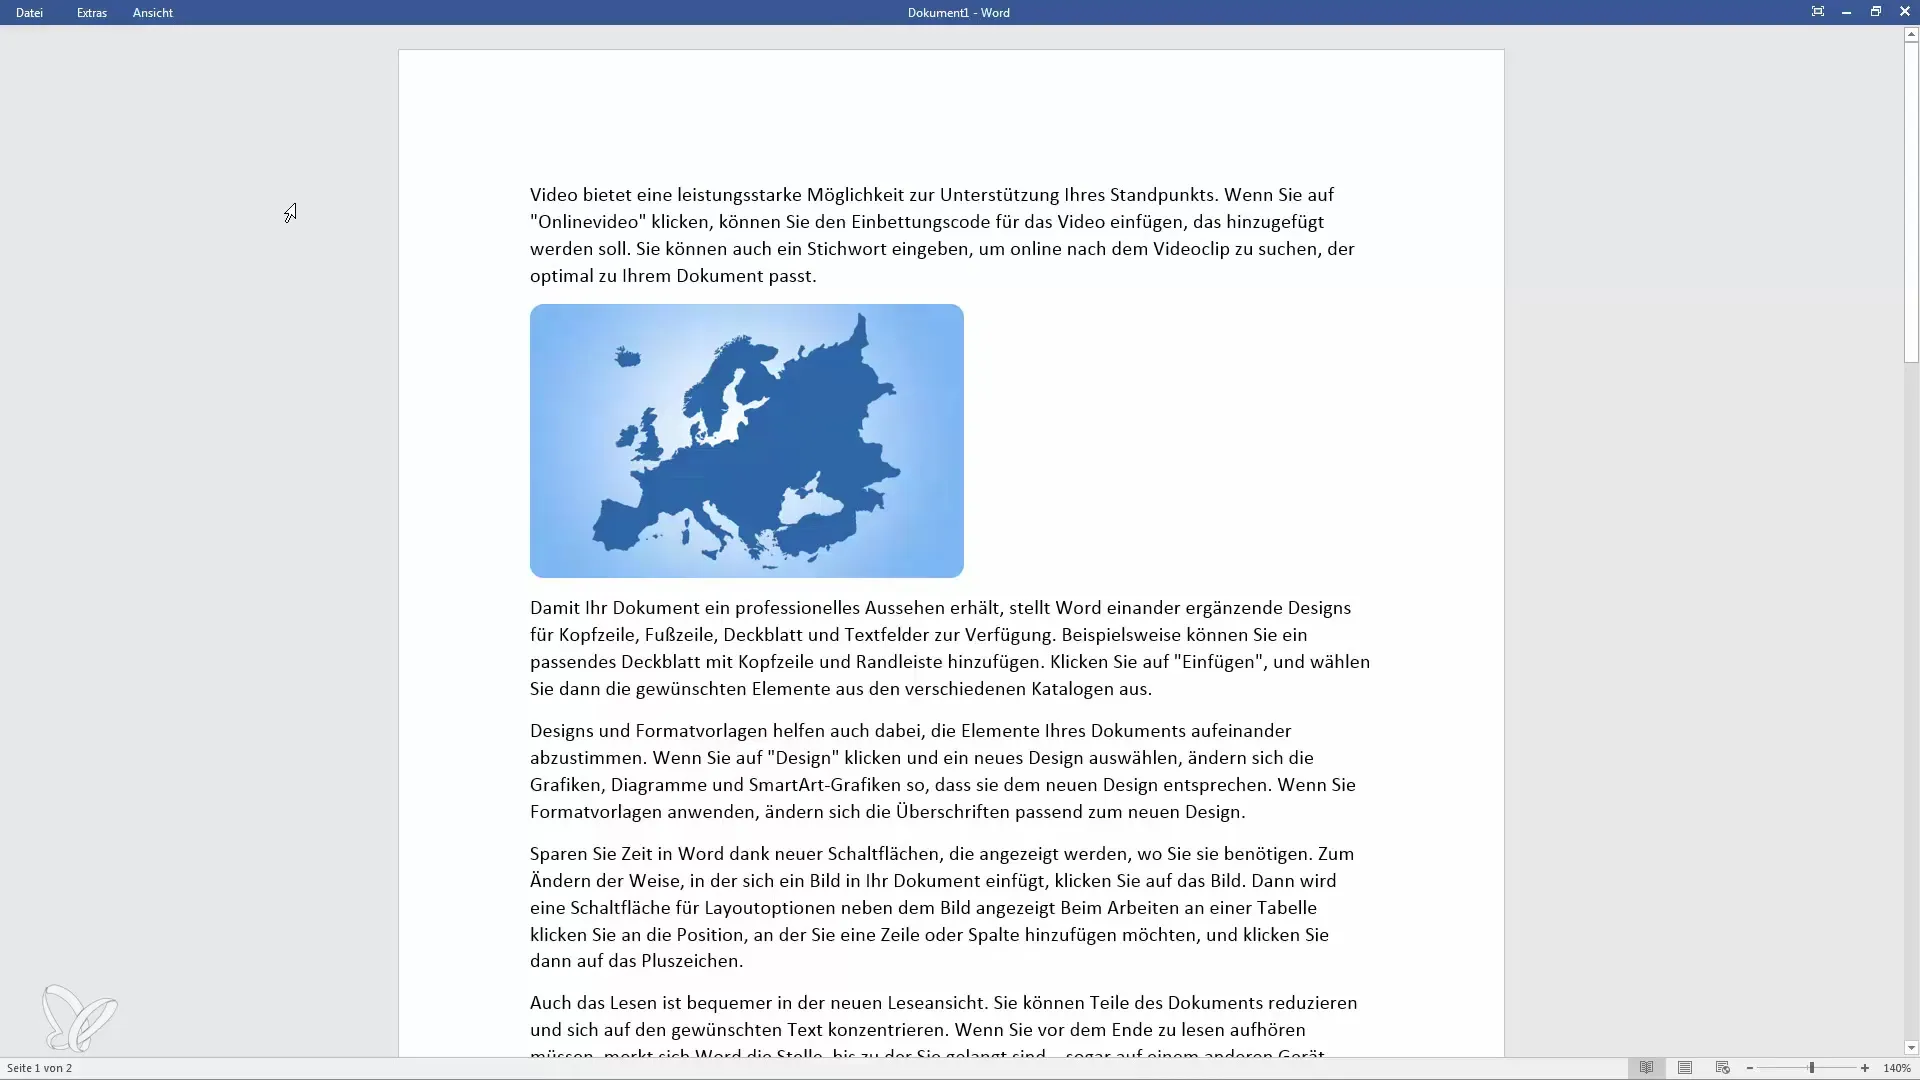
Read Mode transforms your Word document into a layout similar to reading on an e-book reader. To activate Read Mode, click on the corresponding icon in the lower right corner of your Word interface. You can use this view to browse through your document without being distracted by a plethora of tools and options.
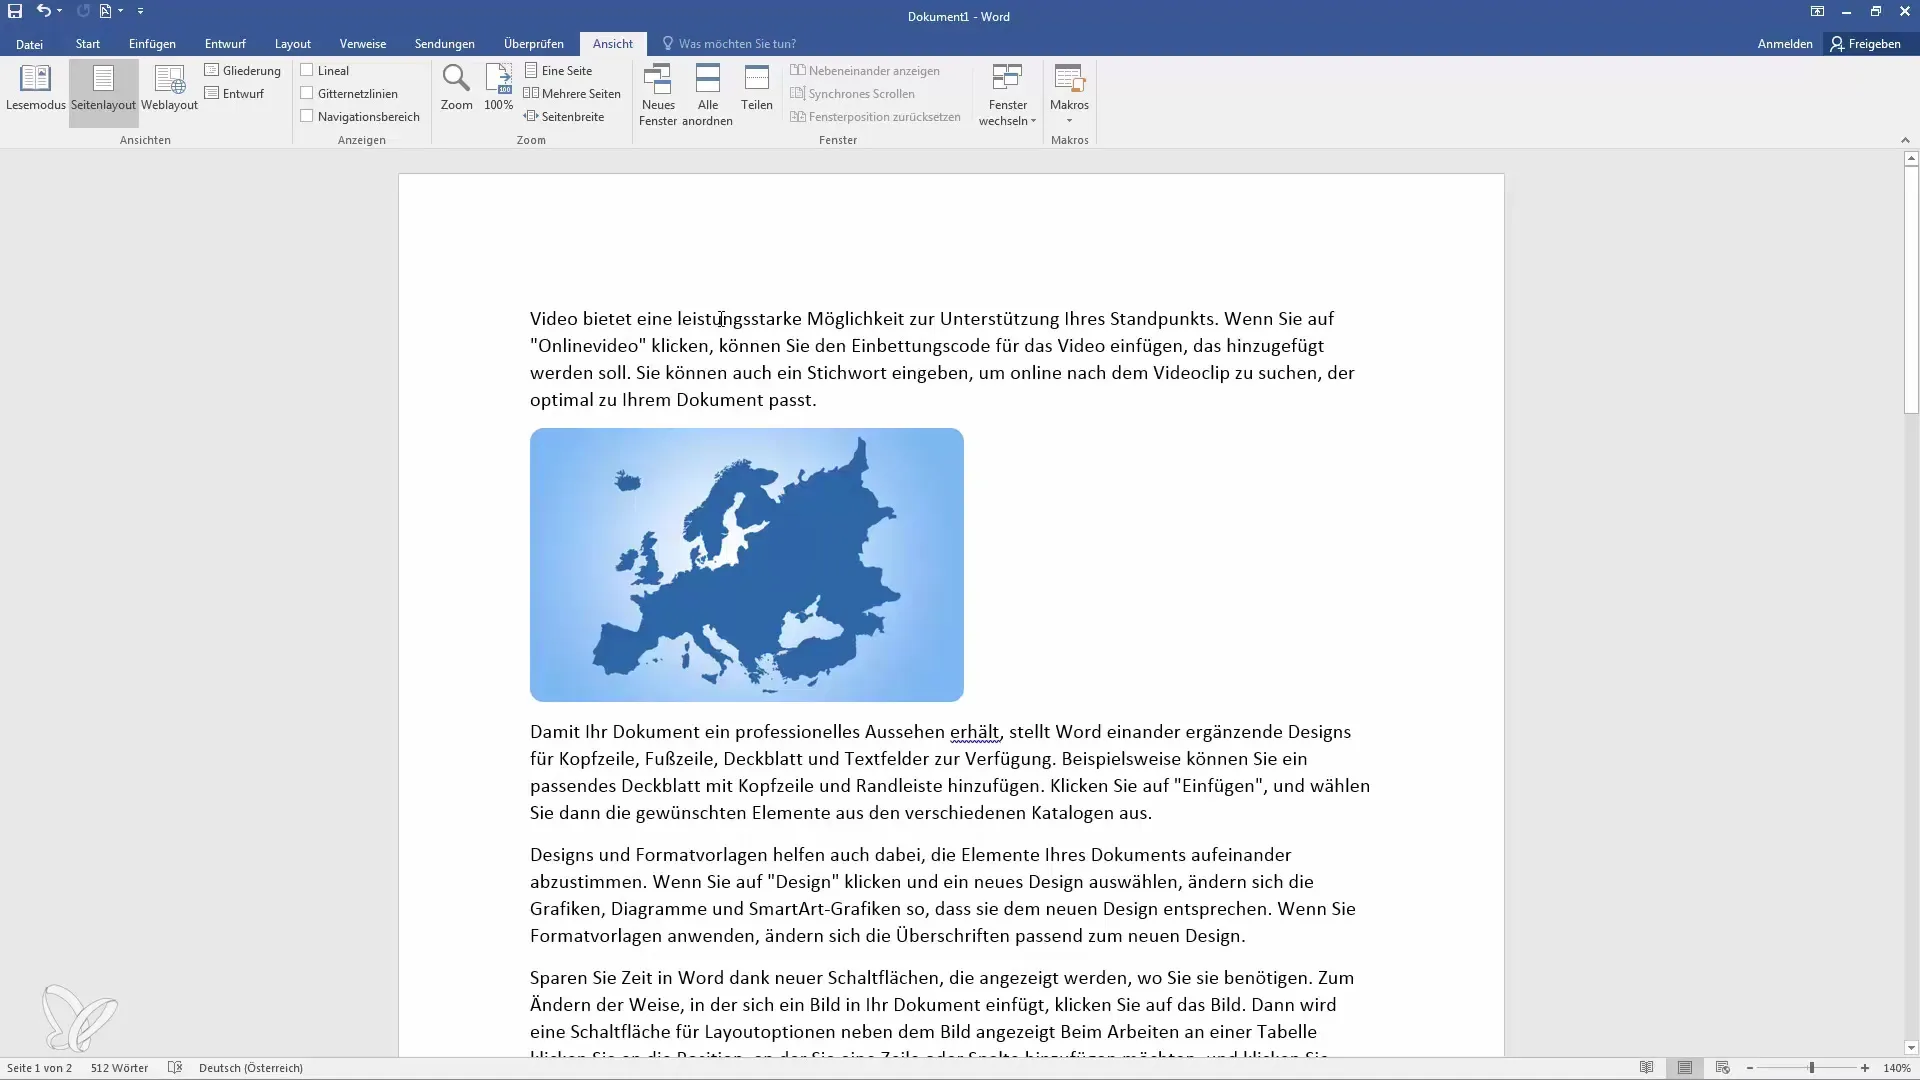
In Read Mode, you can customize your layout to suit your reading habits. You can switch between a normal layout and a paper layout, making it appear like a printed document.
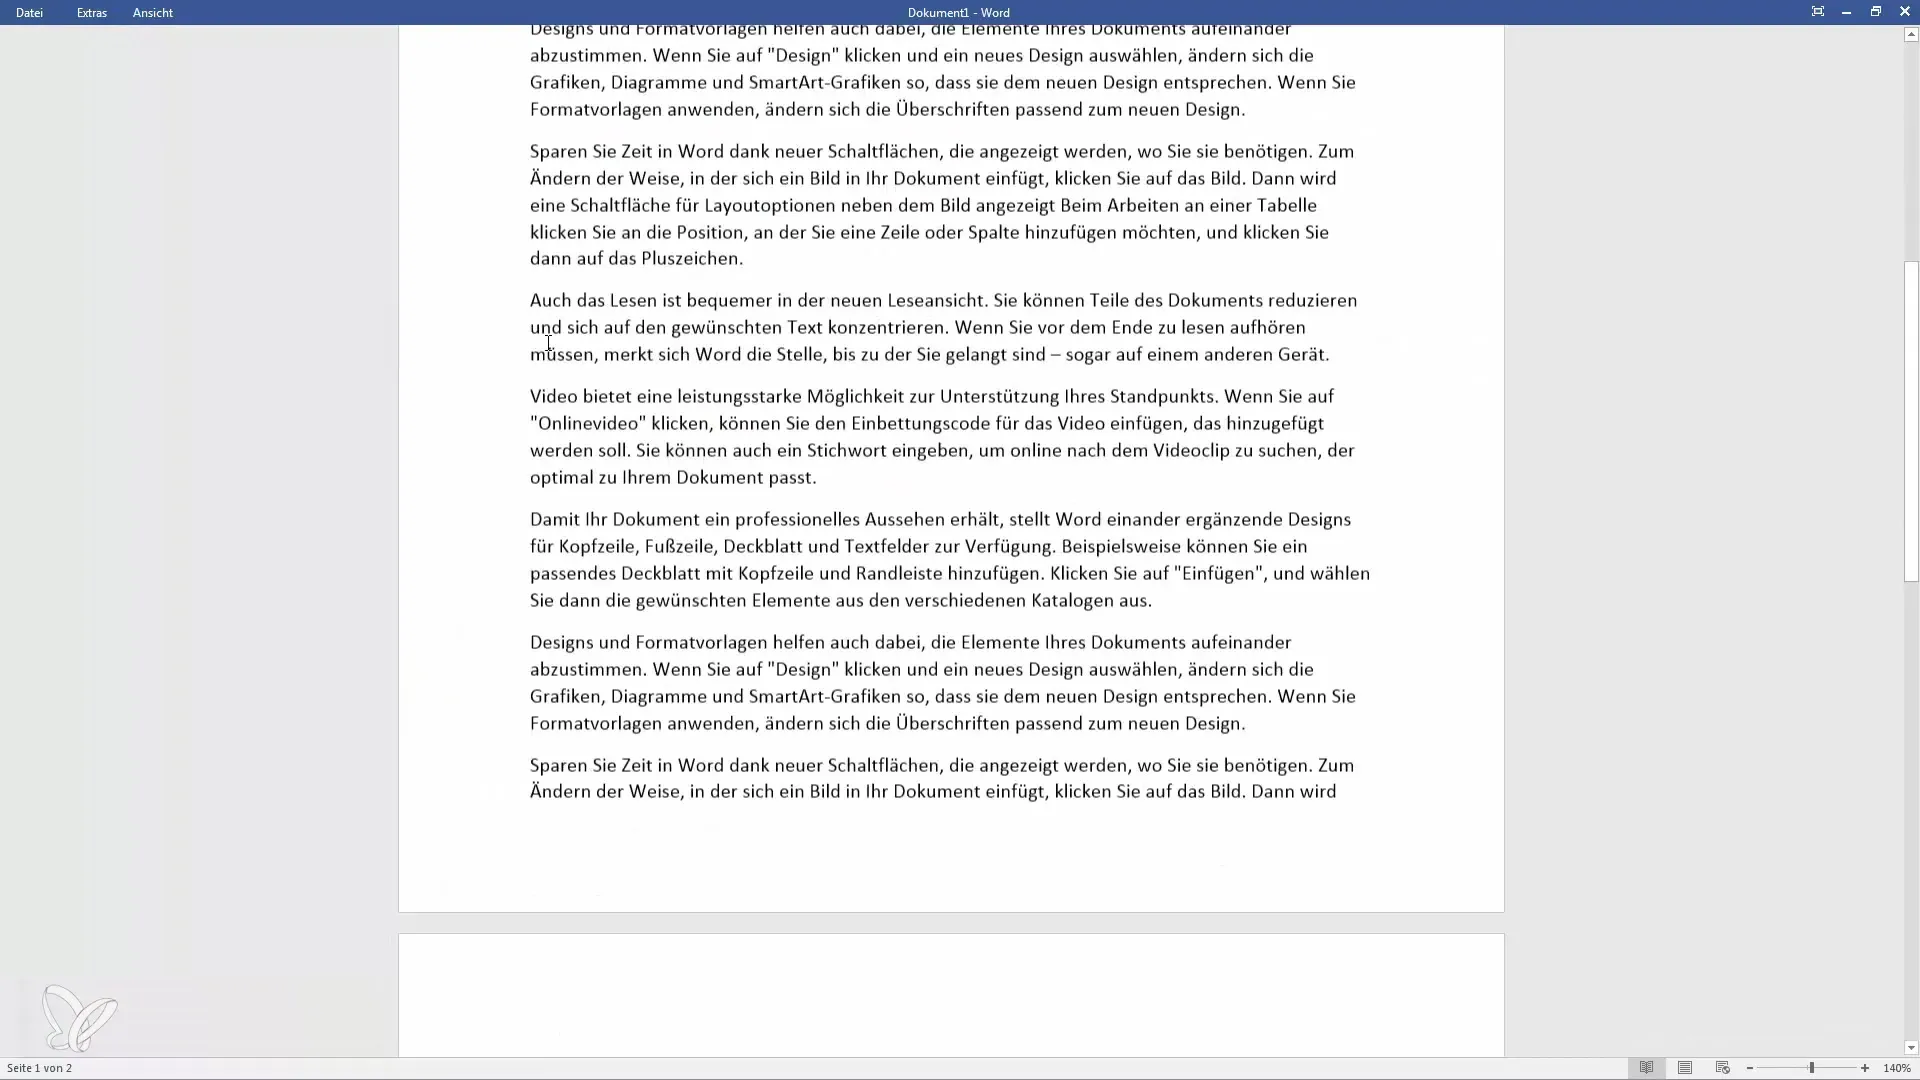
It is important to note that you cannot make changes to the text in Read Mode. You can only navigate through your document and enjoy it without being distracted by other functions.
Print Layout: The Standard View
Print Layout is the standard view when editing a document. Here, you see all elements of your document, including text, images, and tables, in their actual arrangement. You can easily modify and format all content here.
Web Layout: Your Document as a Website
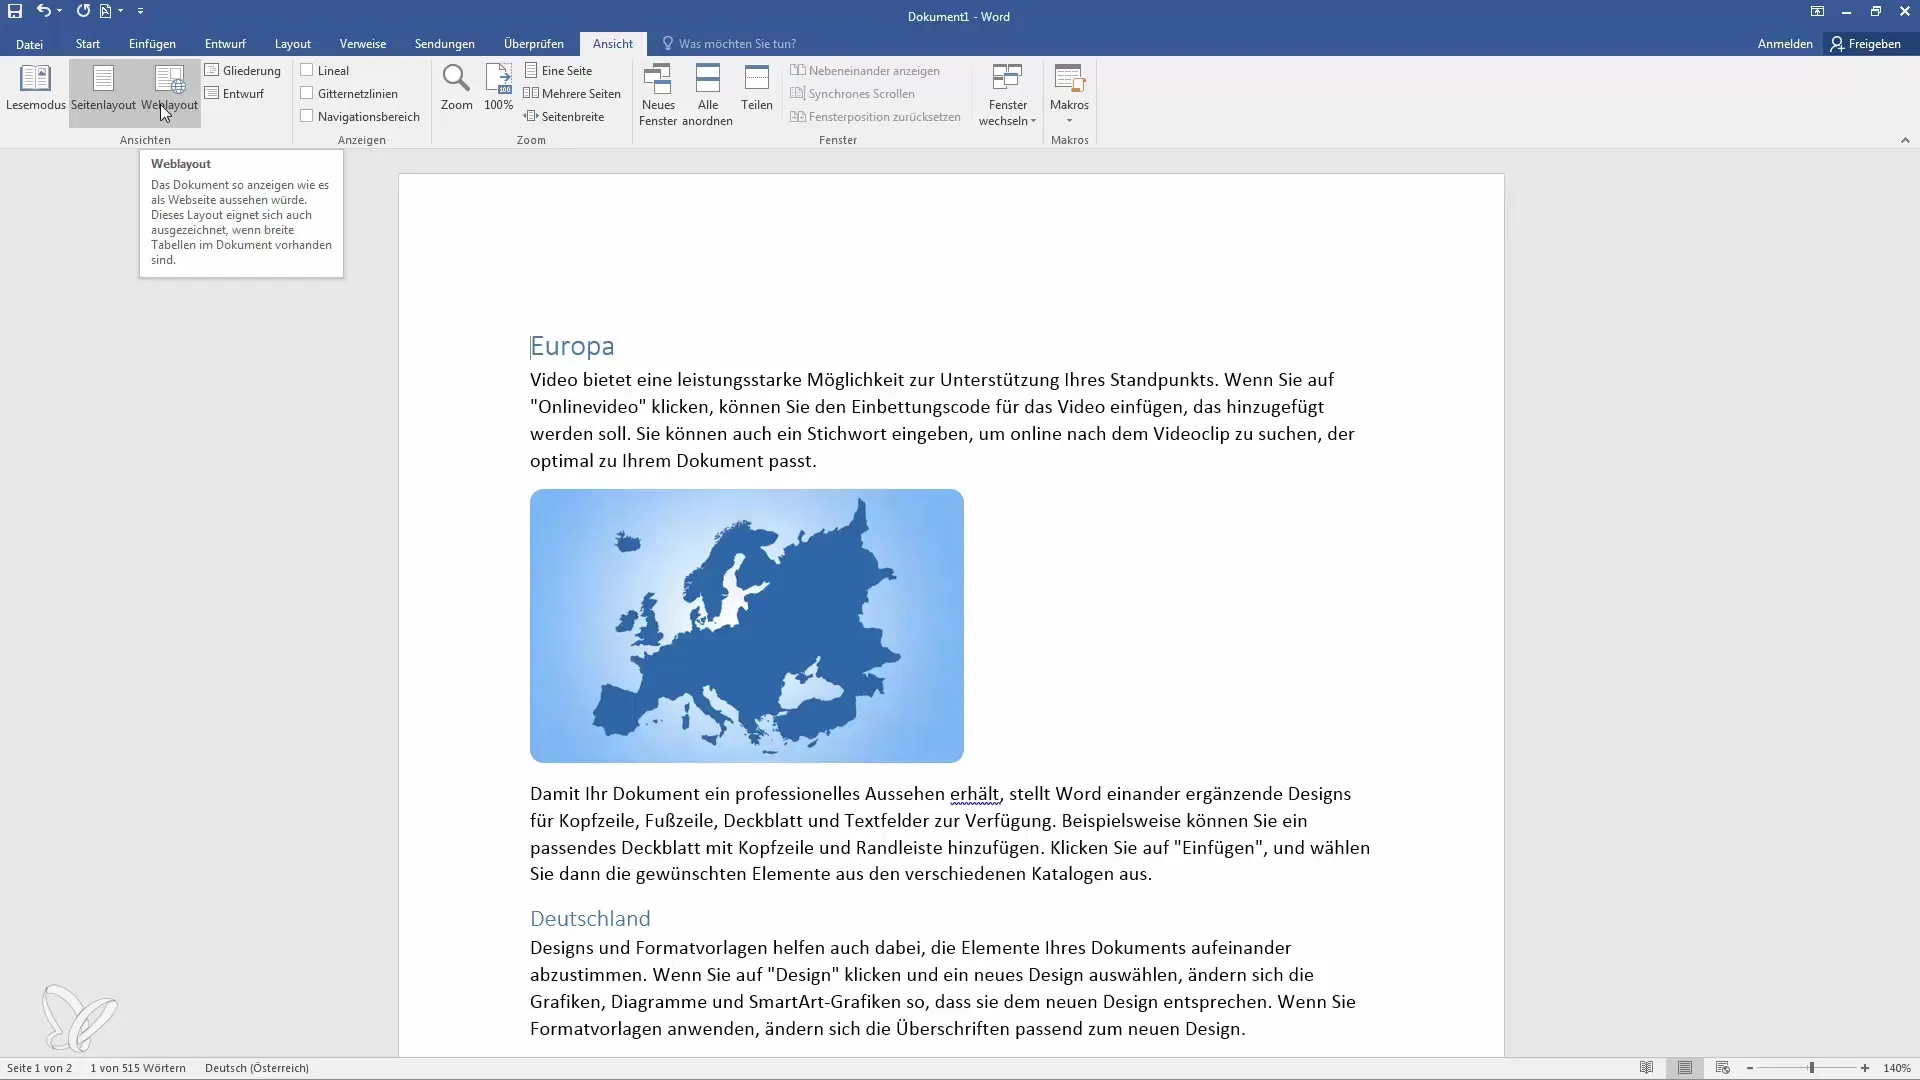
Web Layout is useful to see how your document would look as a website. This view is helpful if you plan to save your document as an HTML file. Here, you can check how the design might look on a website.
Outline View: Structure and Clarity
Outline View provides an excellent way to structure your document. To switch to this view, select Outline View from the menu. Here, you can easily create and manage headings and subheadings.
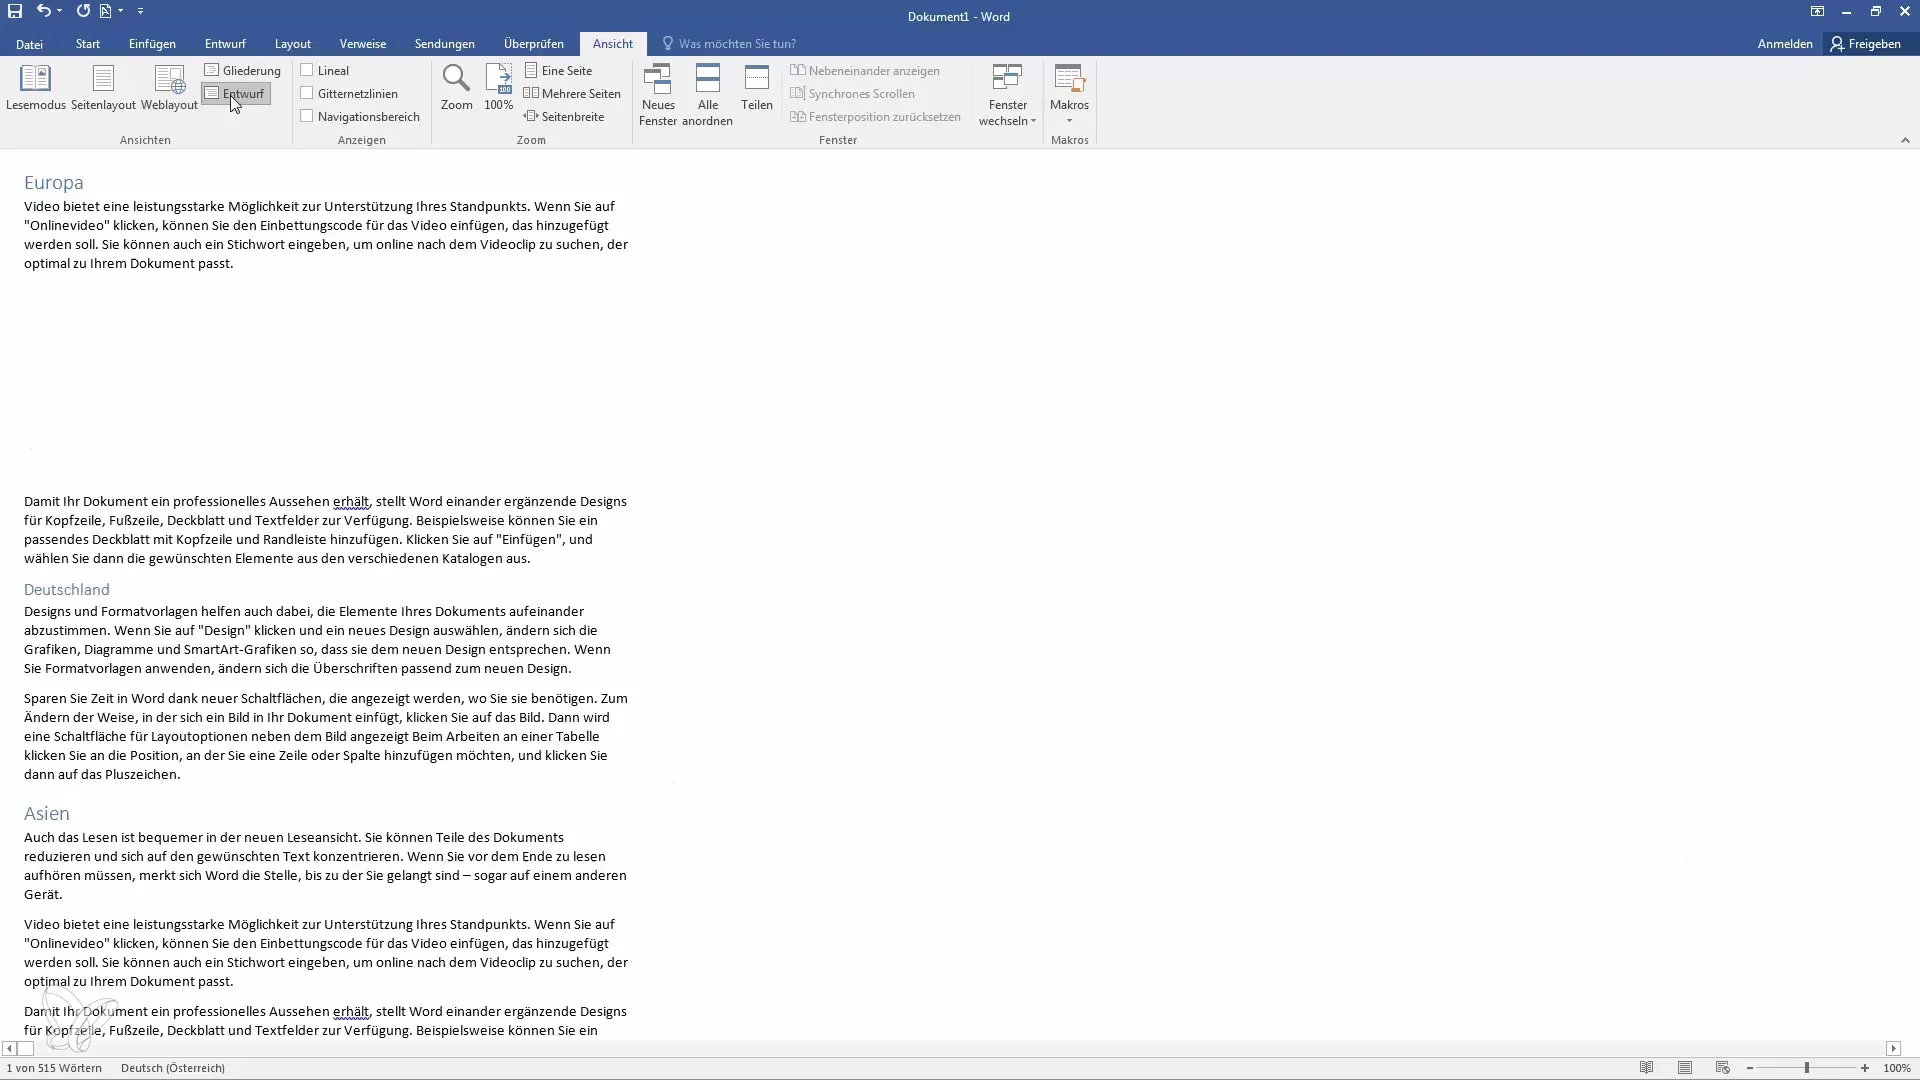
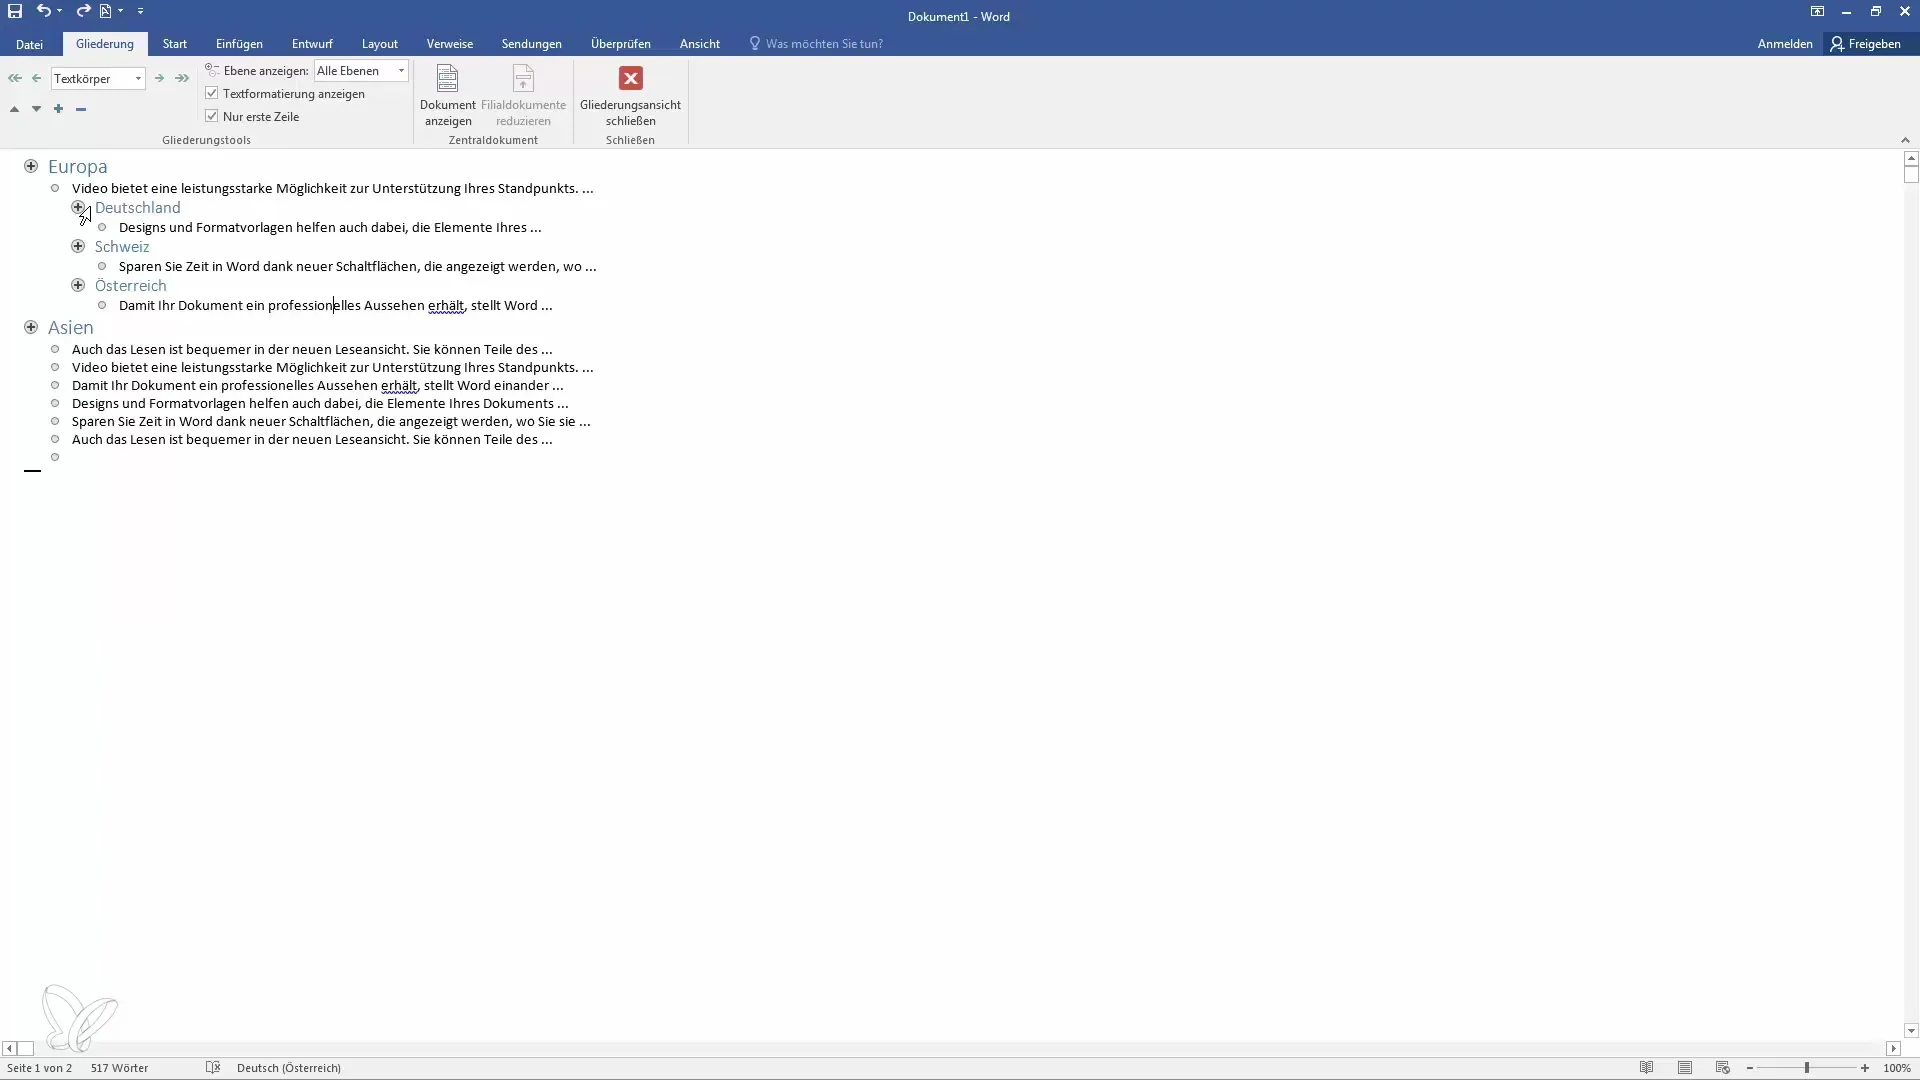
In Outline View, you can easily adjust the structure of your headings and change the order of sections. Double-clicking on a heading allows you to move the respective section.
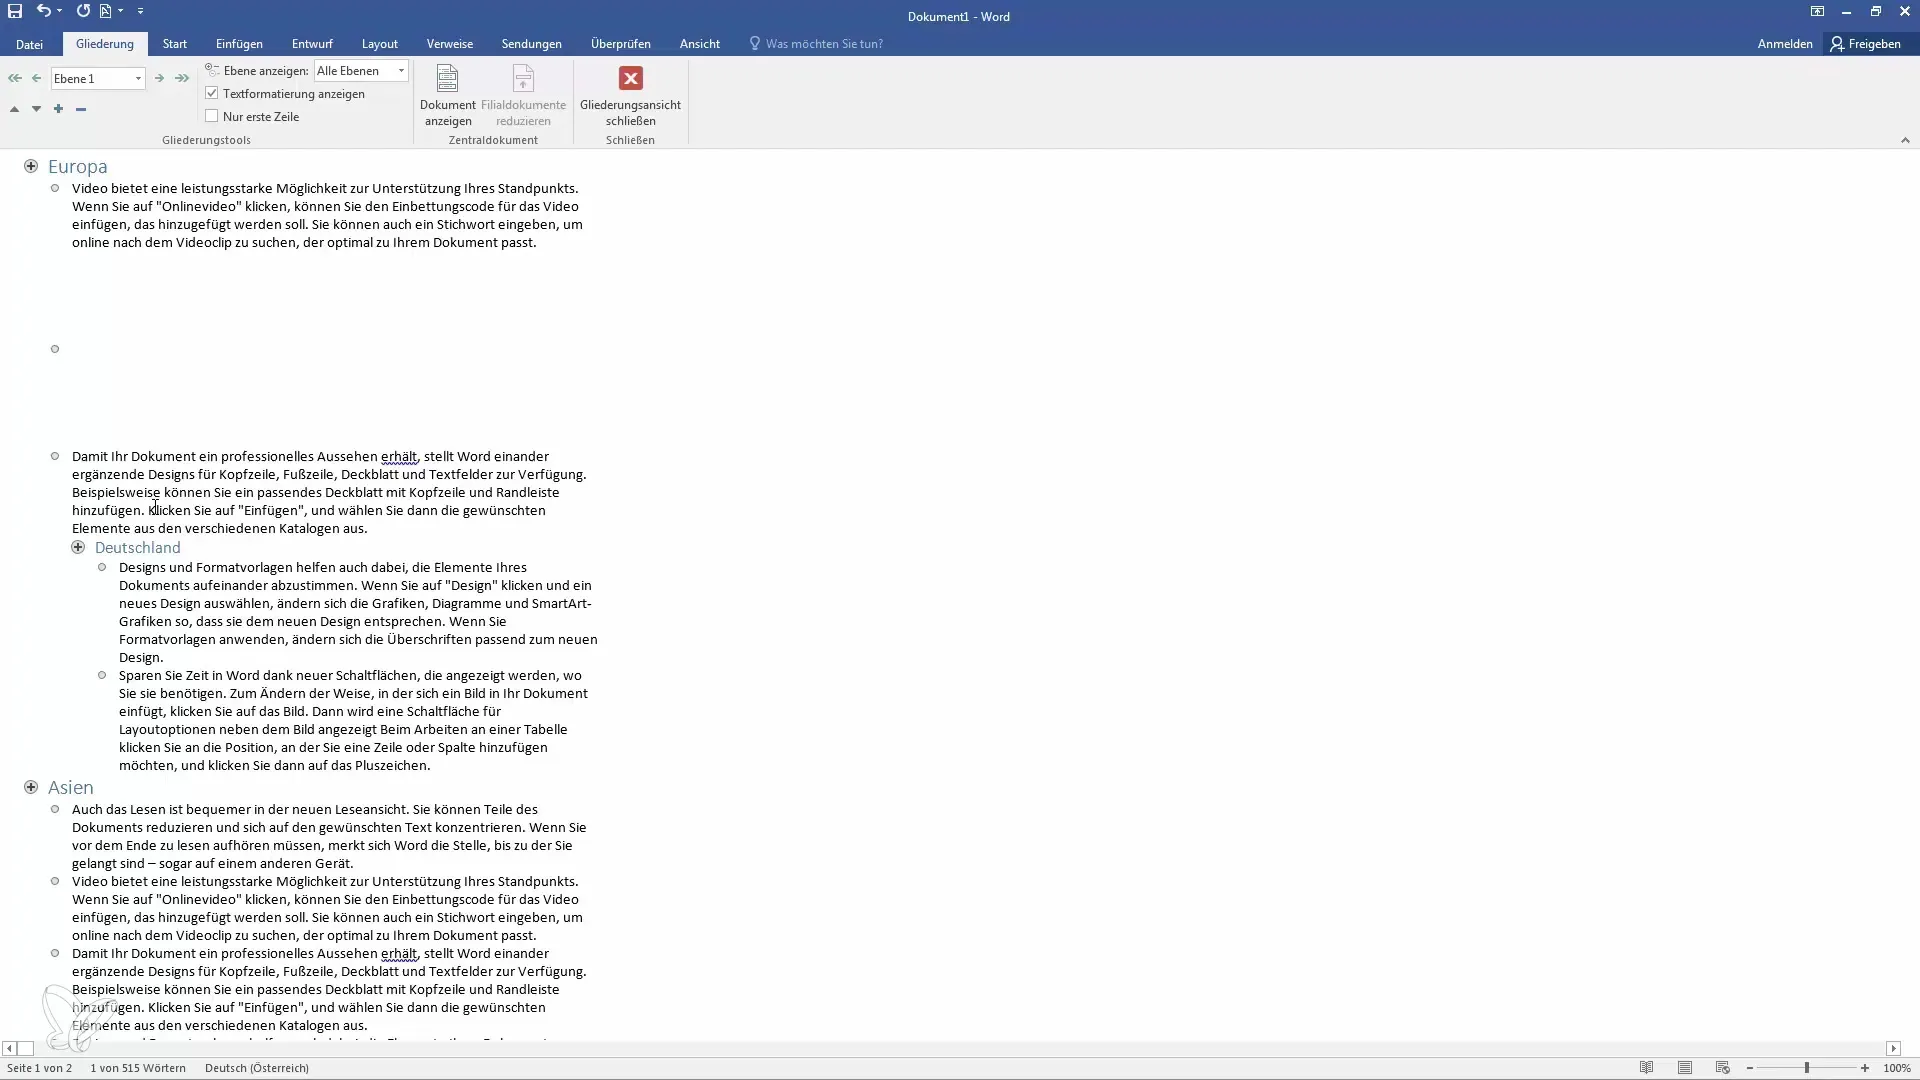
This function is particularly helpful when you have a comprehensive document with many topics. You can easily rearrange content without having to manually cut or paste.
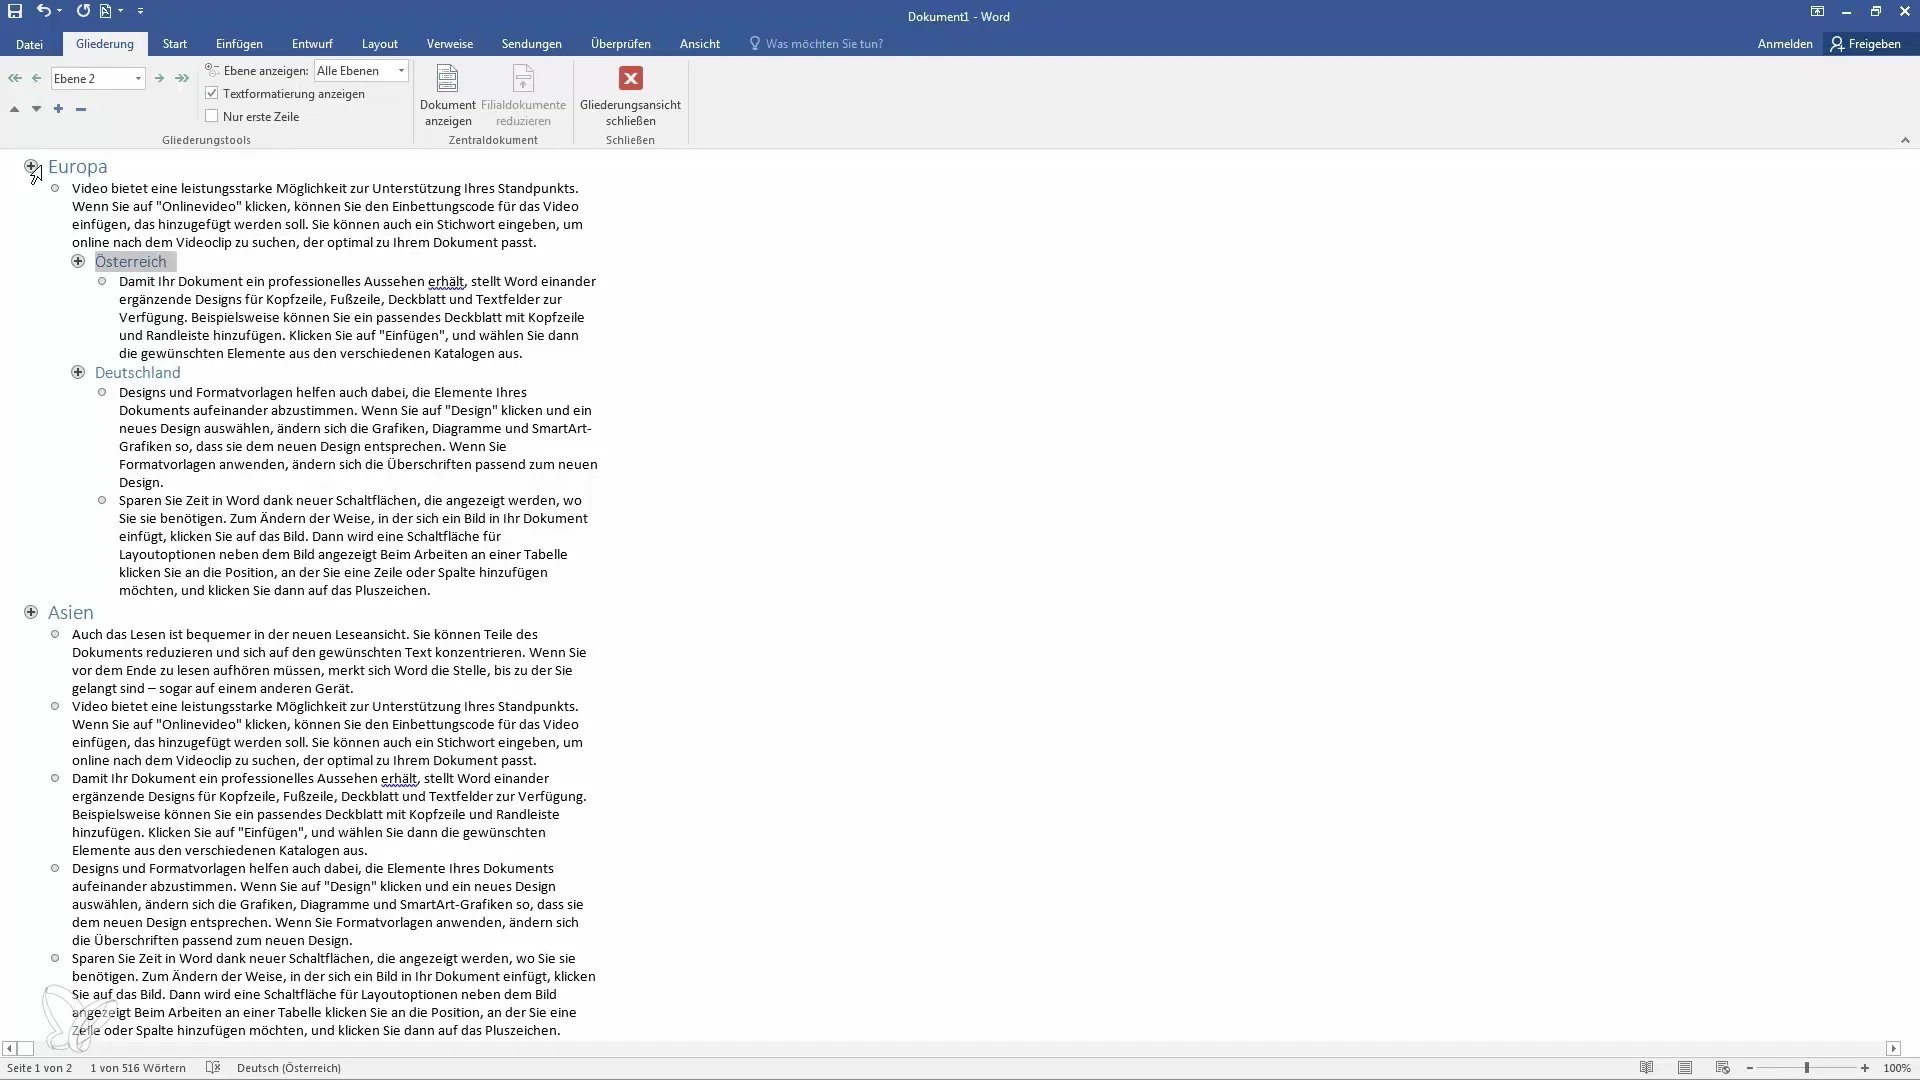
Additionally, in Outline View, you can only see the first line of paragraphs, which helps you maintain a clear overview without getting lost in the details.
Design View: Focused Working
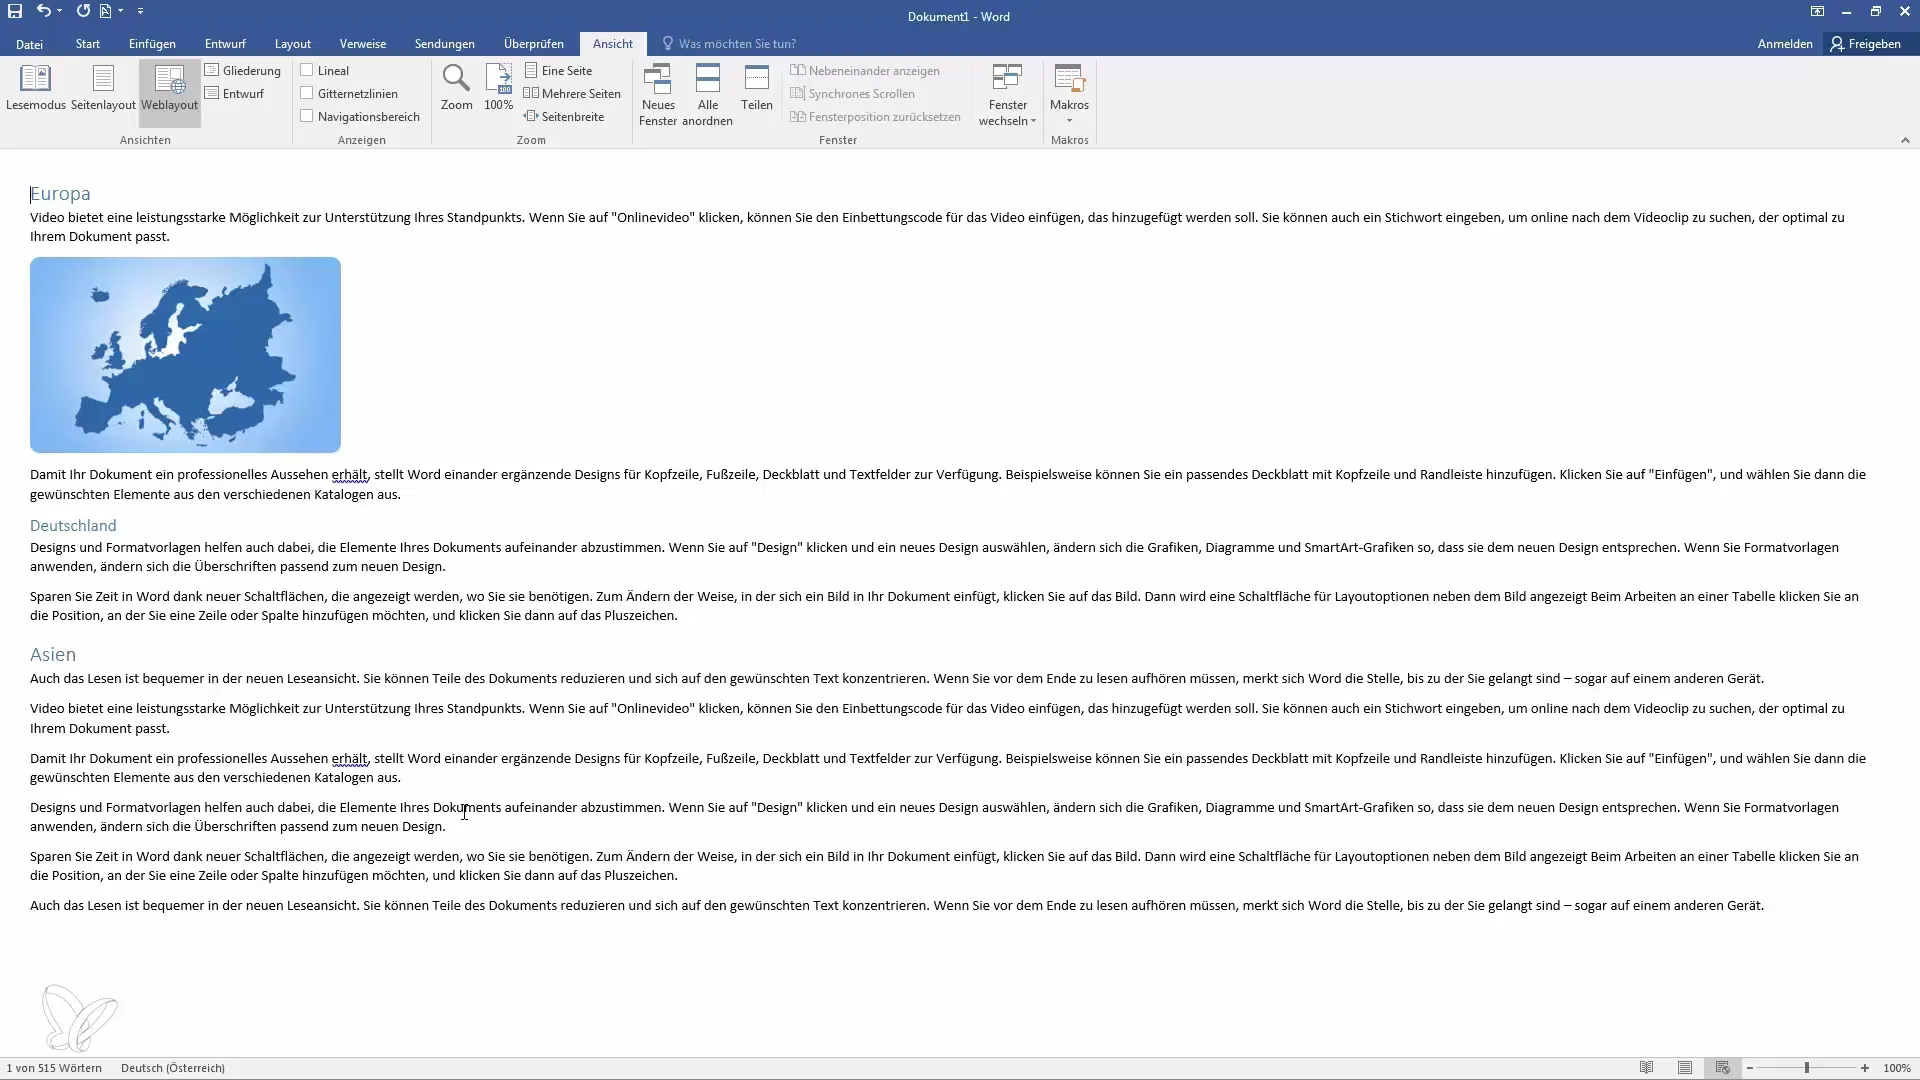
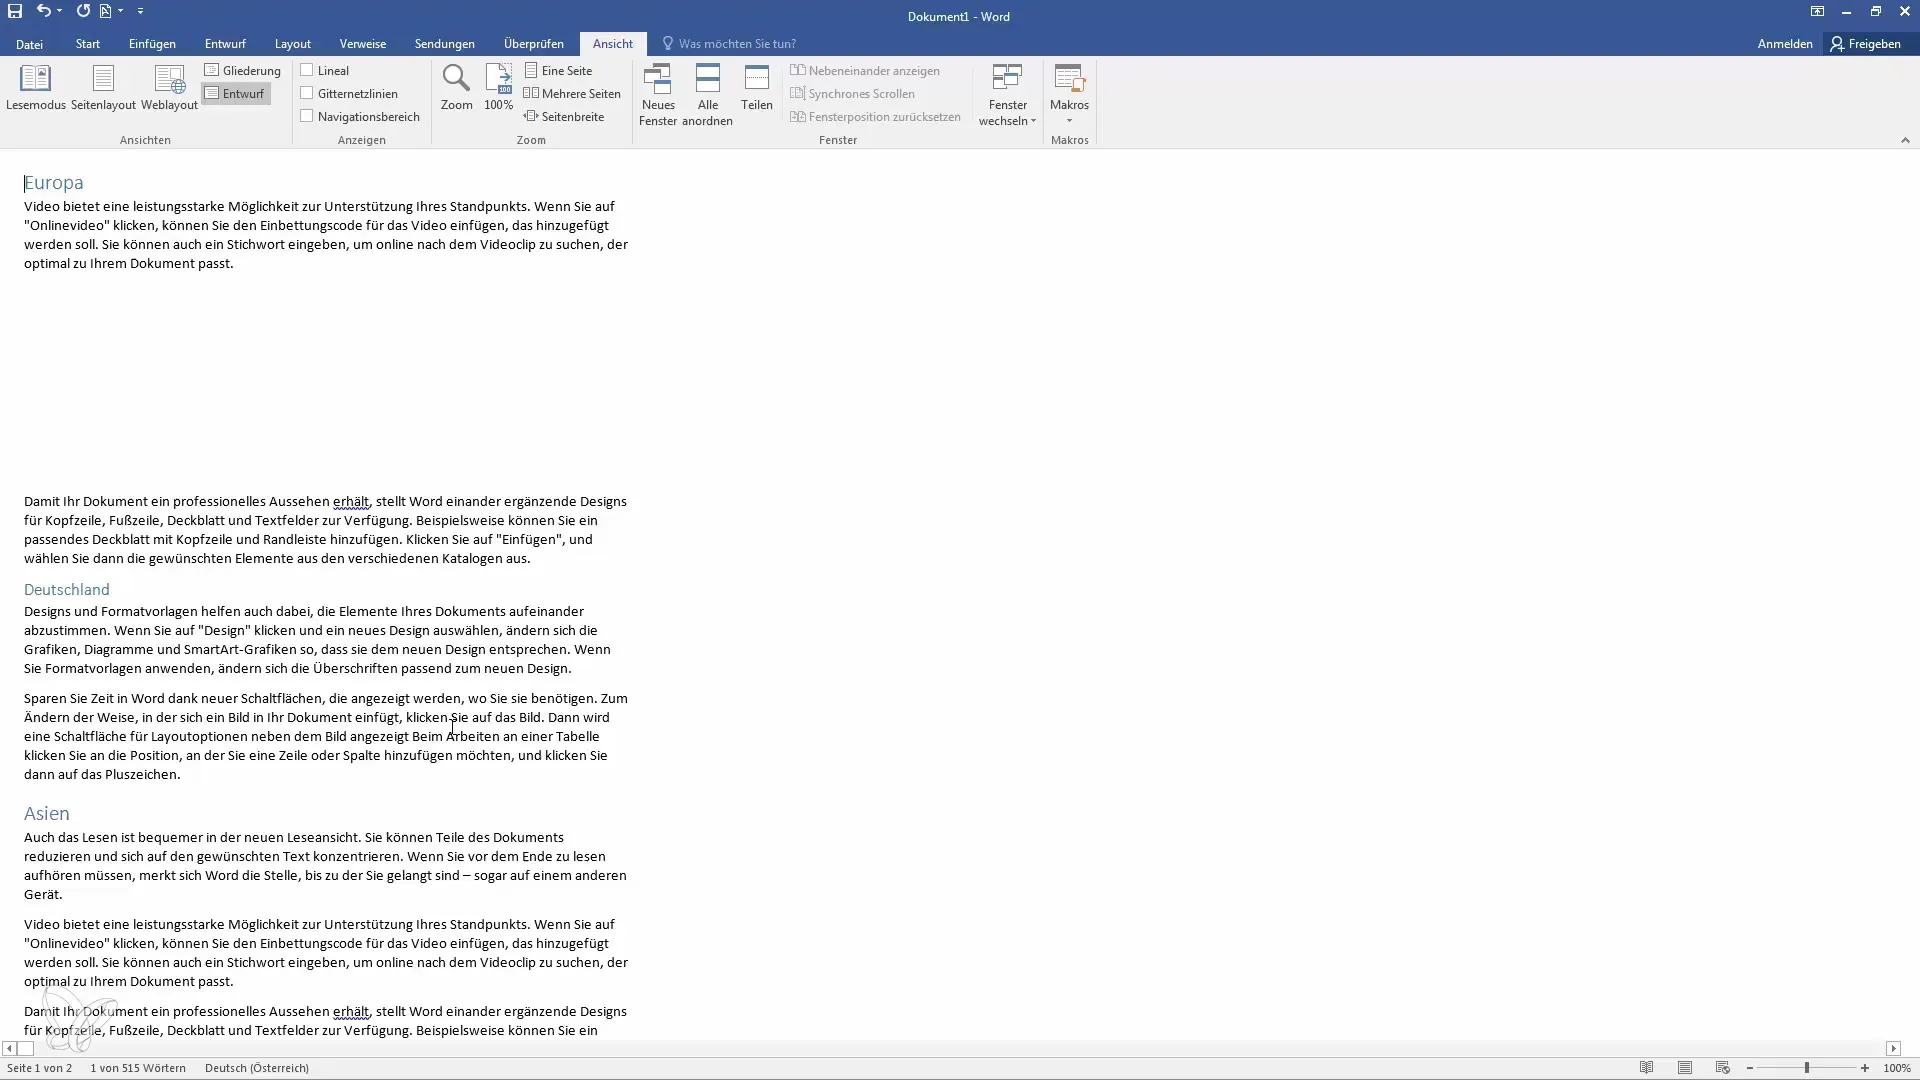
In the design layout, only the text is displayed, while graphics and other media are hidden. This view can be useful if you want to focus exclusively on the text without being distracted by other elements.
Summary
In this tutorial, you learned how to effectively use the different views in Microsoft Word. The Read Mode enables distraction-free reading, while the Page Layout is intended for editing. The Web Layout helps you check the design for web pages. The Outline view provides a way to structure your document, and the Draft mode focuses on the text.
Frequently Asked Questions
What is the Read Mode and how do I use it?The Read Mode is a view that helps you read documents without distractions. Activate it via the icon in the lower corner.
Can I make changes to my document in Read Mode?No, in Read Mode, you can only read and not make changes.
What is the difference between Page Layout and Web Layout?The Page Layout is the default view for editing, while the Web Layout shows how your document would look as a web page.
How can I use the Outline view?In the Outline view, you can easily adjust and reorganize your headings and their structure.
What is Draft Mode and when should I use it?Draft Mode displays only the text and hides all images, helping you focus on the text. It is useful when you want to work independently of formatting.
