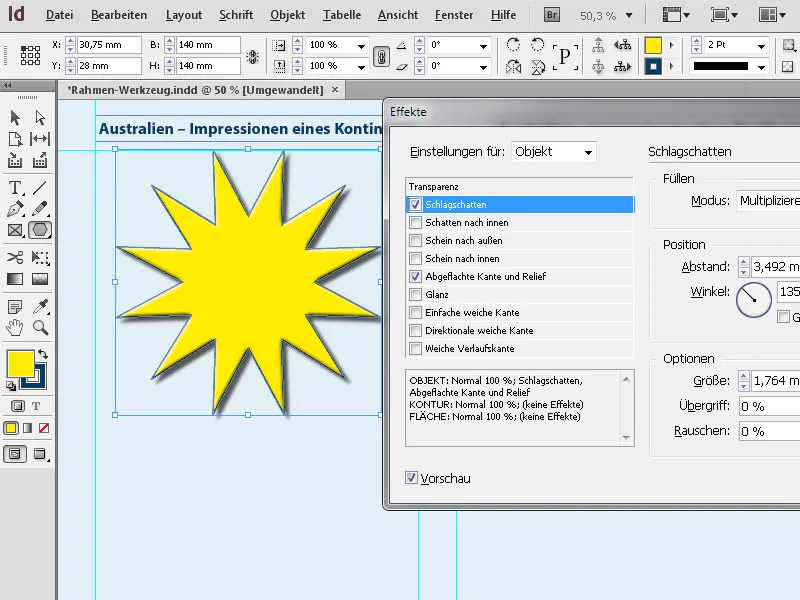
The graphic frame tools in Adobe InDesign are essential to integrate images and graphics precisely into your layout. With rectangular, elliptical, or polygonal frames, you can customize your designs and place content flexibly. These frames allow you to crop, align, and creatively showcase images. In this guide, I will show you step by step how to effectively use the graphic frame tools to create professional and appealing layouts. Let's get started and discover the versatile features of these tools!
1. The Rectangle Tool (Shortcut M)
With the Rectangle Tool, you can draw rectangular or square frames. These frames have a stroke and a fill. So click on the tool and drag with the mouse button pressed to create any frame.
In the Control Palette, you can then precisely adjust the desired size and position.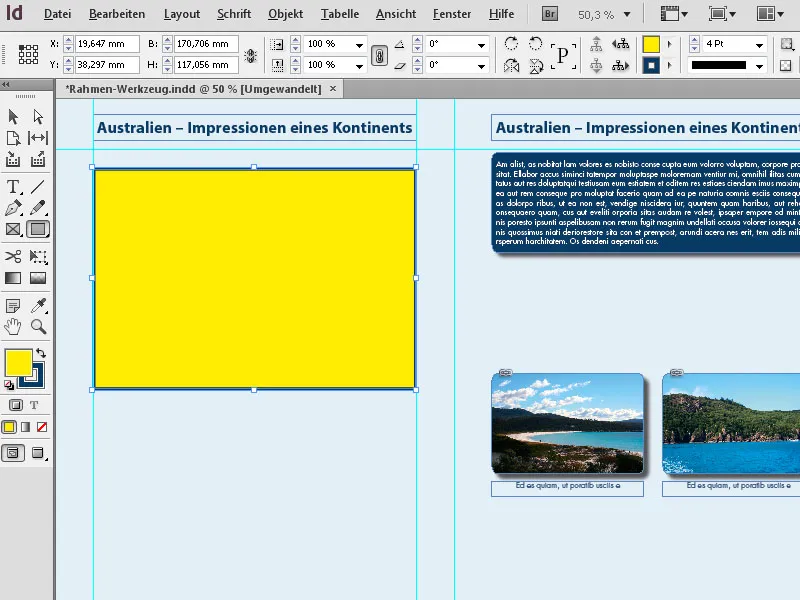
The newly created frame has the currently set stroke or stroke style, color, and the currently set fill color.
You can change the stroke weight and stroke style in the Control Palette, the frame's color or the fill by clicking on the respective part in the Tool Palette (faster with the X shortcut, which alternates between the stroke and the fill for the selected frame) and then clicking on the desired color in the Color Palette.
Just like with placeholder frames, InDesign also offers the familiar option to create multiple frames of the same size on one page when creating graphic frames.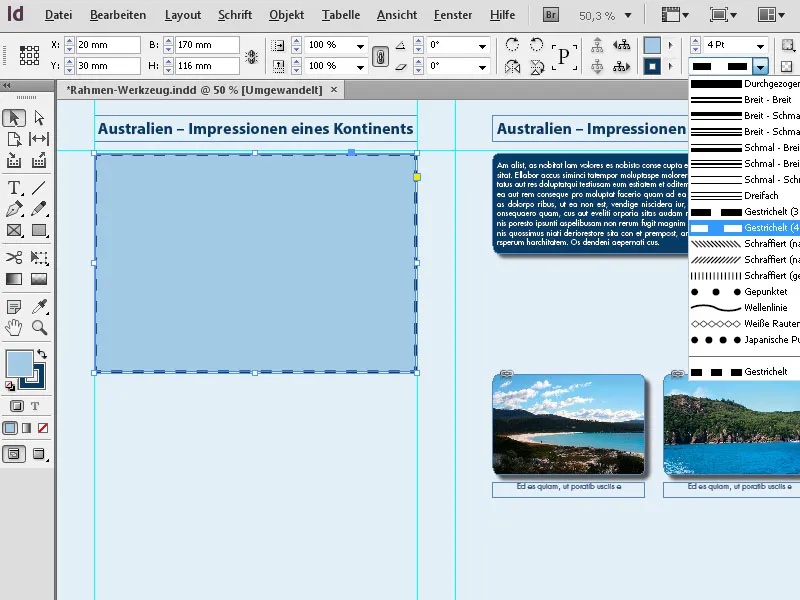
To do this, drag with the Rectangle Tool pressed over the area where the graphic frames should be placed, and then continue to hold down the mouse button. Now, by using the arrow keys, you can divide this area into equally sized graphic frames both horizontally and vertically.
The right arrow key creates an additional frame on the X-axis, which evenly divides the available space with the existing frame(s), and the up arrow key does the same on the Y-axis.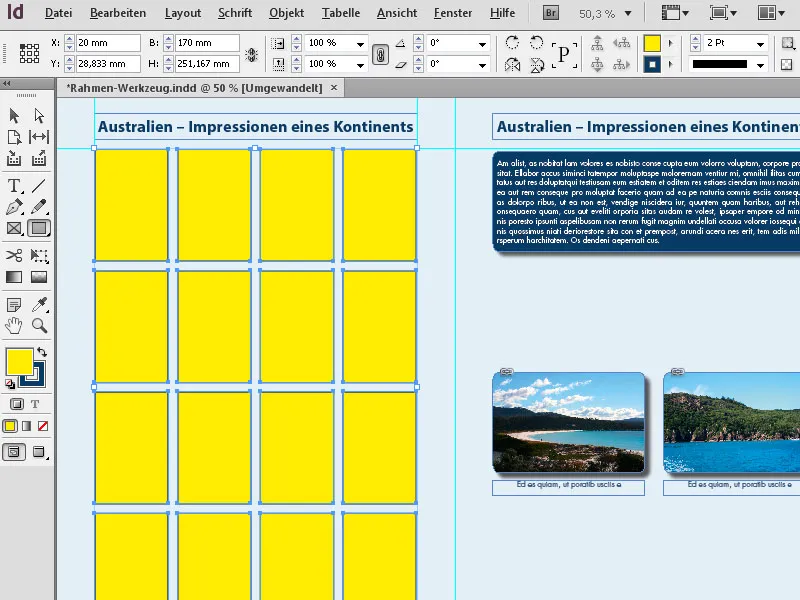
This way, perfectly aligned graphic frame grids can be quickly created.
2. The Ellipse Tool (Shortcut L)
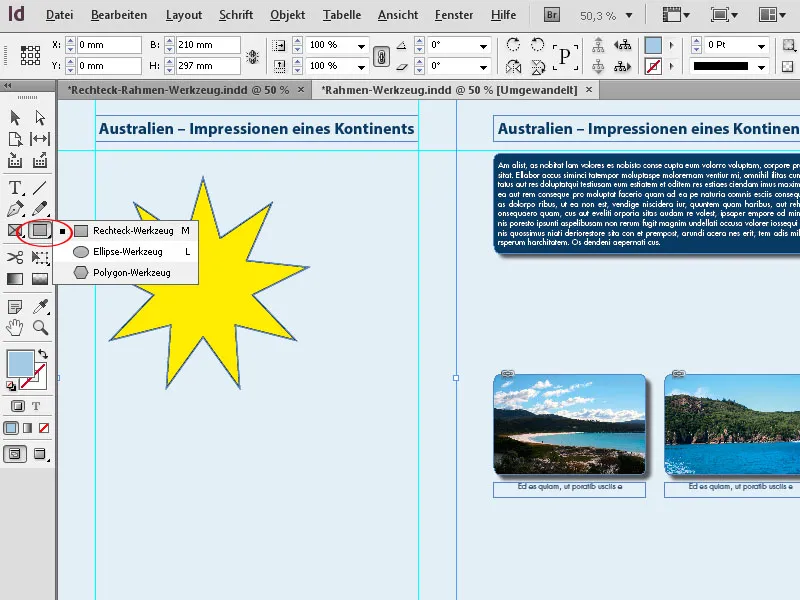
With the Ellipse Tool, you can create graphic frames in the form of ellipses or circles. Click on the Rectangle Tool in the Tool Palette and choose the Ellipse Tool from the flyout menu. Now, drag with the mouse button pressed over the page to create an ellipse of the desired size. If you want to create an exact circle, you must hold down the Shift key while dragging the ellipse.
The frame created in this way can then be adjusted to the exact dimensions in the Control Palette.
But you can also set the dimensions before drawing by double-clicking on the tool and entering them in the dialog box that appears. However, this only works with a double-click on the tool in the expanded flyout menu.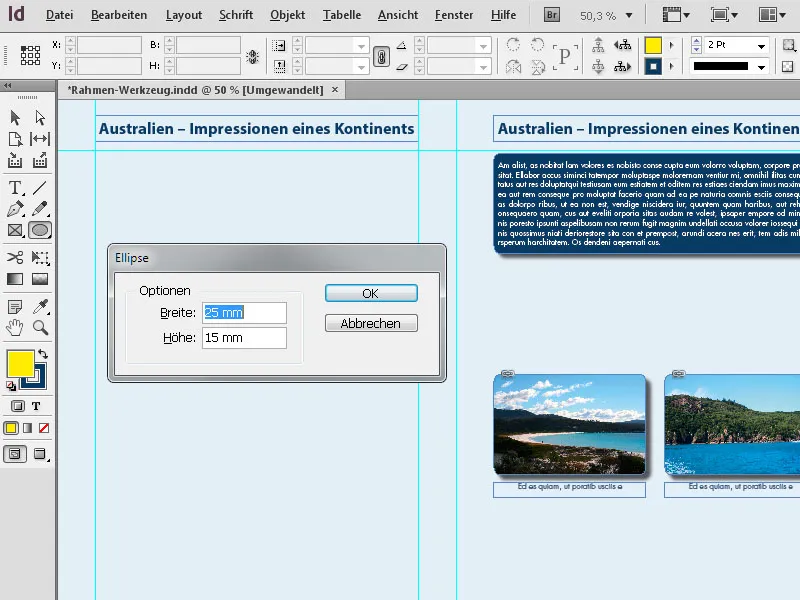
3. The Polygon Tool
With the Polygon Tool, you can create shapes with 3 to 100 sides. To have control over the expected shape, it is advisable to first call up the options of the tool by double-clicking on it and make the desired settings there.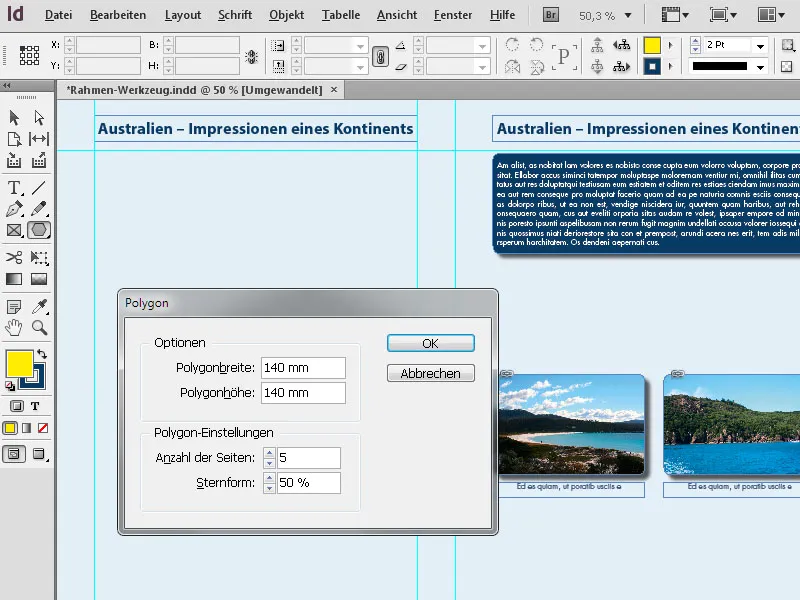
By clicking OK, the shape is then created. By dragging the corner points, you can subsequently change the size. To scale the horizontal and vertical dimensions of the shape proportionally, you must simultaneously hold down the Shift key.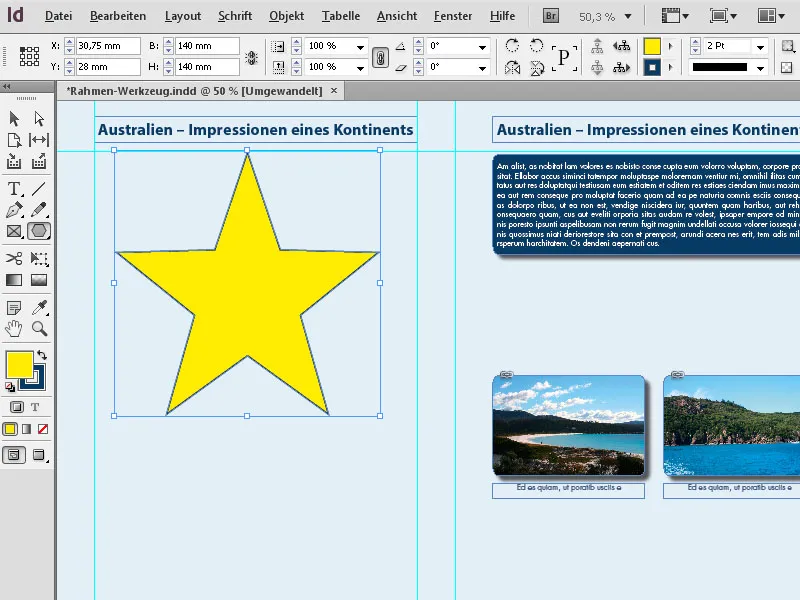
If you want to modify the shape you just created, simply double-click on the tool in the Tool Palette (while the frame is still selected) and edit the settings. After clicking OK, the result will be presented to you.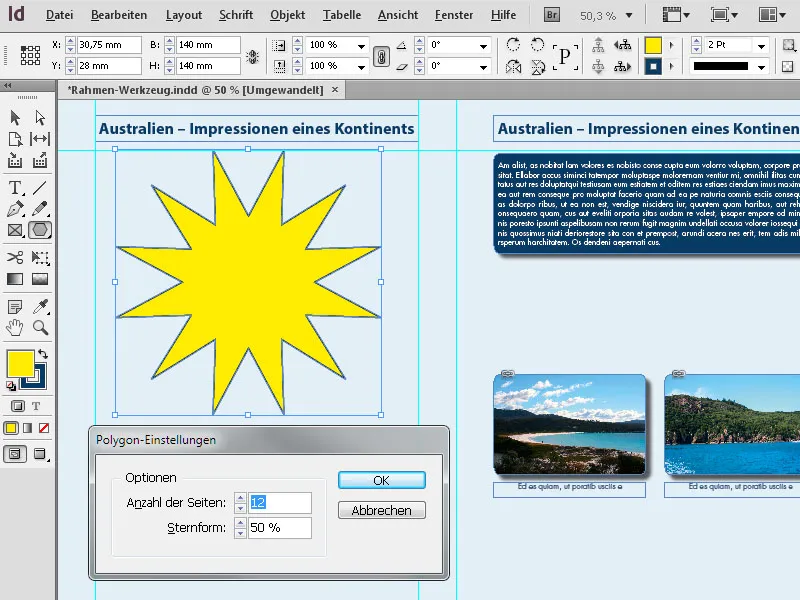
In addition to the Shift key, another key is interesting when drawing frames: the Alt key. If you additionally hold it down, the shape is drawn from its center. If you also hold down the Shift key, the shape is then drawn with horizontal and vertical proportions from the center.
The shapes can also be enhanced with all available effects (Object>Effects menu) such as drop shadow, emboss, etc.