To edit pages in PDF files, you can use the page thumbnails, which you can open by clicking on the icon in the navigation bar on the left-hand side, or the tools in the Pages category in the toolbar on the right-hand side.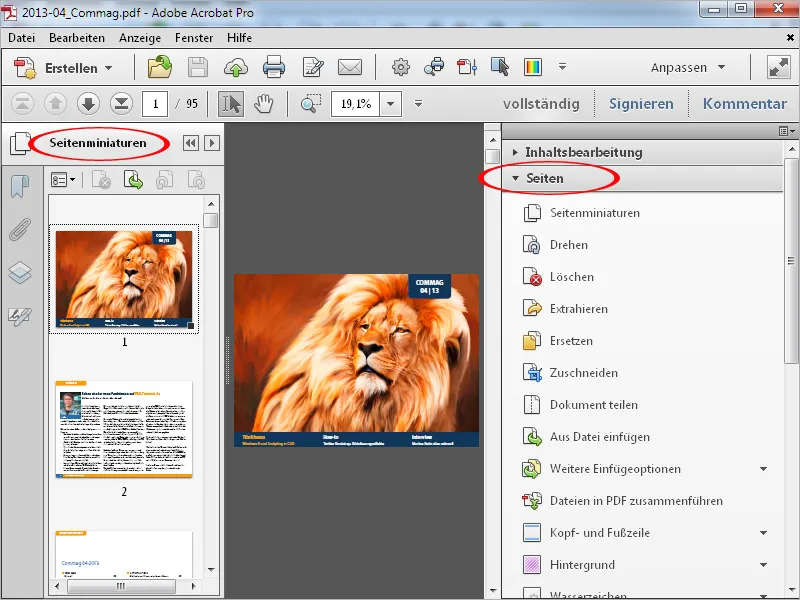
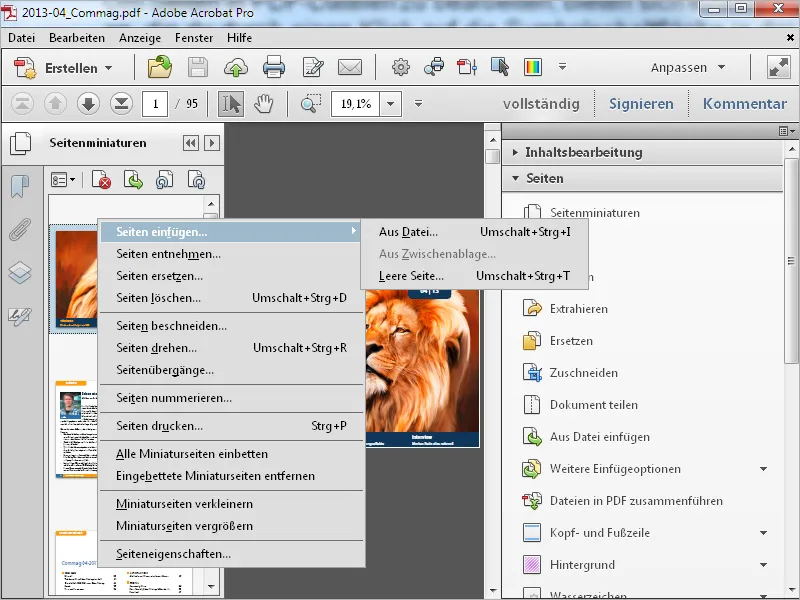
After clicking with the right mouse button on a page thumbnail, you will find all the commands in the context menu that the toolbar also provides for editing pages.
Sometimes documents contain individual pages that need to be rotated on screen for better readability. After clicking on Rotate in the toolbar, a window opens in which you can select how many degrees in which direction and whether all pages, only the current page or a selection should be rotated.
If you want to do this quickly, use the shortcut Shift+Ctrl+1 - the view of all pages in the document is then rotated by 90° clockwise.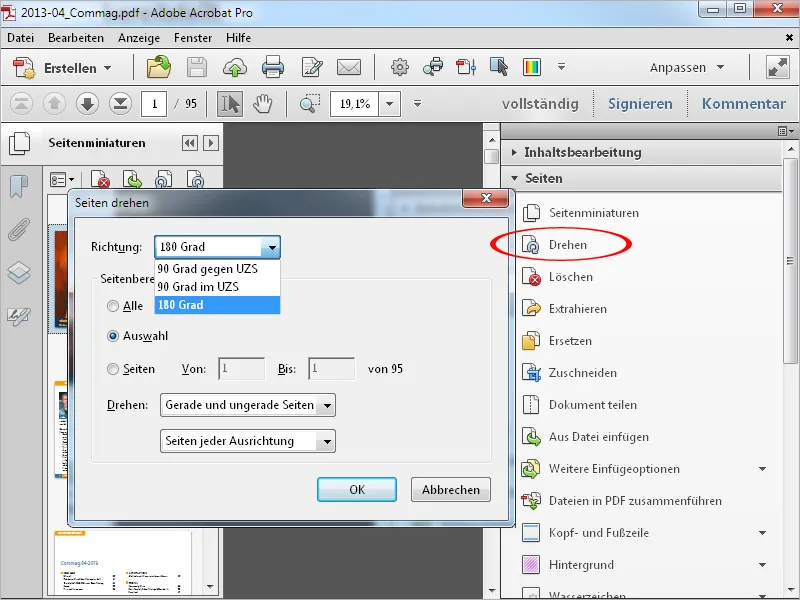
To delete a page that is no longer required, click on the entry of the same name in the toolbar (or use the shortcut Shift+Ctrl+D).
In the window that opens, you can also enter a page range to be deleted as an alternative to the selected page.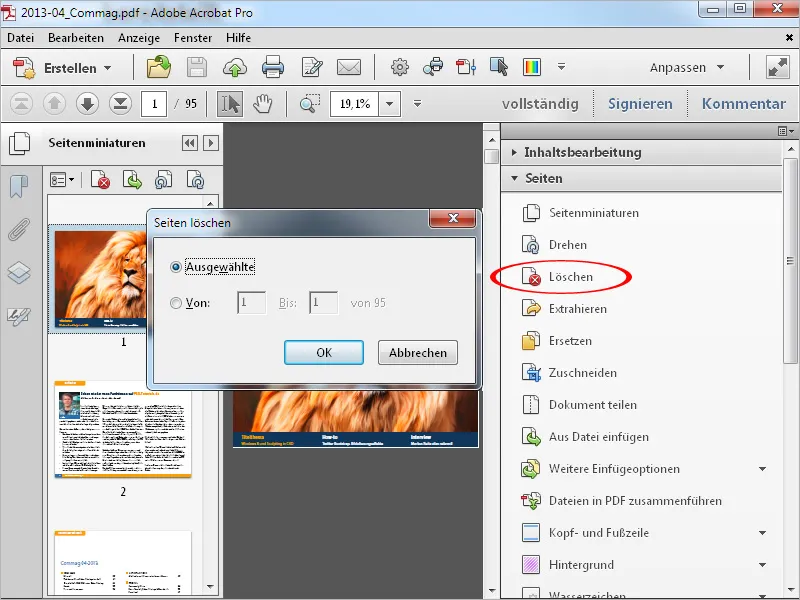
If you need one or more pages for another purpose, you can extract them from the current file by clicking on Extract. In the window that opens, you can specify the page range again. You can also delete the page from the current document after extraction if required.
If you want to save several (or all) pages as individual files, activate the Extract pages as individual files checkbox.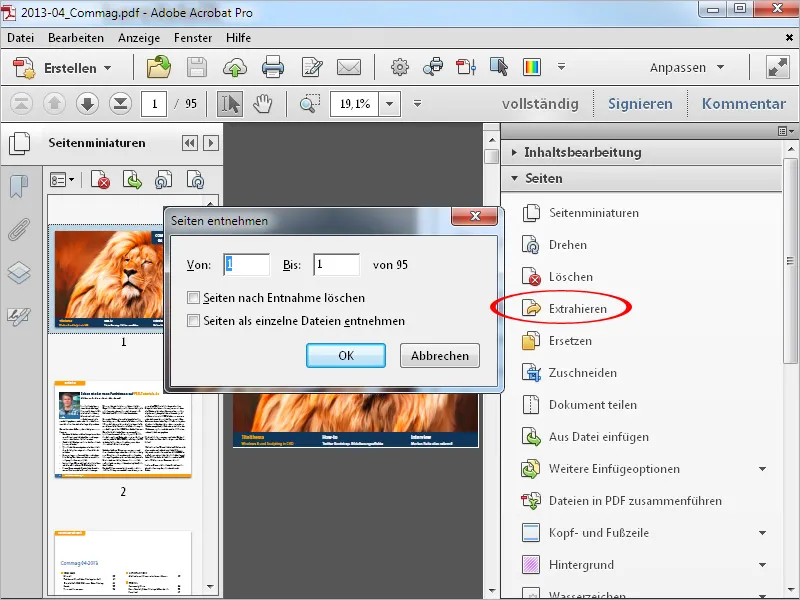
If you have a newer version of a page, you can easily replace the old page in the current document. After clicking on the button of the same name, an Explorer window opens in which you can select and insert the new page. The old page is then replaced by the new page.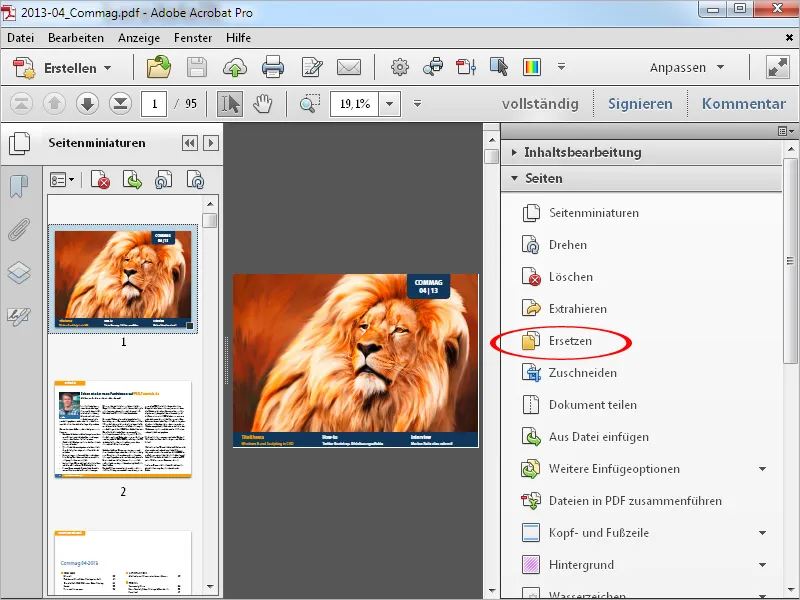
You can use the Crop tool to cut out a defined part of a page or all pages of a document. To do this, click on the tool and then drag it to the desired area.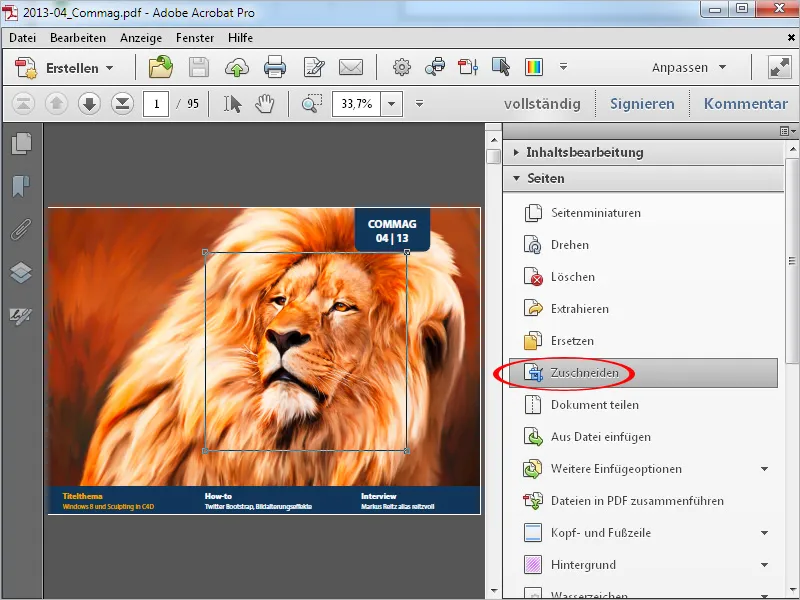
After pressing the Enter key, a window opens in which you can define the exact dimensions for the cropping. The preview image allows you to see the exact effect of the change.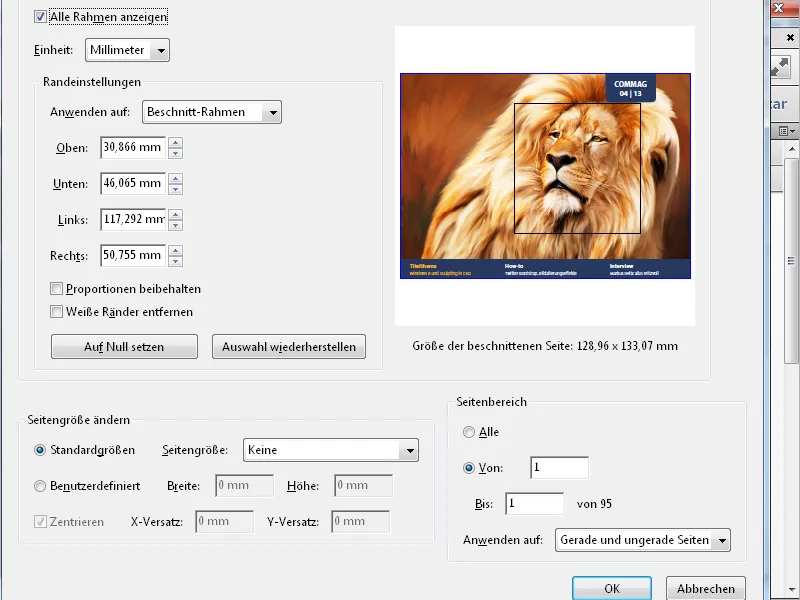
If the pages of a document all have white edges, e.g. from the bleed, you can easily remove these. Simply select an area to crop and press the Enter key.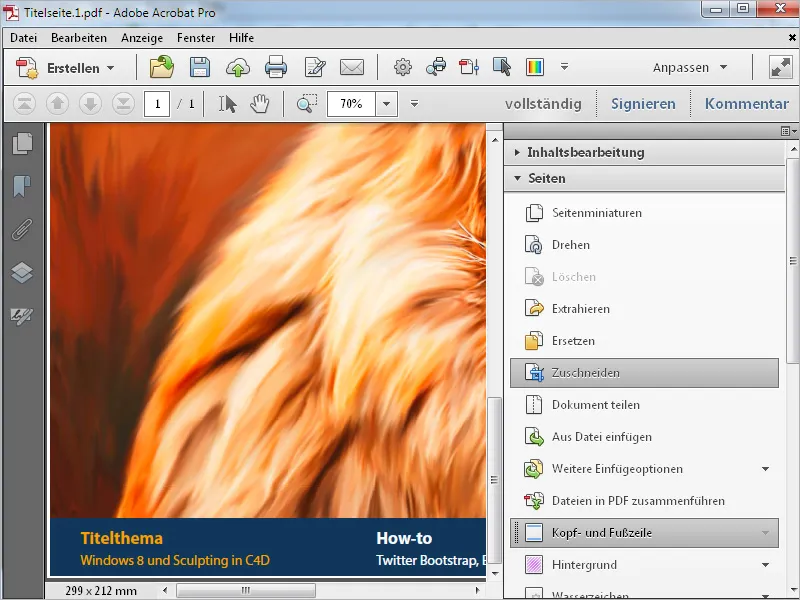
In the screen for defining the page frame, click on the Remove white margins checkbox. Acrobat automatically recognizes the bleed area and removes it after clicking OK. The page format is then reduced by this value.
If you want to crop the pages all around with the same value, activate the Keep proportions checkbox. Changes to one value will then also affect all others (top, bottom left and right).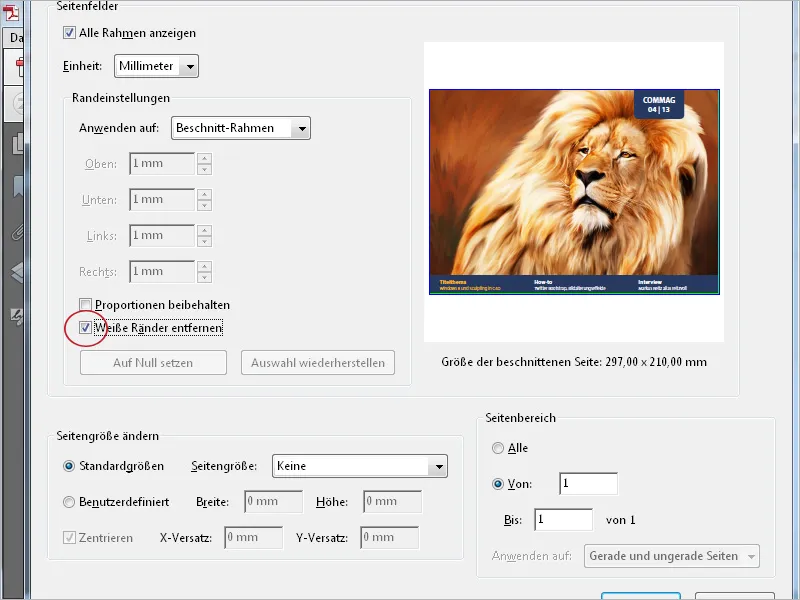
Finally, under Page range, you can specify which pages the cropping should apply to.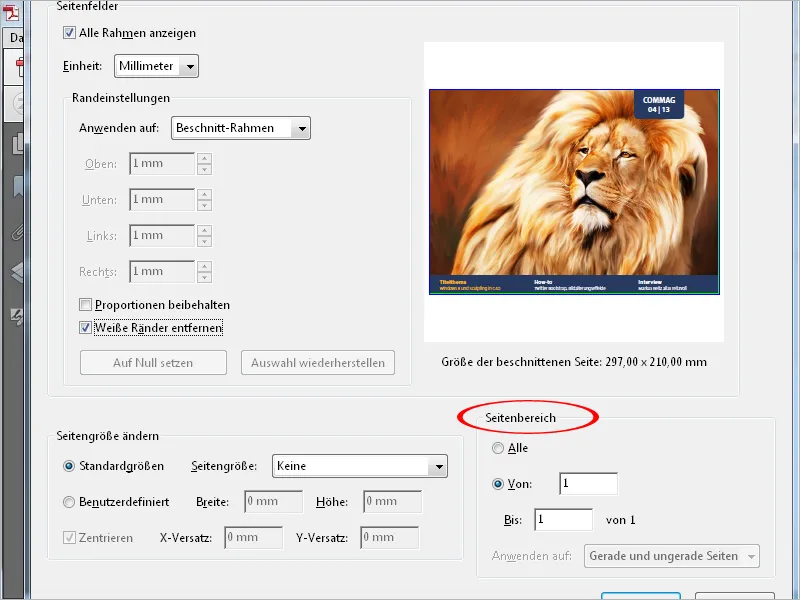
One circumstance, which can also occur from time to time, should be taken into account below: If you want to enlarge one or more pages, e.g. to create a margin for crop marks, you can also enlarge the document format - a negative crop, so to speak.
To do this, click on Custom in the Change page size category and enter the desired format.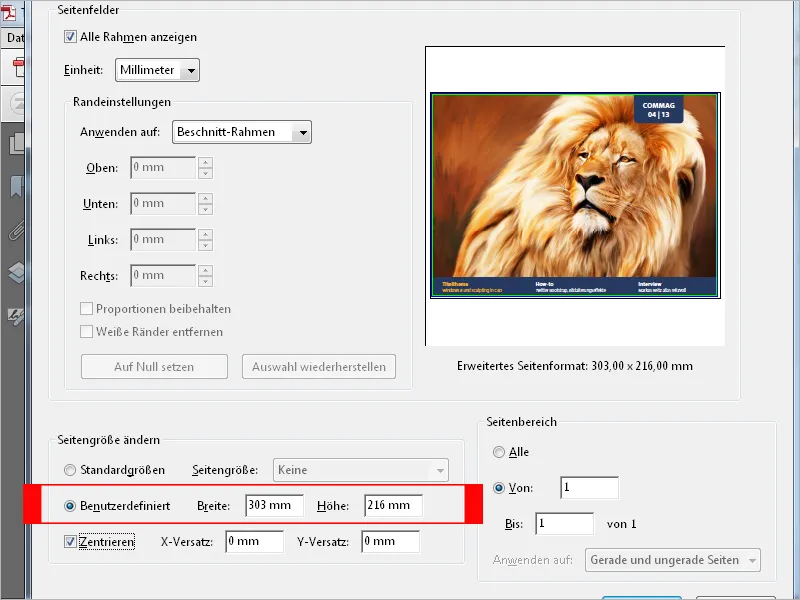
After clicking OK, Acrobat adds a white border of the specified size to the document. The size of the original page remains unchanged - the document is only enlarged by the white border.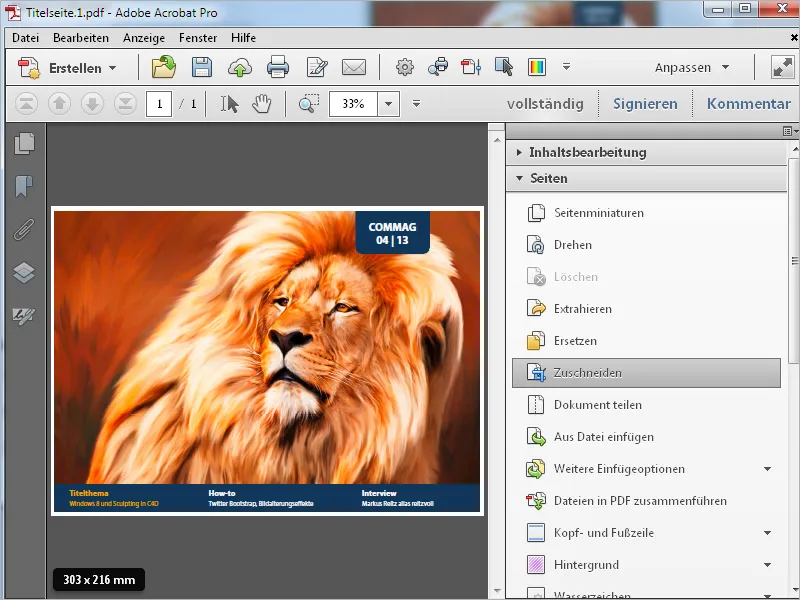
You can use the Split document tool to split a larger document into several smaller ones. You can use a maximum number of pages, the maximum file size (e.g. for sending by email) or the bookmarks as a criterion for splitting.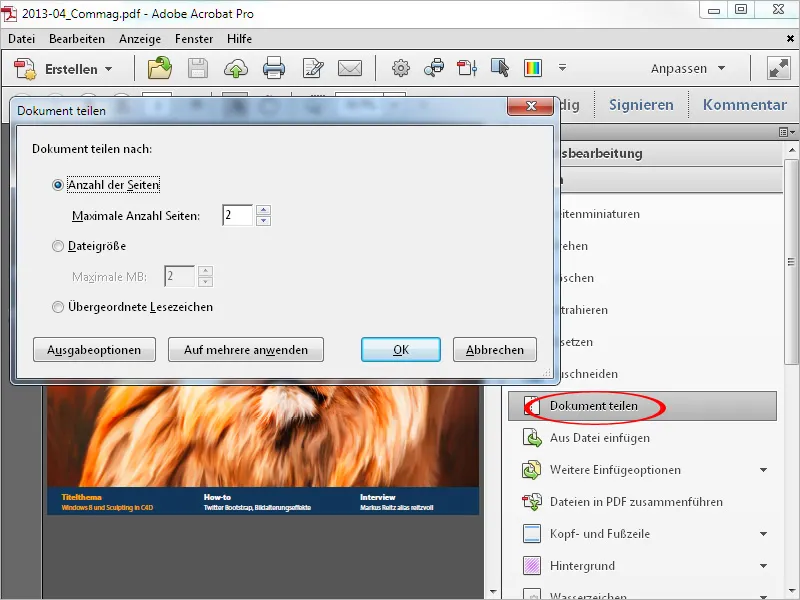
In the output options, you can specify the target directory and details for naming the individual files; e.g. if you split according to the bookmarks, you can use these as the respective file names.
After clicking OK twice, the current document is split into several files according to the settings made and stored in the specified directory.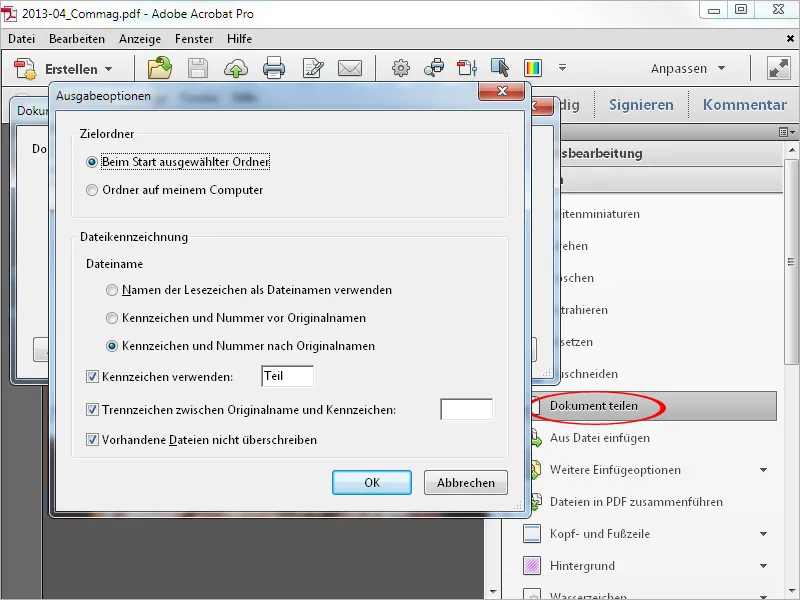
You can use the Insert from file tool to insert a PDF file into the current document at a position to be specified. Click on it to open an explorer window in which you can select the file to be inserted.
After clicking on Open, a window appears in which you can set whether the file (which can consist of one or any number of pages) should be inserted before or after the current page or the first or last page.
After clicking OK, the file is inserted at this point. The page size of the current document is now increased by the size of the inserted file.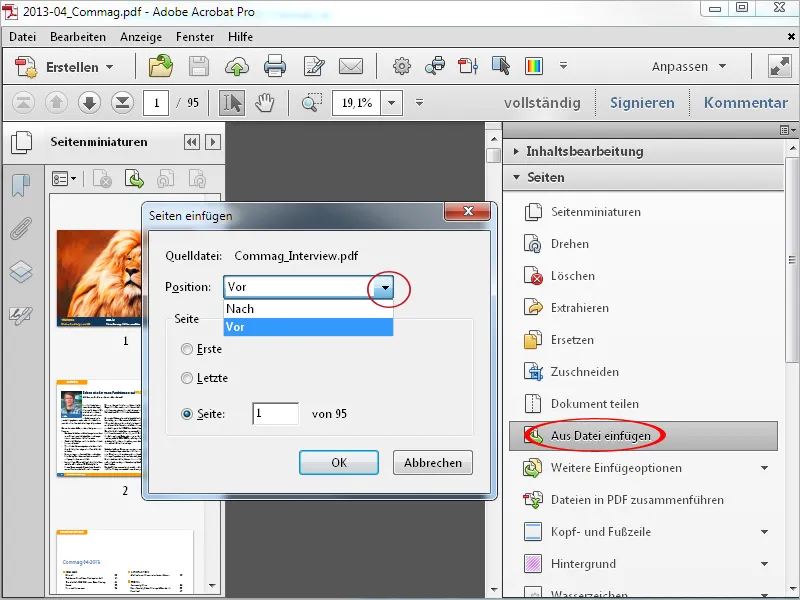
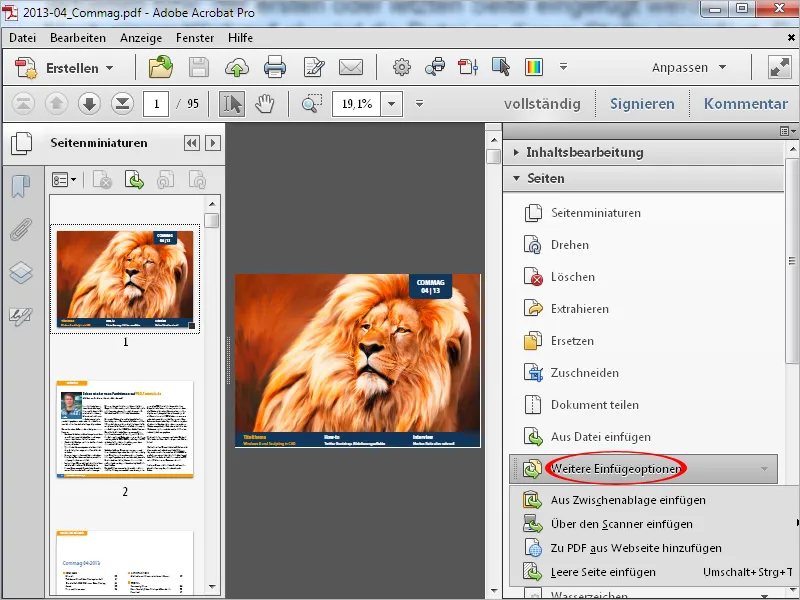
Under Further insert options, you can also add content from the clipboard, from the scanner, from a website or even a blank page (e.g. as a cover page).