A split photo is a creative way to give images a dynamic and extraordinary look. Whether for posters, collages, or digital art – with Photoshop, you can create this effect in a versatile way. In this tutorial, I will show you three clever variations on how to split a photo: from simple geometric cuts to perspective shifts to creative fragmentations. Let's get started and give your photos a unique touch!
Step 1:
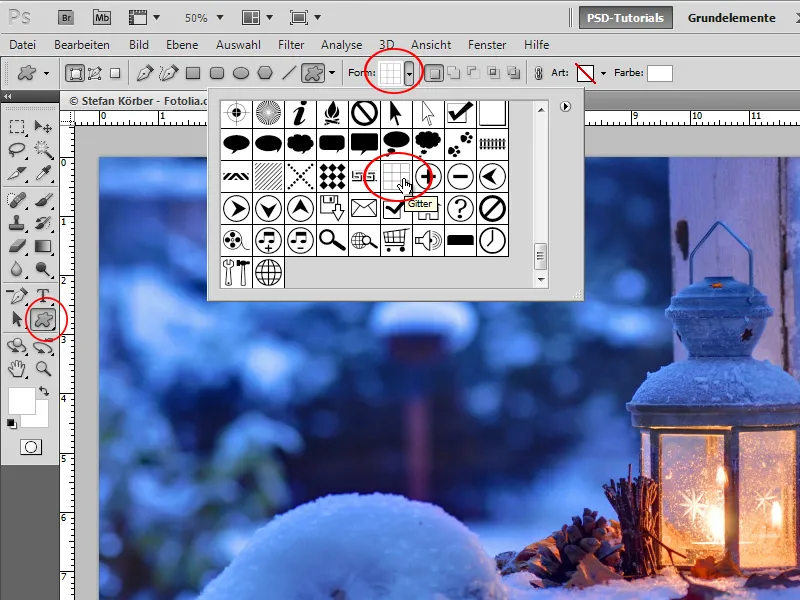
First, I open a photo of my choice and then select the Shapes tool and activate the Grid Shape (if it's not available, simply press the small arrow on the right in the Shapes panel and click on All).
Step 2:
Now I draw my shape around the entire image (I do this so that all parts of the photo become the same size and not one is larger than the other). Then, I display the Ruler to draw my Guides as follows:
Step 3:
Next, I activate the background layer and use the Rectangular Marquee Tool to select the top left area, copy it with Ctrl+C, and then paste it as a new layer with Ctrl+V. I need to repeat this step for each part.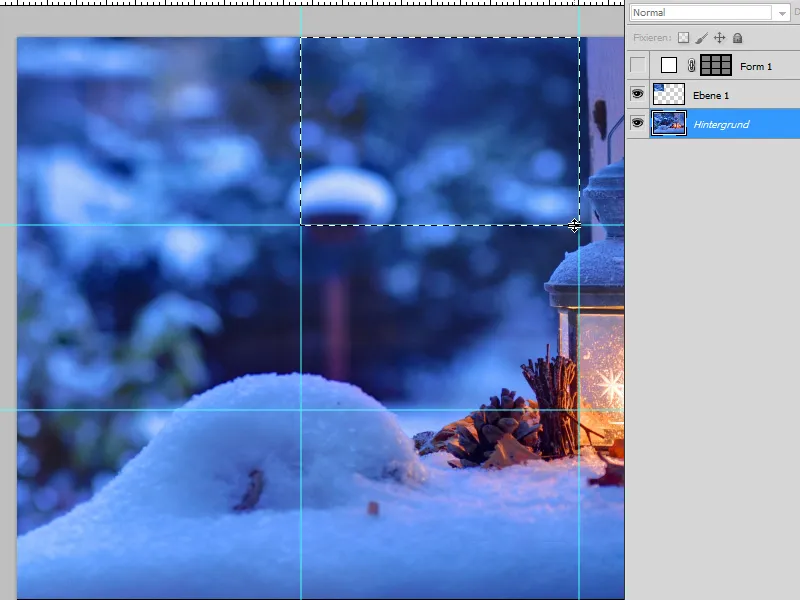
Step 4:
Next, I rotate each layer slightly and enlarge the workspace in the end. Tip: The easiest way to do this is with the Crop Tool by extending it completely and then dragging it beyond the workspace.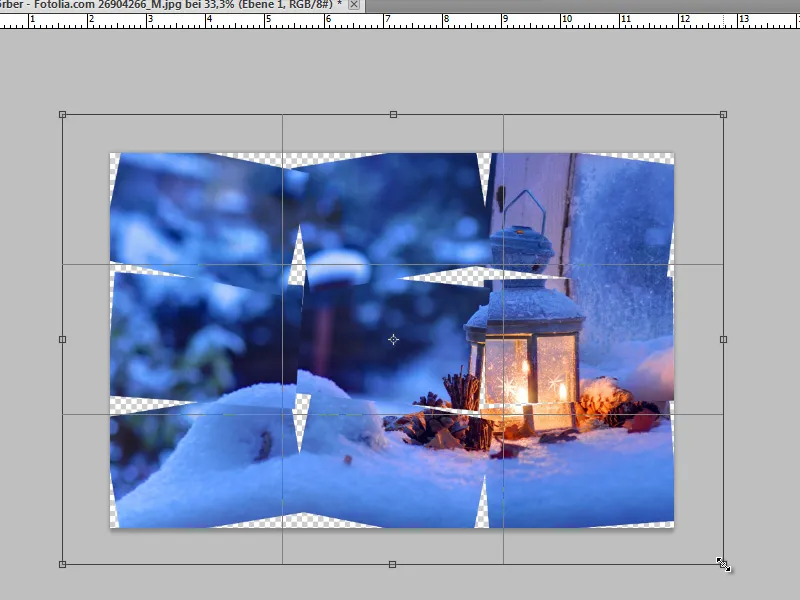
Step 5:
Now I add another layer at the very bottom and color it with a radial gradient.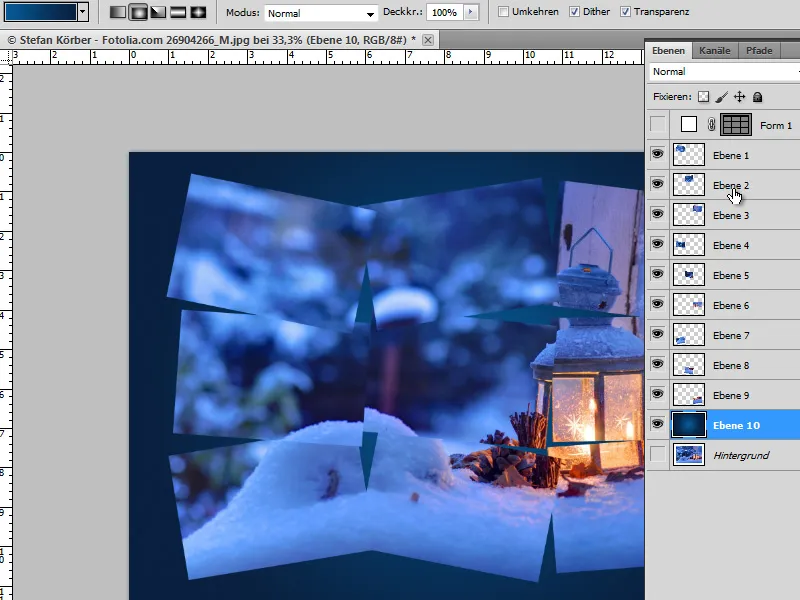
Step 6:
Next, on one layer I add a Drop Shadow + white Stroke. Instead of copying this to every layer with the Alt key, I access the Styles panel, click on the layer with an effect, and then click on the New icon in the Styles panel. I save my style as "Photo Frame."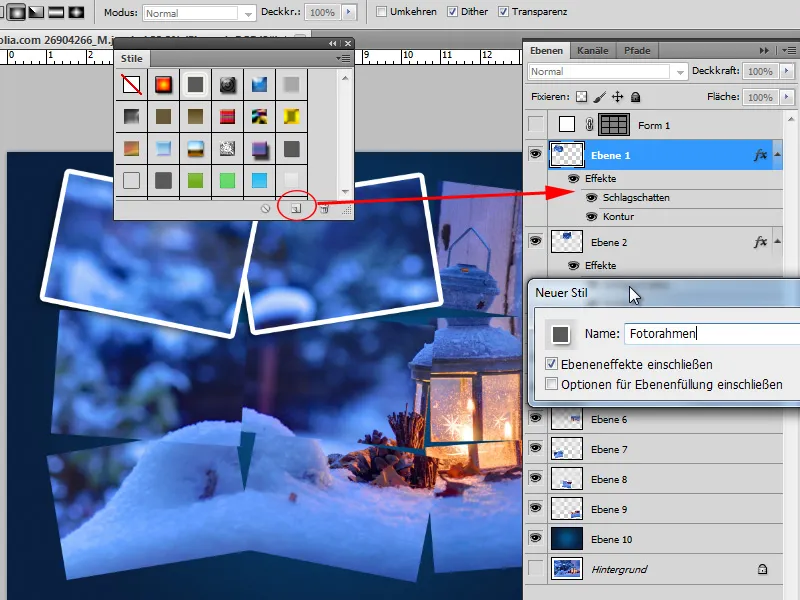
Step 7:
There are now two ways to apply my style quickly. Either I select all relevant layers with the Shift key and click once on my style, or I group all layers that should be affected and simply drag my effect to the group icon (folder icon).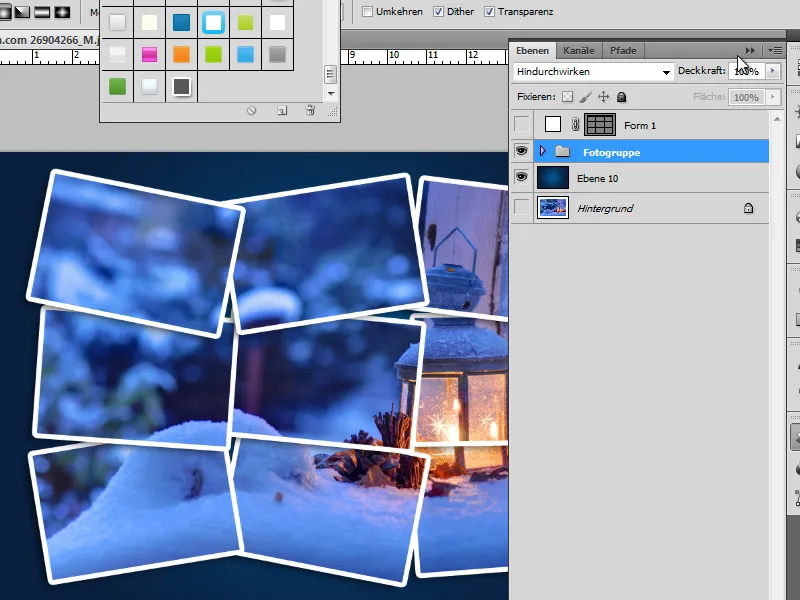
Step 8:
Of course, I can now move each layer slightly. The result looks as follows:
Step 9:
I explain Variants 2 and 3 in detail in the video tutorial. Here only briefly: I achieved this result by displaying the grid and defining the appropriate size in the Preferences. So, I didn't have to draw Guides but could directly extract my photo parts from the grid squares.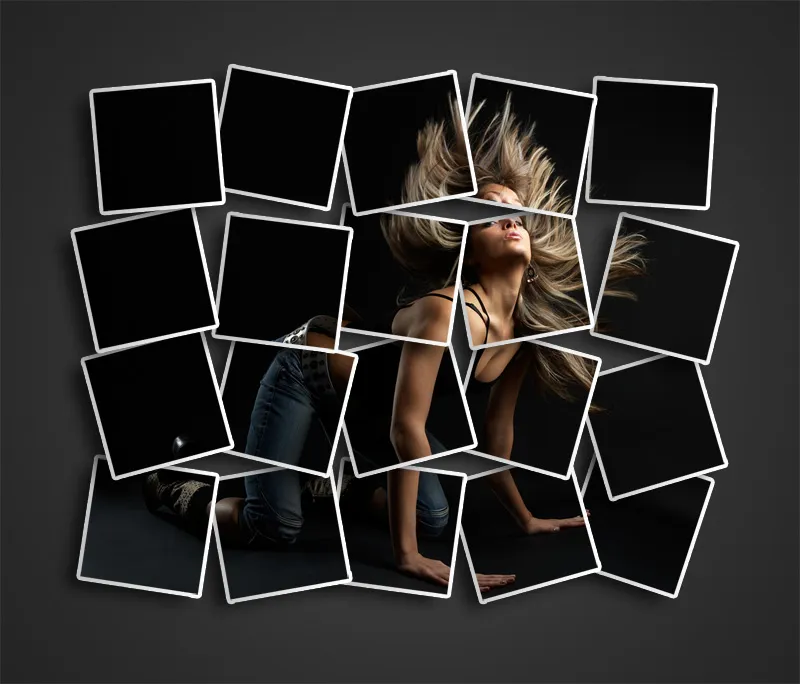
Step 10:
For Variant 3, I used the Slice Tool. After marking all areas with it, I went to File>Save for Web and Devices and all parts were automatically sliced. I then loaded them into a Photoshop document using File>Scripts>Load Files into Stack and quickly adjusted them as I wanted. However, more on this in the video tutorial.


