The proper presentation of texts in a document is of great importance, whether for academic papers, business documents, or personal projects. Word offers extensive options for paragraph formatting, allowing you to create your text clearly and attractively. In this guide, you will learn everything important about paragraph formatting, including alignment, indentation, applying design colors, and borders. Mastering these features will not only make your screen look tidier but also more professional.
Main Insights
- Paragraphs can be formatted as default align left, center, right, or justified.
- Indentations allow you to visually enhance the text.
- Displaying paragraph marks helps identify and avoid formatting errors.
- Design colors and borders can visually highlight and structure paragraphs.
Step-by-Step Guide to Paragraph Formatting
Now we will go through the various options for paragraph formatting step by step.
1. Select and align the paragraph
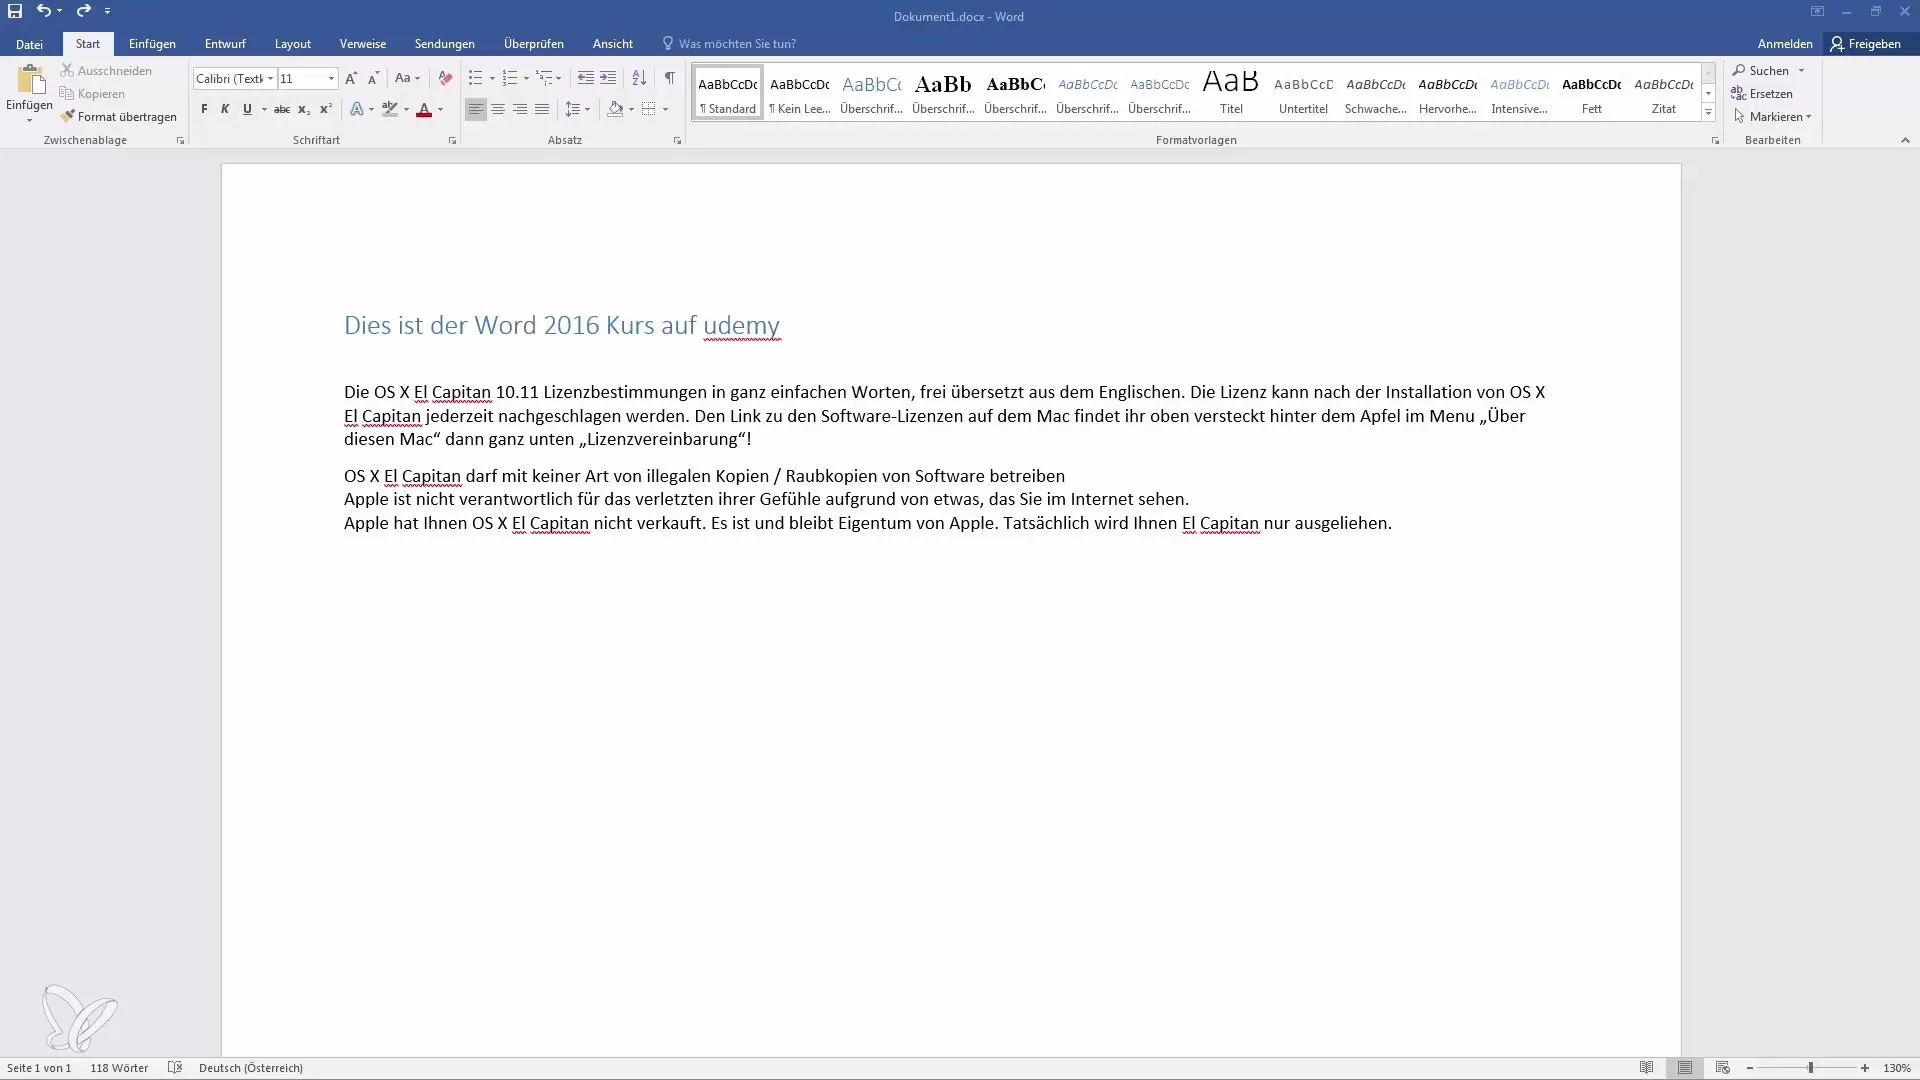
First, select the paragraph you want to format. Then go to the "Paragraph" section in your Word document. Here you have the option to set the alignment of the text. By default, the text is displayed aligned to the left. Click on the respective buttons to align the text center, right, or justified, and observe how the display changes.
2. Adjust the indentations
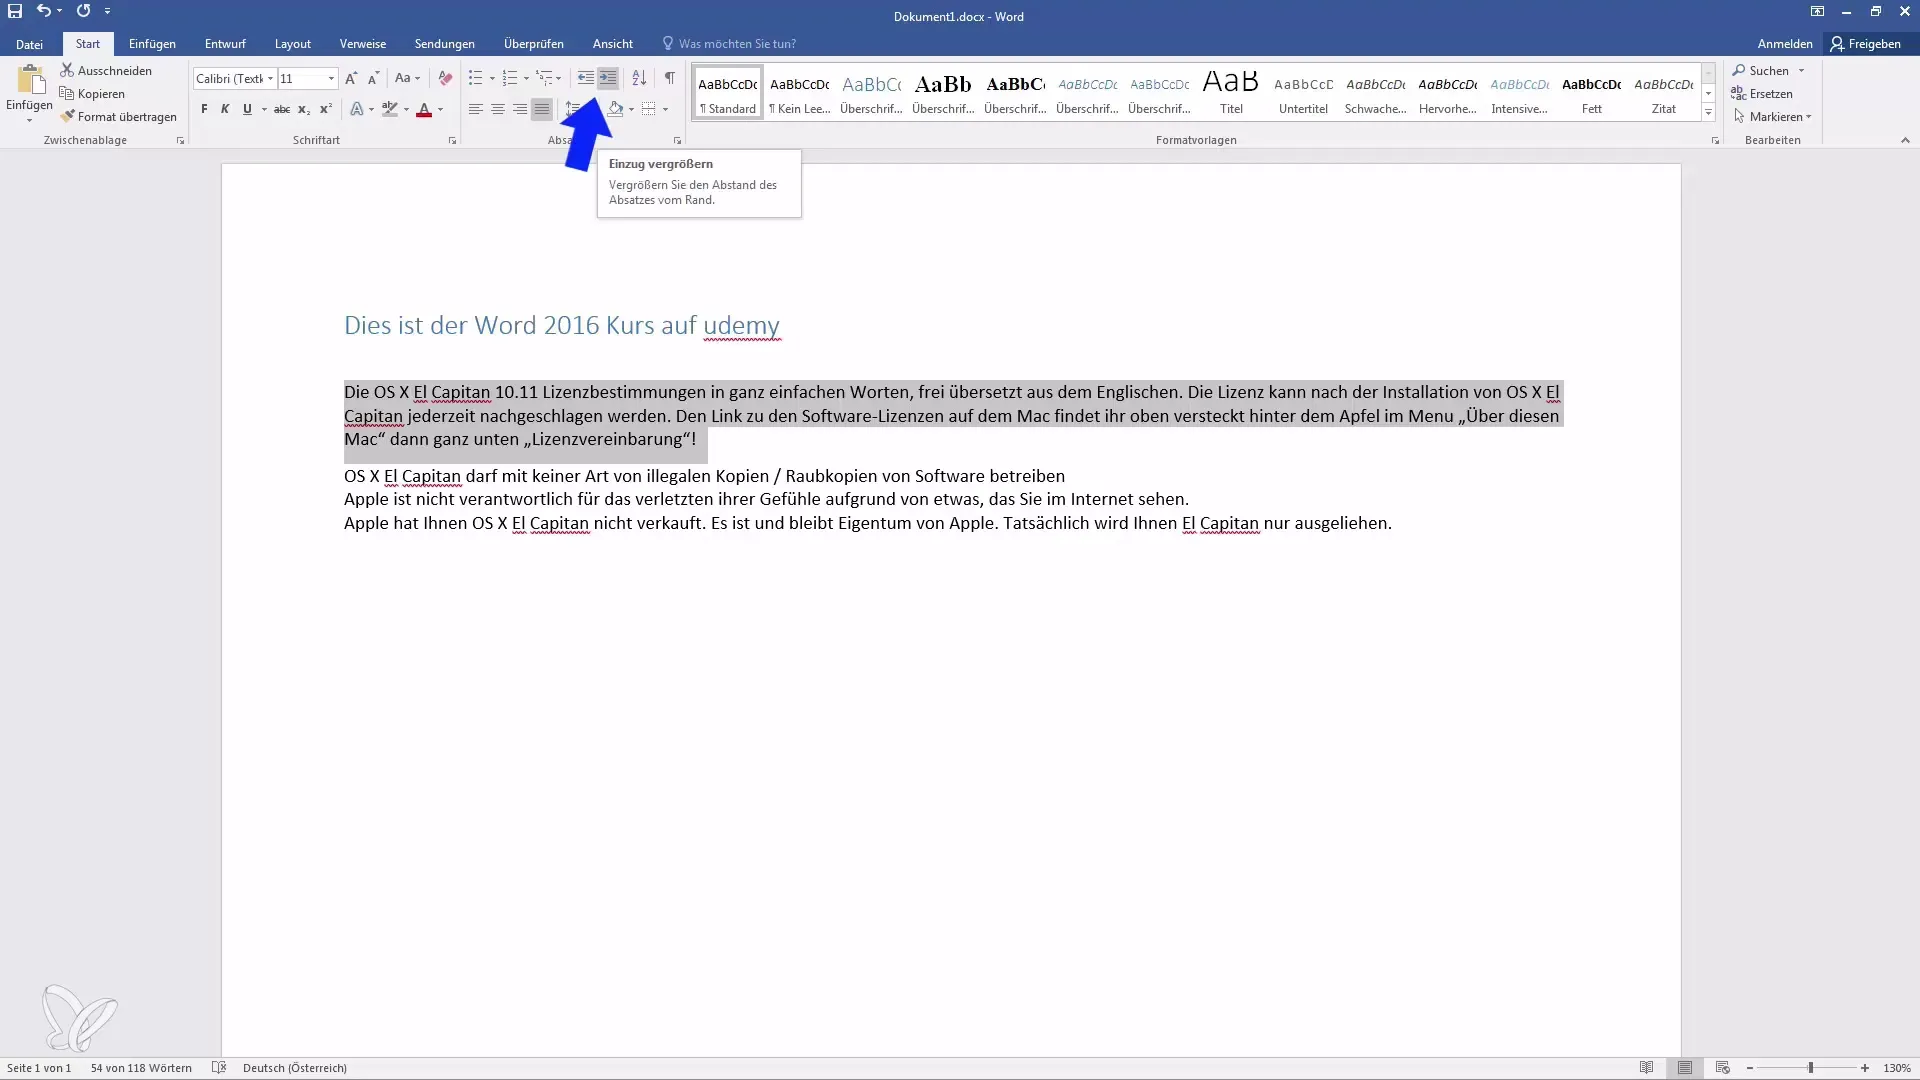
If you wish, you can also adjust the indentations to give the text more structure. You will find options to decrease or increase the indentation in the same menu. An indentation can enhance readability and give the text a neat appearance. Experiment with adjusting the indentation to achieve the best effect for your text.
3. Display paragraph marks
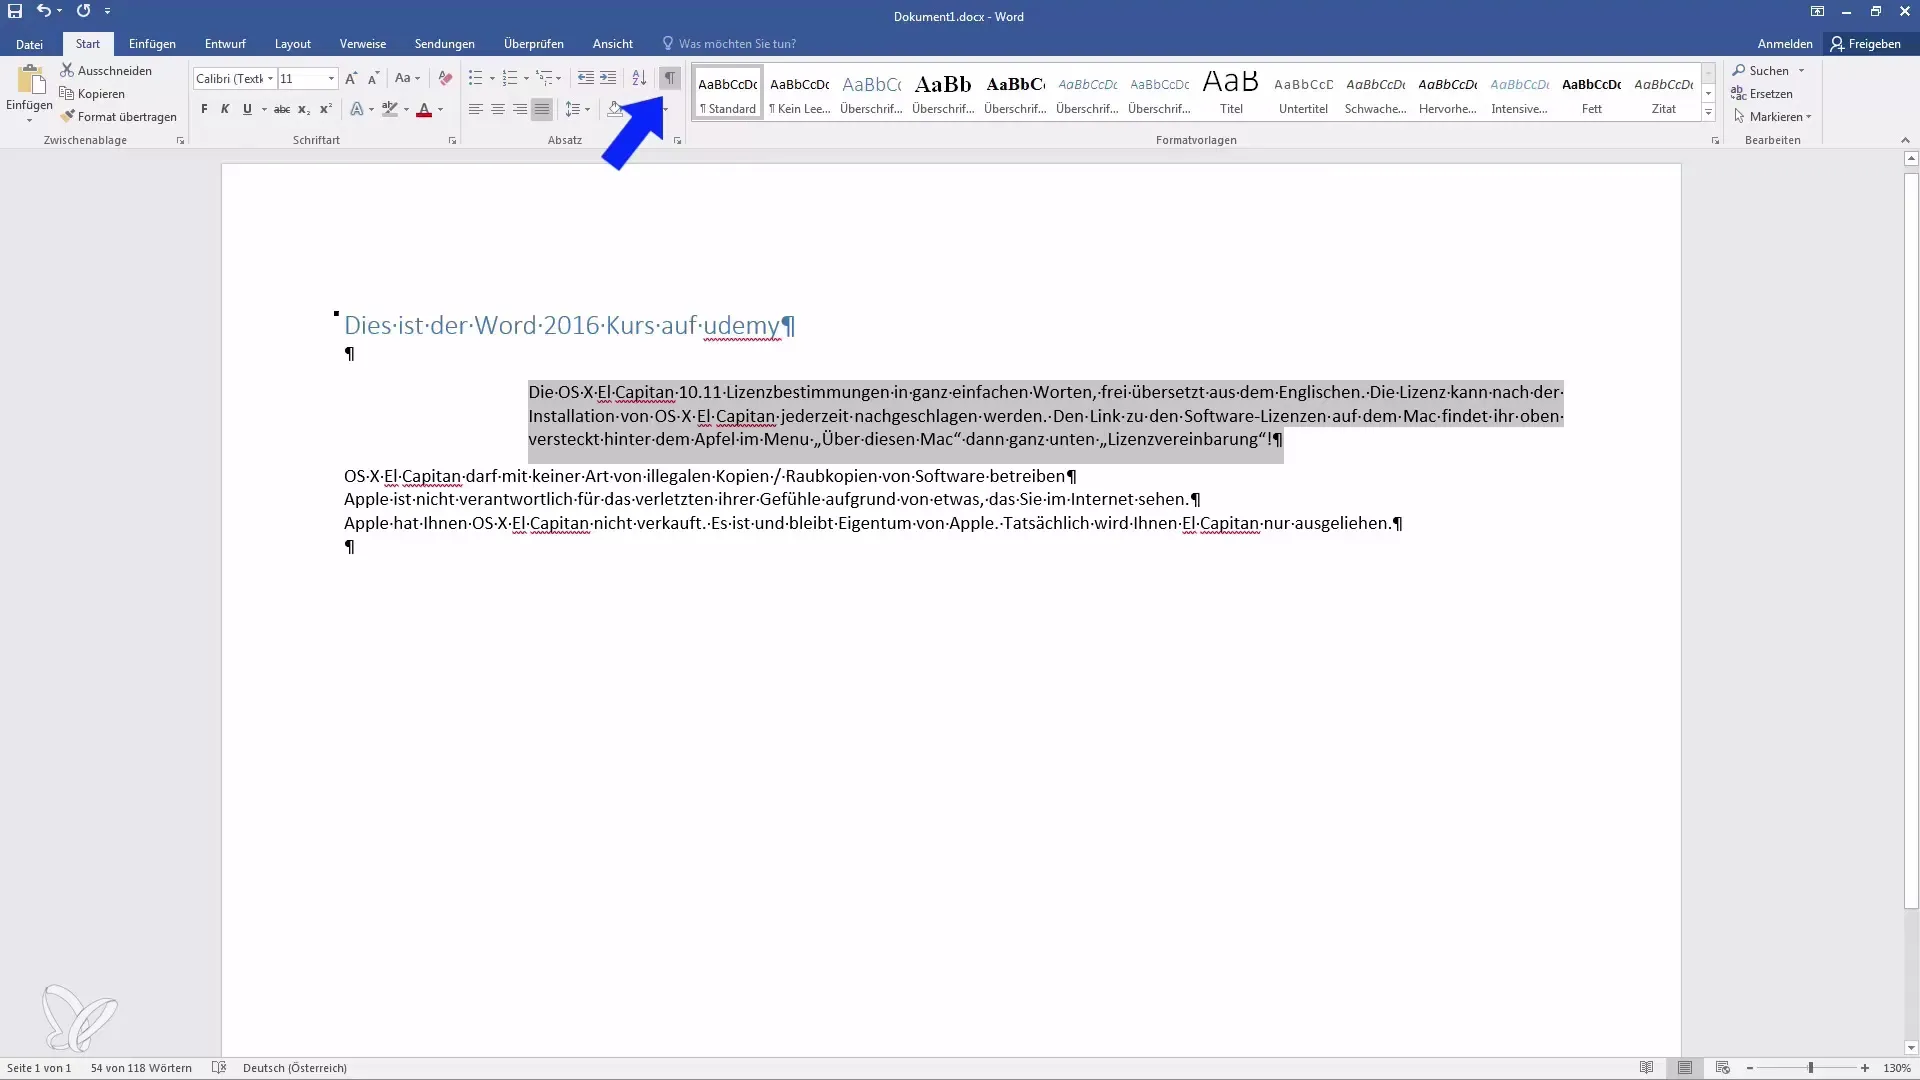
It can be essential to display paragraph marks. Click on the button to make these characters visible. When you show the characters, you will see small dots for spaces and paragraphs that can help you identify formatting errors. This function is particularly useful when optimizing and ensuring that the text meets your requirements.
4. Select design colors
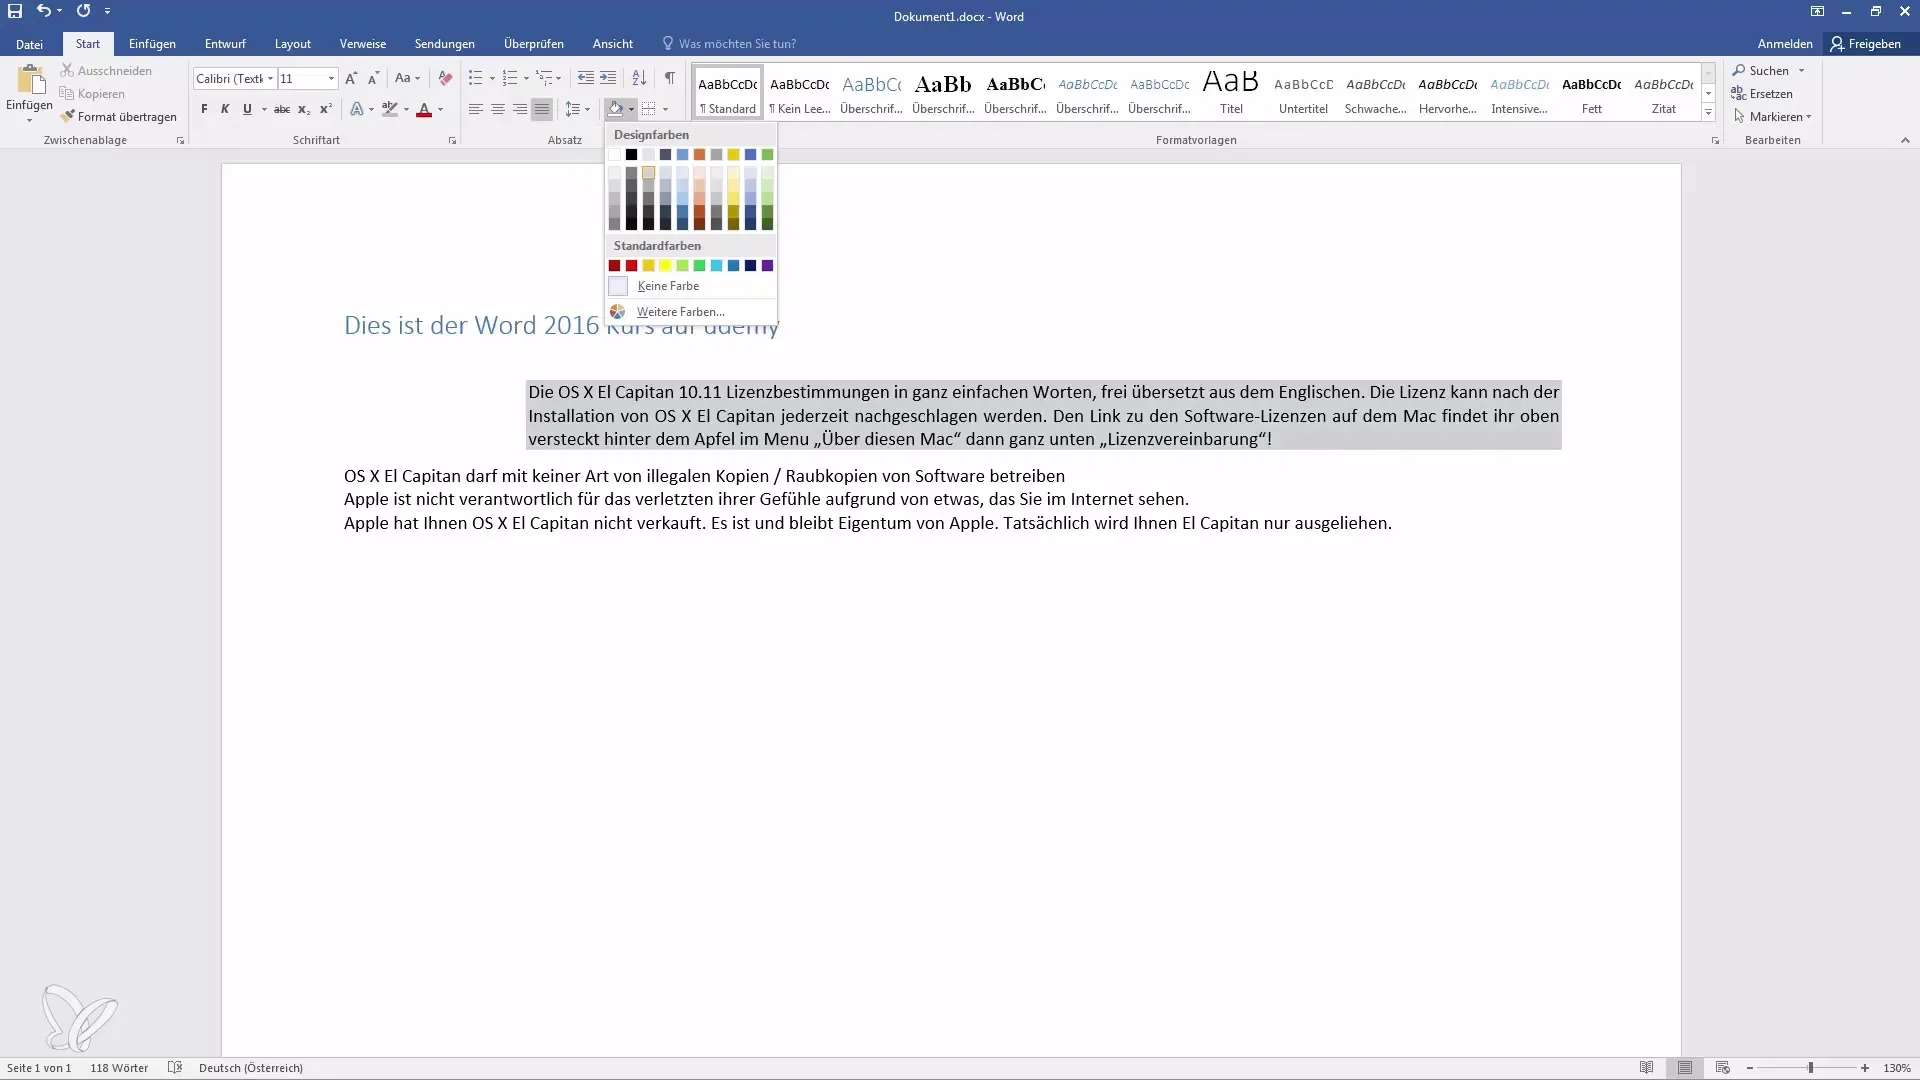
To give your paragraphs more visual appeal, you can choose design colors. Click on the color selection for the paragraph. Here, you will have various background options available. Choose a color that highlights your text while also complementing your overall design.
5. Add borders
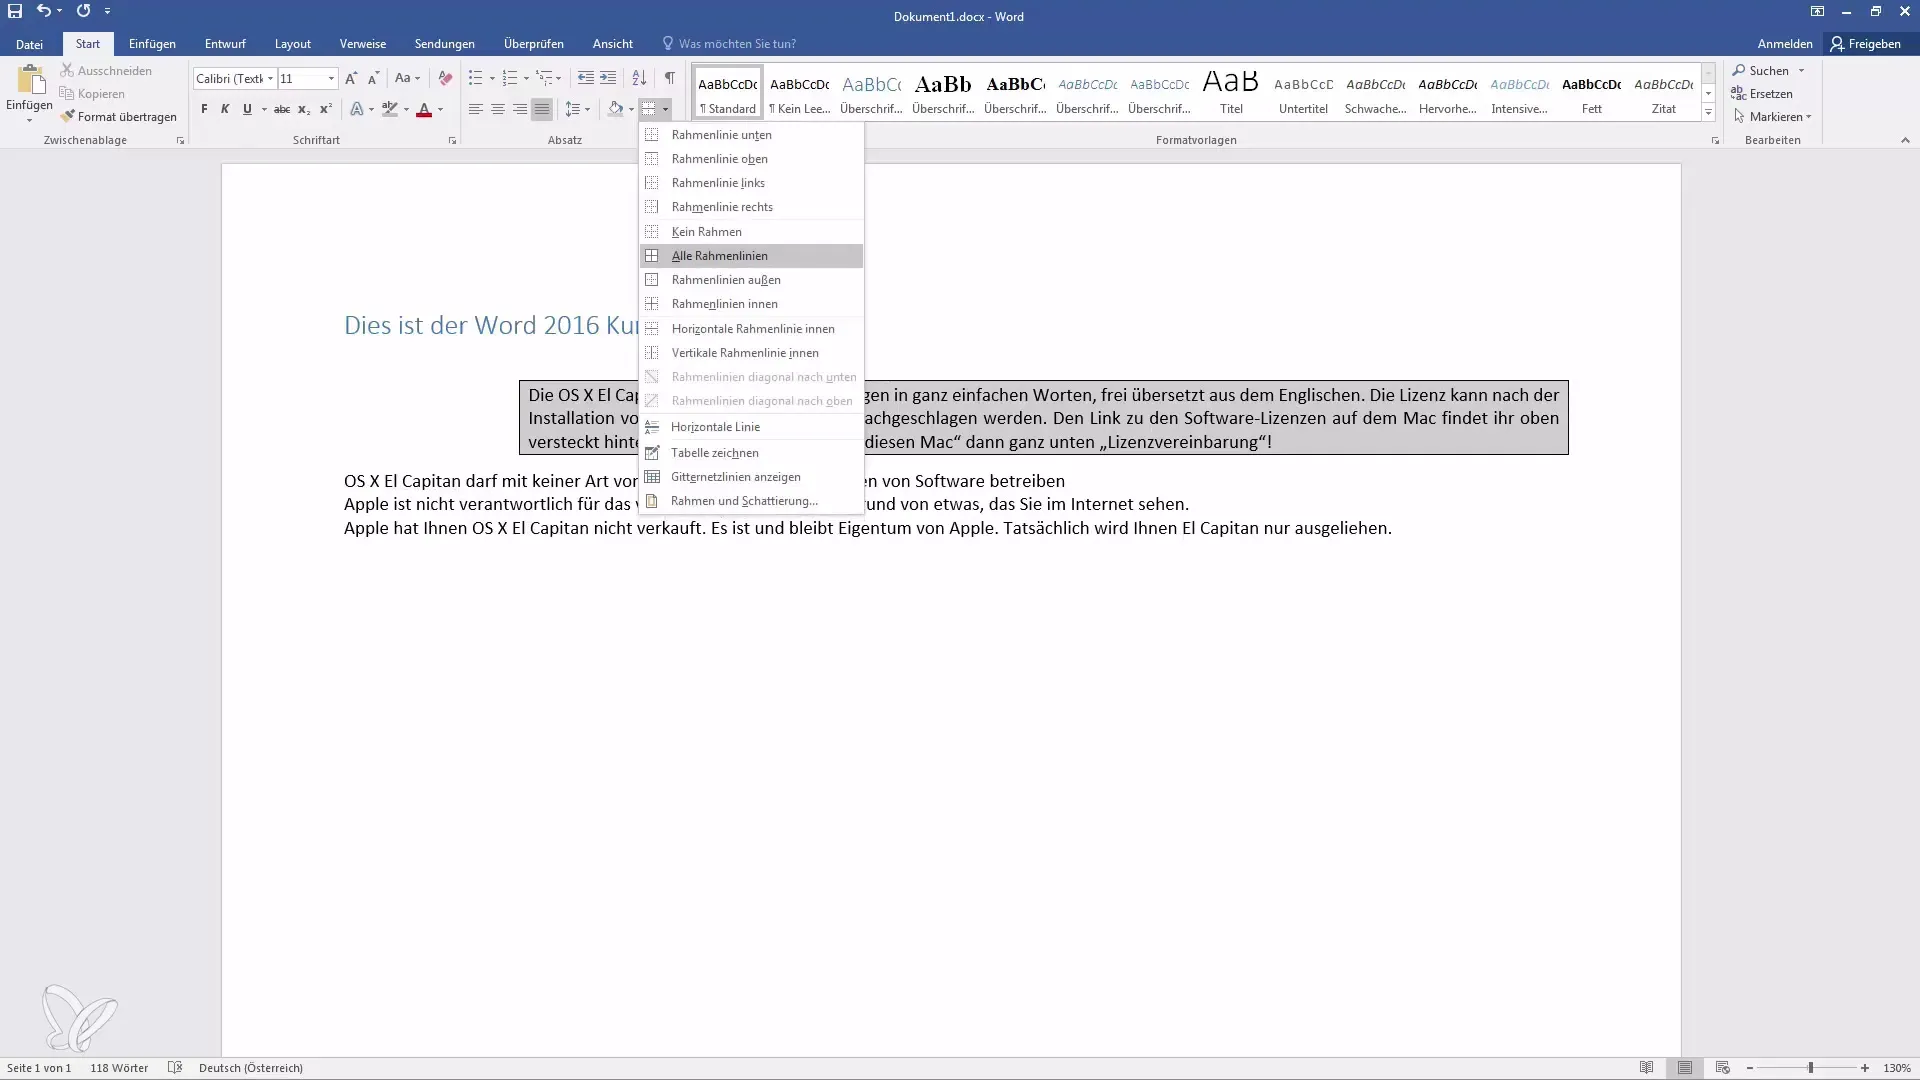
After selecting the colors, you can also add borders to the paragraphs. You have different options - whether a simple line or a fully outlined paragraph. A well-placed border can help further structure the text. Ensure the border does not distract from the content.
6. Adjust line spacing
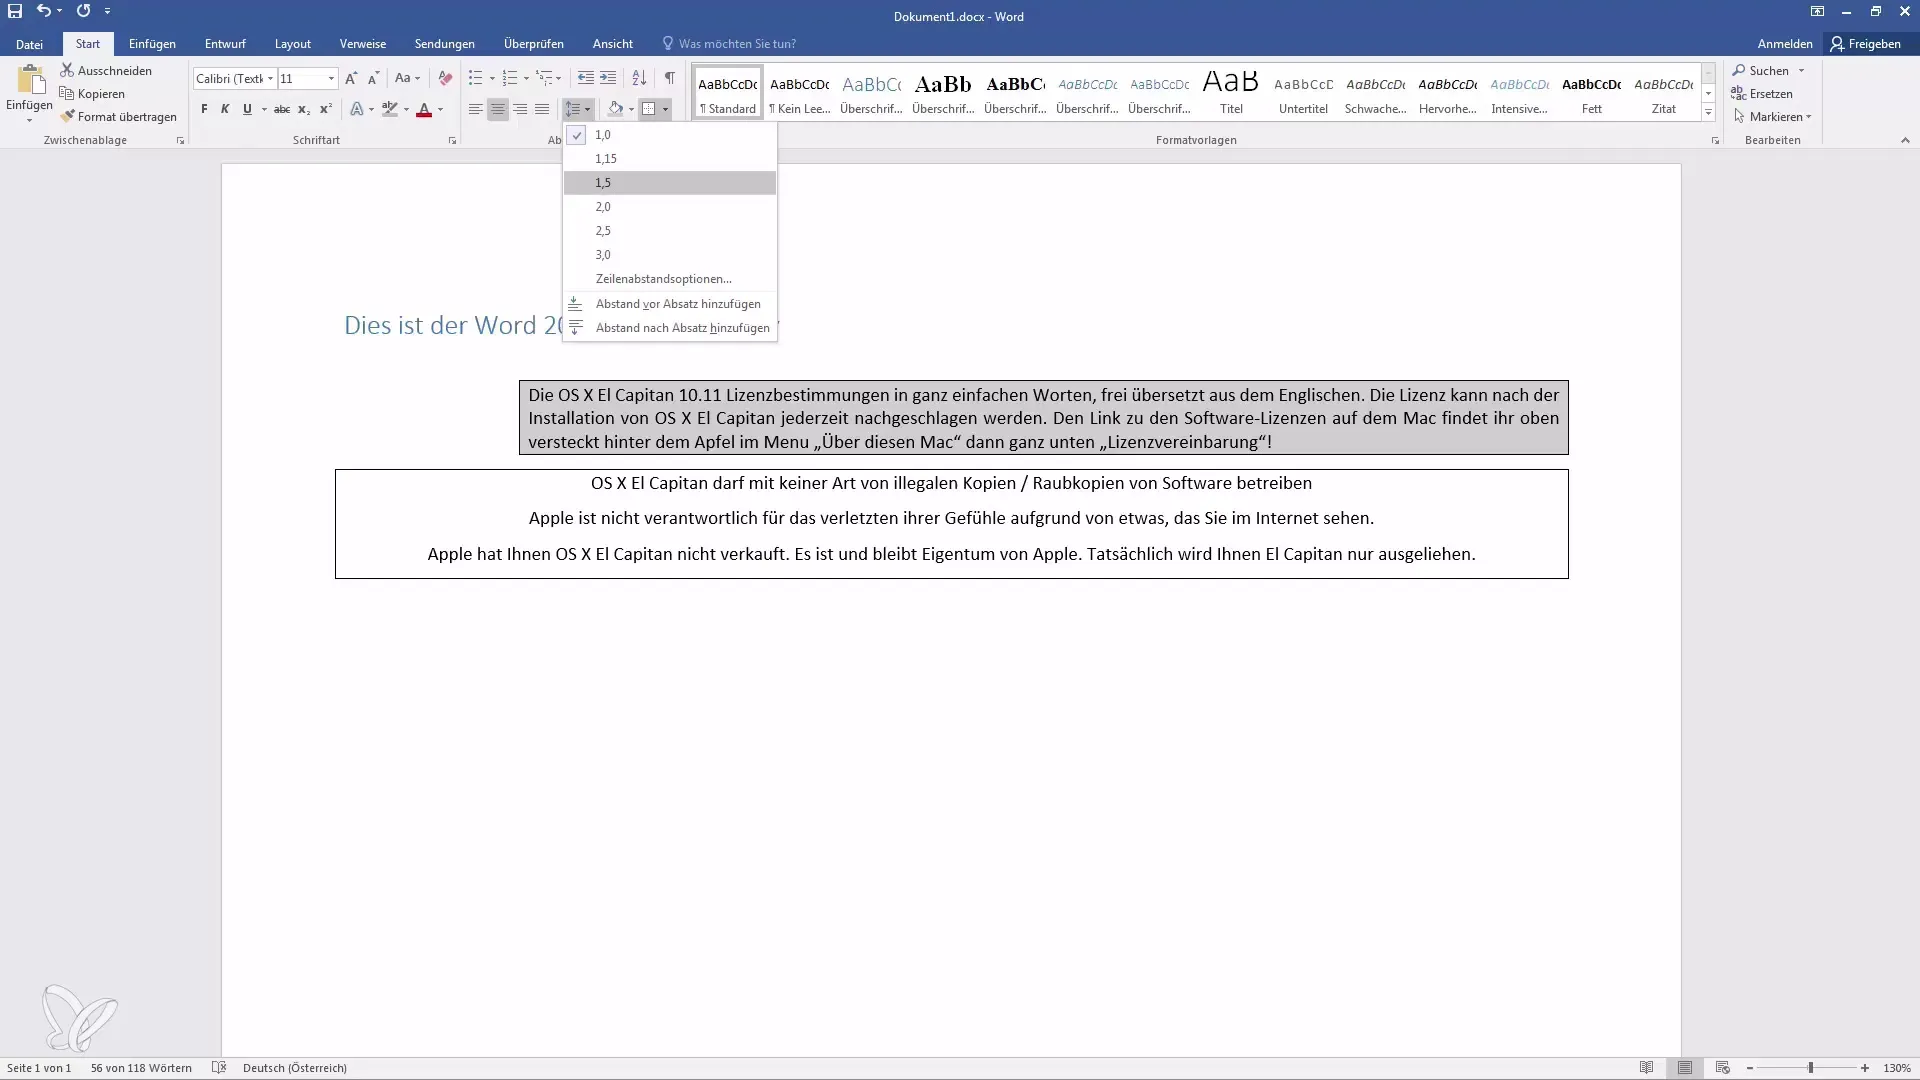
If you want to further enhance readability, you should adjust the line spacing. Use the arrow keys in the line spacing settings to increase or decrease the space between individual lines. By default, this is 1.0, but you can increase it to 1.5 or 2.0, for example, to create more space between lines.
Summary
Through this comprehensive guide, you have learned how to effectively format paragraphs in Word. You can now determine the alignment of your text, use indentations, display paragraph marks, select design colors and borders, and adjust line spacing. By strategically using these features, your document will not only look more beautiful but also more organized and professional.
Frequently Asked Questions
What are paragraph formatting?Paragraph formatting refers to the settings you make for paragraphs in a document to control their alignment, indentation, spacing, and color.
How can I center a paragraph?Highlight the desired paragraph and select the center alignment button in the "Paragraph" section.
How can I adjust indents in Word?In the Paragraph menu, you will find pull-down options to increase or decrease the indent.
Can I hide the paragraph marks again?Yes. Click again on the paragraph marks button to disable them.
How do I change the line spacing?Use the arrow keys in the line spacing settings to adjust the desired spacing.


