Cover sheets are the key to making a convincing first impression. When your counterpart opens a document or holds it in their hand, it's the cover sheet that catches the eye first. Therefore, it's important not only to design the cover sheet appealingly, but also to use appropriate page breaks and blank pages to ensure structure and clarity. In this guide, I'll show you step by step how to insert and use cover sheets, blank pages, and page breaks in Word.
Main Insights
- Using cover sheets enhances the professionalism of your document.
- Page breaks help to present content in a structured and appealing way.
- Blank pages can be inserted at any time to optimize the layout.
Insert Cover Sheets
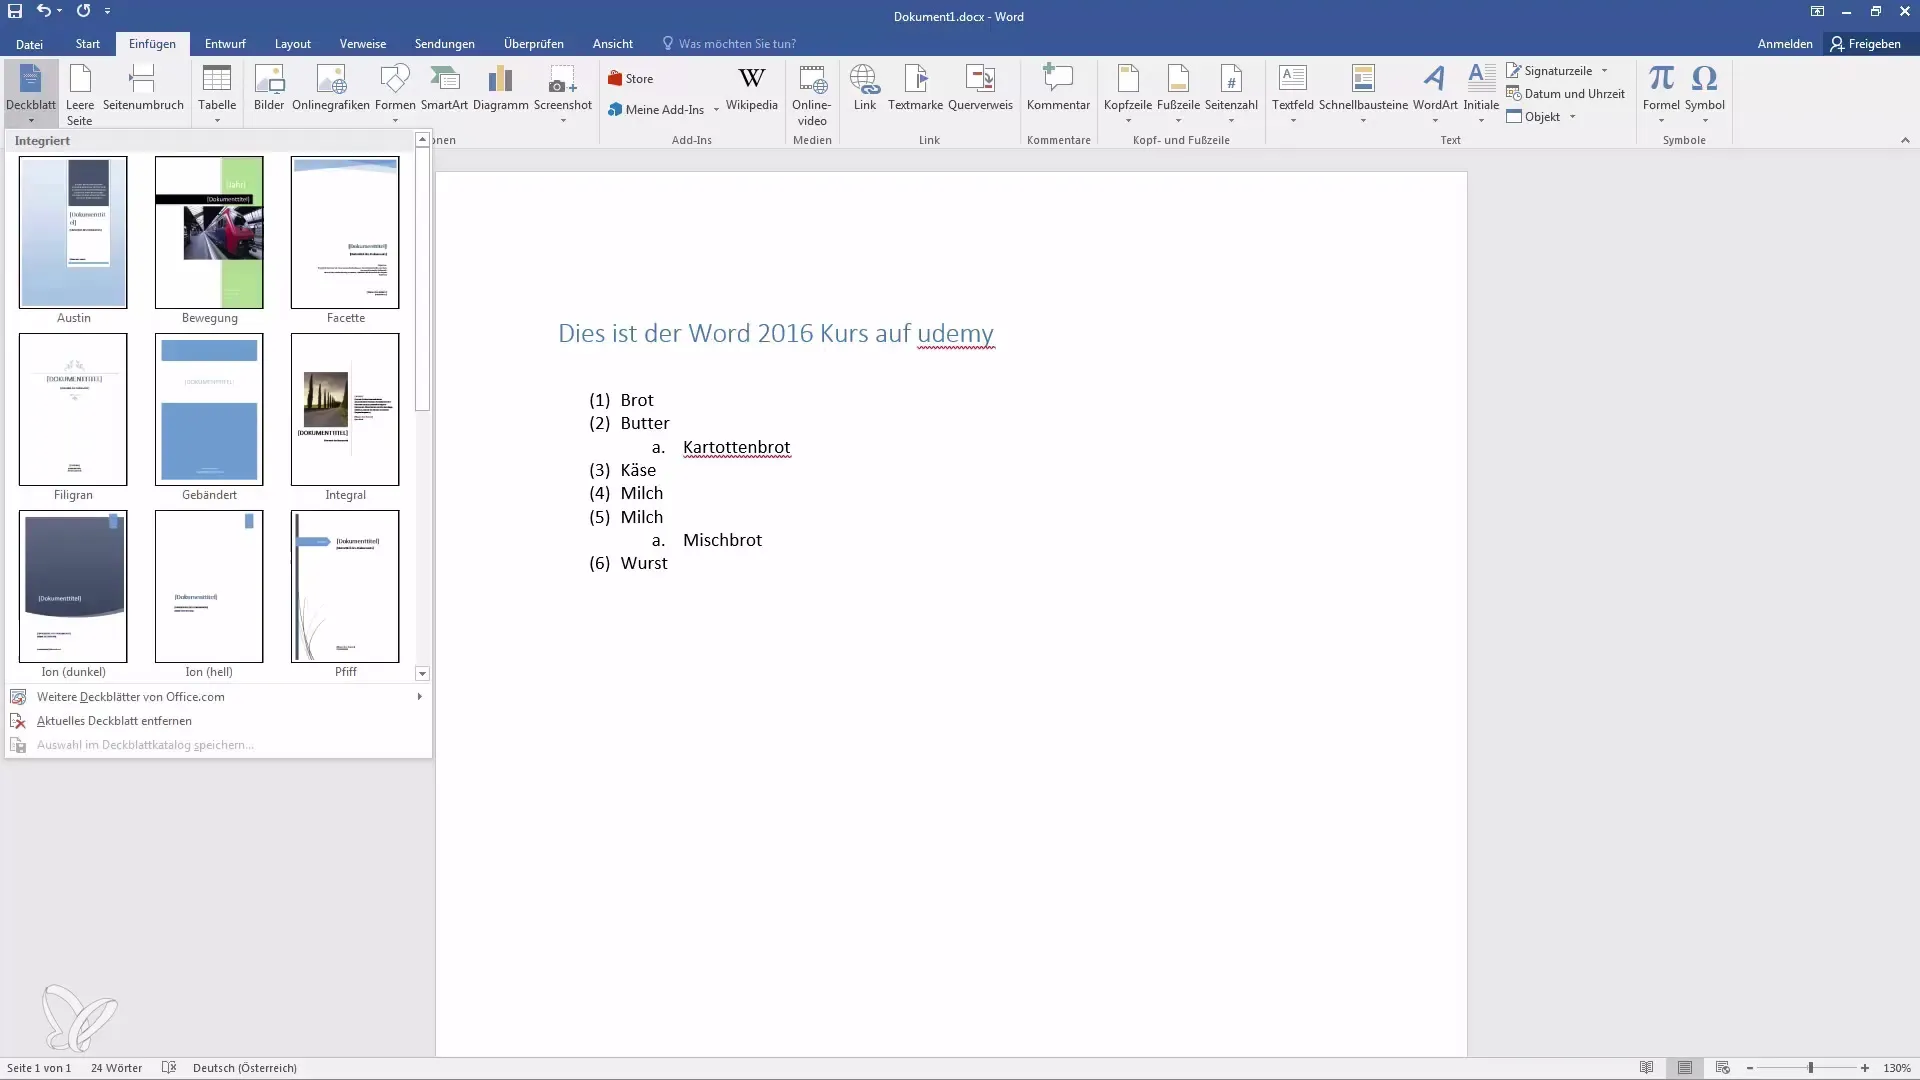
To insert a cover sheet into your document, first open your Word document. Click on the "Insert" tab in the menu bar. There you will find the option "Cover Page." Word provides you with some pre-designed cover sheets to choose from. If you wish, you can even download additional templates from Office.com, although this is not possible in this example.

Select one of the existing cover sheets, for example, the "Light" cover sheet. After clicking on it, the cover sheet will automatically be inserted as the first page. Now you can edit the cover sheet directly. Simply click into the text fields and enter the desired information, such as the course title or your name.

Add Page Breaks
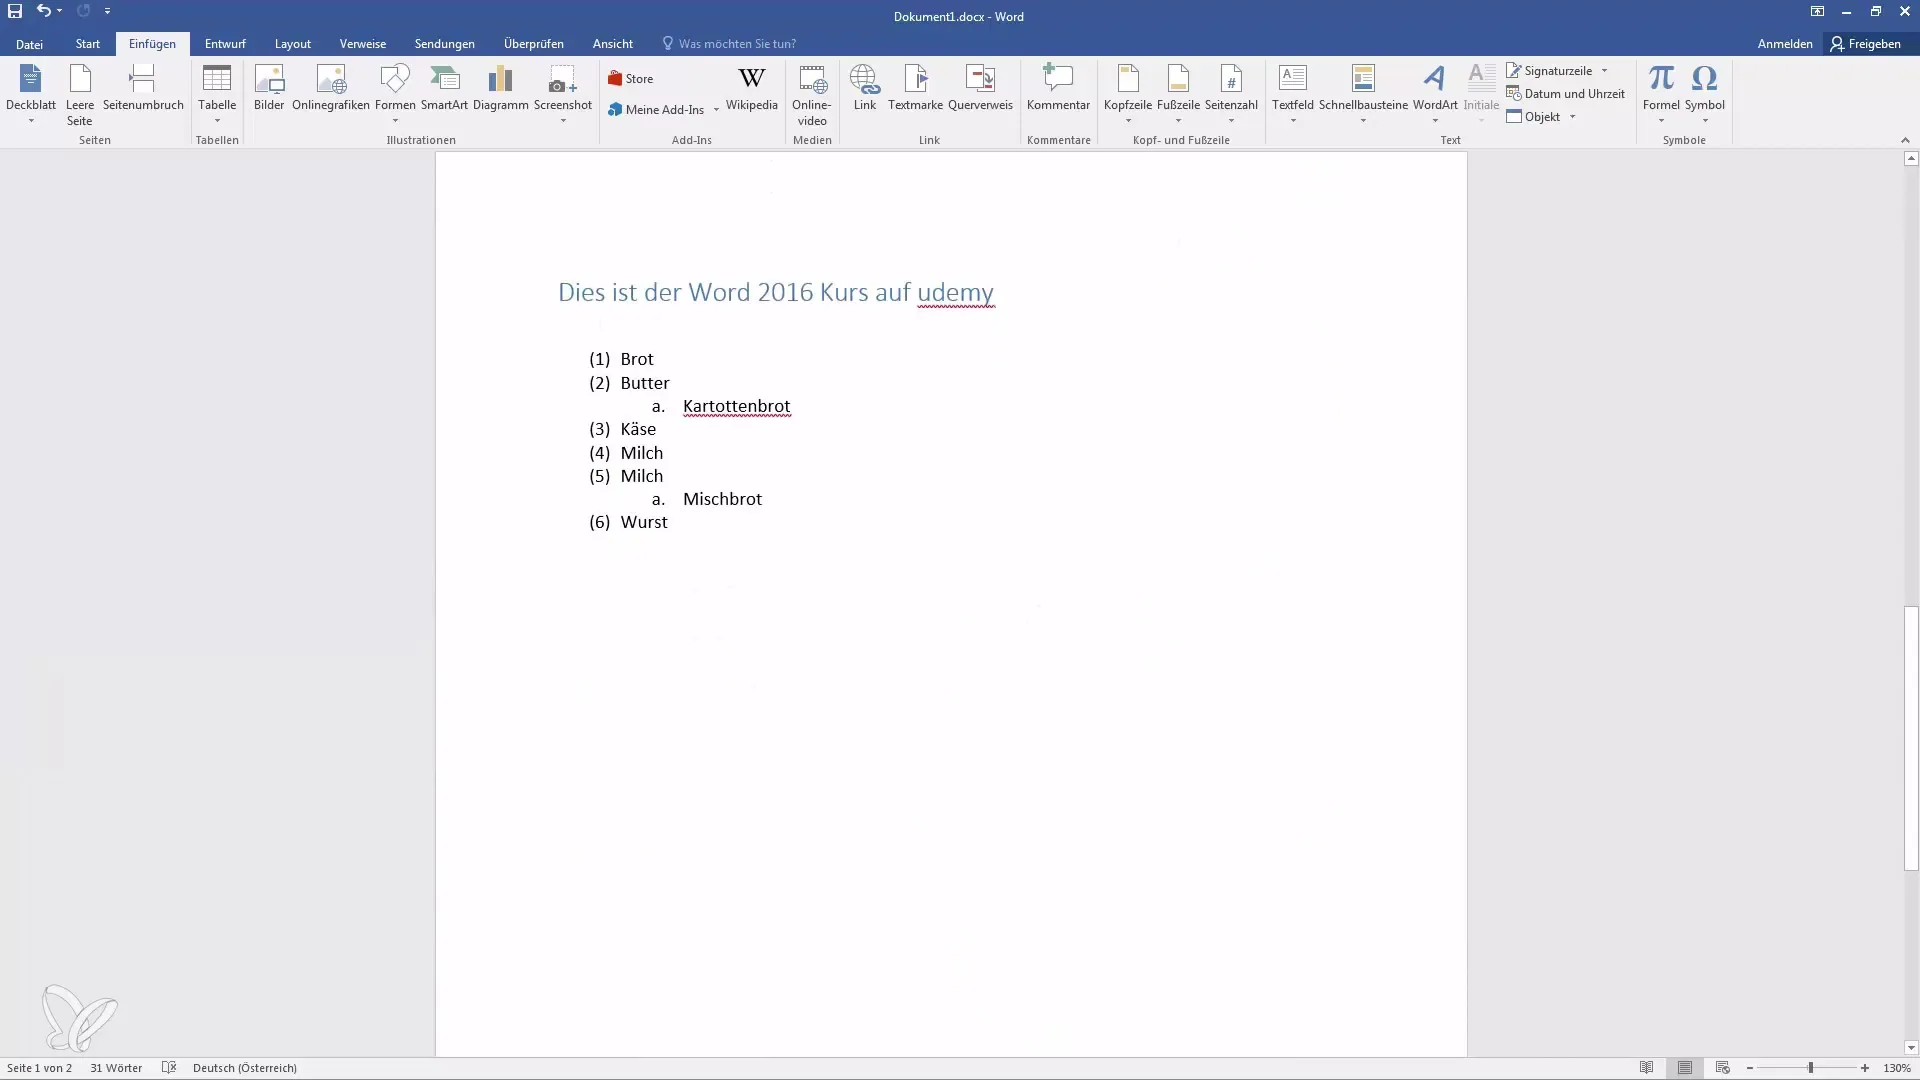
If you have already created your cover sheet and now want to insert a page break to start a new section, place the cursor where the break should occur. To add the page break, go back to the menu bar, click on "Insert" again, and select the "Page Break" option. Alternatively, you can also use the shortcut Ctrl + Enter.

After adding the page break, you will immediately see that the entire paragraph is moved to the next page. This allows you to structure the content clearly and effectively. If you now look up, you will notice that your paragraph is listed on page two, while the next contents appear on a separate page.
Insert Blank Pages
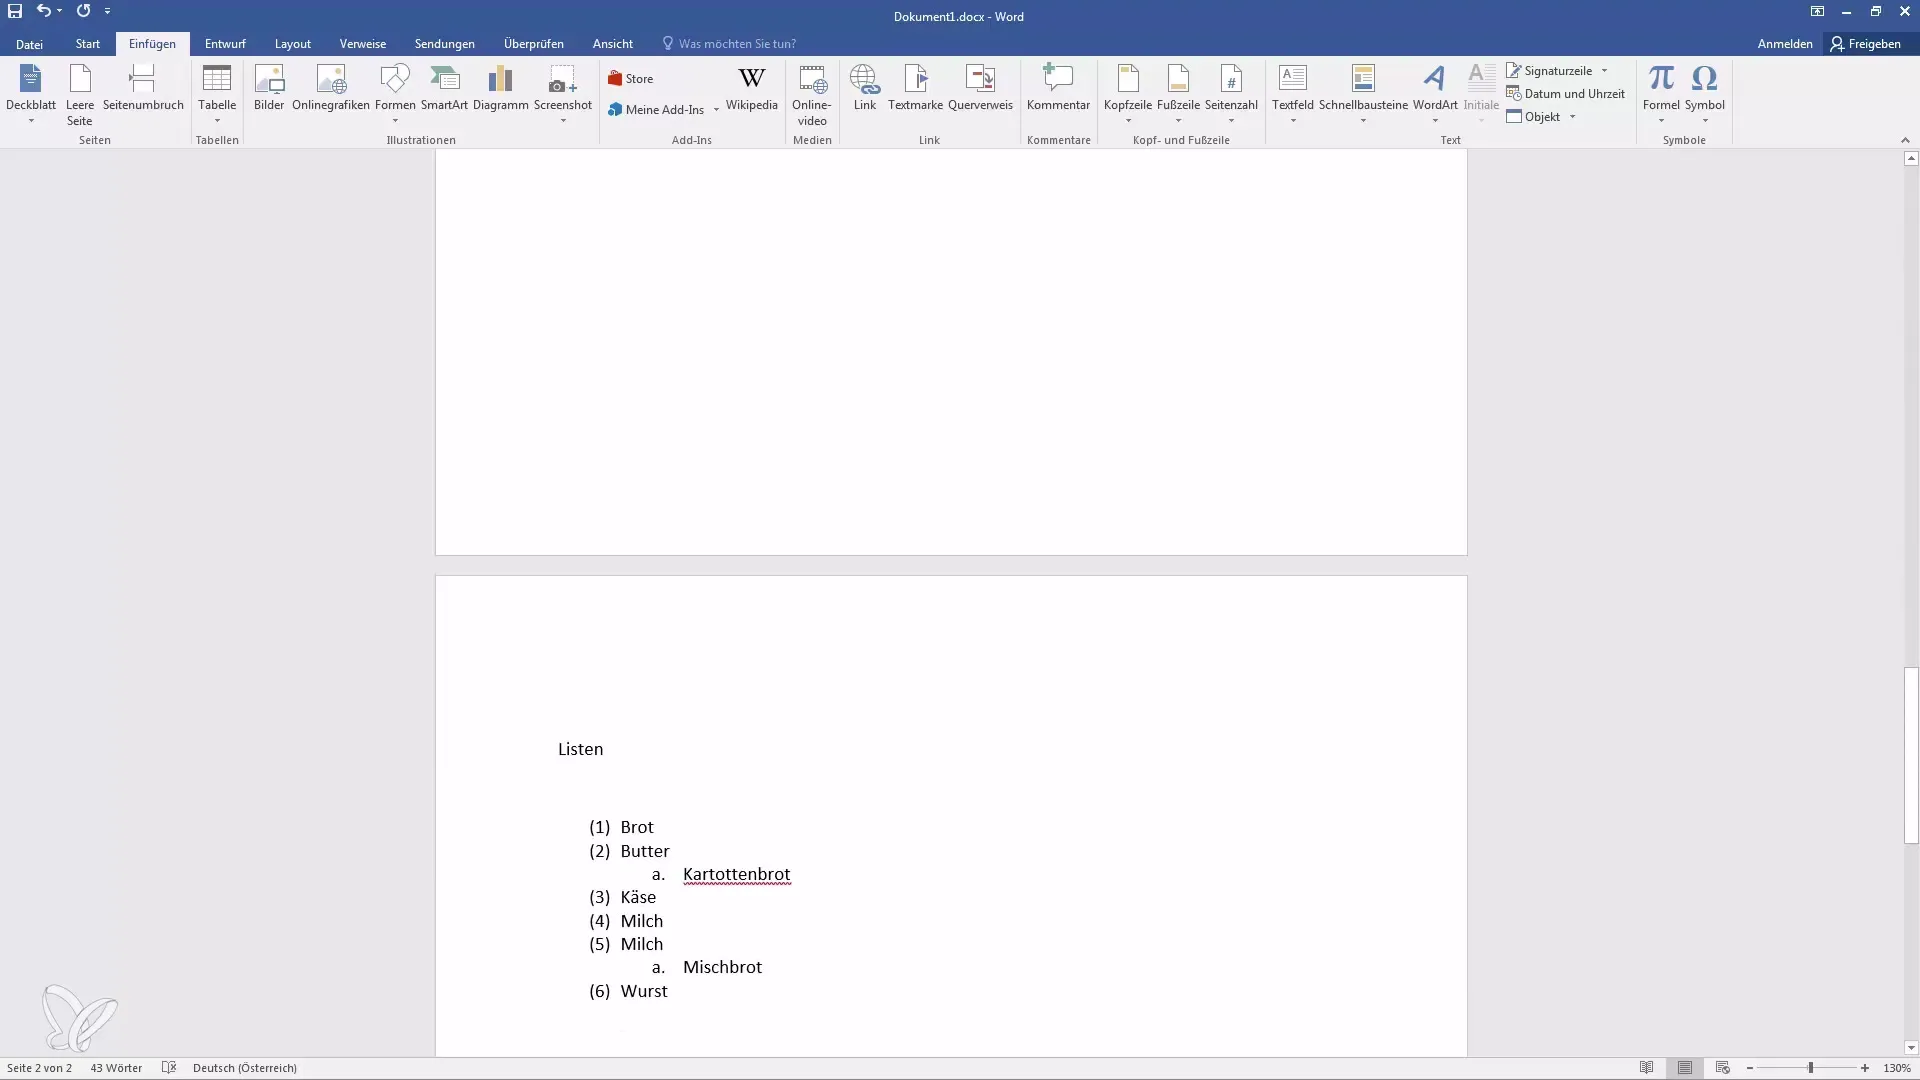
If you need more space or a blank page between two paragraphs, you can simply add a blank page. To do this, go back to the position where the blank page should be inserted. Click on "Insert" and select "Blank Page." This option will add a new page exactly there.
The blank page will now be inserted between your existing content. For example, on the second page, you may have the text from your first chapter, on the third page, a blank page could appear, and on the fourth page, the list view. This way, you always maintain control over the layout of your document.
Summary
In this guide, you have learned how to insert cover sheets in Word, use page breaks to structure your document, and add blank pages. With these tools, you can significantly improve the readability and professionalism of your documents.
Frequently Asked Questions
How do I add a cover sheet in Word?Go to "Insert," select "Cover Page," and choose a template.
Can I edit a cover sheet?Yes, simply click into the respective text fields and change the text.
How can I insert a page break?Click on "Insert" and then on "Page Break" or use the shortcut Ctrl + Enter.
Can I add blank pages between existing content?Yes, go to the position where you need a blank page and select "Blank Page" under "Insert".
How do I change the order of pages?Insert page breaks and blank pages to change the structure accordingly.


