Shapes in Word are powerful tools that can help you visually enhance documents. Whether for reports, presentations, or creative work – the various shapes provide you with the ability to highlight information and communicate your messages more clearly. In this tutorial, you will learn how to efficiently use various shapes like arrows, stars, or speech bubbles in Microsoft Word.
Main Takeaways
- Shapes are easy to insert and customize.
- The toolbar offers numerous editing options.
- You can adjust colors, sizes, and styles individually.
Step-by-Step Guide
Inserting Shapes
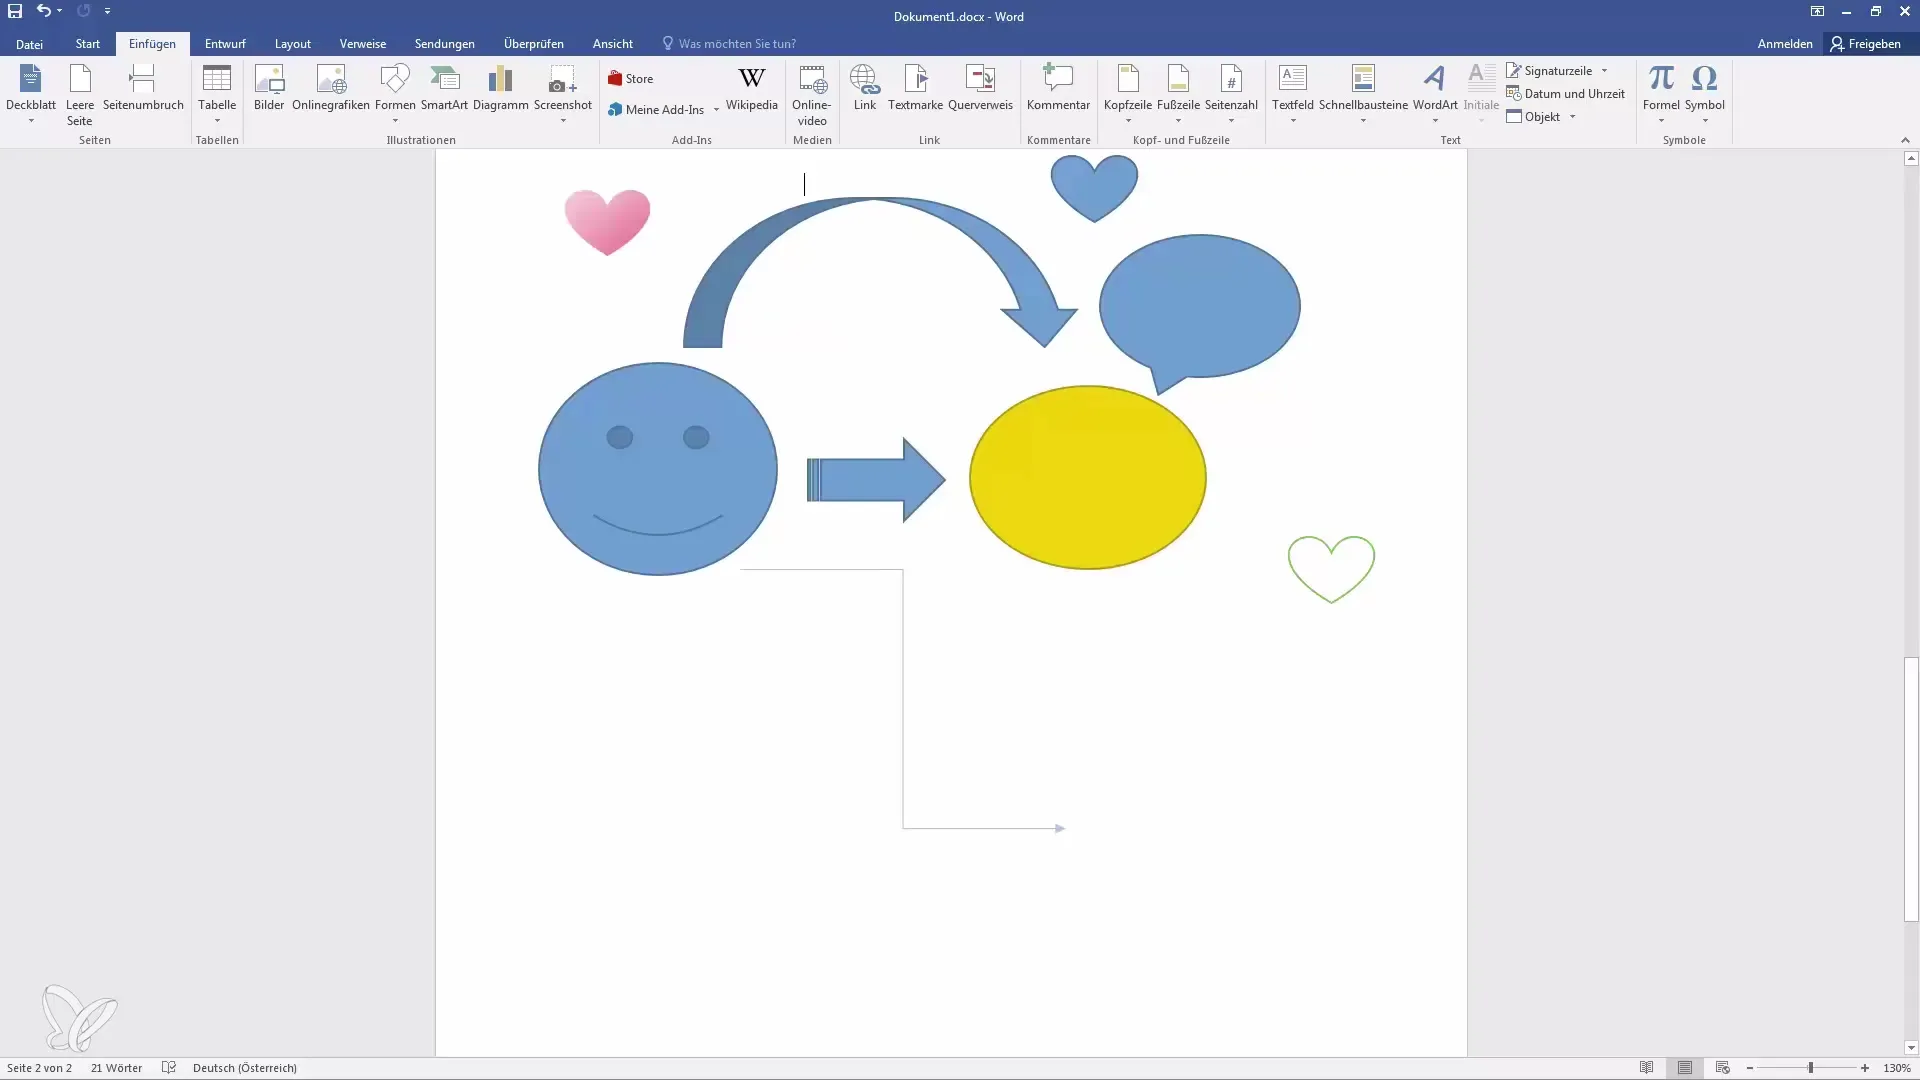
To start inserting shapes, navigate to the "Insert" tab on the toolbar. Here you will find the "Shapes" section, which offers a wide variety of options.
Select the desired shape, for example, an arrow. After clicking on the arrow, you can insert it directly into your document. Place the shape where you want it by dragging it with the mouse.
Adjusting Shapes
Once the shape is inserted, you can customize it to your preferences. Click on the inserted shape to activate the drawing tools. Through the "Shape Format" option, you can change color and style.
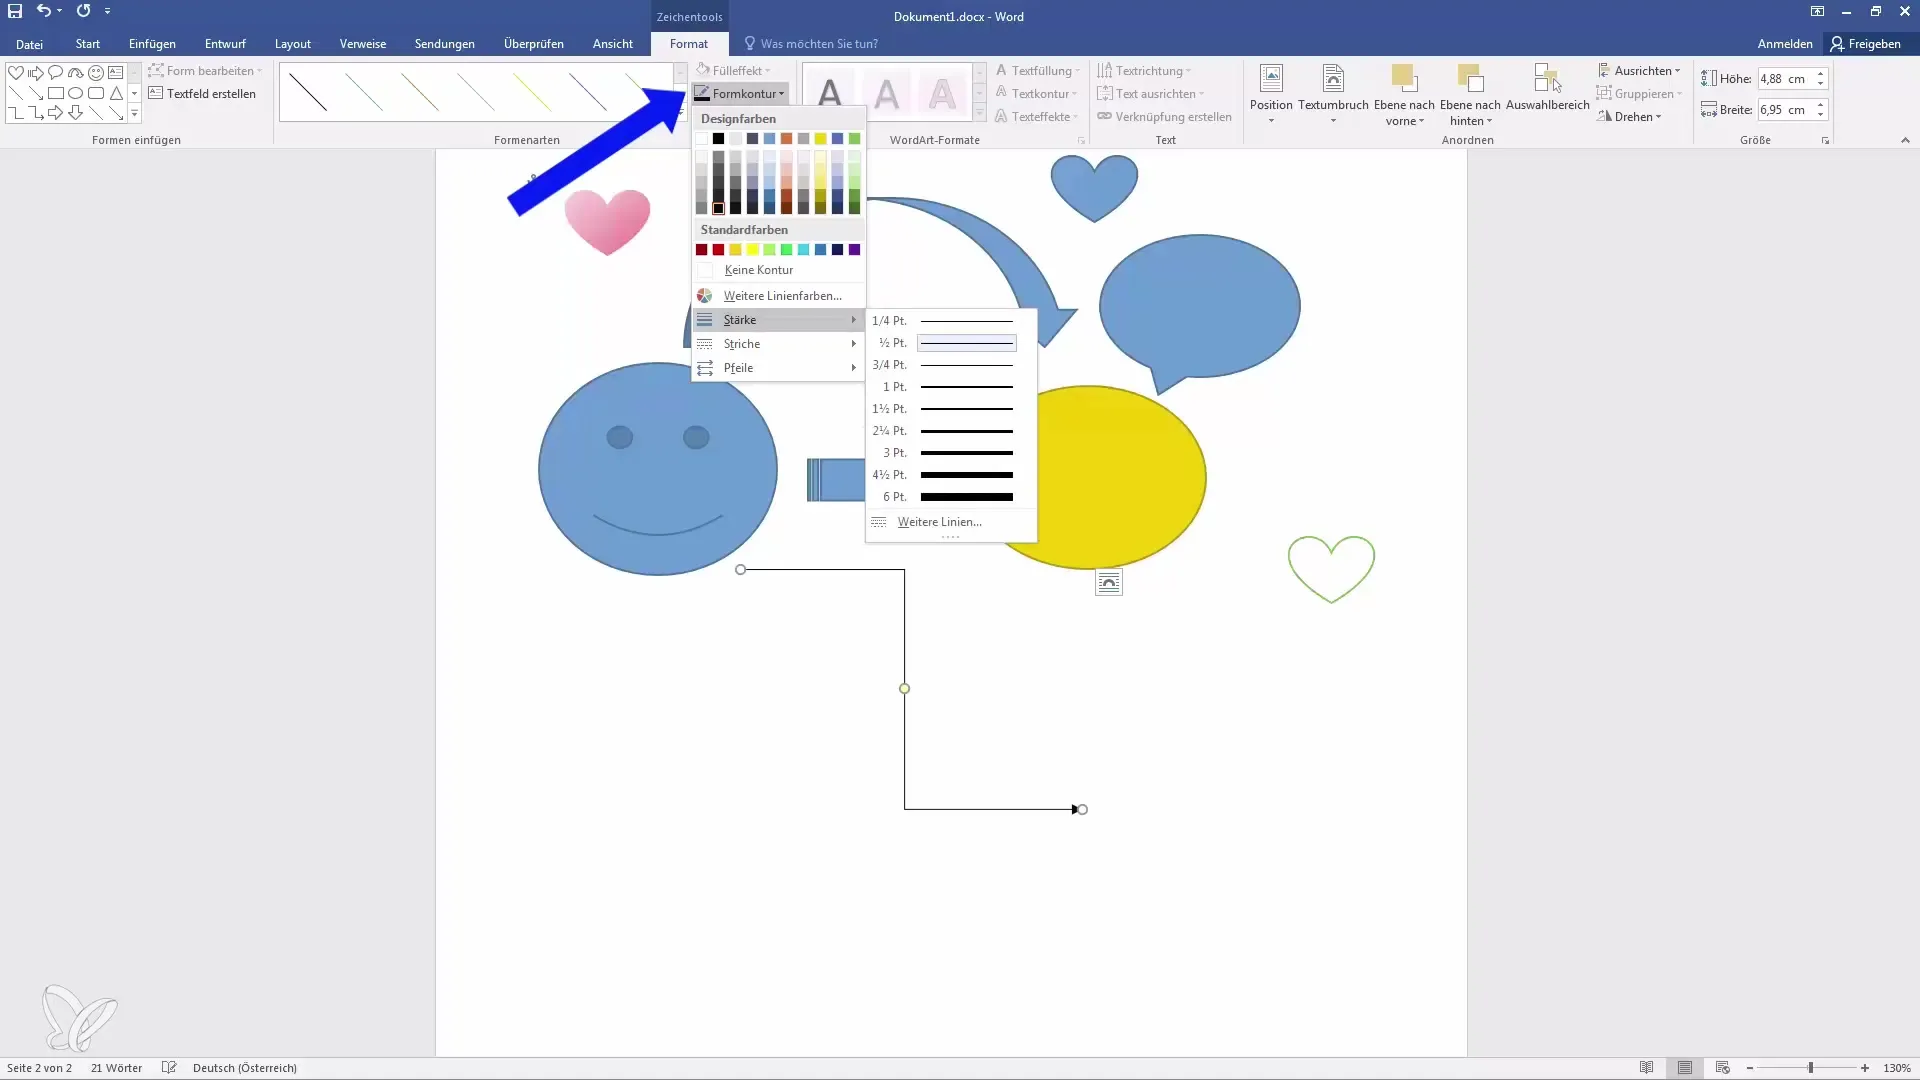
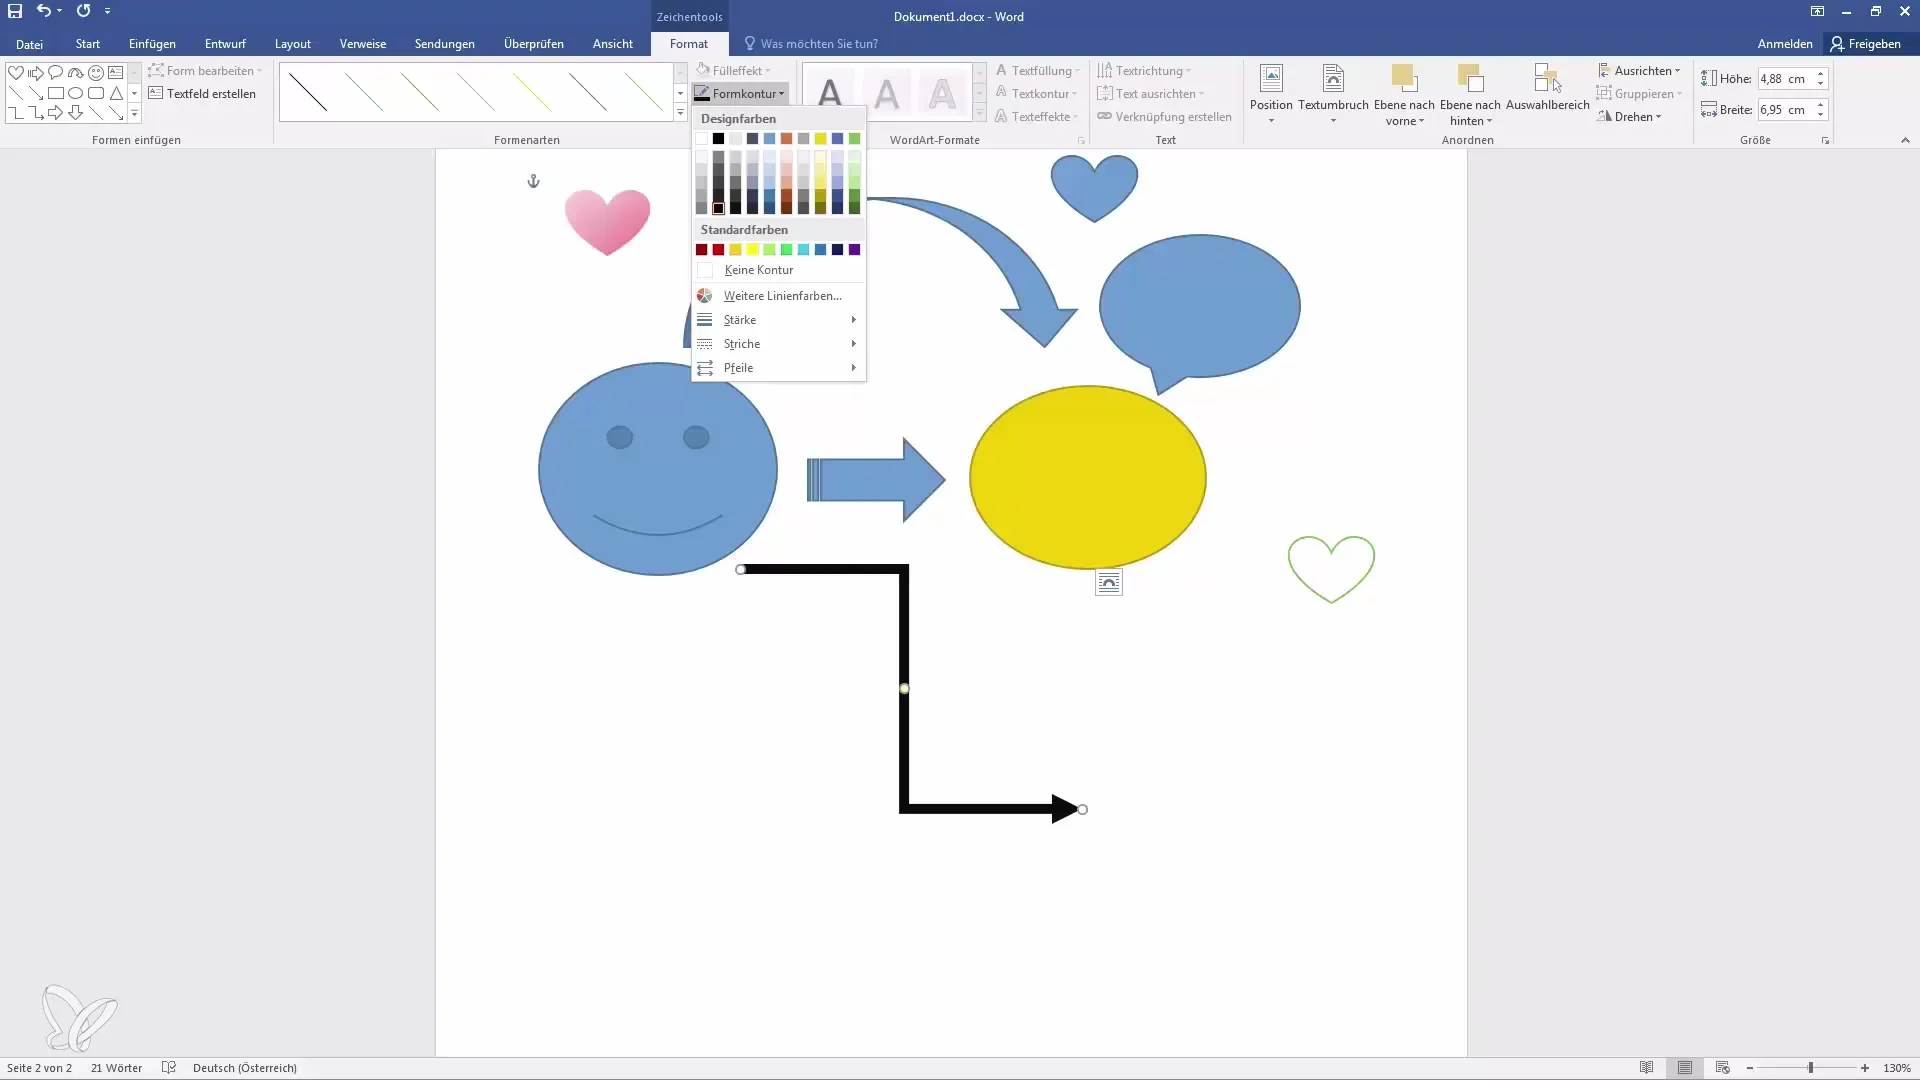
Here, you have the option to use already used colors or select an individual color. It is also possible to use the line correction to modify the outline of the arrow or shape.
Rotating and Positioning Shapes
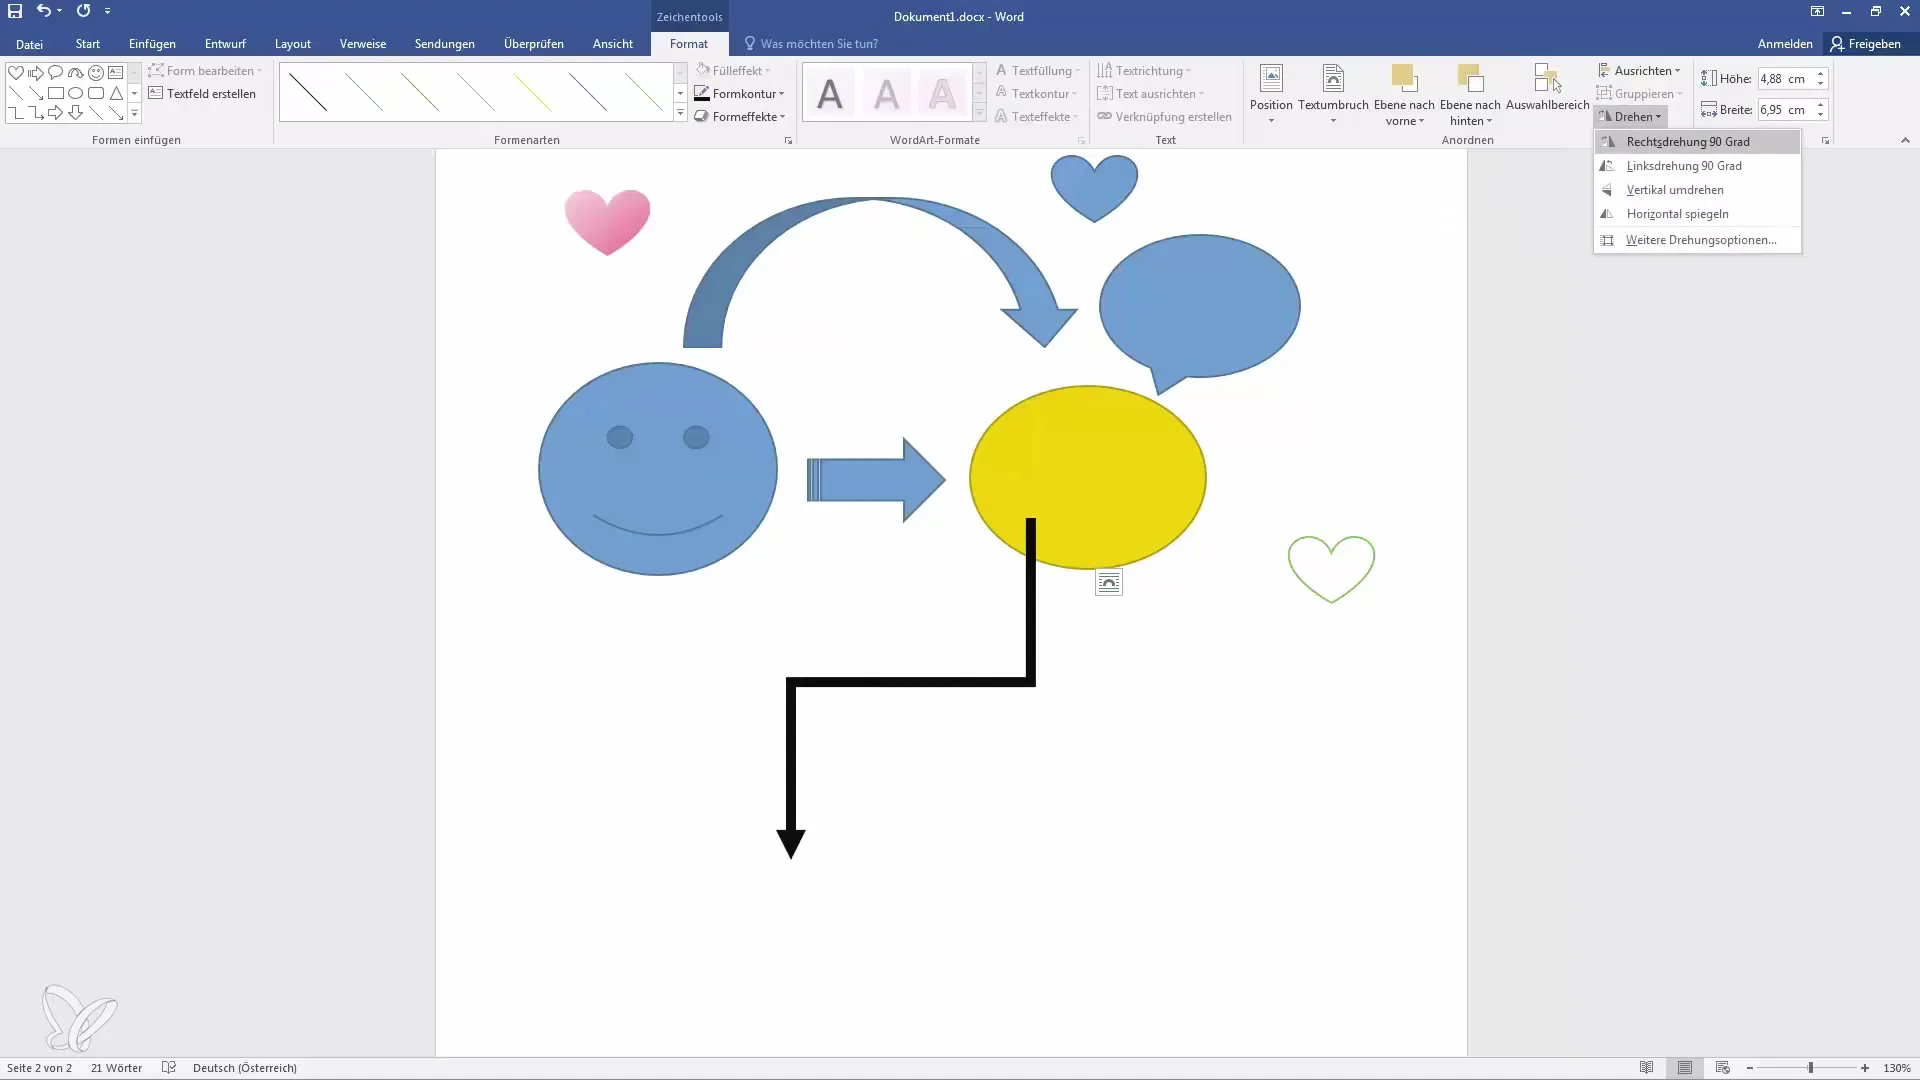
Another useful function is the ability to rotate shapes. You can do this by clicking on the shape and then using the rotation handle to change the orientation.
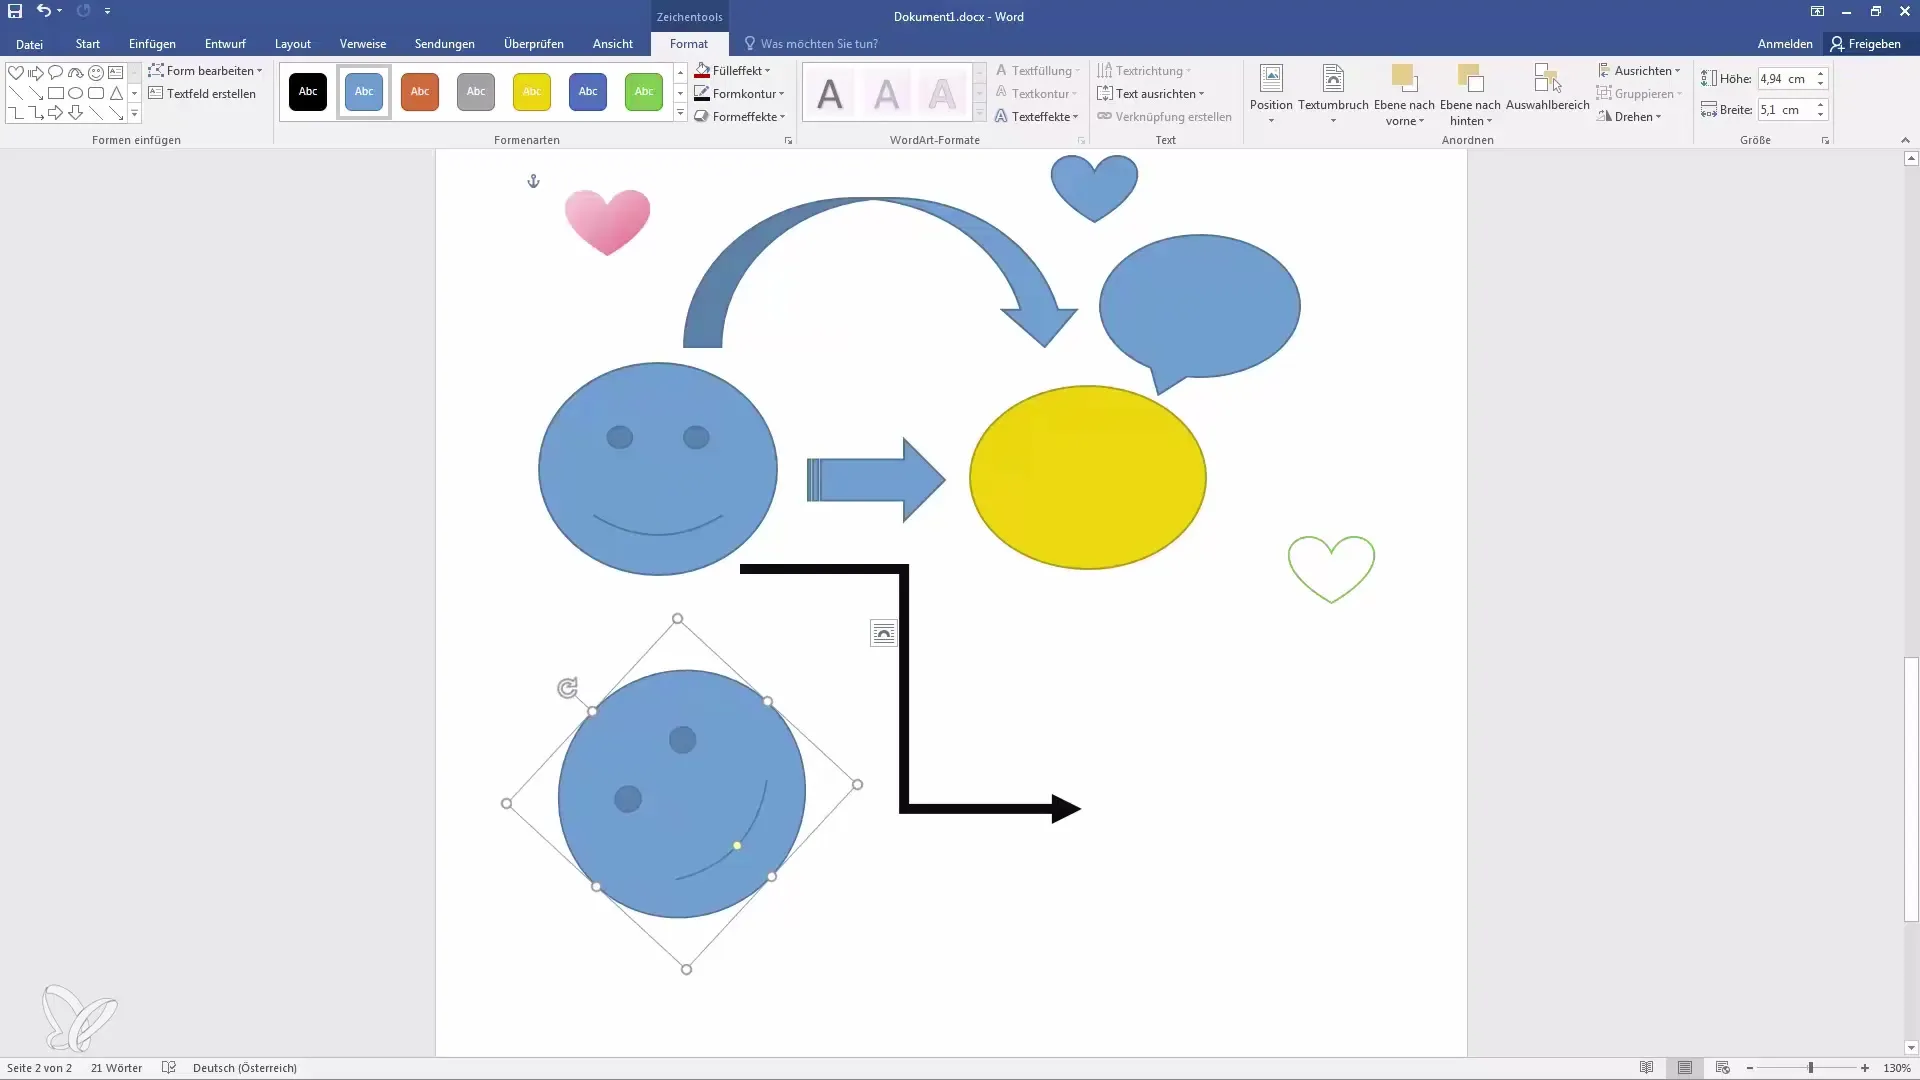
In addition, you can adjust the wrap of the shape so that the text flows correctly. You can also set the position so that it is behind or in front of other elements in the document.
Adding More Shapes
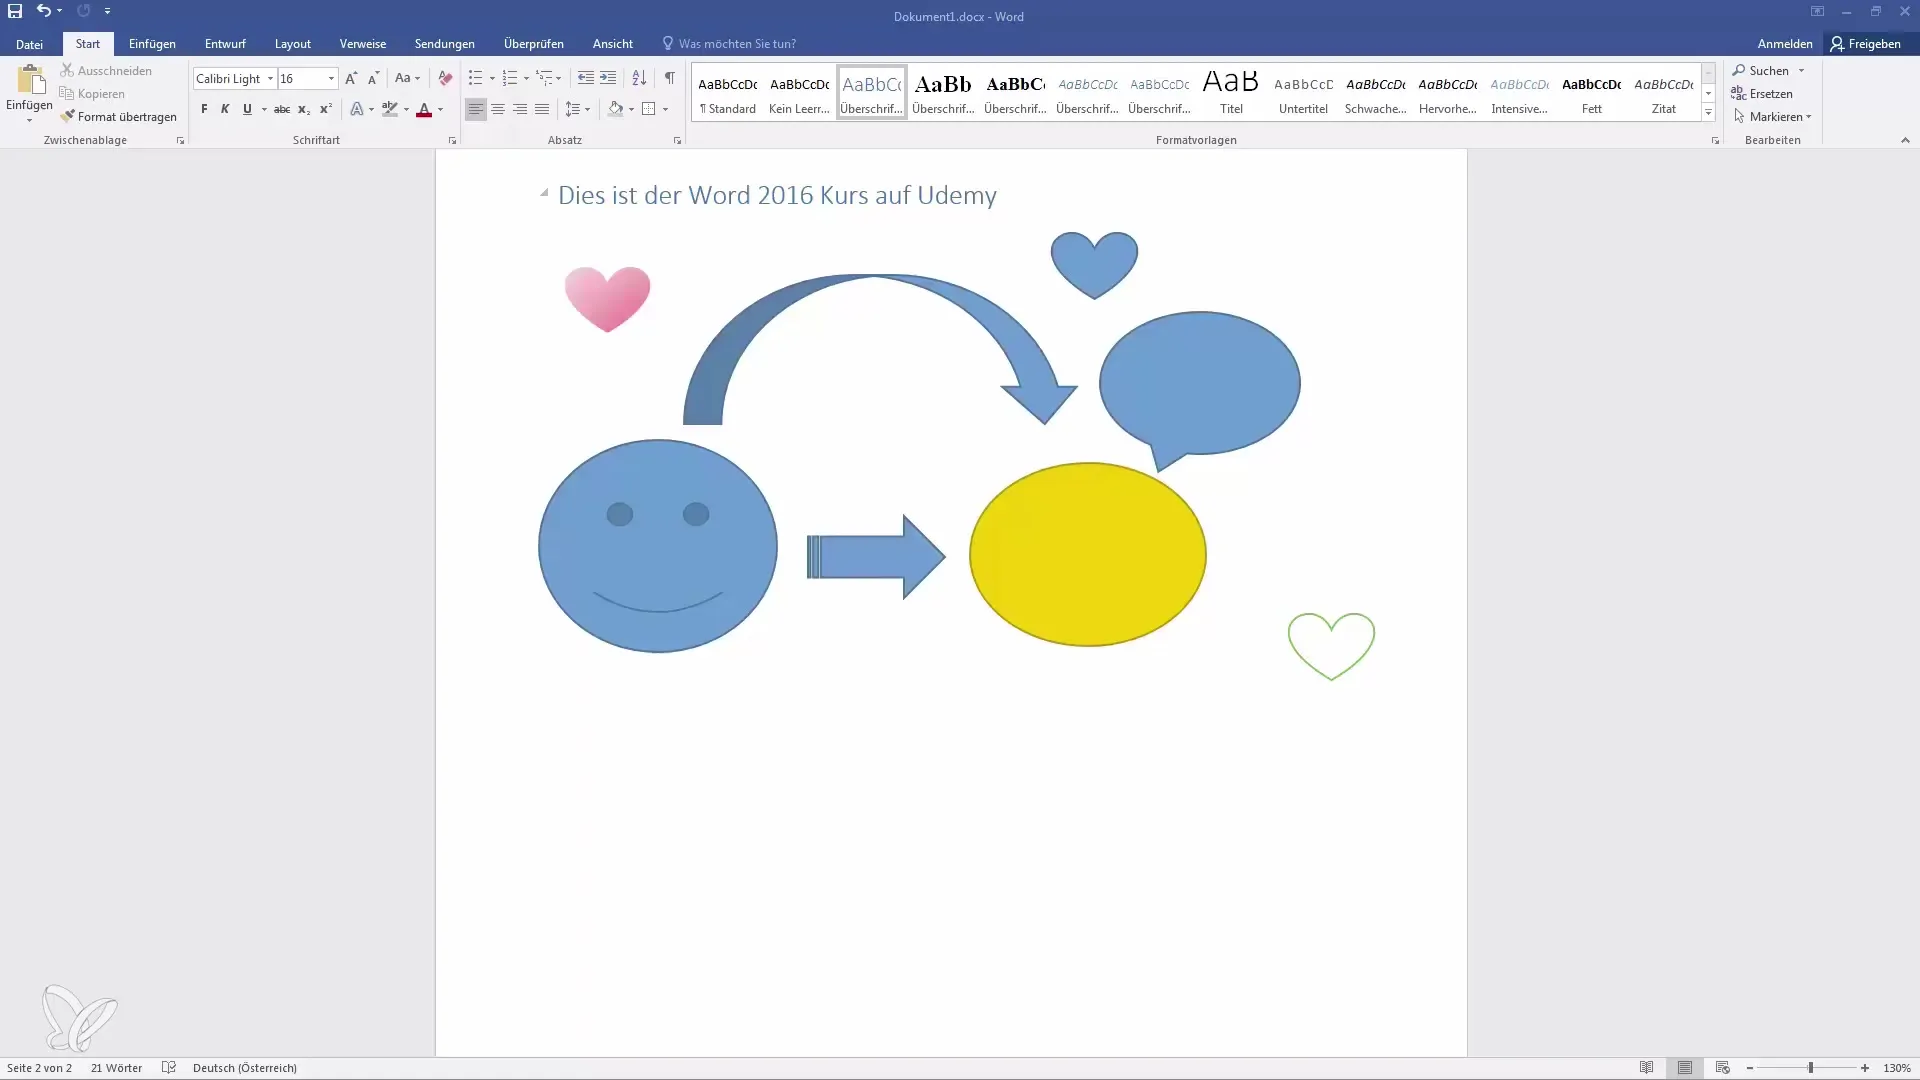
If you want to add more shapes in addition to arrows, you can do so through the same process. For example, you can add a smiley or a speech bubble. Simply choose the desired shape from the "Shapes" tab.
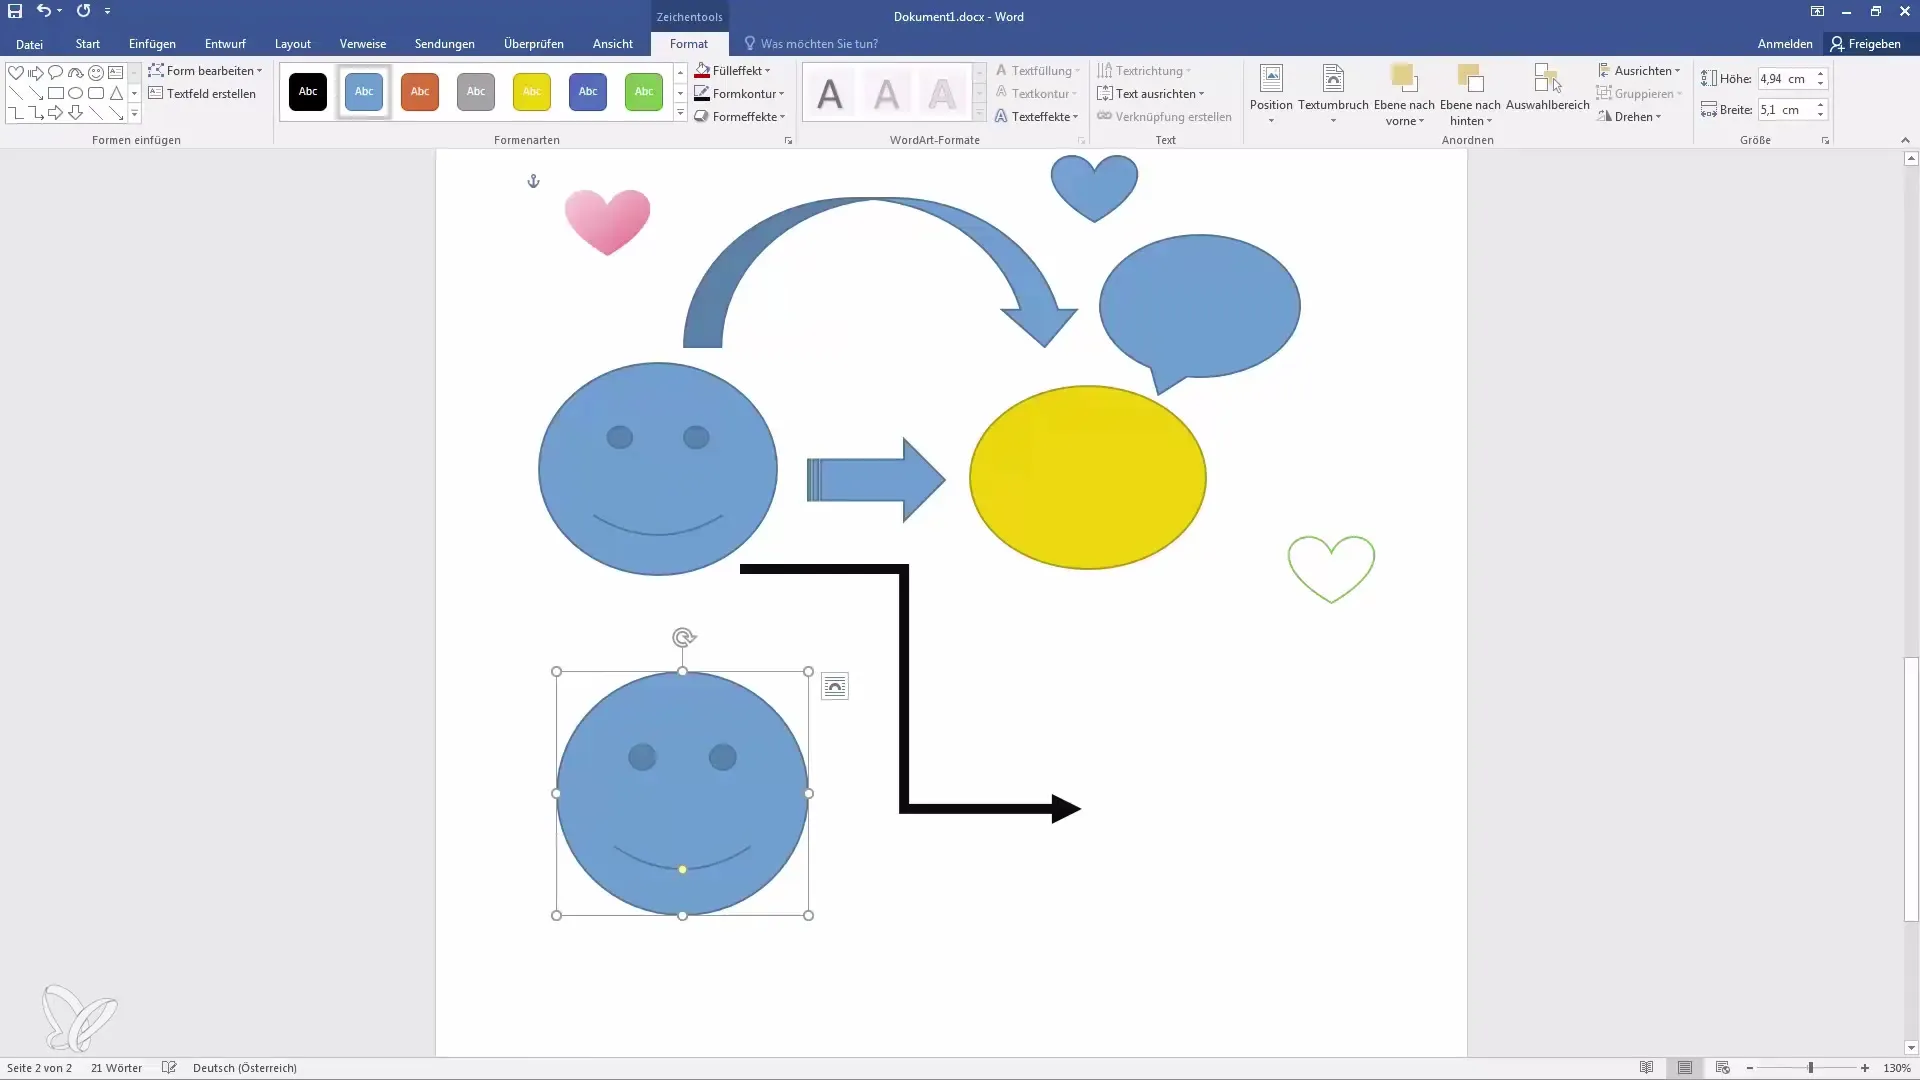
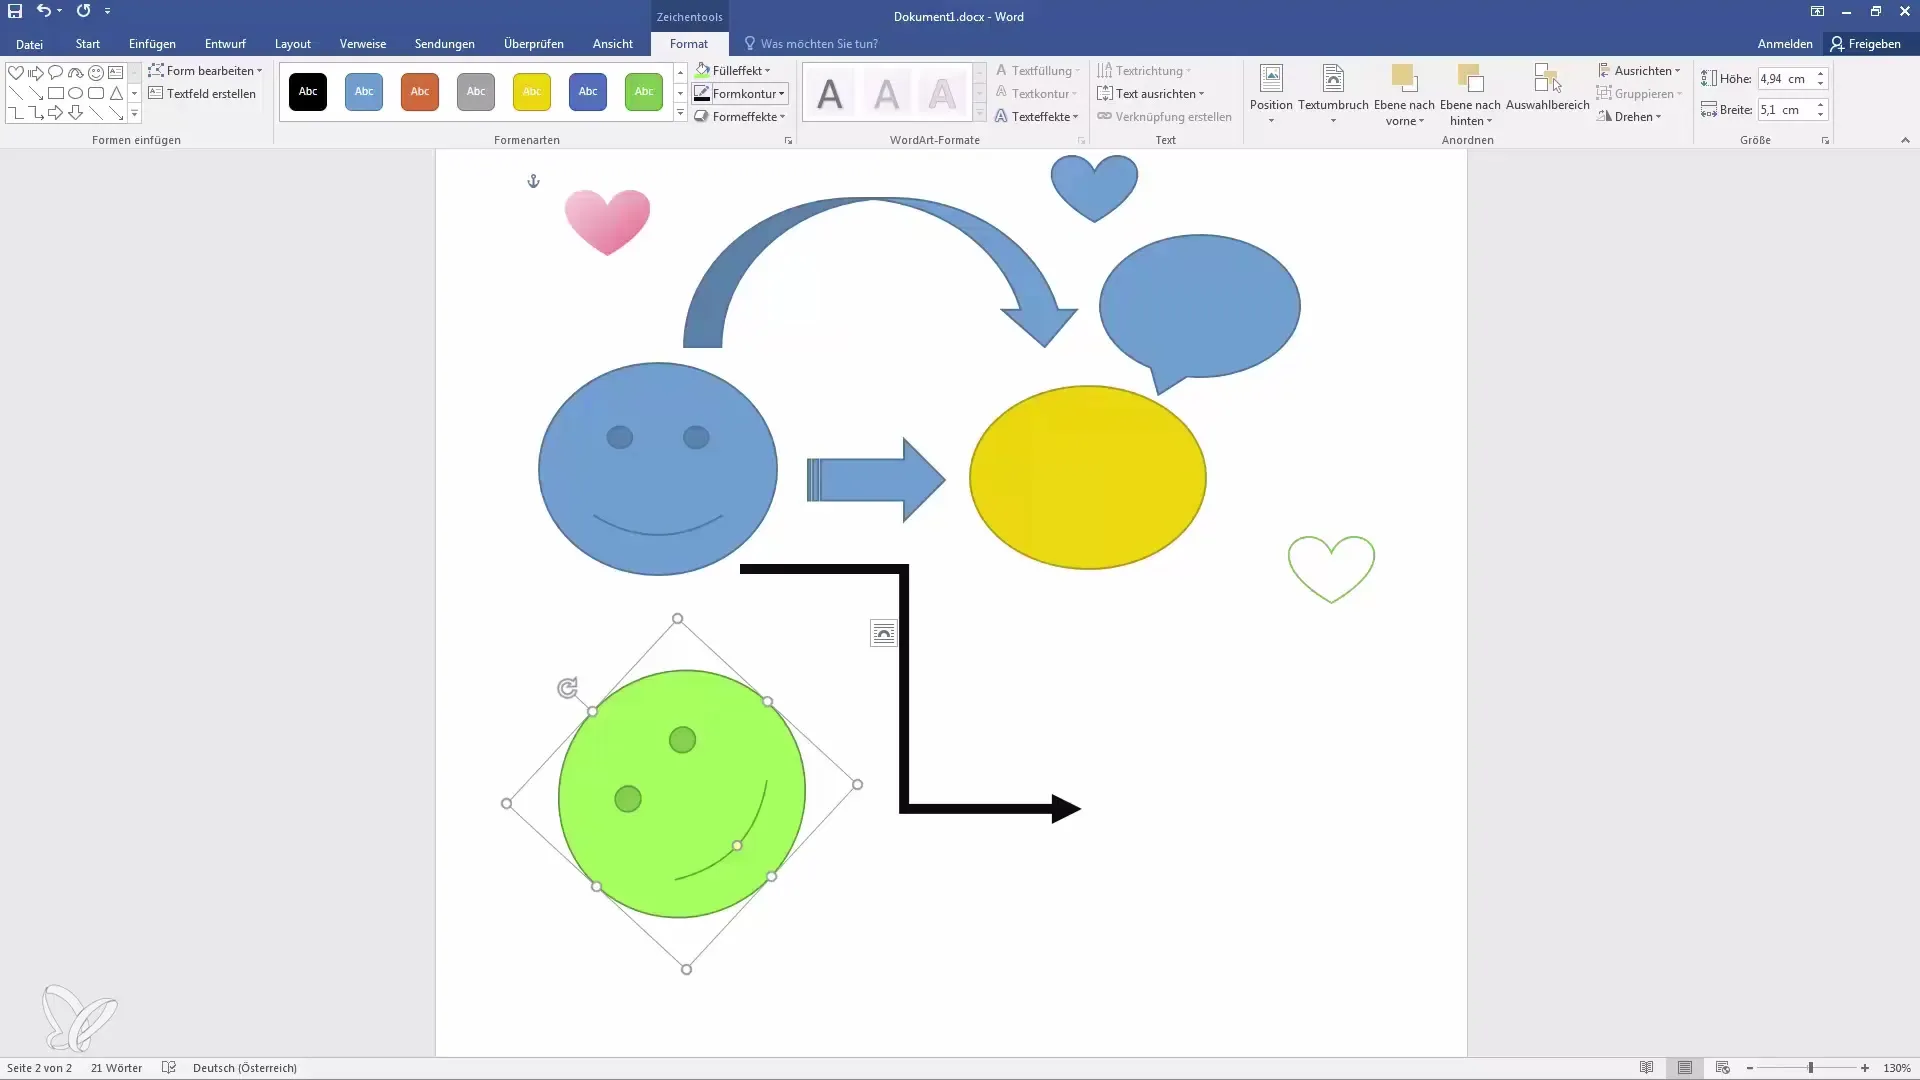
Once you have drawn the shape, you can customize it and also change the color here to better fit it into your document.
Adding Effects
To give your shape even more expression, you can add effects like shadows or reflections. For example, you can add a reflection to your smiley to achieve a special look.
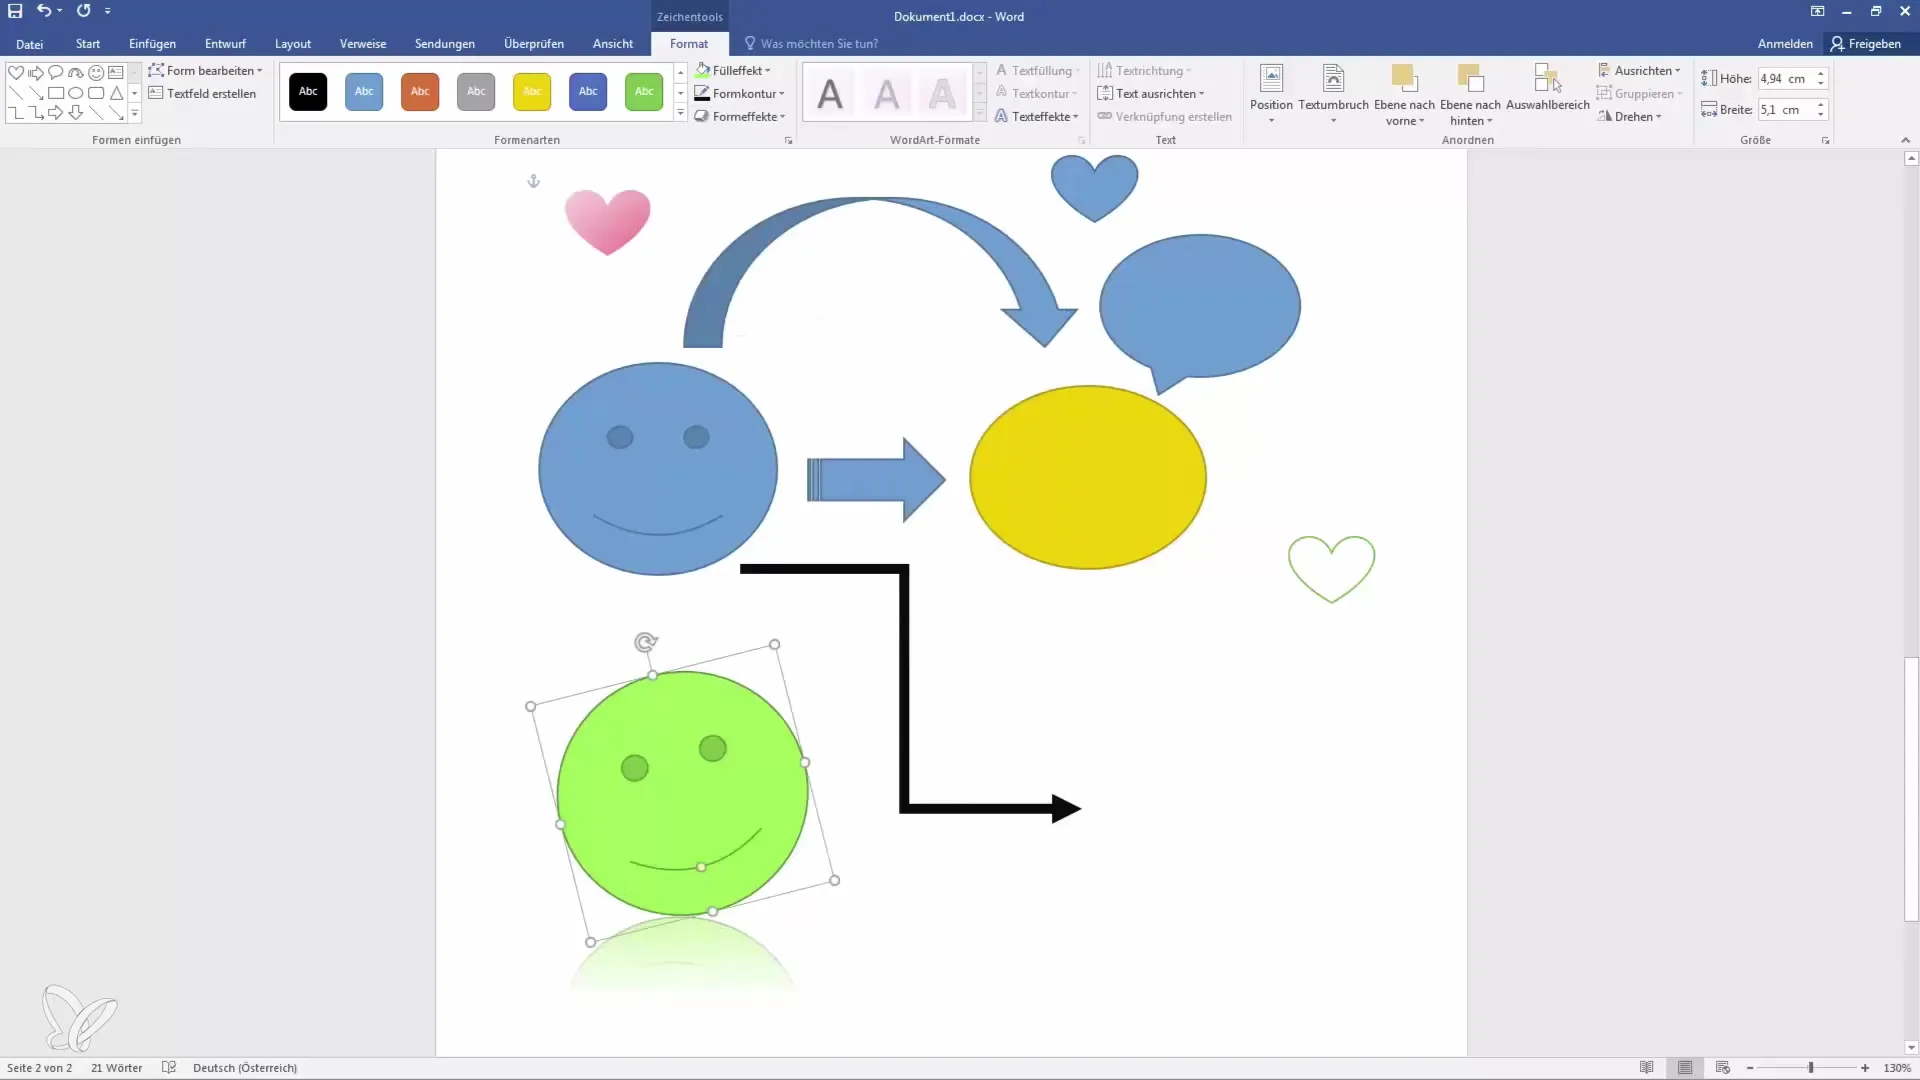
Experimenting with these effects opens up creative options for designing your documents.
Copying and Pasting Shapes
An easy way to create multiple shapes is by using the clipboard. You can copy a shape that has already been created by marking it and pressing "Ctrl + C." Use "Ctrl + V" to paste the shape in another location.
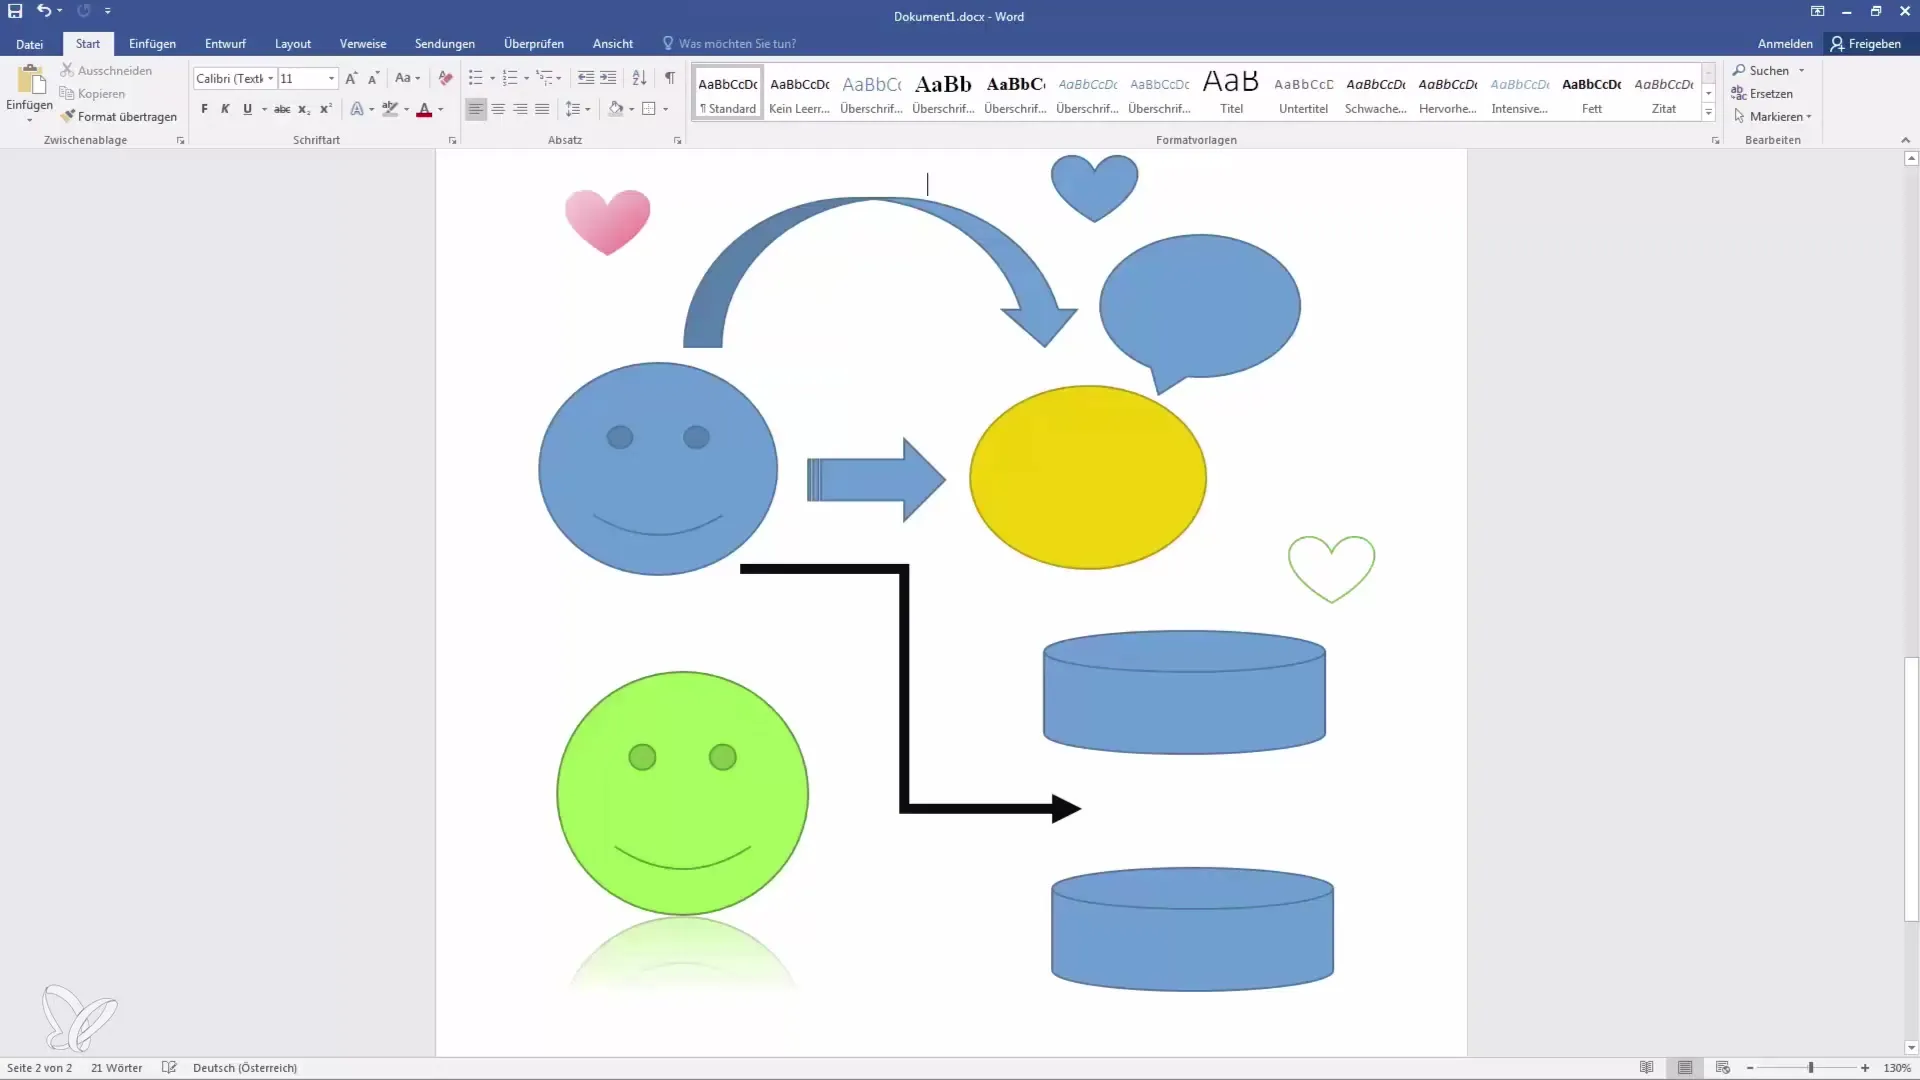
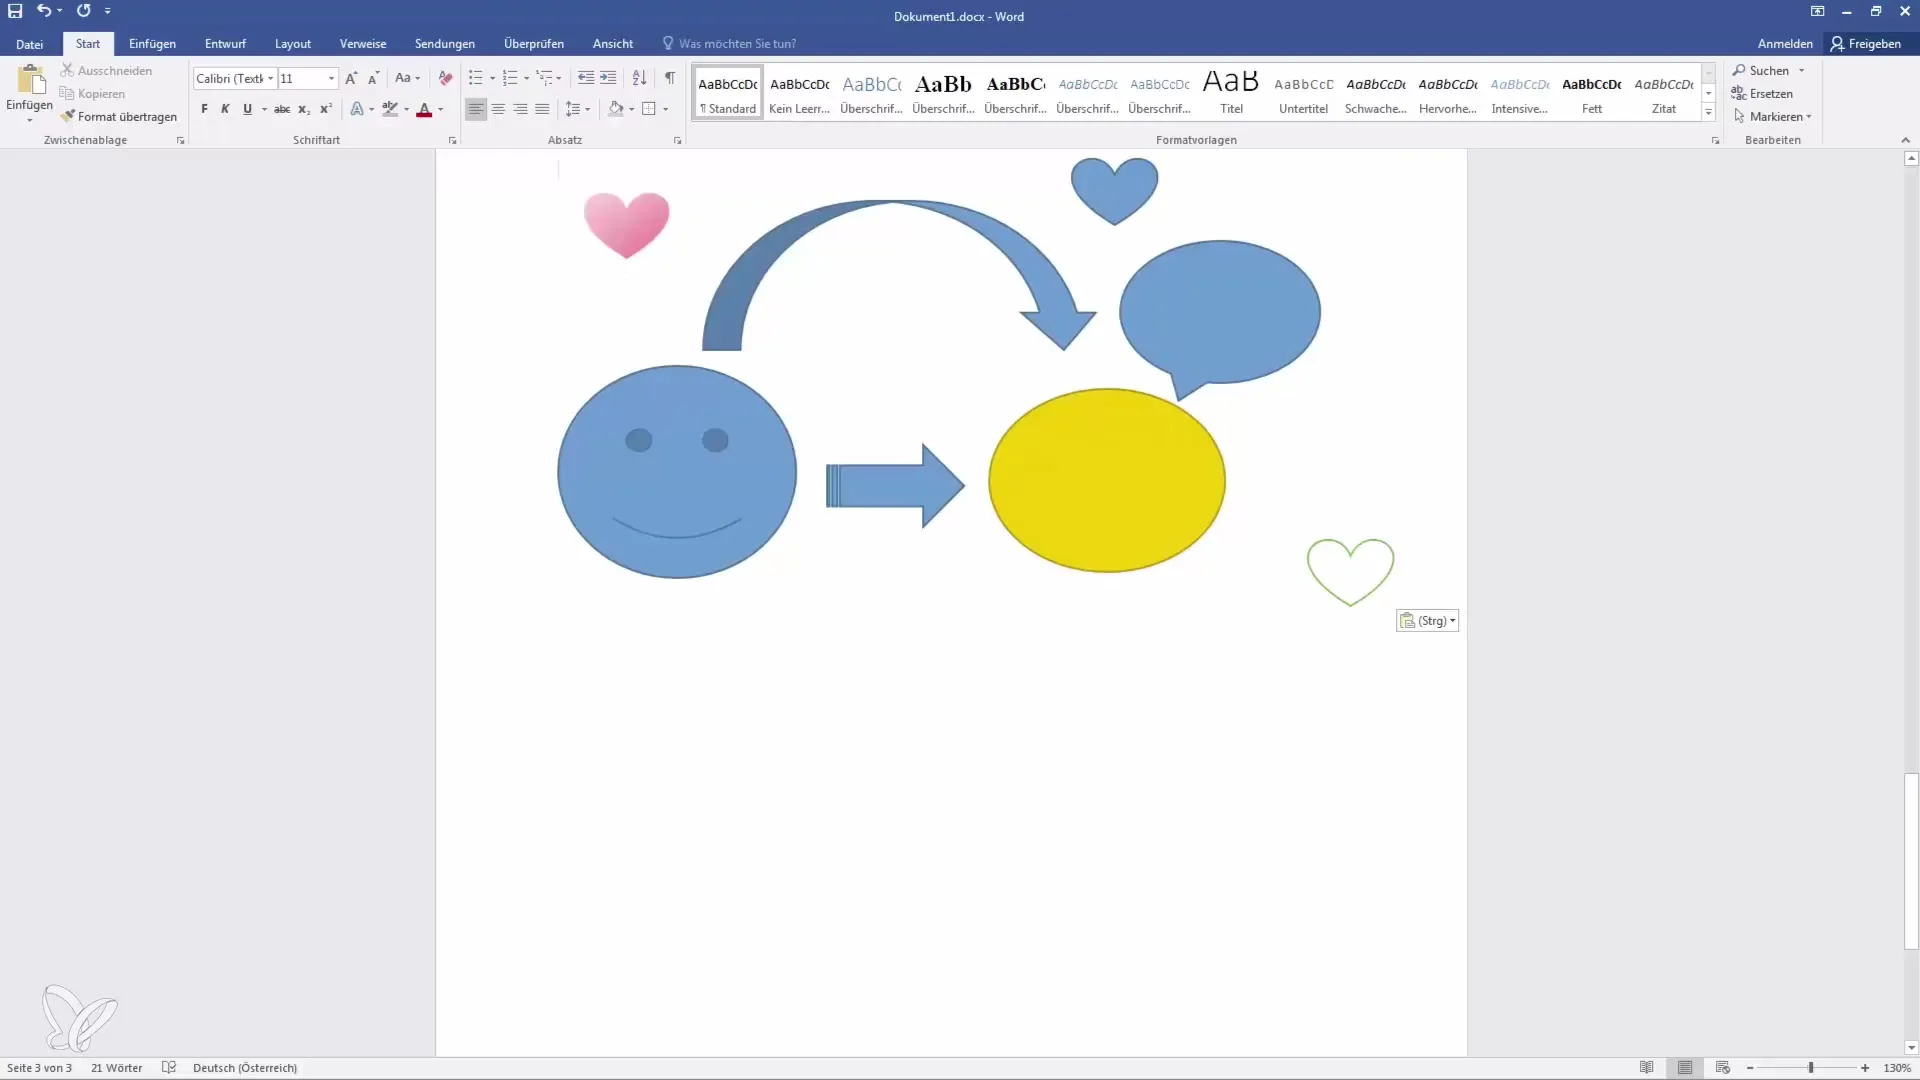
If needed, you can also copy everything at once and paste it on a new page - the original formatting will be preserved.
Using predefined shapes
If you wish to make additional adjustments, Word also offers predefined types of shapes. Use the formatting options in the menu bar to choose between different styles or fills.
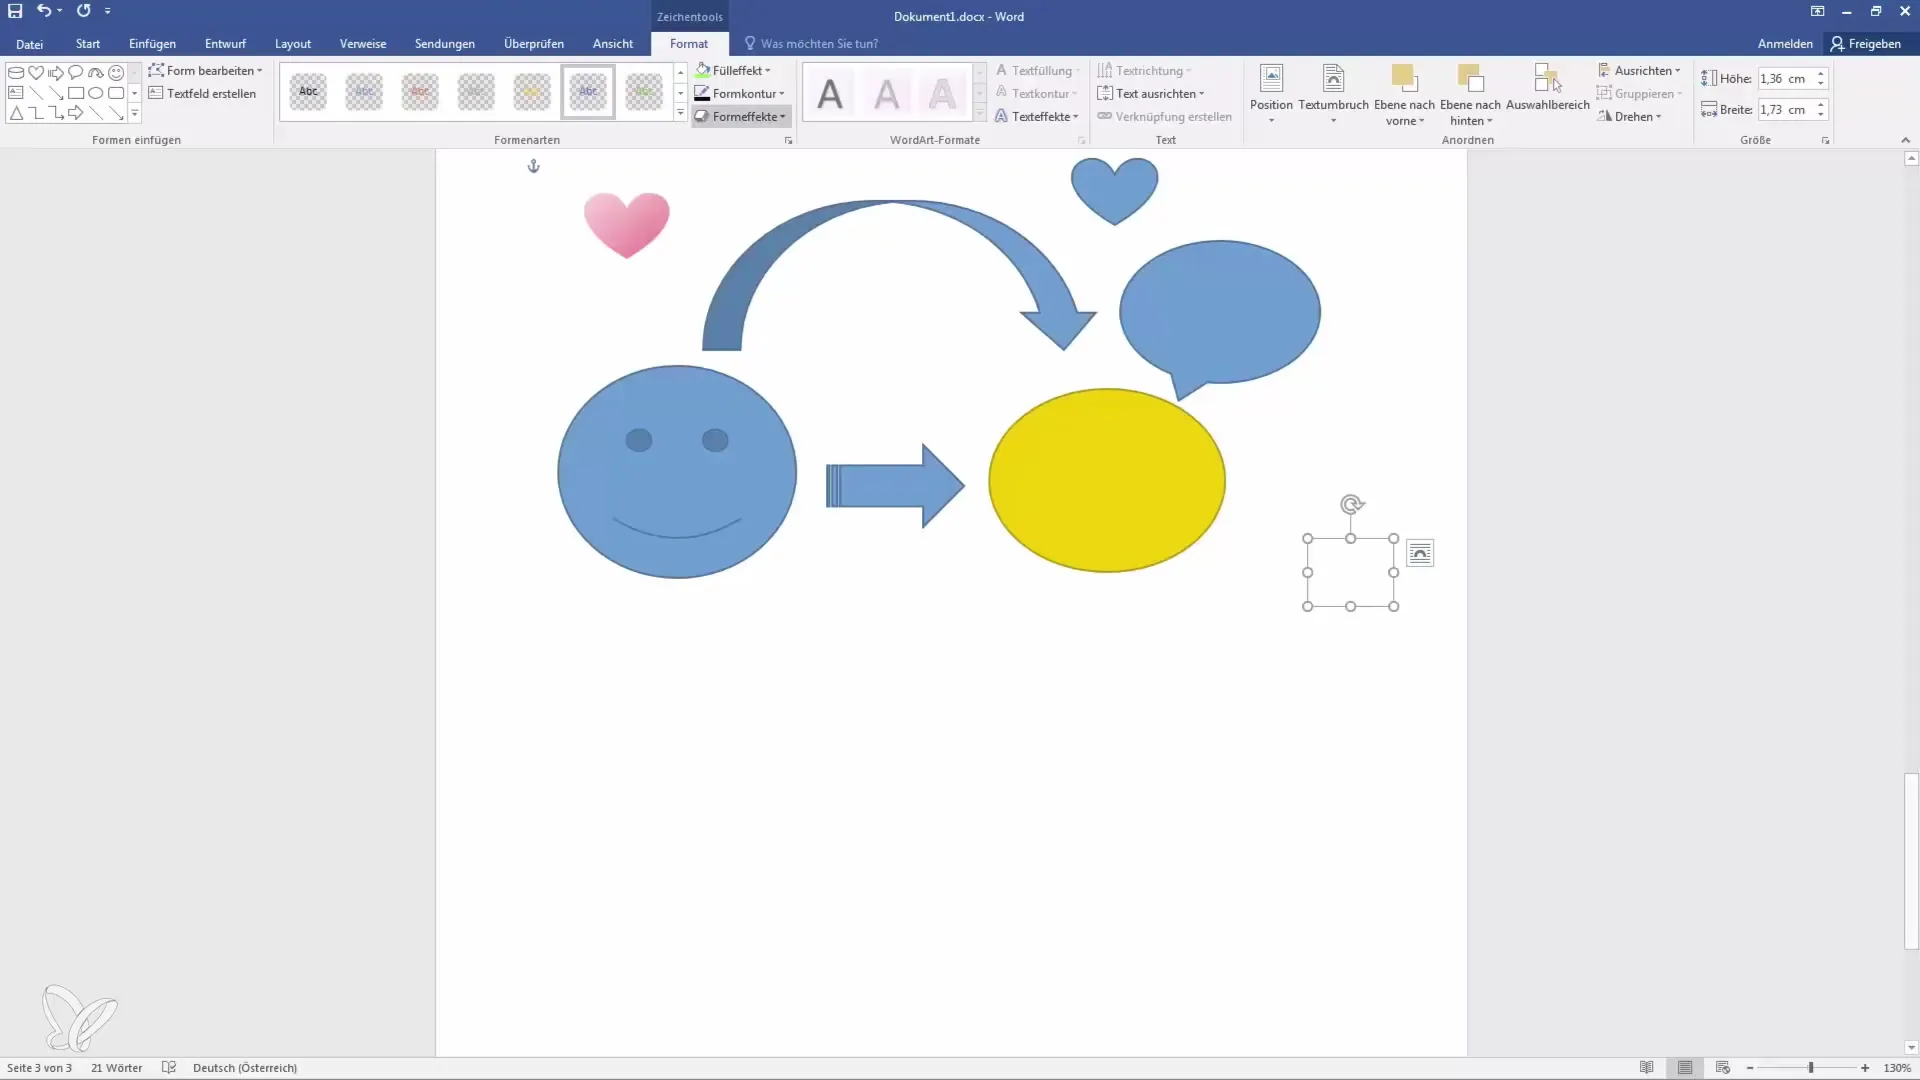
Here you can choose between solid and hollow designs to meet your needs.
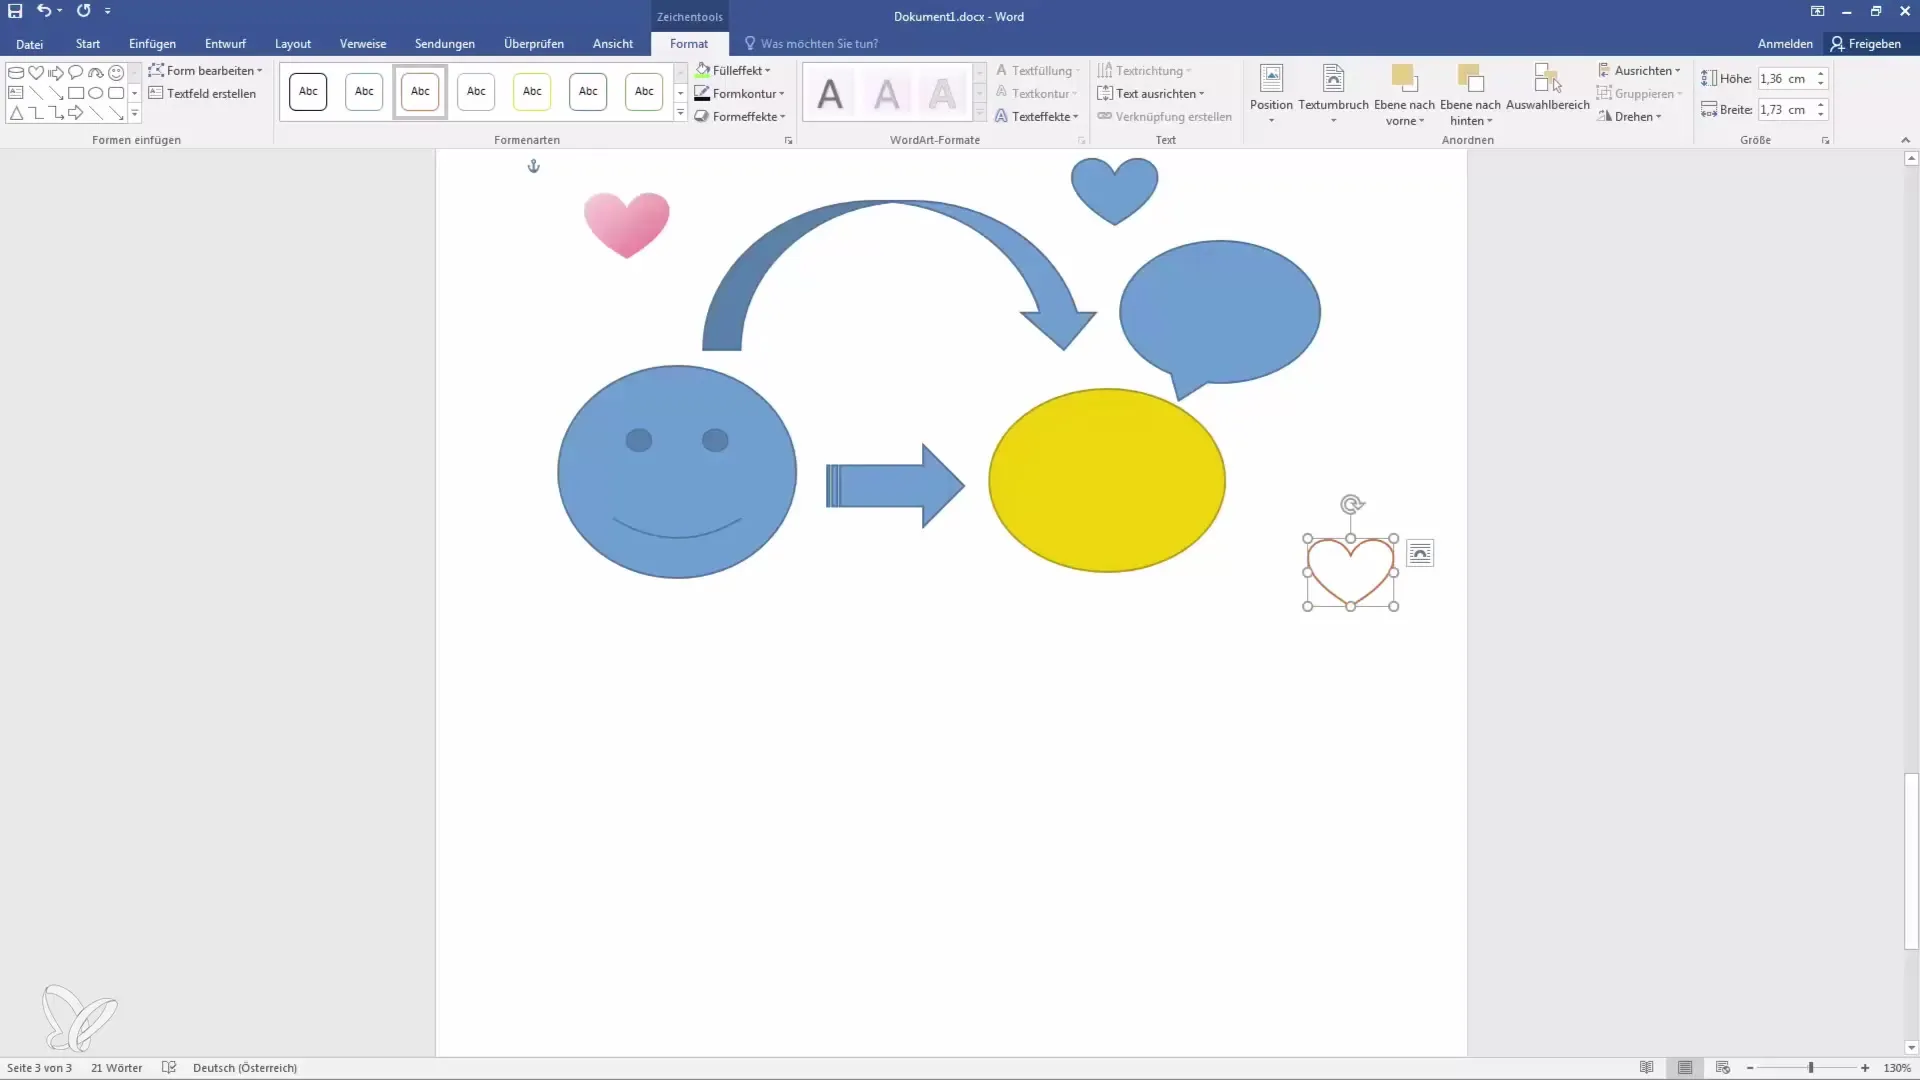
The selection is diverse, and it is worth experimenting to achieve the desired appearance.
Summary
In this tutorial, you have learned how to effectively work with the different shapes in Microsoft Word. From simple insertions to adjustments and creative effects - the possibilities are almost endless. Let your creativity flow and experiment with the various features to visually enhance your documents.
Frequently Asked Questions
How do I insert a shape in Word?Go to the "Insert" tab, choose "Shapes," and click on the desired shape.
Can I change the color of a shape?Yes, click on the shape and navigate to "Shape Format" to adjust the colors.
How can I copy and paste the shapes?Select the shape, press "Ctrl + C" to copy and "Ctrl + V" to paste.
Can I add effects like shadows or reflections?Yes, select the shape and use the effects in the "Shape Format" menu to achieve the desired look.
Can I rotate the shape?Yes, click on the rotation handle of the shape to rotate it.
