Creating and inserting screenshots in Word documents is a valuable skill that helps you visually present information attractively. Whether for presentations, reports, or brochures - it is often important to integrate visual elements to support your arguments or make information clearer. In this guide, you will learn how to effectively use the screenshot function in Word to create screenshots directly from your open windows and edit them in your documents.
Key Takeaways
- You can create and insert screenshots directly in Word.
- The function allows you to choose between open windows or create specific image excerpts.
- Screenshots can be edited, cropped, and arranged like any other image.
Create and Insert a Screenshot
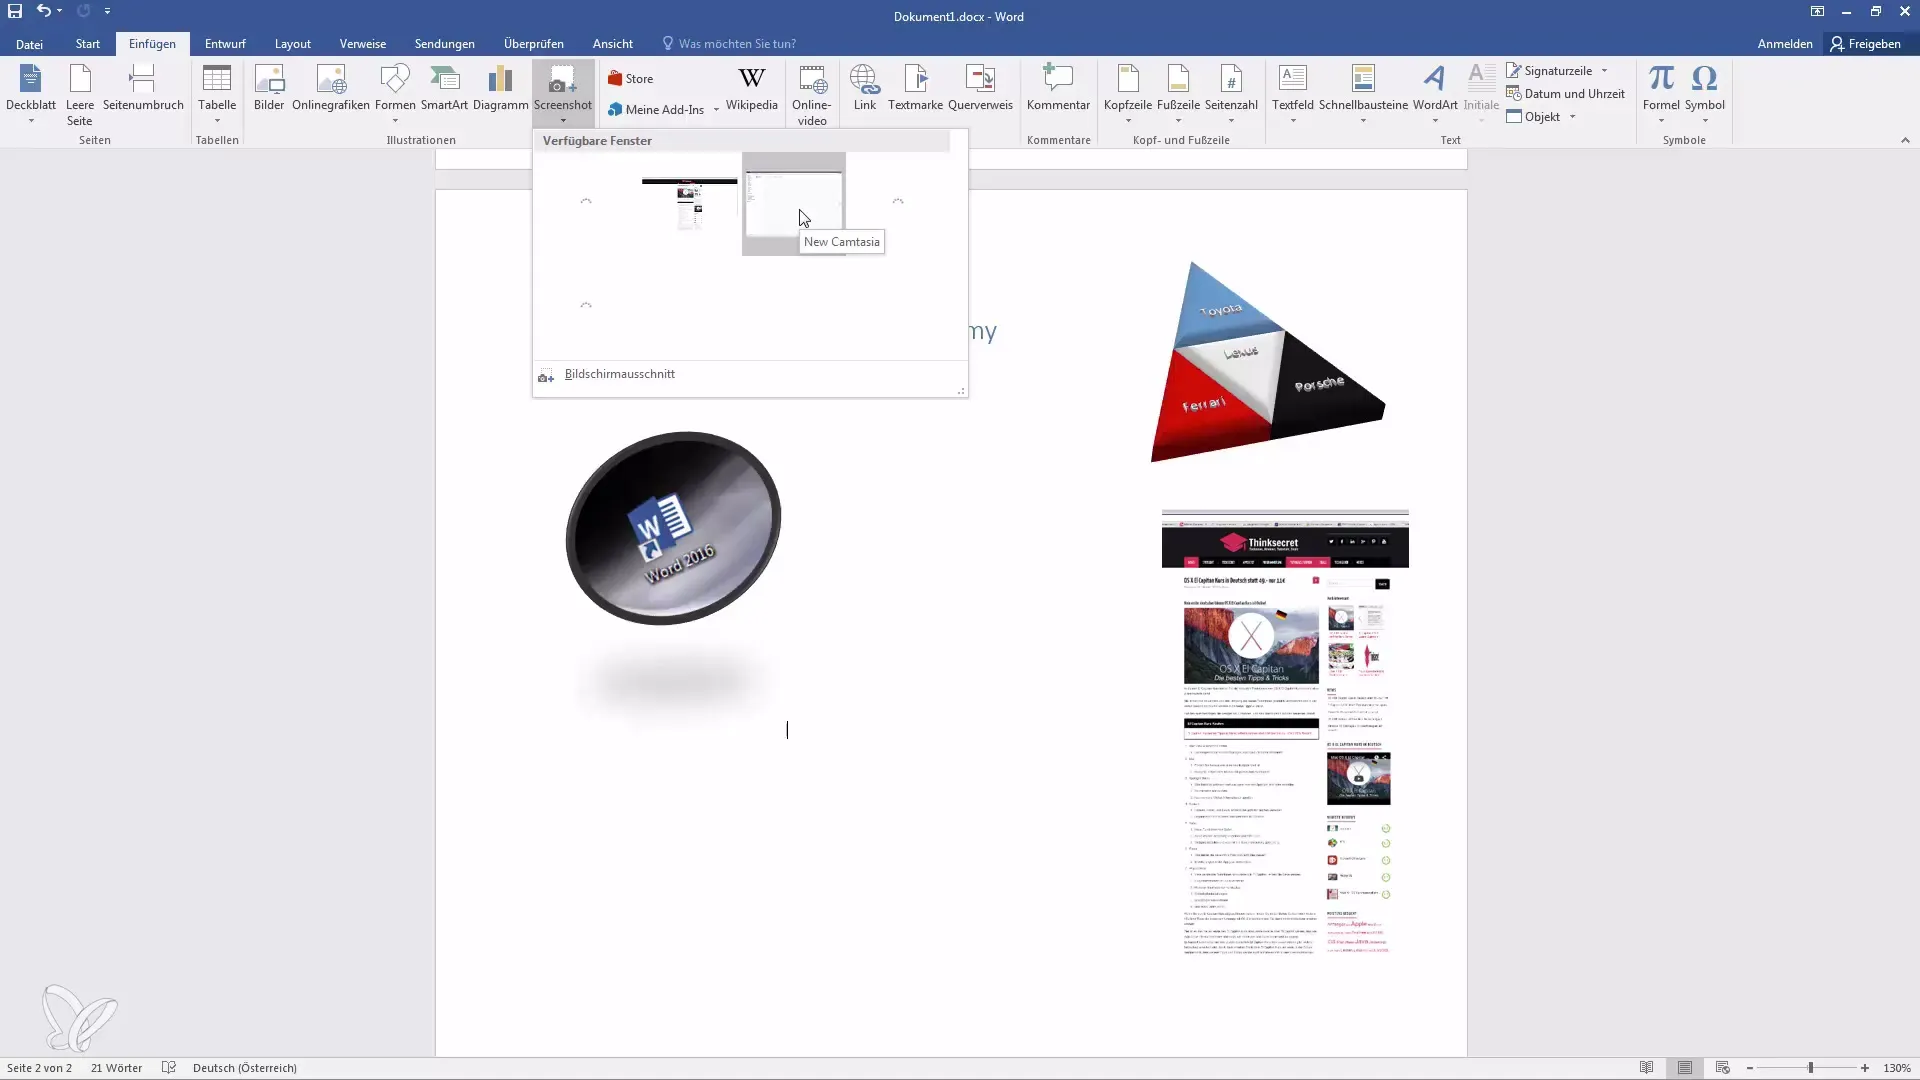
Begin by opening Microsoft Word and navigating to the document where you want to insert the screenshot. To create a screenshot, go to the "Insert" tab in the menu bar. There, click on the "Screenshot" button.
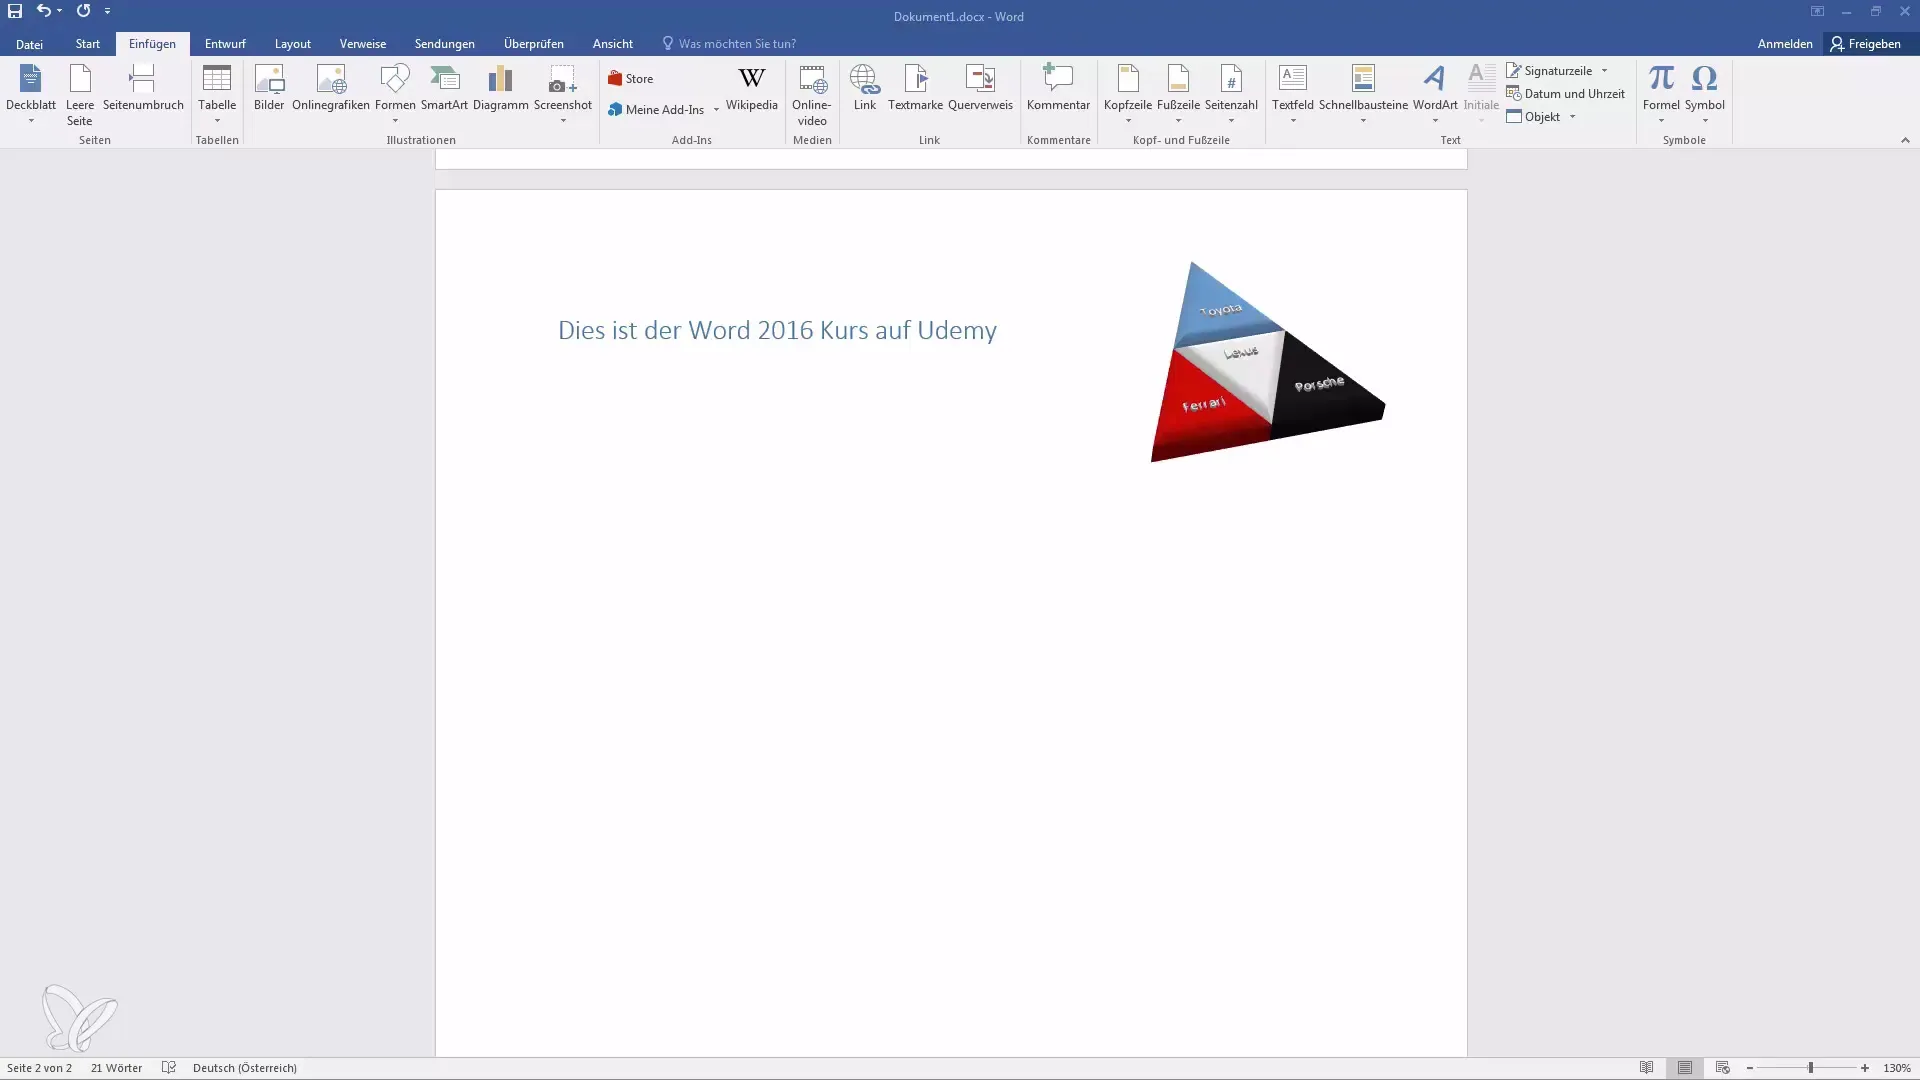
A dropdown menu will then appear, allowing you to choose between the available open screen windows. You just need to select the window from which you want to create a screenshot.
For example, if you want to take a screenshot of your Chrome browser, simply click on the corresponding window. Word will automatically take the screenshot and insert it into your document.
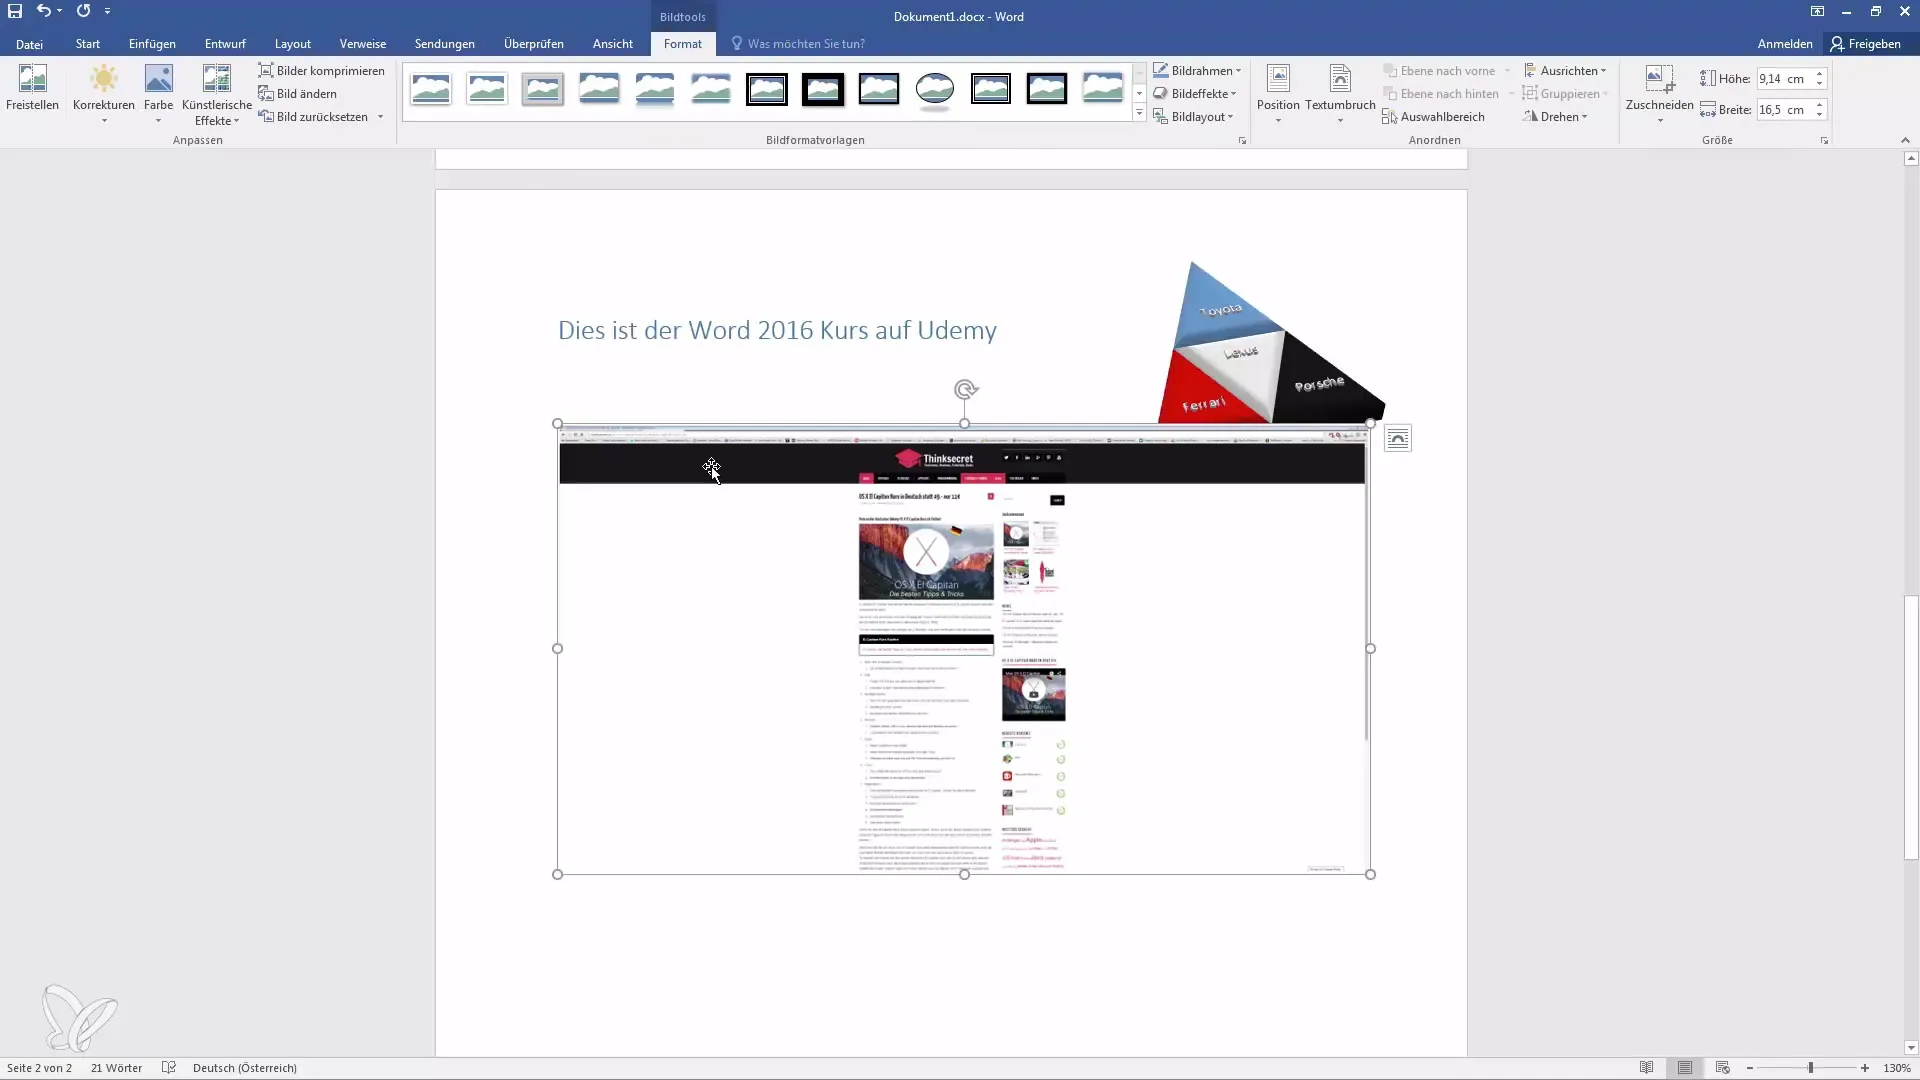
Select a Screen Area
In addition to choosing an entire window, Word also provides a way to select a specific area on your screen. To do this, click on "Screenshot" again and select "Screen area".
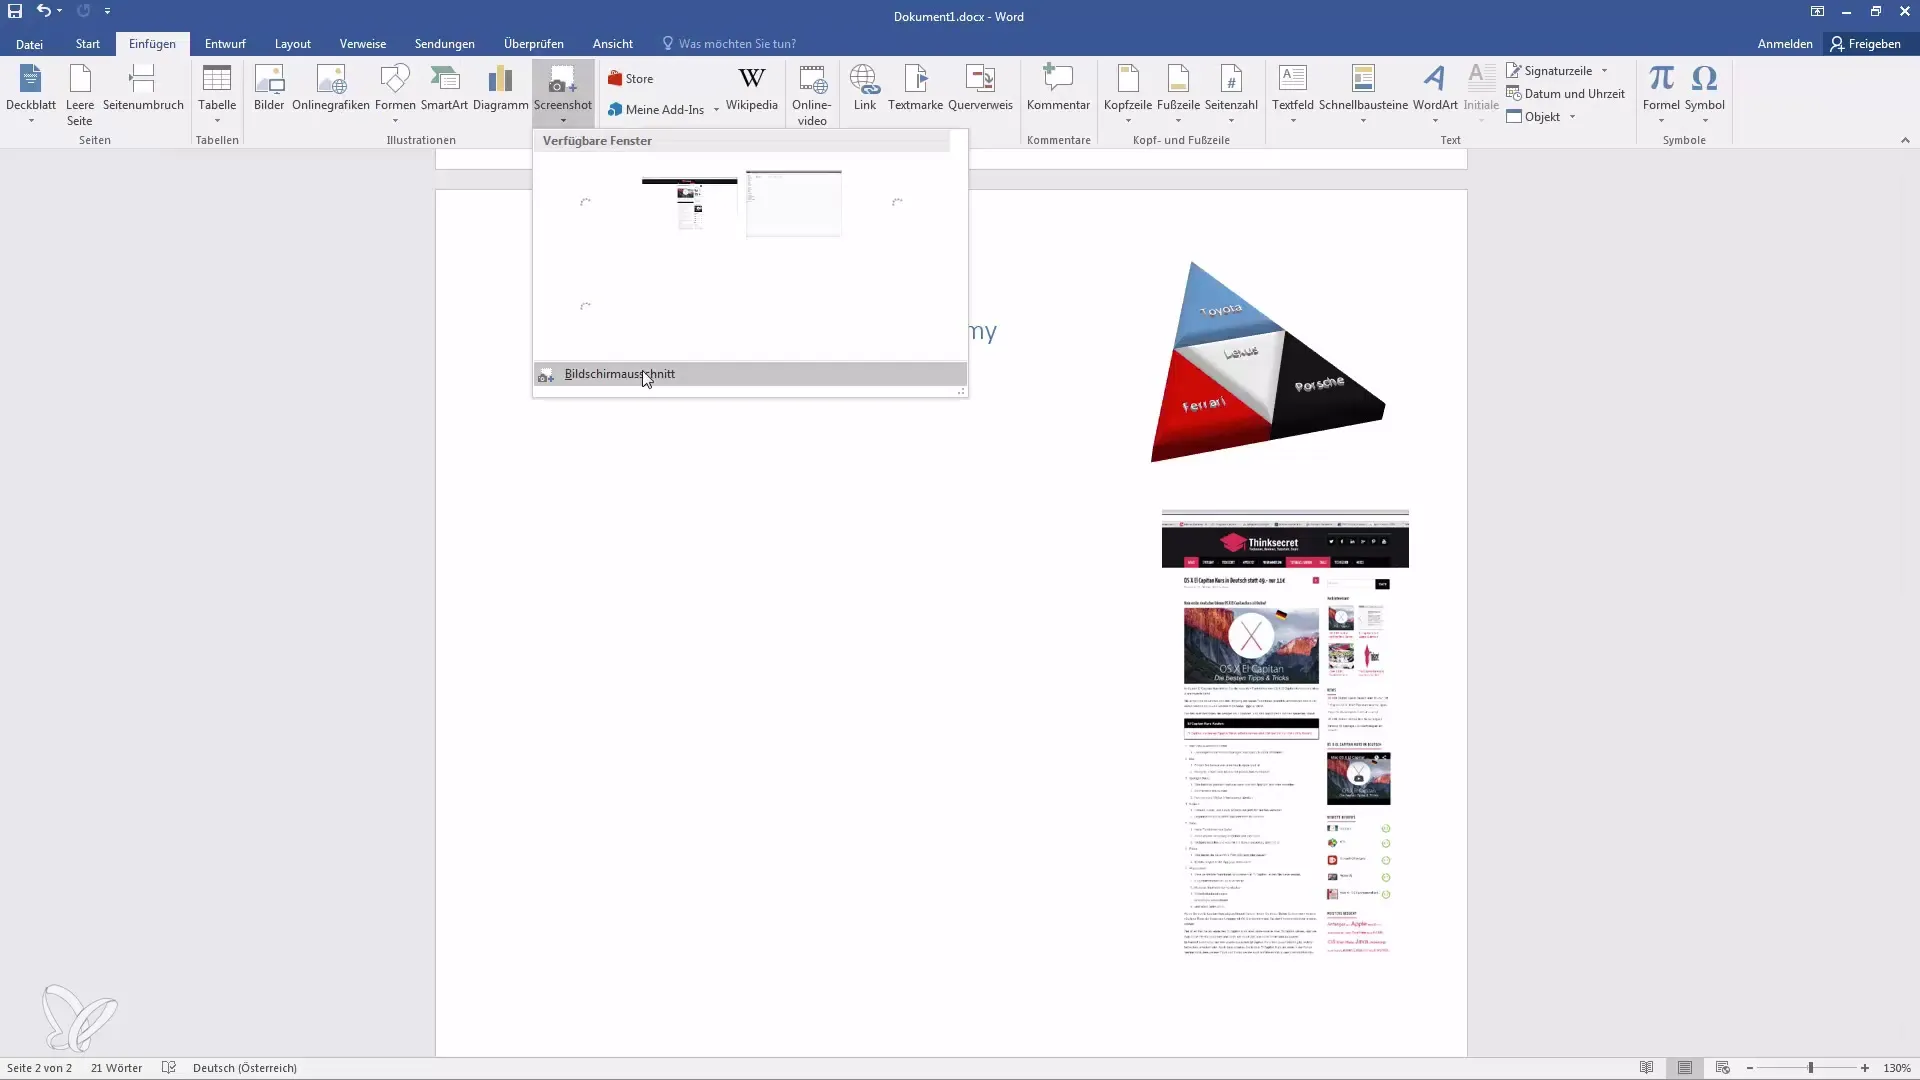
Now you can drag with the left mouse button to select the area you want to screenshot. For example, you could select the Word 2016 icon by framing it with the mouse and releasing. Word will create and insert the screenshot of the highlighted area into your document.
Edit the Screenshot
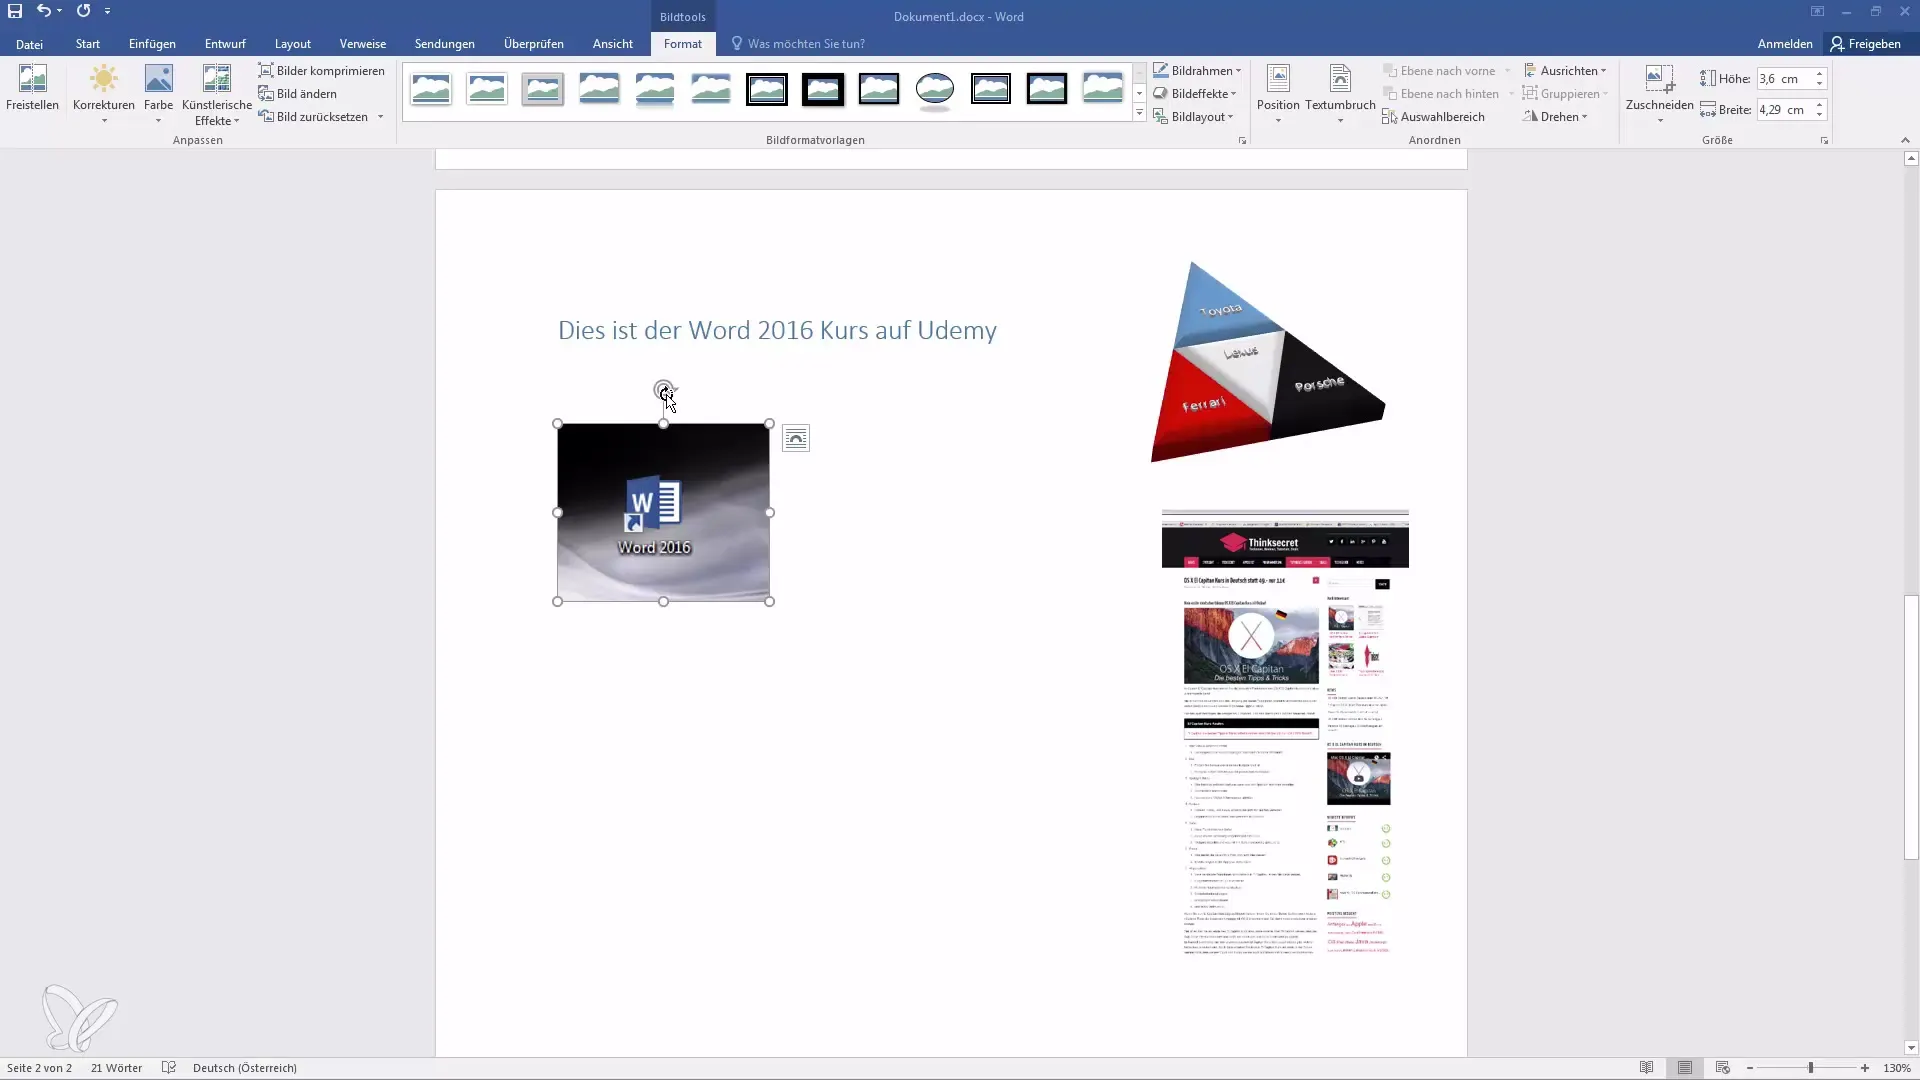
Once the screenshot is inserted, you can further edit it like any other image in Word. You have the option to crop, rotate, and apply various formatting. So, if you only need a specific aspect of the screenshot, simply crop out the area you do not need.
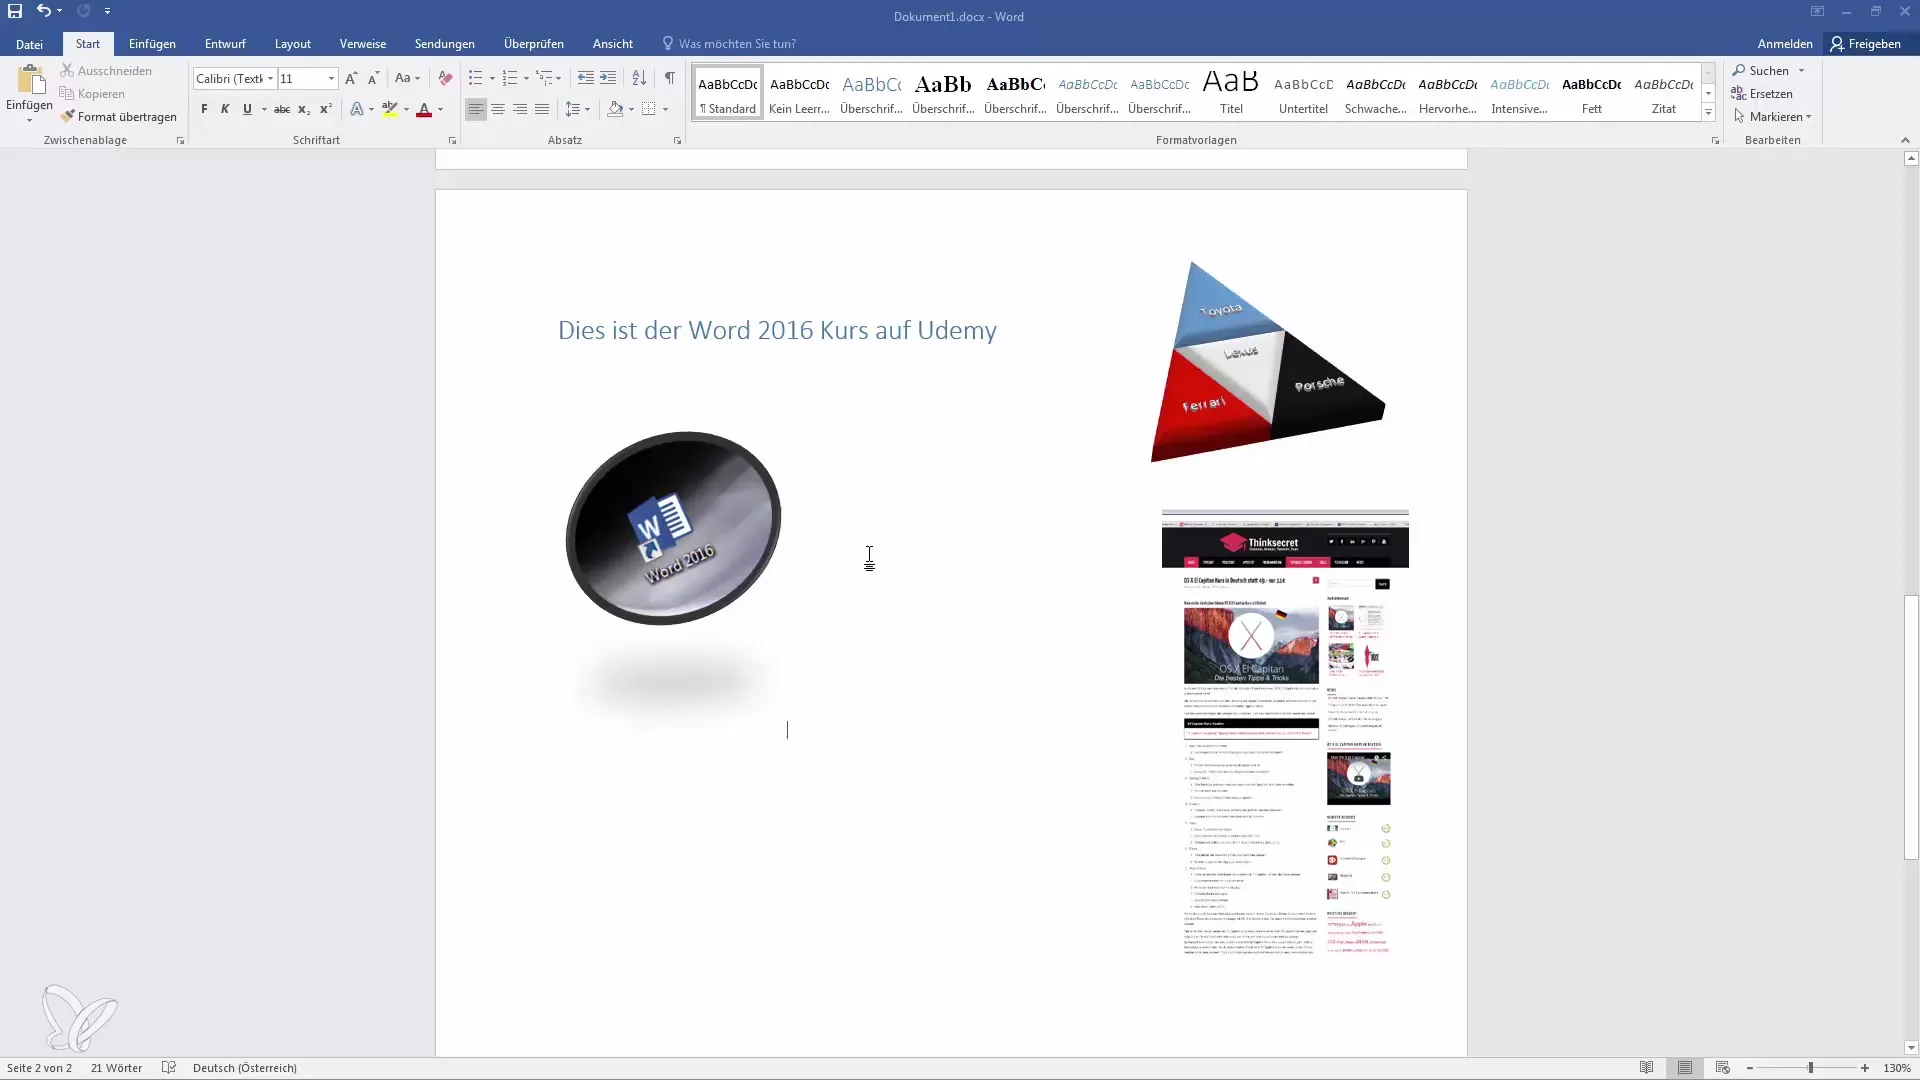
For example, you may want to highlight an element or stylize the screenshot to fit attractively into a brochure.
Using Multiple Windows
If you have multiple windows open at the same time, you can choose between them to create screenshots. Whether you are using Chrome, Windows Explorer, or another application, the screenshot function in Word has access to all these open windows.
This is particularly useful in situations where you want to combine or compare information from different sources.
Summary
Inserting screenshots into Word documents is a simple and useful process. With the integrated screenshot function, you can make your documents more appealing and informative. Whether you need the entire screen or just a specific area, Word provides you with the necessary tools to do this effectively. Remember to utilize the extensive editing options to customize your screenshots according to your needs.
Frequently Asked Questions
How do I insert a screenshot into a Word document?Go to the "Insert" tab and click on "Screenshot". Choose the desired window or "Screen area" to create a screenshot.
Can I edit the screenshot after inserting it?Yes, you can edit the screenshot like any other image in Word, such as cropping or resizing.
Is there a way to only screenshot a specific area of my screen?Yes, choose "Screen area" in the screenshot function and drag the desired area with the mouse.
What happens if I have multiple windows open?The screenshot function will show you all open windows for selection, and you can easily navigate between them.
