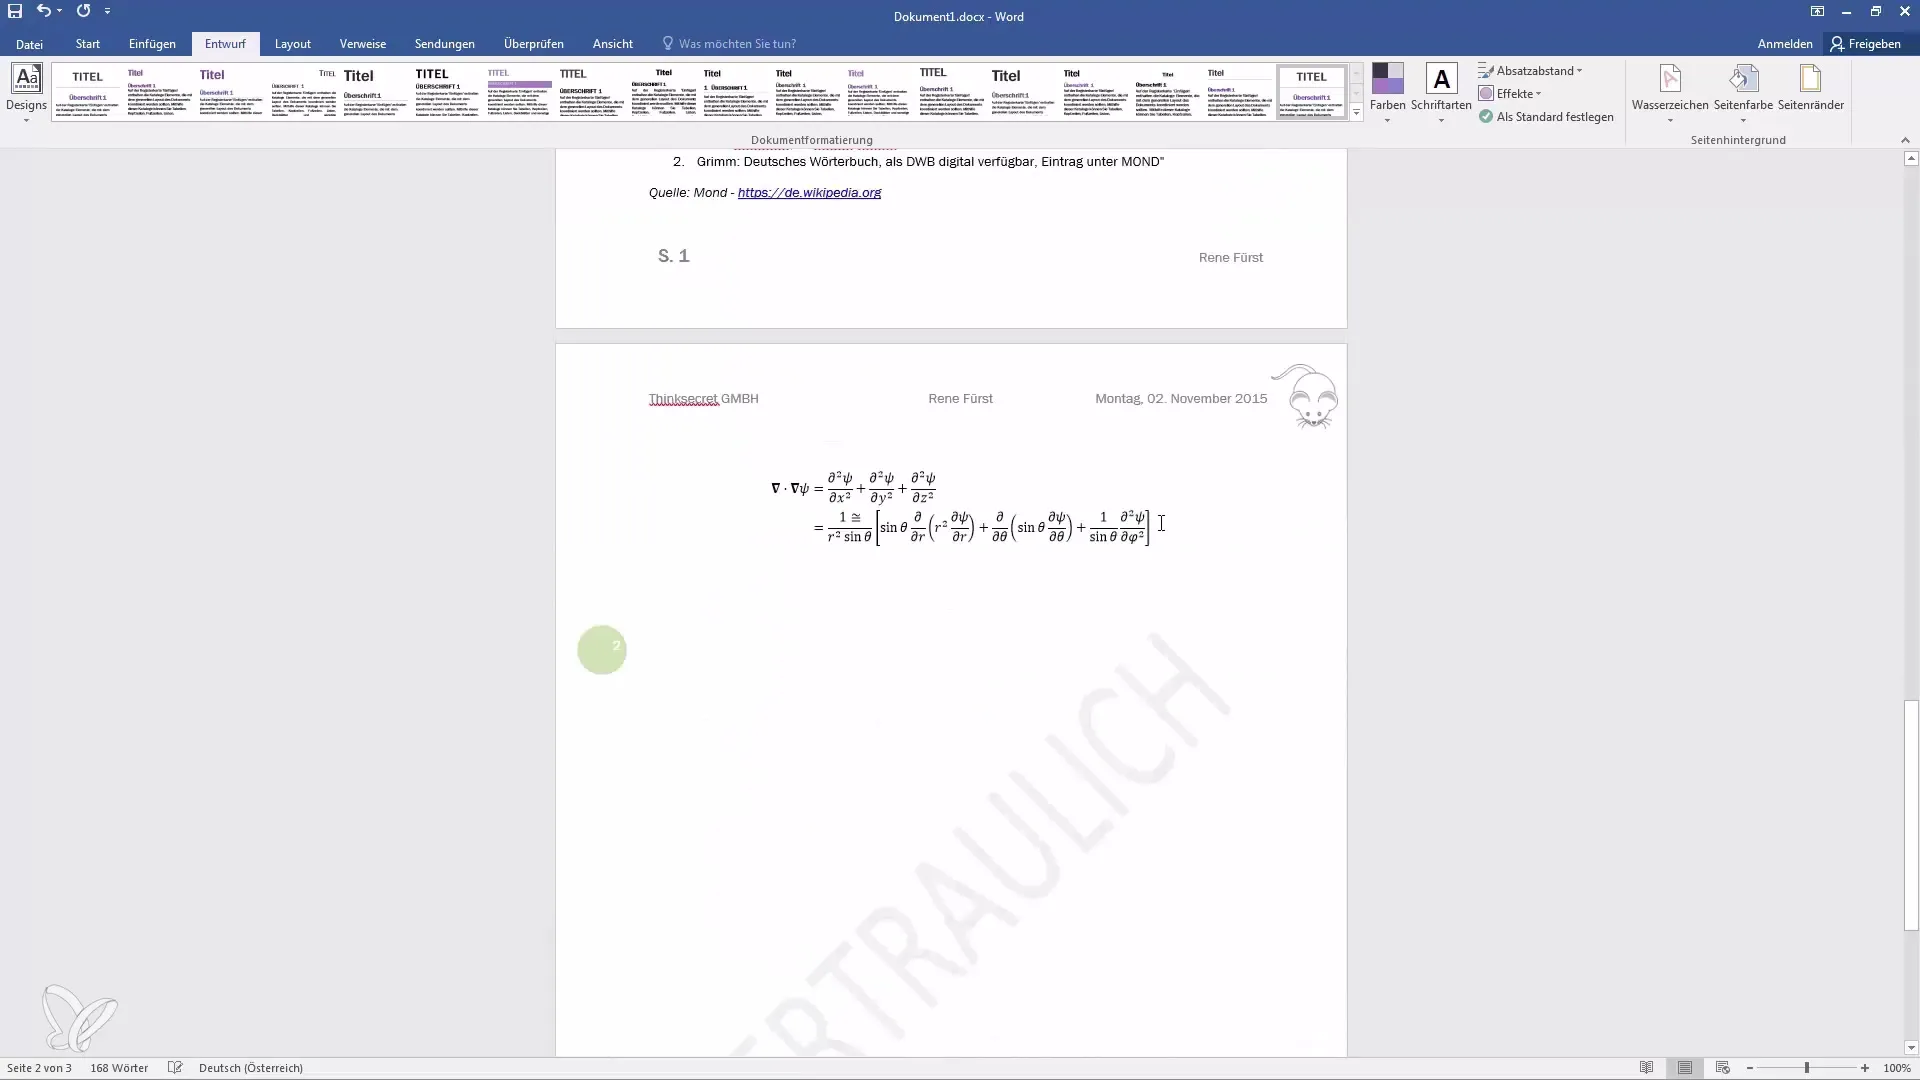
How often have you already created a document and want to mark it as confidential or indicate that it is a copy? Watermarks are an ideal way to integrate information into your Word documents in a subtle but effective manner. In this tutorial, you will learn step by step how to create and customize watermarks in Microsoft Word to make your documents look more professional.
Main Takeaways
- Watermarks give documents a clear identity.
- Microsoft Word offers both standard and custom watermarks.
- You can create and customize text or image watermarks.
Step-by-Step Guide
First, you need to open Microsoft Word and select the document where you want to insert a watermark.

To add a watermark, go to the "Design" tab in the menu bar. There you will find the "Watermark" option under the "Page Backgrounds" section.
Click on the watermark symbol, and you will see a selection of predefined standard watermarks. These include, for example, "Confidential," "Do Not Copy," or the note "Draft."
If you select one of these watermarks, it will be automatically inserted into your document. It will appear on every page of the document, excluding the cover page. For example, select "Confidential" to demonstrate this.

You will see that the watermark is laid behind the text, making it a supporting element. Note that in heavily graphic-designed documents, the background may appear slightly blurred. Therefore, it is advisable to position the graphics in a way that does not cover the watermark.
If you want to remove your watermark, click on the watermark symbol again and select the removal option. Here you also have the option to download watermarks from Office.com if futuristic designs are available.

For customized designs, you can also create a custom watermark. Click on the "Custom Watermark" option for this.

Here, you have the choice to either add your own image as a watermark or create a text watermark. With a text watermark, you can enter your own text and choose the font, size, and color.

For example, you could choose a red font color for your watermark and align the text diagonally to achieve a dynamic effect.

Once the settings are made, the watermark will be inserted in your desired style. Now you will see your individually designed watermark in the background of your document.

If you are satisfied with the watermark, you can save it as your own, so you can reuse it at any time in the future.
Saving allows you to save time when you regularly need similar watermarks.

Summary
In this guide, you have learned how to insert watermarks in Word documents from predefined options as well as custom designs. Knowledge of watermarks can help you make your documents look more professional and informative, whether they contain confidential information, recipes, or presentations.
Frequently Asked Questions
How do I insert a watermark in Word?Go to the "Design" tab, click on "Watermark," and choose one of the predefined watermarks.
Can I create my own watermark?Yes, you can add a custom watermark with text or an image.
Where can I find additional watermarks?You can download additional watermarks from Office.com if available.
How do I remove a watermark?Click again on the watermark symbol in the "Design" tab and select the remove option.
Can I save the watermark?Yes, you can save the watermark as your own to reuse it later.


