In order to achieve an appealing layout when creating documents in Microsoft Word, margins play a crucial role. With the right settings, you can showcase your text and graphics optimally, both for formal documents and creative projects. In this guide, you will learn step by step how to define and adjust margins in Word.
Key Takeaways
- You can create both simple and creative margin designs in Word.
- Margins can be set for the entire document or specific sections.
- Shades and borders can give your document a unique touch.
Step-by-Step Guide
First, open your Word document and switch to Draft view.
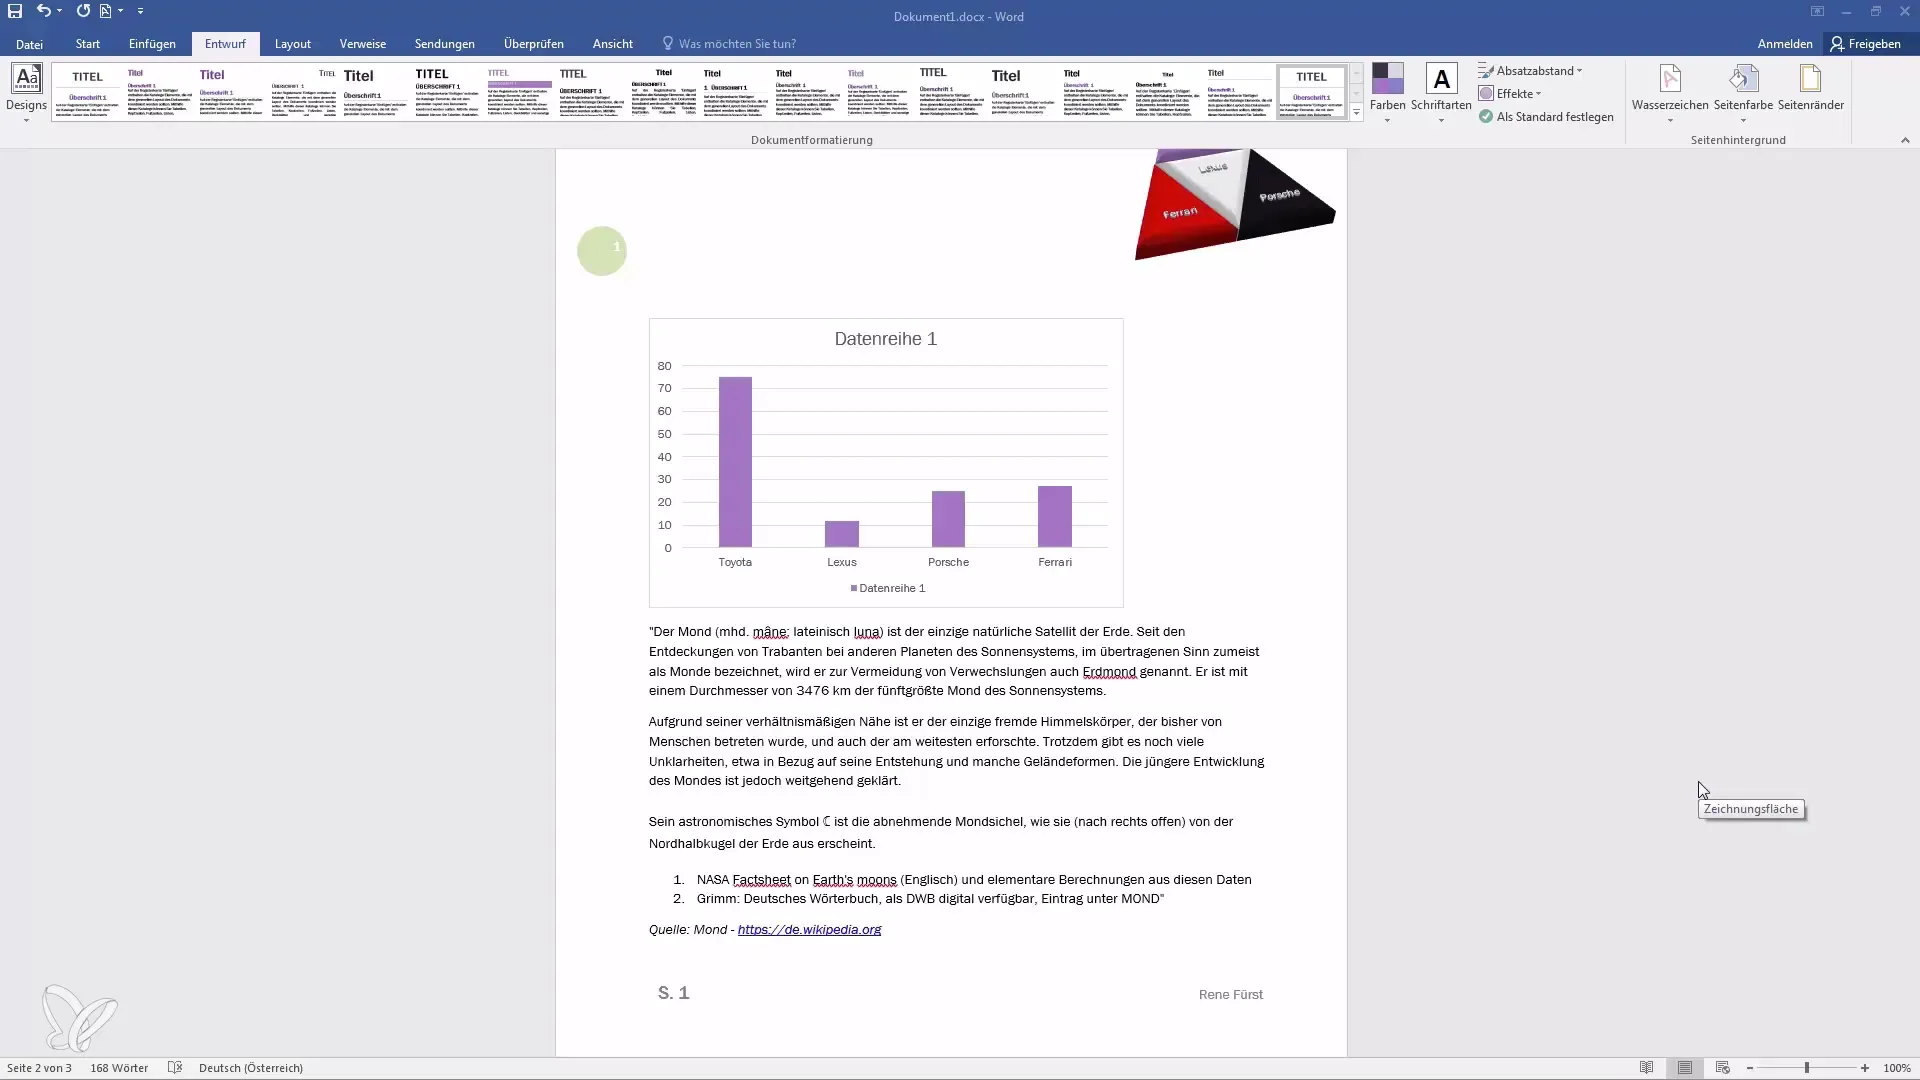
Accessing Margins
To adjust the margins, navigate to the "Page Layout" or "Layout" tab. There you will find the "Margins" section. Clicking on it will open the options to adjust the margins.
Defining Margins
In the menu option, you can choose the default margins or enter custom values. You have the option to define wider or narrower margins.
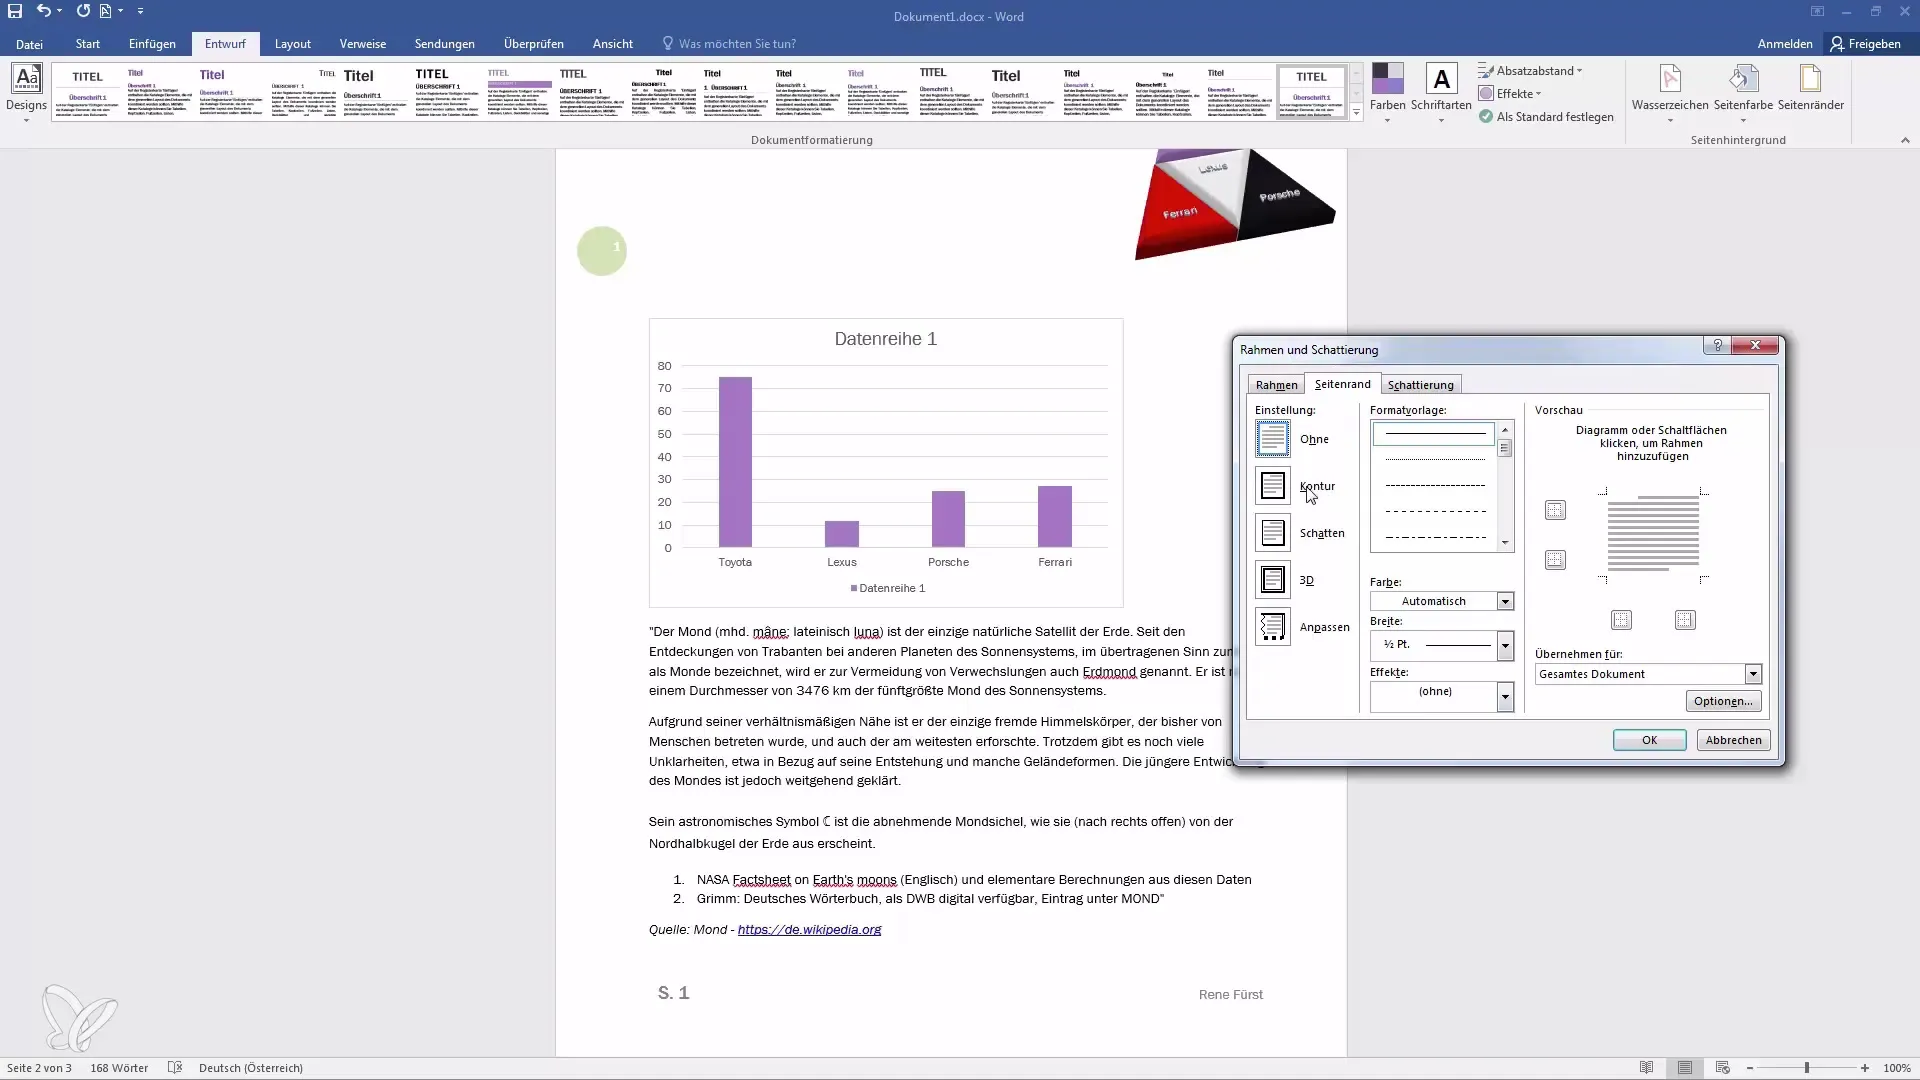
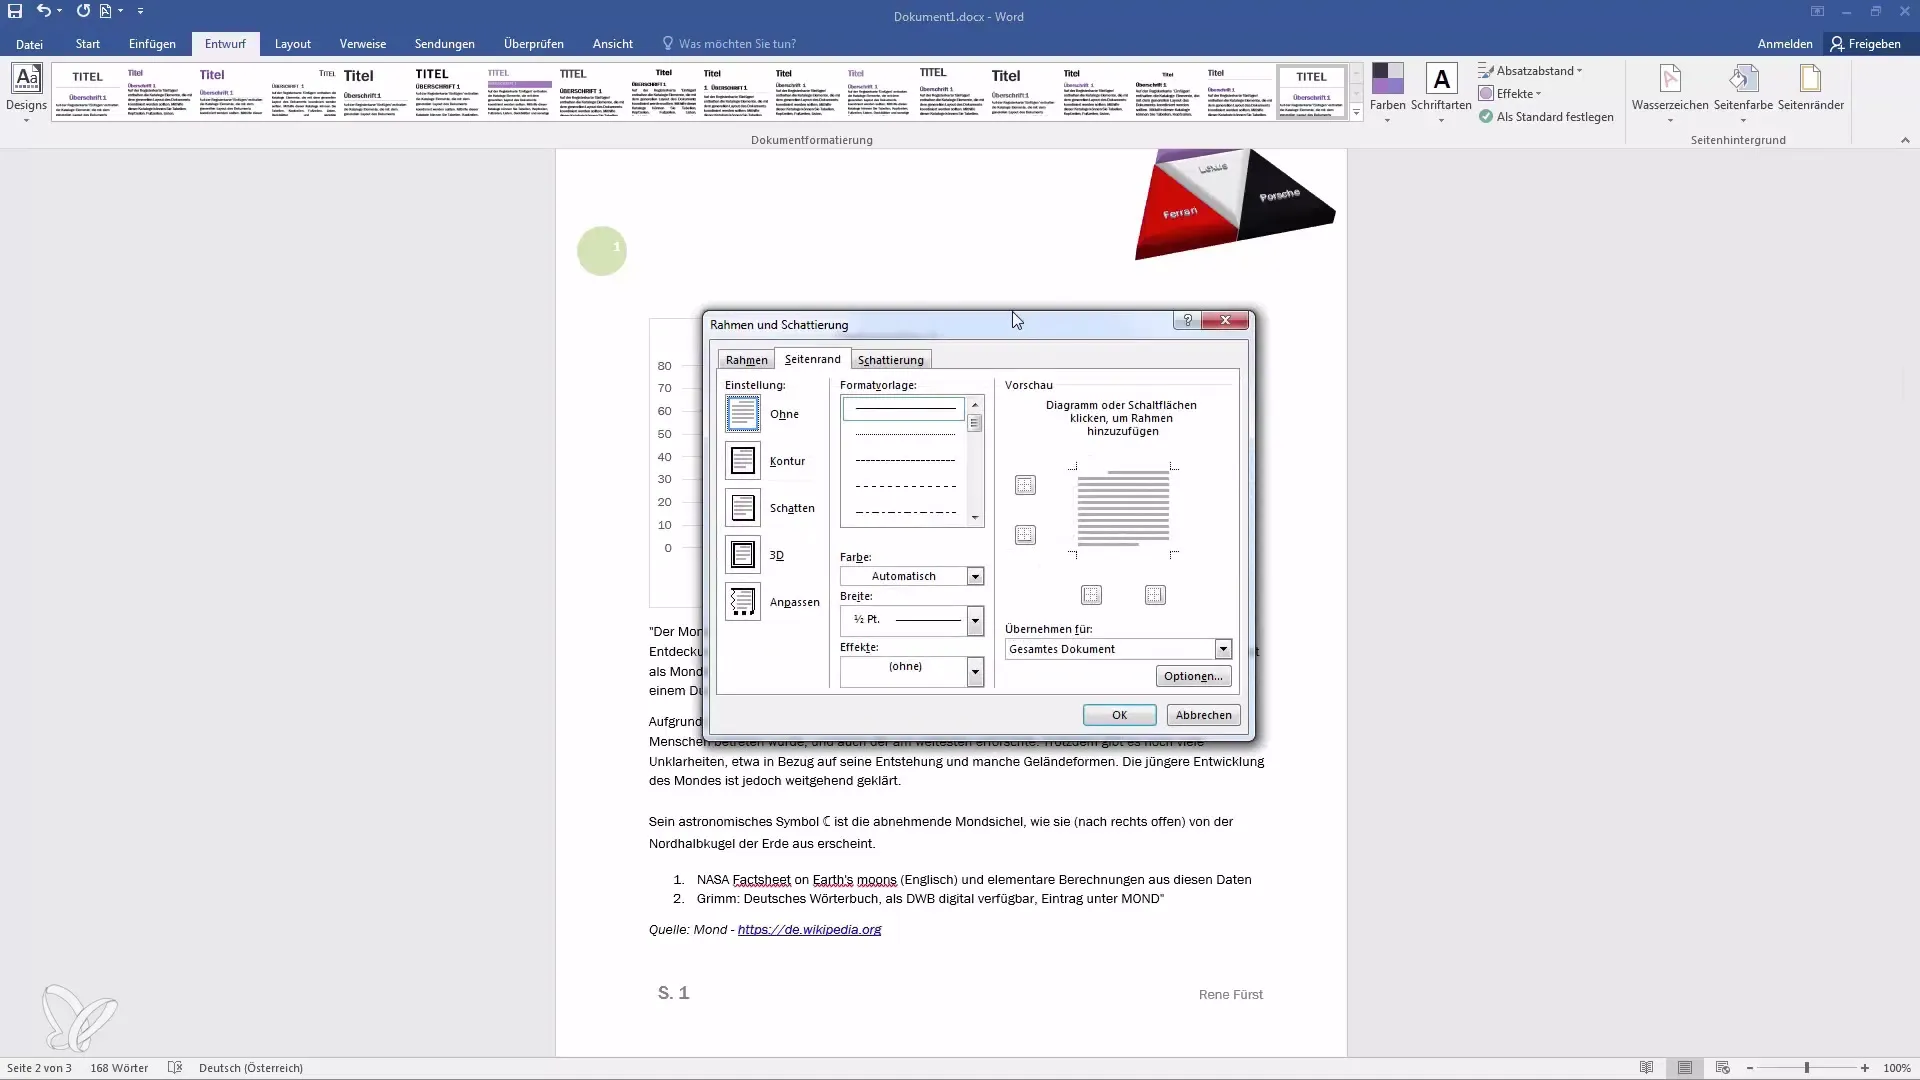
Adding a Border to the Document
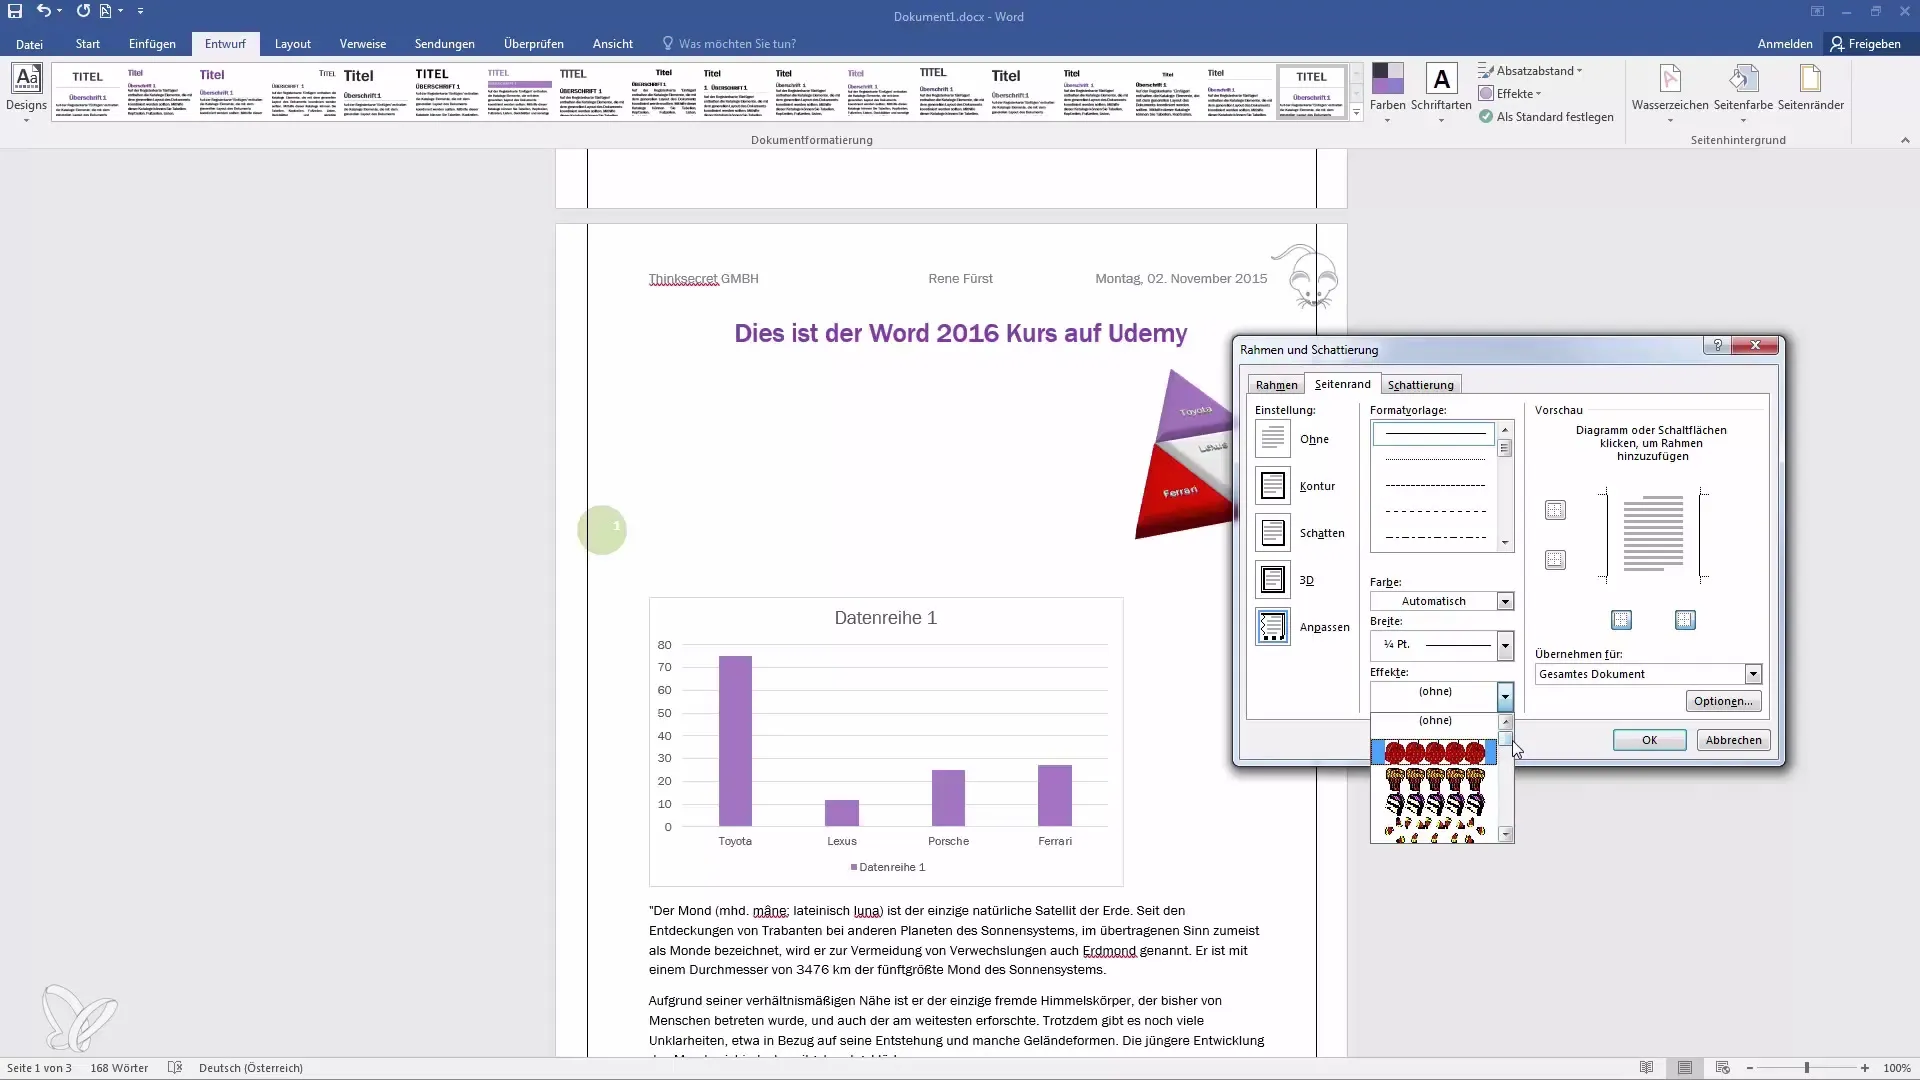
An interesting effect is adding a border. You can achieve this by clicking on "Margins" and then selecting the "Outline" option. Once you have made a selection, confirm it with "OK".
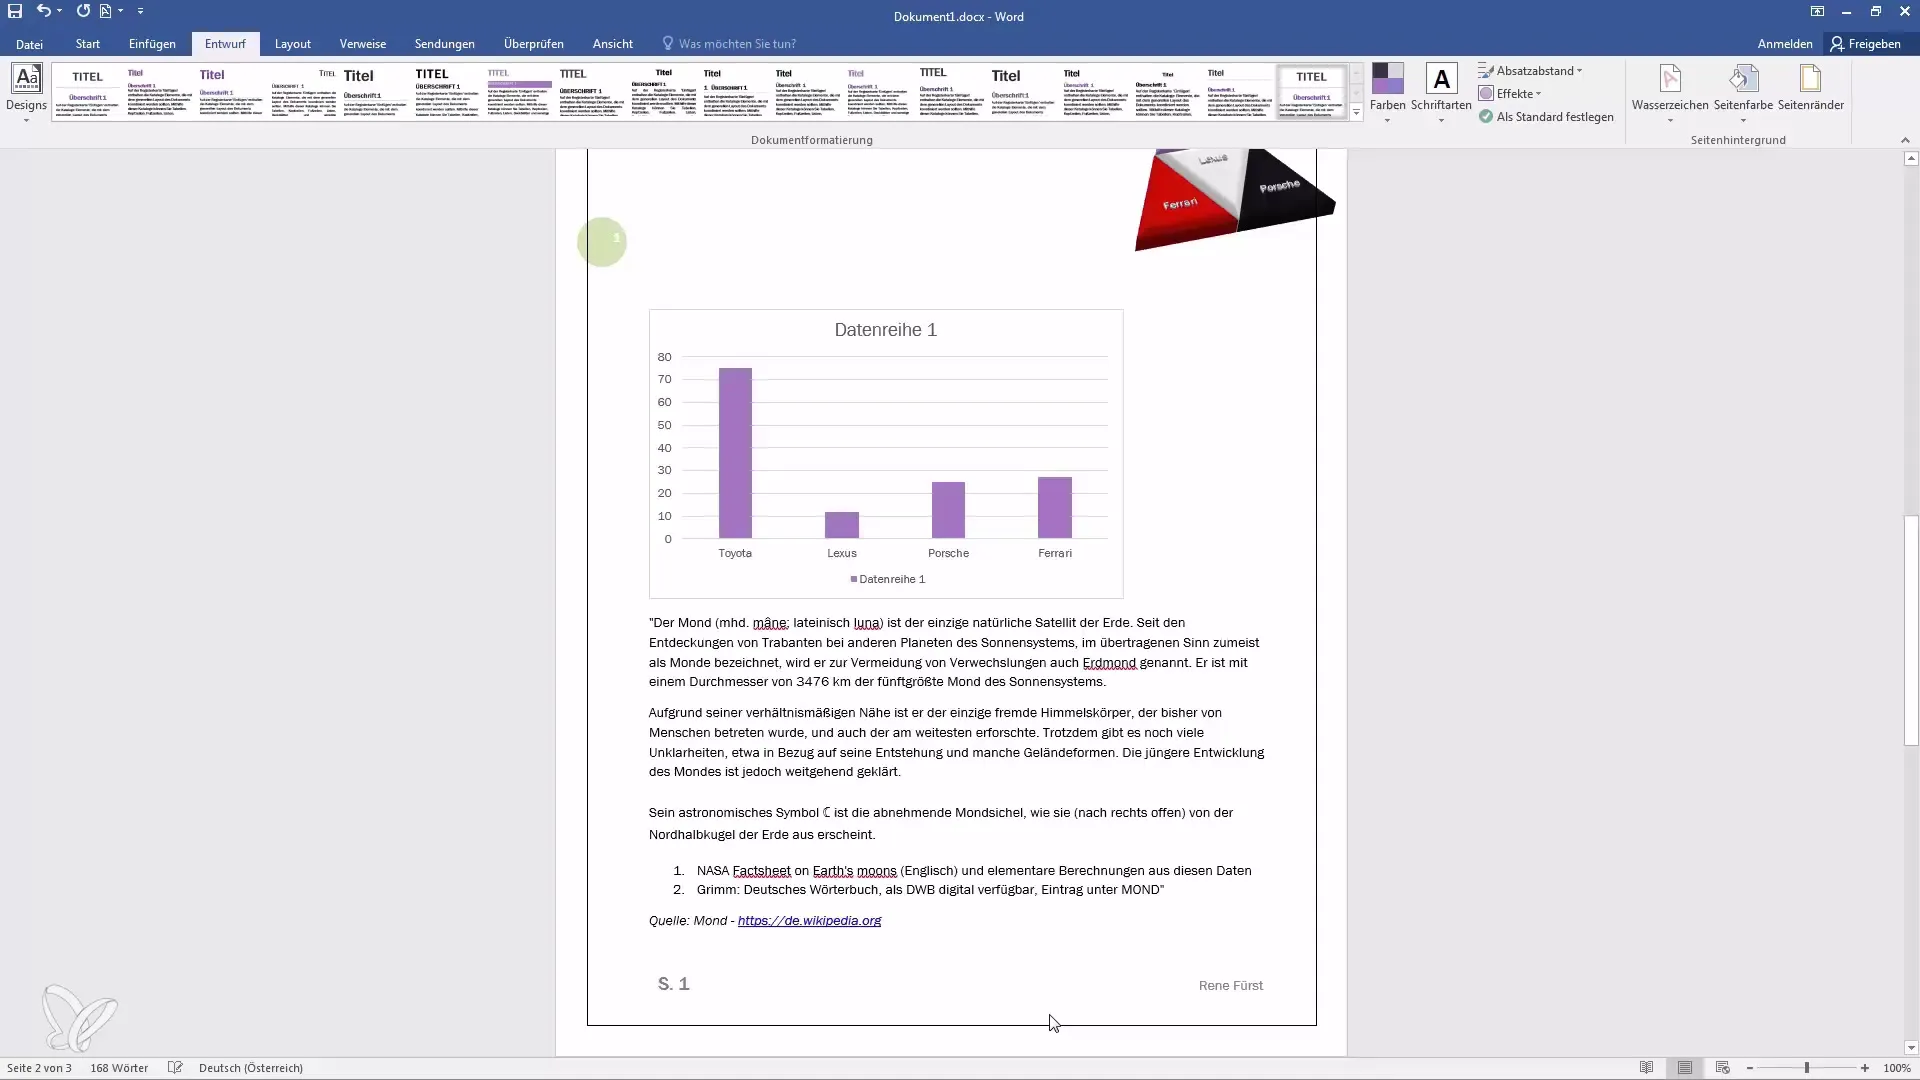
Choosing Dotted Borders
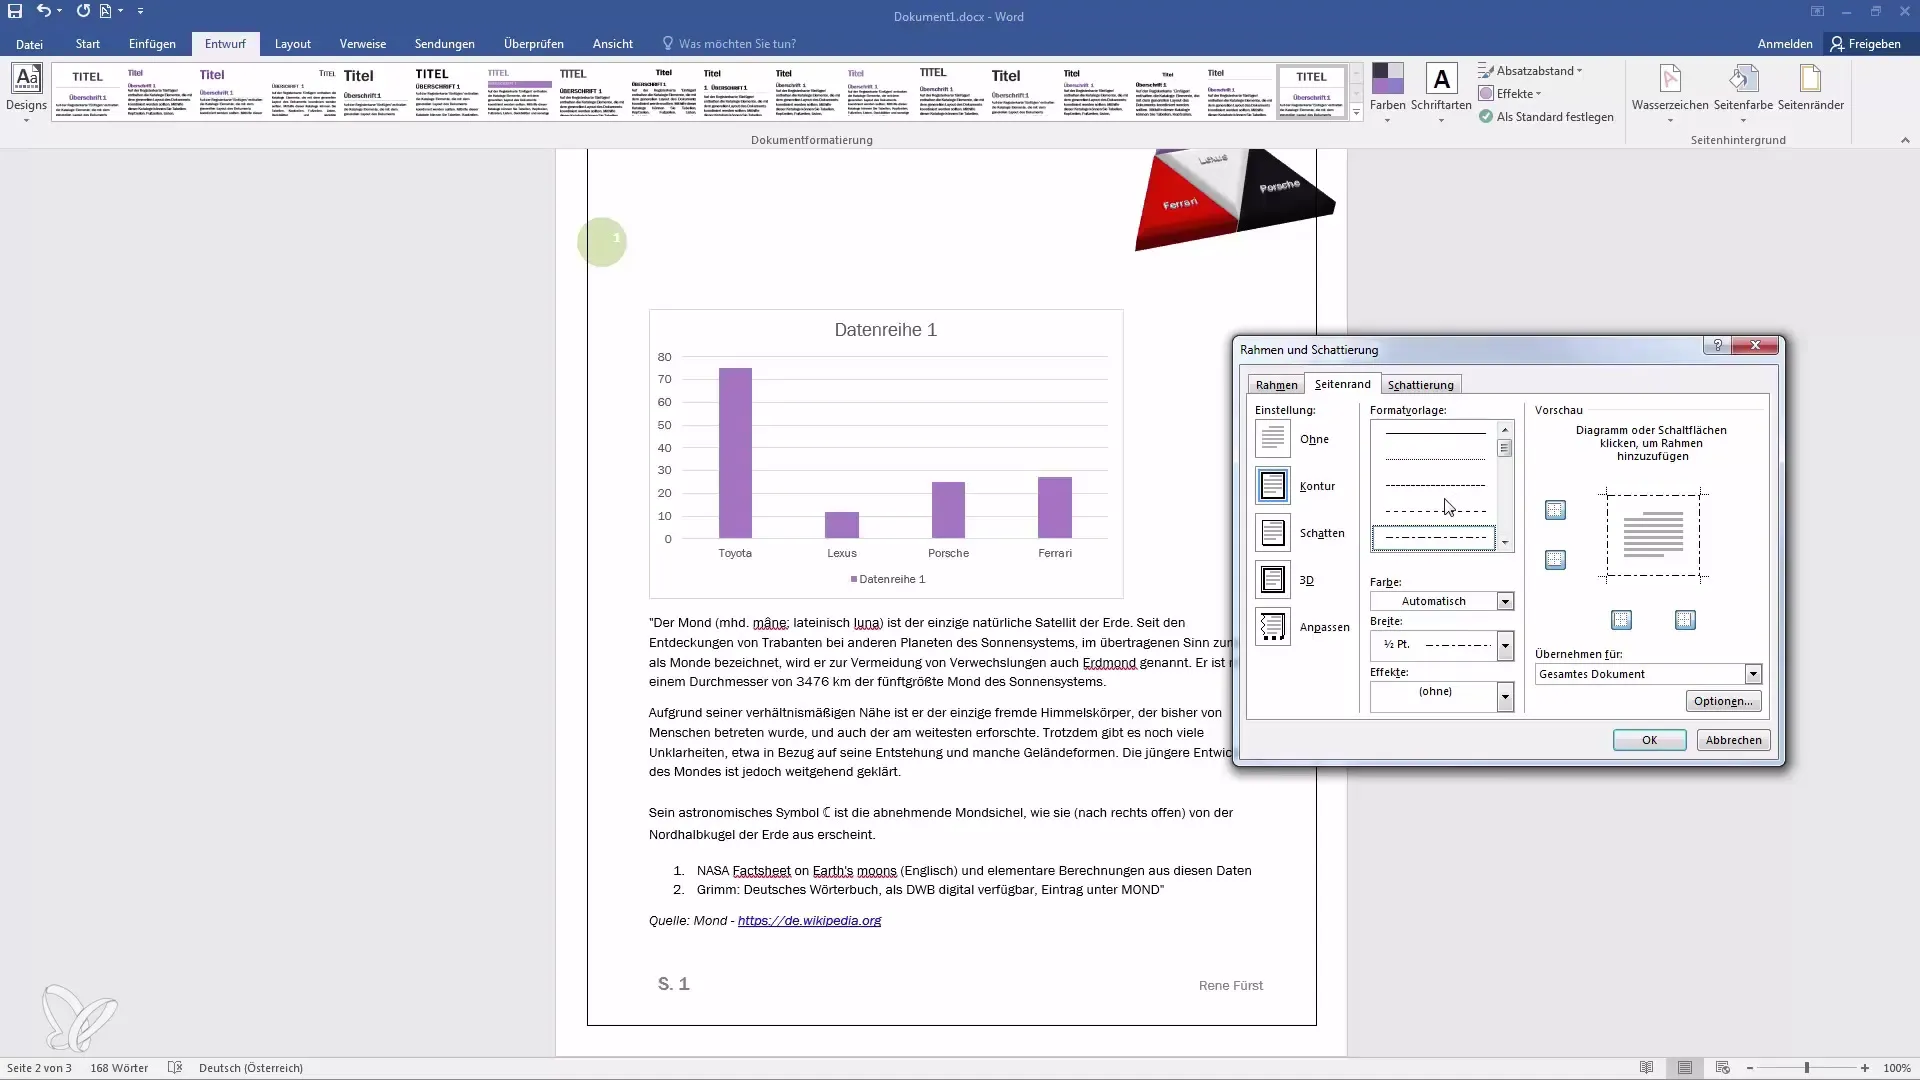
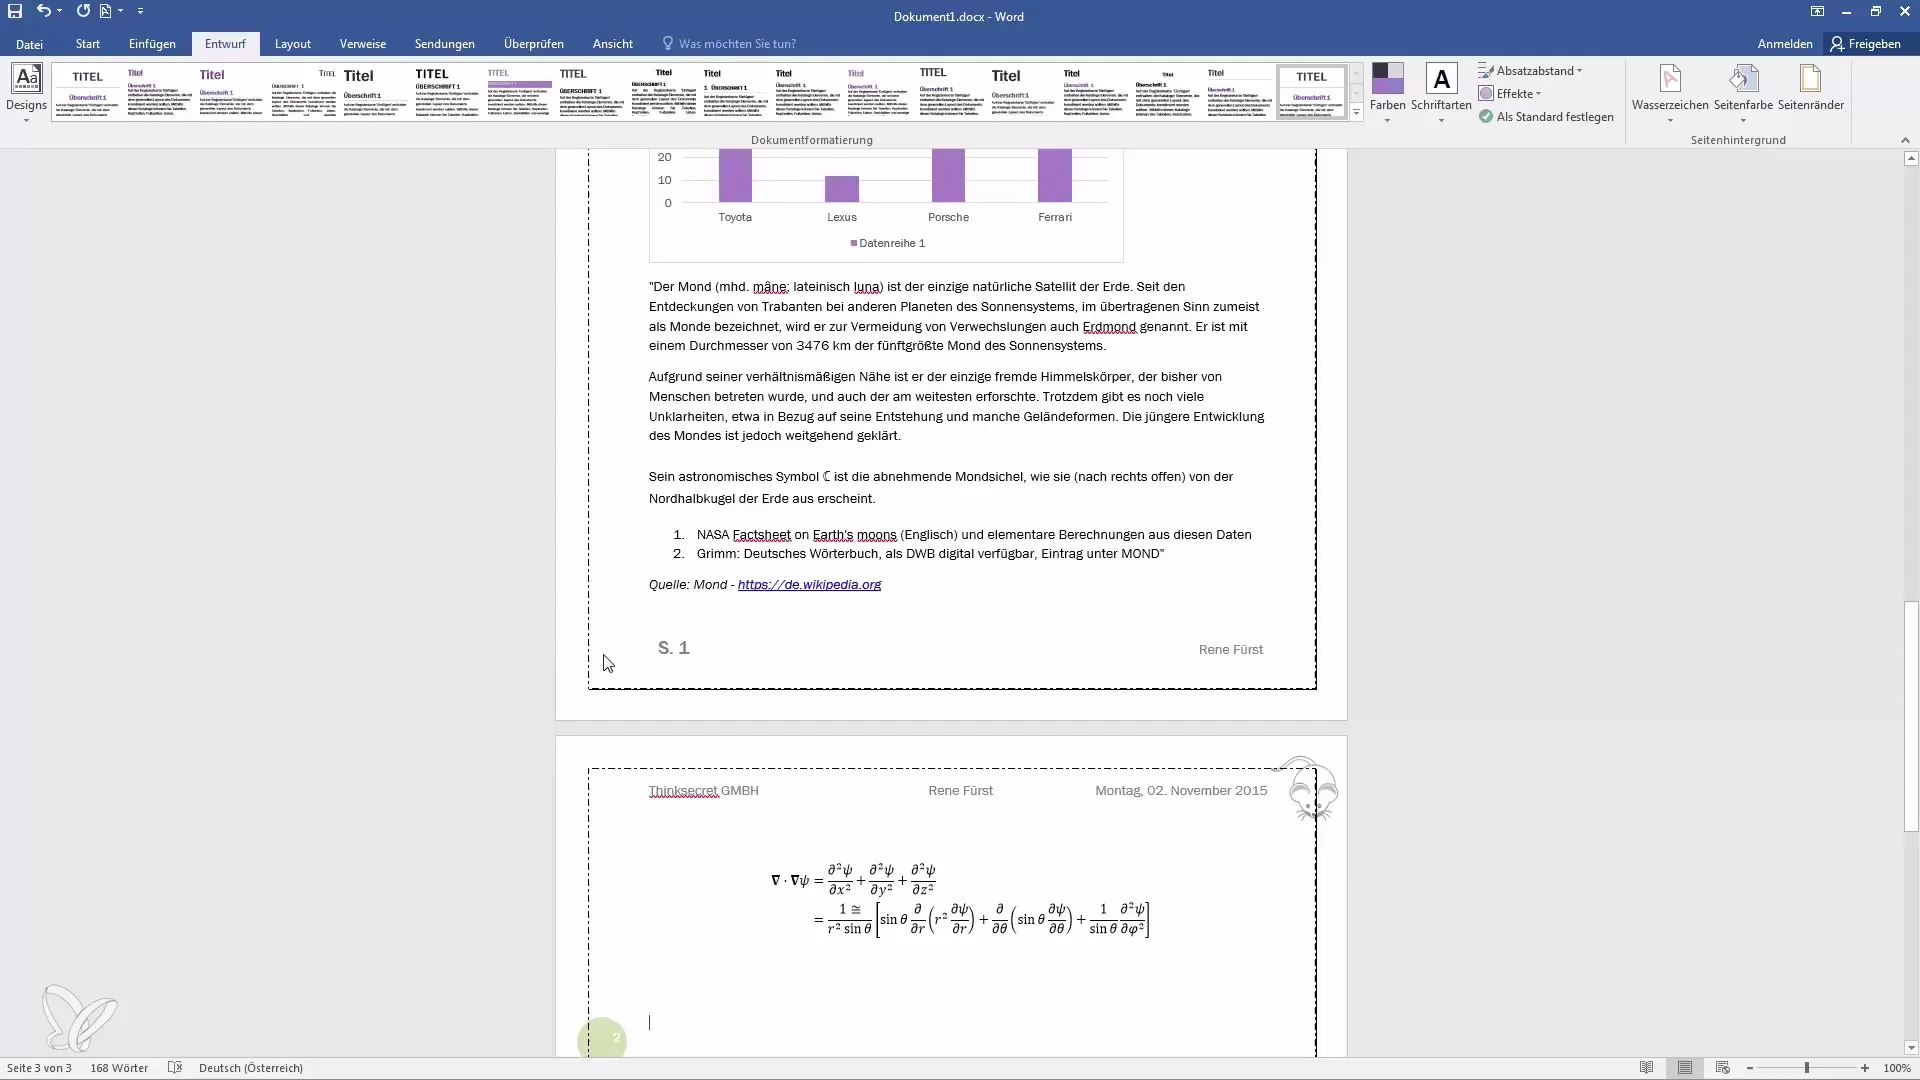
To add another dimension to the document, you can also design the border in a dotted format. Simply select the border option again, choose the desired dotted line style, and confirm.
Adding Shading Effects
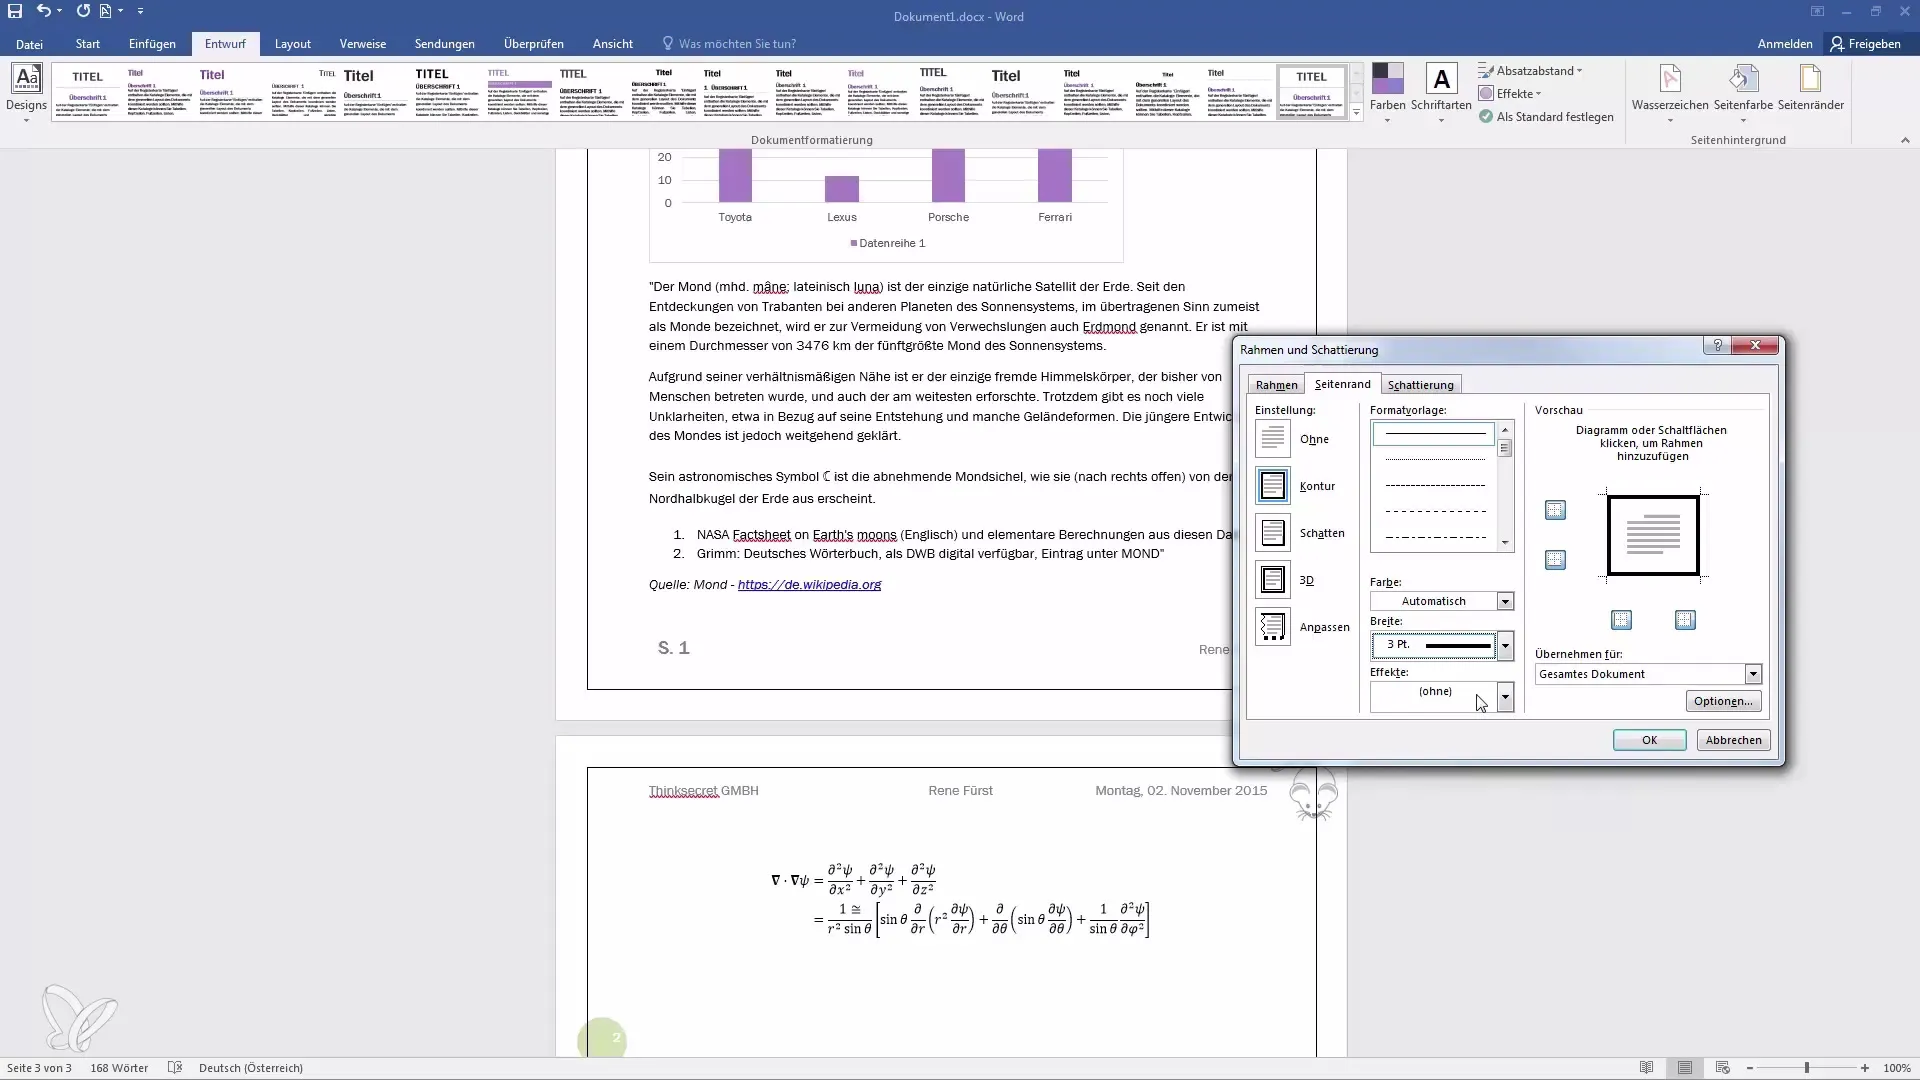
You can add a 3D effect by selecting the shading option. Here, you have the choice of different color variations to give the border more depth.
Defining Column Widths
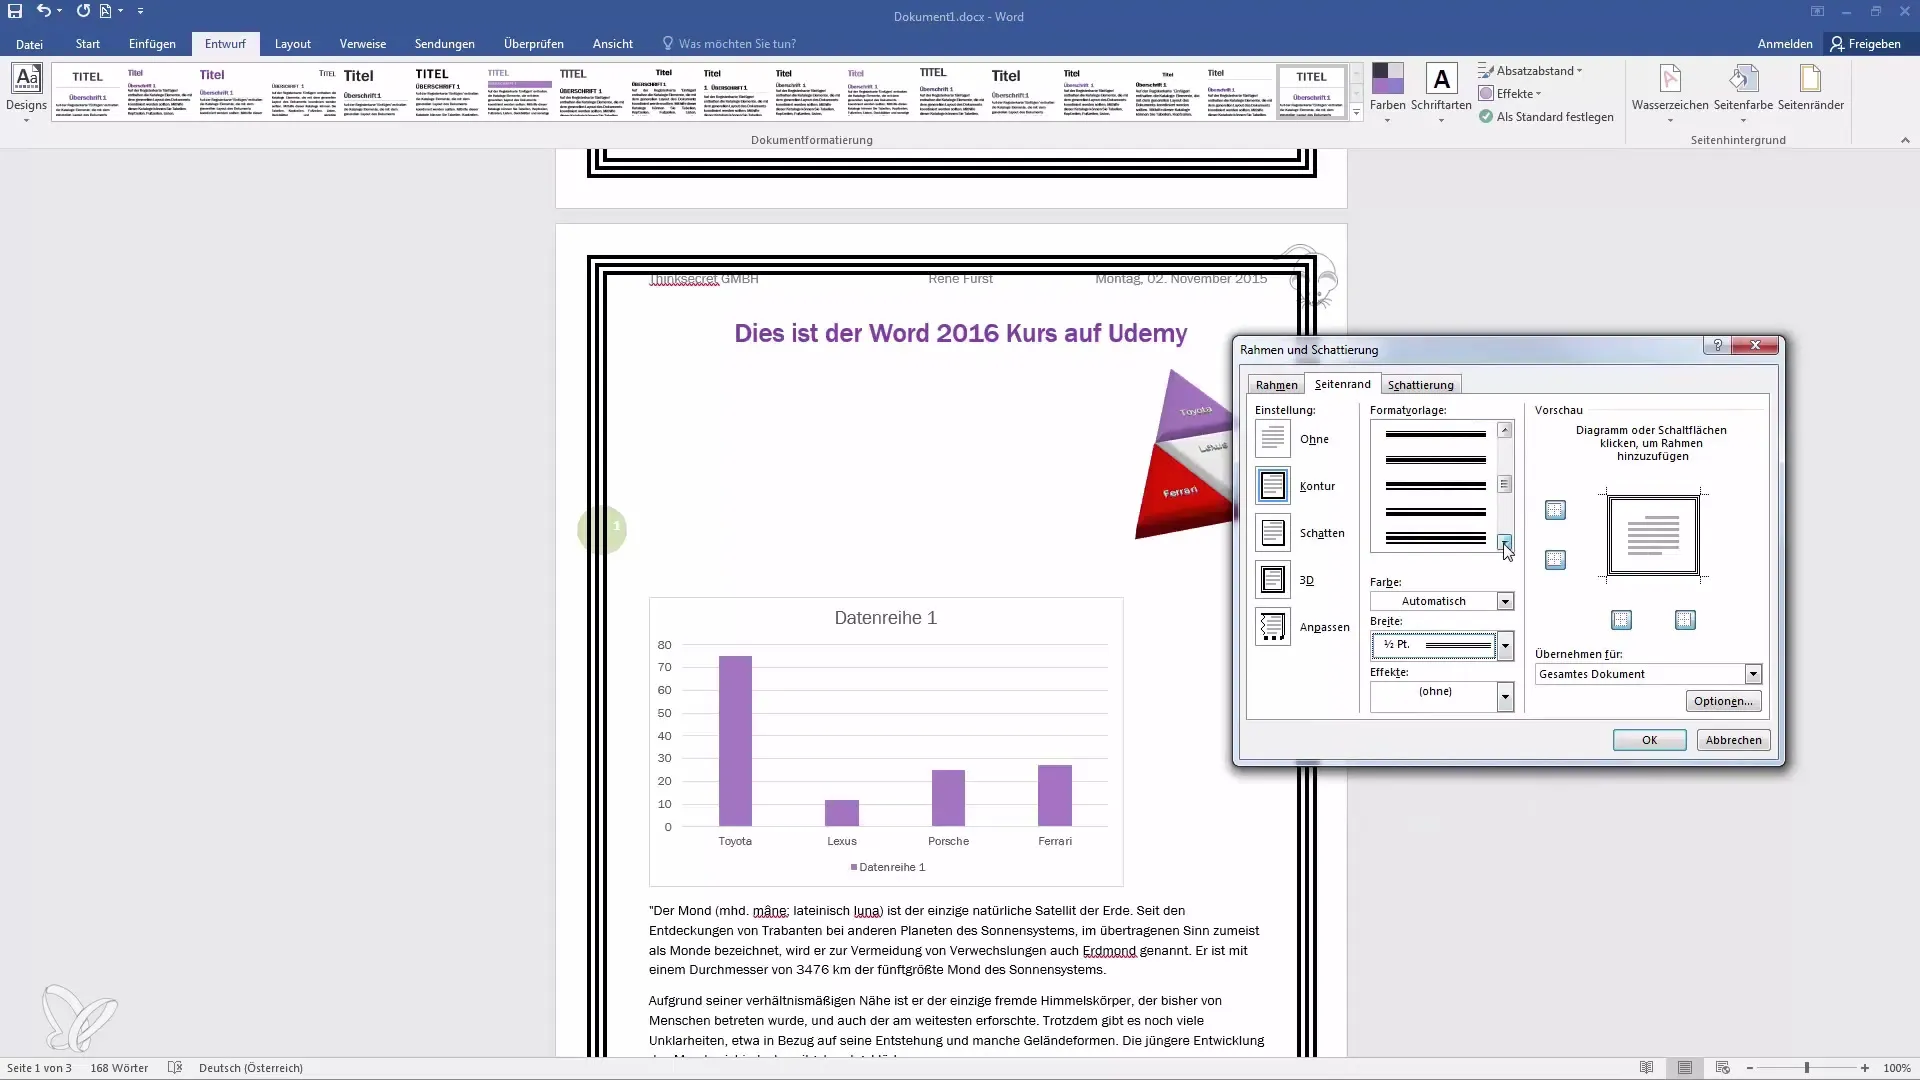
For even more creative design possibilities, you can define the widths of the columns within the margins. This allows for a clearer presentation of your content.
Designing Custom Lines
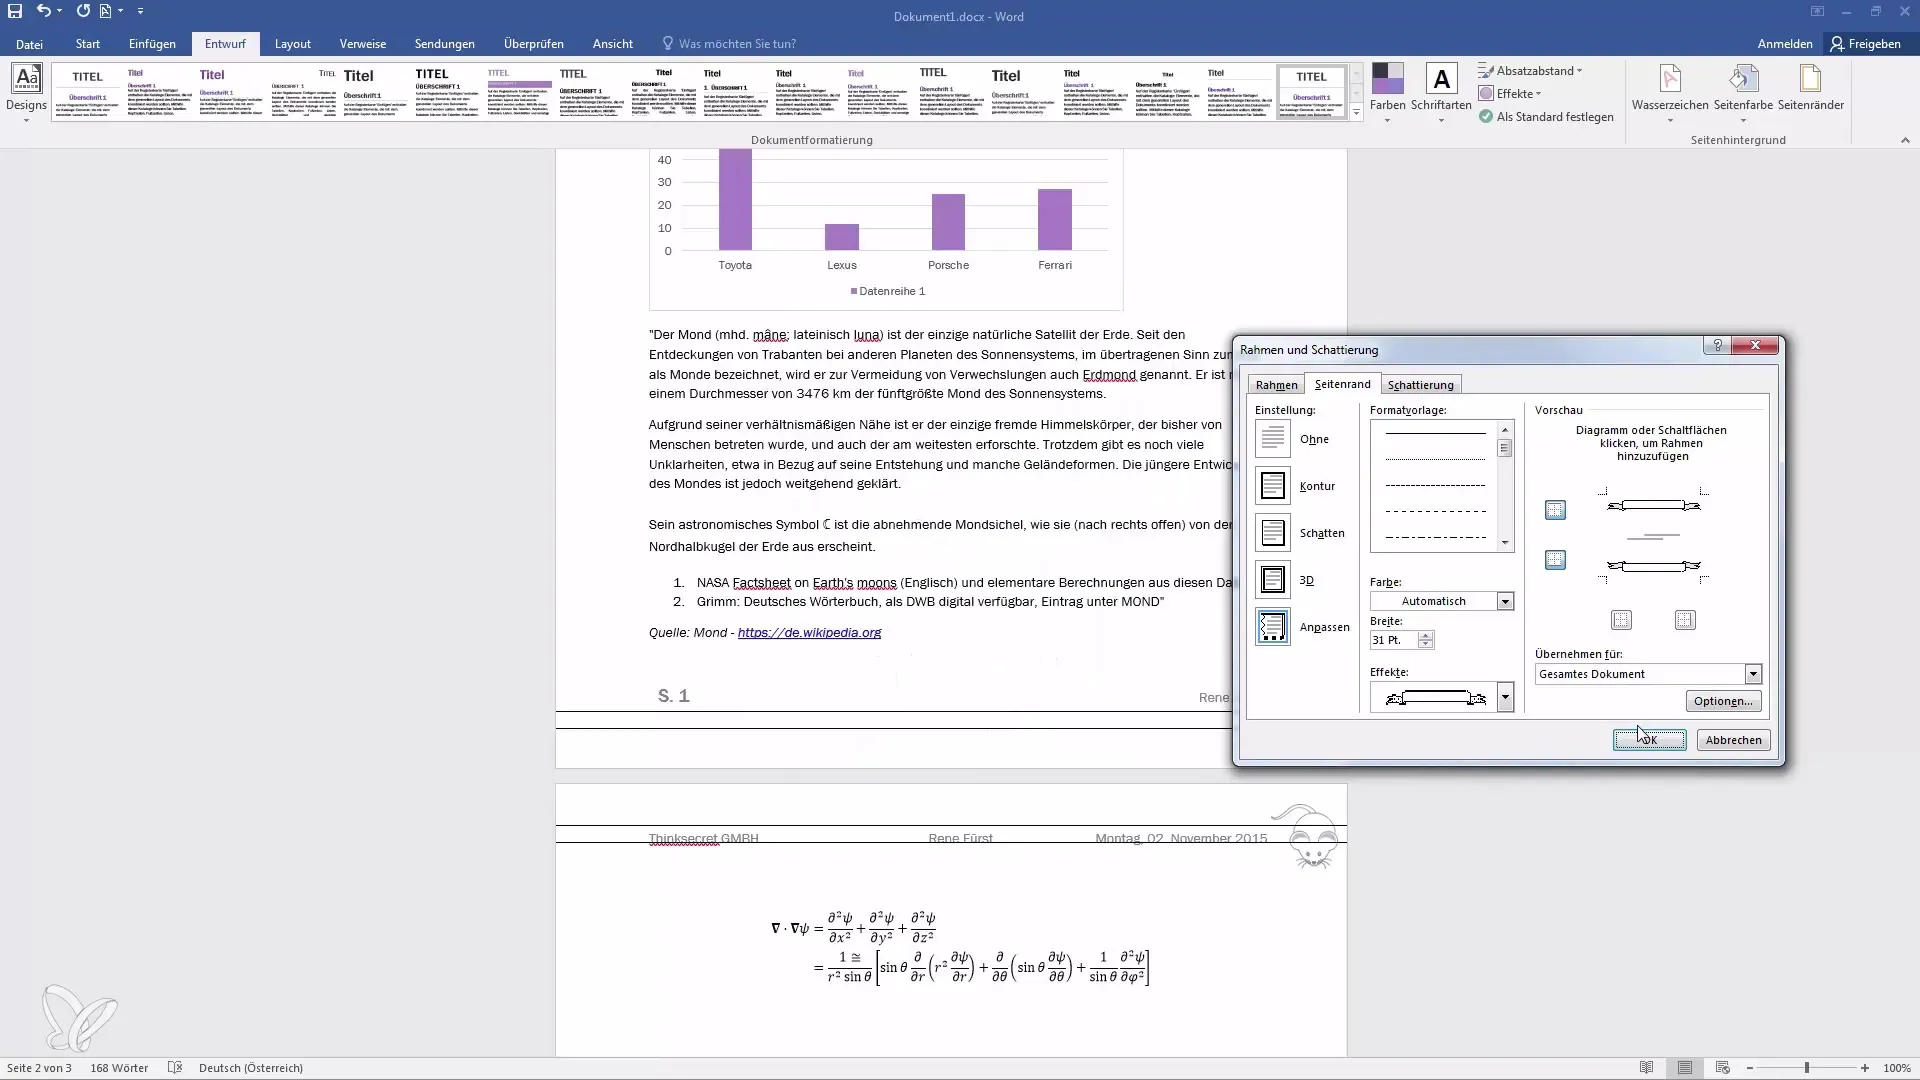
If you want to use customizable designs for the margins, you can also choose "Waves" or other creative shapes to give your document a personal touch.
Adjusting Effects
There are various effects you can add to your margins. To use different templates like "Apples" or other motifs, select them and adjust them to the respective pages.
Customizing Header and Footer
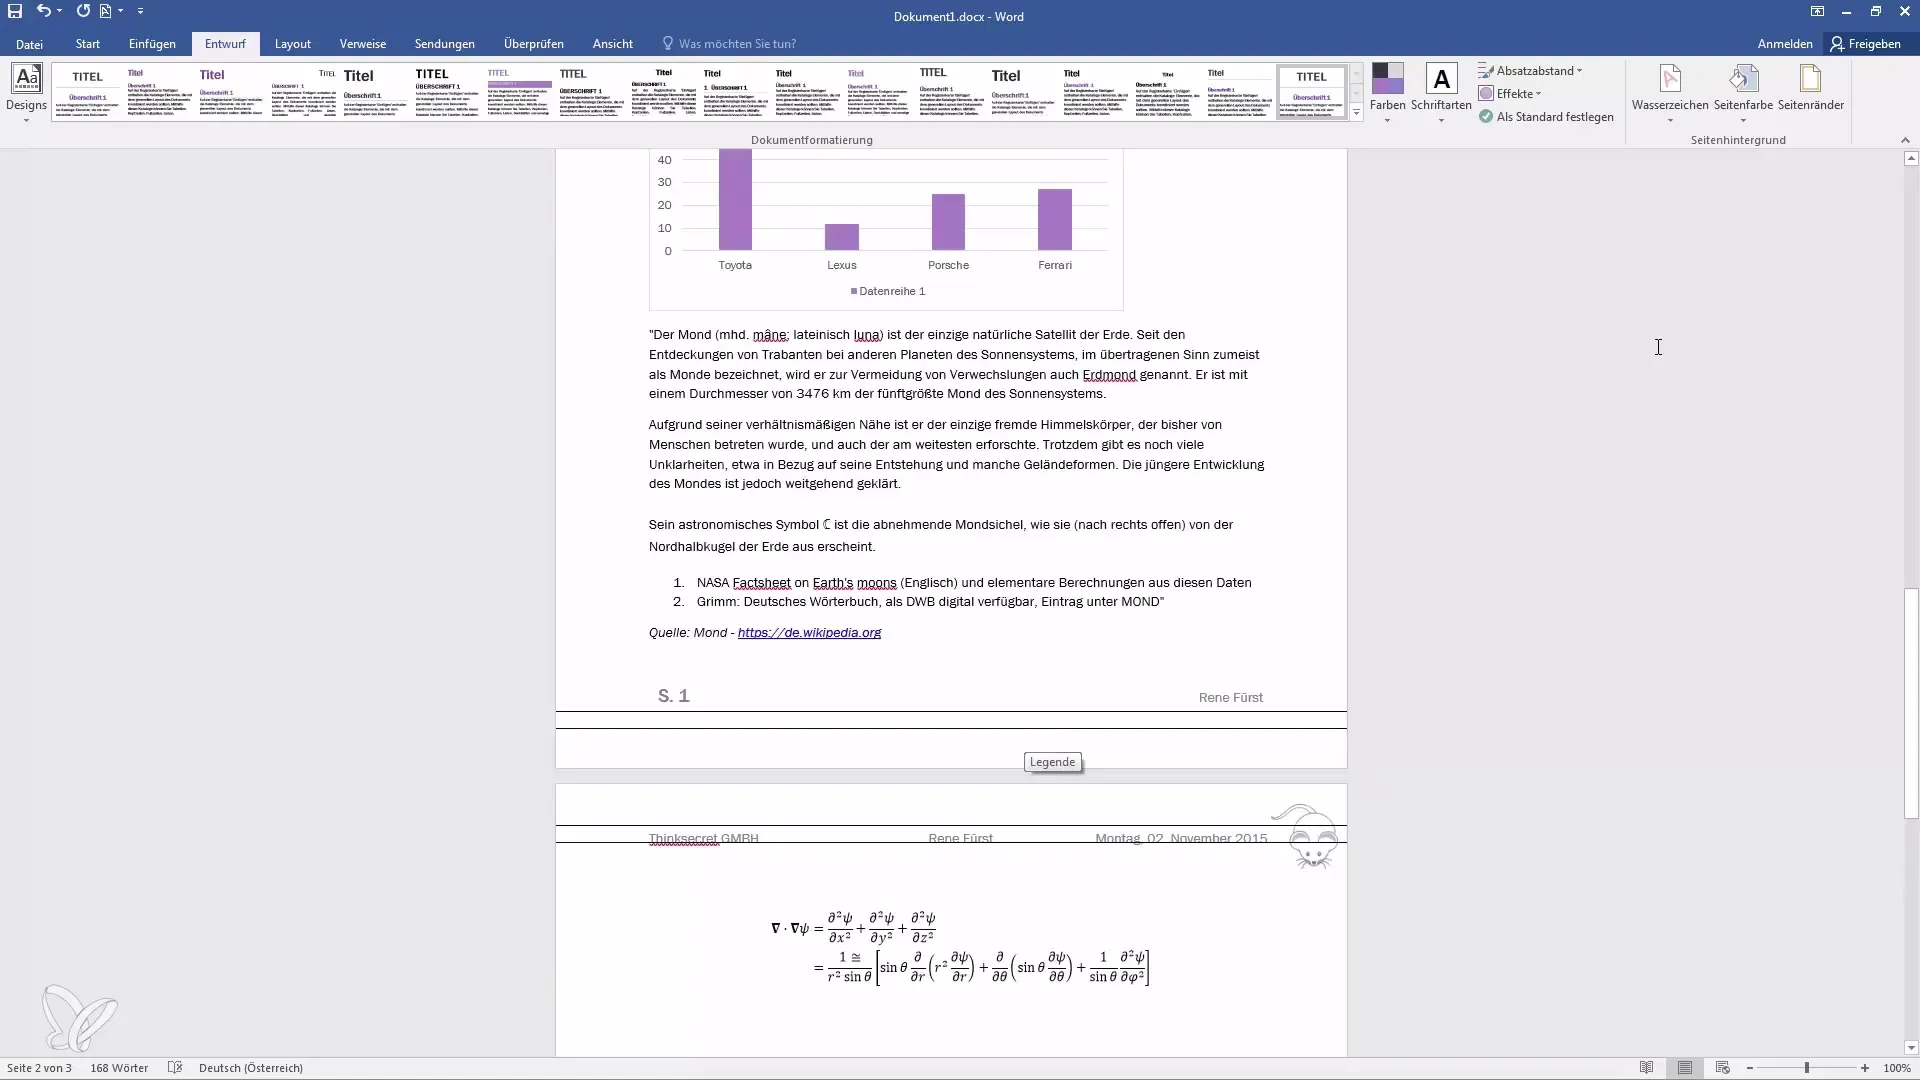
Adding aesthetic effects to the margins may also require adjustments to the header or footer of your document. Make sure all elements harmonize together.
Defining Page Margin Borders
In addition, you can adjust the page margin borders to create more space or further optimize the layout. Simply use the menu option and set the desired values.
Summary
Now that you have learned how to define page margins, add borders and shading, and optimize the overall layout, you are much better equipped to create appealing documents in Word. Whether you are editing a formal document or a creative project, the right page margins will elevate your layout to a new level.
Frequently Asked Questions
How do I change the page margins in Word?You can adjust the page margins under the "Layout" tab.
Can I use different page margins for different sections?Yes, you can set specific page margins for certain sections.
How do I add a border around my document?Choose the "Page Borders" option under "Layout" and confirm with "OK".
Can I add shading to my page margins?Yes, you can select and apply different shading options.
How do I customize the header and footer?You can customize the header and footer by editing the respective text fields.
