Creating documents in Word may seem complex at first, but with the right settings and features, you can significantly ease your work and make the layout more professional. Here you will learn how to effectively adjust margins, alignments, and columns to customize your documents to your liking.
Key Takeaways
- You can work with predefined margins or make individual adjustments.
- Changing the page from portrait to landscape is simple and allows for more flexible designs.
- Columns can be dynamically added, allowing you to format parts of the document independently.
Step-by-Step Guide
Adjust margins
In the first step, focus on adjusting the margins. To do this, open the Layout menu in Word.
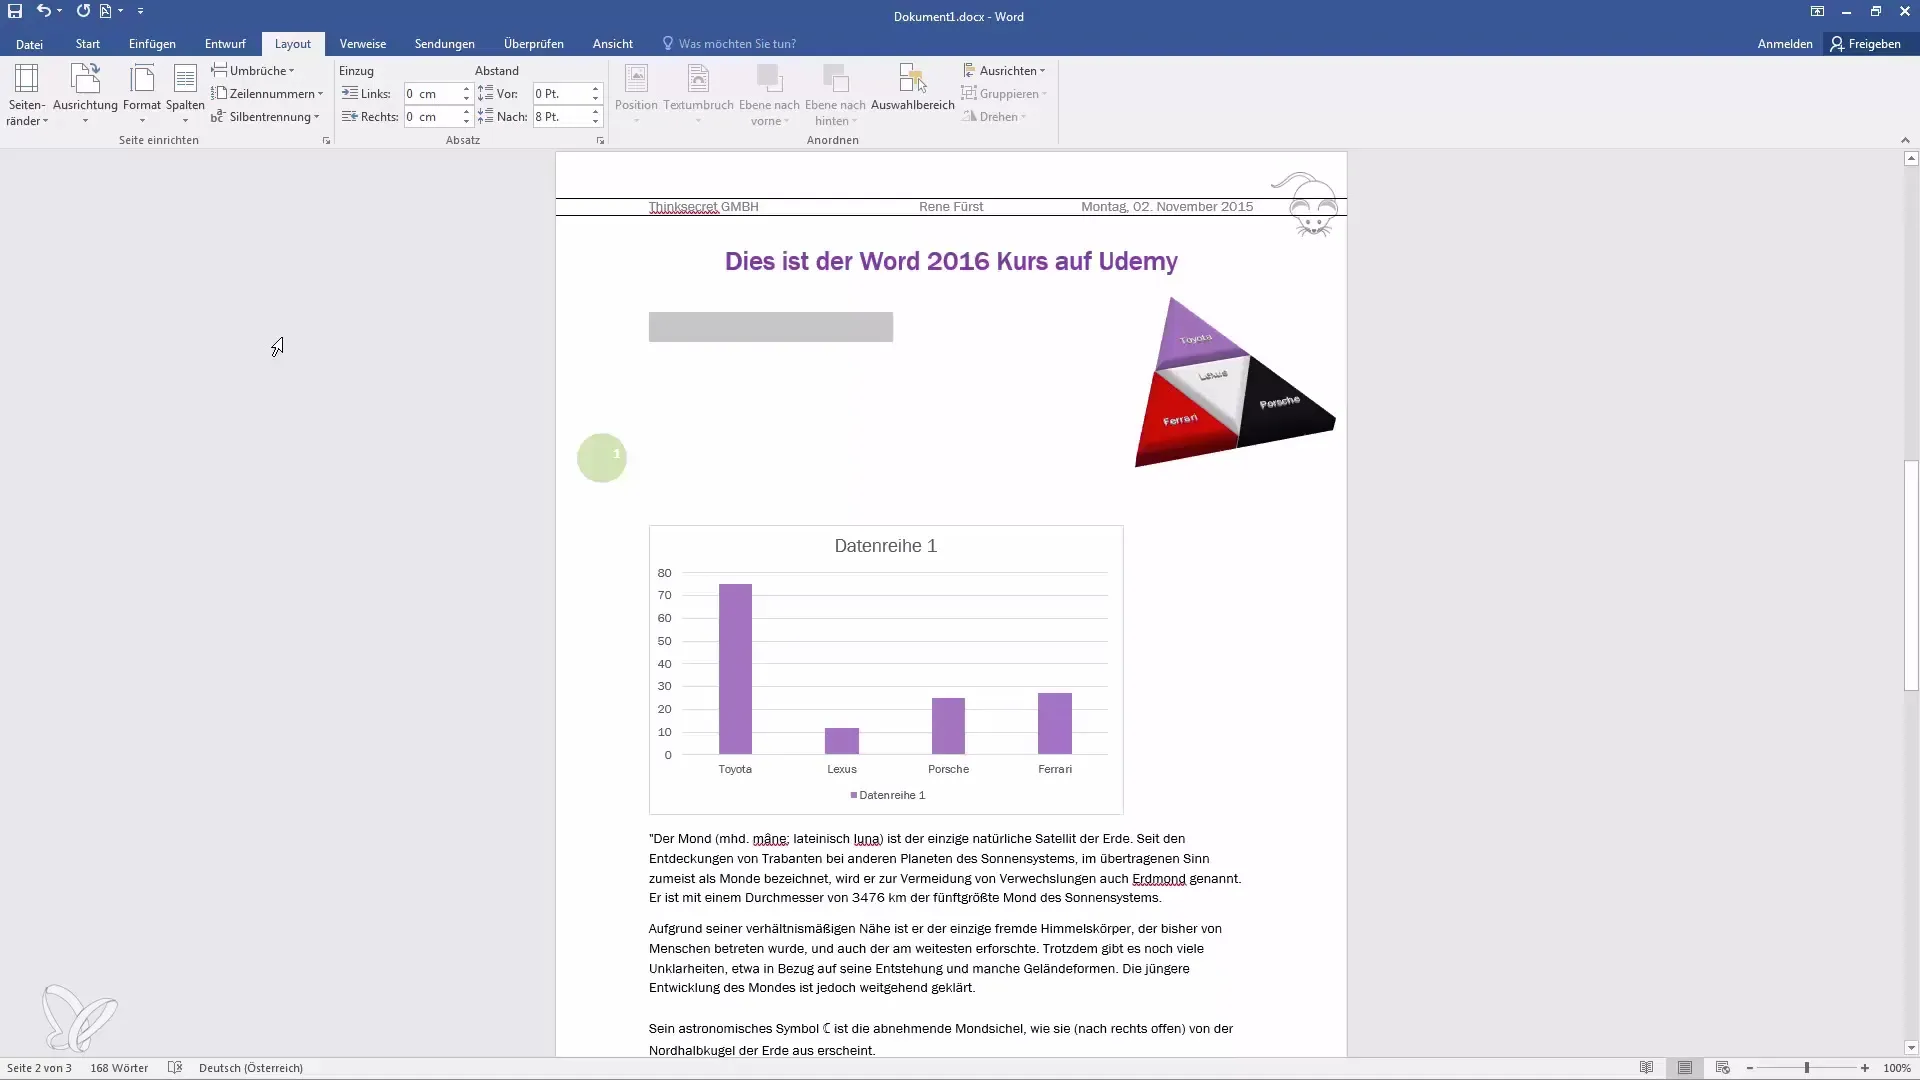
Here you will find the "Margins" option under the Layout tab. You have the option to choose between various predefined margins such as "Normal", "Narrow", "Moderate", and "Mirrored". The normal margin is typically 2.5 cm on the sides and 2 cm at the bottom.
For example, selecting "Narrow" will reduce the margin to only 1.27 cm. Note that some printers can only print up to a certain margin. Therefore, it is advisable to keep the default margin settings to avoid complications when printing.
Change page orientation
After setting the margins, you can change the page orientation. Also, click on the "Orientation" option in the Layout menu. Here you can choose between portrait and landscape orientations, both of which have their own advantages.
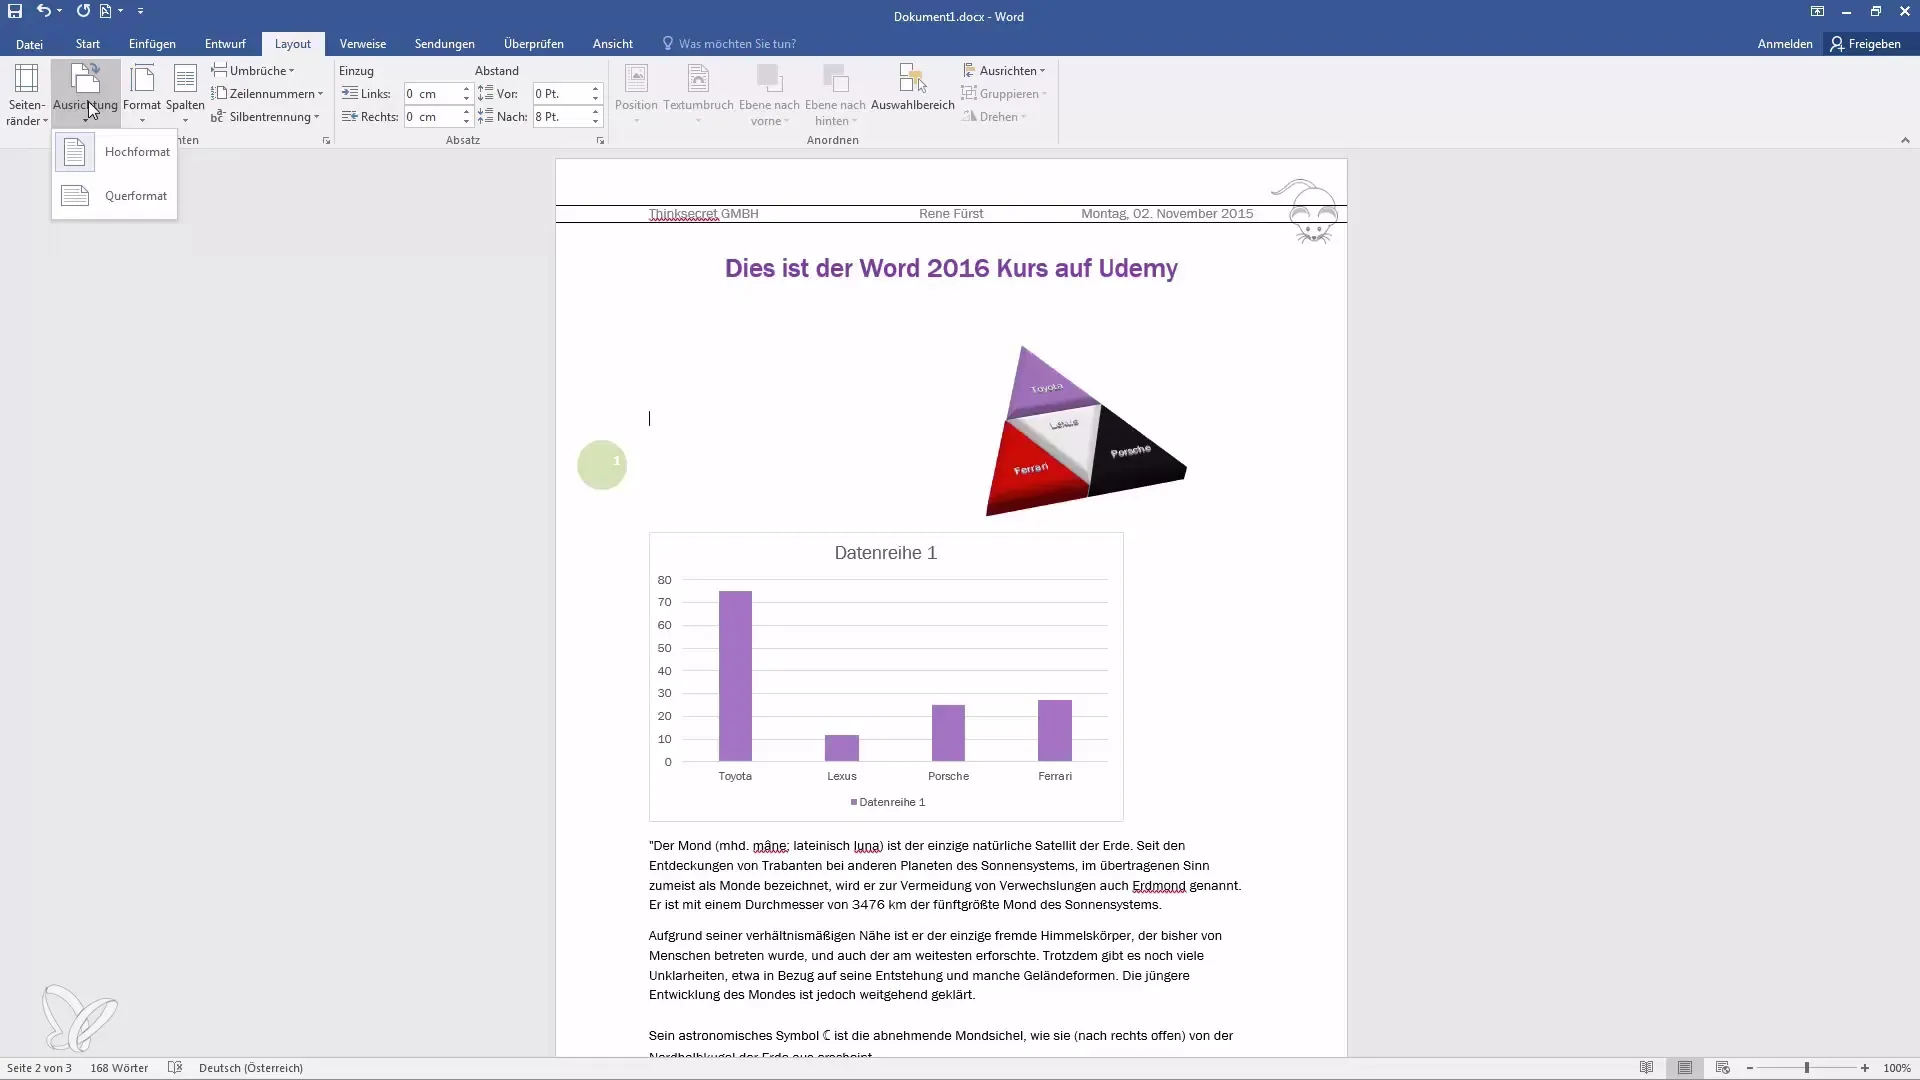
If you need the document in landscape format, the A4 page will be rotated by 90 degrees. This can be useful when you have content that requires more horizontal space.
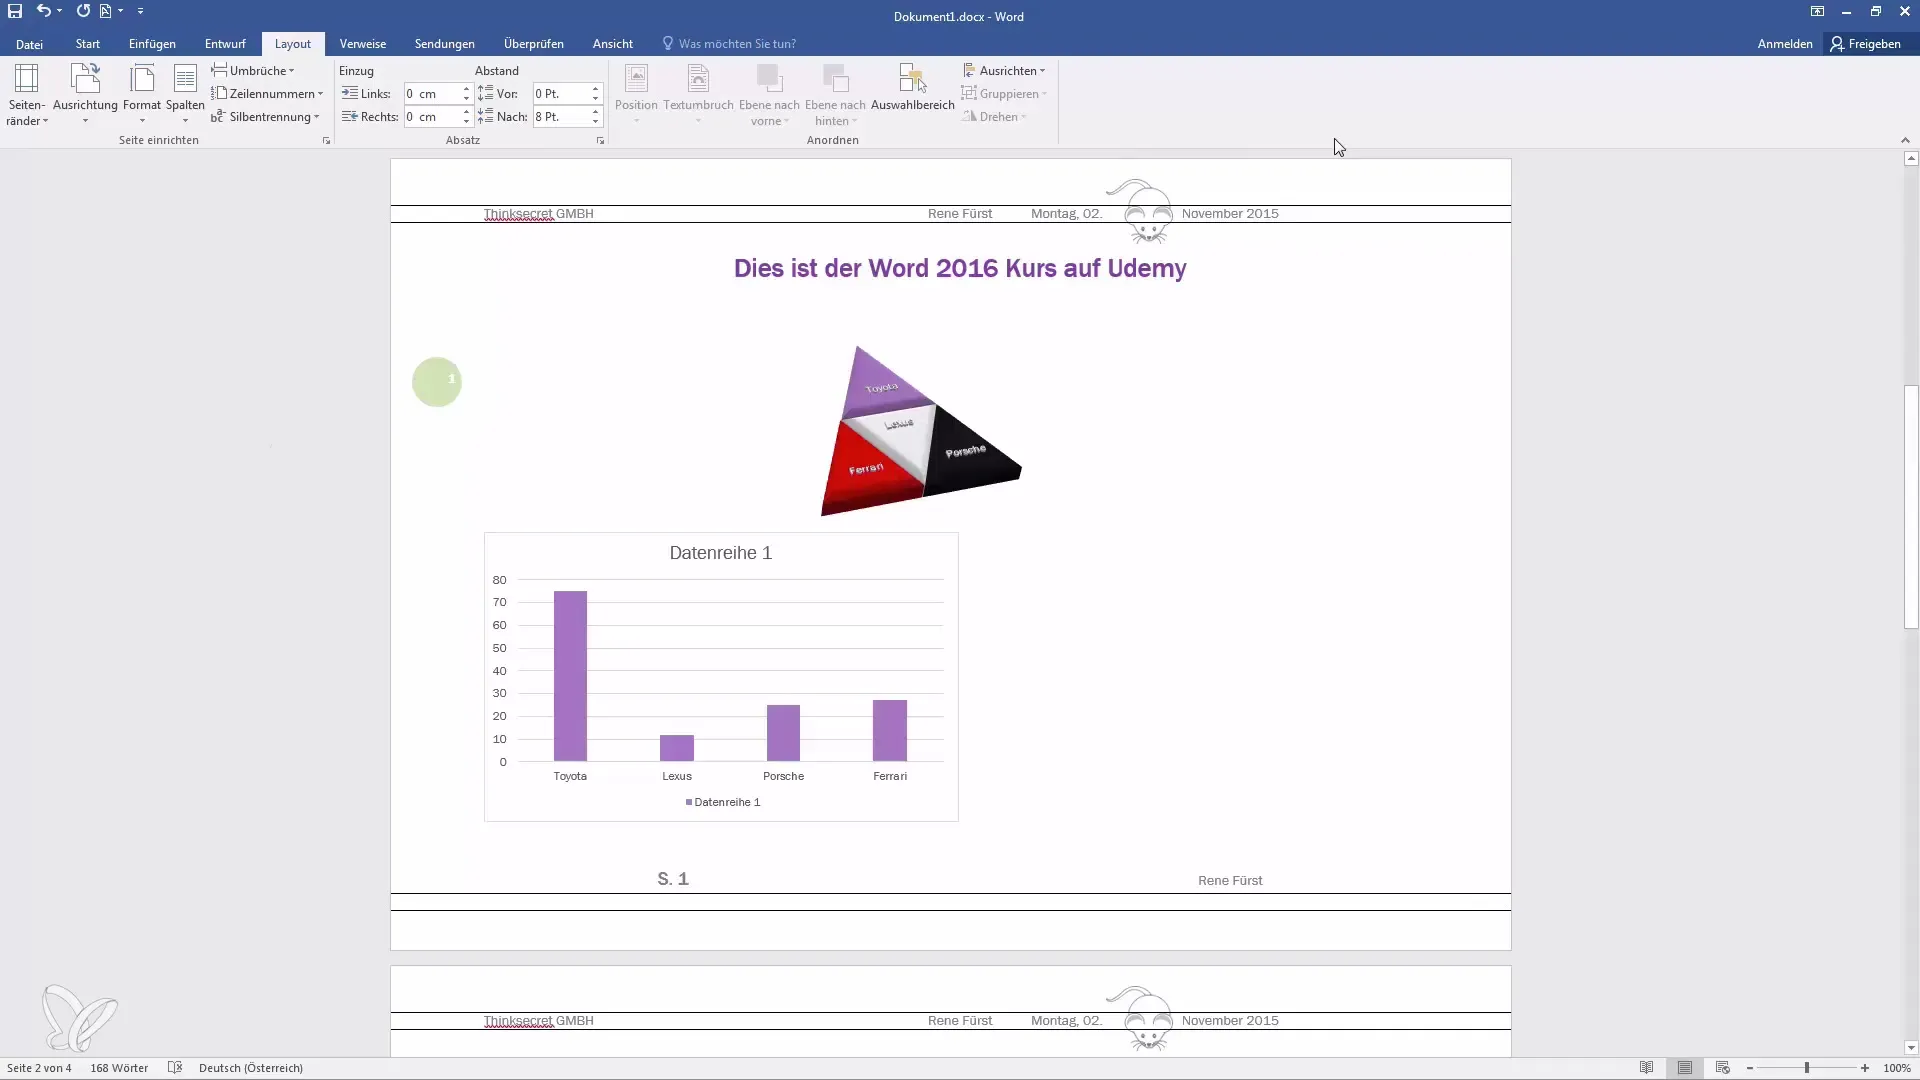
After changing the orientation, you can readjust your layout to ensure that all content is well-placed.
Select paper size
In the next step, select the format of your page. Go back to the Layout menu and click on "Size". Here you can choose between various paper sizes such as A4 or A3.
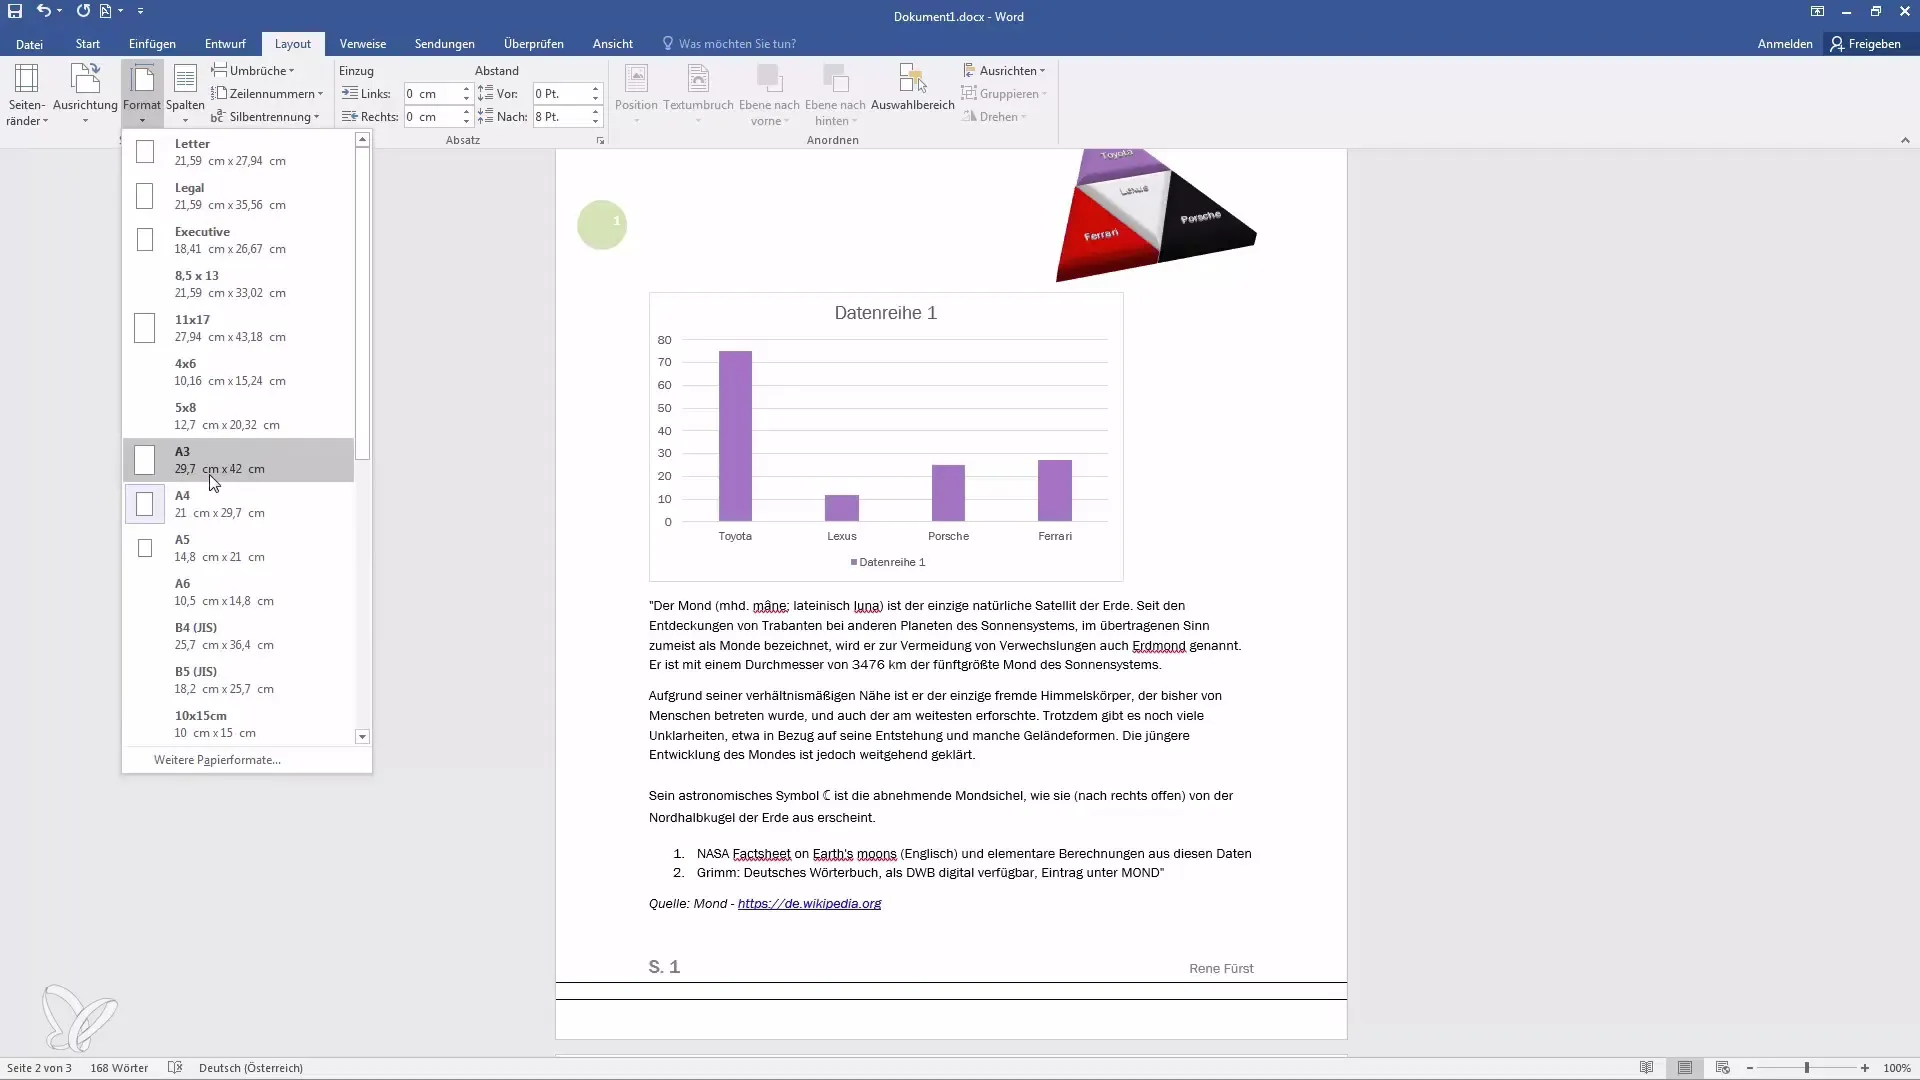
Most printers support only A4 paper, so it is generally recommended to use this format. The choice of format affects the overall layout of your document.
Insert columns
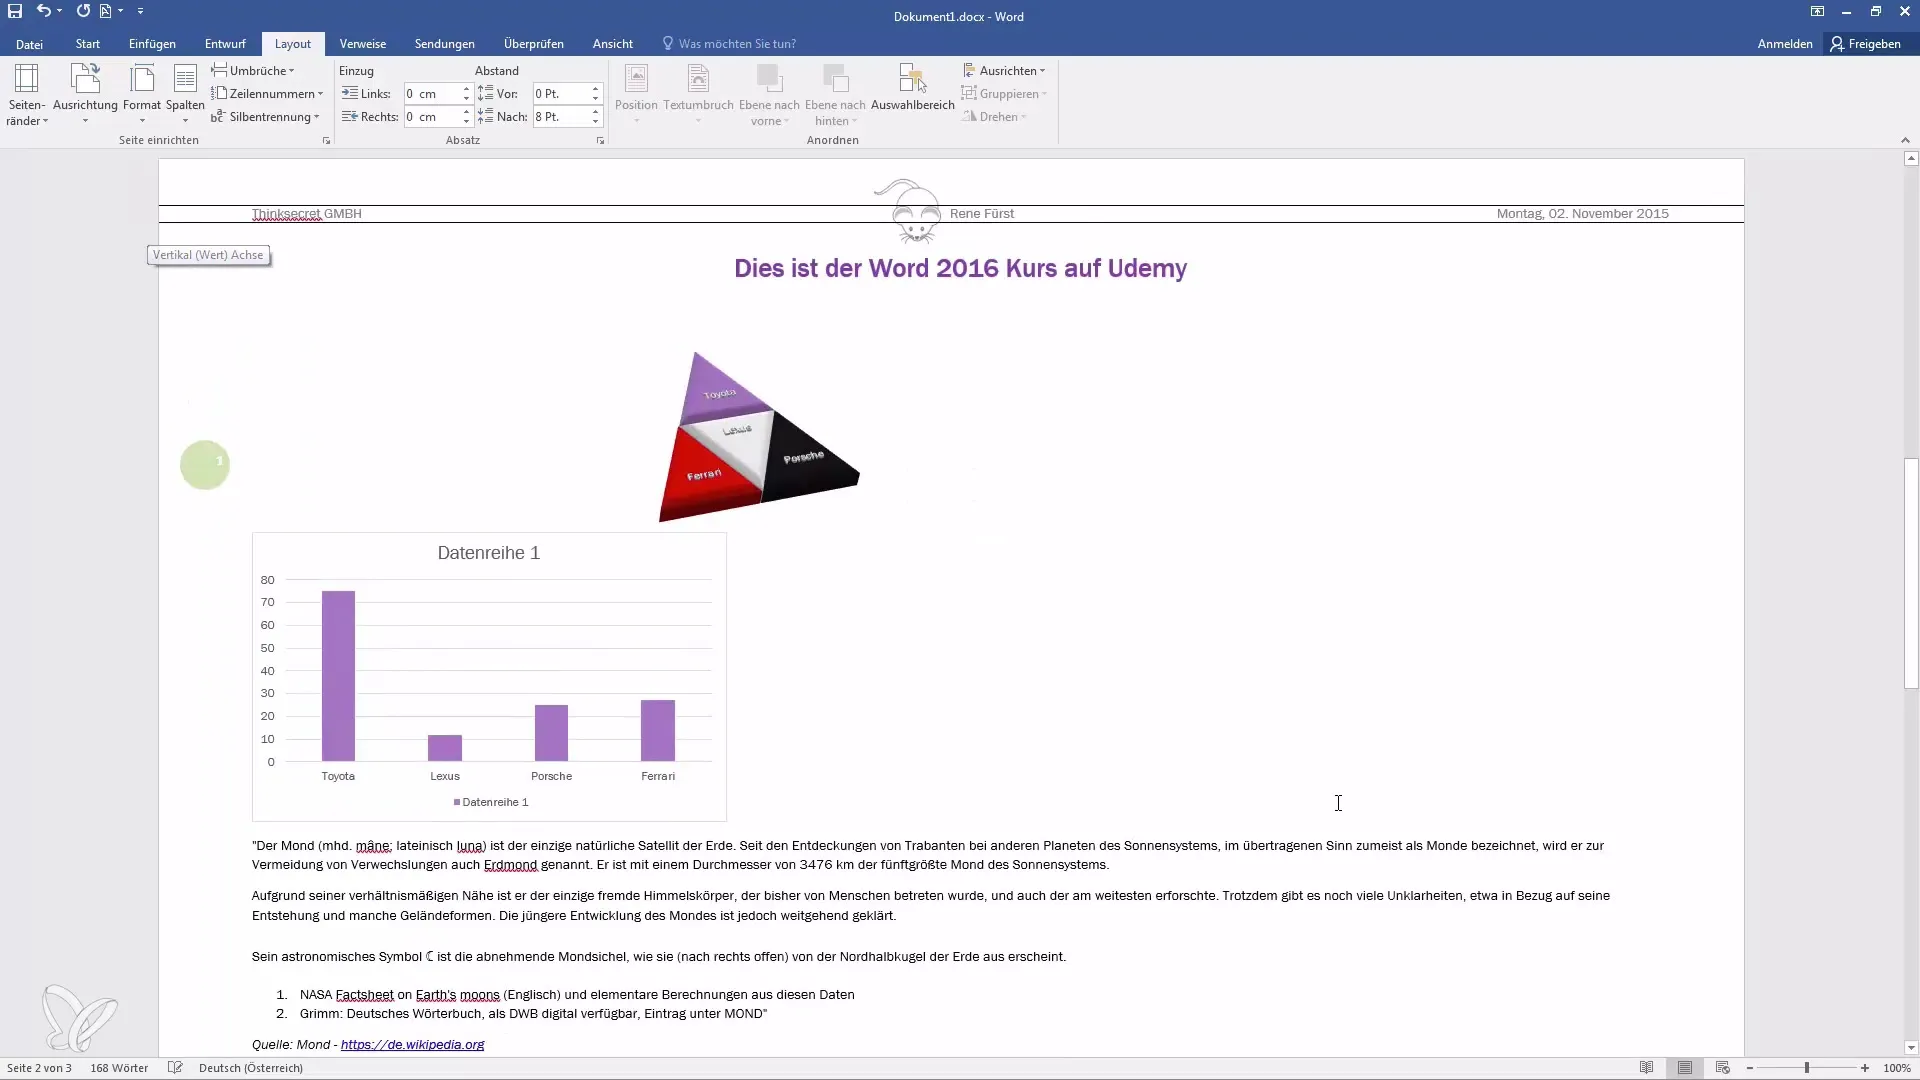
Another important aspect is using the column feature, which allows you to divide text into multiple columns. To do this, go to the Layout menu and click on "Columns". Click on "Two Columns".
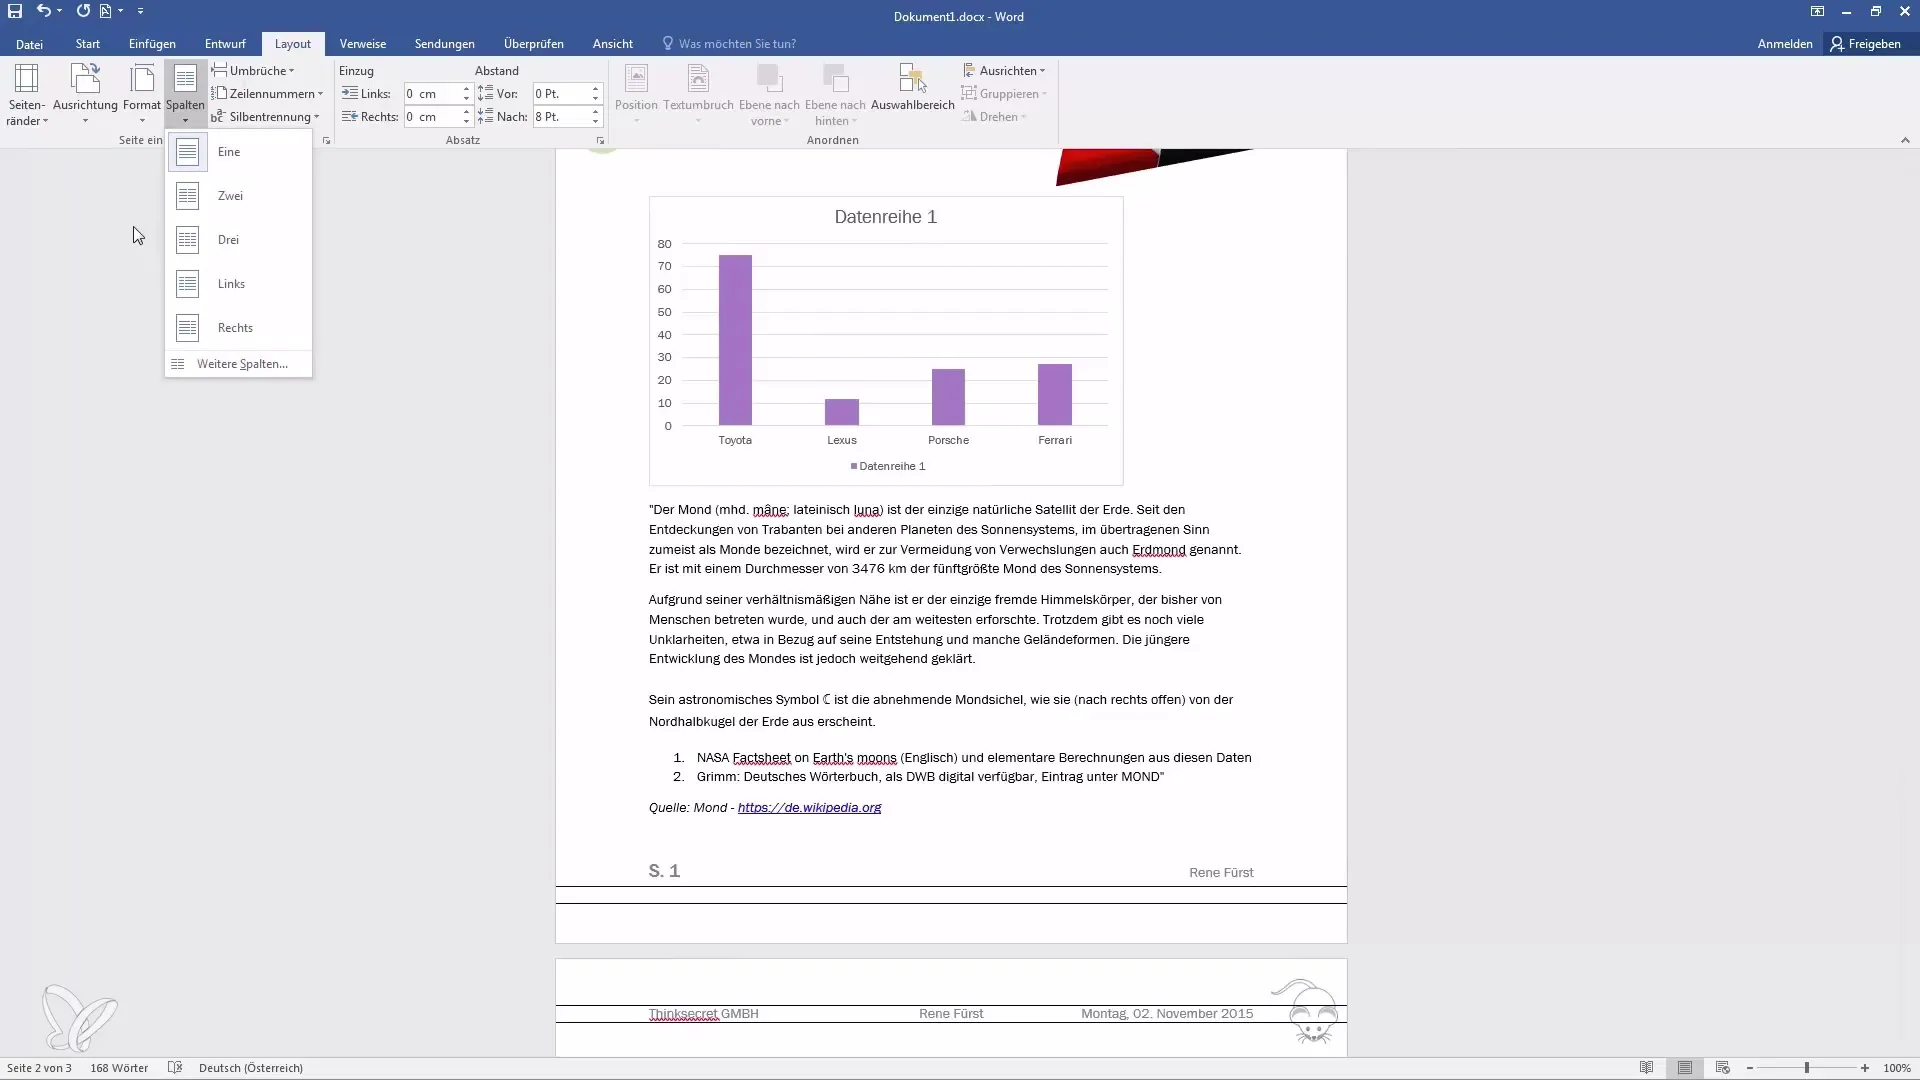
It is important to note that the entire text in the document will then be divided into two columns, which may not always be desired. To avoid this, choose "One Column" and then "Columns - More Columns". Set the break option to "from here" to only change a specific part of the document.
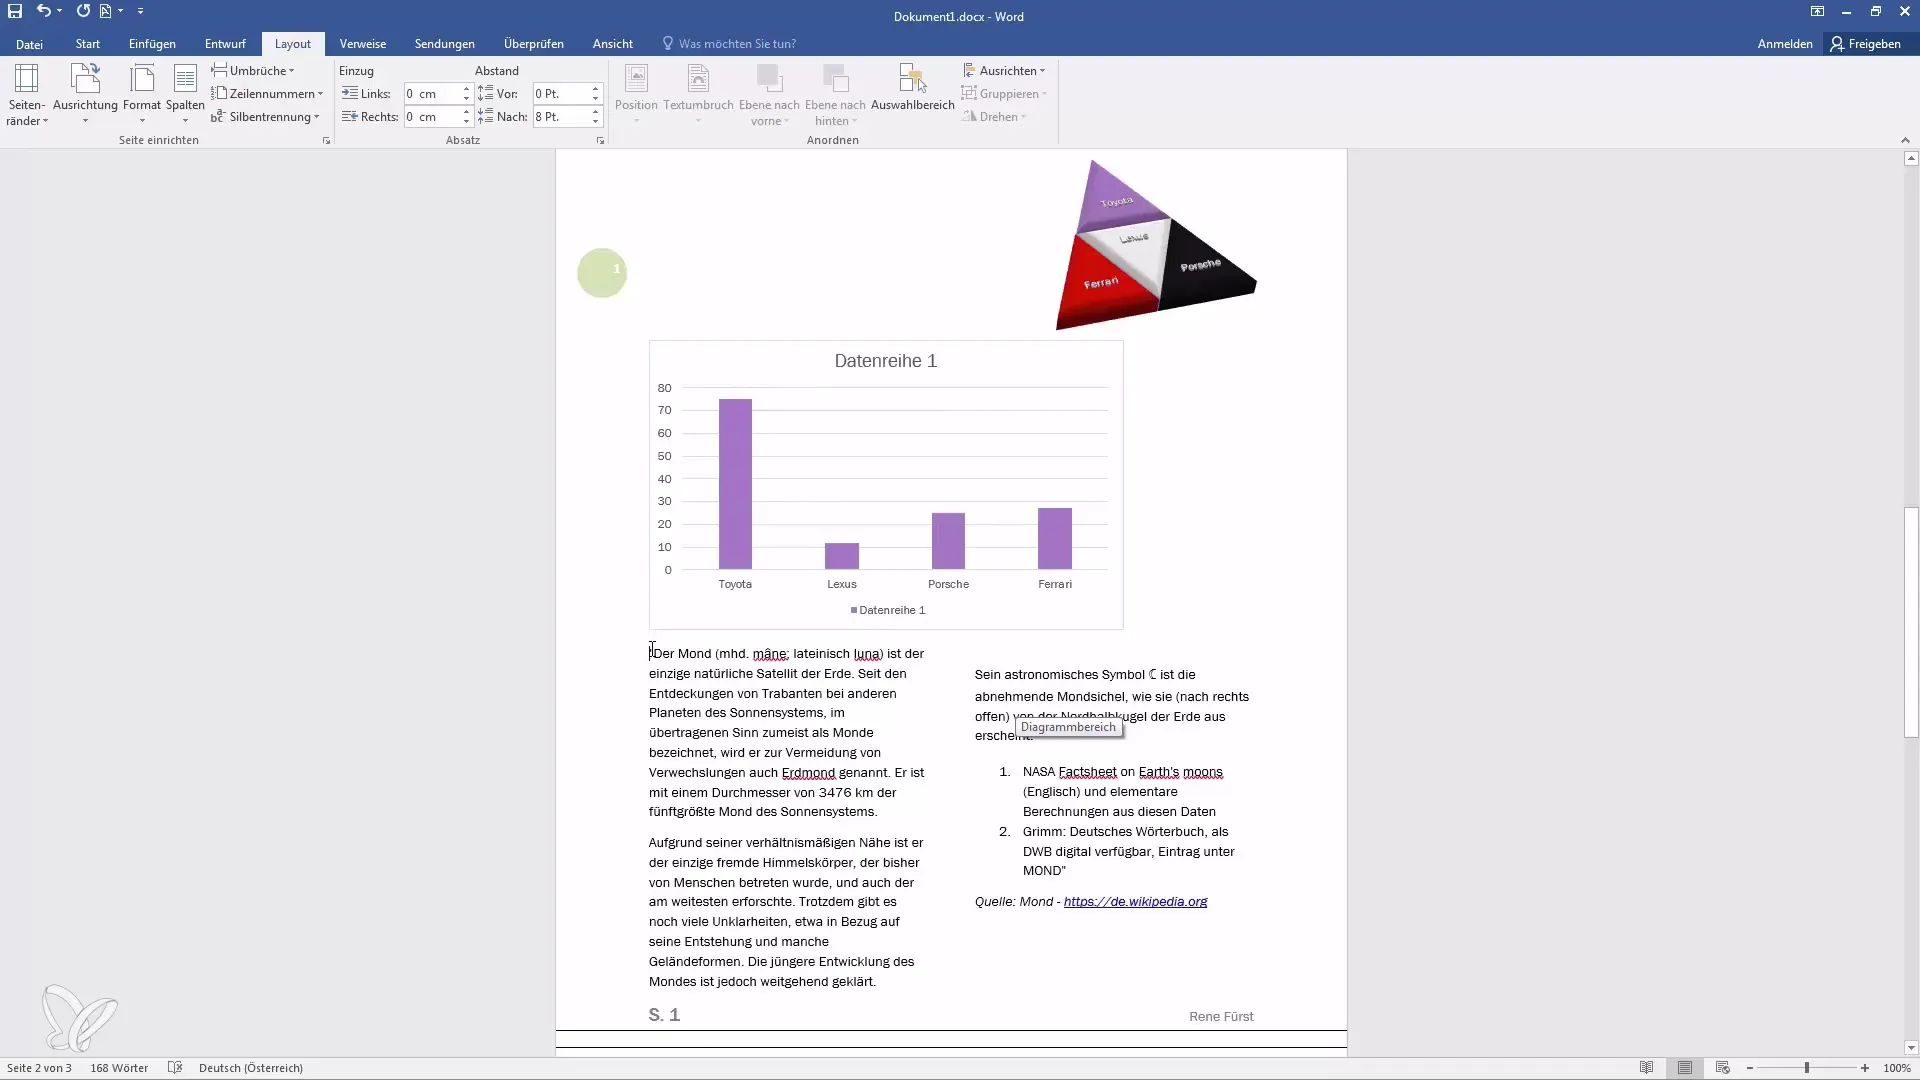
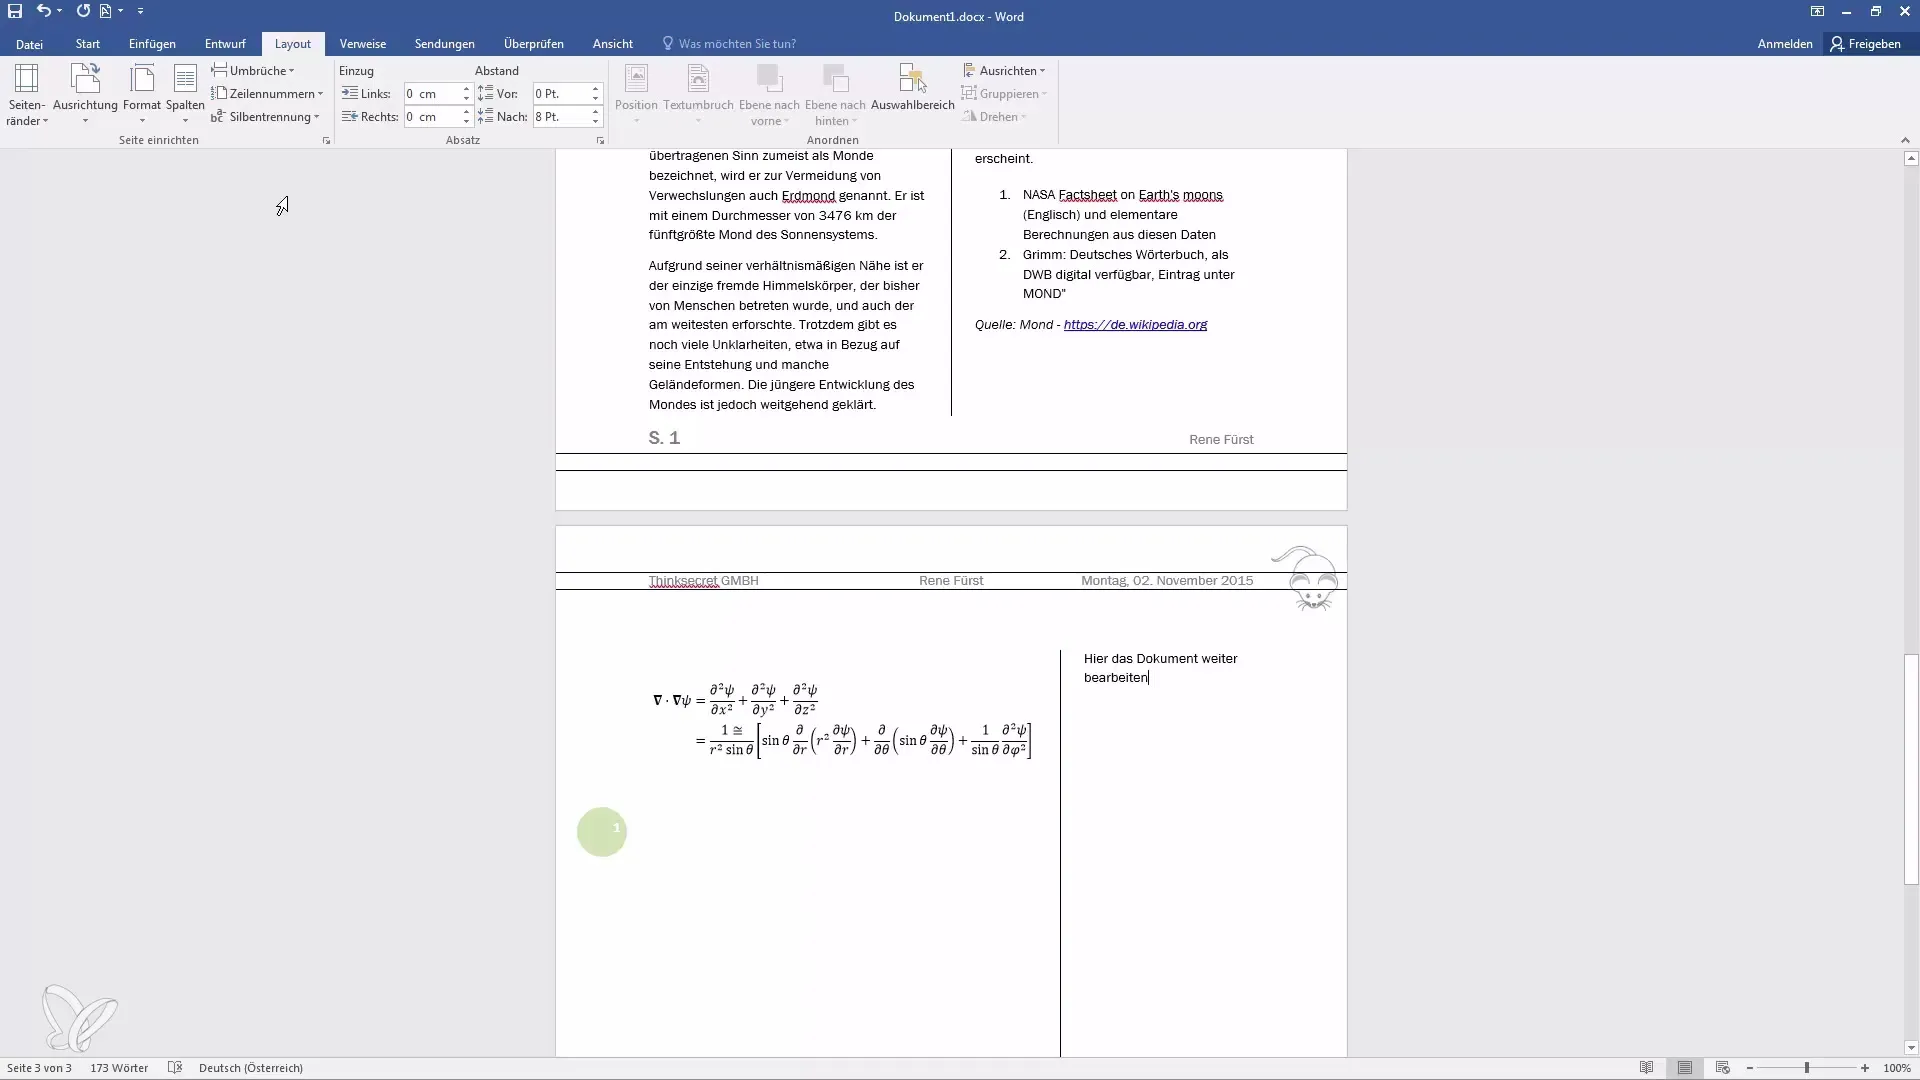
Confirm your selection, and the text from that point onwards will be displayed in two columns, while the text above will remain untouched.
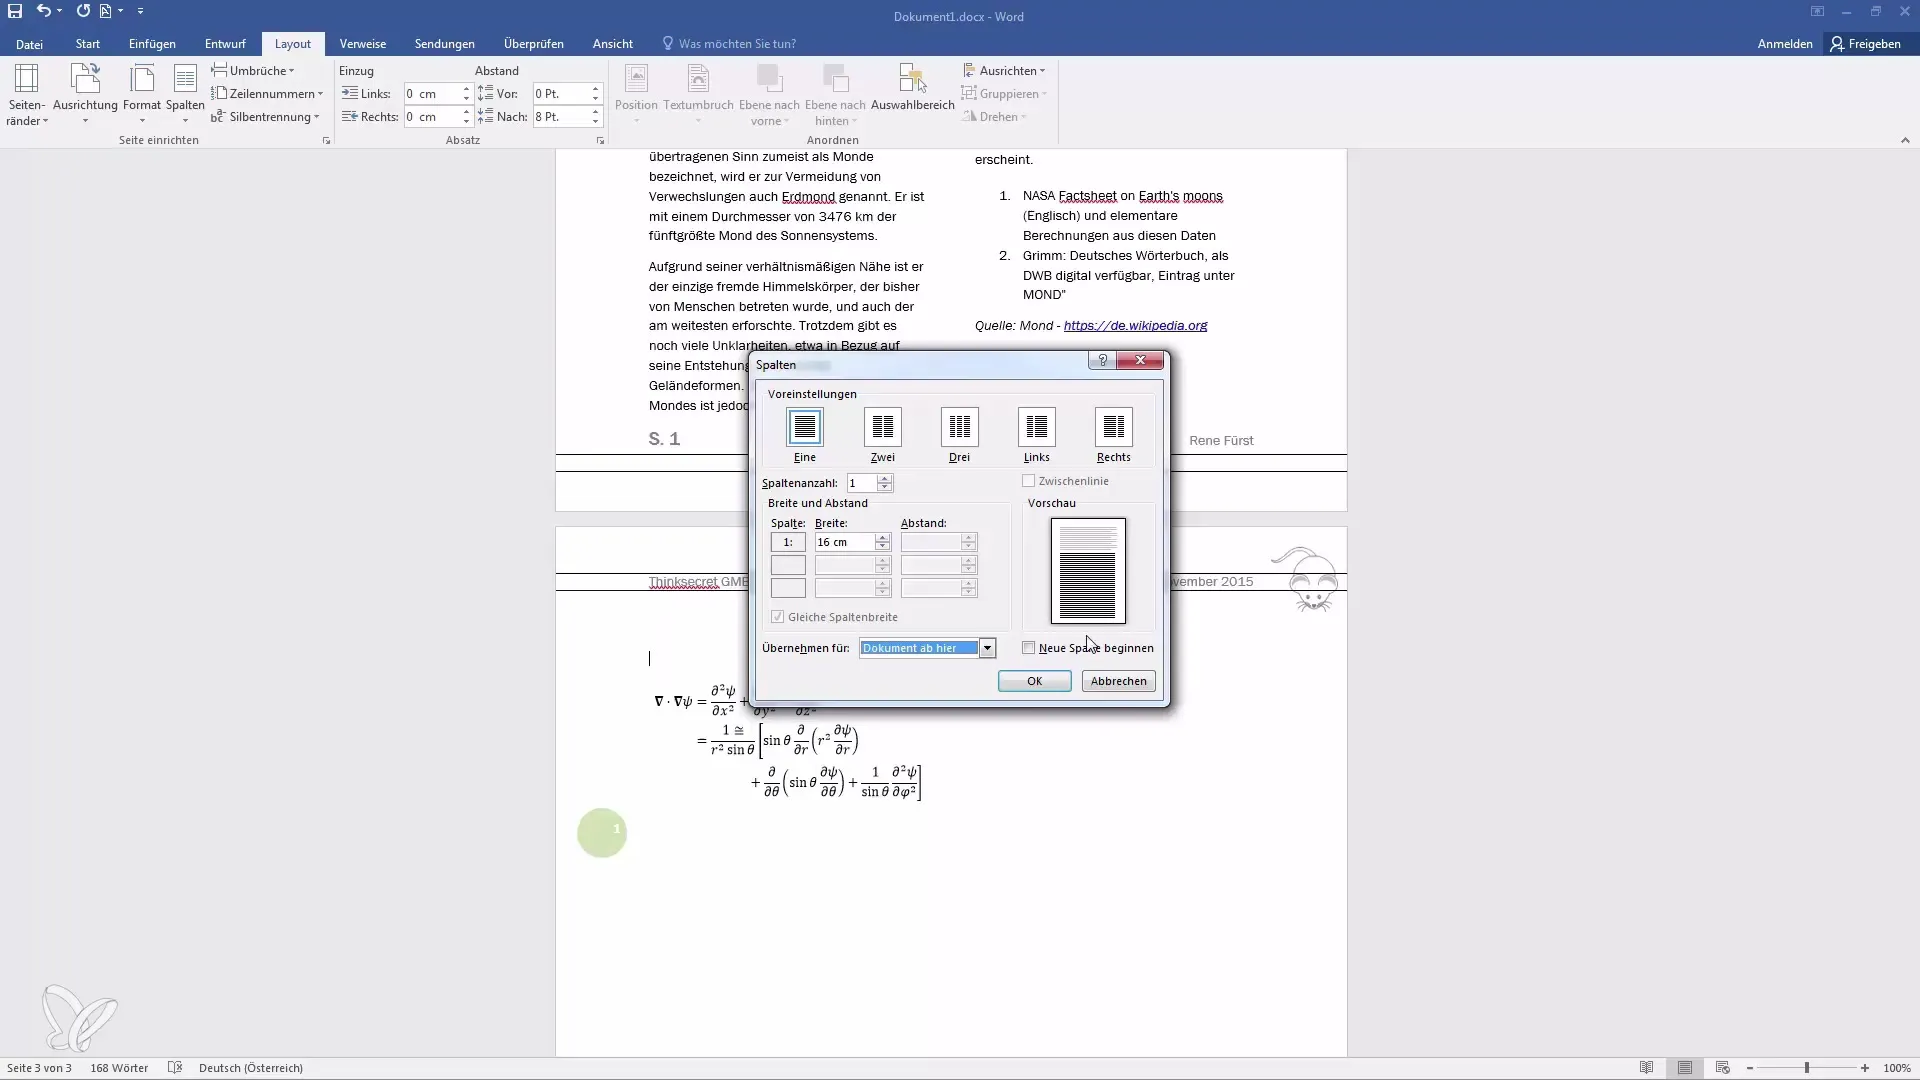
You can also insert a line between the columns if you want to further enhance the design. This keeps readability high and gives the document an appealing structure.
You also have the option to insert multiple columns, for example three or even four columns. This is helpful if you want to vary the presentation of your text depending on how much content you have.
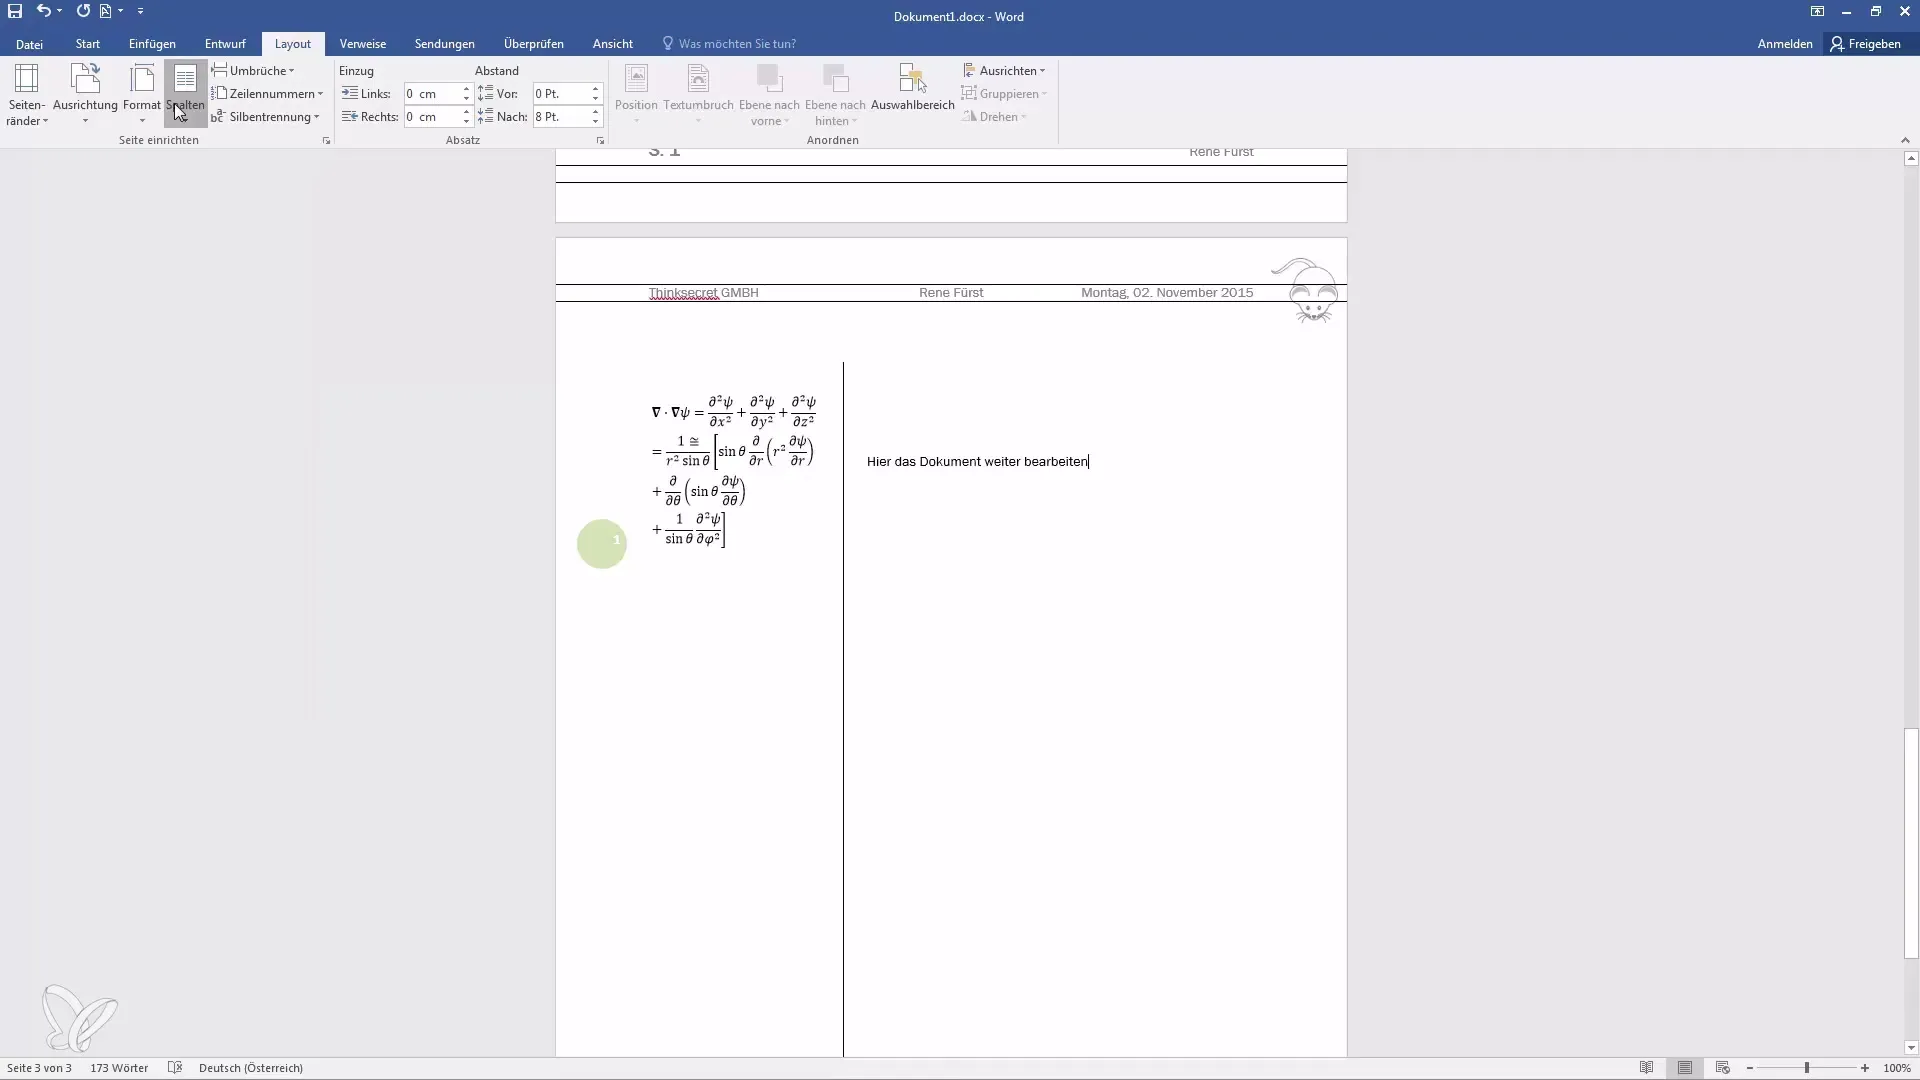
An adjustment in layout can also open up new creative ways to showcase information. You can arrange different content on the left and right, which can be particularly interesting in reports or articles.
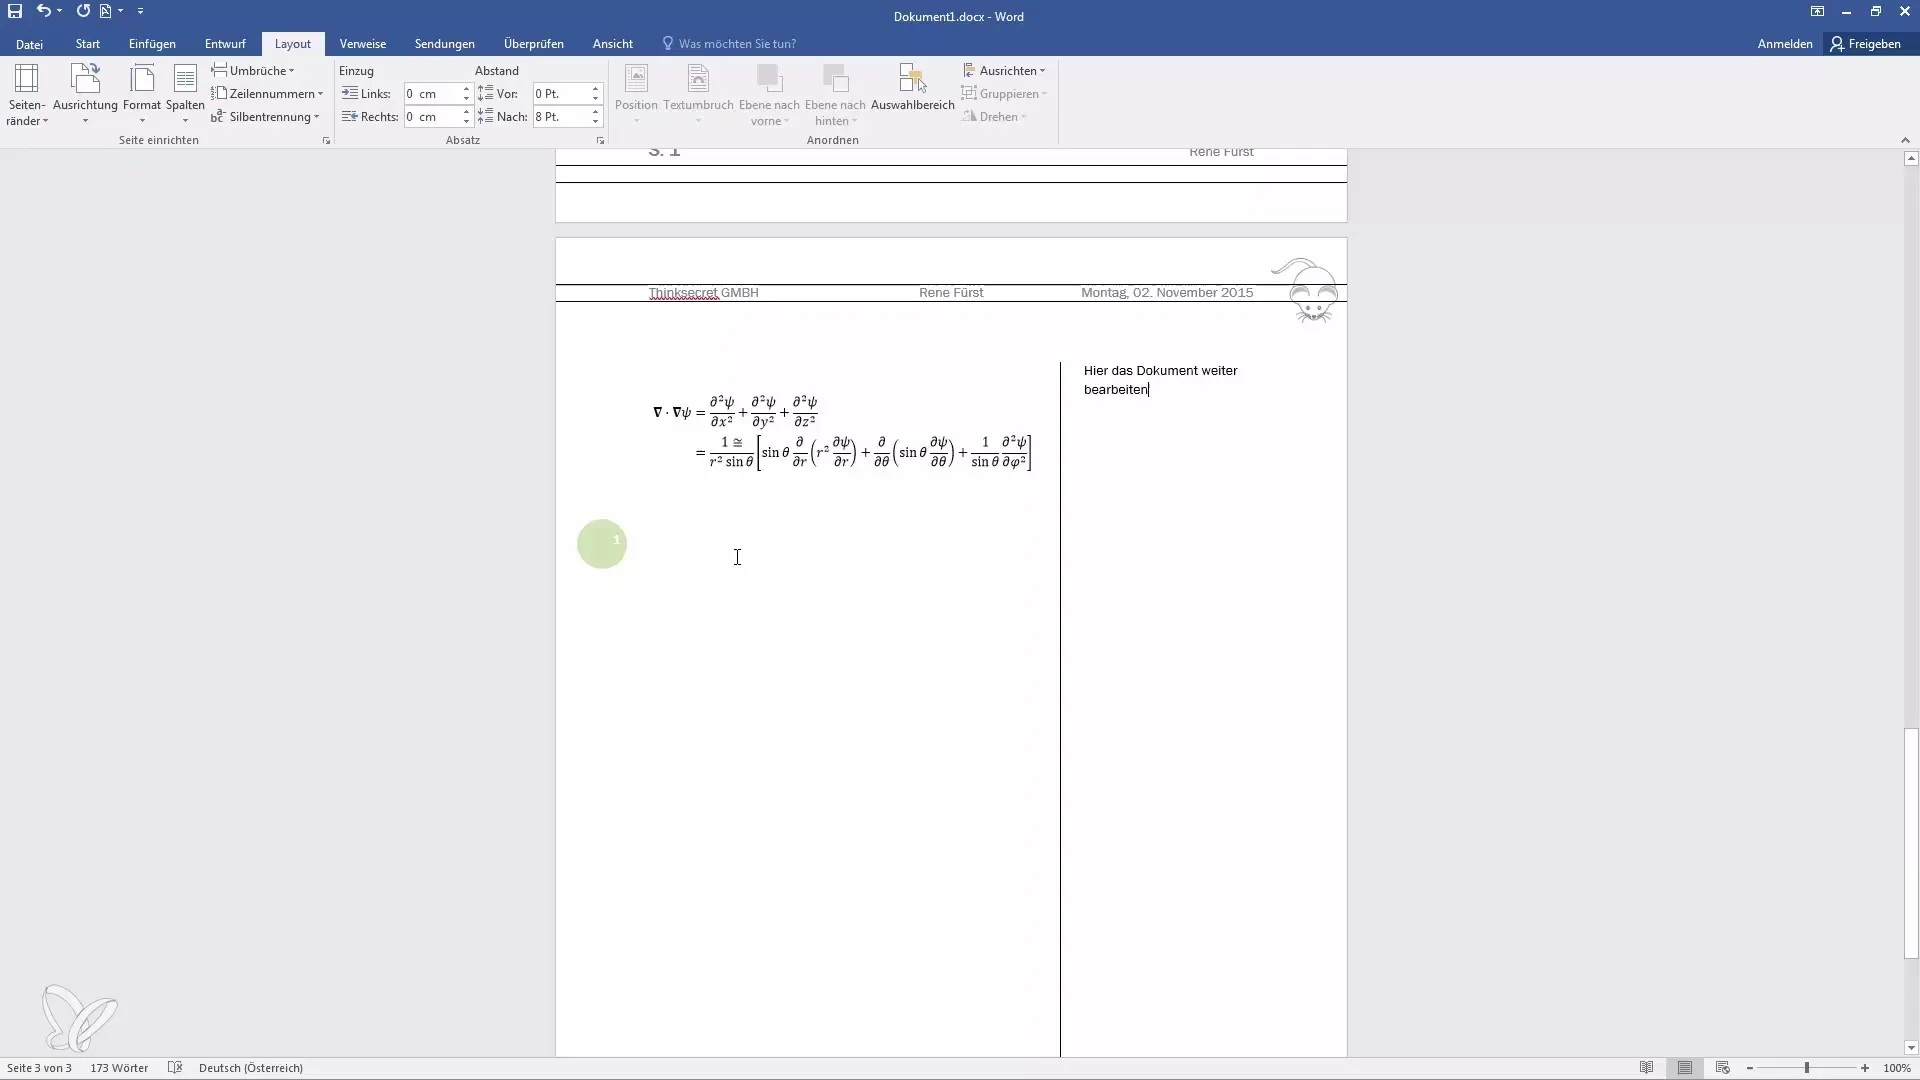
After setting up your columns, you can start adding text. Make sure you continue in the correct column, especially if you want to write multi-line paragraphs.
Summary
In this guide, you have learned step by step how to adjust page margins, change alignment, and insert columns to optimize your documents. With these features, you are able to create an appealing and professional layout that meets your requirements.
Frequently Asked Questions
How do I change page margins in Word?Go to the Layout menu and select "Page Margins," then you can choose from various predefined options.
Can I change the page alignment anytime?Yes, the alignment can be changed anytime under the Layout menu by clicking on "Alignment."
How do I insert columns into my document?Select the "Columns" option in the Layout menu and adjust the settings to achieve the desired effect.


