Word offers you powerful tools to customize your documents according to your preferences. One special role is played by the various breaks that help you significantly improve the structure and layout of your texts. The correct use of page and section breaks can make the difference between a professional and a chaotic document.
Key Insights
- There are different types of breaks: page breaks, column breaks, text wraps, section breaks, and breaks on even or odd pages.
- Each break has its own application area and can be used strategically to optimize readability and layout.
- Breaks allow you to flexibly format content without having to rearrange the entire document.
Step-by-Step Guide
1. Creating a Page Break
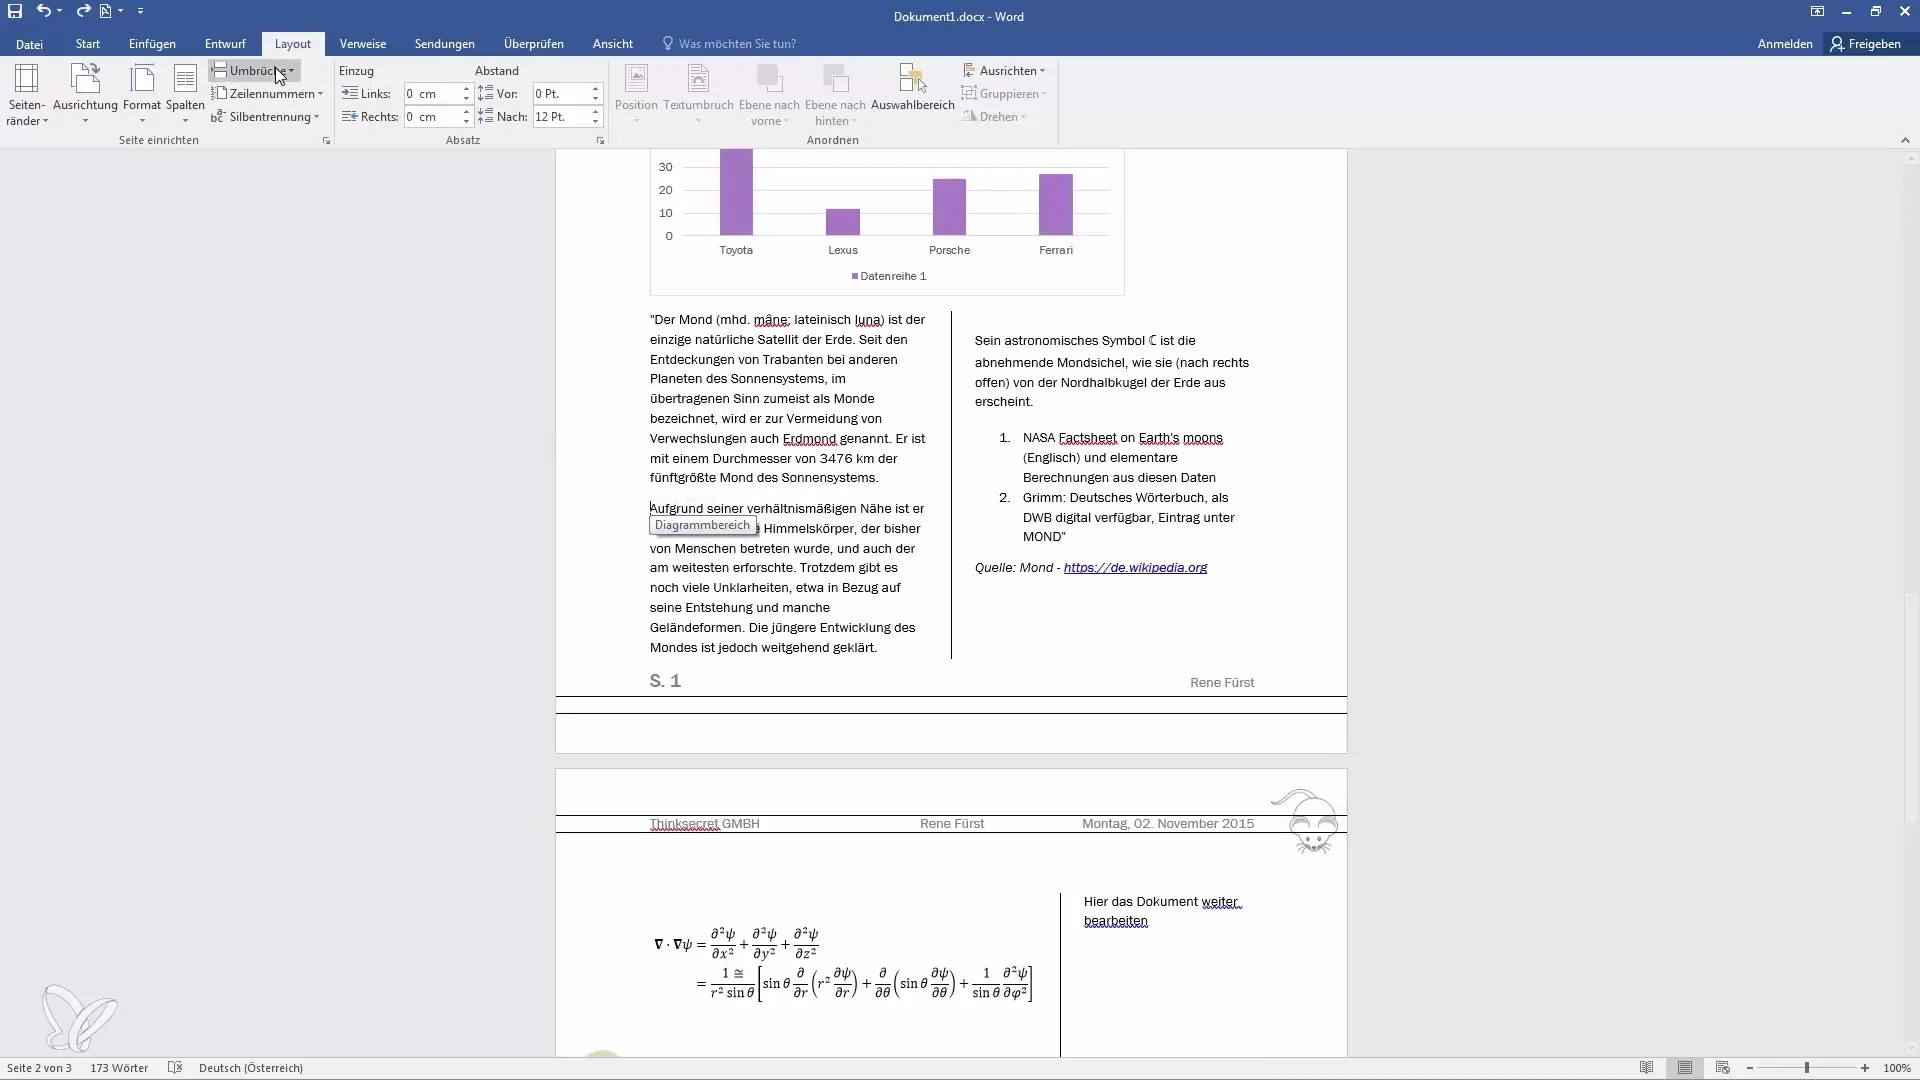
To create a page break in your document, position the cursor where the new break should begin. Then navigate to the "Layout" tab and click on "Breaks." Select "Page Break." This will move the text after the cursor to the next page.
2. Using a Column Break
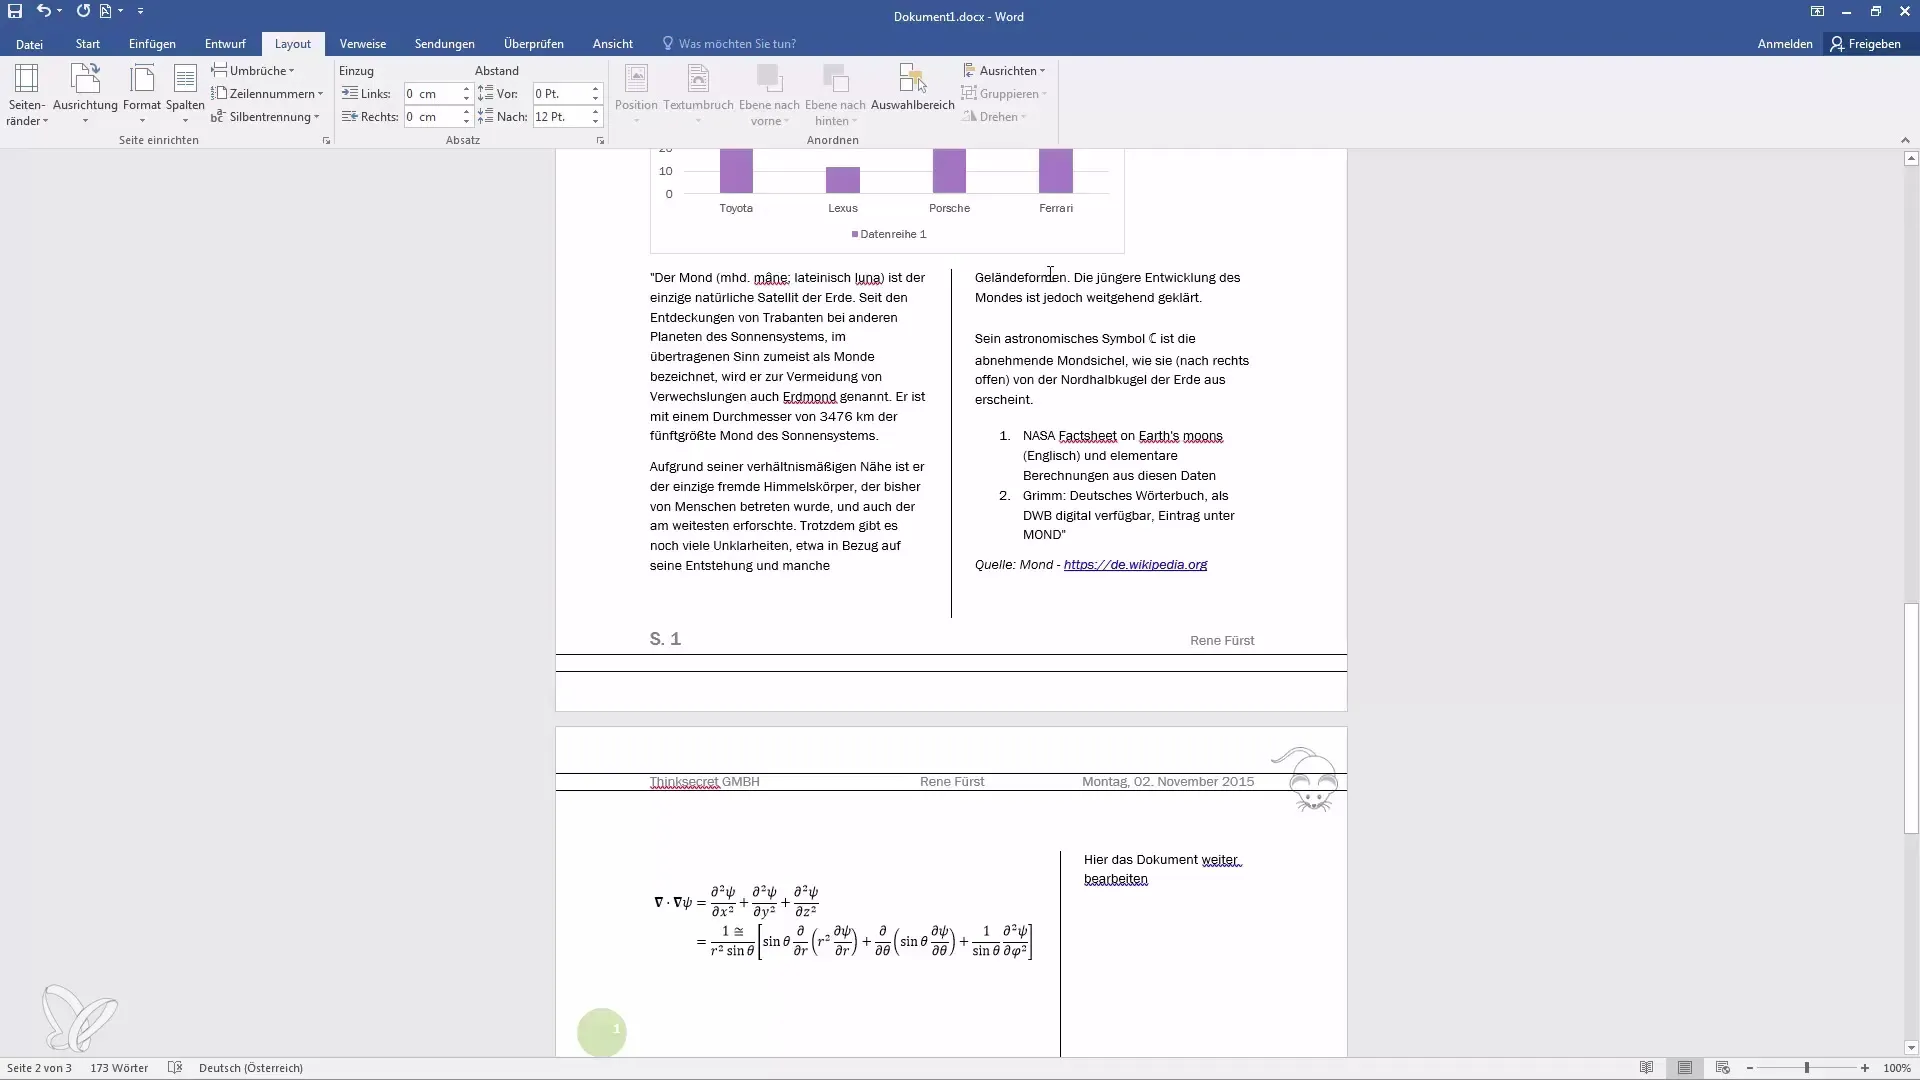
Do you have text that should be displayed in multiple columns? Use a column break. Place the cursor where you want it and go to "Layout" -> "Breaks." Select "Column Break." The text after the cursor will then move to the next column while the previous text remains in the first column.
3. Inserting a Text Wrap
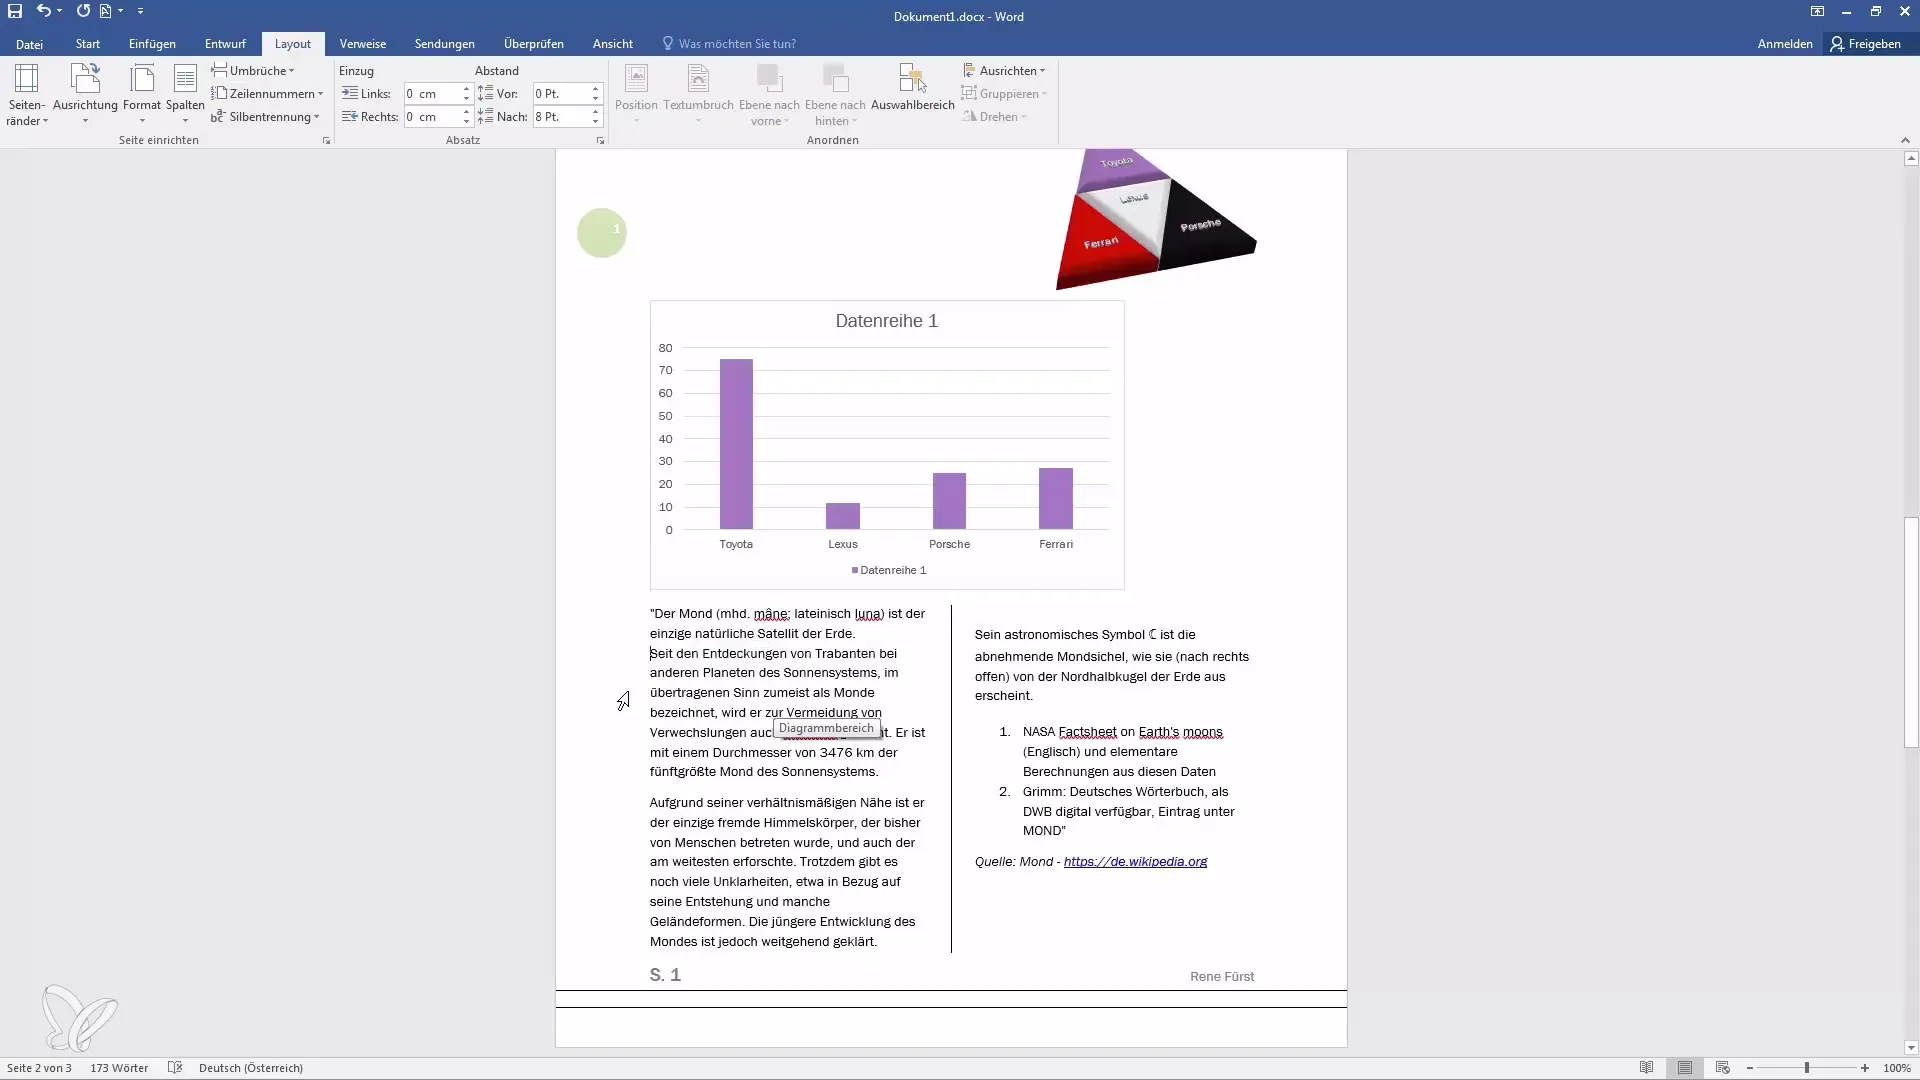
The text wrap can be used within a paragraph to move parts of the text to the next column. Simply place your cursor where the wrap should occur and select "Text Wrap" from the "Layout" tab. Similar to hitting enter, the text will move to the next line from that point.
4. Creating a Section Break
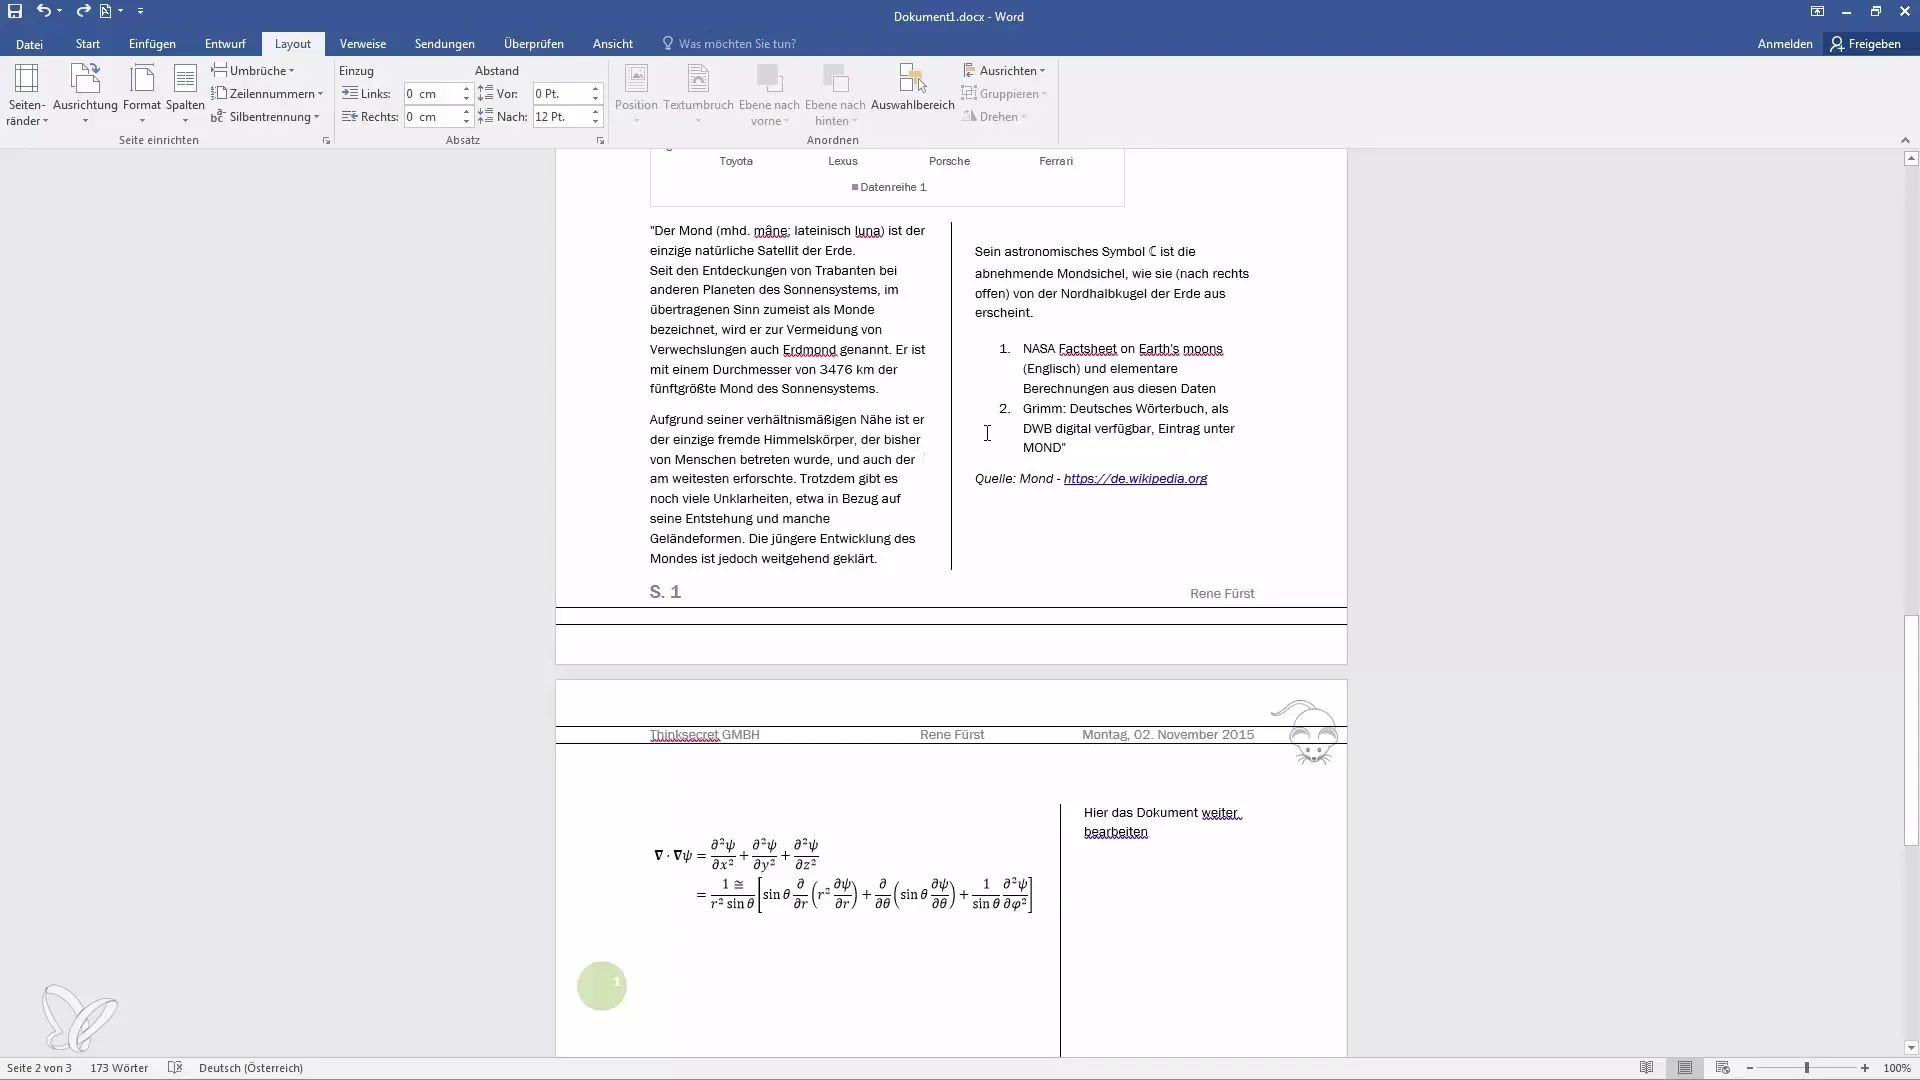
For extensive documents, section breaks are useful to use different formatting within a document. Place the cursor where the section break should begin. In the "Layout" tab, select "Breaks" and then "Next Page." The text in the current section will then move to the next page.
5. Continuous Section Break
If you want to start a new section on the same page, place the cursor in your document where you want it. In the "Layout" tab, select "Breaks" and then "Continuous." A new section will begin without changing the layout of the current page.
6. Break on Even or Odd Page
For specific layout requirements, you can set breaks on even or odd pages. Position your cursor at the desired point. Go to "Layout," click on "Breaks," and select "On Even Page" or "On Odd Page." This will shift all subsequent page numbers accordingly so your content always begins on the desired page.
7. Checking Page Numbers
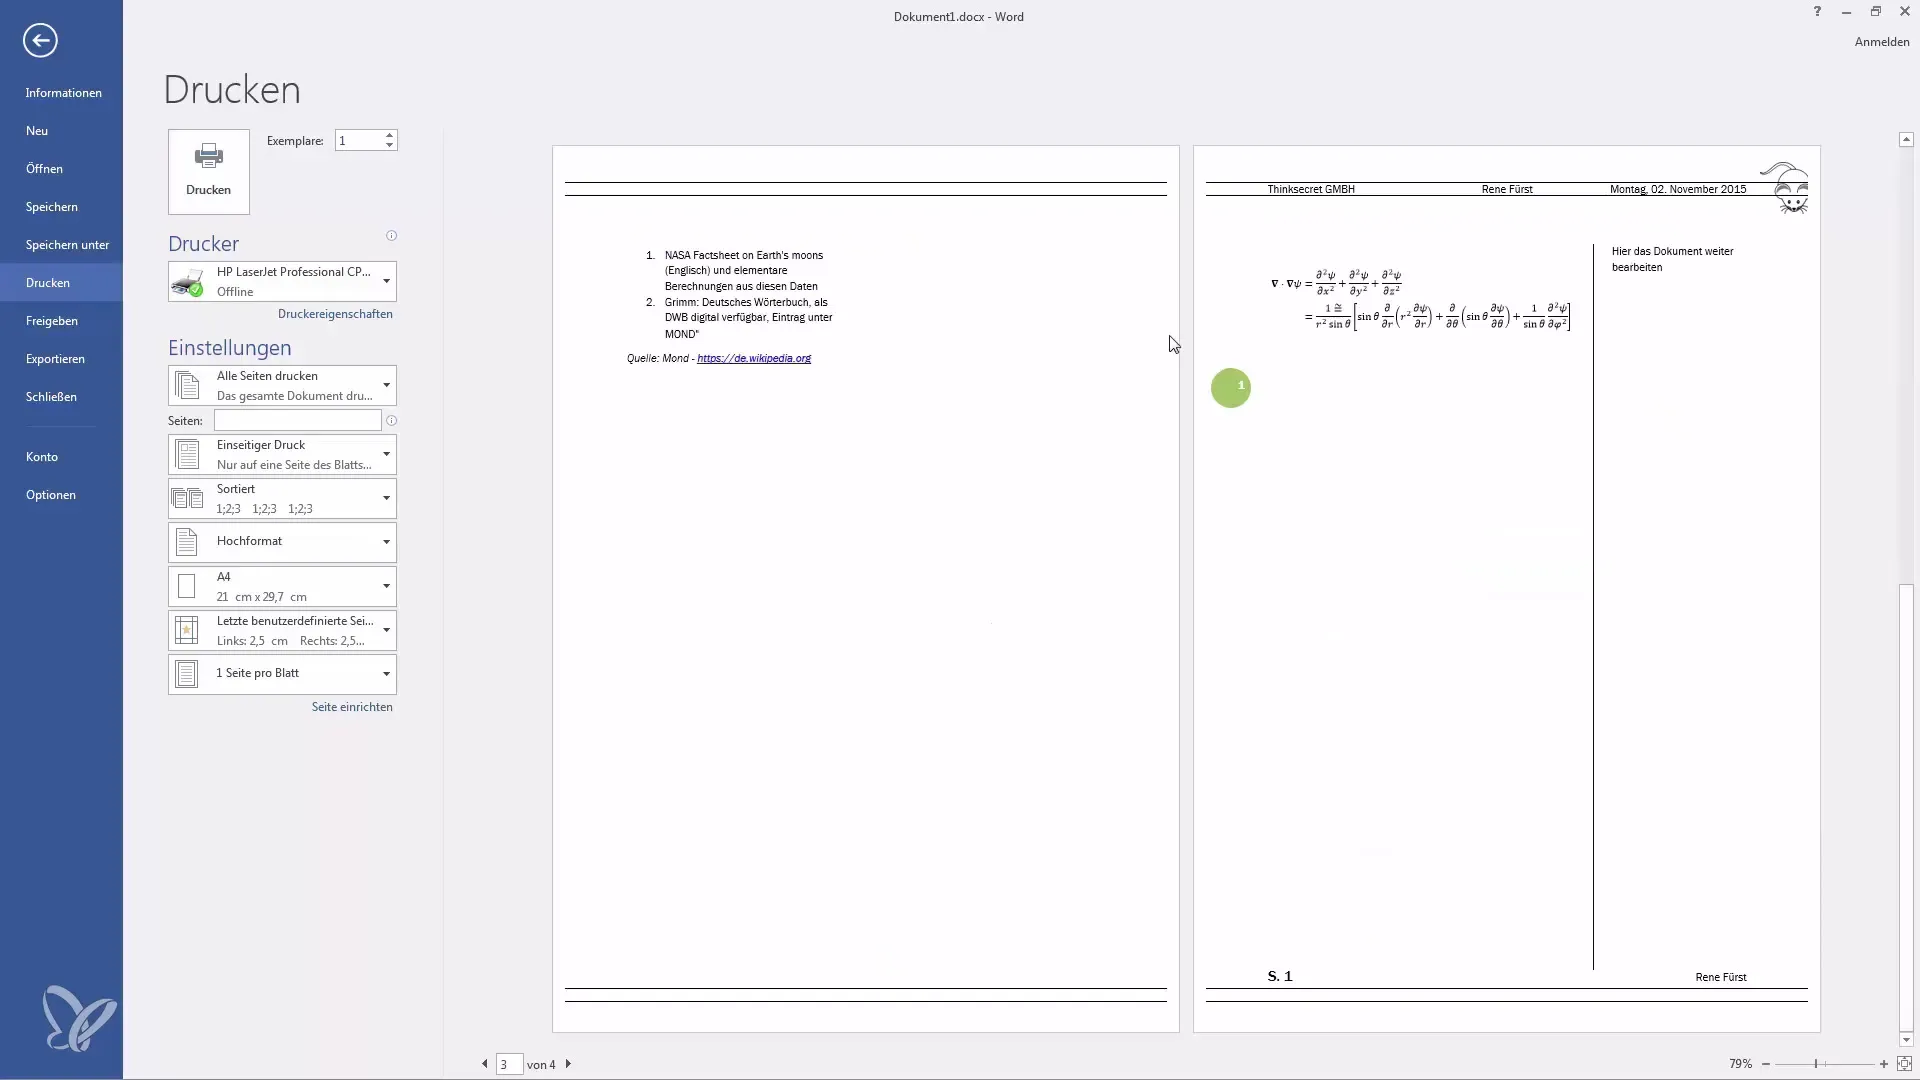
To verify that the breaks are correctly set and the page numbers are correct, switch to print view. Ensure that the pages are numbered correctly and your desired breaks are visible.
Summary
Using the right breaks in Word means more than just moving text. They are a crucial factor for the layout and readability of your documents. By selectively applying the different types of breaks, you can achieve a professional appearance and offer readers a pleasant reading experience.
Frequently Asked Questions
How do I create a page break in Word?Position the cursor at the desired location and select "Breaks" under "Layout" and then "Page Break."
What is the difference between a page break and a column break?A page break moves the text to a new page, while a column break shifts the text to a new column.
Can I insert a section break on the same page?Yes, choose "Layout," then "Breaks," and "Continuous" to start a new section on the current page.
How can I check if the breaks are correctly set?Switch to print view to ensure that all breaks and page numbers are displayed as desired.
What happens when I set a break on an even or odd page?The break will adjust the following page numbers accordingly so the next section starts on the desired page.
