Creating a bibliography in Word can be a crucial step in organizing your academic work and allowing for correct formatting of citations. In this tutorial, I'll explain how you can insert quotes and create a bibliography in Word. With Word's built-in features, it's easy to manage your sources and ensure that the formatting of your citations complies with current standards.
Main Insights
- Word offers convenient features for managing bibliographies and citations.
- You can easily create different types of sources such as books, websites, and movies.
- The citation formatting can be adjusted to different standards (e.g., Harvard).
- The bibliography updates automatically when you add new citations.
Step-by-Step Guide
Creating a Bibliography in Word
To create a bibliography, first open your Word document. You can insert and manage the bibliography in existing or new documents.
Managing Sources and Inserting Citations
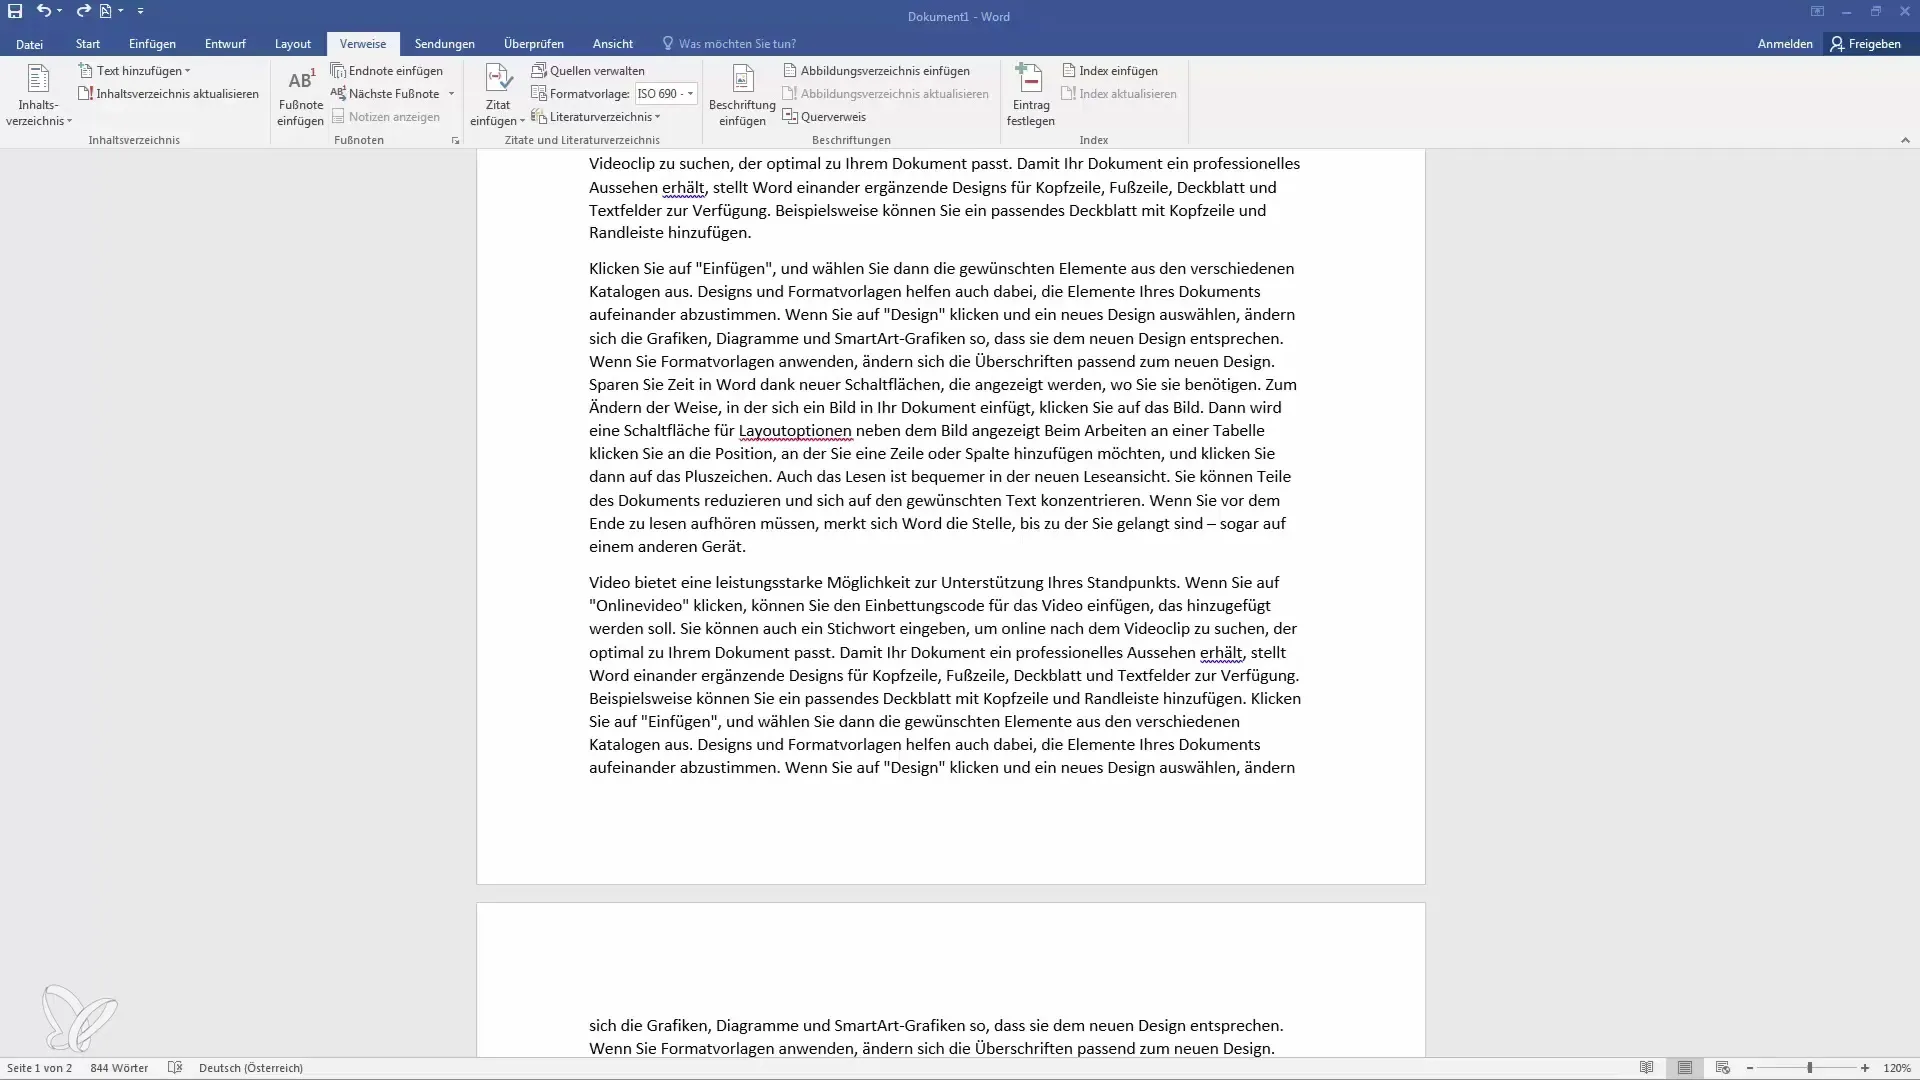
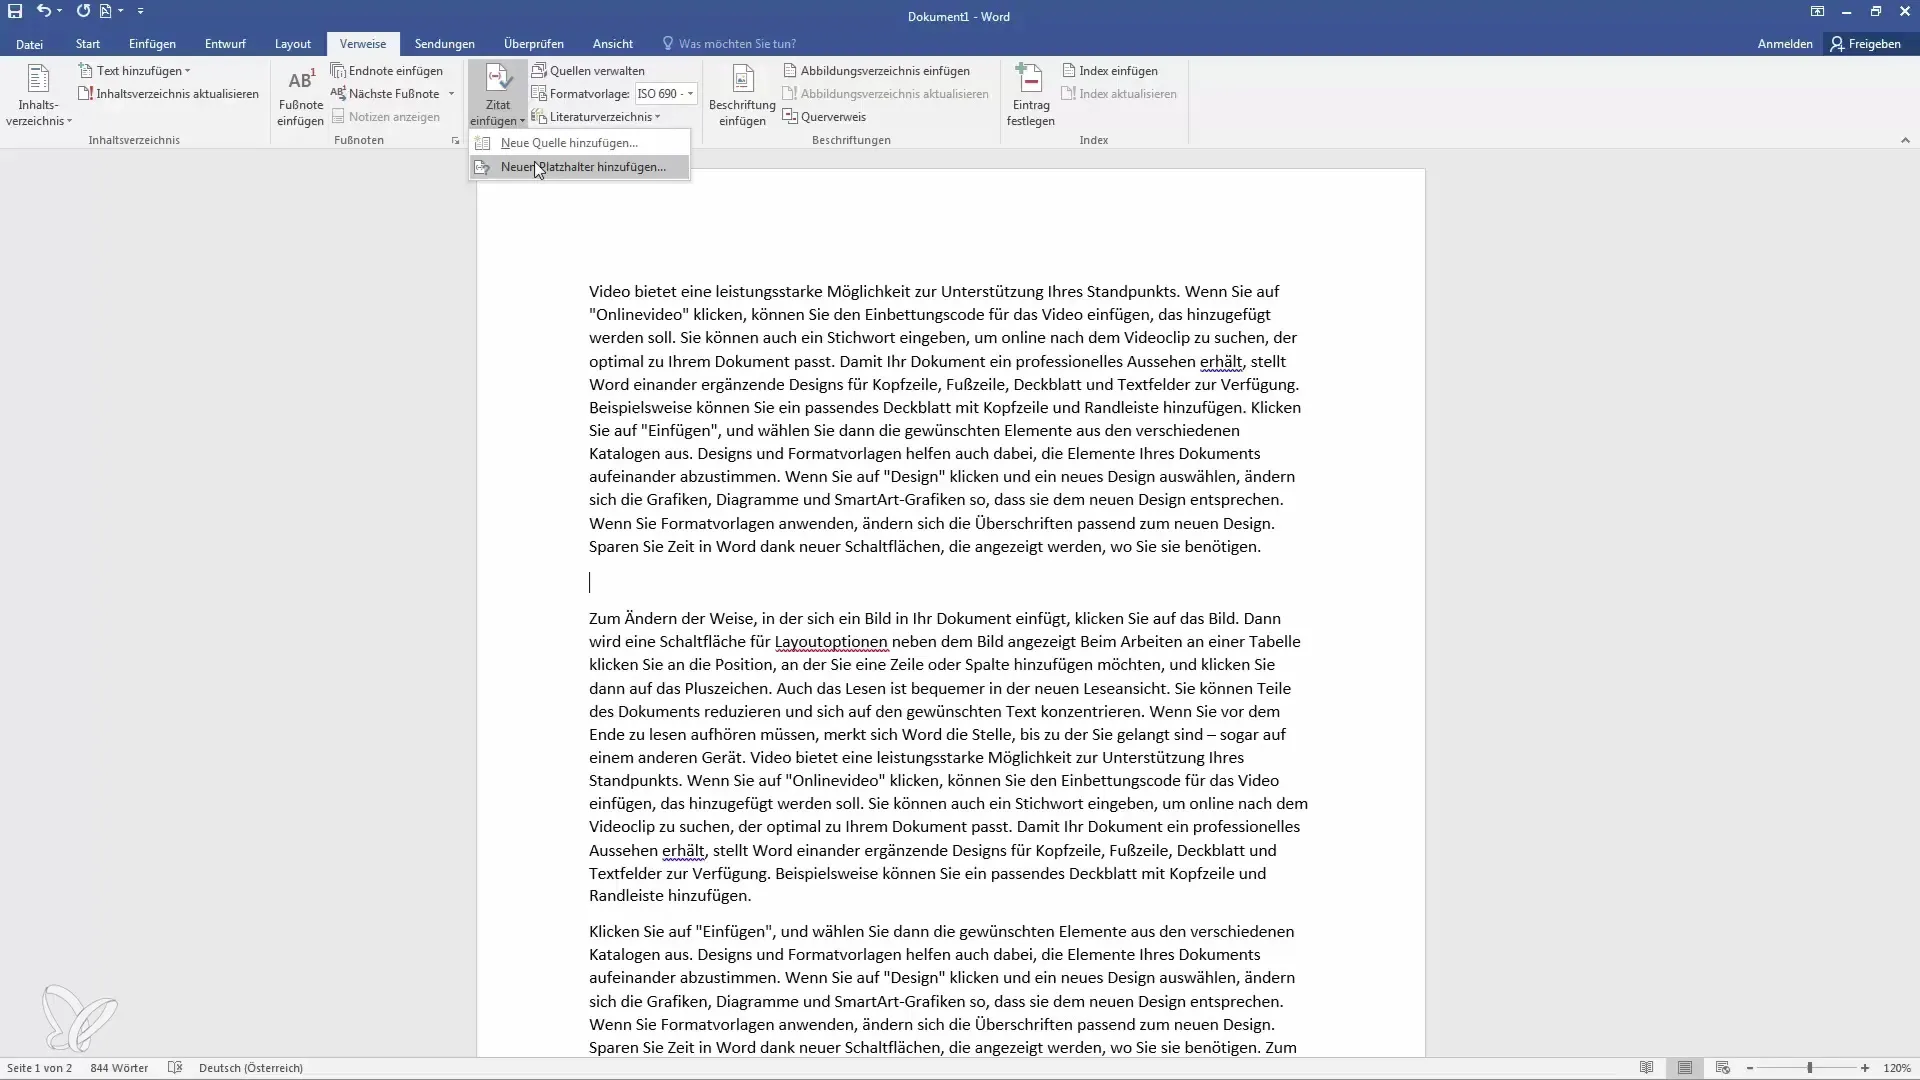
Go to the “References” tab and then to “Citations & Bibliography.” If you don't have any sources yet, you'll be prompted to add a new source or insert a placeholder. Choose the option “Manage Sources” to organize your citations.
Creating a New Source
Click on “Insert New Source.” You can now provide details such as author, title, and year. For example, you could create a book and specify your name as the author, along with the title and publication year.
Adding Additional Information
After the initial entry, you can add additional fields for information, such as the website or the page number from which the quote originates. This way, you have a comprehensive and precise source to reference.
Inserting a Citation
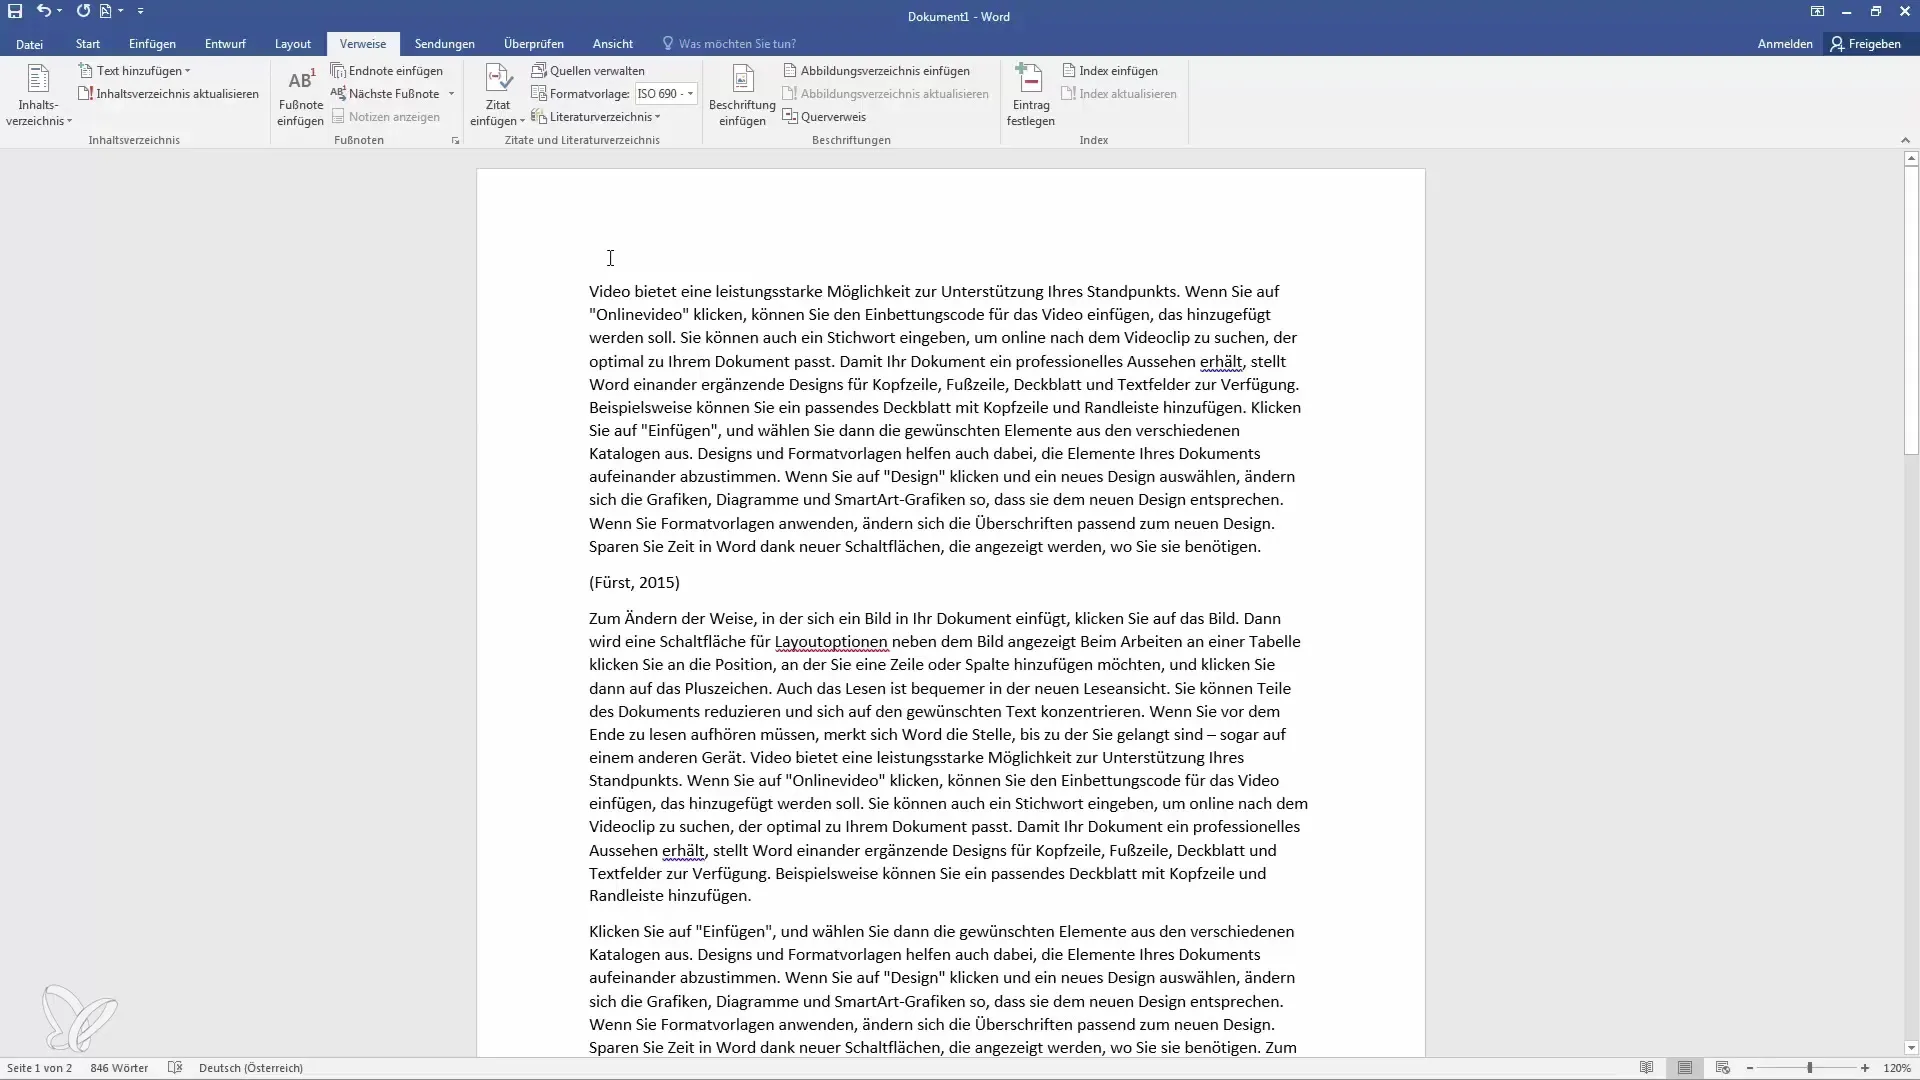
When using quotes in your text, go back to “Insert Citations.” The previously created source will appear. Simply select the source you just quoted, and Word will automatically format the citation according to the selected template.
Customizing Formatting Styles
Word gives you the option to change the formatting styles. Click on the options outside to switch between different formatting styles, such as the Harvard standard or other common styles.
Inserting the Bibliography
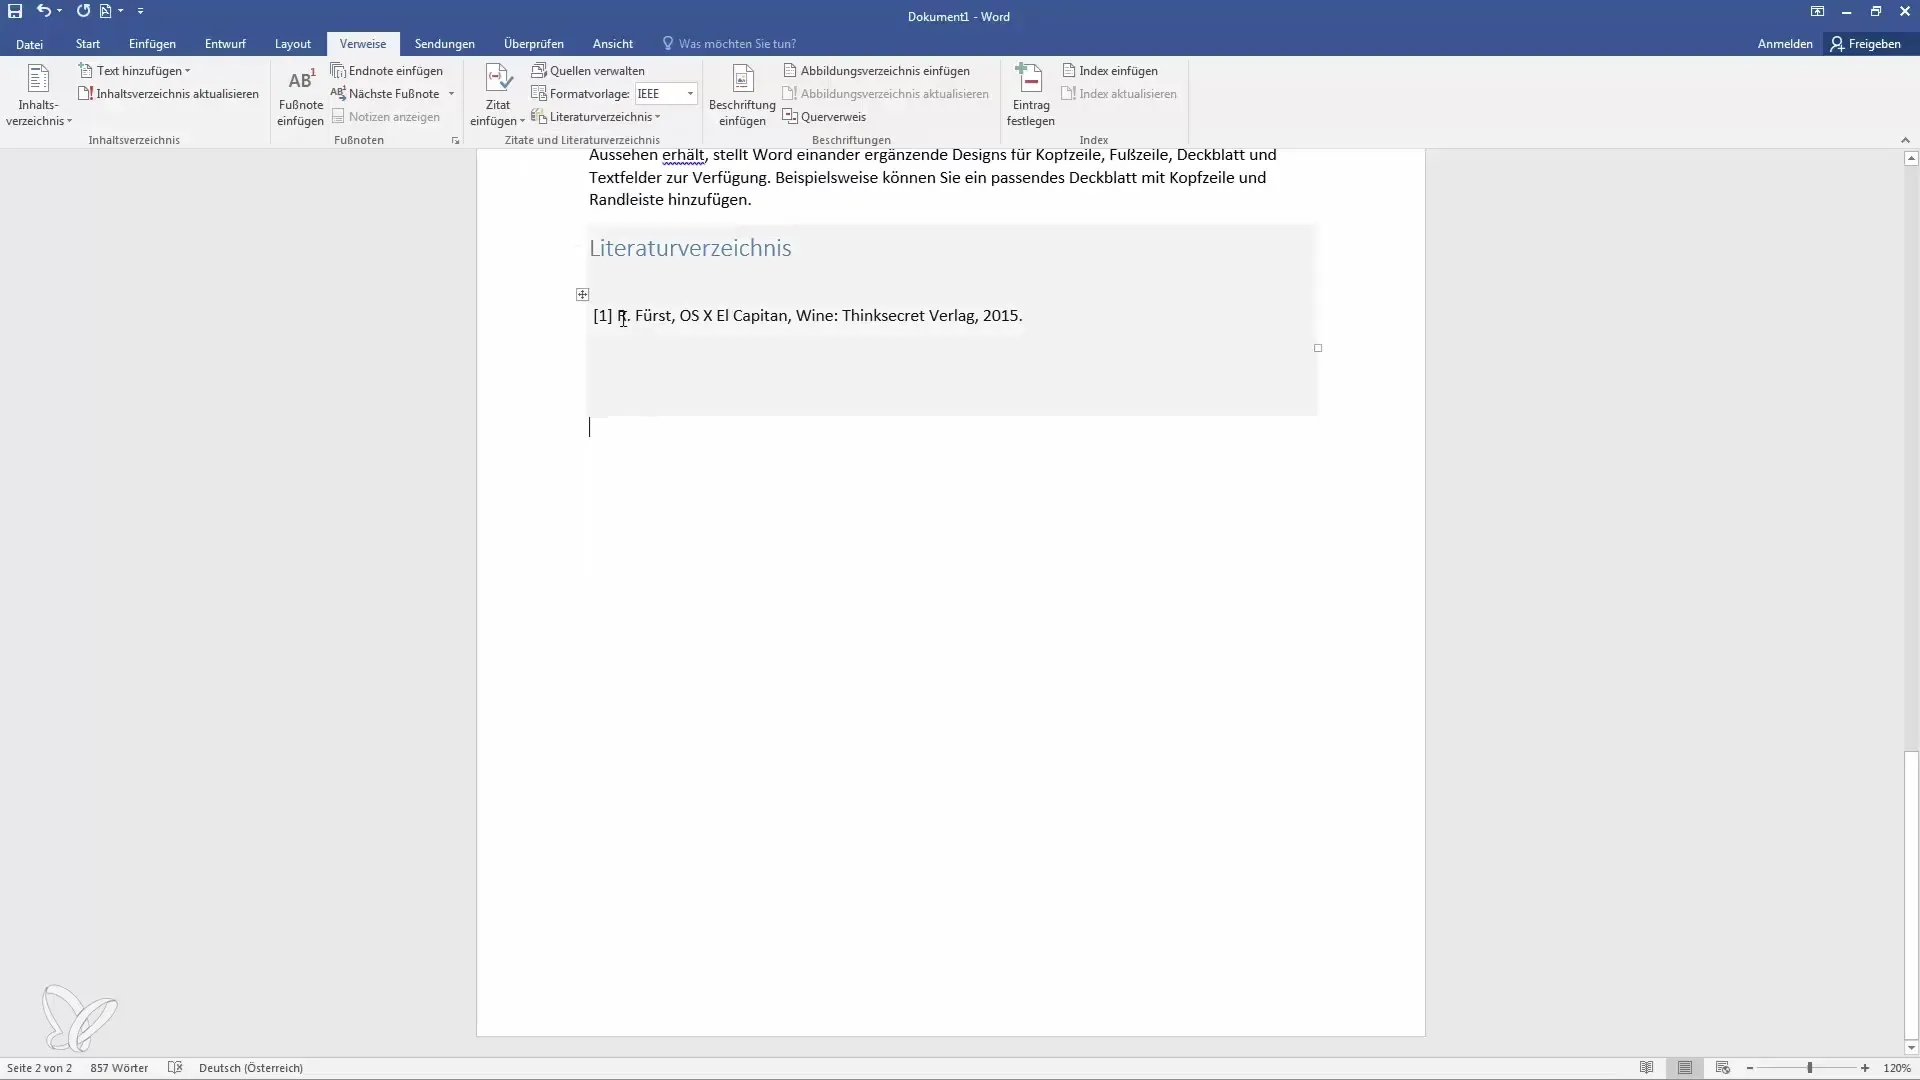
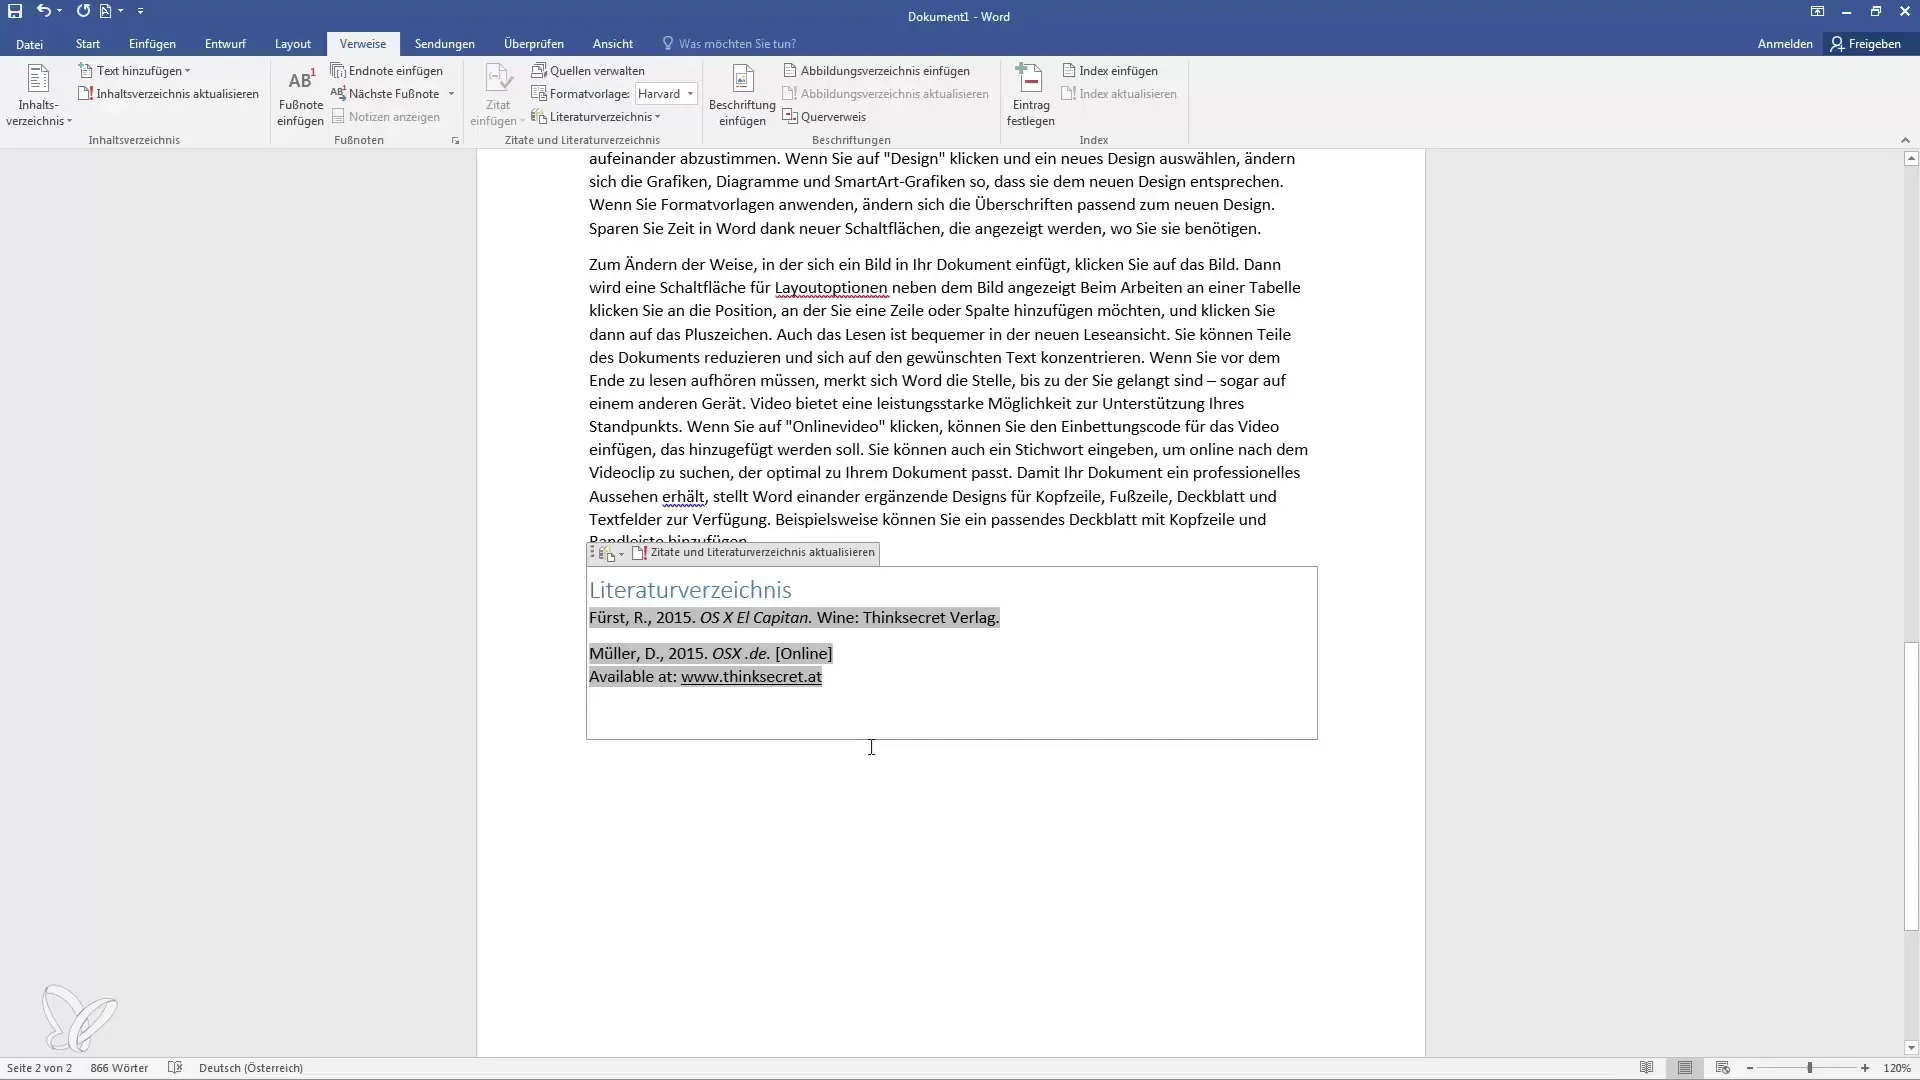
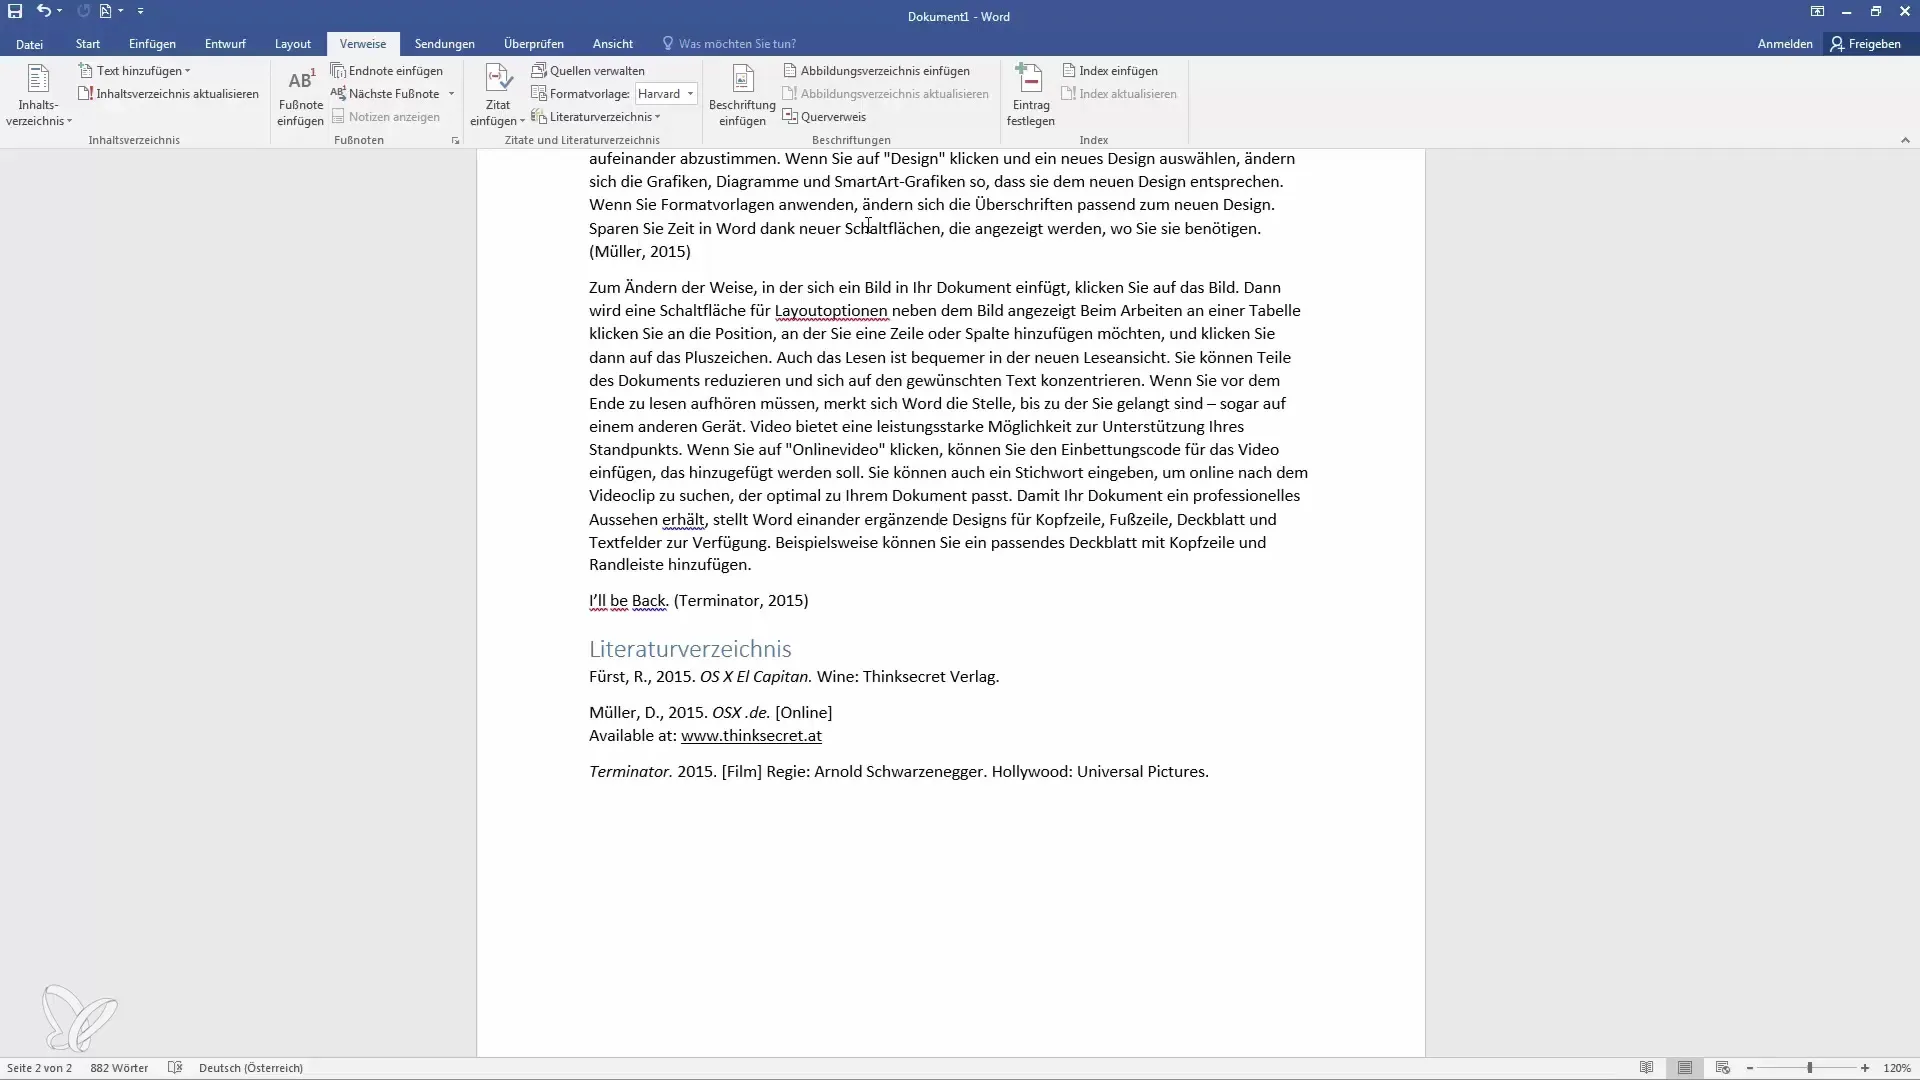
Once you've inserted all citations, go to the end of your document and click on “Insert Bibliography.” Word automatically creates a list of all the citations you've used in the correct format.
Updating the Bibliography
If you add new sources later on or make changes to existing ones, make sure to update the bibliography. Simply click on the “Update” button to incorporate all changes.
Adding More Sources
If you want to add more quotes and sources, simply go back to “Manage Sources” and add the desired source type. Whether it's a newspaper article, interview, or website, the principle remains the same.
Summary
Creating a bibliography and inserting citations in Word is a simple yet crucial part of your academic work. With the steps described above, you can systematically create sources, format quotes correctly, and ensure that your bibliography updates automatically. Whether you're citing books, movies, or websites, Word helps you keep track and optimize your writing process.
Frequently Asked Questions
How do I insert a quote into a Word document?Go to "Insert Citation" under the "References" tab and select the appropriate source.
Can I change the formatting of my bibliography?Yes, you can choose and customize different style formats in the "References" tab.
What should I do if I want to add new sources?Go to "Manage Sources" and add a new source or update existing ones.
Does Word automatically generate a bibliography?Yes, when you insert citations and create the bibliography, Word automatically updates it when changes are made.


