Inserting images into Word documents can often be a challenge. But with the right techniques and a few helpful tips, it's easy to enhance the visual appeal of your documents. In this tutorial, you will learn step by step how to effectively integrate and edit images and online graphics in Word. The following points will be covered: inserting images, adjusting images, and using online graphics. Let's dive right in!
Main Takeaways
- Inserting and editing images in Word documents is simple.
- The aspect ratio of images remains intact when using the corners to shrink or enlarge.
- Word offers many image editing features that do not require external software.
- Online graphics can be inserted directly from within Word.
Step-by-Step Guide
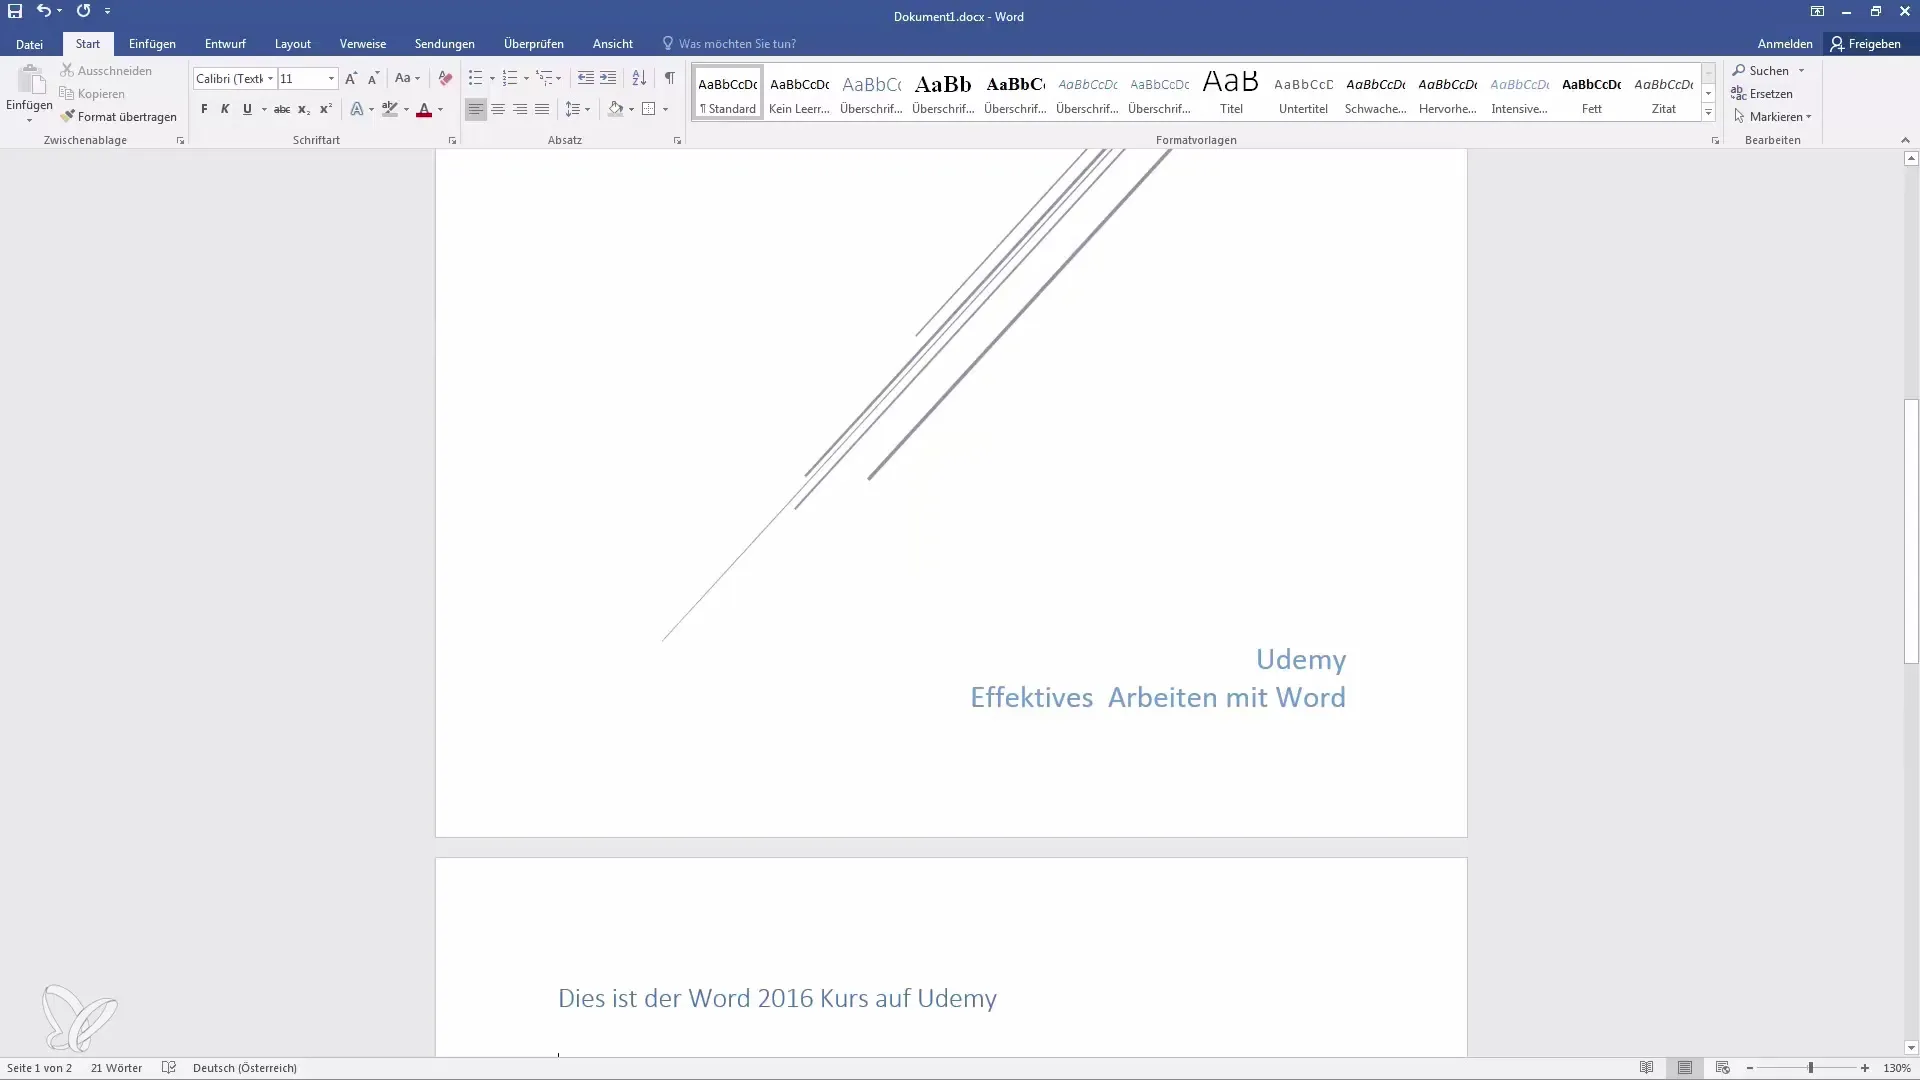
Let's start with inserting images into your Word document.
1. Insert Image
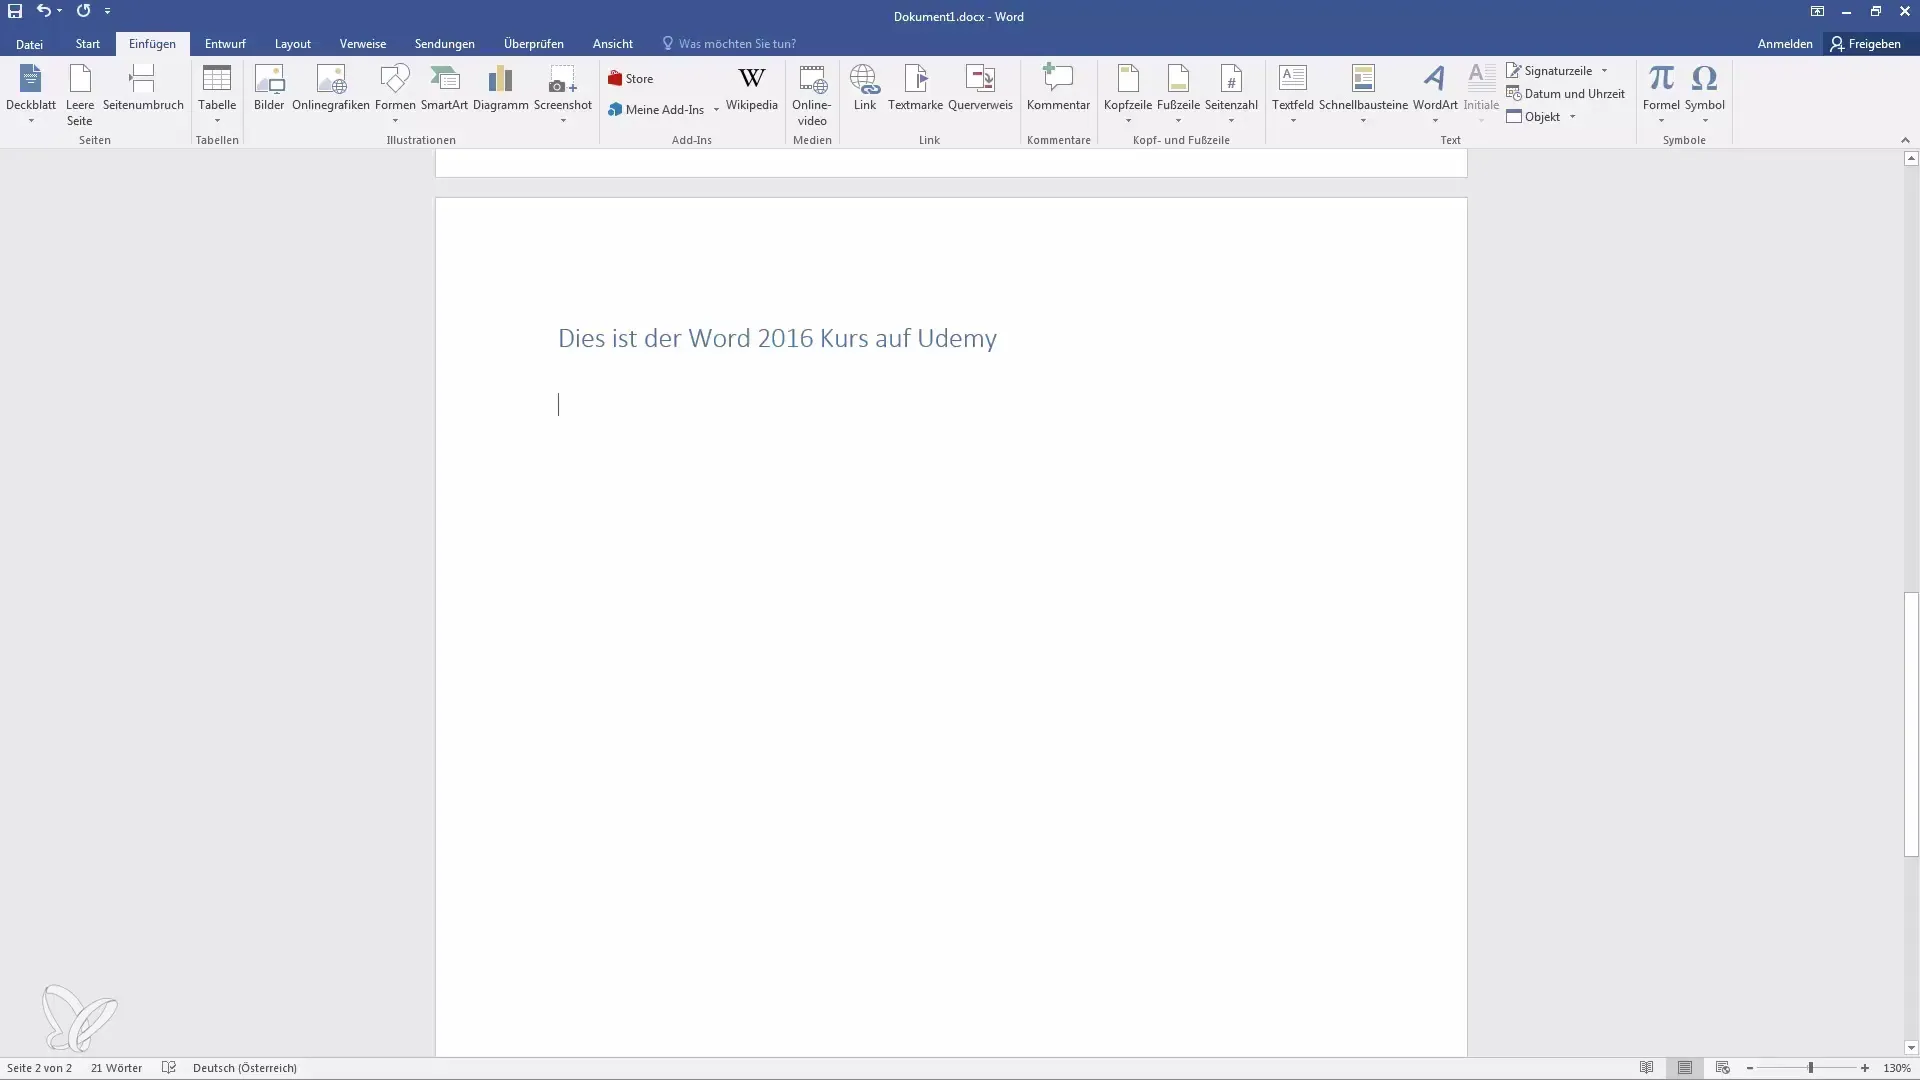
Open your Word document and select the location where you want to insert the image. In this example, we will go to the second page of the document. Click on the "Insert" tab at the top. Here you can choose between different elements to add to your document.
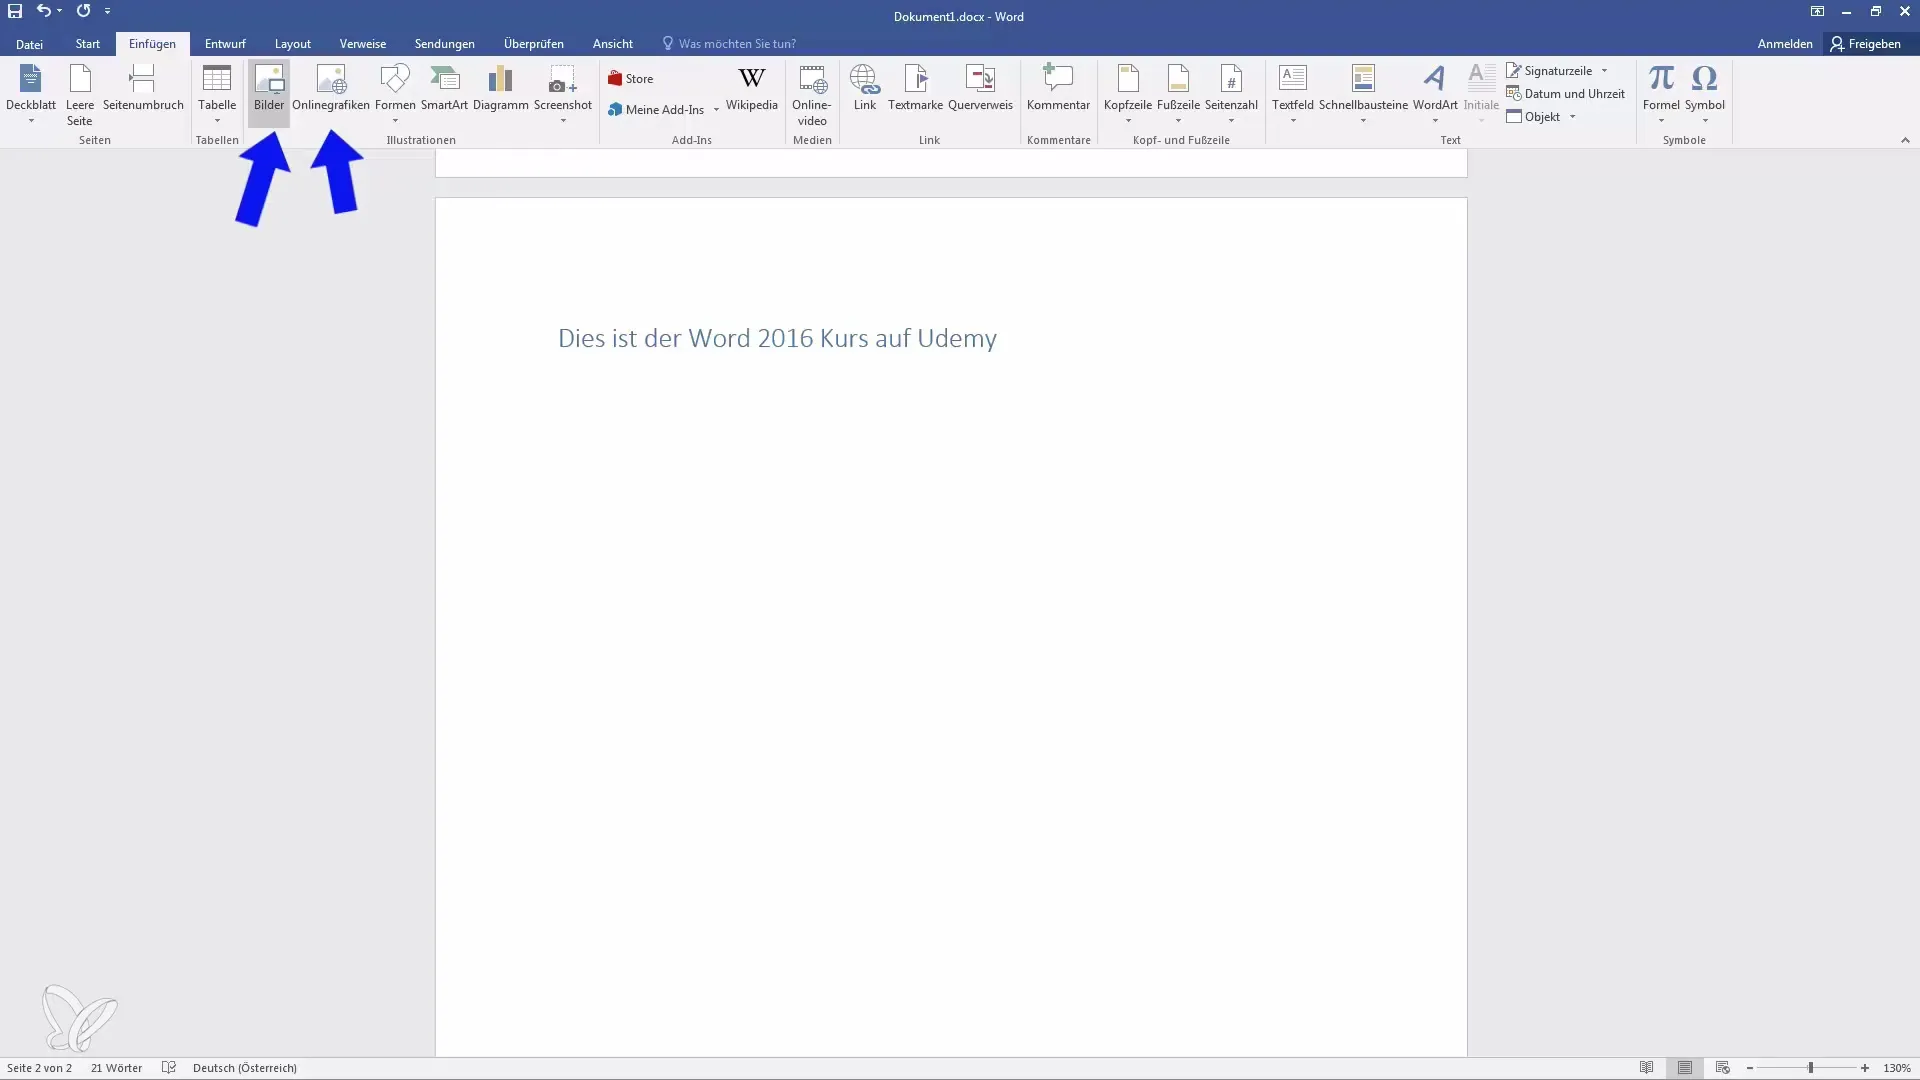
Now you will find the options for images and online graphics. Choose "Pictures" to insert an image from your computer.
The File Explorer will open. Navigate to the folder where your images are stored and select the desired image. Click on "Insert".
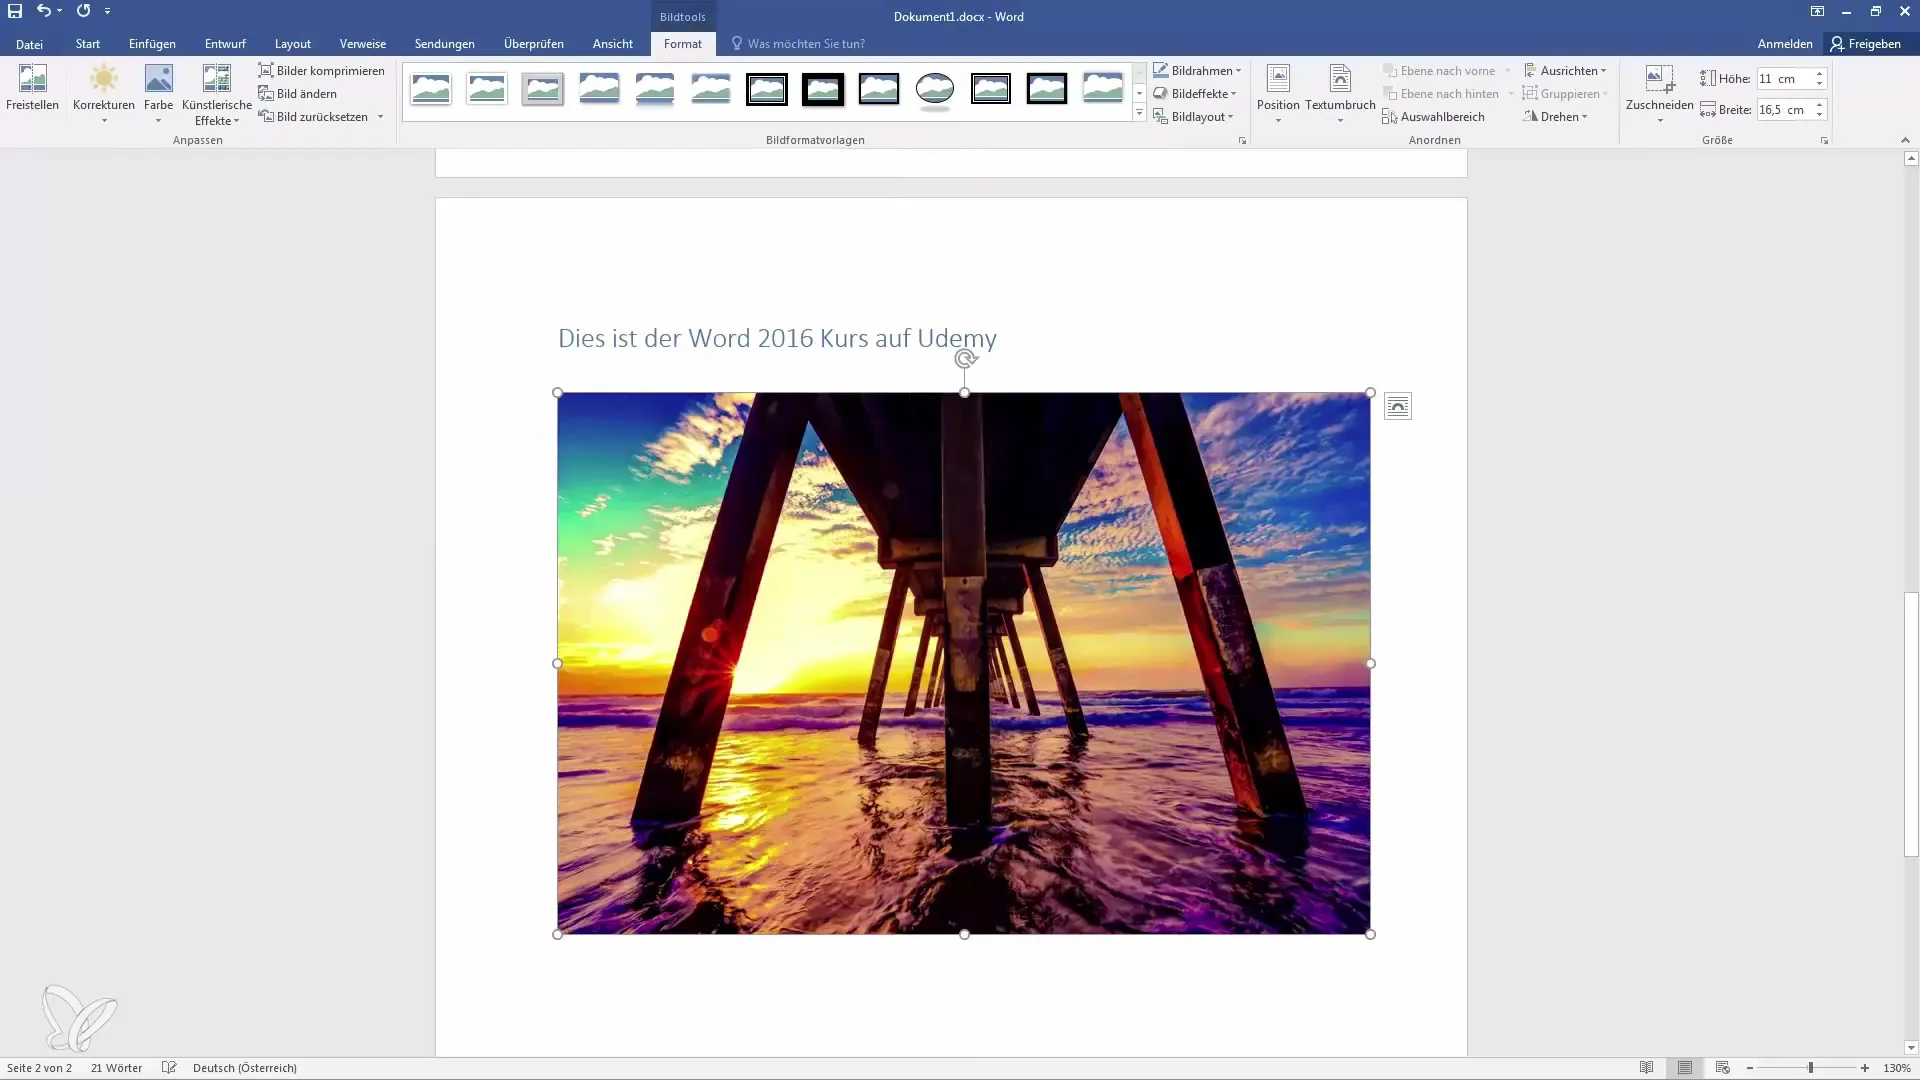
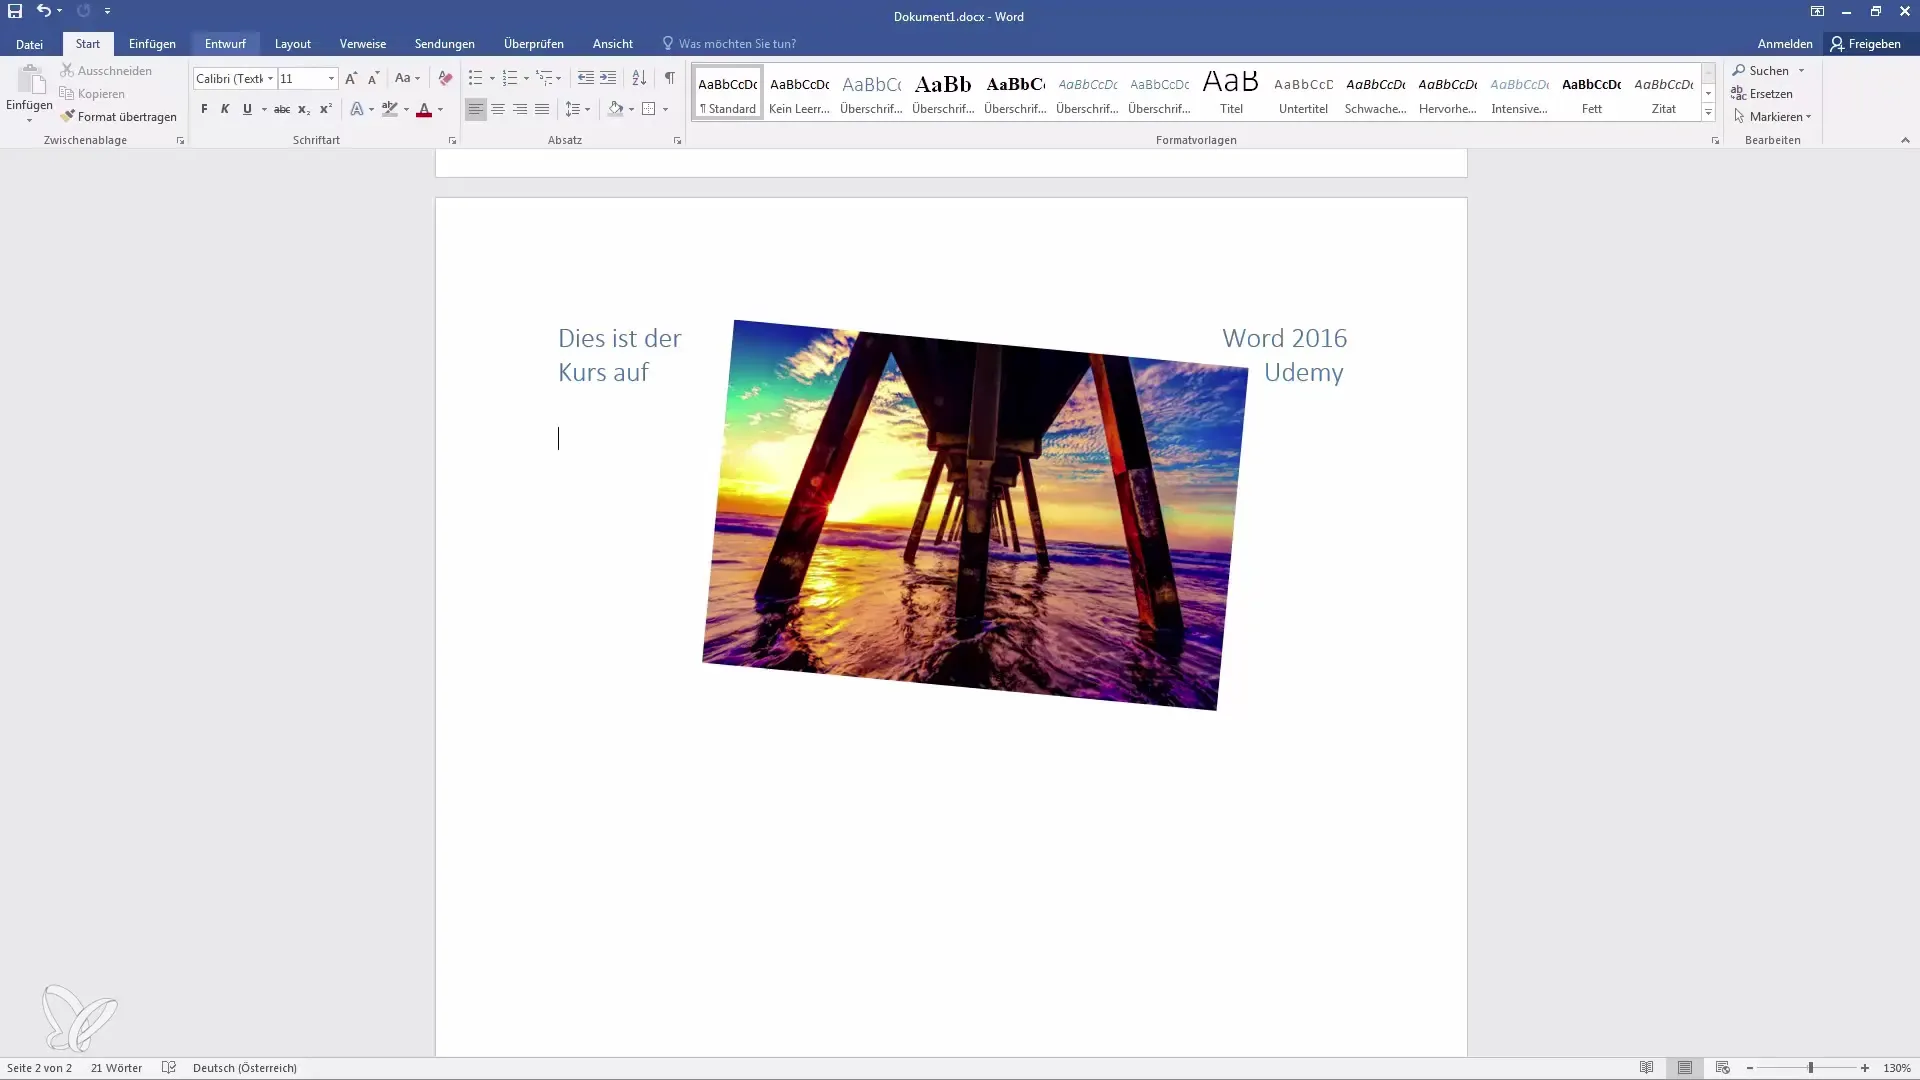
The image will now be inserted into your document. It often appears in its original size, so adjust it to the desired dimensions.
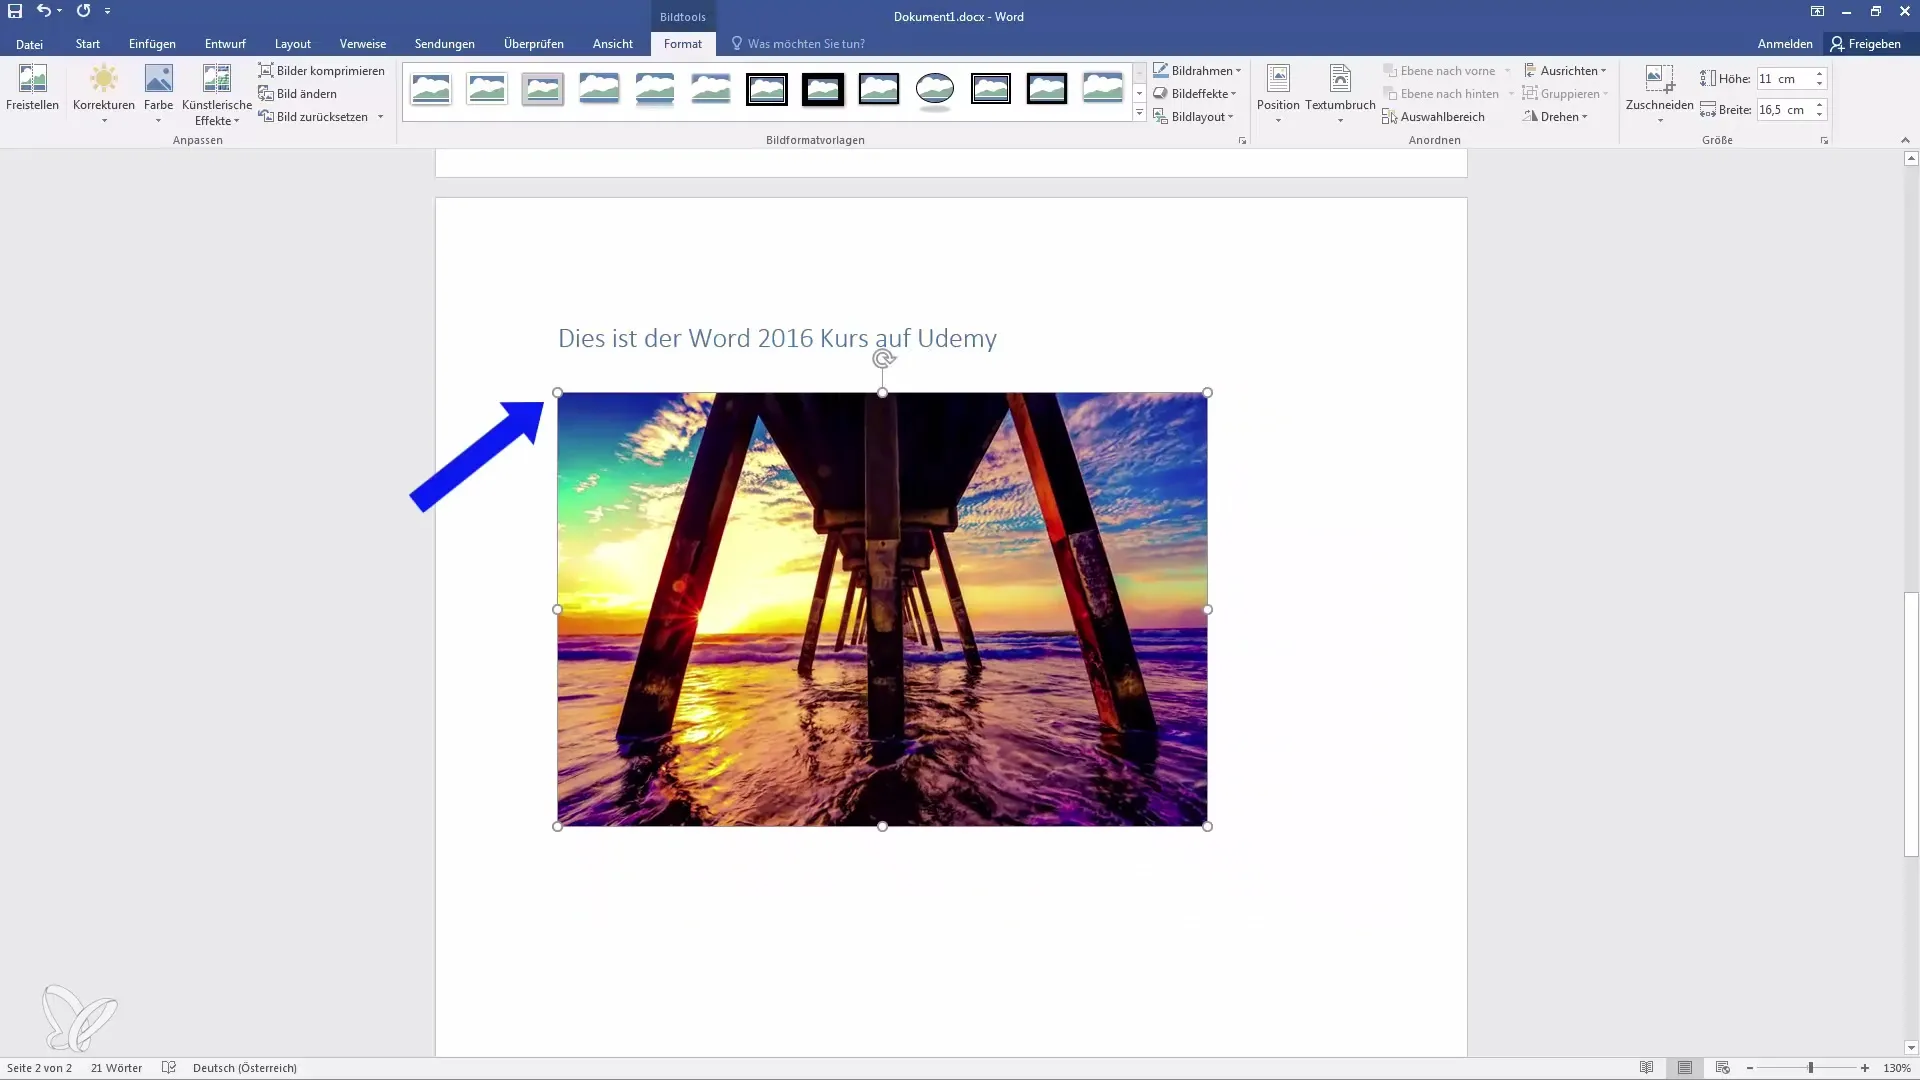
To do this, drag one of the corners of the image. Make sure to hold down the Shift key to keep the aspect ratio intact.
If you instead drag the image with the middle dimensions, it could become distorted. Use the undo function (Ctrl + Z) if this happens.
2. Adjust and Format Image
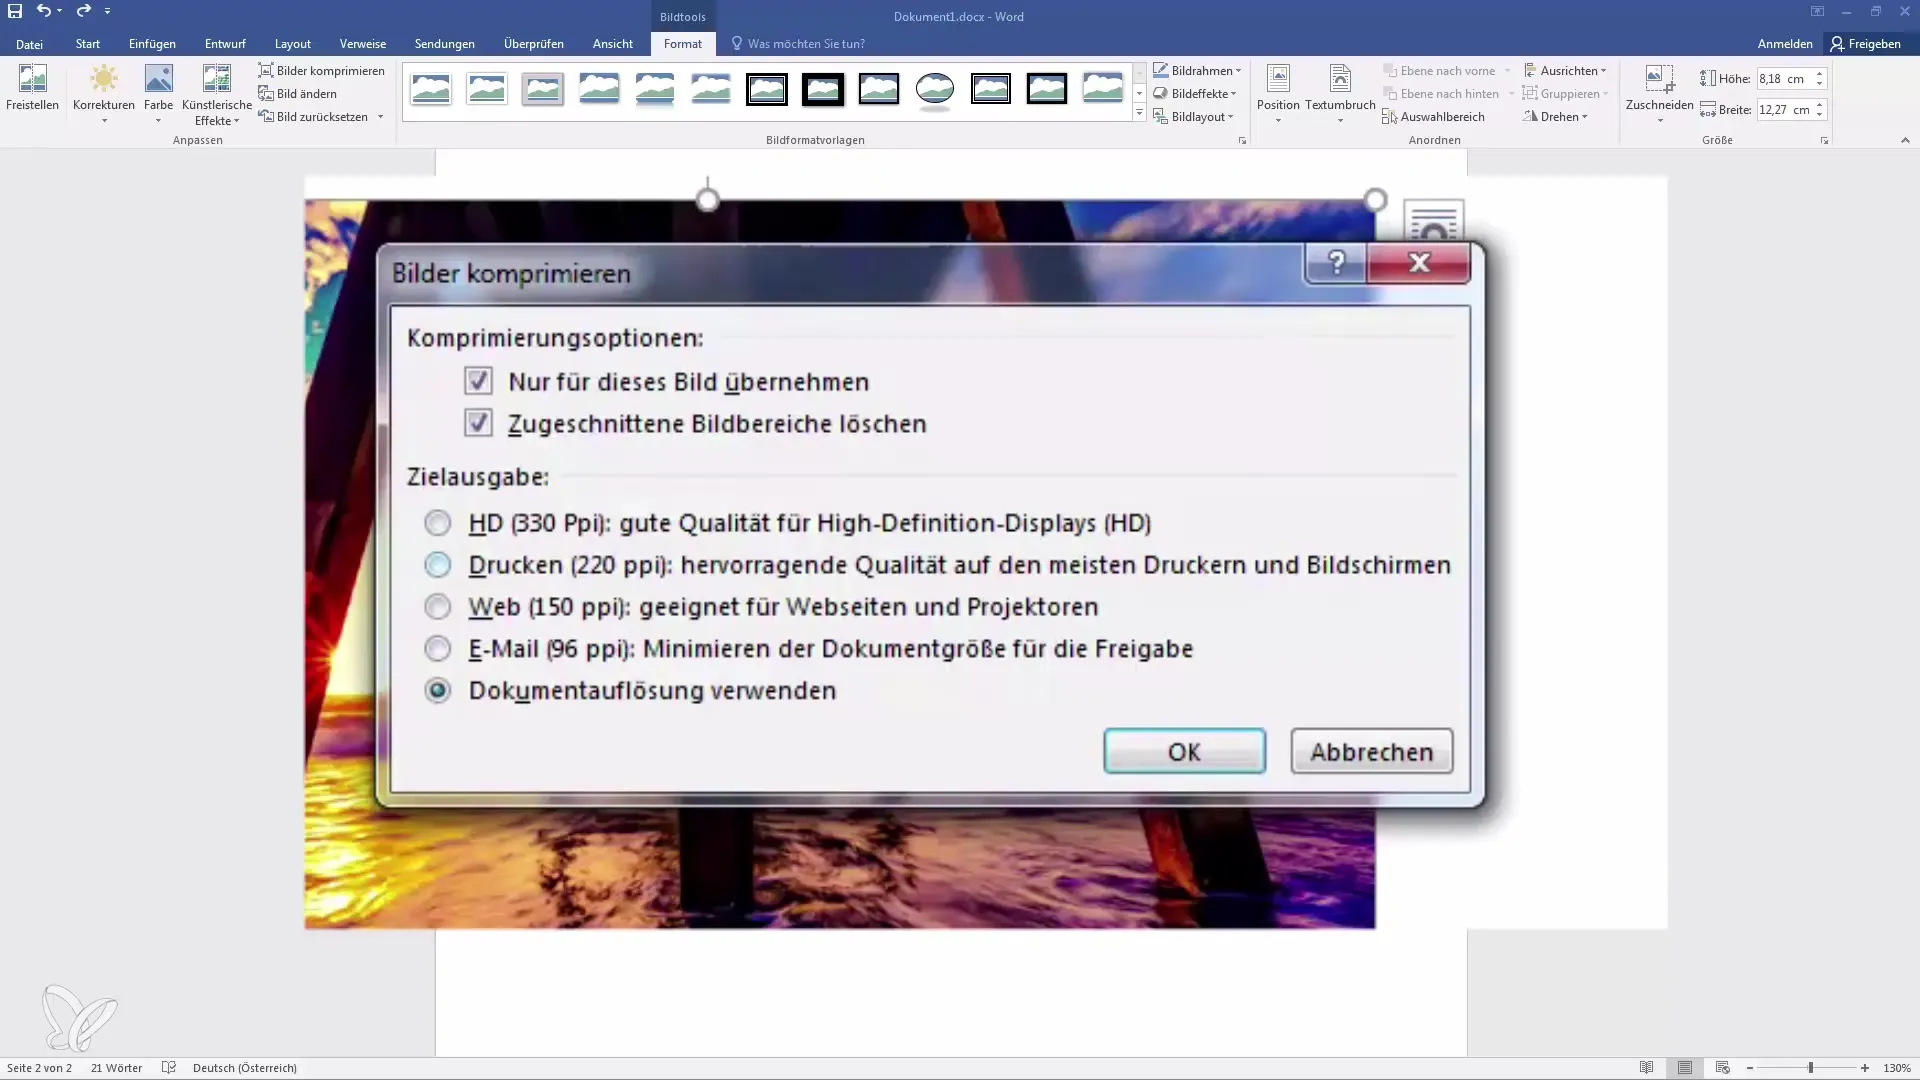
Once the image is in your document, you can further adjust it. Ensure the image is selected so that the formatting options are displayed. You will now see the "Picture Tools" tab with the "Format" option at the top.
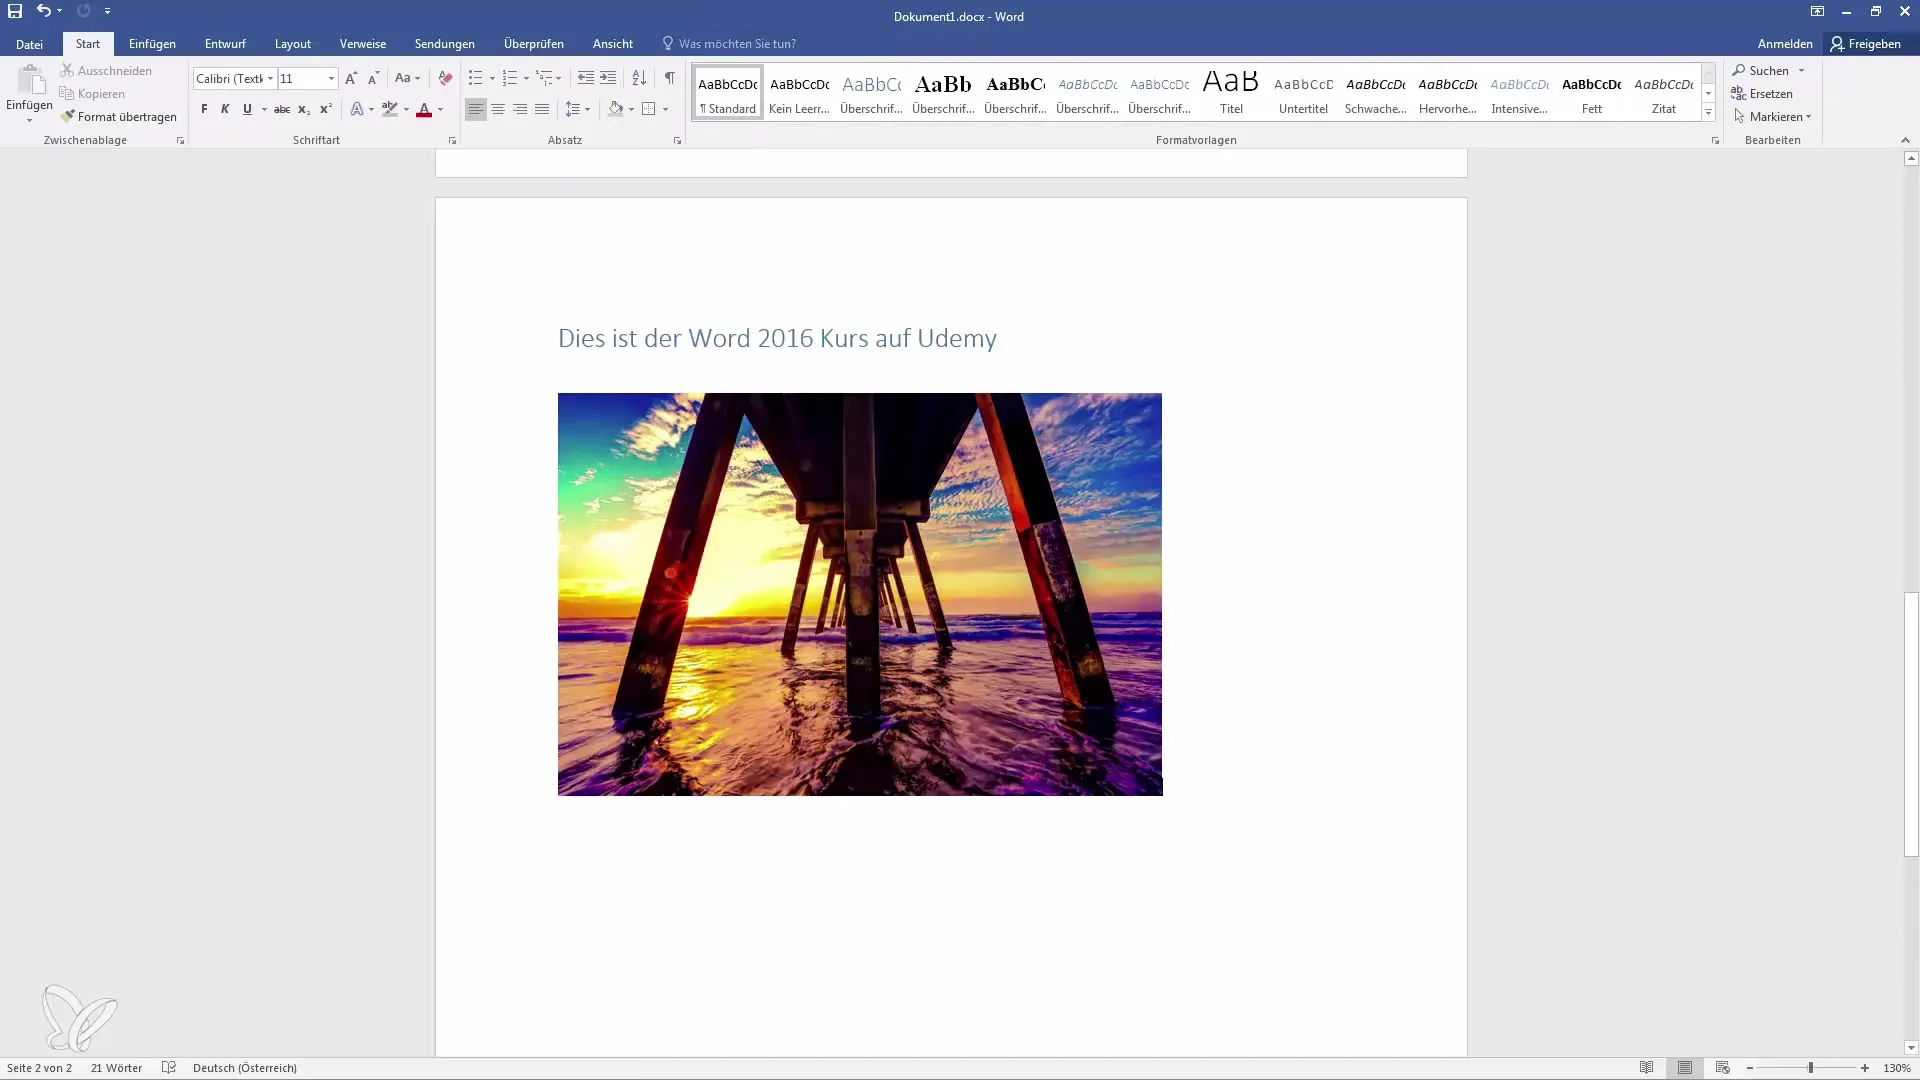
Here you can make many adjustments. Start by cropping the image if you only want to show a specific area. Click on the crop function and select the desired crop.
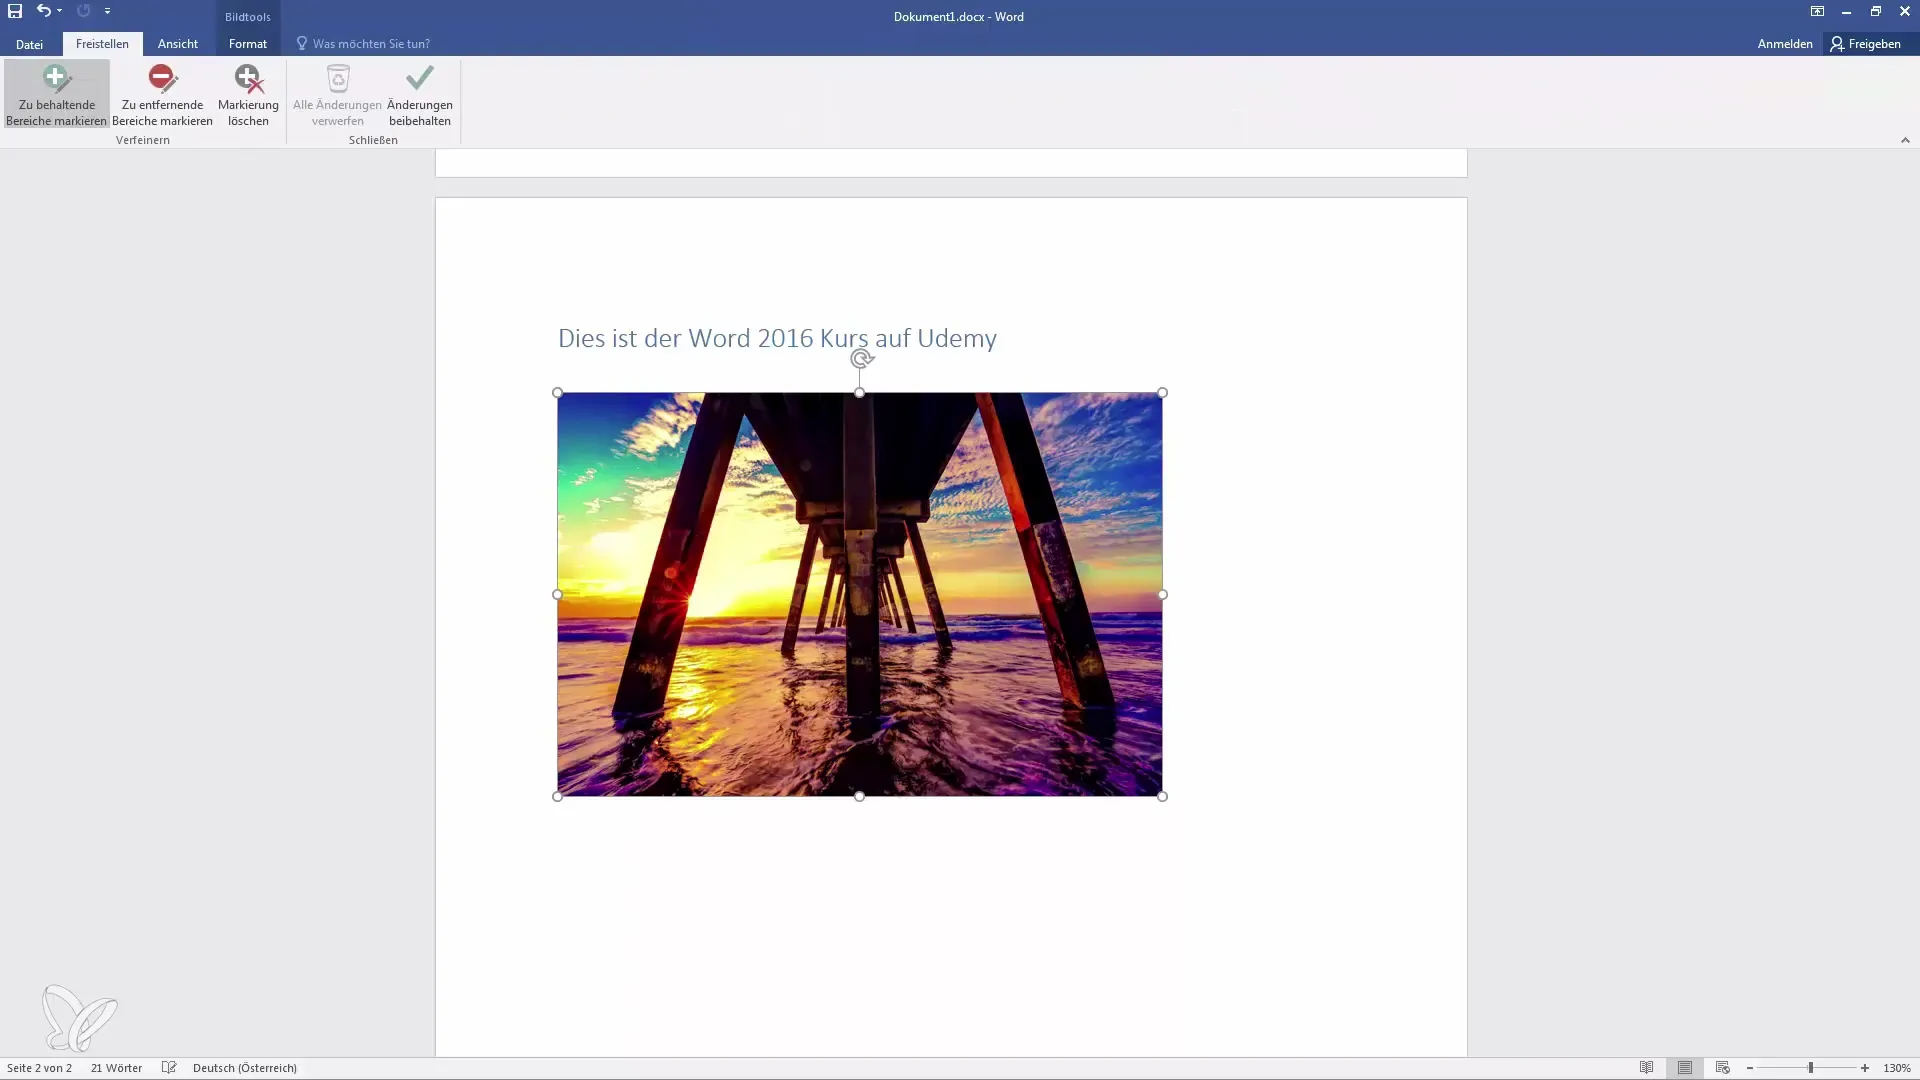
Use the plus and minus symbols to expand or narrow the crop area. Simply mark the corresponding areas.
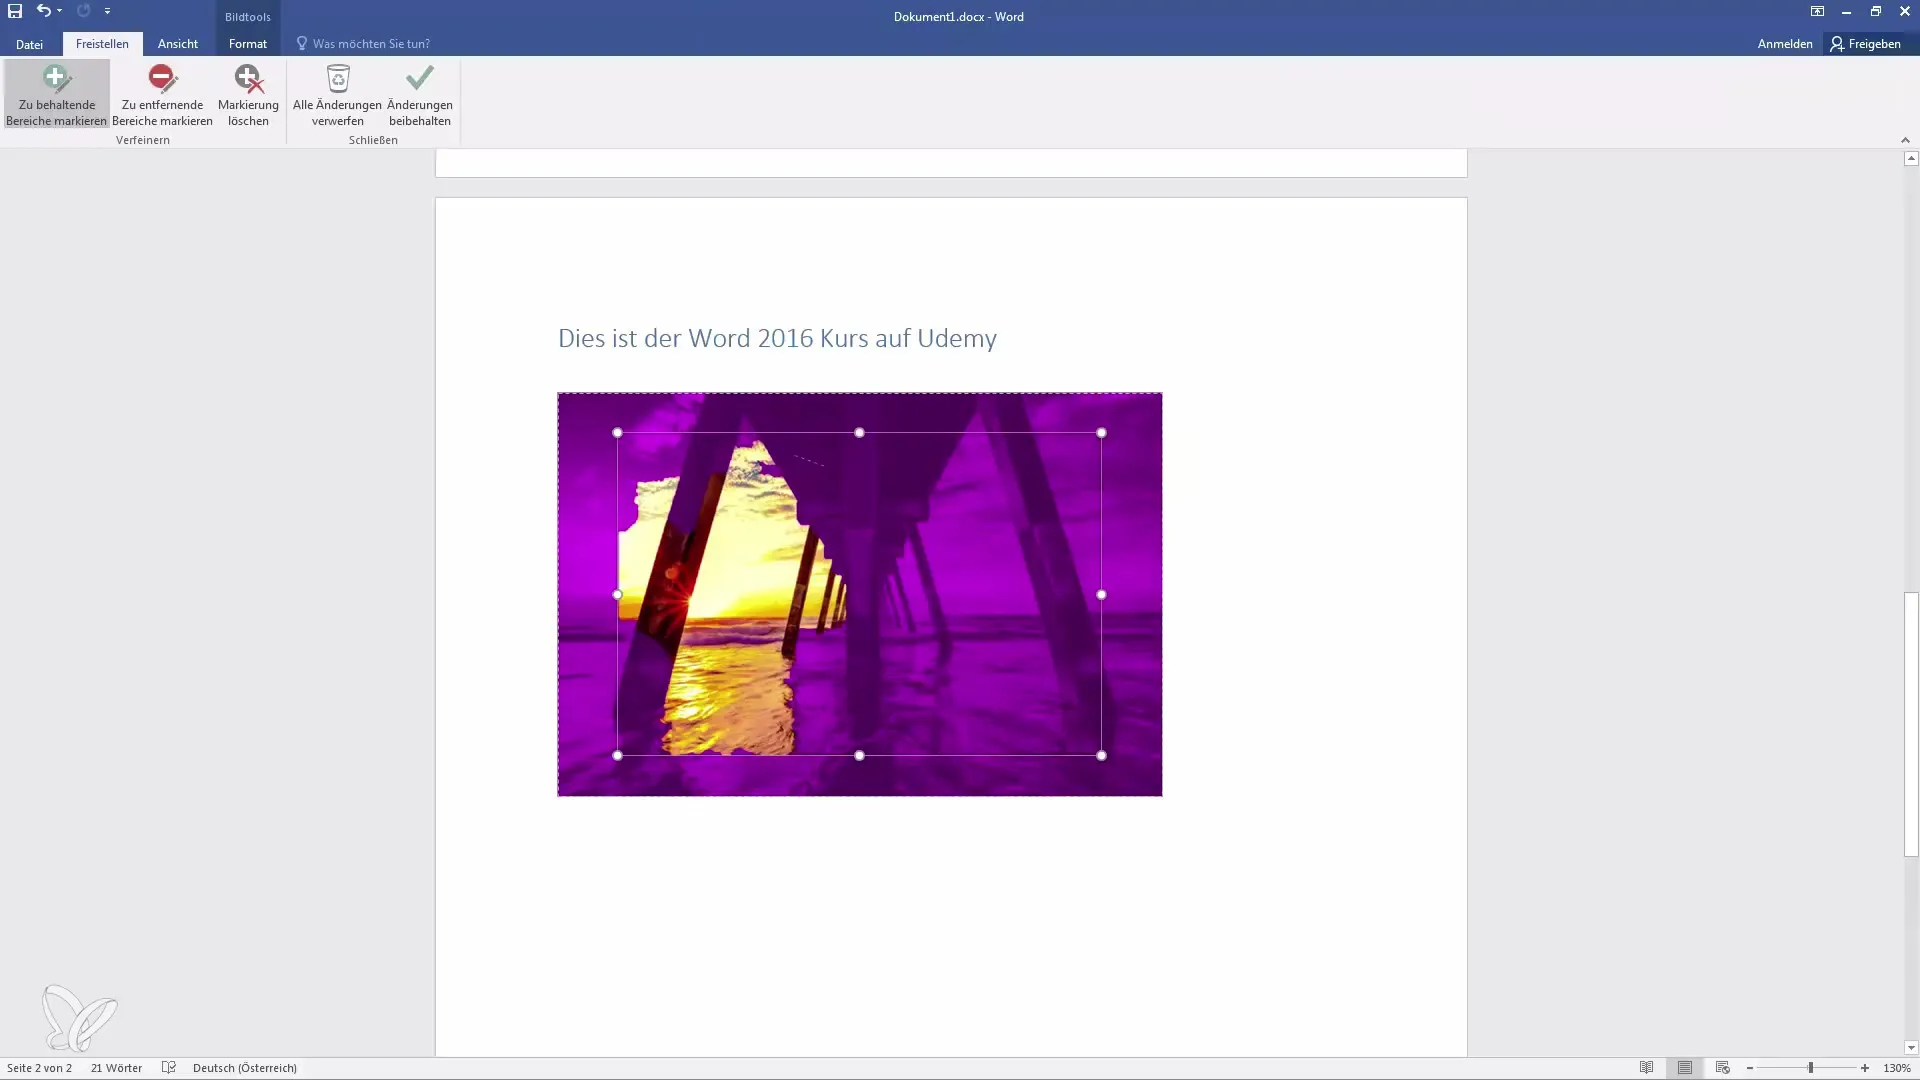
If you are not satisfied with the result, press Ctrl + Z to undo the change and try again.
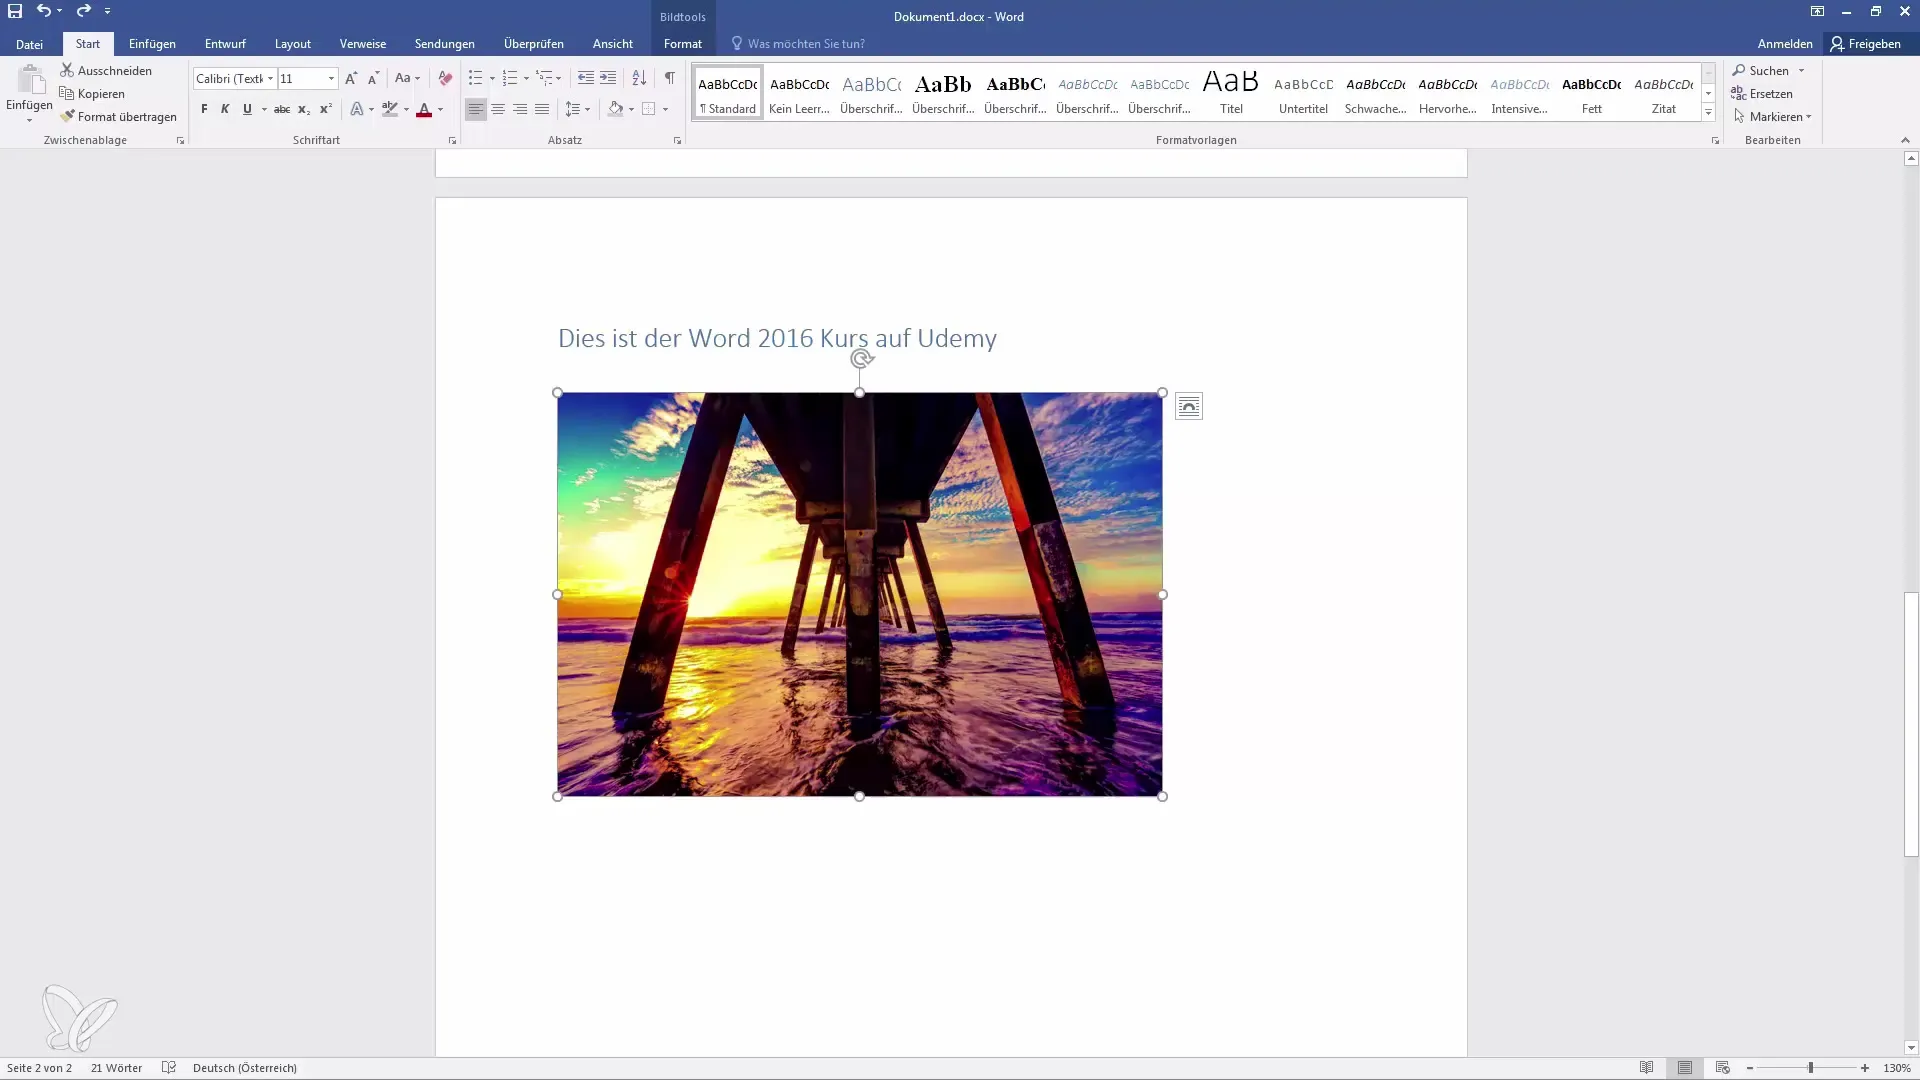
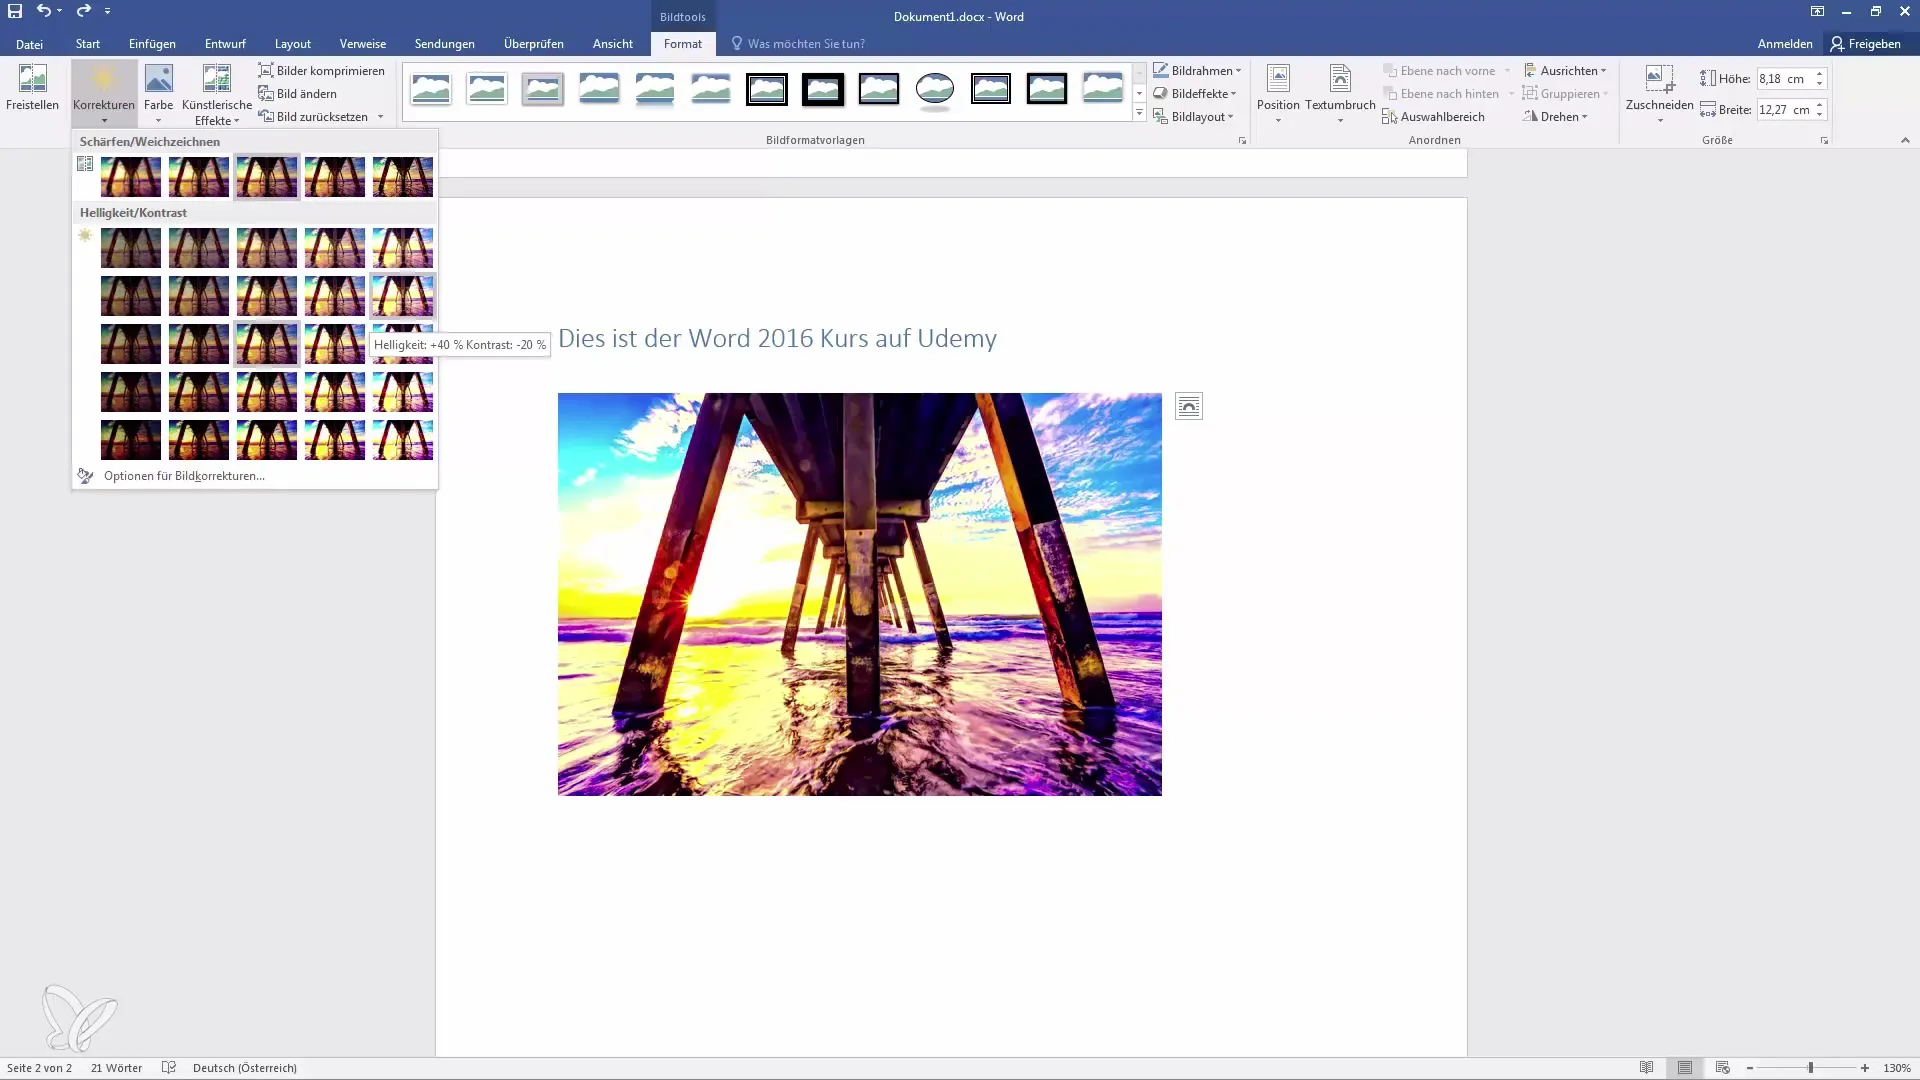
You can also adjust the image format, such as changing brightness, contrast, or color saturation. Simply move the sliders in the respective areas.
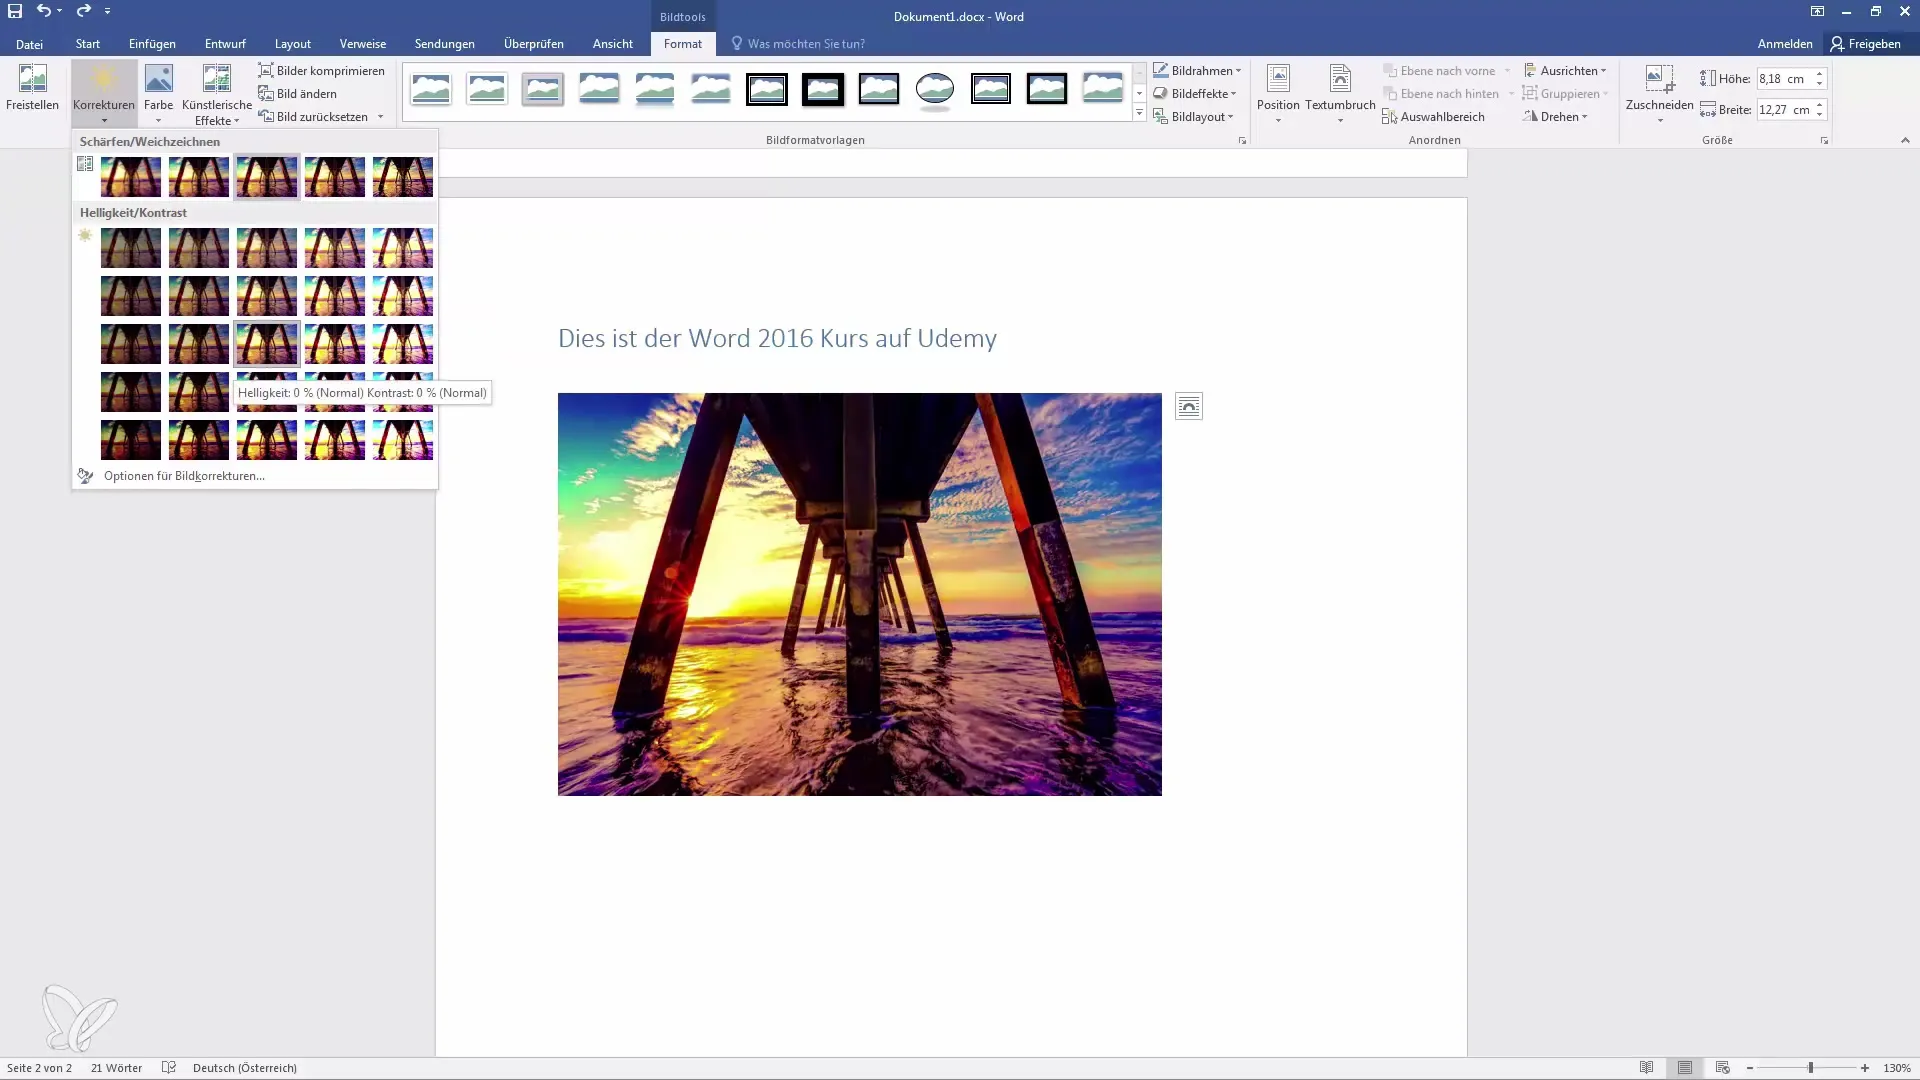
It takes some time for the changes to become visible, so be patient. This is influenced by the computational workload of your computer.
Add Artistic Effects
Another interesting feature in Word are artistic effects like mosaic or watercolor filters. These not only look pretty, but also give your image a special touch.
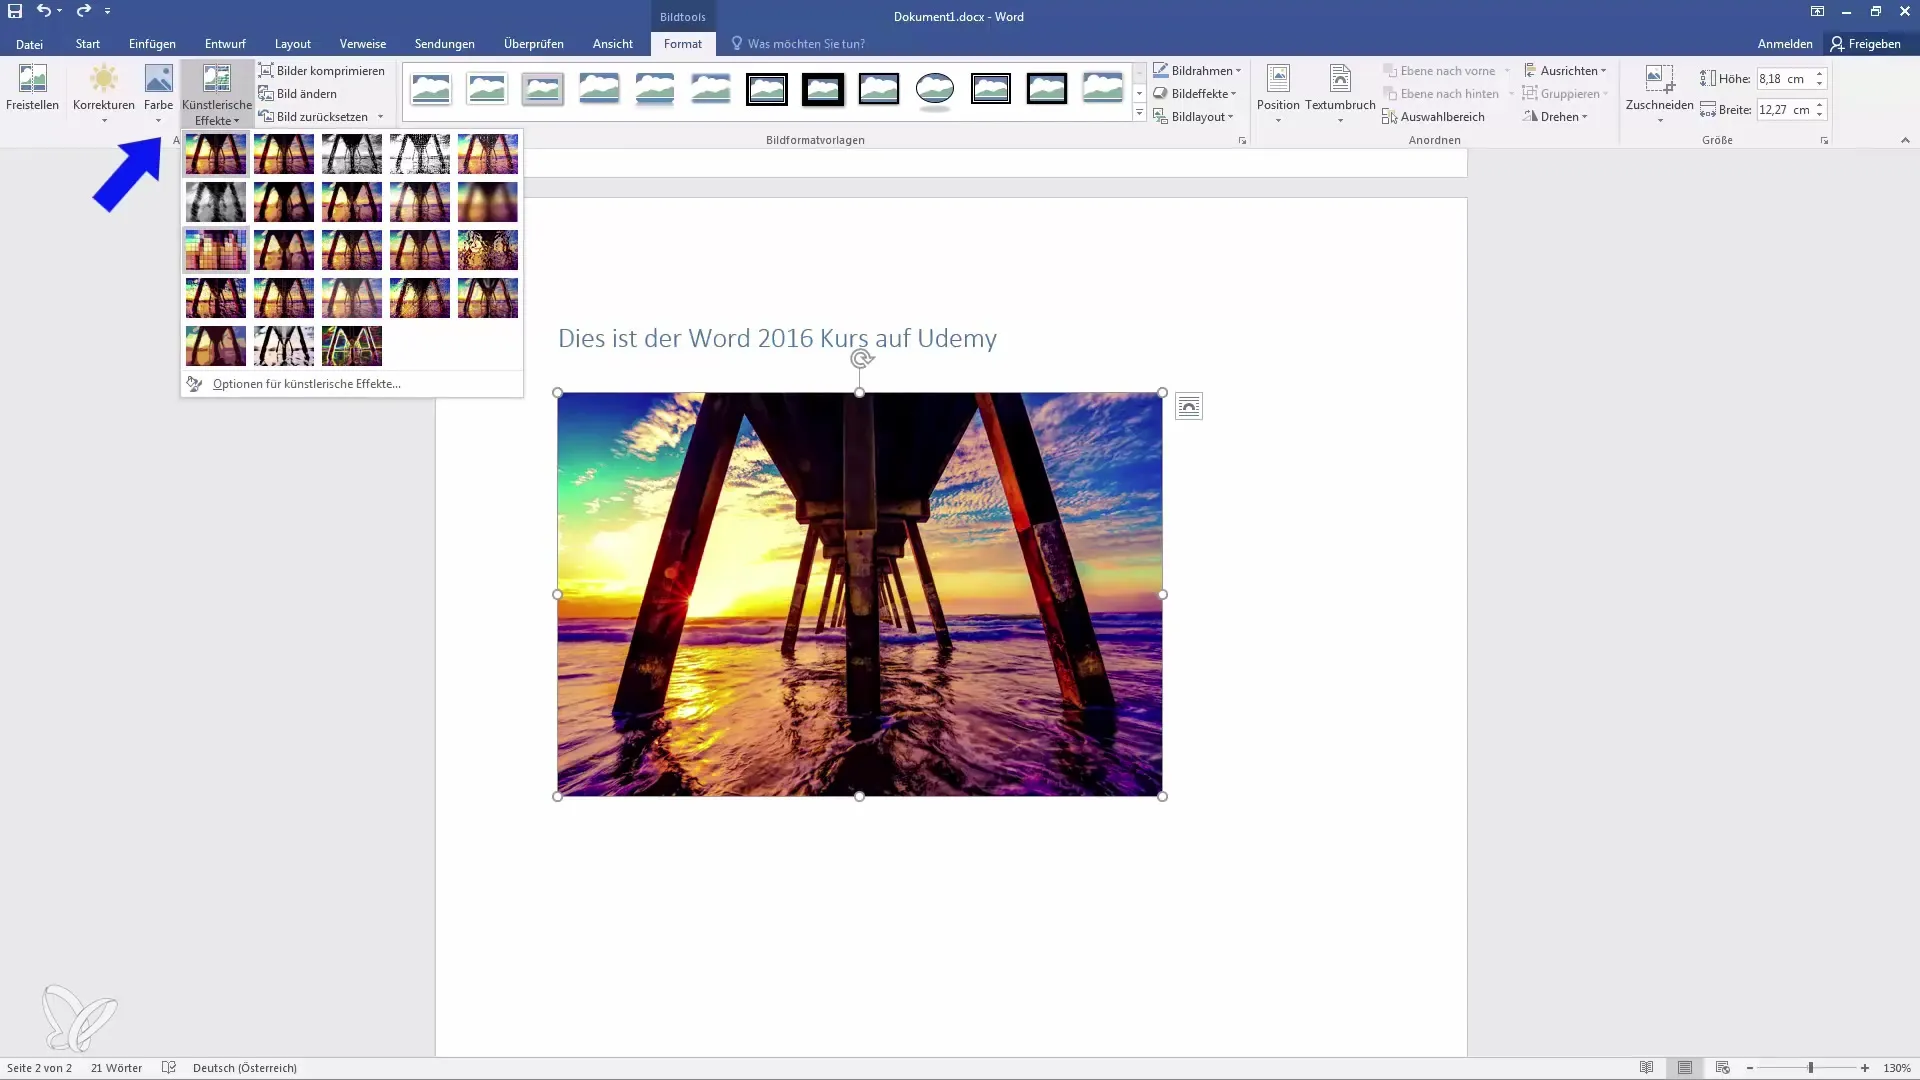
To add such effects, select the image and go back to "Picture Tools". Here you can choose between different artistic effects and see a preview of how they will affect your image.
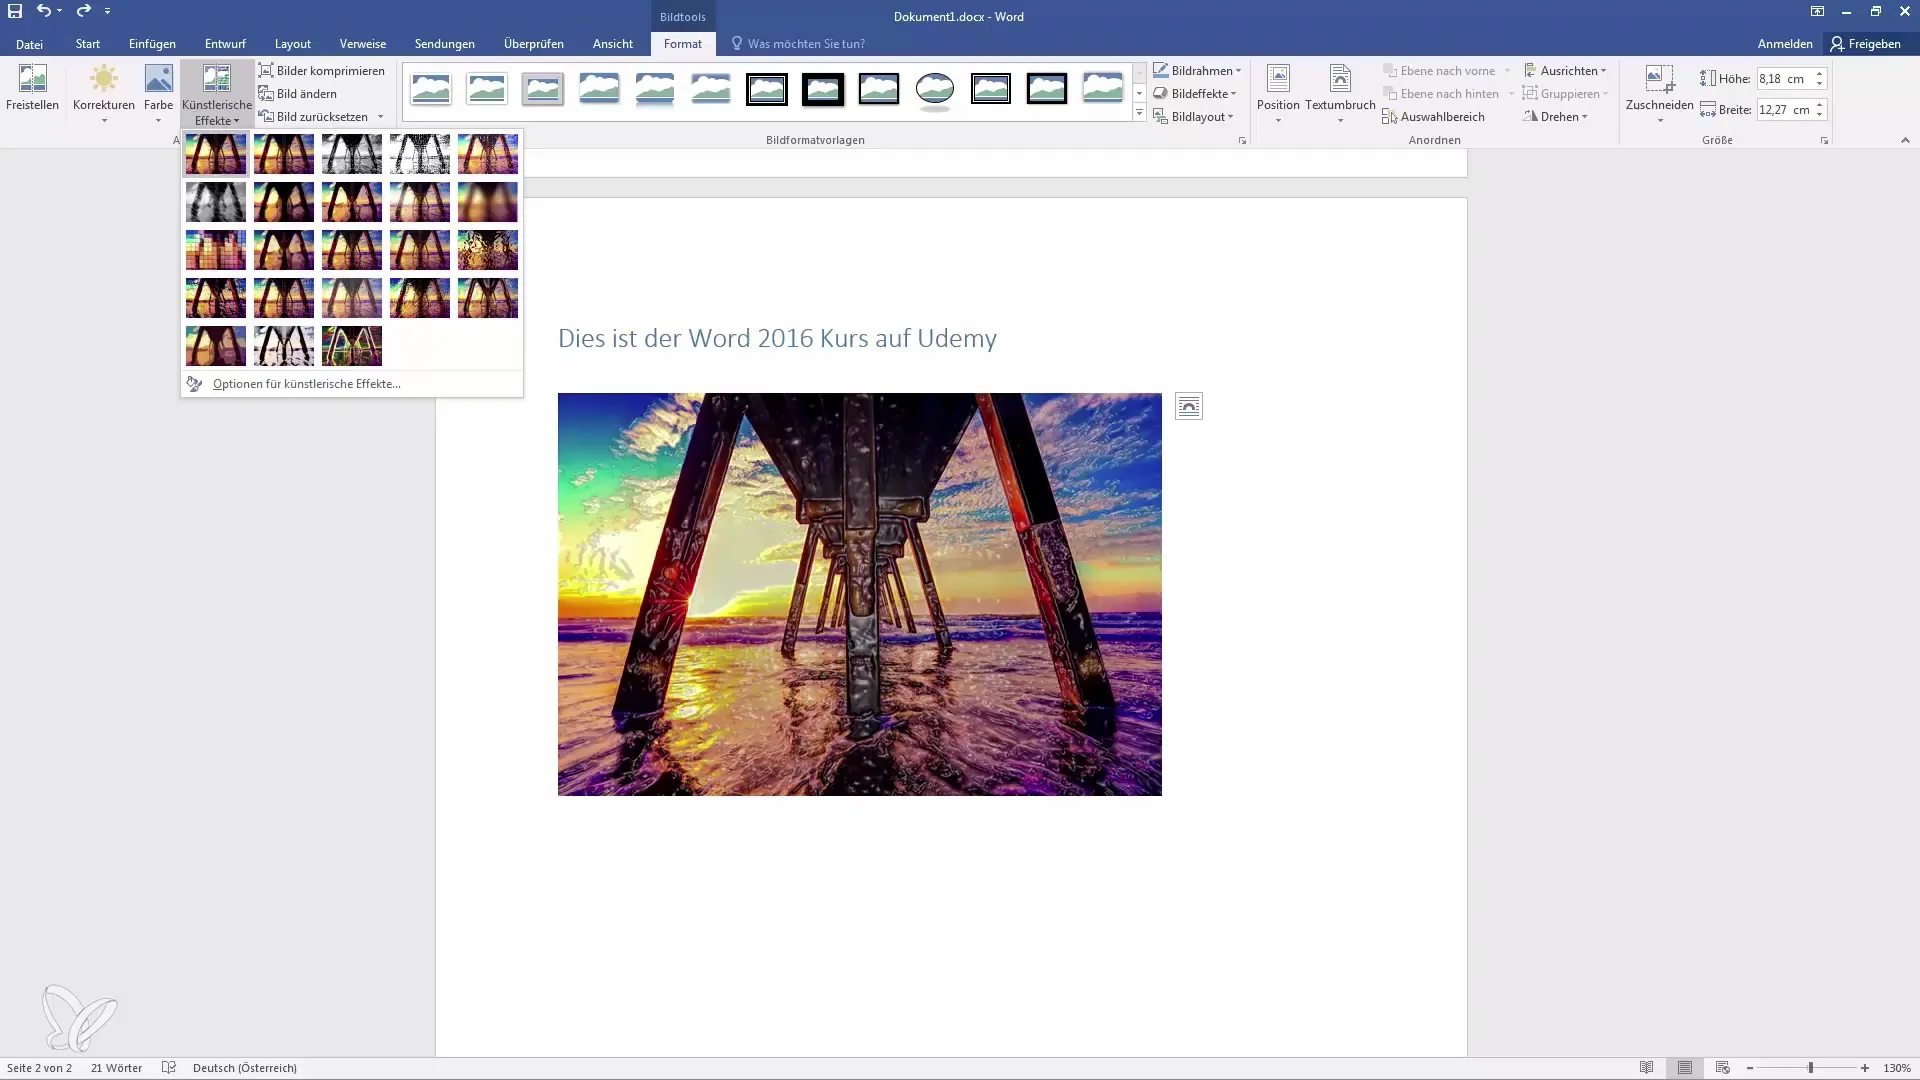
Before applying the changes, check if they match your desired look. If everything is fine, save the changes.
Insert Online Graphics
In addition to images from your computer, you can also use online graphics. To do this, go back to "Insert" and select "Online Graphics".
A window will open where you can search for graphics. For example, enter "Bridge" and search for a graphic.
The selection is provided by Bing. Click on the desired graphic to insert it into your document.
You can treat these graphics the same way you treat images from your PC: adjust, format, crop, and so on.
Remember that you can still delete the graphic if it is no longer needed. Just highlight it and press the Delete key.
Summary
In this guide, you have learned how to easily insert and edit images and online graphics in your Word documents. With the tips and tricks mentioned, handling images becomes much easier and your documents acquire that special touch. Make use of the functions offered by Word and get creative!
Frequently Asked Questions
How do I insert an image saved on my computer?Go to "Insert" and select "Pictures". Search for the image in your Explorer and click "Insert".
How can I resize an image in the document?Drag one of the corners of the image while holding down the Shift key to maintain the aspect ratio.
How can I crop images?Highlight the image, go to "Picture Tools", and select "Crop" to choose the desired area.
Can I insert online graphics into my document?Yes, go to "Insert" and select "Online Graphics". Search for graphics and insert them like images.
How do I reset an image to its original properties?Highlight the image, go to "Picture Tools", and select "Reset Picture" from the menu.
