The conversion of PDF files into PowerPoint presentations is often desired, whether to make content reusable or to adapt an existing presentation. However, exporting through many PDF tools, especially Adobe Acrobat, is not always flawless. This guide not only shows you how to efficiently convert a PDF file into PowerPoint, but also how to fix the most common issues in the exporting process. Use these tips to create appealing and error-free presentations.
Key Takeaways:
- Converting PDF to PowerPoint is easy to do, but may contain errors.
- Manual corrections in the PowerPoint file are necessary to achieve the desired result.
- There are alternatives such as online converters that may deliver better results in certain cases.
Step-by-Step Guide
Go through the process of converting and optimizing your file step by step. Each chapter will guide you through the necessary steps.
Step 1: Export PDF to PowerPoint
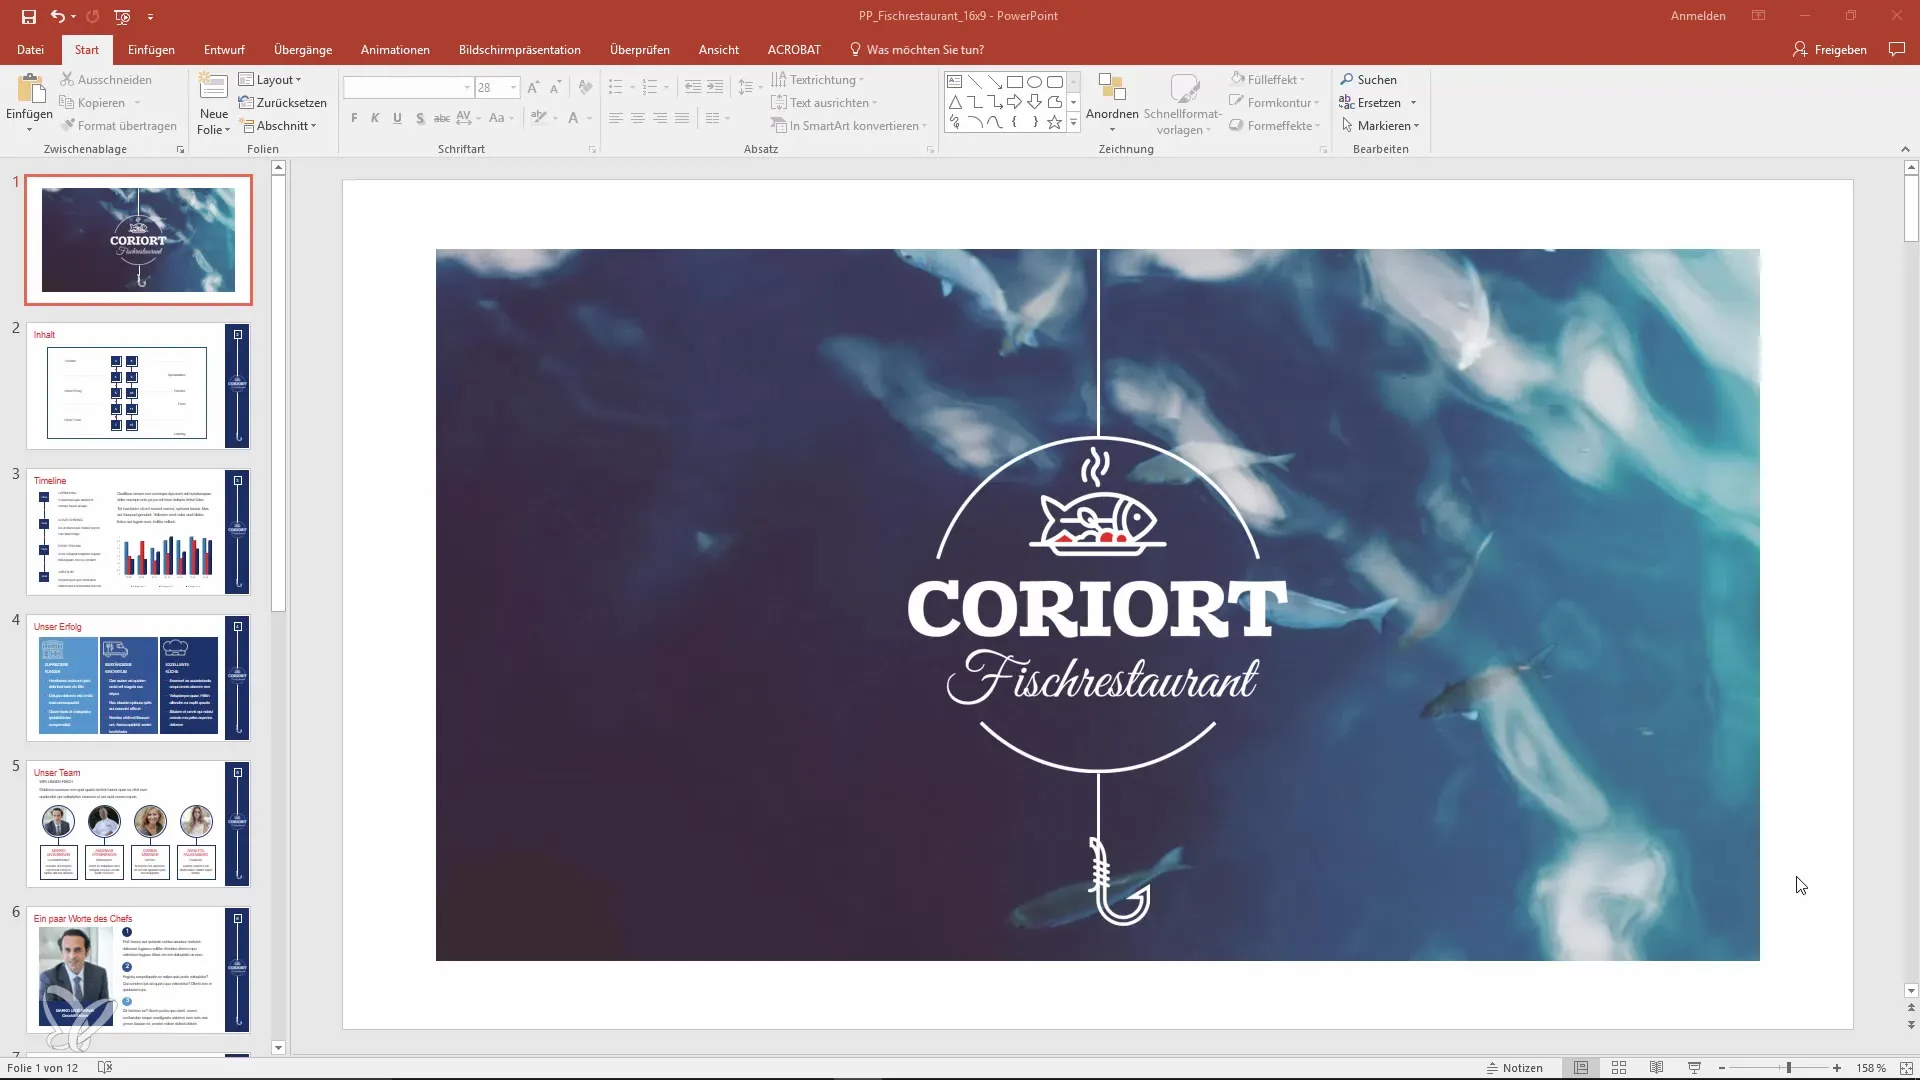
Open your PDF file in Adobe Acrobat. You may have an appealing presentation that you want to convert to a PowerPoint format. To do this, click on "File" in the menu bar and select "Export". Then choose the option "Microsoft PowerPoint Presentation".
Step 2: Adjust Export Settings
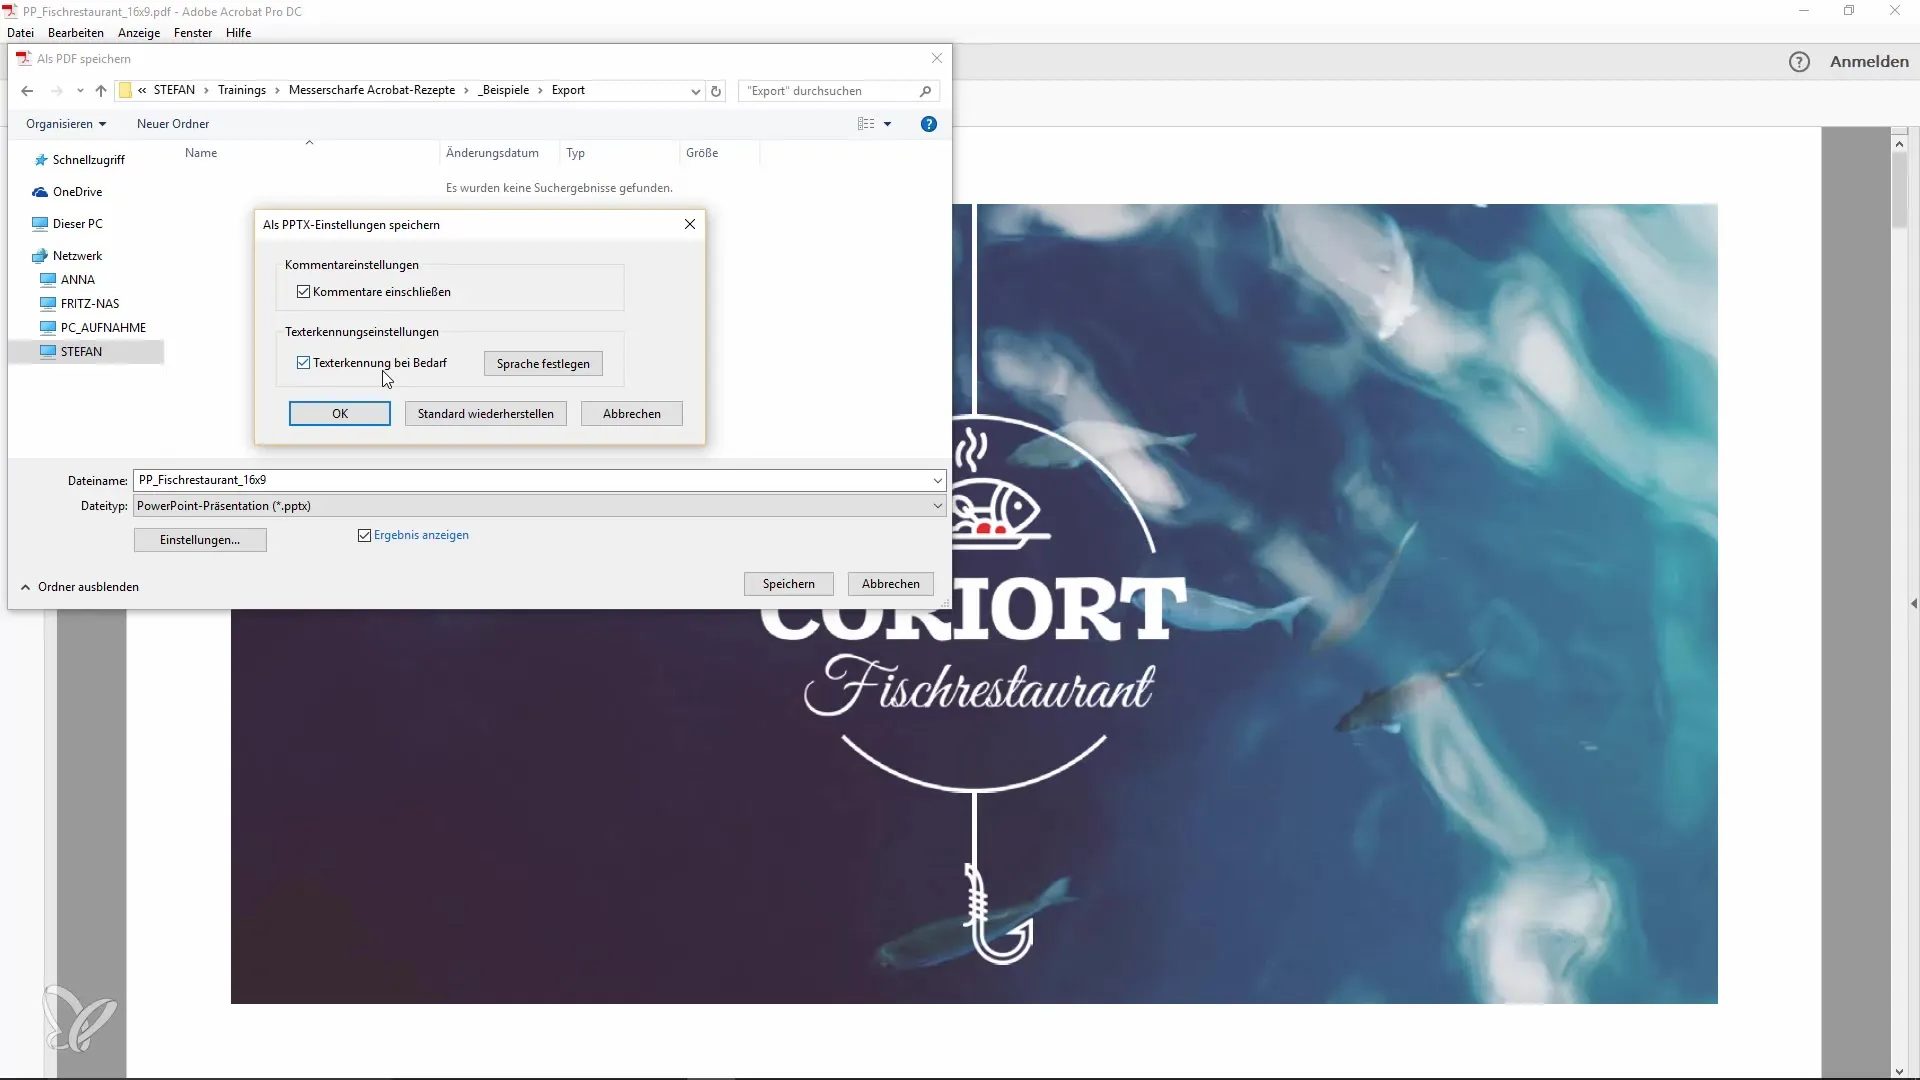
You can choose a new folder for storage. Optionally, you can adjust export settings such as enabling text recognition and setting the language to German. These settings can be useful to optimize the result. Then click on "Save".
Step 3: Check the Result
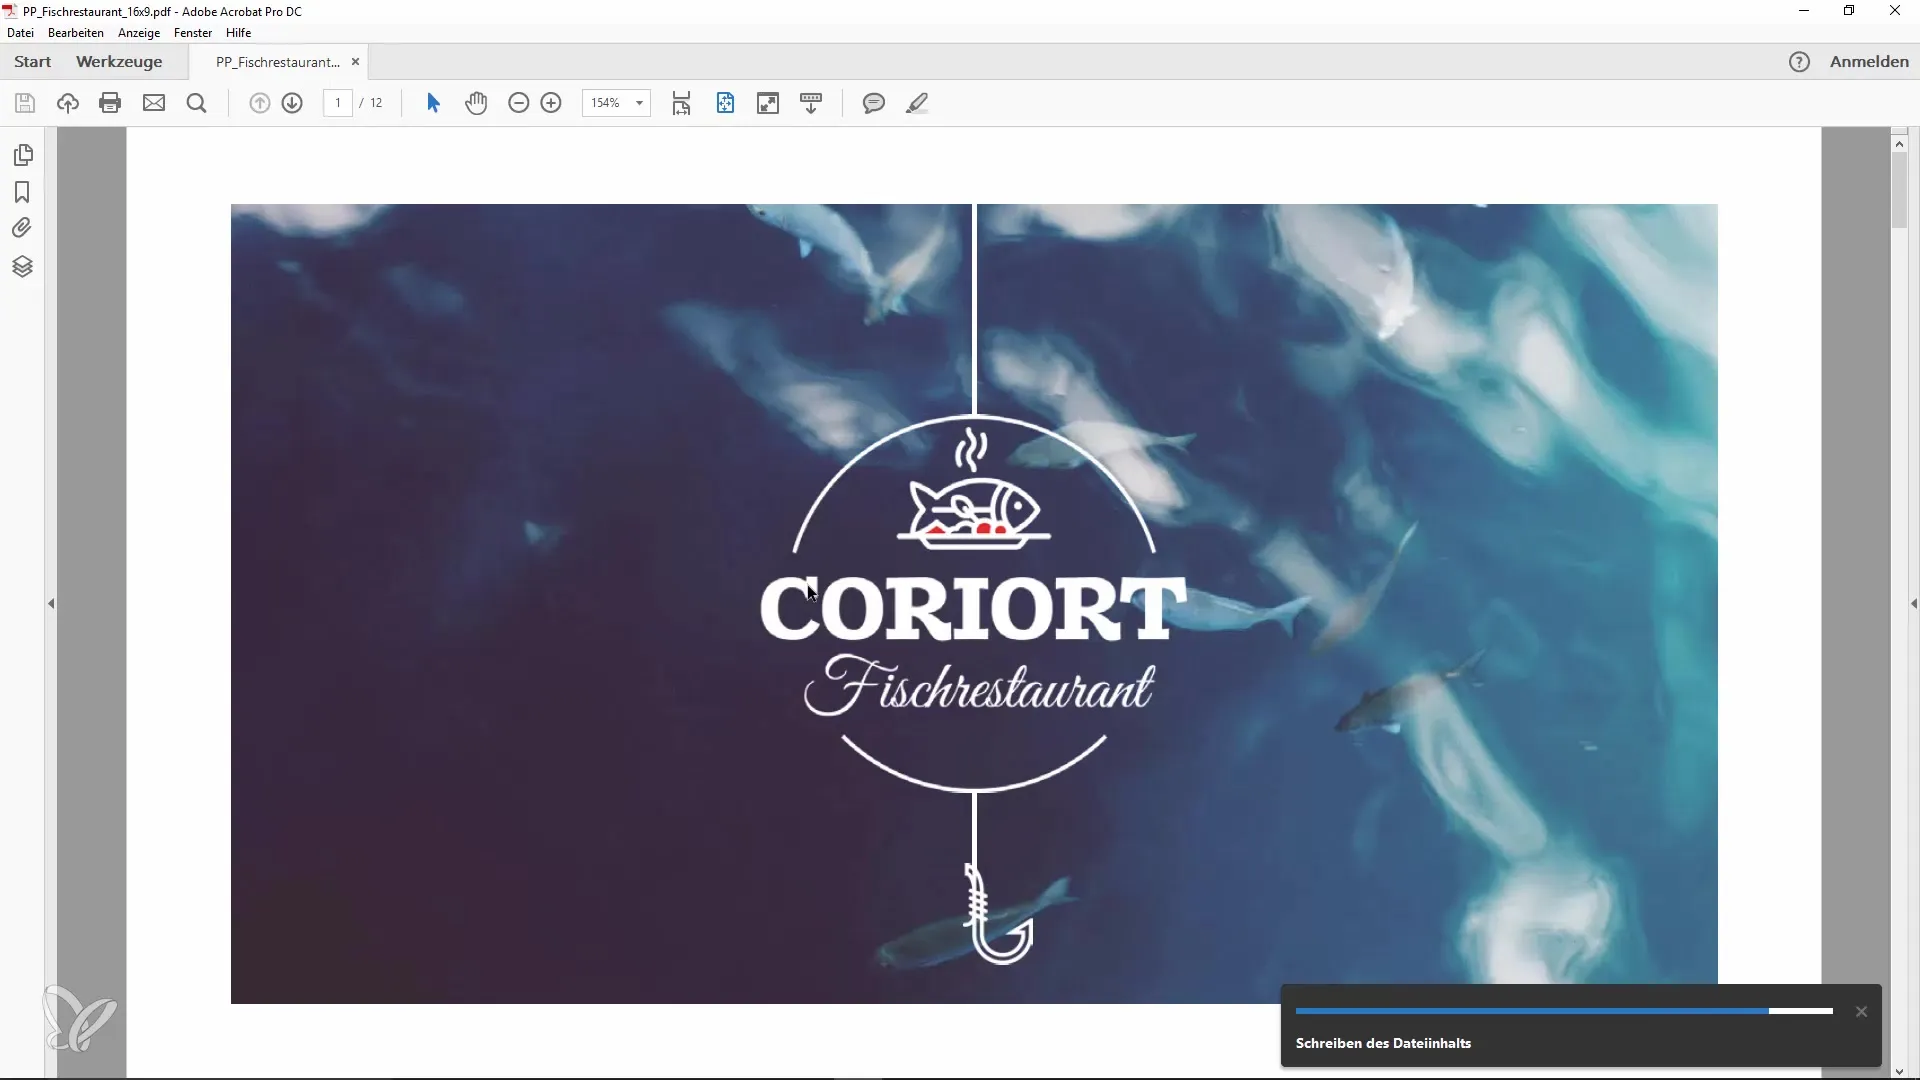
Now the new PowerPoint file opens. At first glance, the file may look decent. However, upon closer inspection, typical export errors become apparent. Thoroughly review the slides to identify any omissions or distortions.
Step 4: Fixing Errors
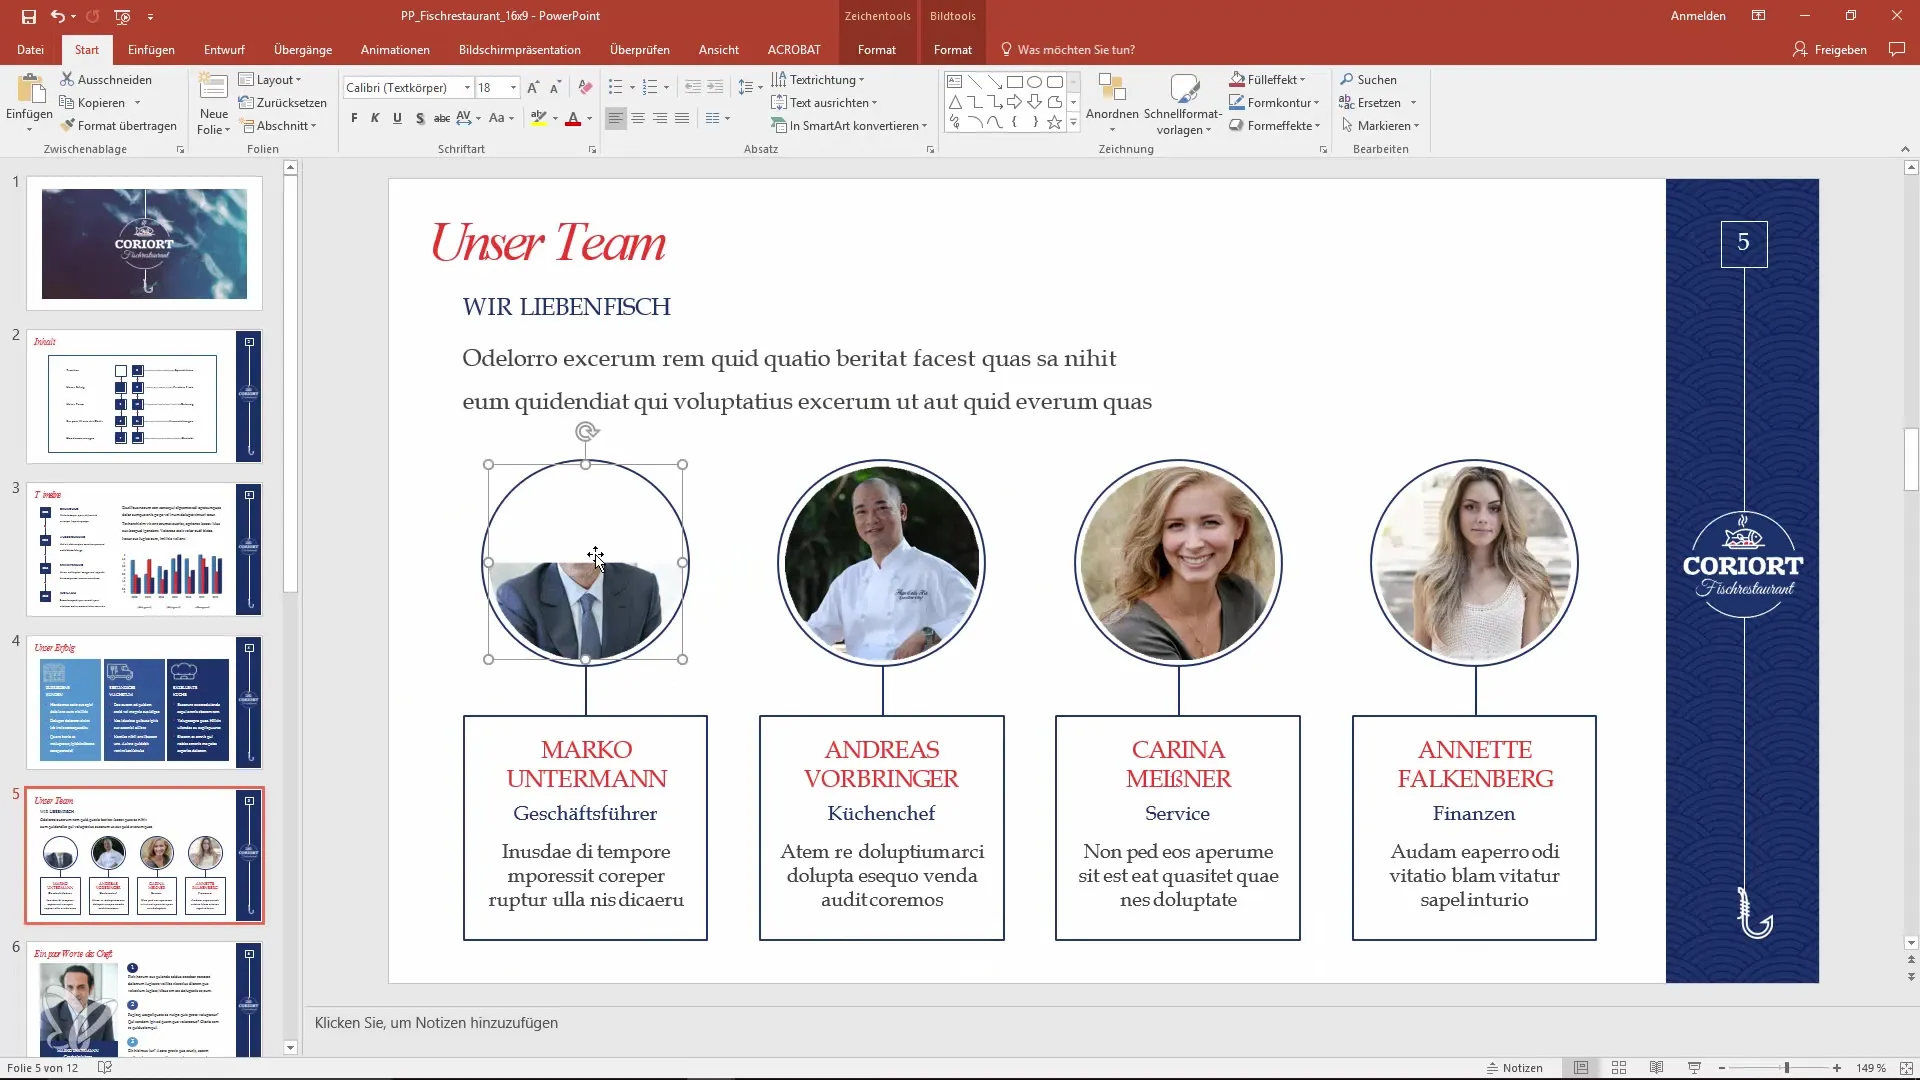
If you find that some content is missing or images are wrongly placed, you can use Adobe Acrobat to copy these images. Select the selection tool, click on the image, press "Ctrl + C" to copy it, and "Ctrl + V" to paste it in the desired location in PowerPoint.
Step 5: Optimize Images
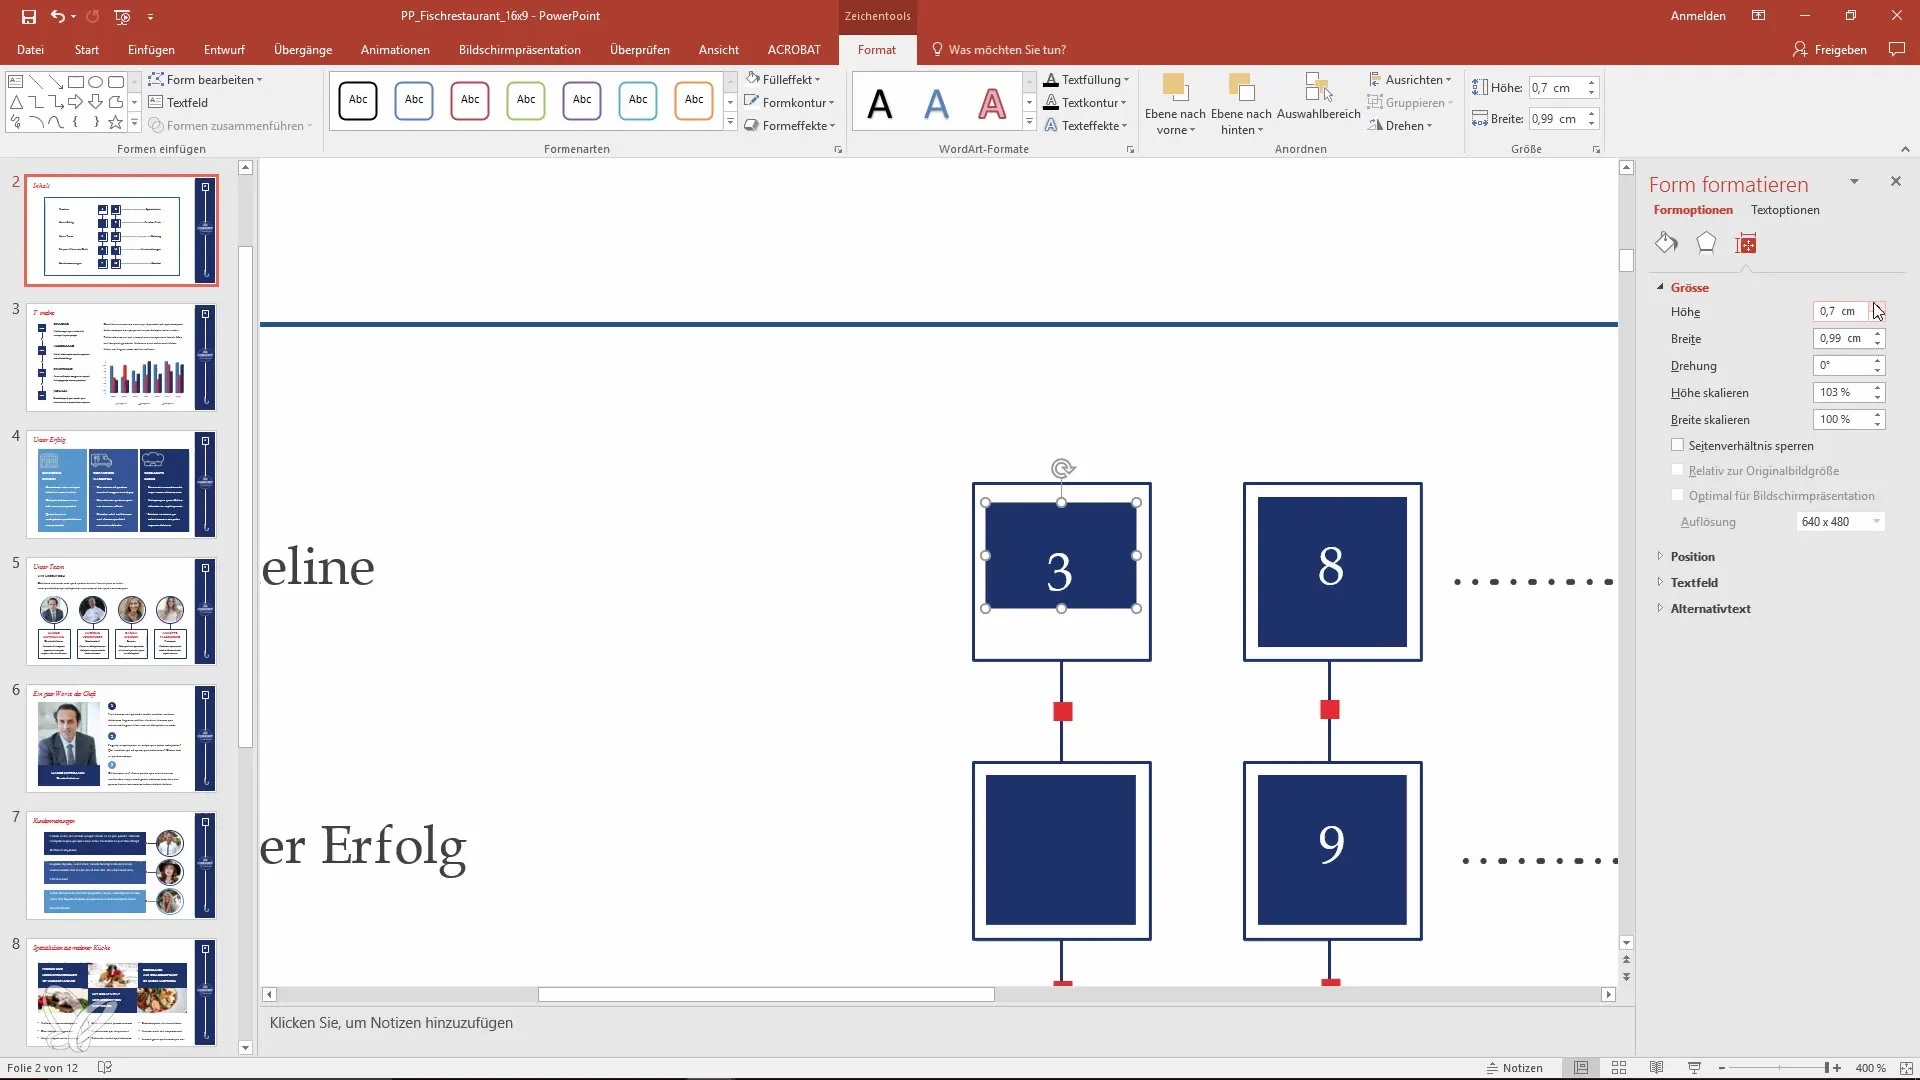
Images in your PowerPoint presentation may sometimes appear blurry or faulty. To address these issues, you can use formatting options. For example: Right-click on the image, select "Size and Position", and make the desired adjustments.
Step 6: Export All Images
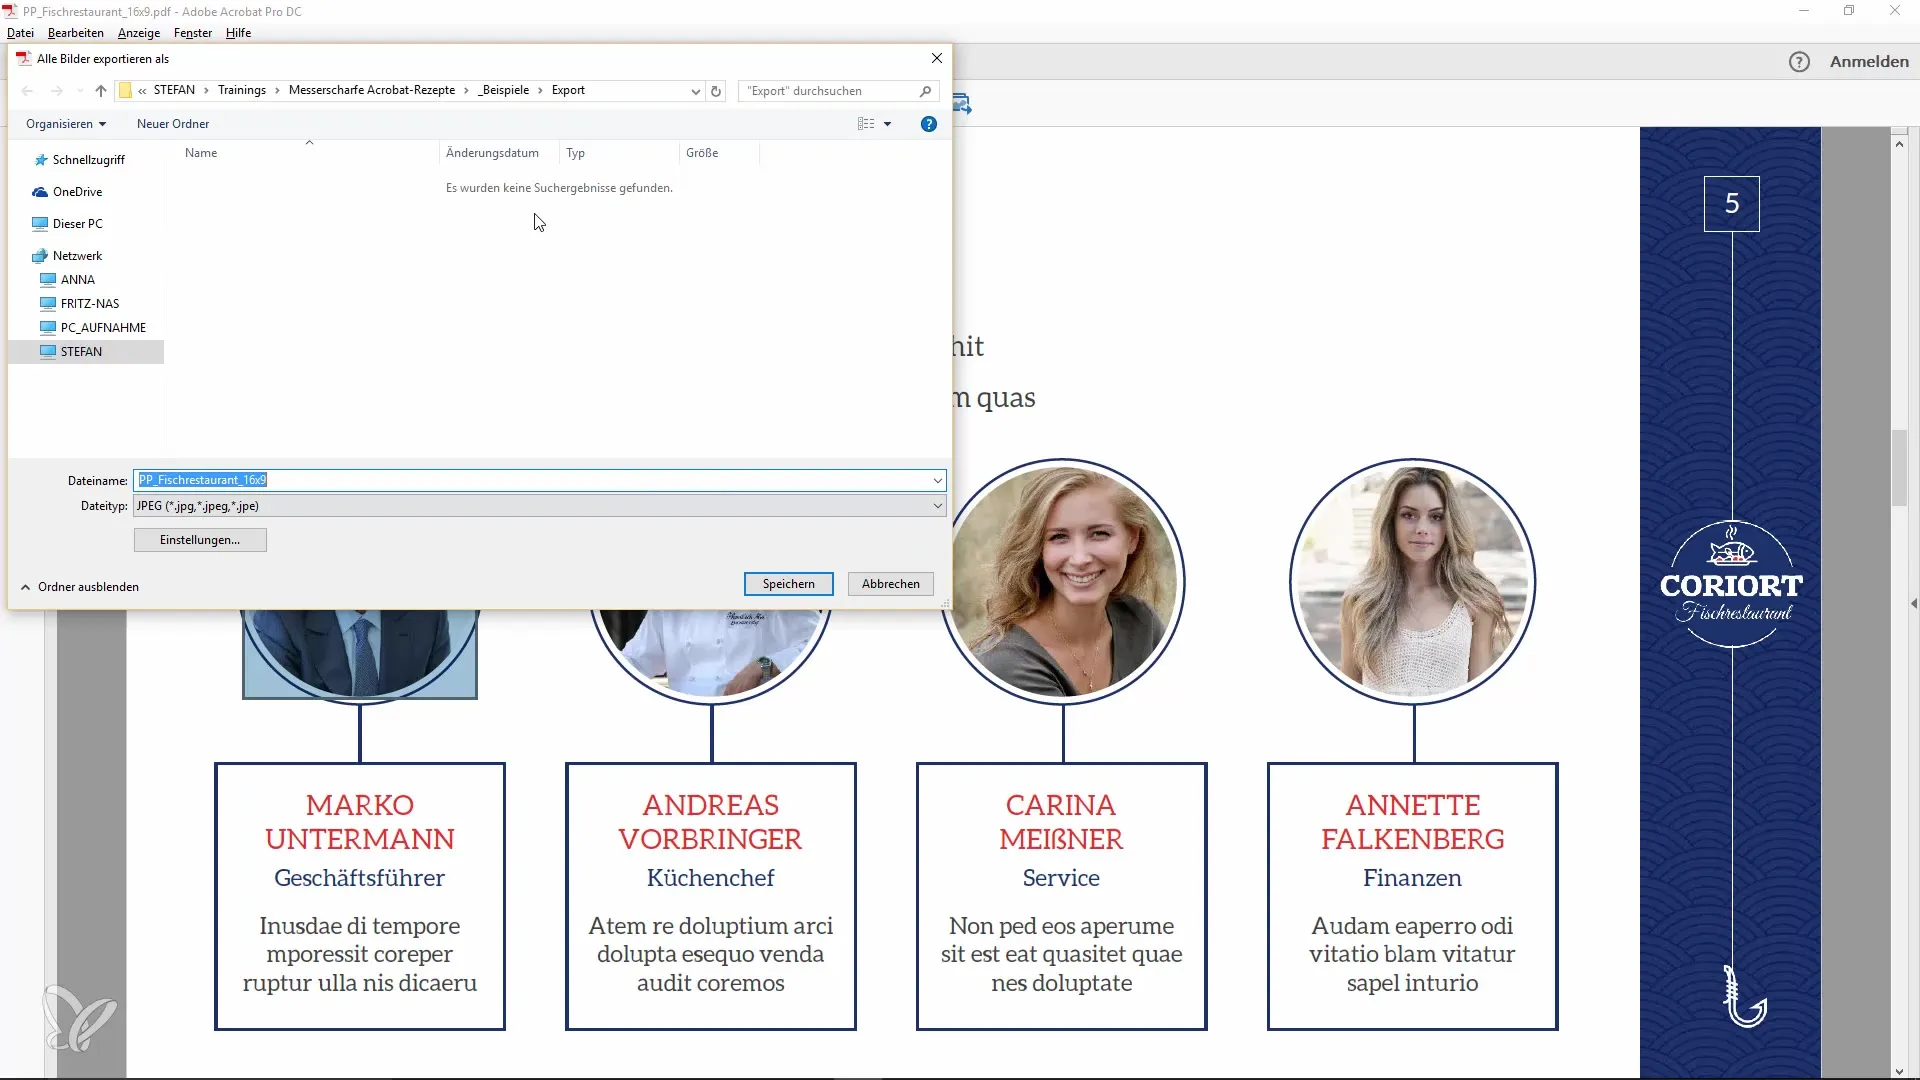
If you need all images from the PDF file, go to the "Tools" menu in Acrobat and select "Customize Quick Tools". Here you can activate the option "Save/export images". You will then receive a new icon, which allows you to export all images in the document with one click.
Step 7: Adjust Image Quality
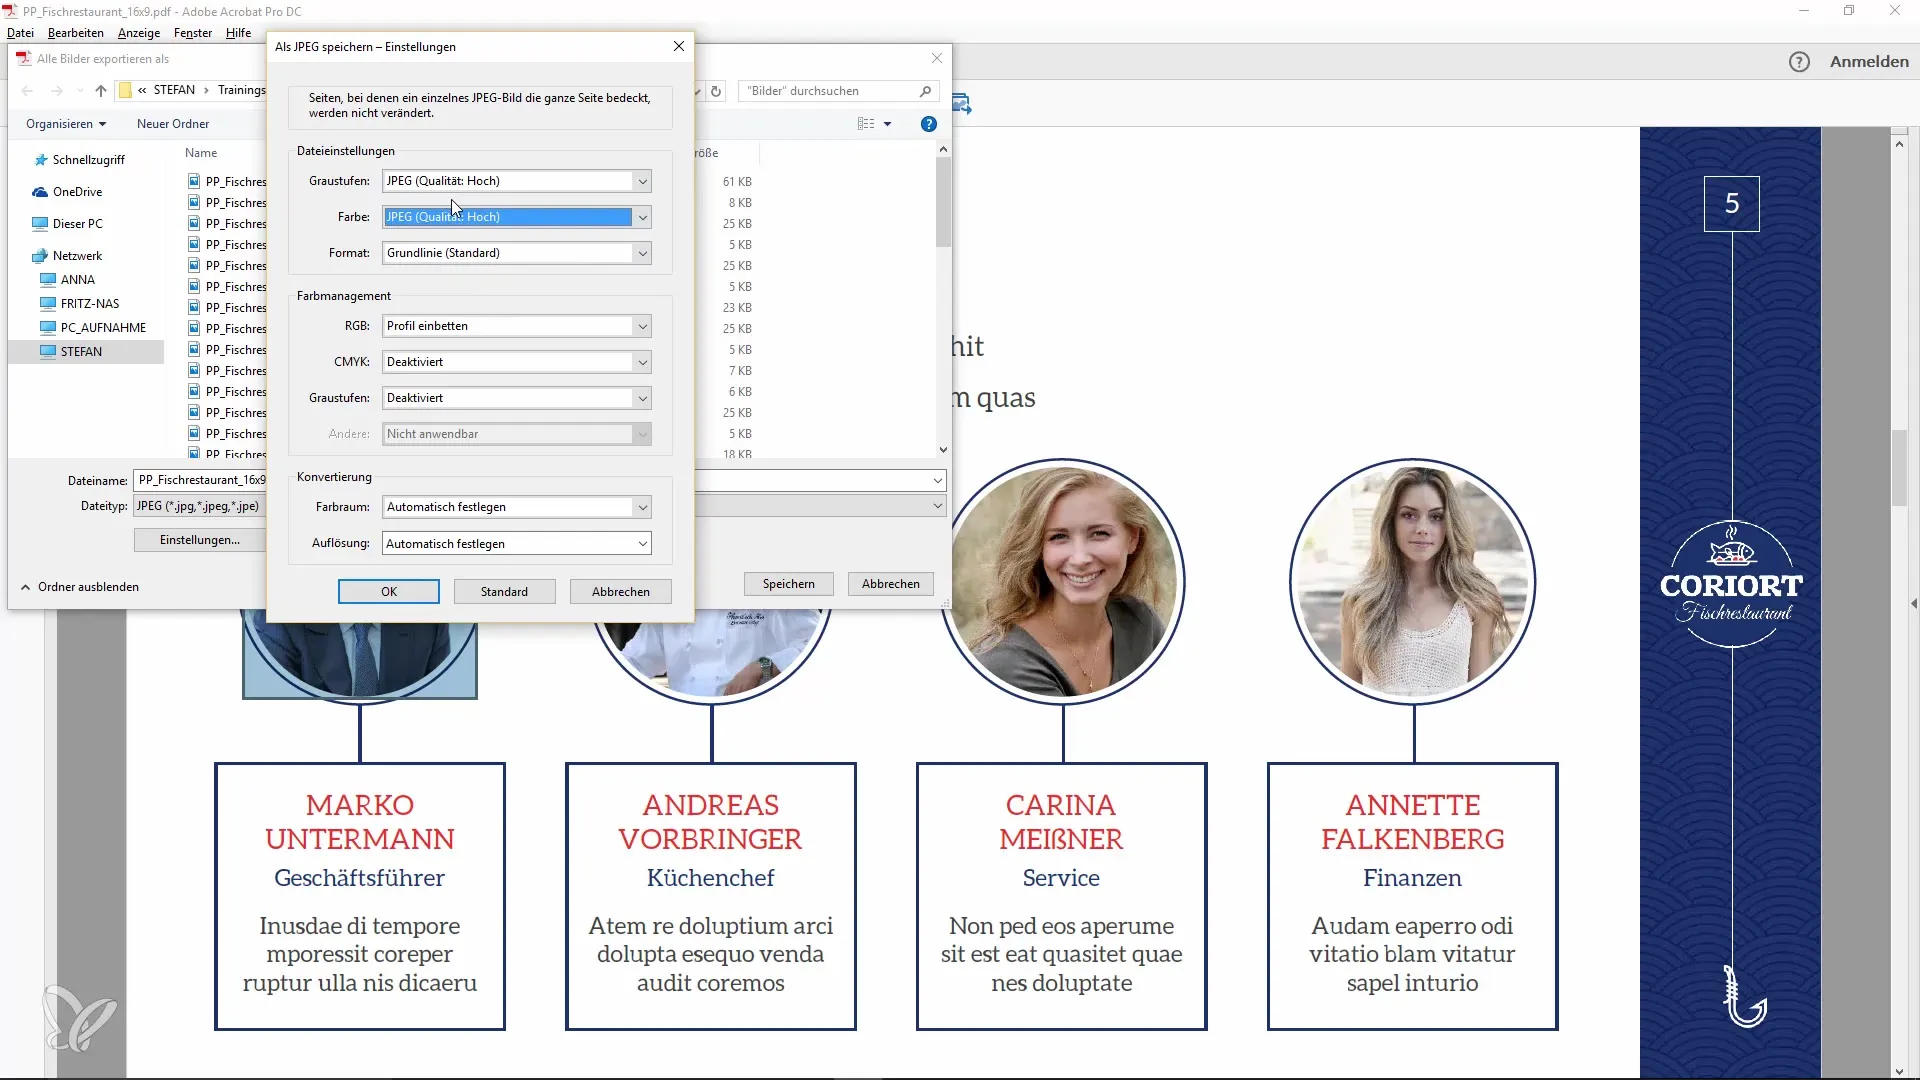
As you save images, make sure to adjust the quality accordingly. For JPEG images, you can choose between different quality levels. A high quality value is usually recommended.
Step 8: Make Manual Adjustments to the Presentation
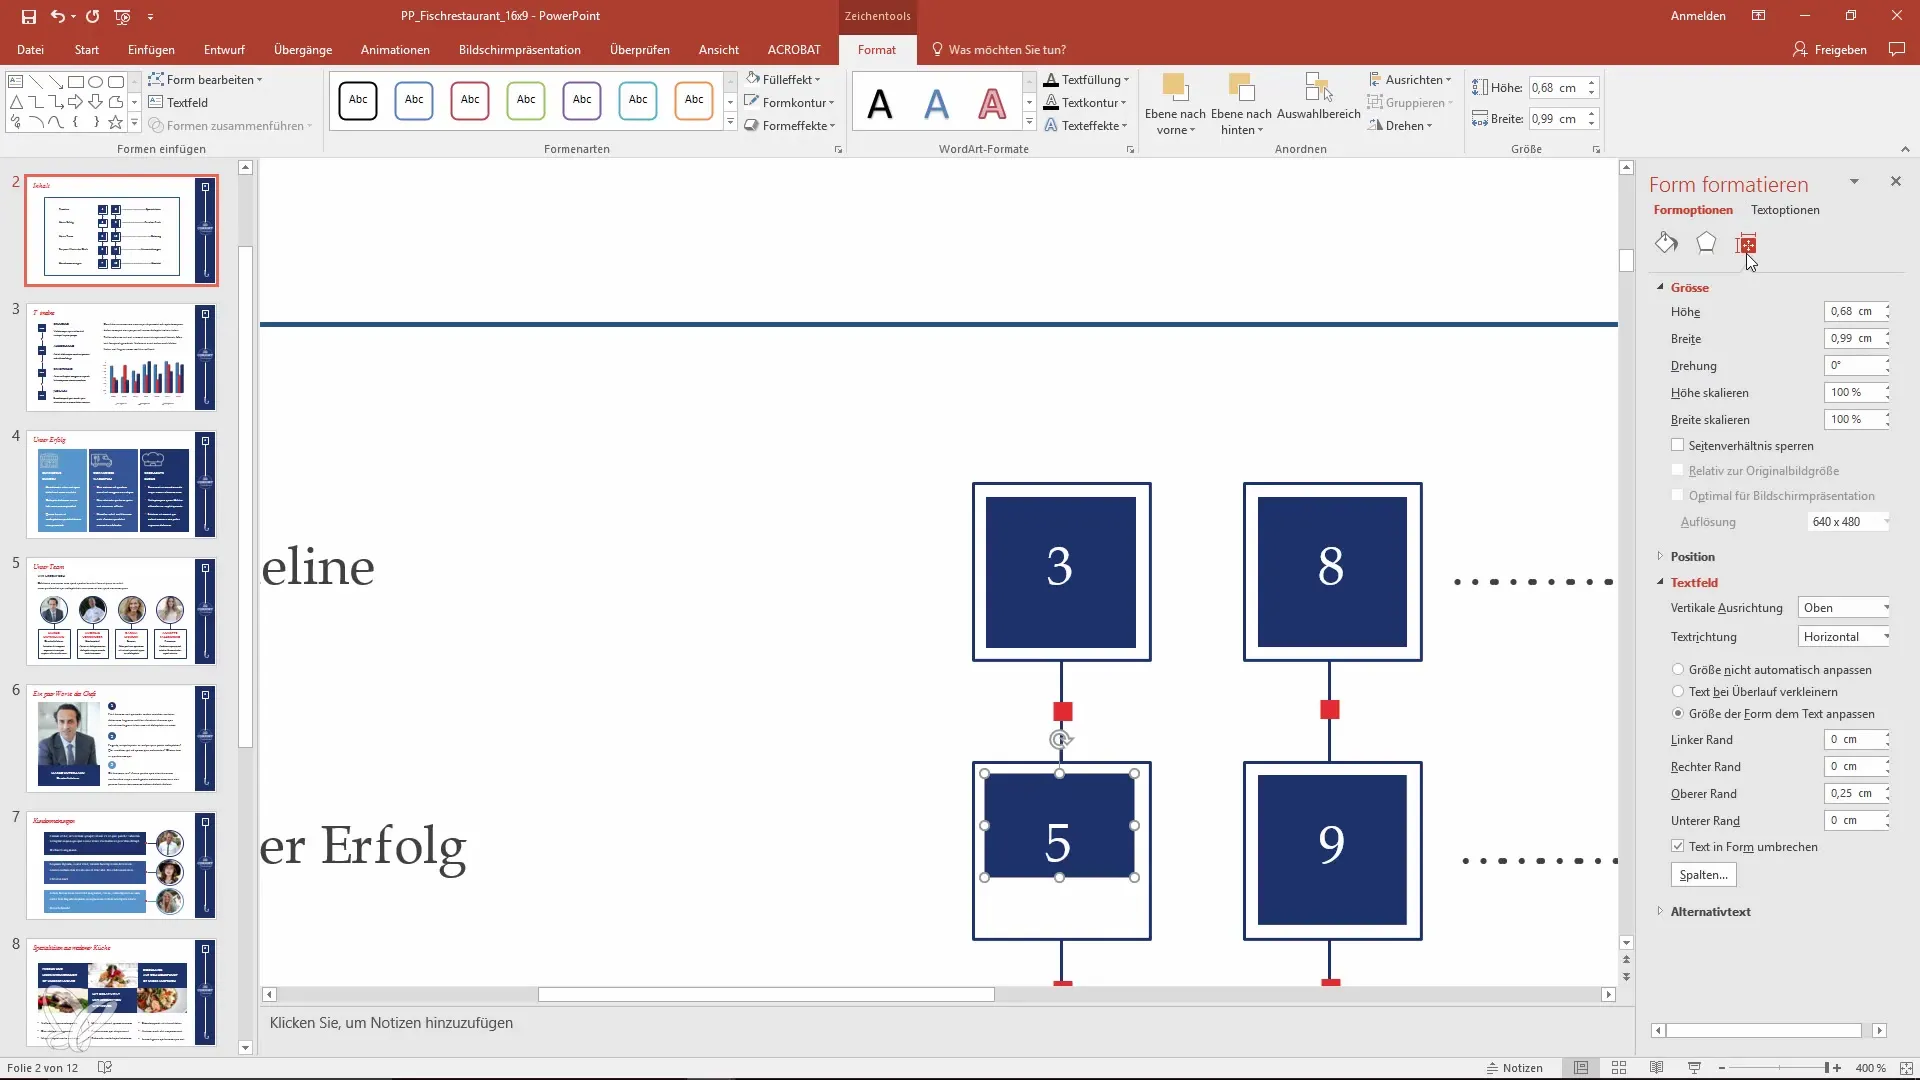
Finally, manual adjustments may still be necessary to, for example, add missing numbers. You can simply copy and paste the desired number to the correct location, or enter it directly in PowerPoint. Use the previous steps to ensure everything looks correct.
Summary
Converting a PDF file into a PowerPoint presentation is possible without much effort. However, it requires care and often manual adjustments to achieve a perfect result. Follow these steps and tips to ensure that your presentations appear in optimal quality.
Frequently Asked Questions
How can I convert a PDF file to PowerPoint?You can open the PDF with Adobe Acrobat and convert it to PowerPoint using the export function.
Are there better alternatives to Adobe Acrobat?There are various online converters that also deliver good results, but they have their pros and cons.
What to do if images are missing or incorrectly placed?Check the presentation and copy the missing images directly from the PDF to insert them into the PowerPoint file.
How can I ensure that the image quality remains good?When exporting images, make sure to select the highest quality level.
Can I export multiple images at once?Yes, in Adobe Acrobat, you can activate a function that allows you to export all images at once.

