Do you have an image or text in the clipboard and want to quickly create a PDF from it? With Adobe Acrobat, this is a piece of cake, and creating multi-page PDFs is also no problem. In this guide, you will learn step by step how to efficiently generate PDFs from the clipboard, including a useful tip for Windows users.
Key Insights
- PDFs can be created directly from the clipboard.
- It is possible to add multiple pages by simply pasting images and texts into a document.
- A freeware named Dito helps manage multiple entries in the clipboard.
Step-by-Step Guide
Step 1: Copy Image to Clipboard
To start creating your PDF, copy the desired image to the clipboard. An easy way to do this is by right-clicking on the image and selecting the "Copy image" option.
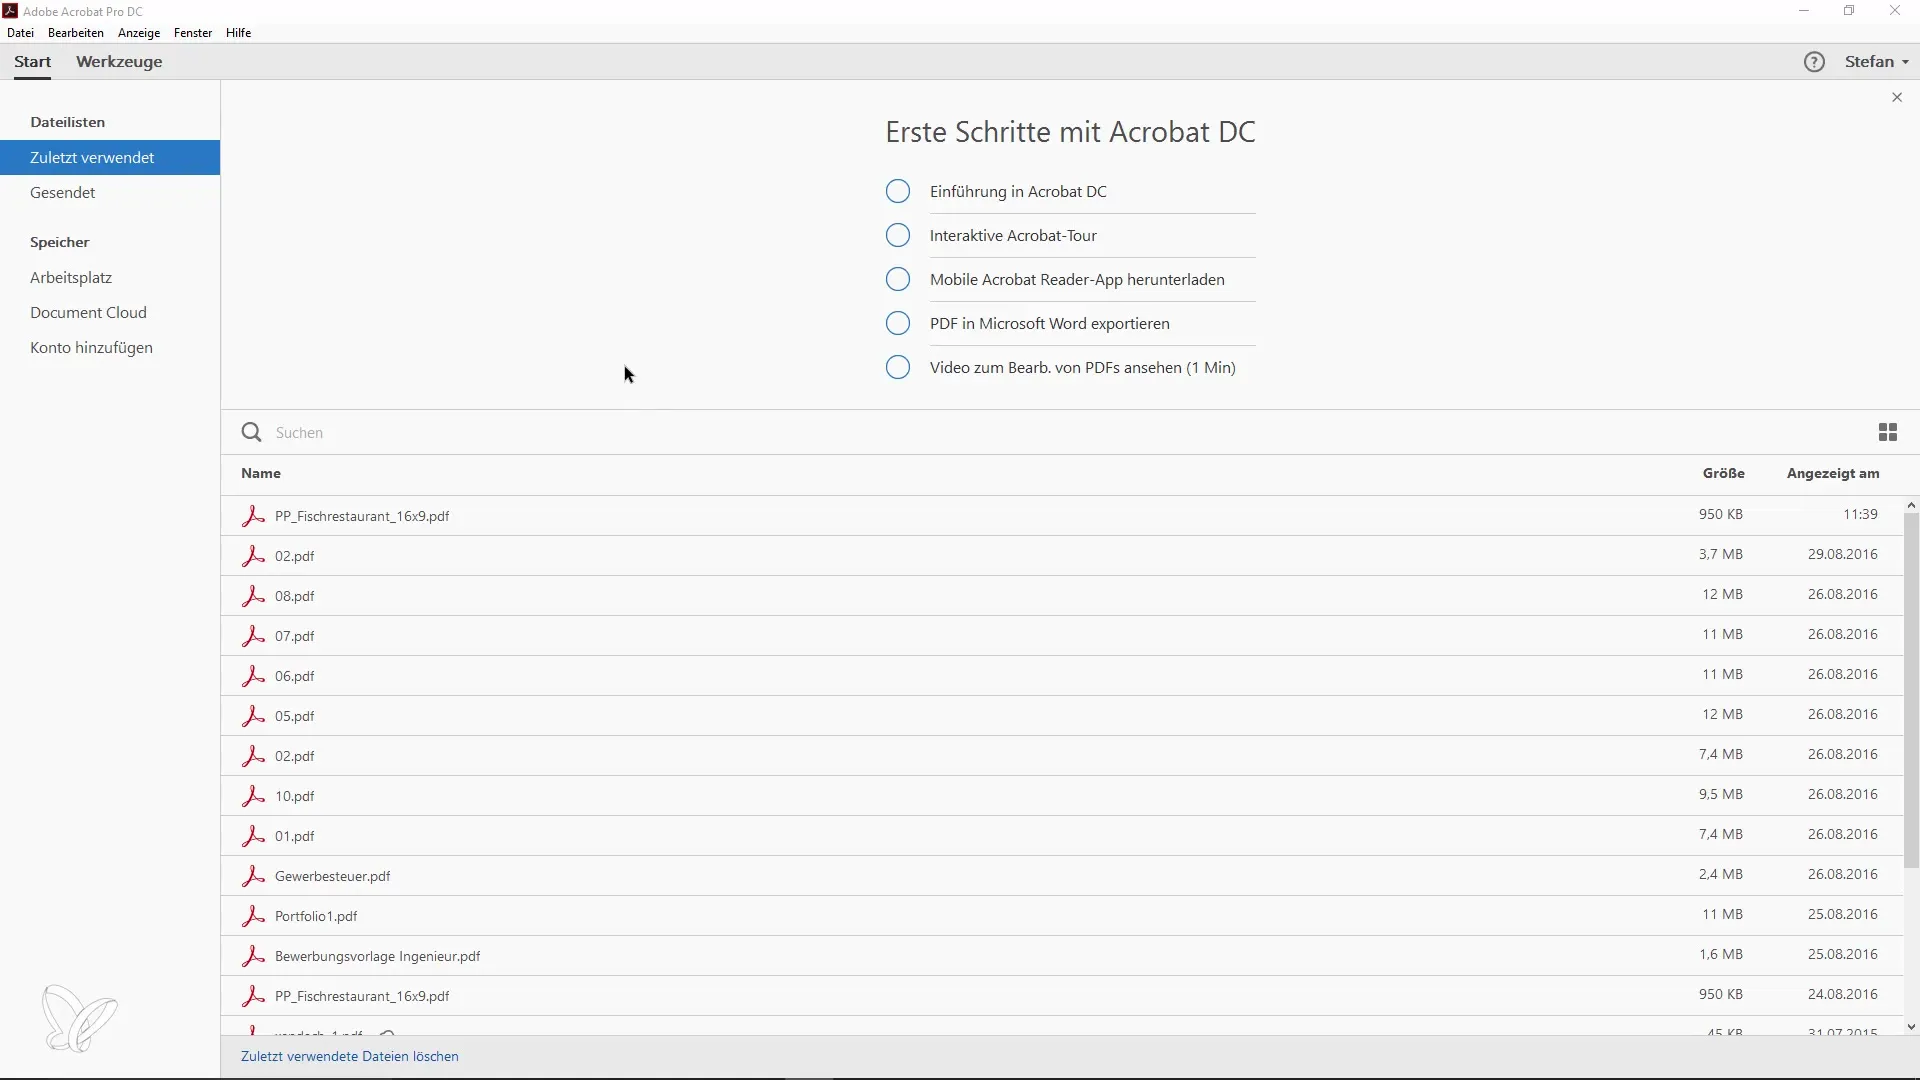
Step 2: Create PDF in Adobe Acrobat
Now open Adobe Acrobat and go to the menu bar. Choose "File" and then "Create." Here you will find the option "PDF from Clipboard." Click on it, and Adobe Acrobat will immediately generate a PDF file with your copied image.
Step 3: Add More Pages
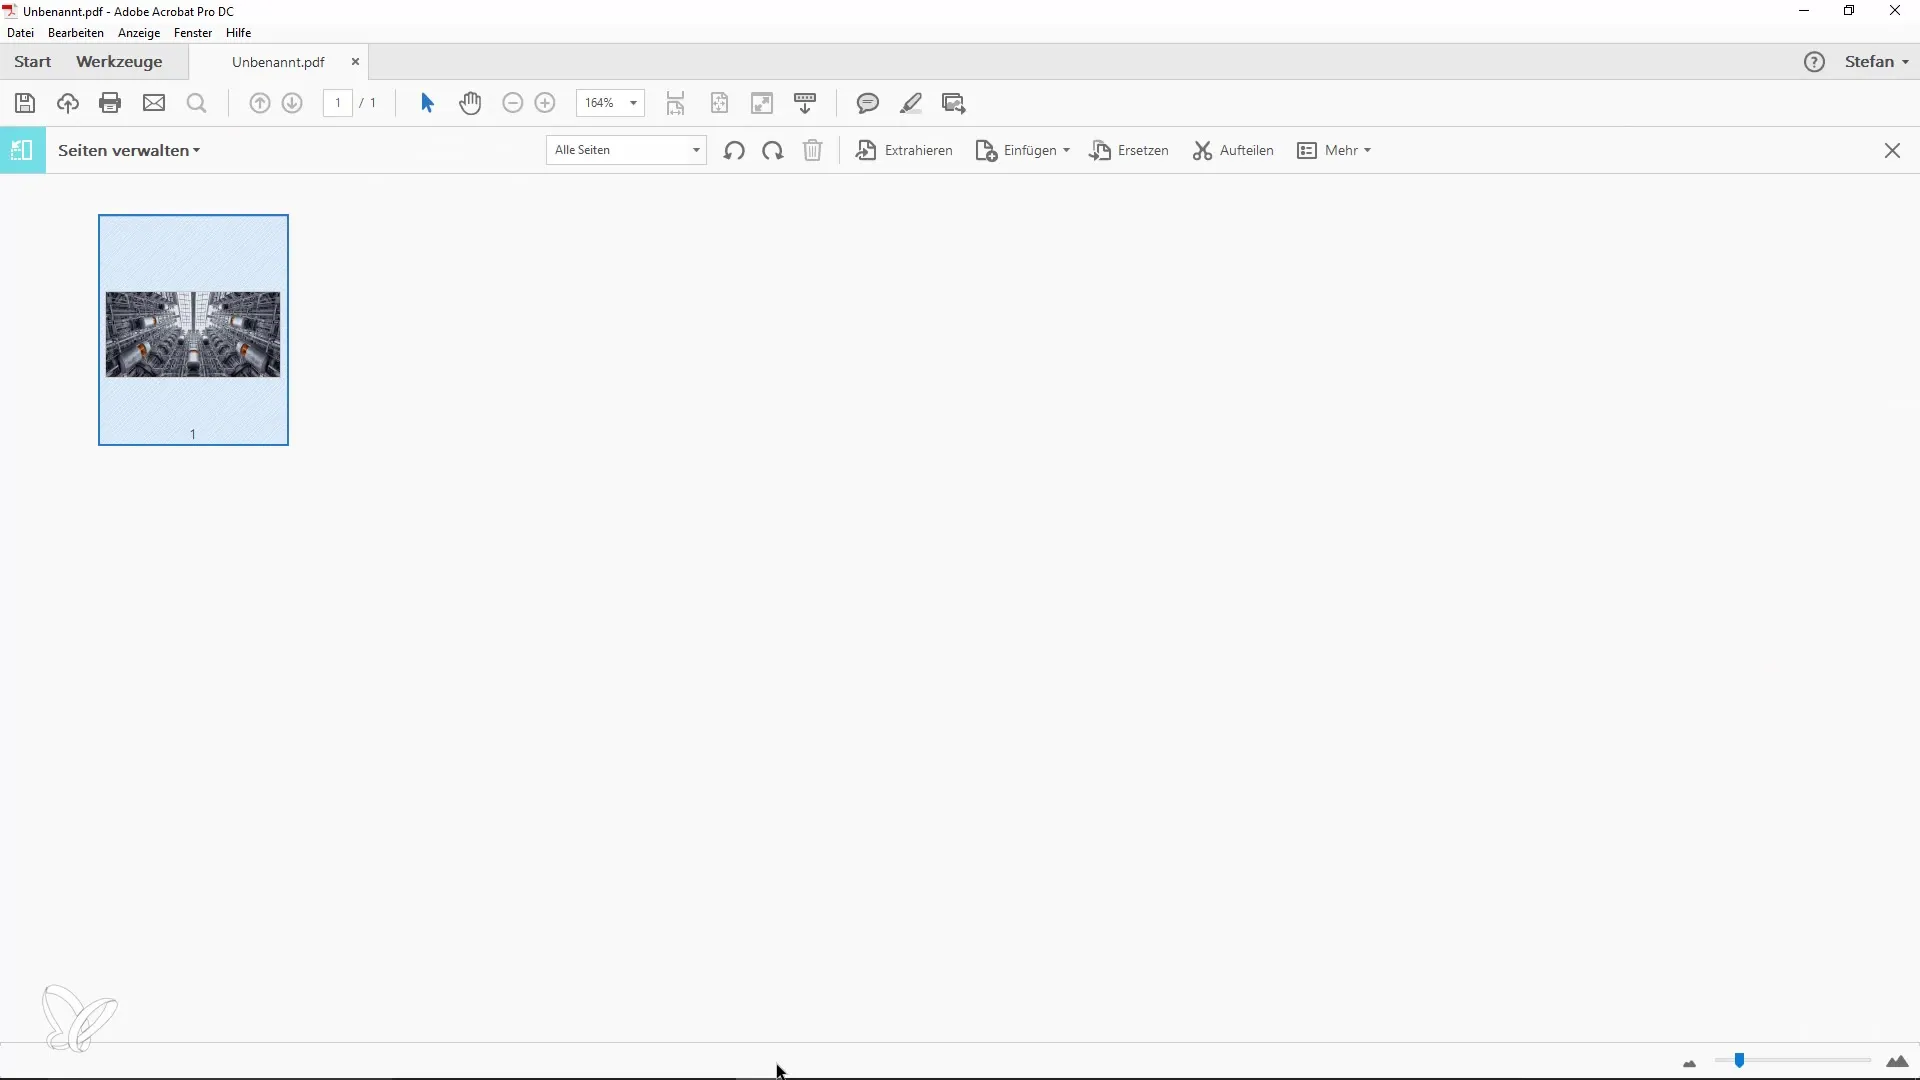
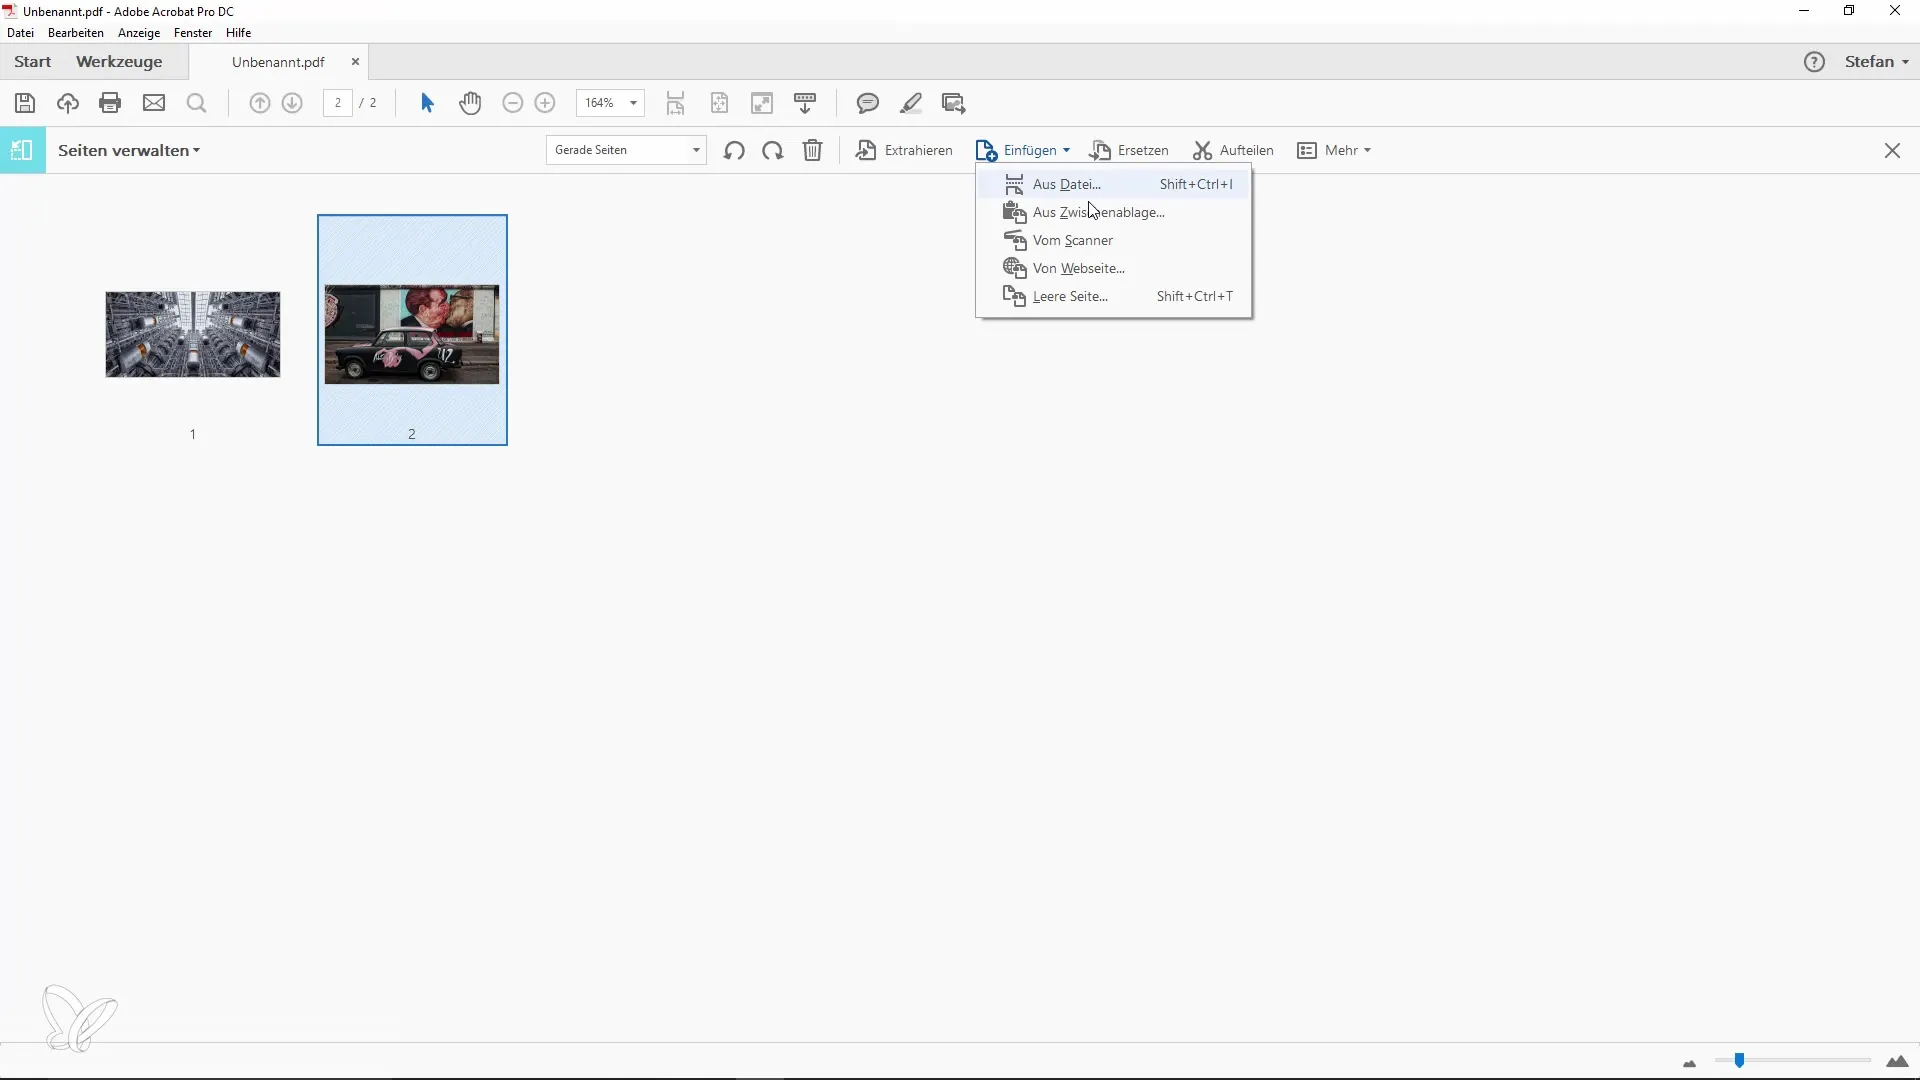
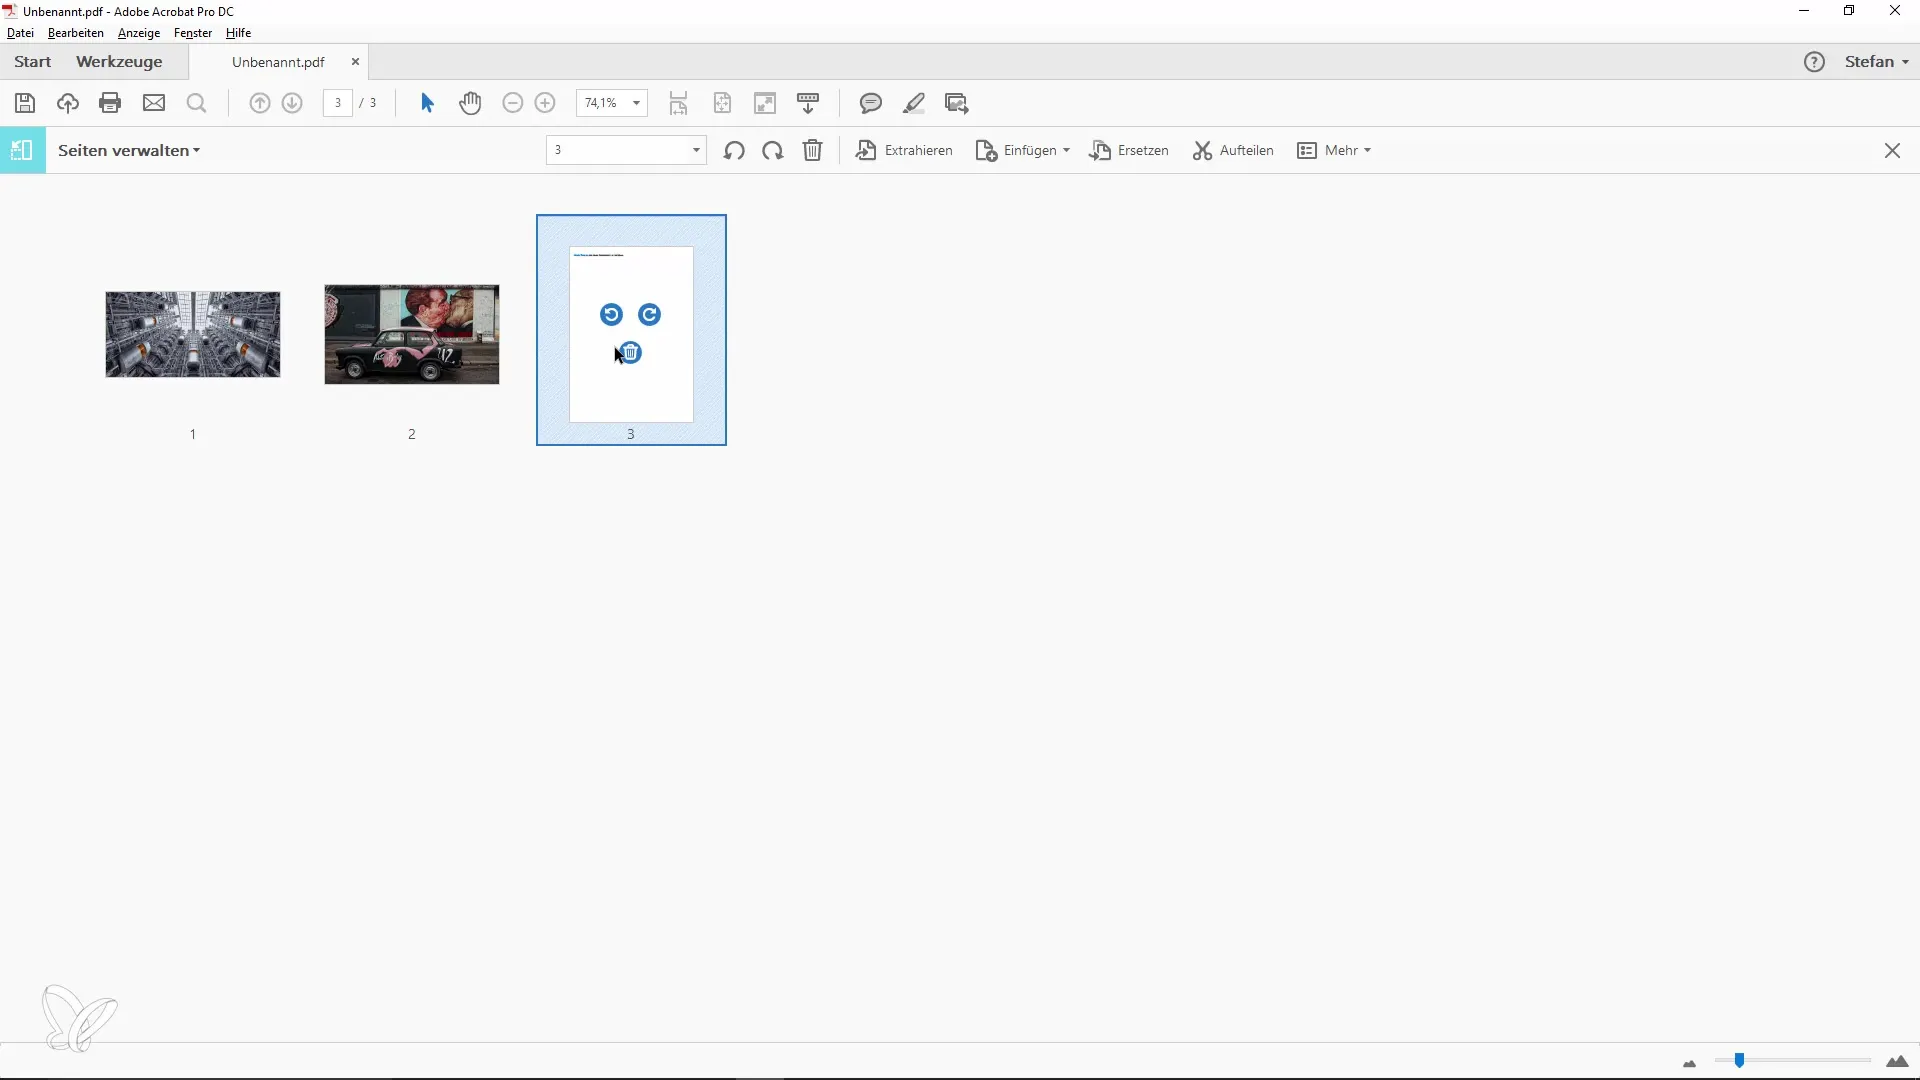
If you want to add more pages to your PDF, simply go back to the clipboard. Copy another image and return to Adobe Acrobat. Click on "Manage Pages" and choose "Paste from Clipboard." The new image will be inserted after your first page.
Step 4: Insert Text into the PDF
You can also copy text from other applications. Select the desired text, right-click, and choose "Copy." Return to Adobe Acrobat, click on "Paste from Clipboard," and your copied text will be inserted into the PDF. You can even double-click the text to edit it.
Step 5: Using Dito to Manage the Clipboard
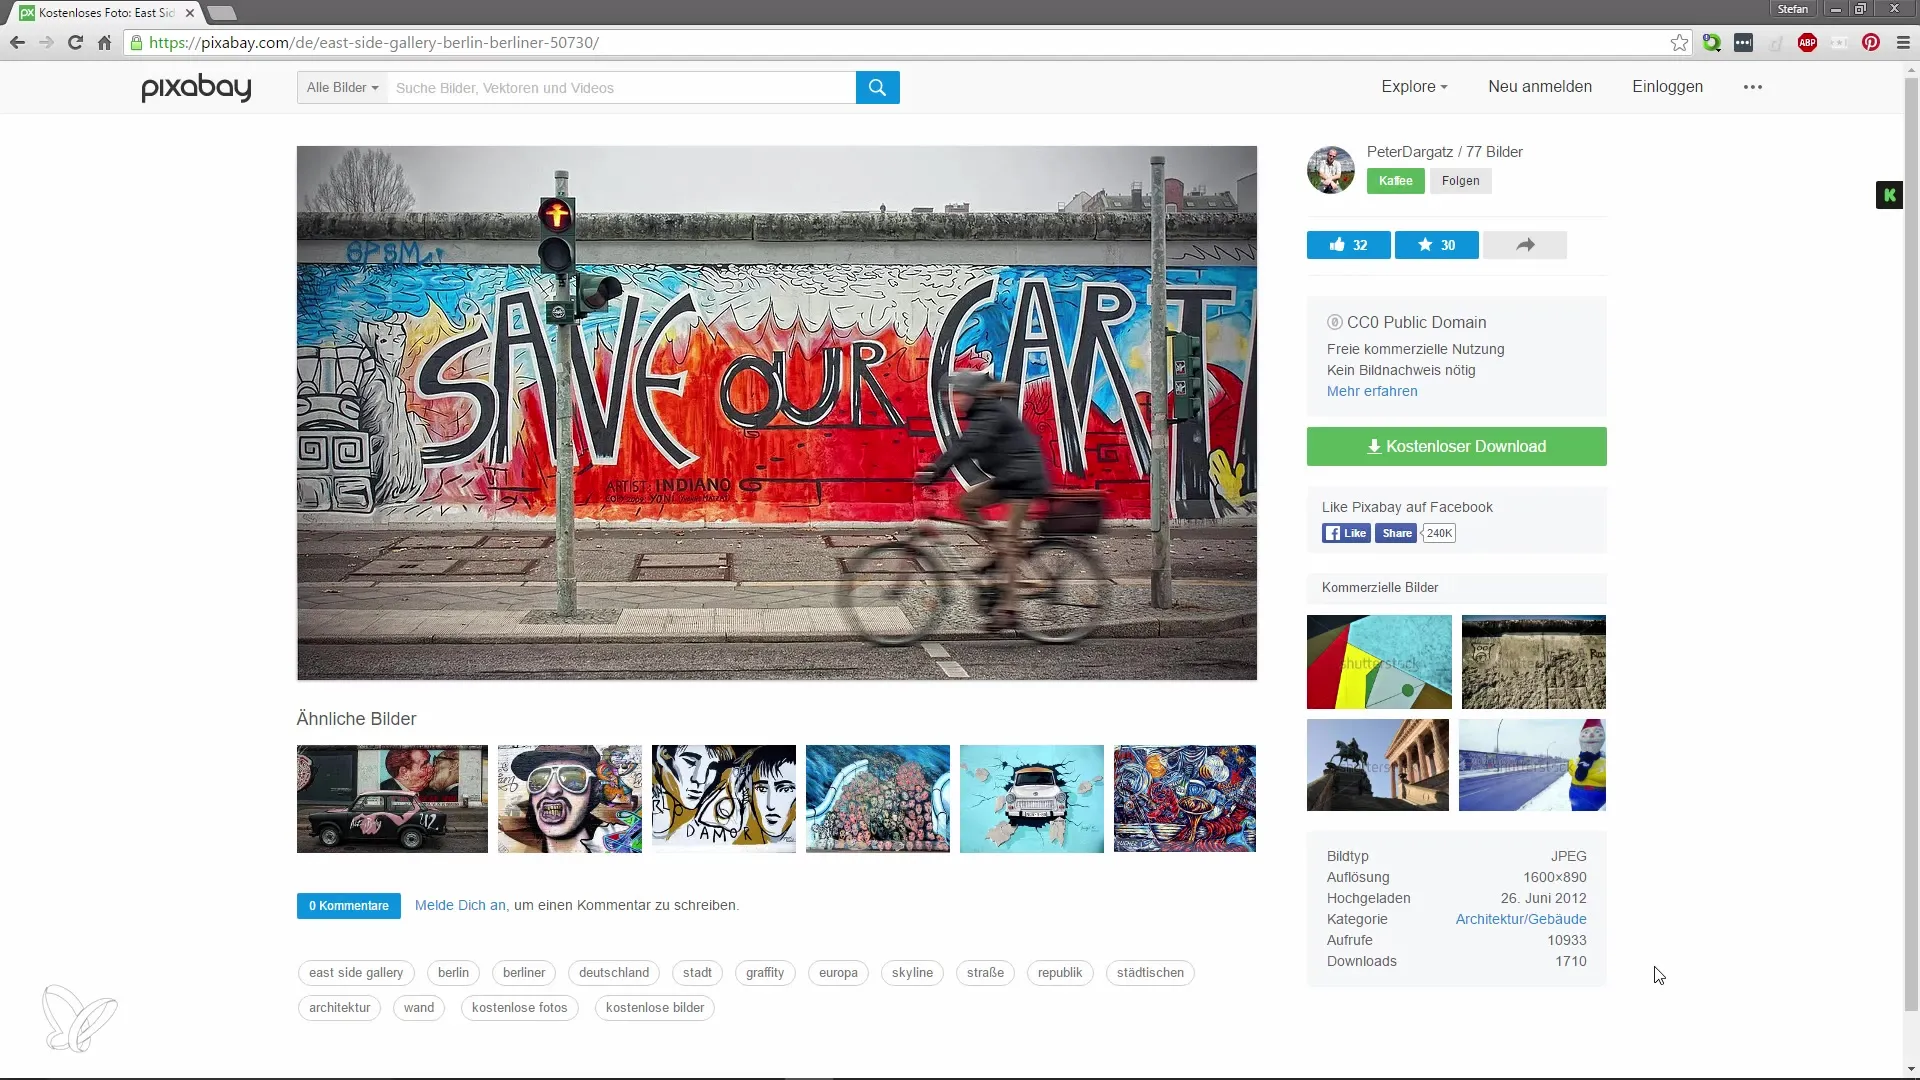
A quick tip for Windows users: If you have a limited clipboard, installing software like Dito could help. This freeware allows you to manage multiple entries in the clipboard, making it easy to select the desired image or text and work with it in Adobe Acrobat.
Step 6: Customize the PDF Document
After inserting all the desired images and texts into your document, you can customize your PDF as needed. Rearrange elements on the pages, change the layout, or delete unwanted content when necessary.
Summary
Creating PDFs from the clipboard is a powerful tool that you can use for your daily tasks. By carefully copying content and using Adobe Acrobat, you can easily create multi-page documents. Using additional programs like Dito enhances your productivity by keeping control of your clipboard.
Frequently Asked Questions
How do I create a PDF from the clipboard in Adobe Acrobat?Copy your image or text to the clipboard, go to Adobe Acrobat and select "File" > "Create" > "PDF from Clipboard."
Can I insert multiple images into a PDF?Yes, you can insert multiple images and texts by copying them one after the other to the clipboard and pasting them into Adobe Acrobat.
What is Dito and how does it help with PDF creation?Dito is freeware that allows you to manage multiple entries in the clipboard, enabling you to quickly switch between different elements.
