Note: This tutorial is the text version of the accompanying video training by Stefan, created as part of our textualization call. The texts may therefore also have a colloquial style.
So, this little trick is about introducing a practical function, namely this one: If I now copy an object from this beautiful picture in Illustrator ...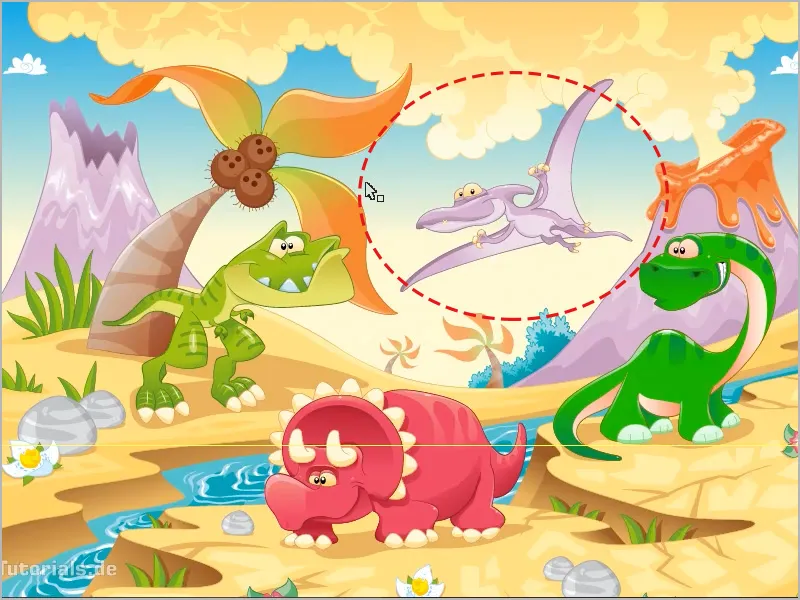
... into Photoshop, it even works as a smart object, which is of course brilliant. I now select this primeval bird, the Archeopterix, with Ctrl+C [cmd+C] I can copy it and then paste it in Photoshop either into a new or an existing document. I open a new document here via File>New....
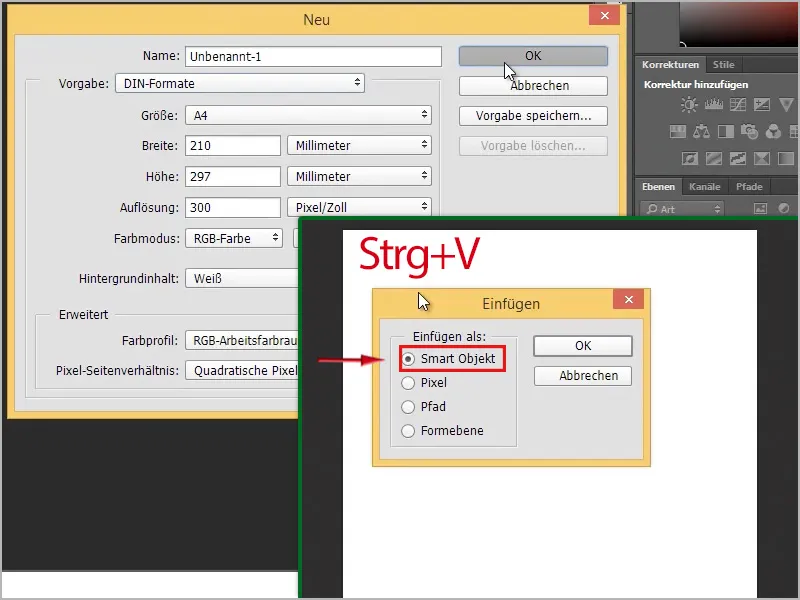
Then I can paste it with Ctrl+V [cmd+V]. As what? That is the question here: smart object, pixel, path or shape layer.
I recommend: as a smart object. I'll show you why in a moment. So, it's already in there.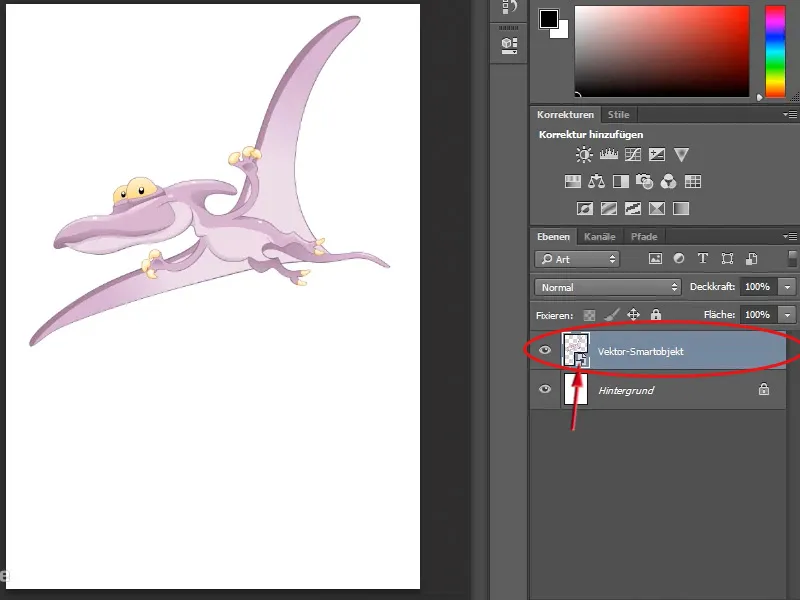
Now I can resize it however I like, the brilliant thing about smart objects in conjunction with vector graphics is that I can make them infinitely large without any loss of quality. I can also paint in the background if I want. For example, if I double-click on the foreground color in the toolbar with the eyedropper tool and then grab a green (#197b06) in the color picker window...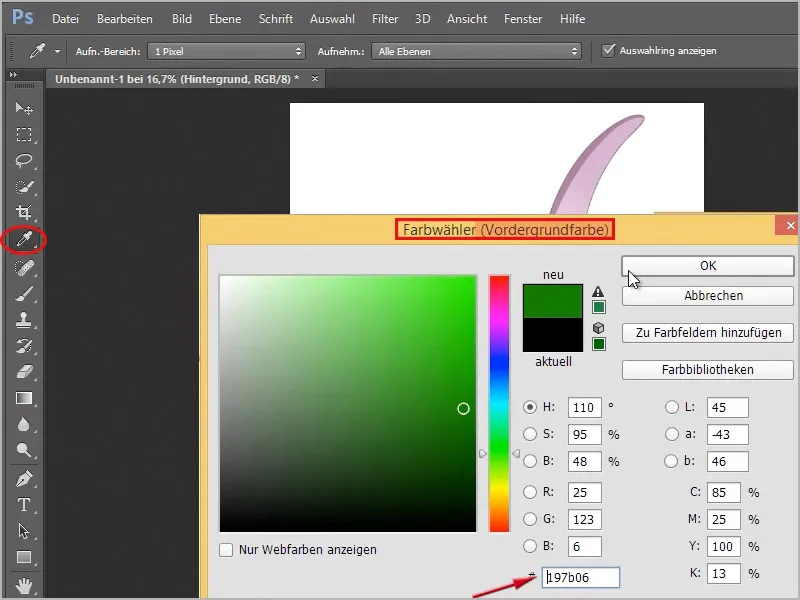
... and the same again, only with a double-click on the background color and a darker green (#033401), I can paint a bit of grass with a grass brush from the brush panel on the background layer (this must be selected!).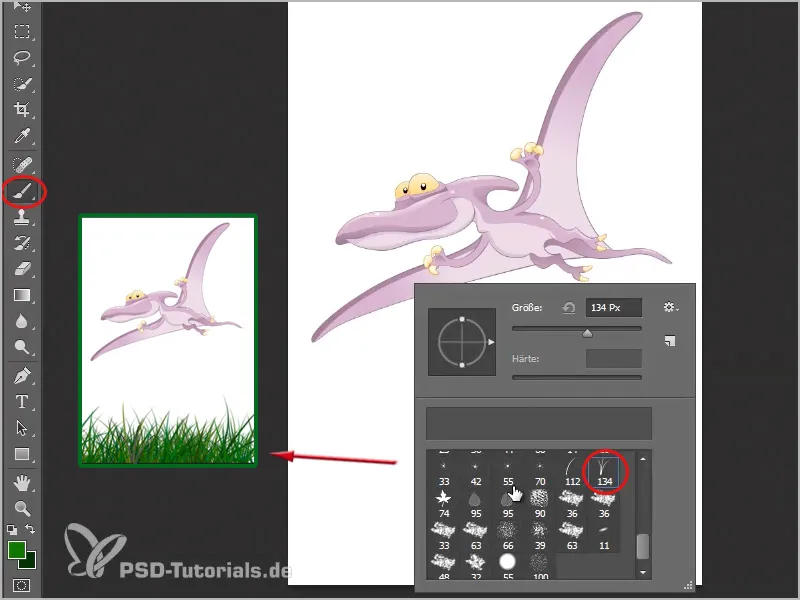
Of course, it would be better if I did this on a new layer. So I create a new layer below my dinosaur and paint my grass in there. Then I create a new layer, move it under the grass layer and create a sky there. I can even load new gradients there by clicking on the arrow next to the gradient in the options bar and then on the little cogwheel on the right. I'll choose Simple here.
Now I have to choose whether I want to replace my existing gradients or add the "simple gradients" at the end. I select Append and can then select the gradients in my options field.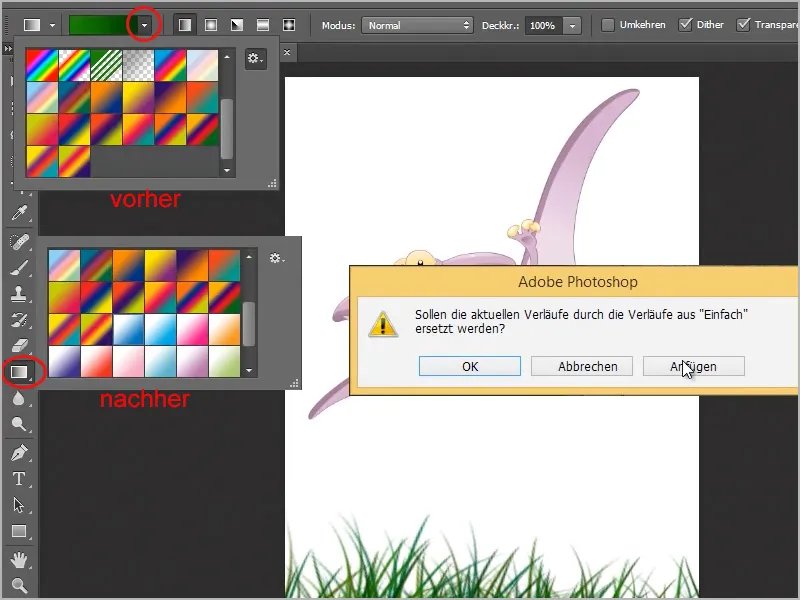
Here I have a gradient from white to blue. I can then simply add it to my image by drawing a line from the center of the image to the top left with the gradient tool selected.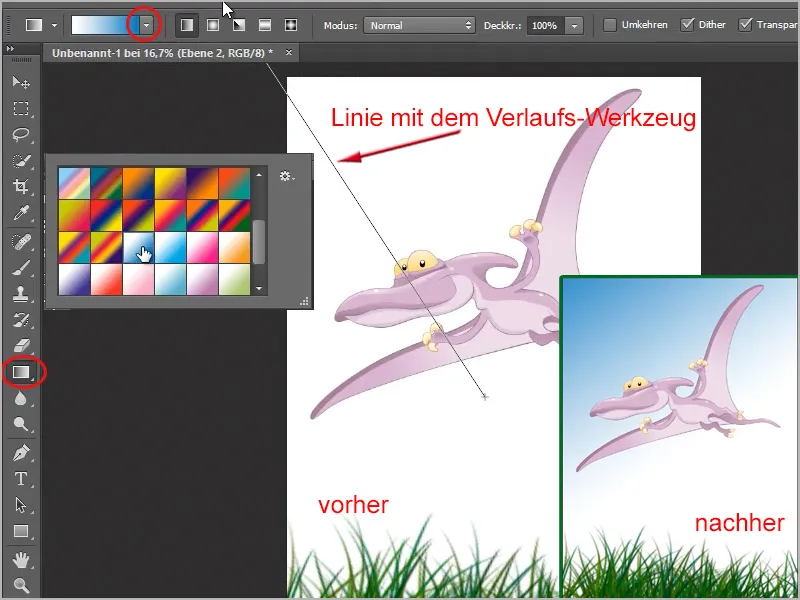
Right, now I've quickly painted a picture. Now I'll show you how I can quickly recolor this primeval bird. Of course I could also do this in Photoshop, but not as easily as in Illustrator. To do this, I double-click on the thumbnail of the vector smart object with my primeval bird in the layers panel.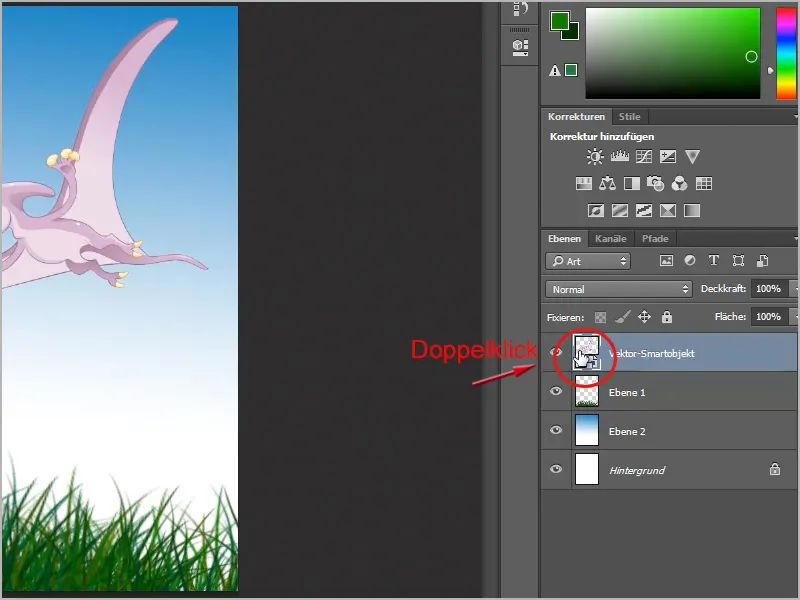
A message then appears saying that the change will not be applied until I save it, which I confirm by clicking OK. An Illustrator file is then opened with just my primeval bird. Now I can simply go to the recolor tool, for example, by first clicking on the object (the bird). Then you can see the Recolor artwork button in the options bar.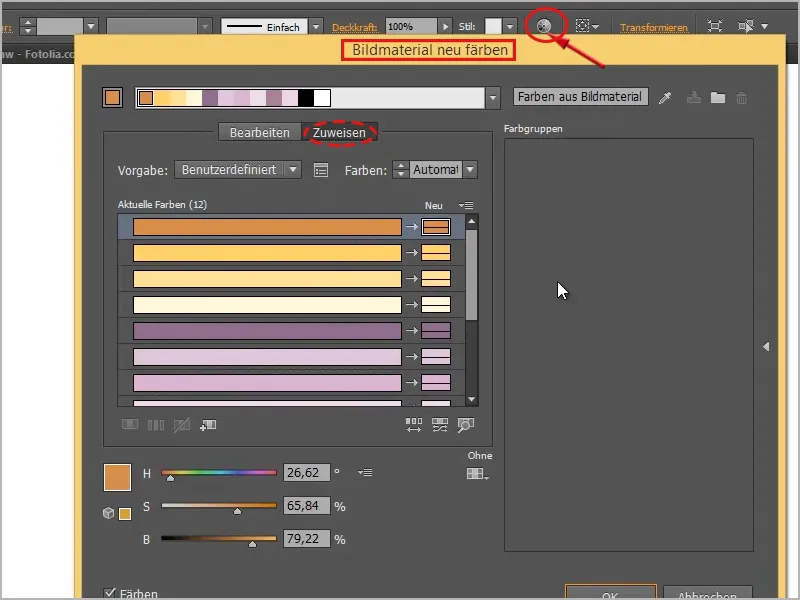
I can go to the Edit tab and it looks like this. Before I change the colors, I click on the chain, then I can color everything nicely by selecting a circle, which then becomes larger than the other circles, and moving it in the color circle. Like this, for example: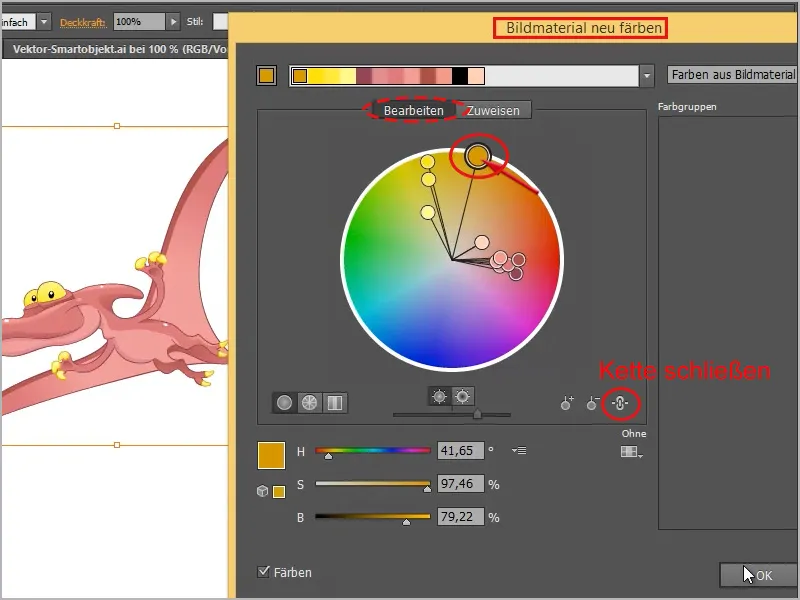
Then I just need to press Ctrl+S [cmd+S] and it will be saved. Now I go back into my Photoshop and you can see it is immediately recolored: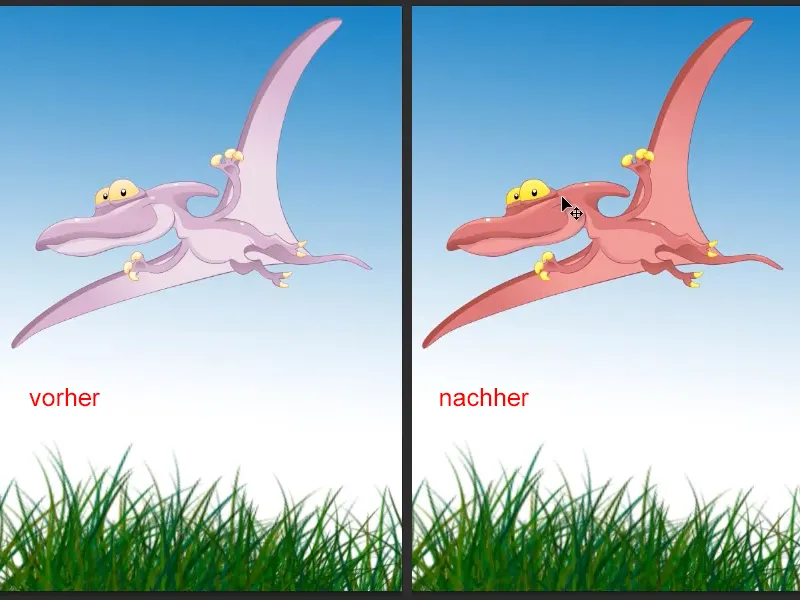
This is of course super easy and at any time I can, as I said, drag this bird smaller and confirm it or drag it larger and the quality doesn't decrease because it's a vector graphic. That's really brilliant! In contrast to the grass. You can already see that because I used a very large brush setting, it's quite blurred and doesn't look very nice.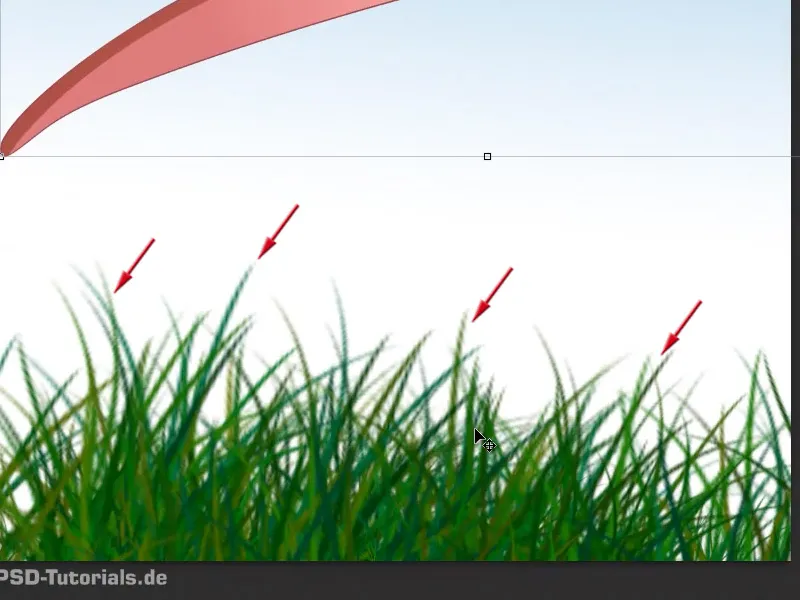
That's why: With vectors it's much, much nicer, everything is wonderfully sharp, no matter how big I have the image.
Another double-click in the smart object and then I can recolor it again. This time a different color:
I can change everything here however I like. For example, I can now transform something here ; once clicked, I can use the warp tool to make a bend in one of the wings ...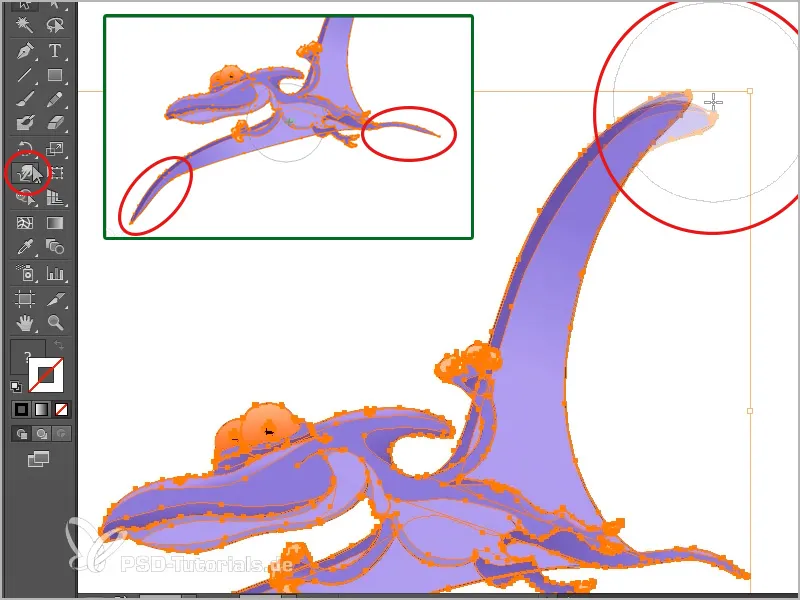
... or pull the tail and the other wing a little further, just as I feel like it. Then I save the whole thing and it's transferred to Photoshop, as you can see.
Yes, that was the little trick for linking these two programs together. That in Photoshop it should definitely be inserted as a smart object. As you can see, this gives you considerable advantages when editing.
The ingenious thing is that I don't even insert the objects as smart objects in InDesign, for example, but I take this dinosaur (marked here) with Ctrl+C [cmd+C] and insert it in InDesign in an empty document with Ctrl+V [cmd+V], and when I look in the linkpanel, I don't have a link in it.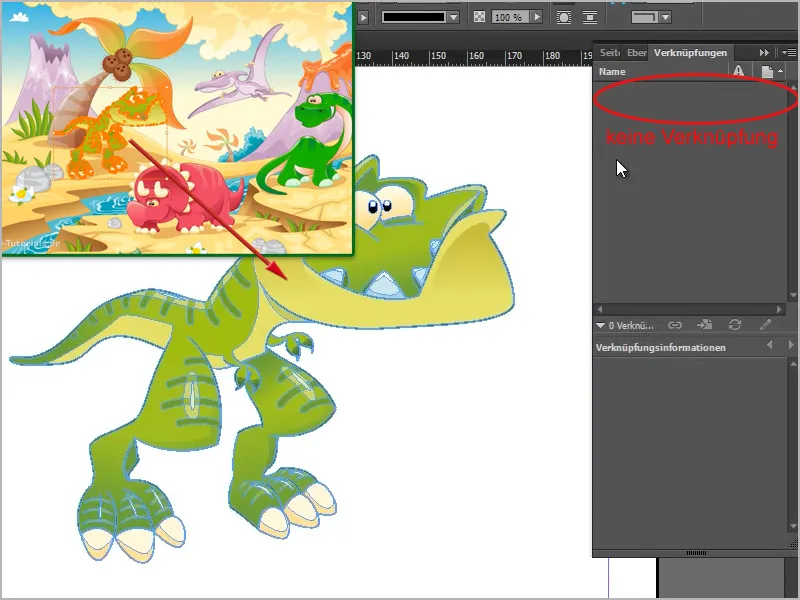
Because it has completely copied all the paths, everything I need. This means that I can scale it at any time without any loss of quality, and the brilliant thing is that I can now double-click on the individual objects and even move them. So it would also be possible to take everything apart object by object.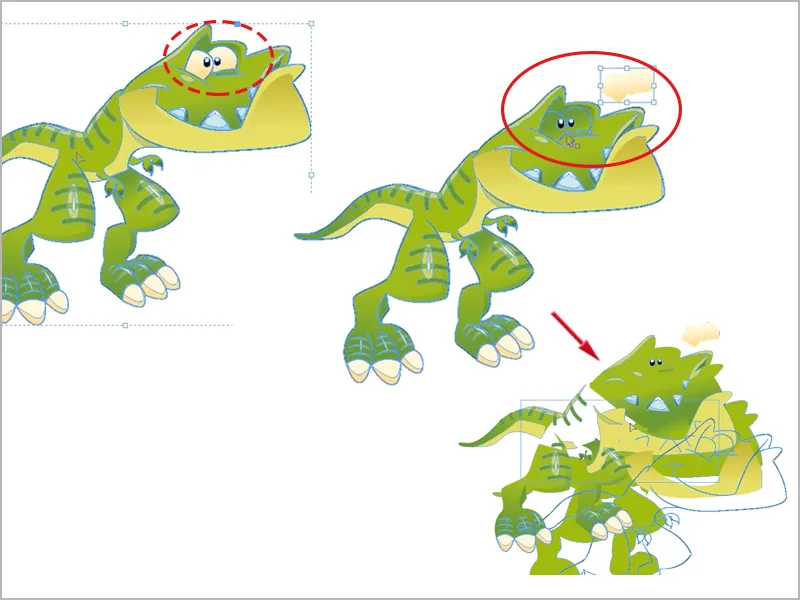
That's no problem at all because all the paths are available. This is of course a cool thing if you work with InDesign, for example, and interact with Illustrator, it all works wonderfully.
Adobe has done a good job of ensuring that the programs work really well together and that you can see that the quality is not that bad. Display performance>Display with high quality,...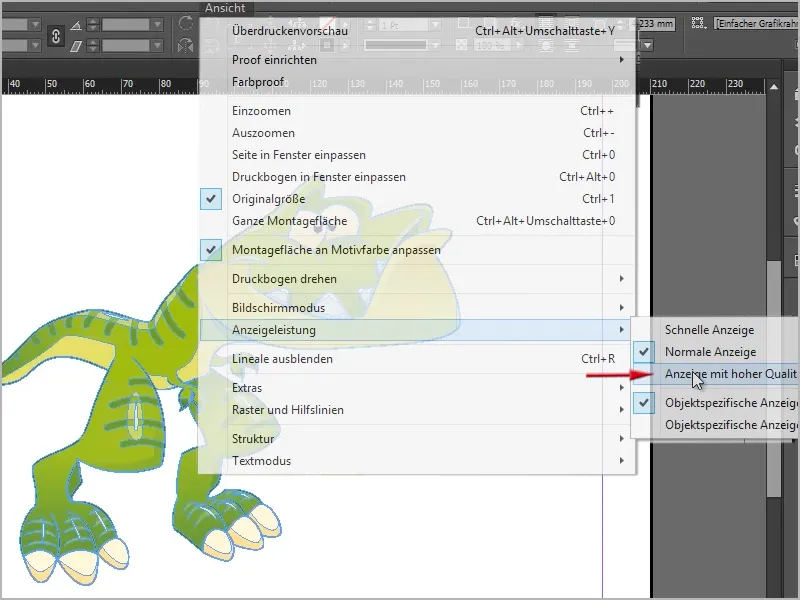
... then you can see that it's really razor sharp, even when I zoom in here.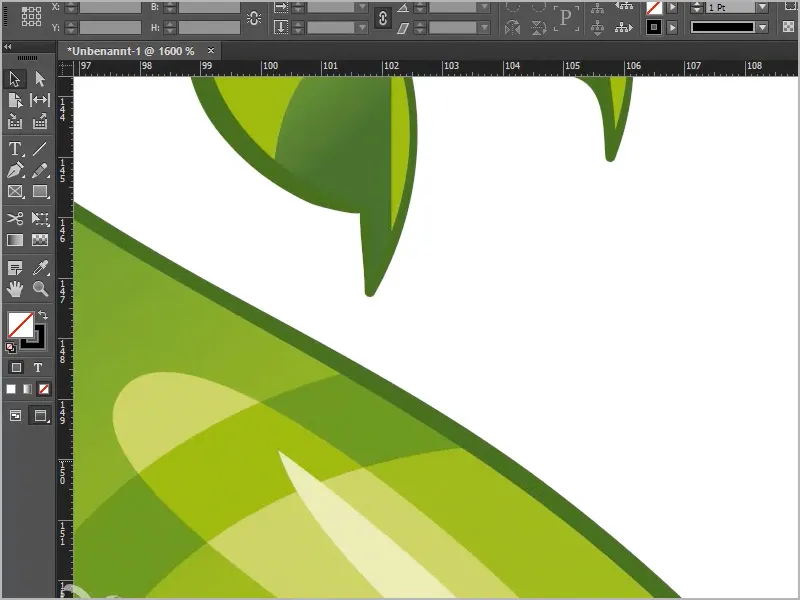
Wonderful, that's how it should be!


