Digital documents are an indispensable part of modern life. It often happens that you receive a PDF document that needs to be filled out and digitally signed. It can be frustrating if the document does not offer predefined input fields. In this guide, I will show you how to easily fill out and electronically sign PDFs using the Adobe Acrobat app on your iPad Pro or another iOS device. With just a few steps, you will be able to effectively master this task.
Key Insights
- With the Adobe Acrobat app, you can effectively fill out and sign PDFs without predefined fields.
- The app allows you to store digital signatures and use them from different devices.
- The whole process is intuitive and simple, even for users with limited technical knowledge.
Step-by-Step Guide
To successfully fill out and sign a PDF document, follow these steps:
Step 1: Open the Adobe Acrobat App
Launch the Adobe Acrobat app on your iPad. You should be able to see a small house in the top corner symbolizing the "Fill and Sign" function. Click on it to begin the process.

Step 2: Select the PDF Document
Once the "Fill and Sign" function is open, an example form will appear on your screen. Here you can select the PDF you want to fill out. In this example, we are using a simple PDF that does not contain forms.
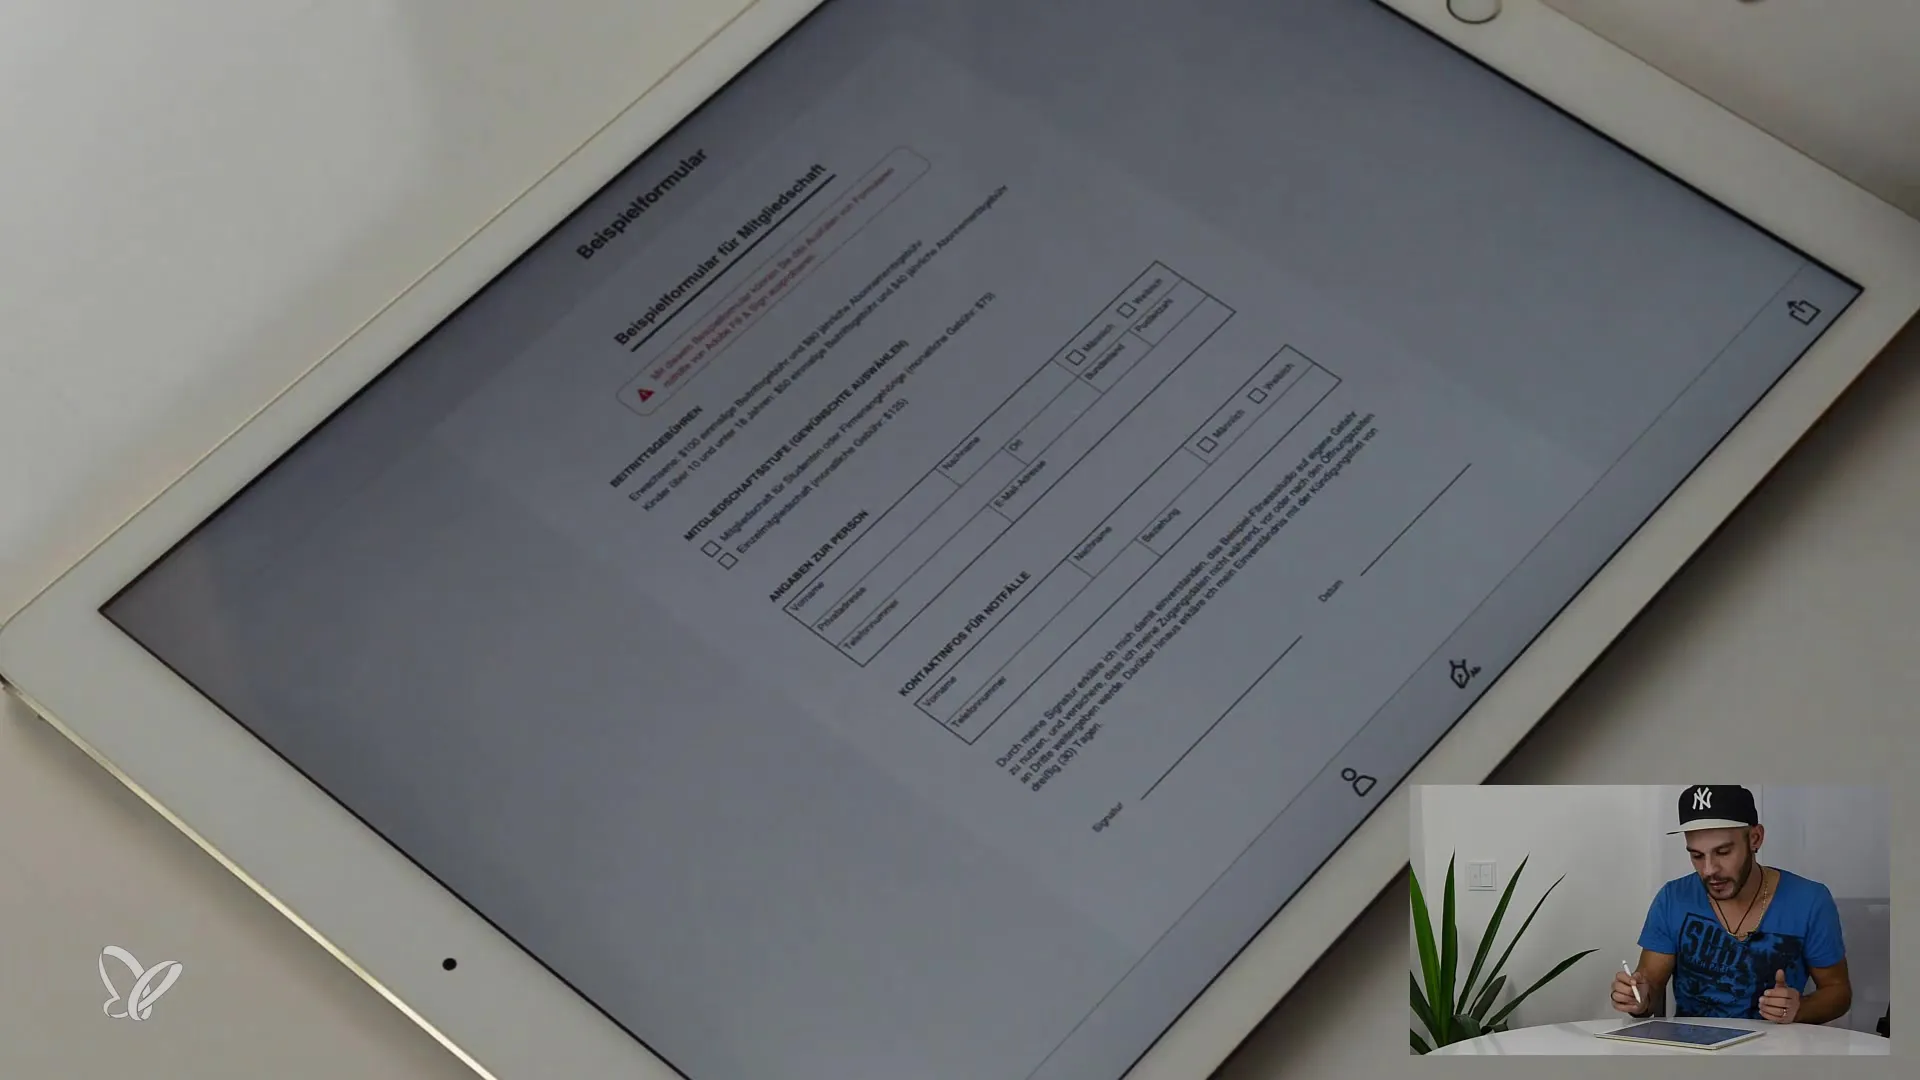
Step 3: Enter Personal Data
Now comes the exciting part. You can insert your personal data into the document. Click on the form element and start entering your information. You can use both text and checkboxes.

Step 4: Create Signature
When you are ready to sign the document, click on the "Create Signature" option. A new window will open where you can enter your name. You can also use the touch function or the Apple Pencil to draw your signature directly on the PDF.

Step 5: Customize and Place the Signature
After creating the signature, you can adjust the size and location of the signature as needed. Drag the signature to the desired location in the document and scale it if necessary.
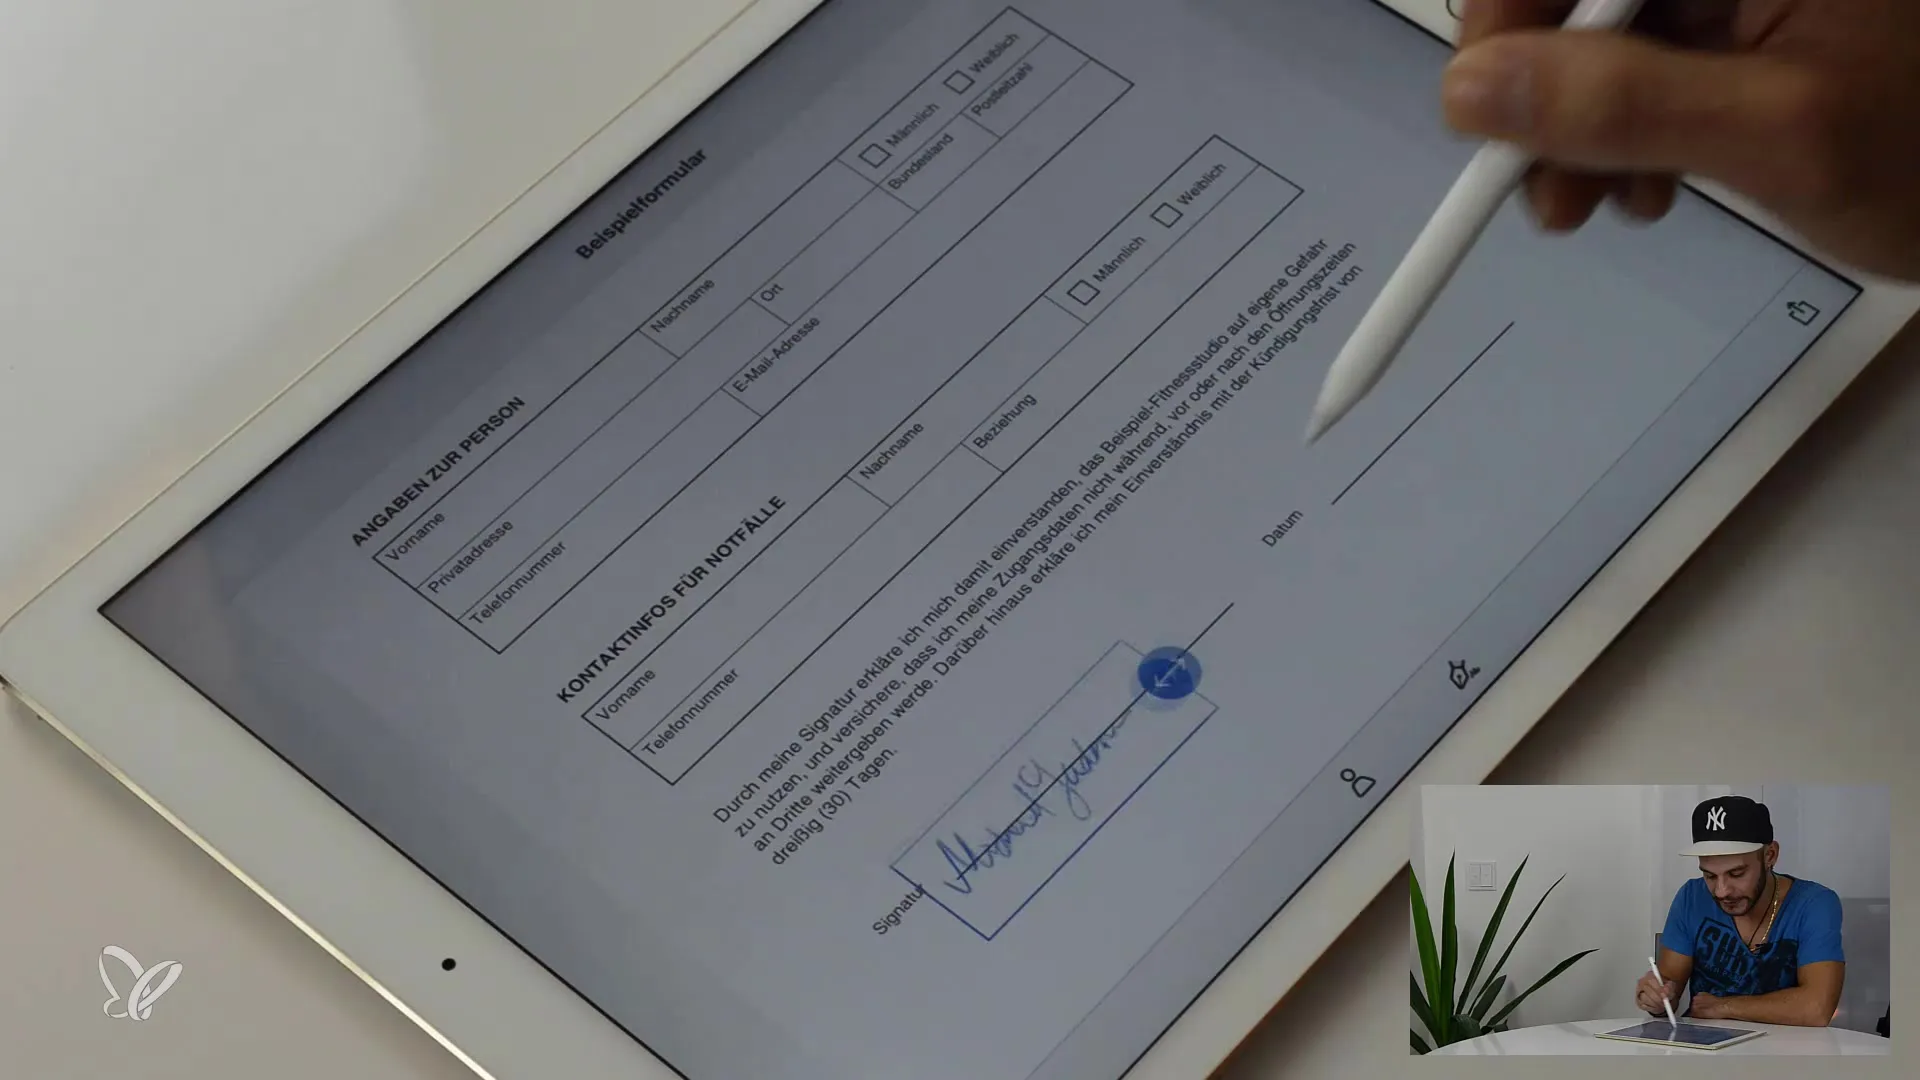
Step 6: Save and Sync Signature
A great advantage of the Adobe Acrobat app is the ability to save your signature. You can then use it on different devices, whether it's your iPhone, iMac, or your iPad Pro. The app syncs your data so you don't have to create a new signature each time.

Step 7: Share or Send the Document
Once the document is fully filled out and signed, you can either send it directly via email or save it in a cloud storage like Dropbox. Simply click on the Share option to choose your preferred method.
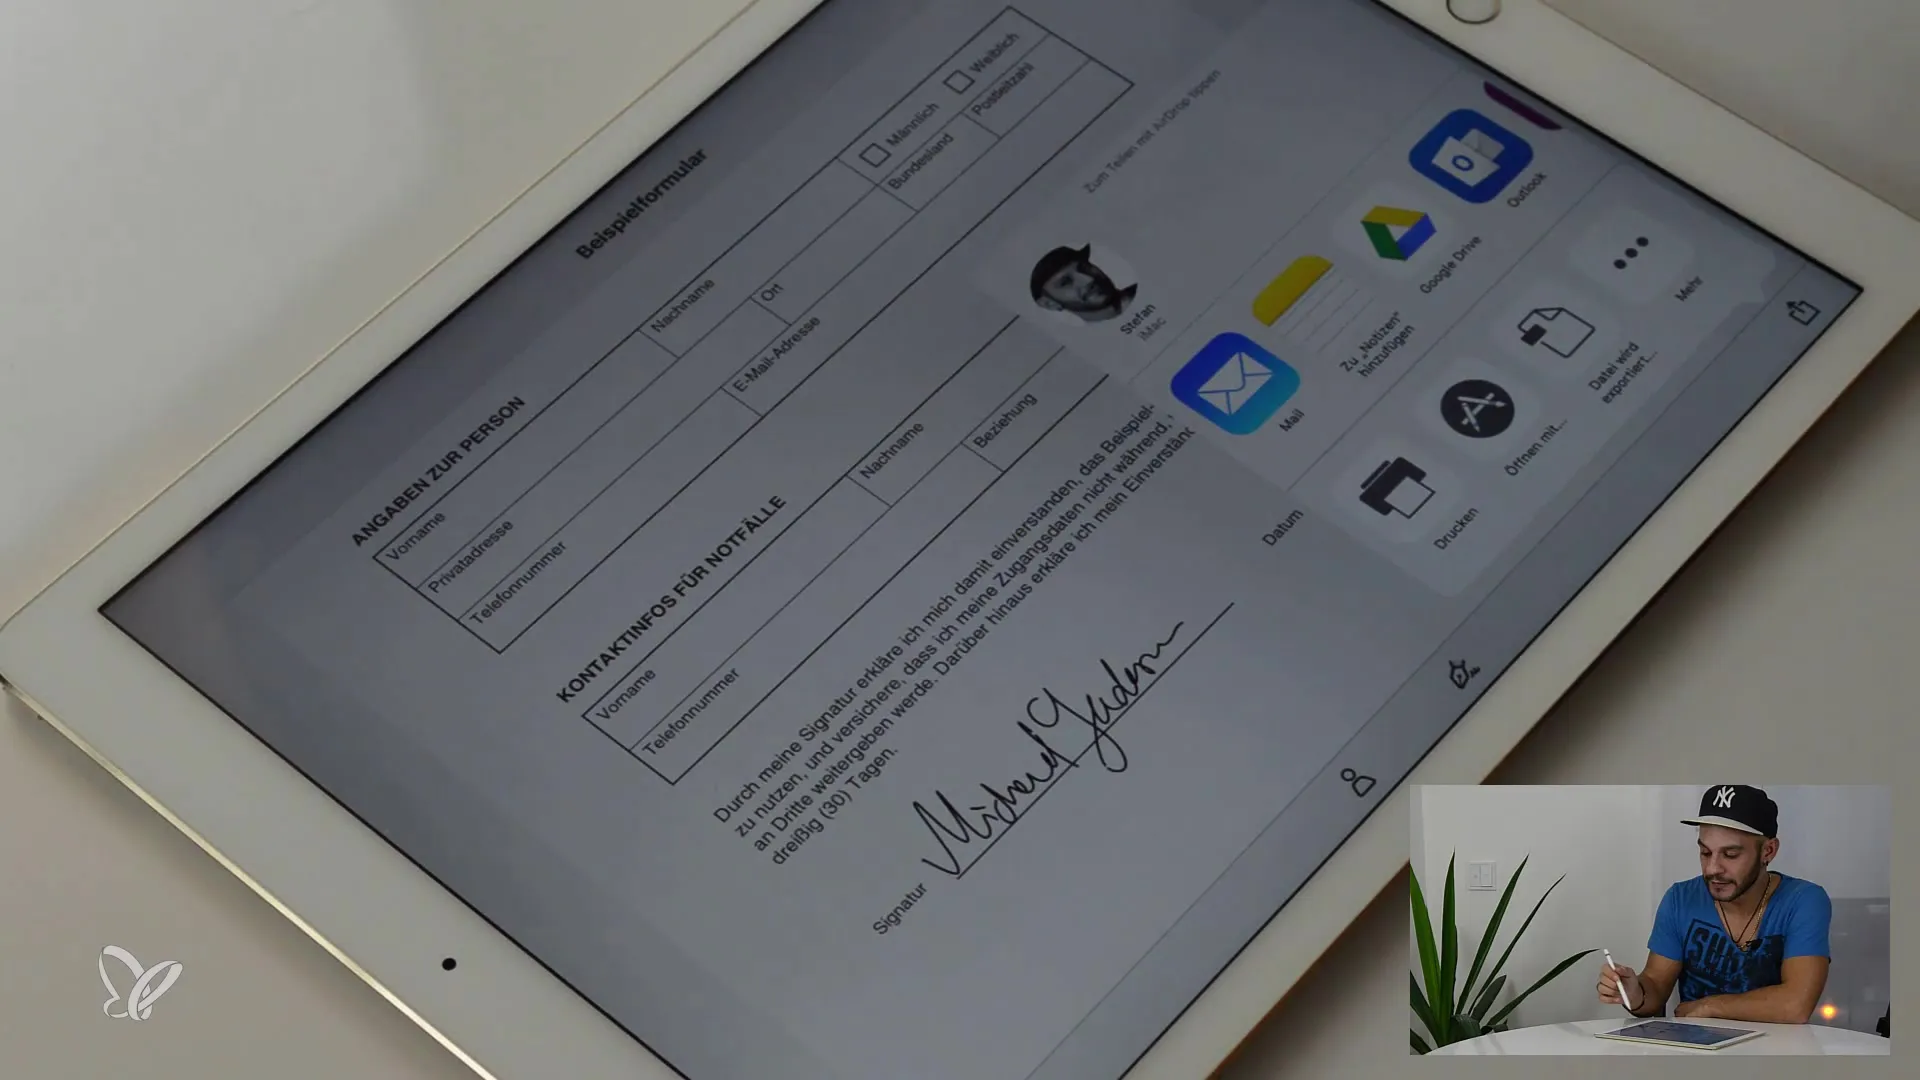
Step 8: Export the PDF
If you want to export the PDF with your signature, you can also do this through the app. Choose the respective option and save the document to your desired location.

Summary
In this guide, you have learned how to efficiently fill out and sign PDF documents on your iPad Pro. The process is simple, and the app offers many features to make your work easier. You no longer have to worry if a document does not have predefined fields – with Adobe Acrobat, everything is possible.
Frequently Asked Questions
How can I open a PDF document in the Acrobat app?You can simply select a PDF document after opening the "Fill & Sign" feature.
Can I use my signature on multiple devices?Yes, the Adobe Acrobat app syncs your signature so you can use it on different devices.
How do I add checkboxes to my PDF document?You can add checkboxes by selecting the corresponding icon in the app and using the checkbox option.
Can I send the signed document directly via email?Yes, the Adobe Acrobat app allows you to send the document directly via email using the share function.
