A slideshow can be a wonderful medium to capture special memories and present them in an engaging format. If you want to quickly create a slideshow for a special occasion, such as a milestone birthday or anniversary, here is a step-by-step guide on how to do it using Adobe Acrobat. This guide will show you how to generate a slideshow in full-screen mode with beautiful transitions and in an endless loop as a PDF.
Key Takeaways
- You can create a slideshow with Adobe Acrobat without external software.
- Using images from platforms like Unsplash enhances the quality of your presentation.
- Fullscreen mode and endless loop enhance the impression during the presentation.
Step-by-Step Guide
Step 1: Download and Prepare Images
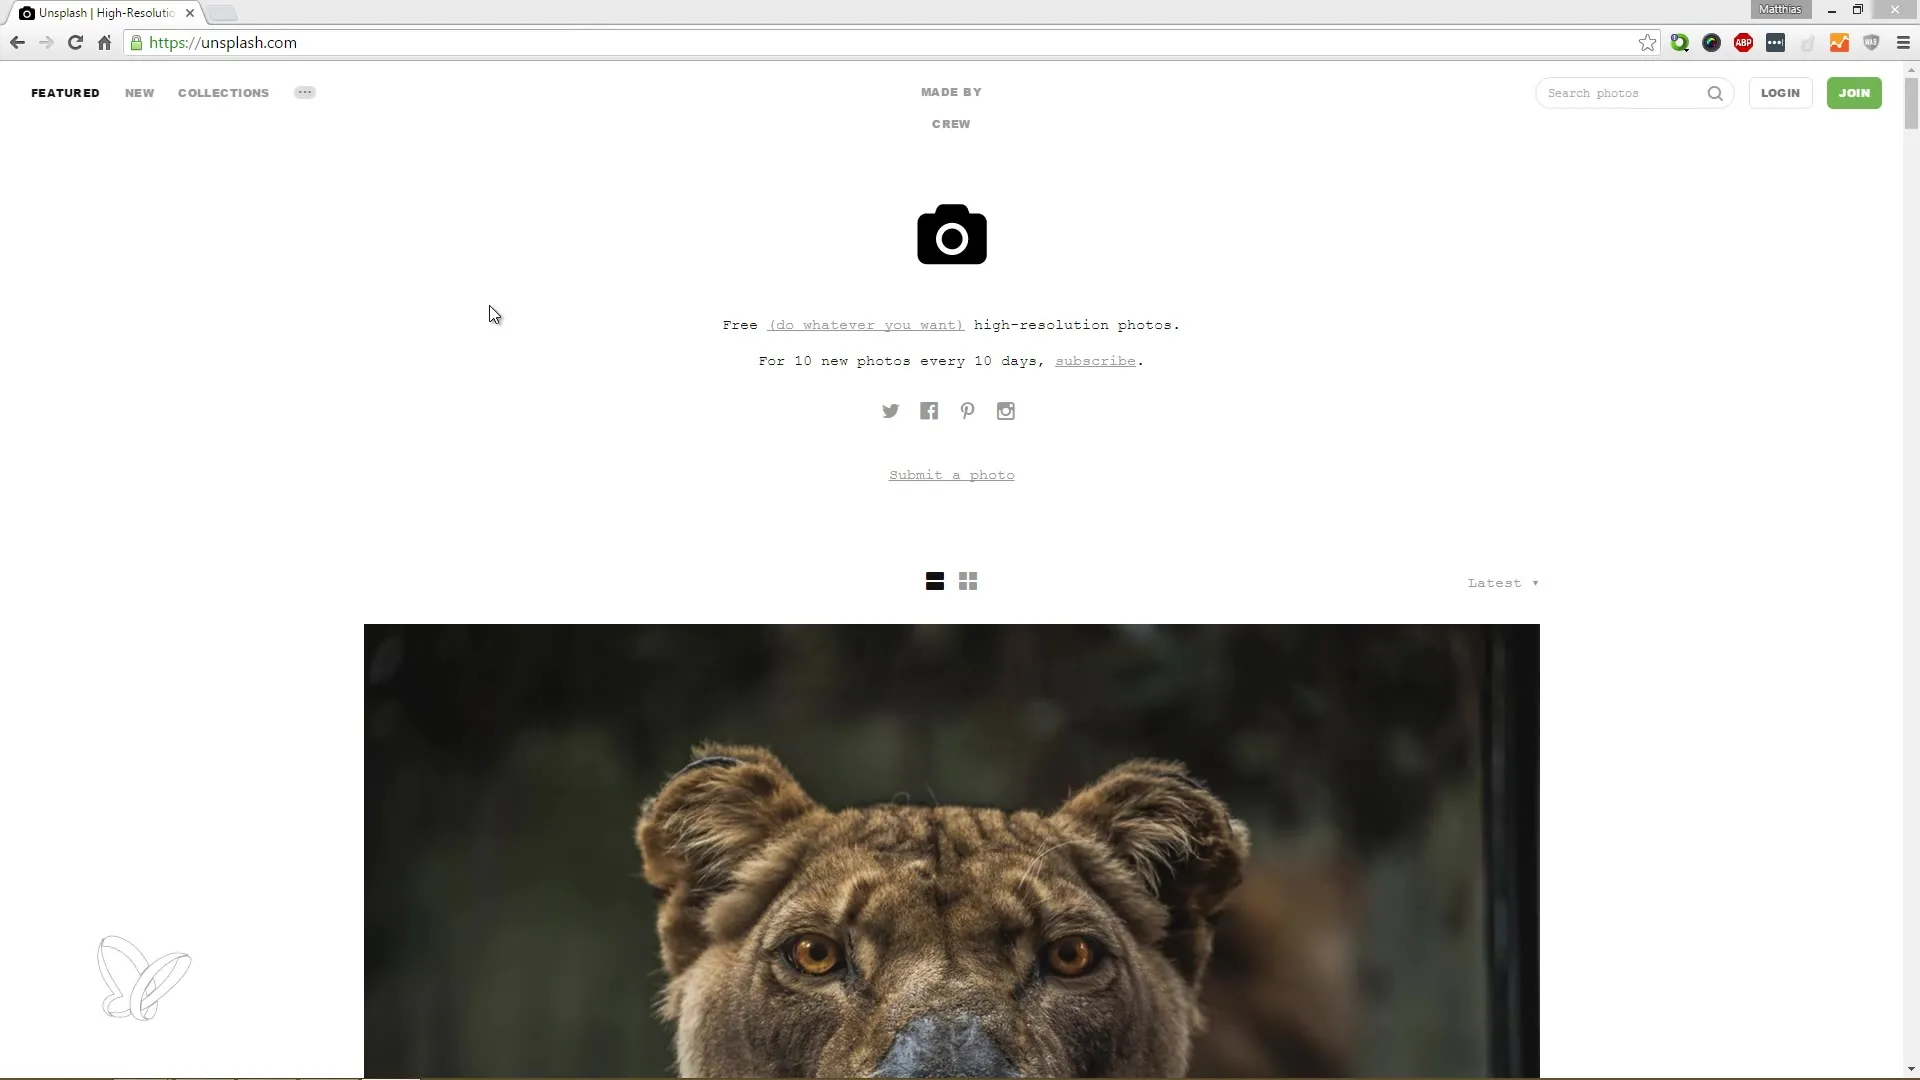
First, you need some images. I recommend downloading images from websites like Unsplash, as they offer a wide selection of free and high-quality images. You can download a few images in different formats (e.g., portrait, landscape).
Step 2: Start Adobe Acrobat
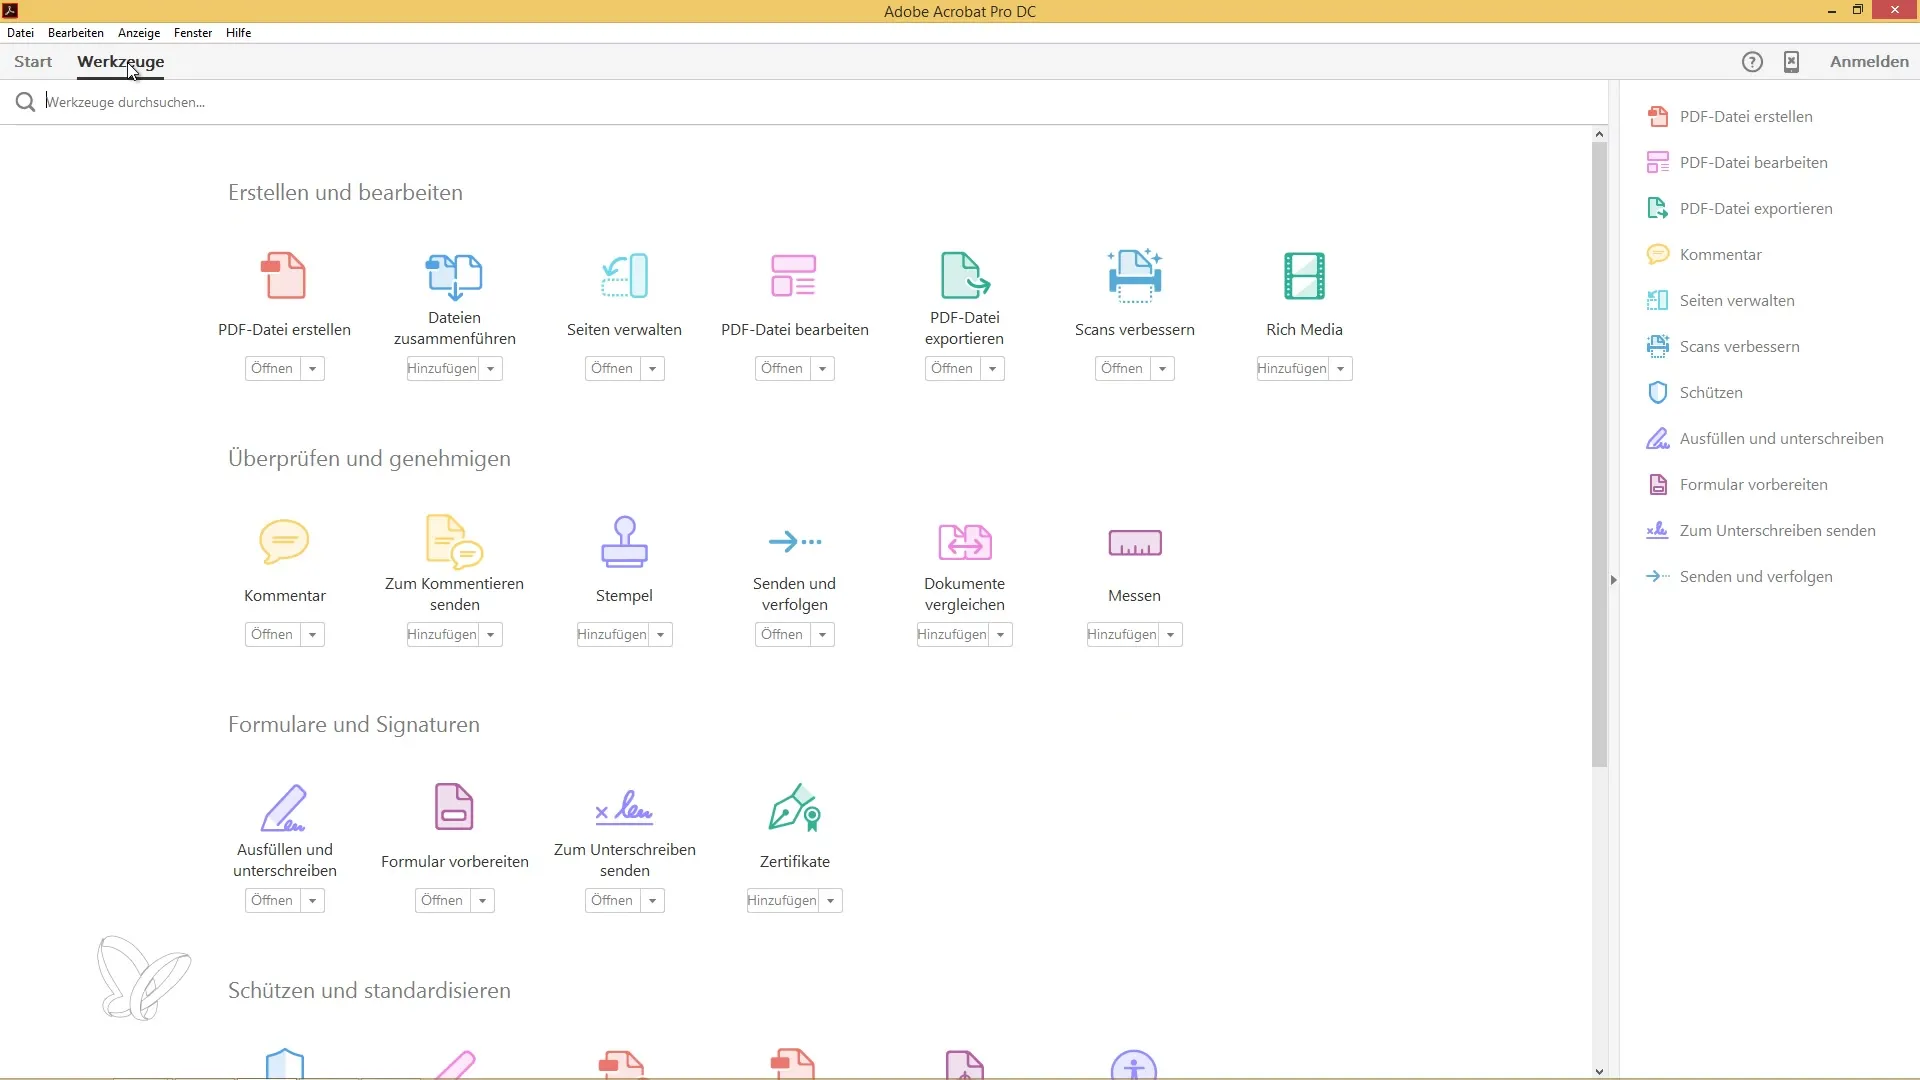
Open Adobe Acrobat on your computer. In the startup screen, you will see various options, including the option to create a PDF file. Select this option to begin your slideshow.
Step 3: Create PDF from Multiple Files
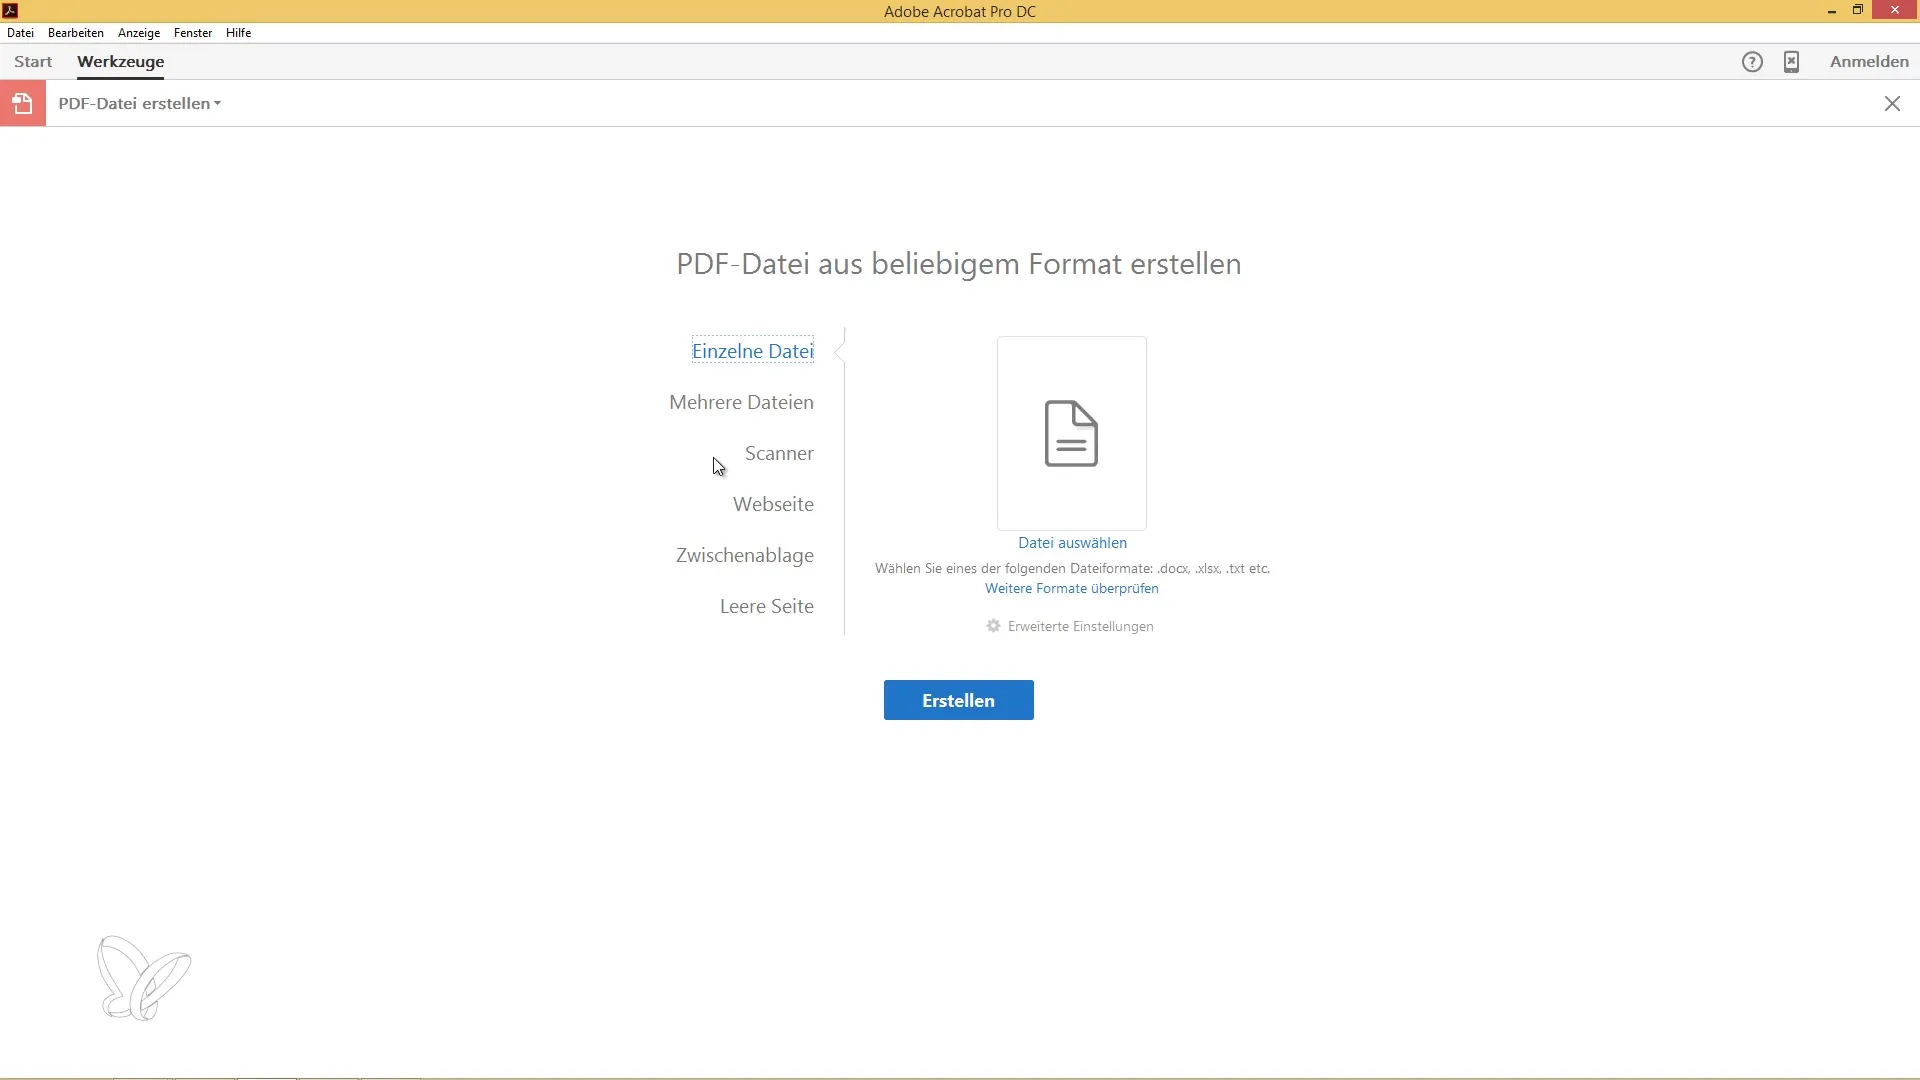
Click on the "Tools" menu and select "Create PDF". Choose the option "Create PDF from Multiple Files". This will allow you to integrate the downloaded images into the PDF.
Step 4: Add Images
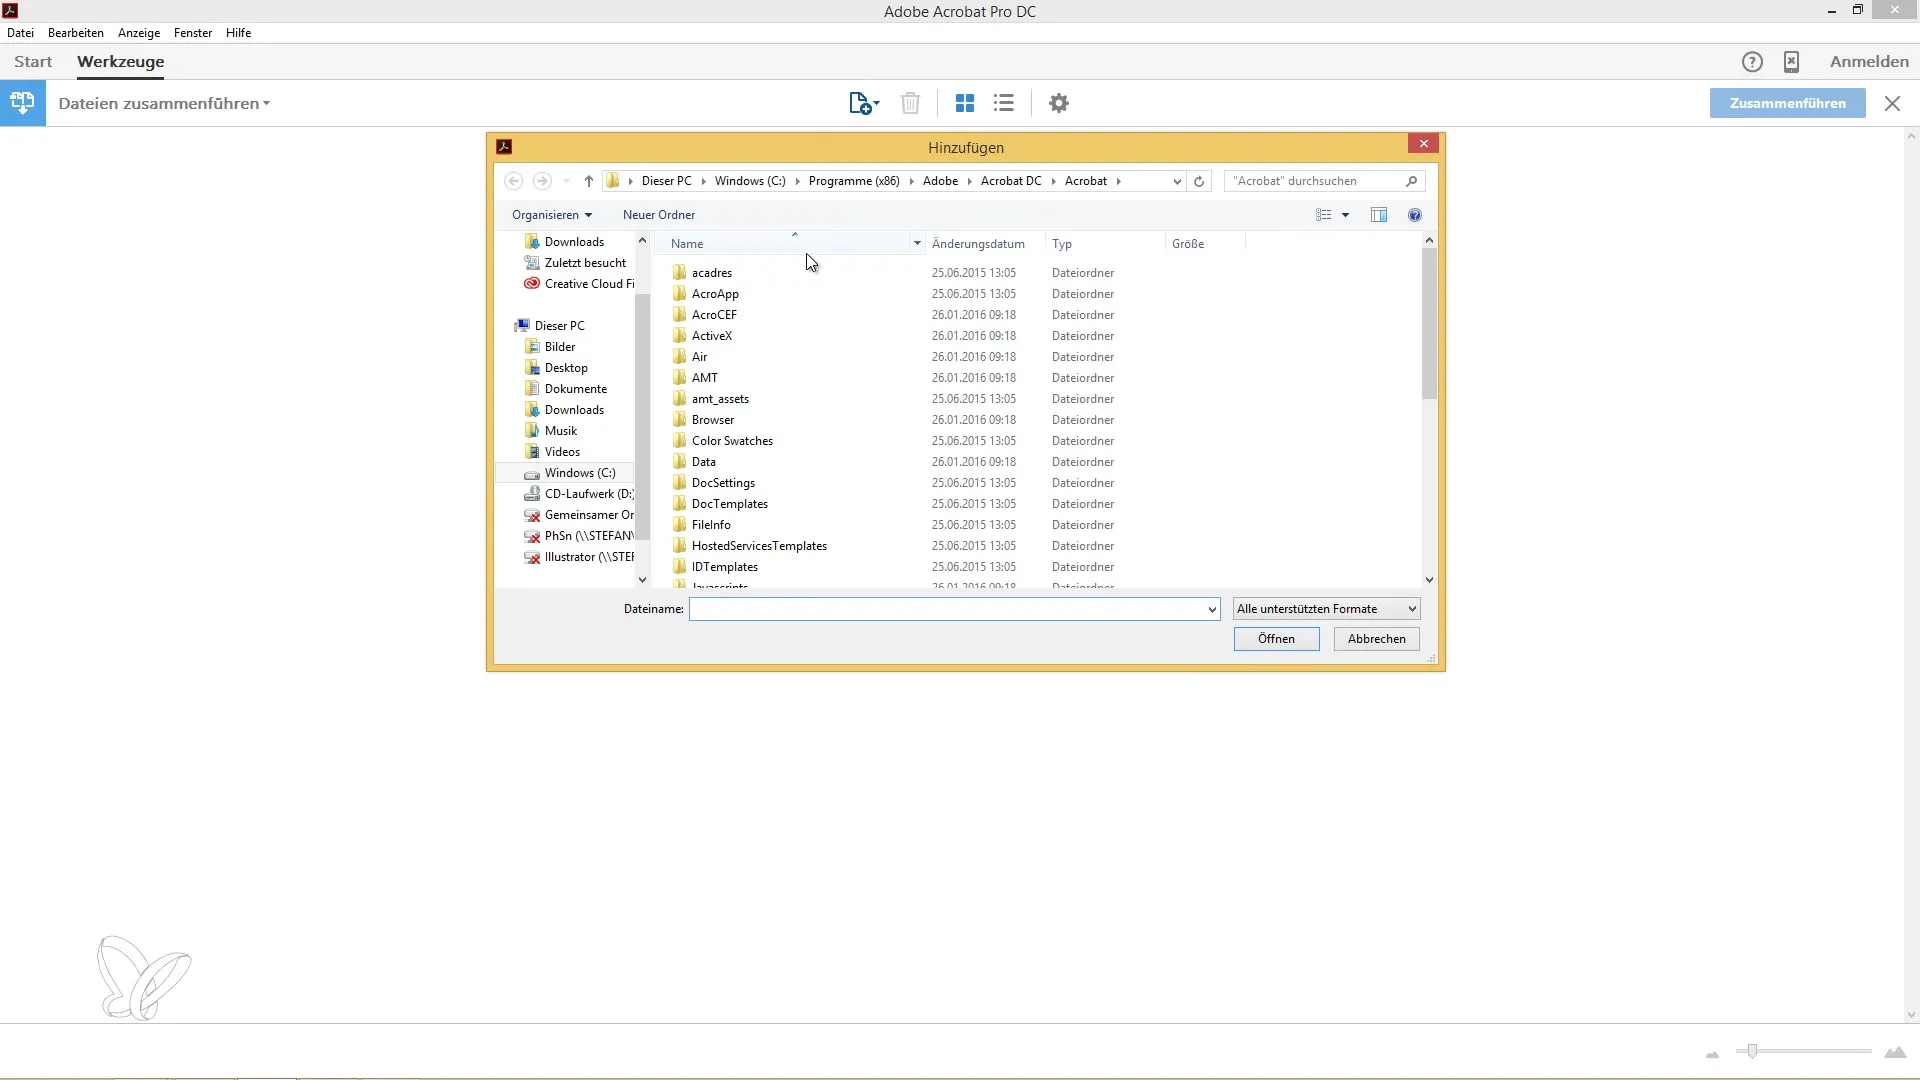
Use the "Add Files" function to add the photos to your PDF. You can either drag and drop the images directly into the window or navigate through the menu options.
Step 5: Merge PDFs
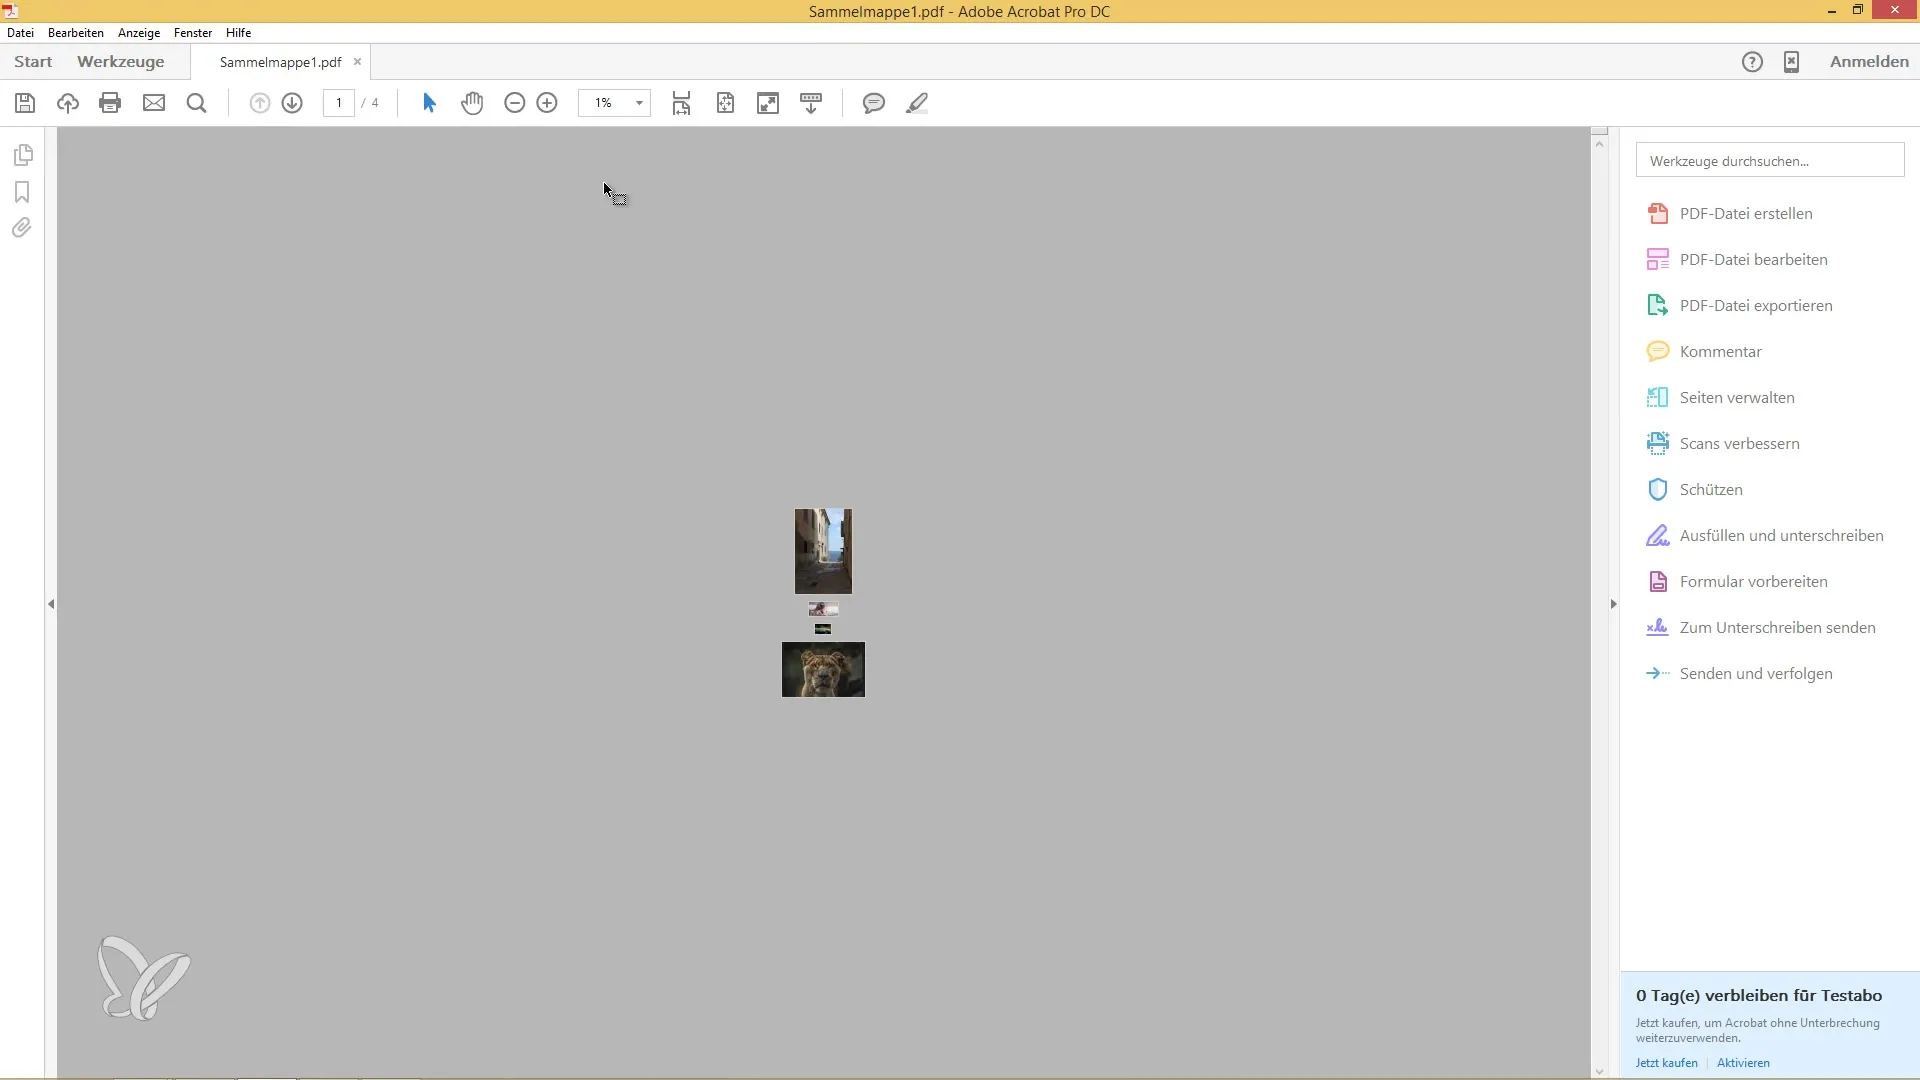
After adding all the desired images, click on "Merge". The selected images will now be converted into a single PDF file.
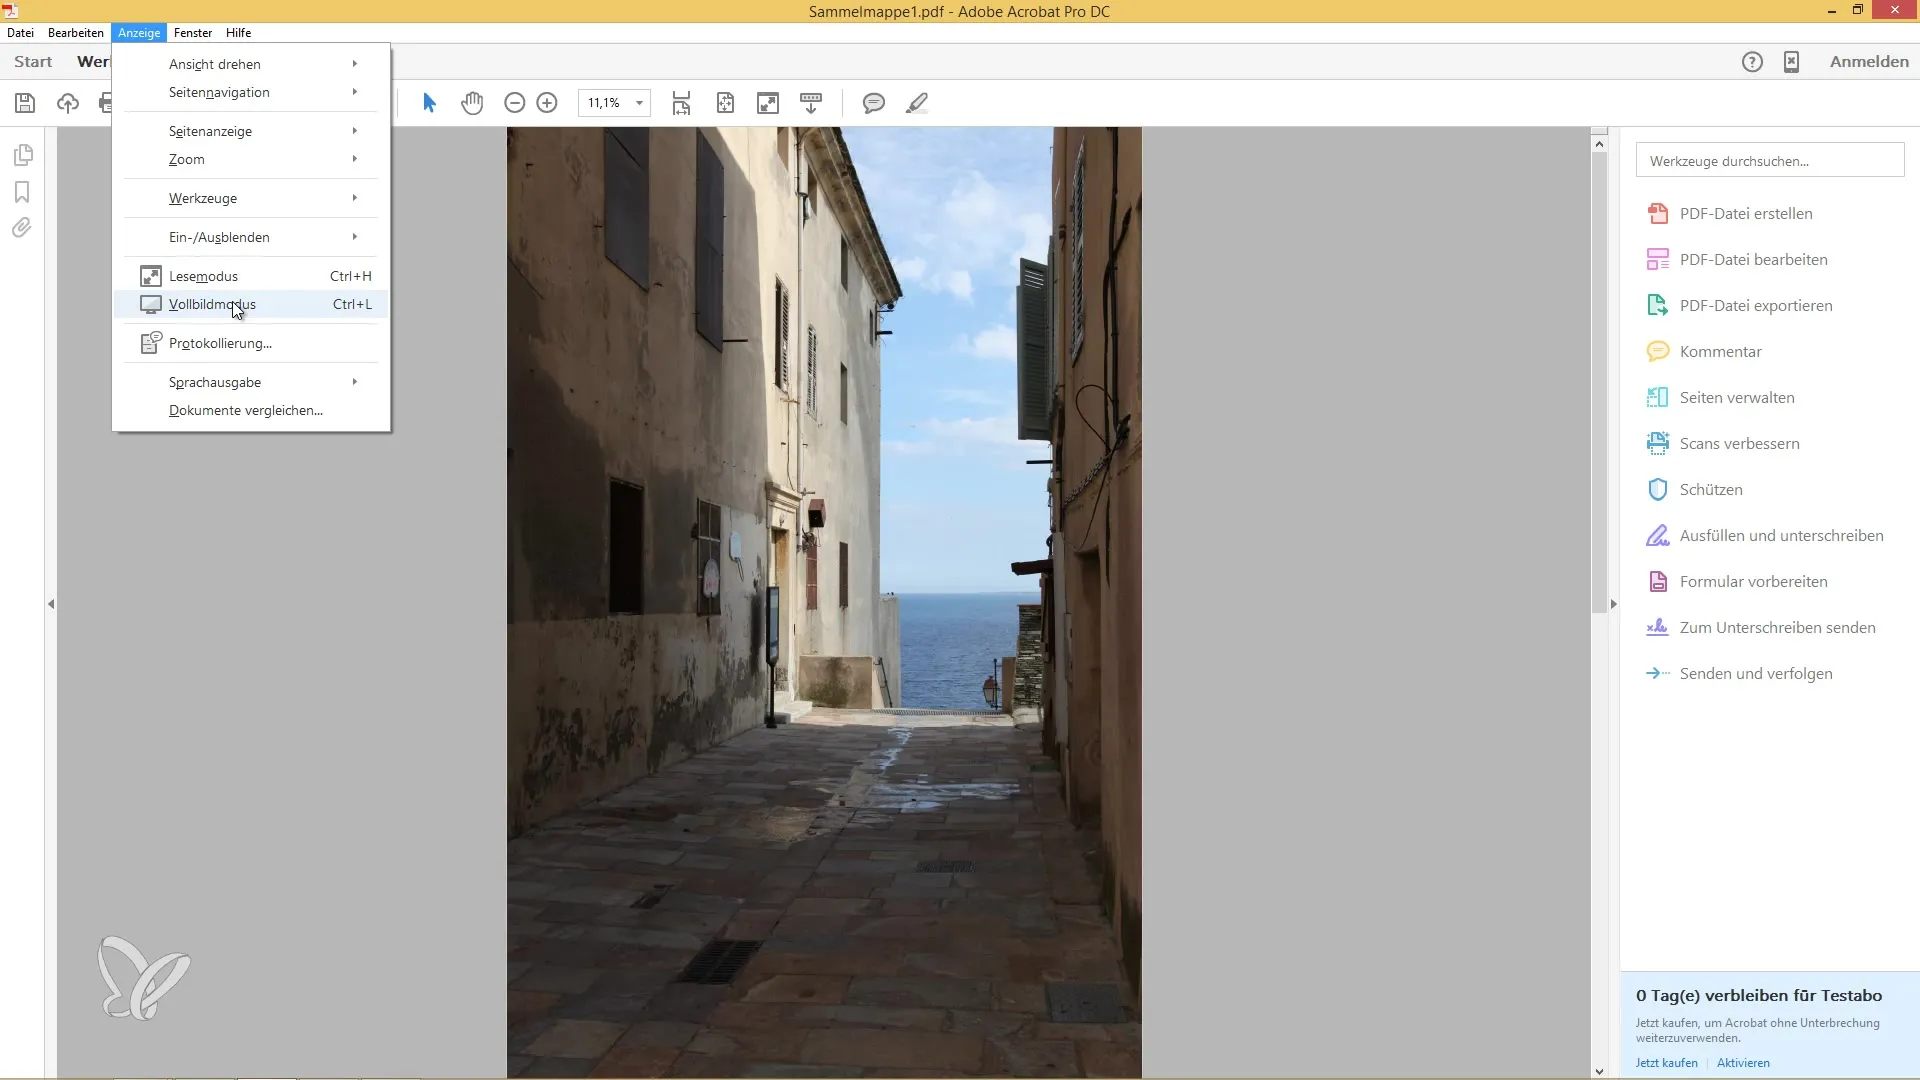
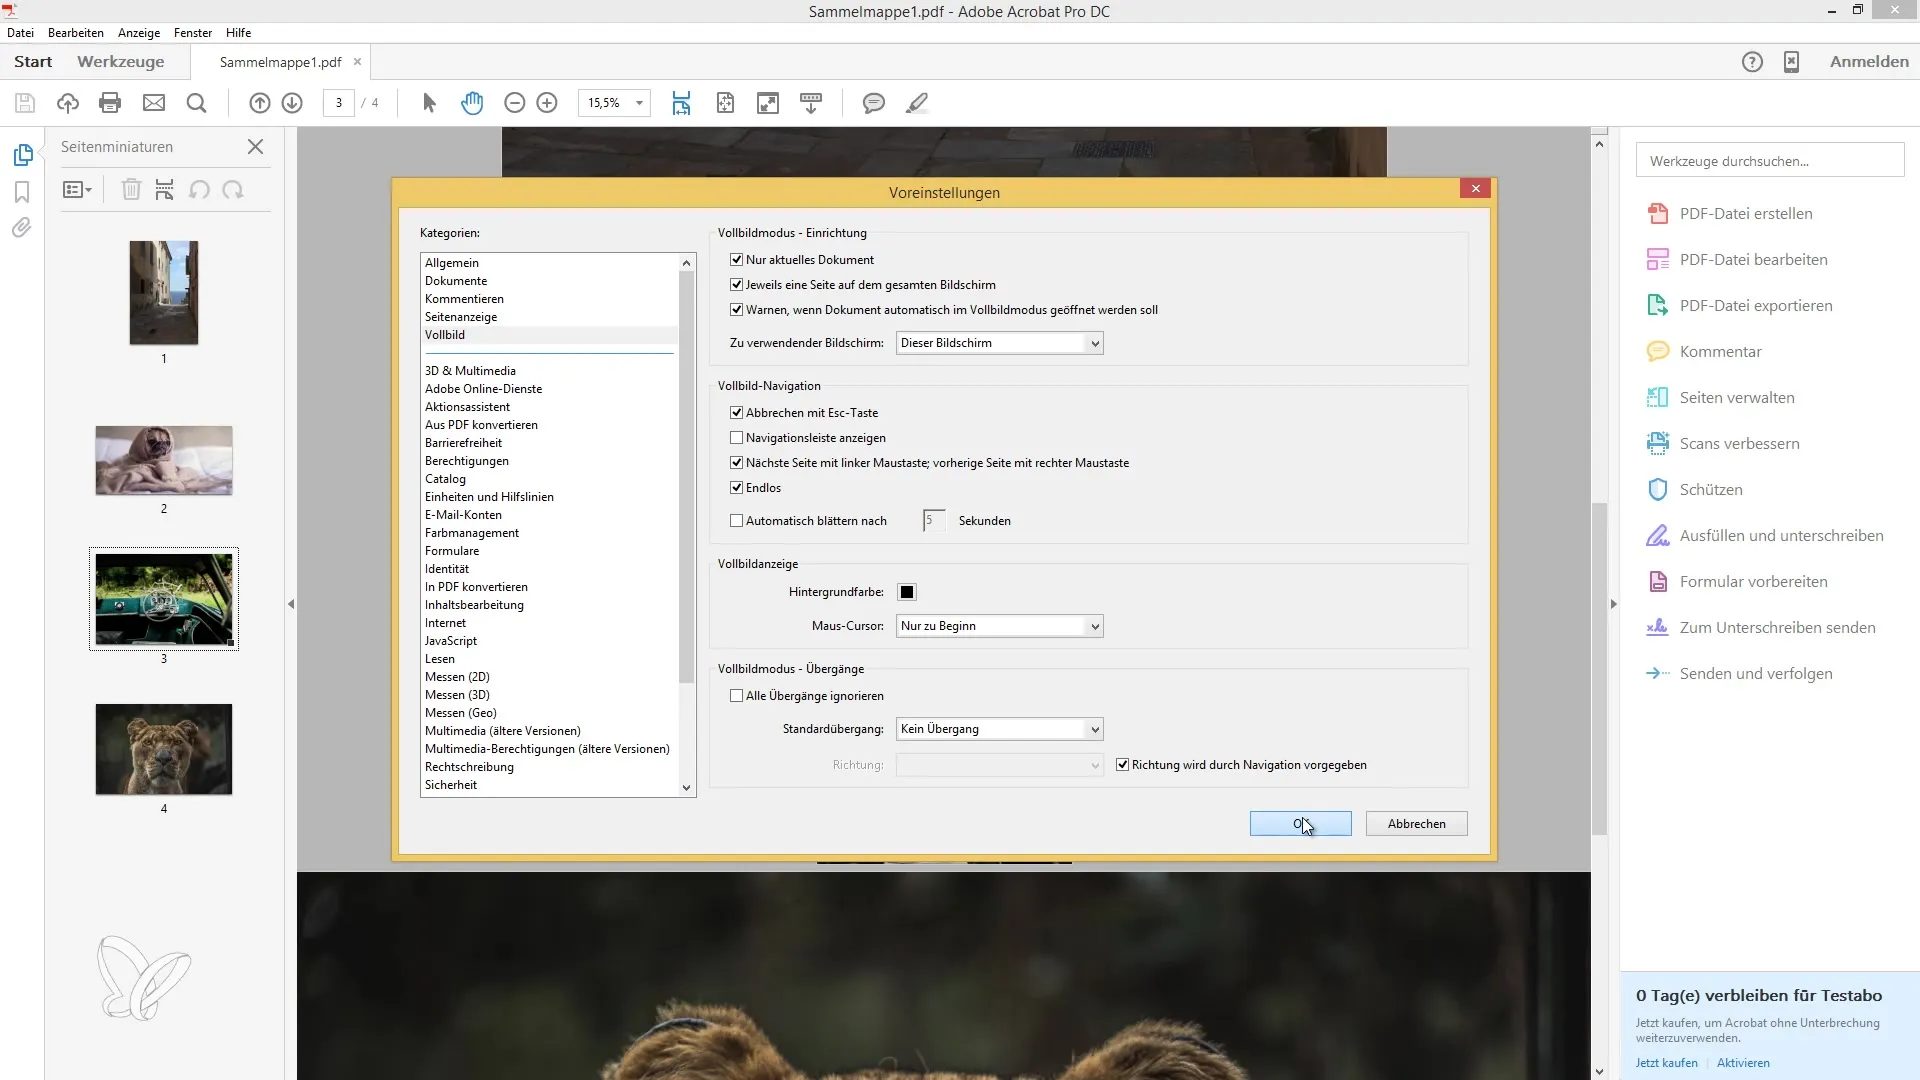
Step 6: Activate Full-Screen Mode
To display the slideshow in full-screen mode, go to "View" in the menu and make sure that "Full-Screen Mode" is enabled. This allows for an engaging presentation of the slideshow, ideal for celebrations or anniversaries.
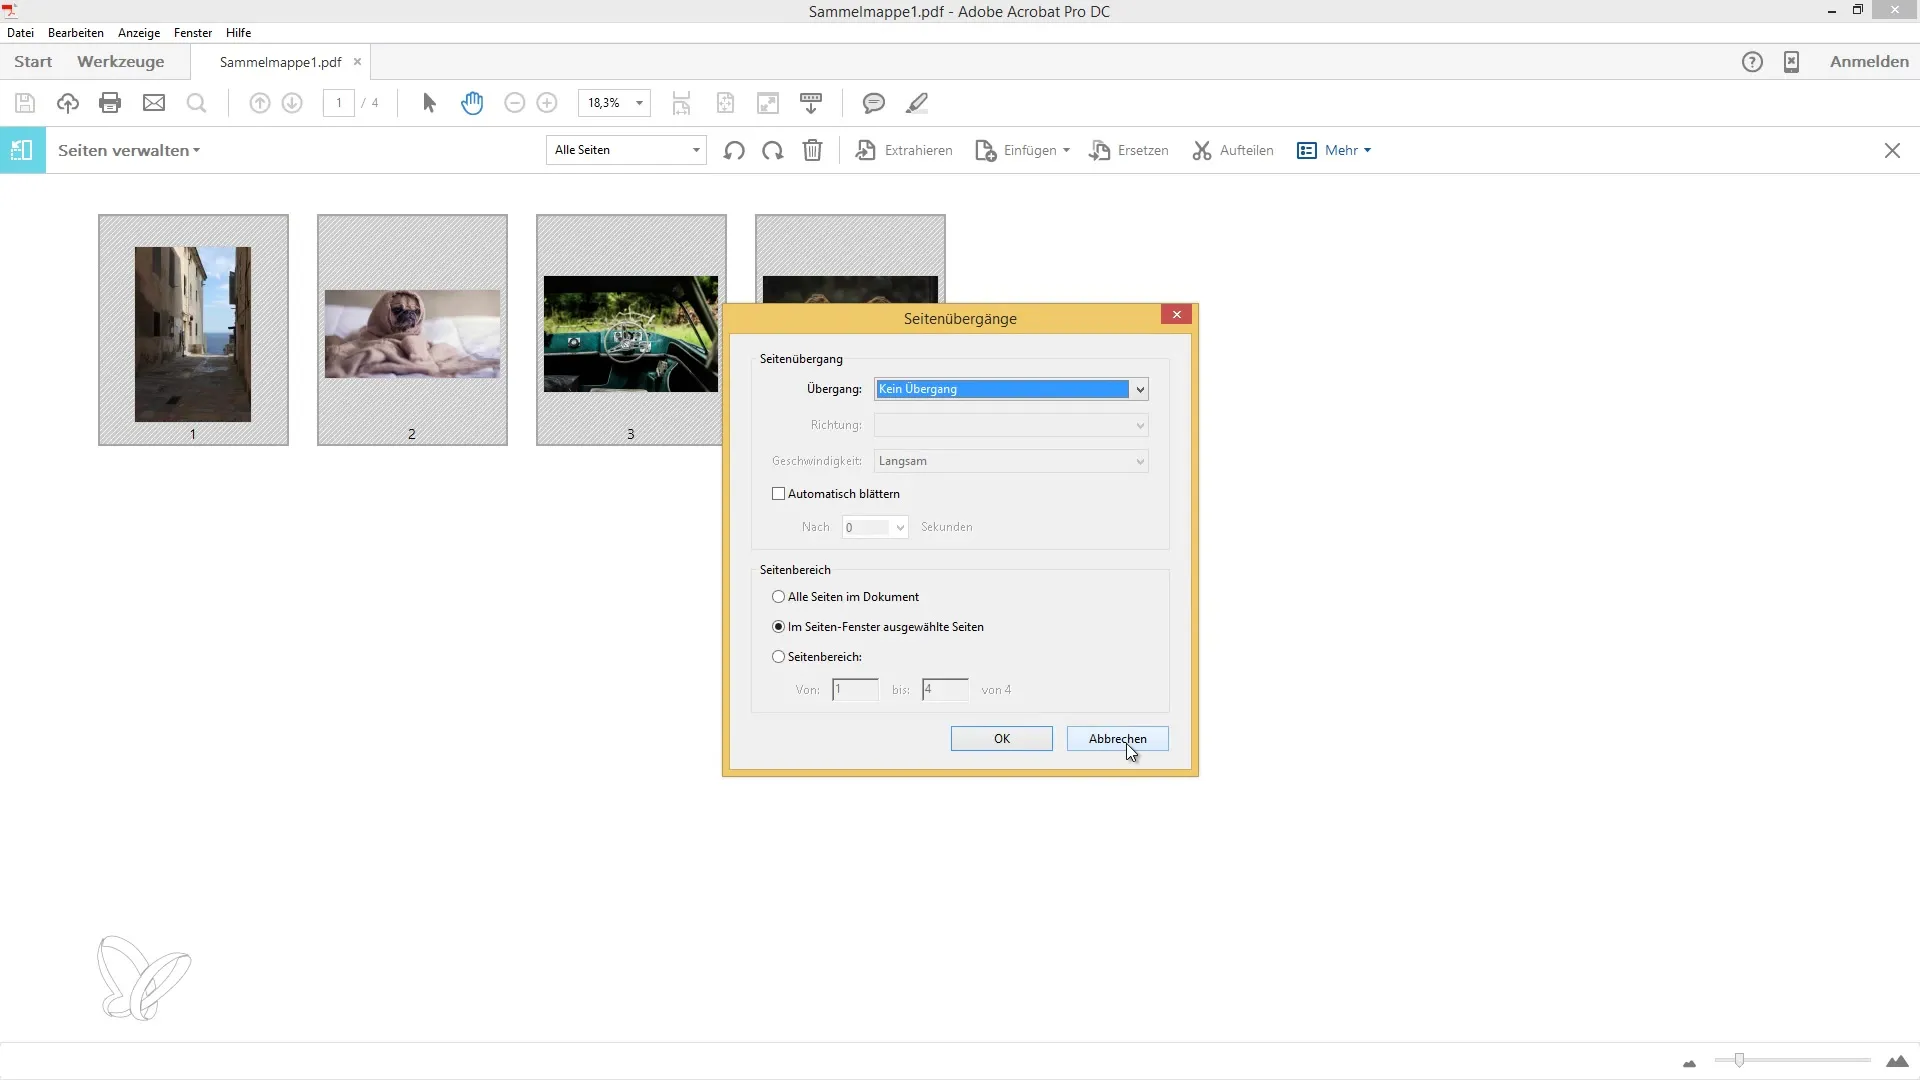
Step 7: Set Page Transitions
To enhance the experience, add transitions between individual images. You can use the page management dialog for this. Through the thumbnails, you can directly access the options for page transitions.
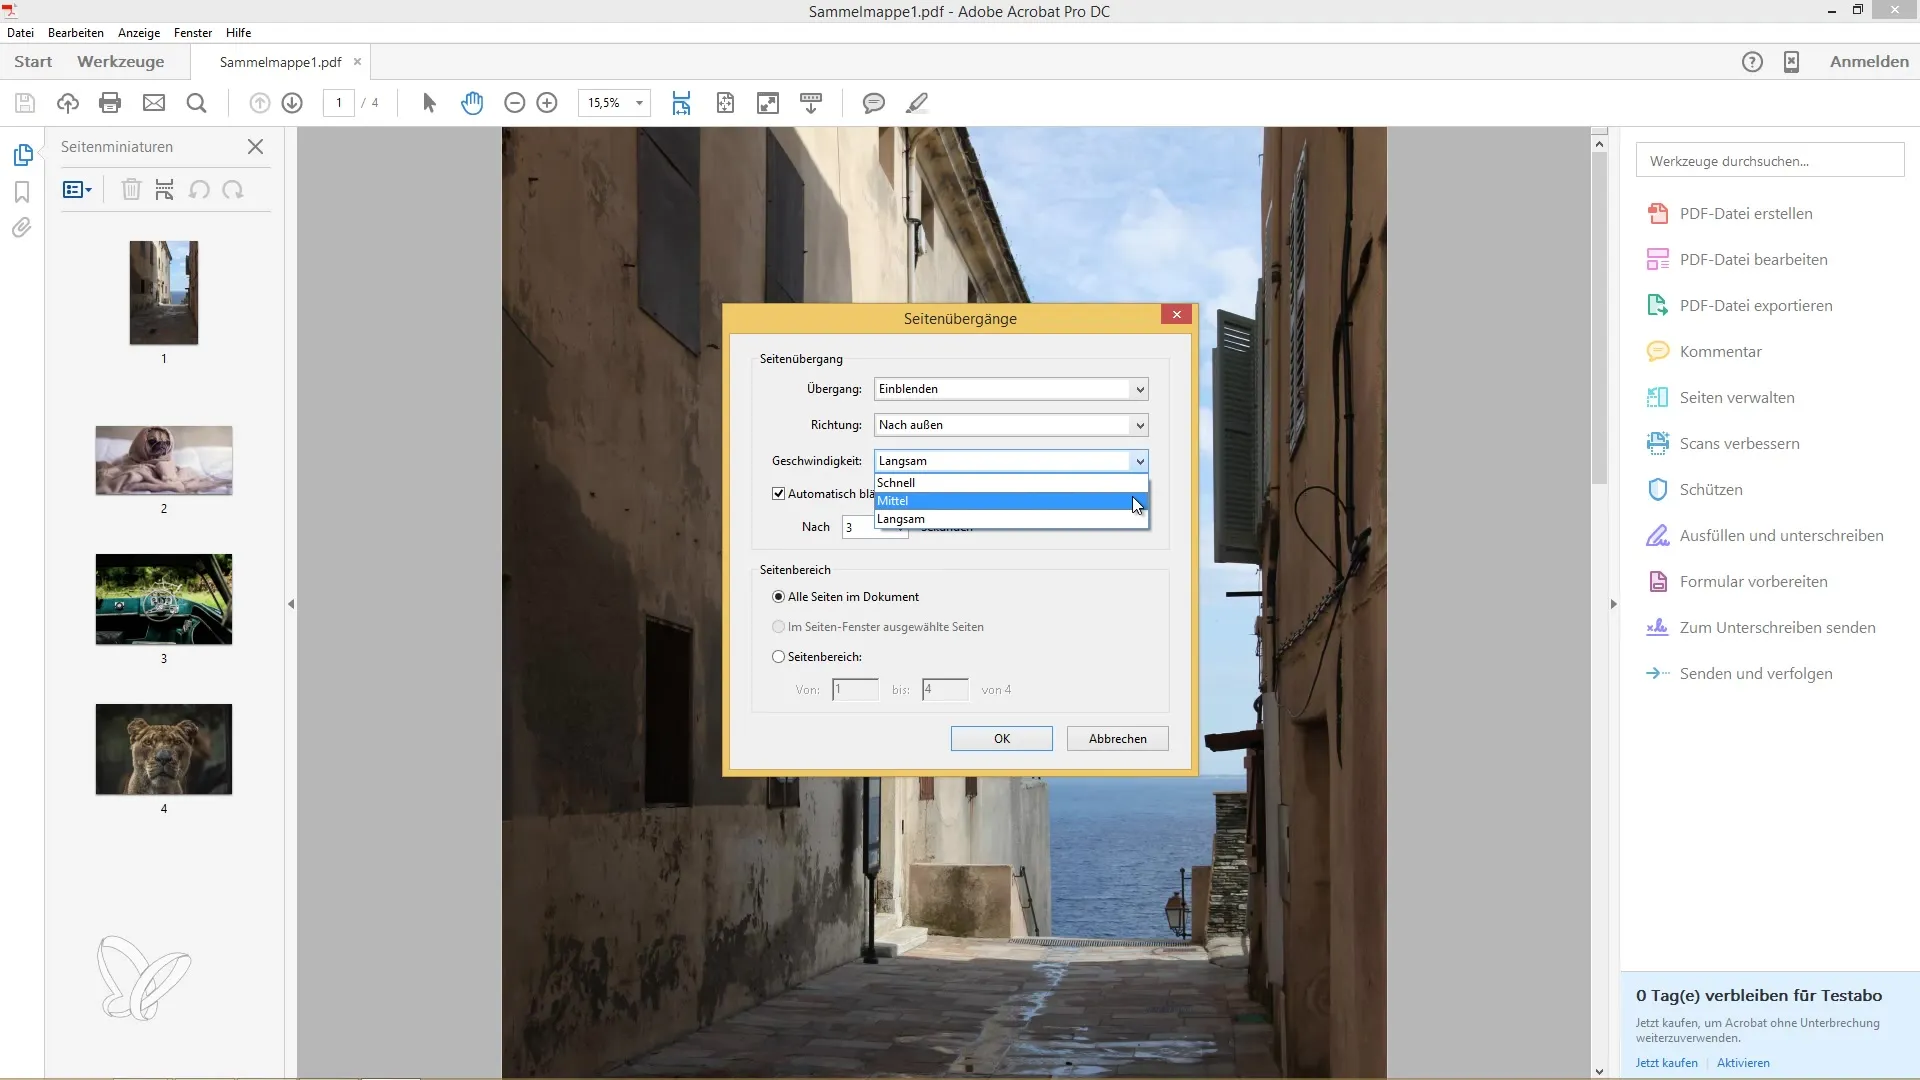
Step 8: Choose Transition Effect
Various transition effects are available, such as "Fade In" or "Fade Out". Choose an effect that you like and set the time for the duration of the transition, for example, 3 seconds for a quick view or 20 seconds for a more relaxing presentation.
Step 9: Test the Slideshow
After setting the transitions, test the slideshow to see how the images and transitions work. You should start the slideshow in full-screen mode to get a realistic impression.

Step 10: Activate Endless Loop
To ensure that your slideshow does not stop after a certain time, activate the function for the endless loop. Go to the settings and enable the "Play Endlessly" option. This way, the slideshow will run continuously without pausing.
Step 11: Save PDF
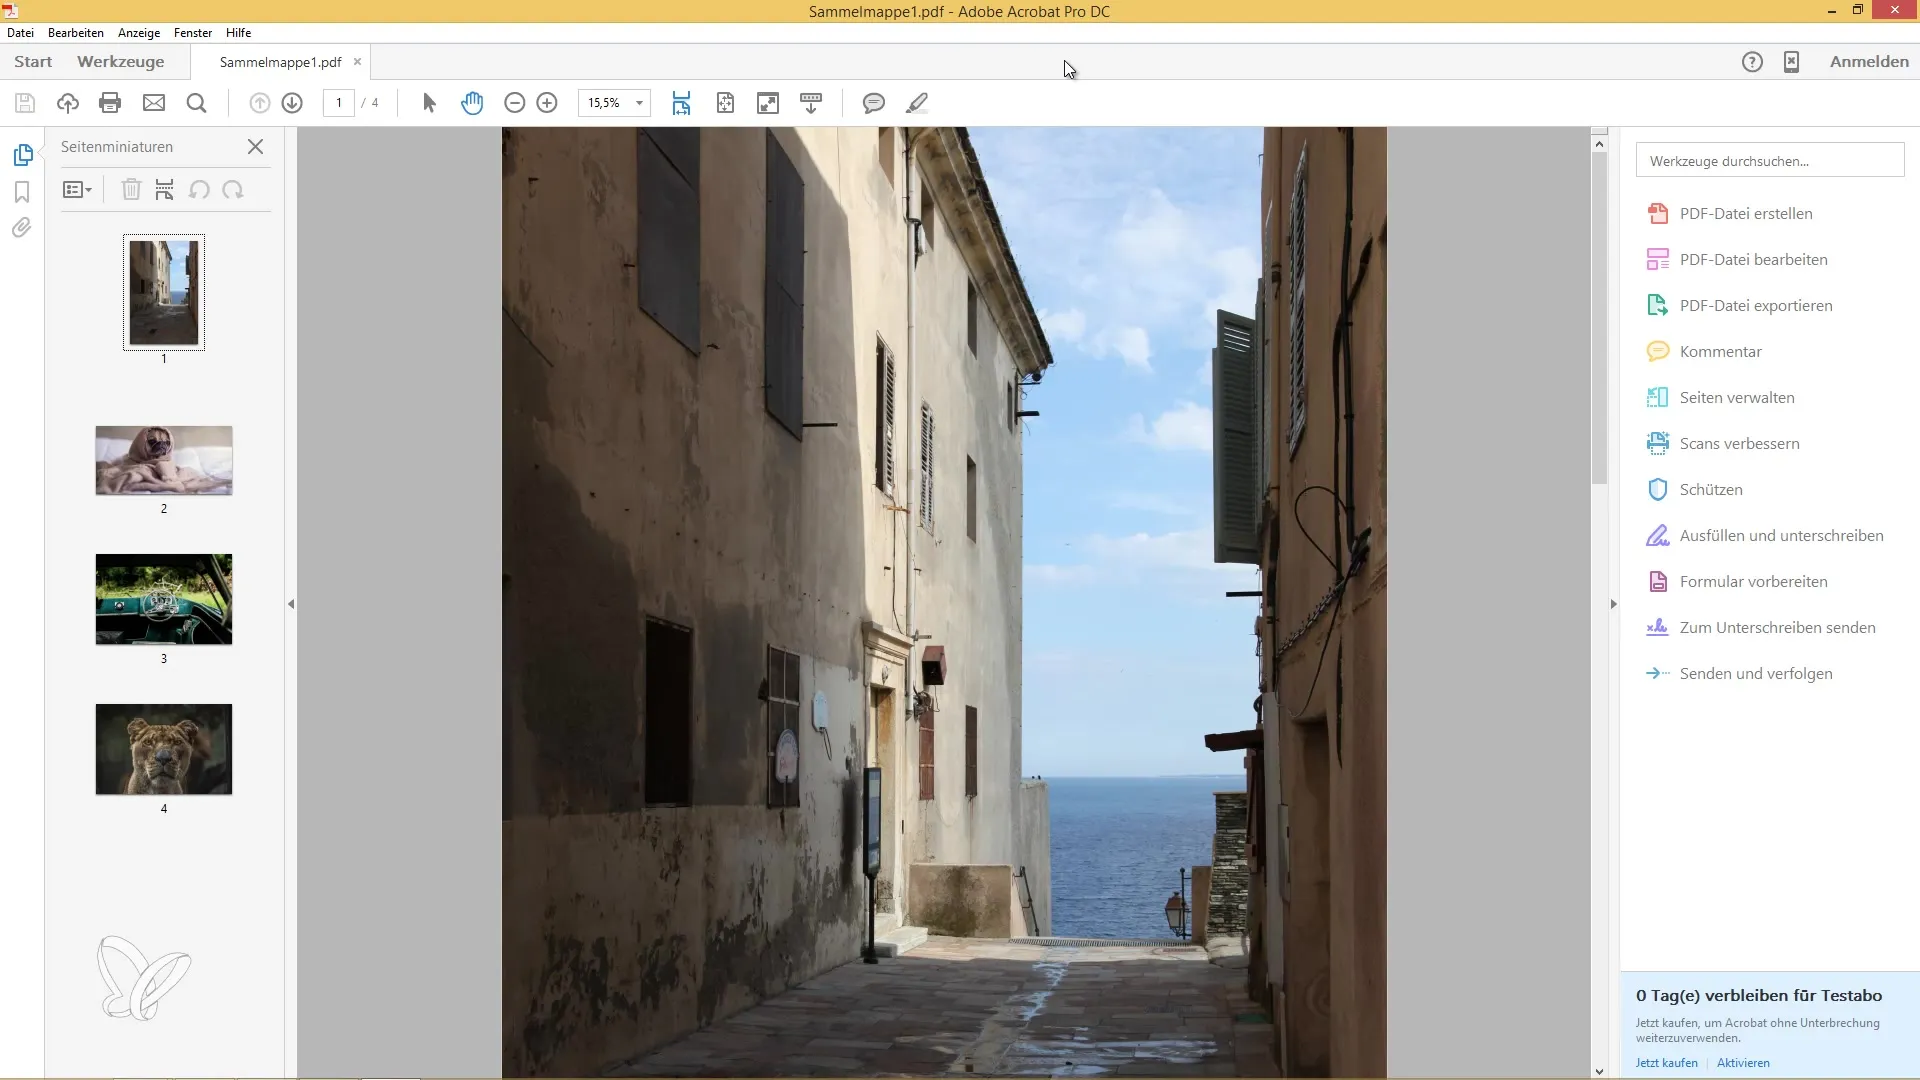
Save your finished PDF file. You can then share the slideshow with others or display it on a presentation device.
Summary
With this guide, you can easily and quickly create an impressive slideshow in endless loop as a PDF in Adobe Acrobat. It only takes a few steps, images from free sources, and a bit of creativity to create an attractive presentation that will amaze your family and friends.
Frequently Asked Questions
How many images can I insert into the PDF?You can add as many images as you want, as long as the storage space and file size do not become too large.
Which image formats are supported?Adobe Acrobat supports various image formats, including JPG, PNG, and GIF.
Can I create the slideshow without Adobe Acrobat Pro?Yes, you can create the slideshow with both the standard version and the Pro version of Adobe Acrobat.
