Those who work in the creative industry know the challenges that can arise when dealing with PDFs. Often you receive files and wonder whether they were exported with or without bleed allowance. Especially in agencies, where time is money, it is important to make this information quickly accessible. In this tutorial, I will show you two extremely practical tips that will help you significantly improve user-friendliness in Adobe Acrobat.
Main Findings
- By simply enabling a checkbox in the preferences, you can visually display the final format and bleed allowance.
- By adjusting the display of thin lines in PDFs, you can optimize the quality of views.
Tips for User-Friendliness in Acrobat
Tip 1: Making Bleed Allowance and Final Format Visible
To quickly determine whether a PDF was created with or without bleed allowance, follow these steps.
First, open your PDF in Adobe Acrobat and go to the preferences. To do this, go to the menu bar and choose "Edit" > "Preferences" or press the Ctrl + K keyboard shortcut.
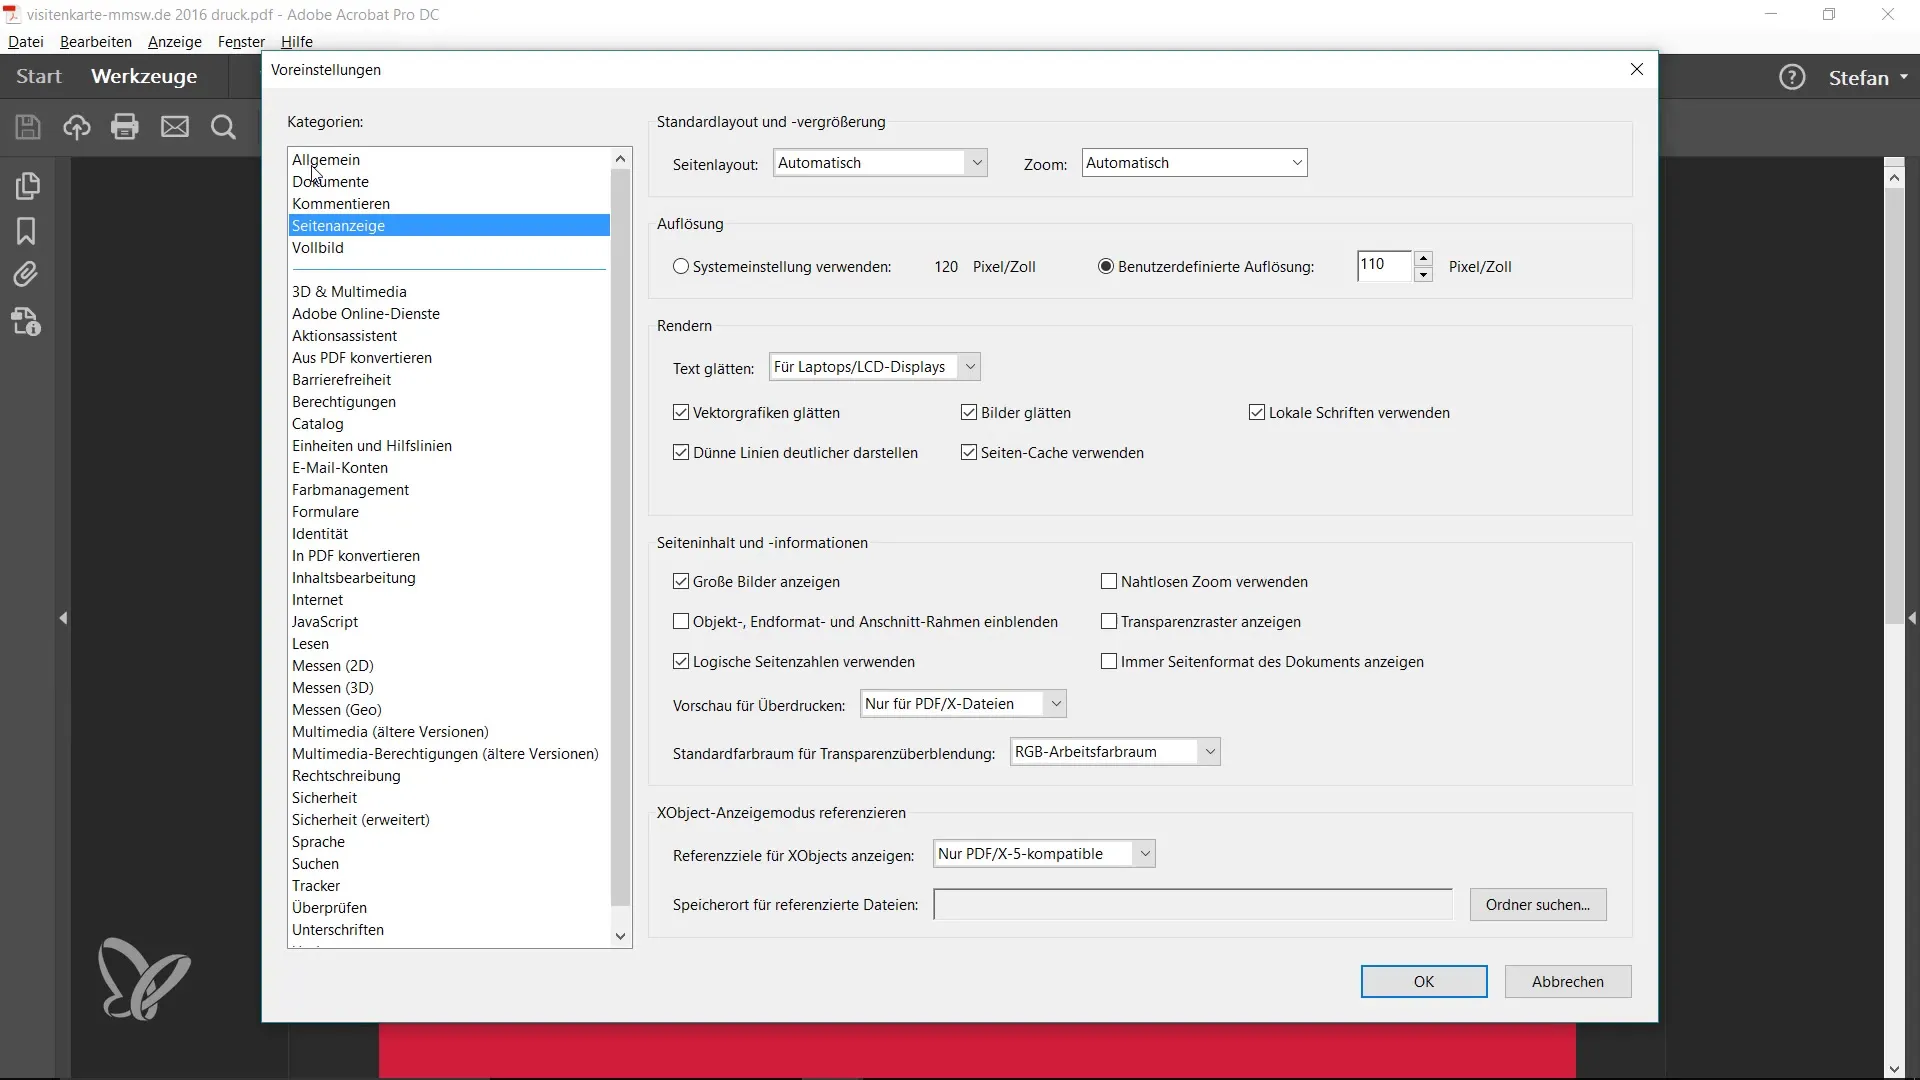
In the preferences, navigate to the "Page Display" tab. There you will find a checkbox labeled "Show Object Frame and Crop Mark Frame". Enable this option.
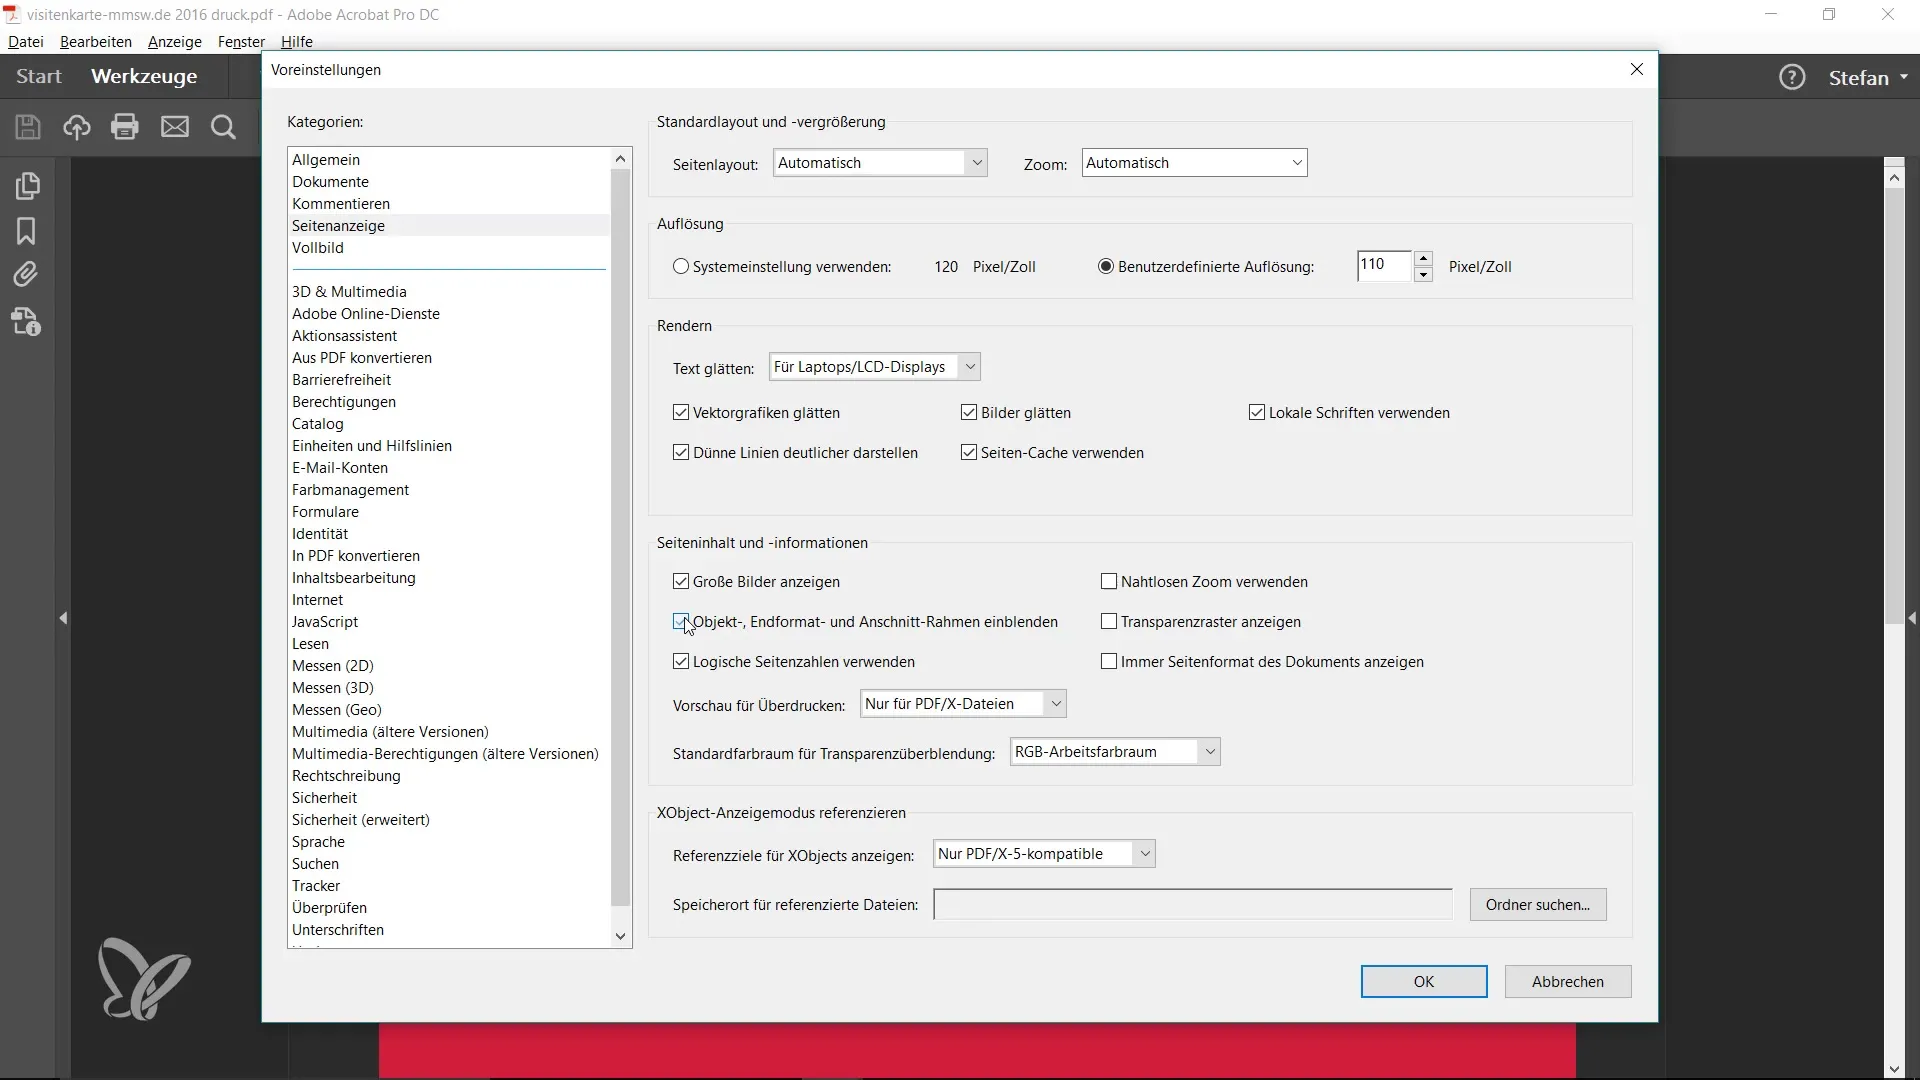
After enabling the checkbox, you will immediately notice that when documents are opened, a blue frame appears indicating the final format. A green frame shows you the bleed allowance.
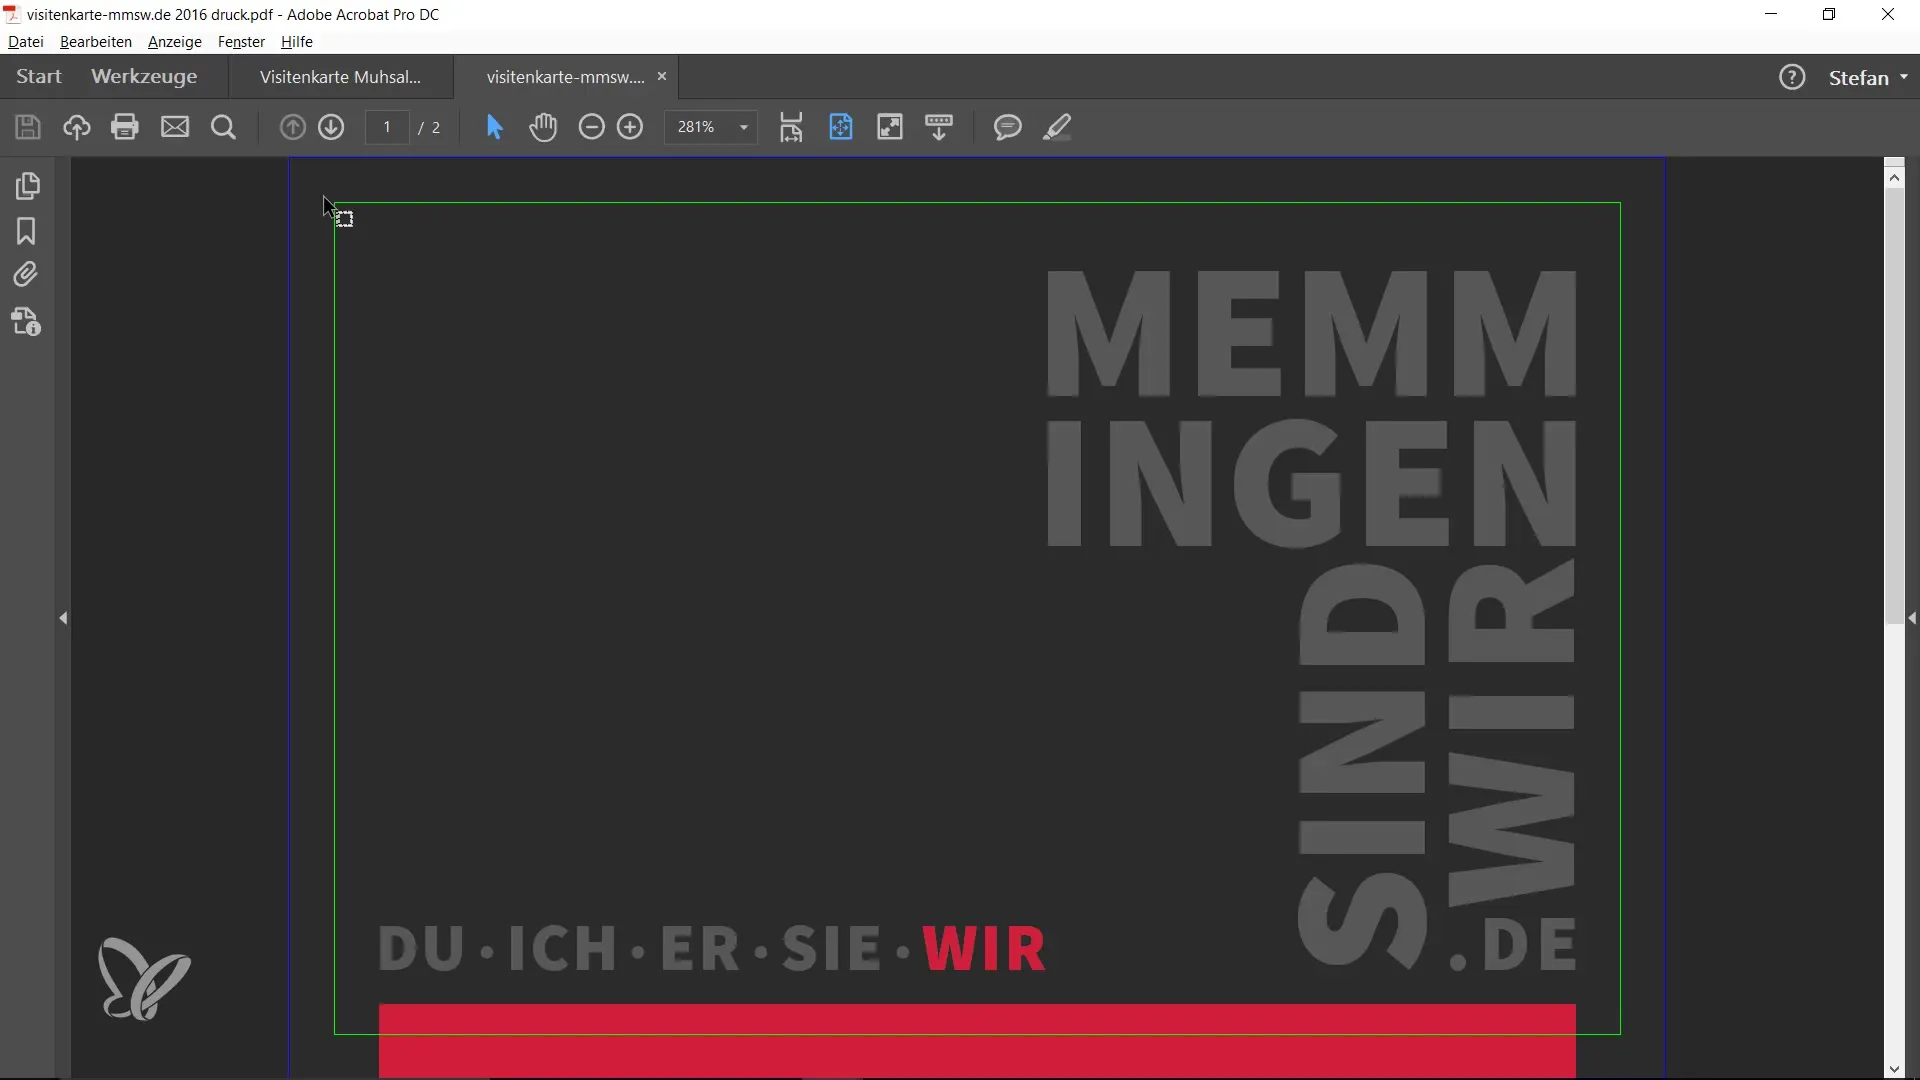
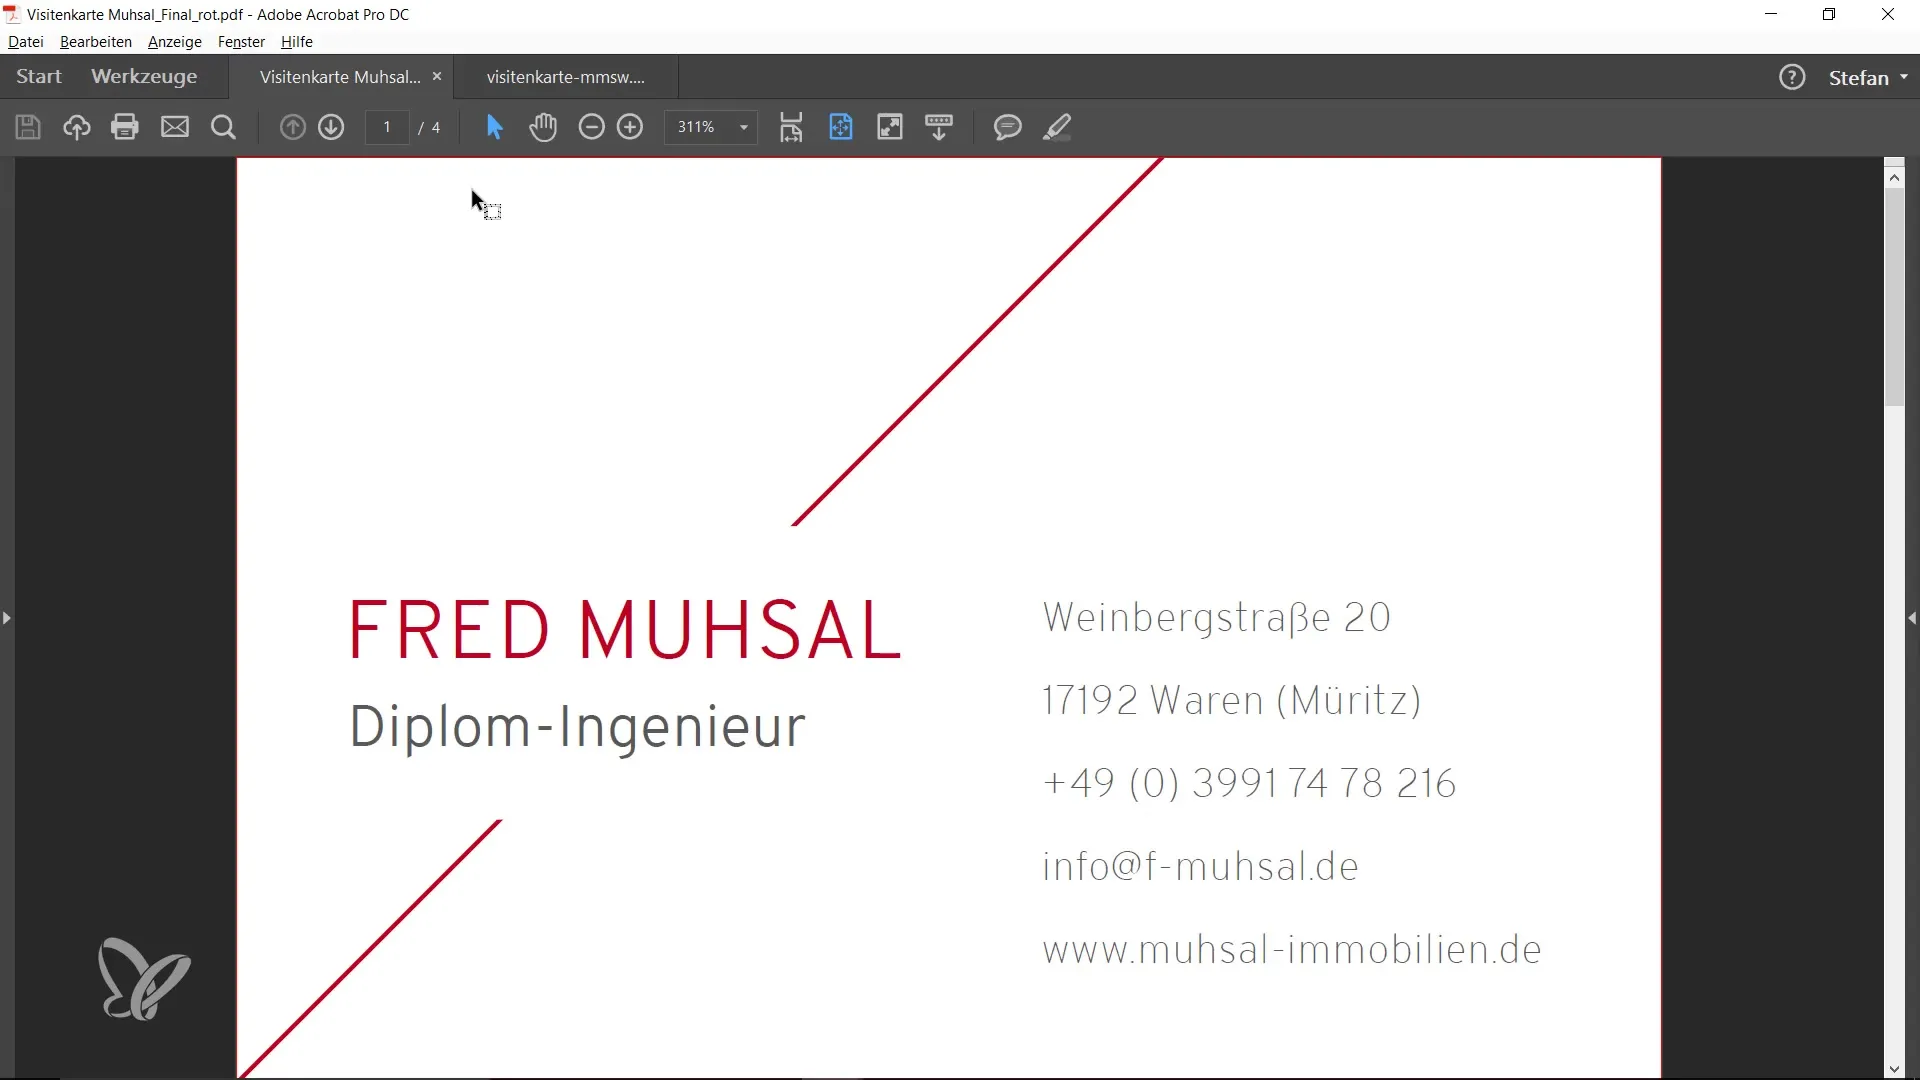
This is especially helpful to quickly determine whether a document has a bleed allowance in less than a second.
Tip 2: Optimizing the Display of Thin Lines
Let's move on to the second tip. Unlike the previous option, this one deals with the display of thin lines in PDFs. To change this, go back to the preferences with Ctrl + K.
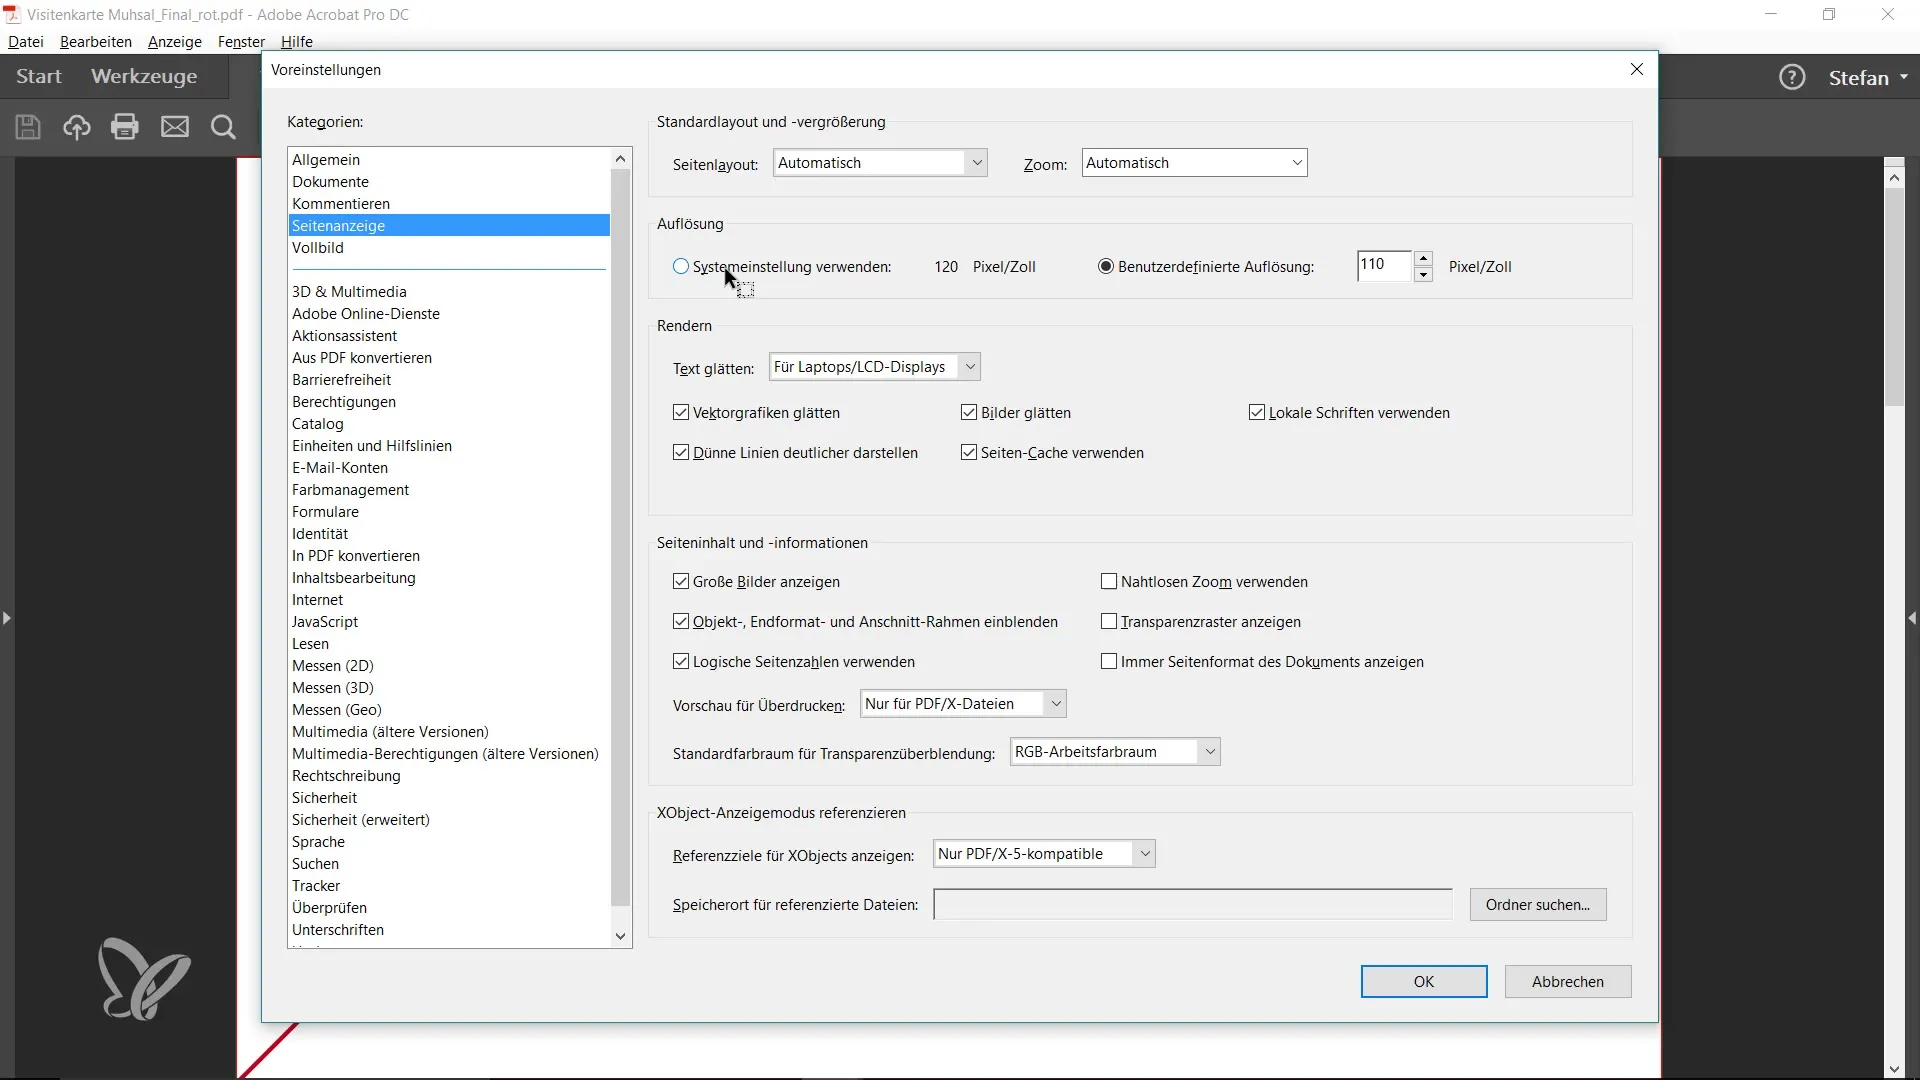
There is also a checkbox labeled "Display Thin Lines Sharper". This option is typically enabled by default in Adobe, but it can make a noticeable difference in the display of lines in PDFs.
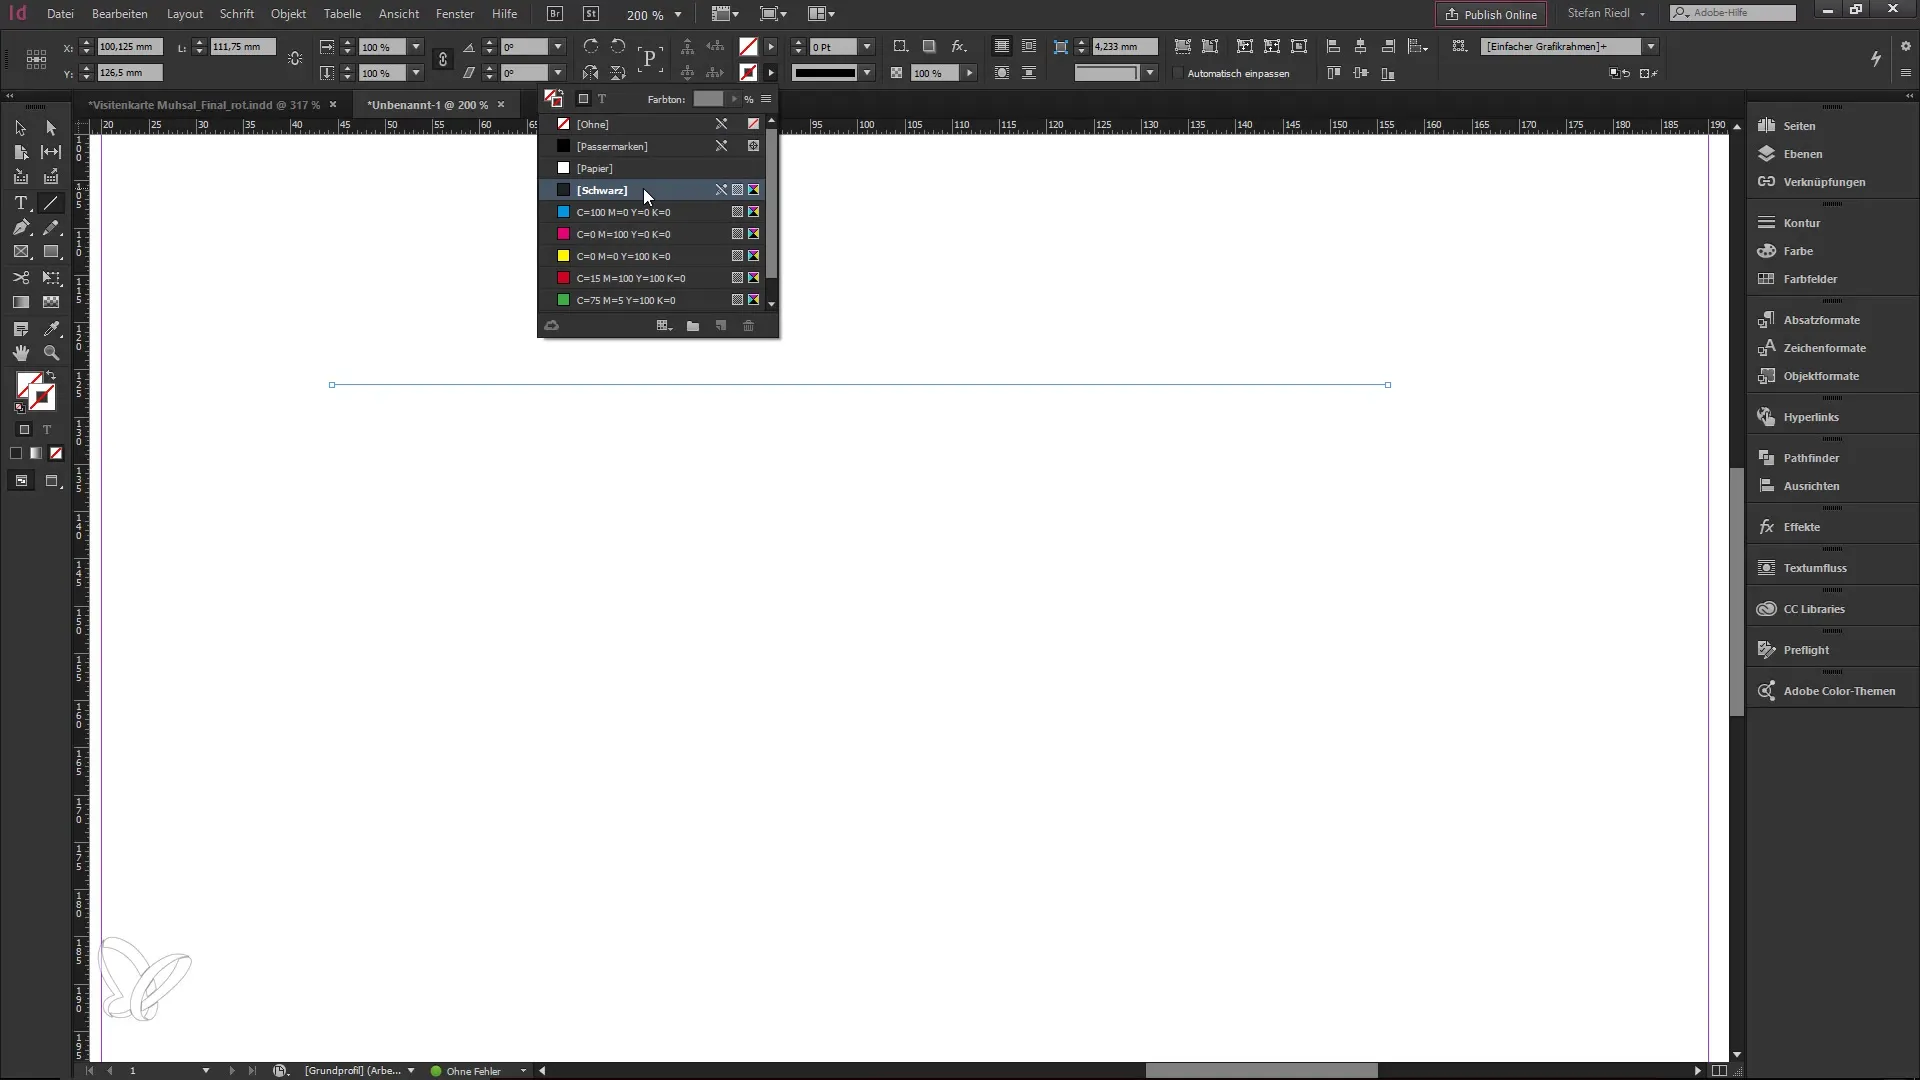
For example, if you create a very thin line (0.25 points) in InDesign and then export it to a PDF, the image may look surprisingly blurry. Go back to InDesign and draw a line with that thickness. Export it as a PDF and view the result in Acrobat.
When you zoom in on Acrobat, you may notice that the line doesn't look good at maximum zoom. This is less of a monitor issue and more often influenced by the program's display.
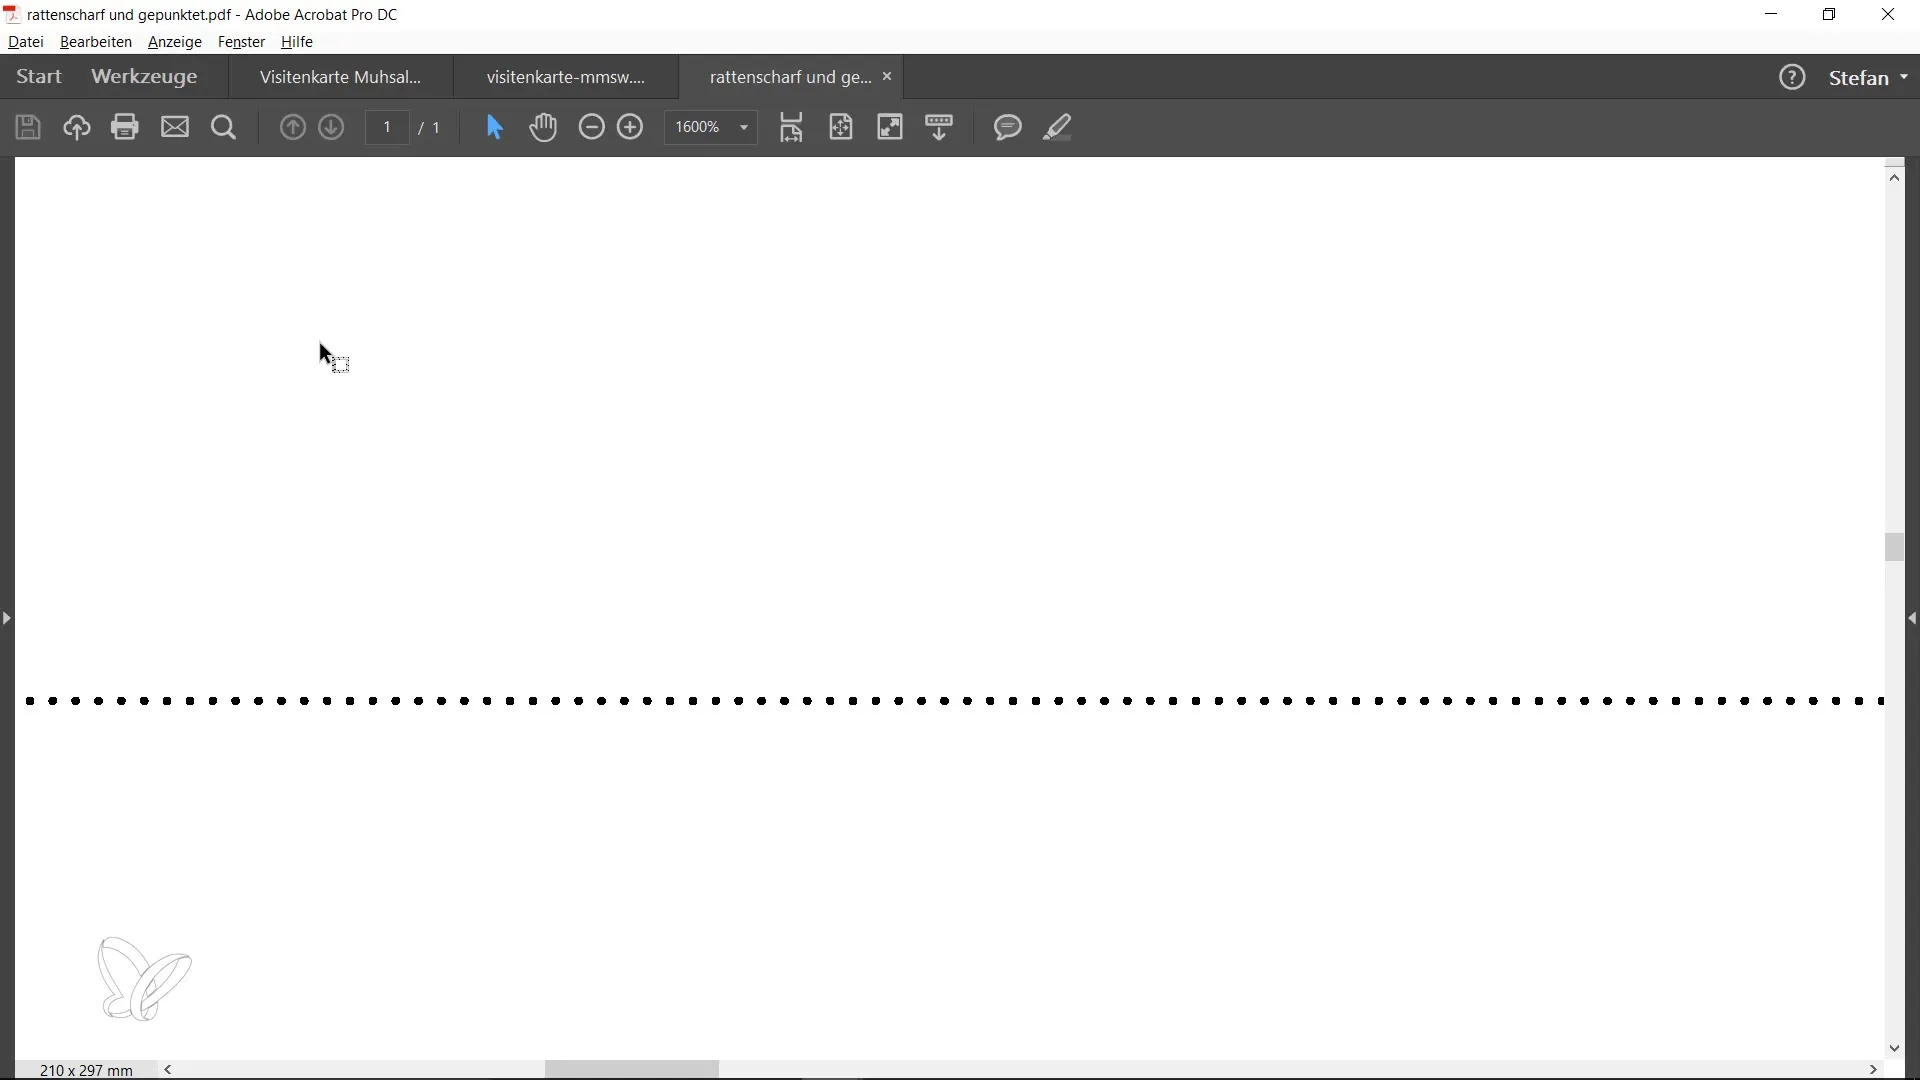
Disable the checkbox for thin lines in the preferences and see how the points now appear. You will notice that they are now displayed more clearly and precisely.
Summary
By activating the right settings, you can significantly improve user-friendliness in Adobe Acrobat. These two tips will not only help you identify bleed allowance immediately but also enhance the visual quality of thin lines in PDFs. Use these tricks to work more efficiently and precisely.
Frequently Asked Questions
What is bleed allowance?Bleed allowance is the area of a design that extends beyond the cutting edge to ensure there are no unsightly edges when printed.
How do I enable the display of the final format in Acrobat?Go to "Edit" > "Preferences" > "Page Display" and enable the checkbox "Show Object Frame and Crop Mark Frame".
Why does a thin line look blurry in my PDF?This may be due to the default setting that does not optimally display thin lines in PDFs. Disable the corresponding checkbox in the preferences.
How can I improve the quality of lines in PDFs?Disable the "Display Thin Lines Sharper" option in the Acrobat preferences to optimize the quality of the lines.


