You have scanned a paper document and now want to edit or make it searchable? No problem with Adobe Acrobat! In this guide, you will learn step by step how to convert your scanned documents into editable and searchable PDF files - without much effort.
Key Insights
- With Acrobat, you can easily convert scanned documents into searchable and editable PDFs.
- A high resolution when scanning (at least 300 dpi) improves text recognition.
- You can edit multiple files at once and activate text recognition.
Step-by-Step Guide
1. Open Acrobat and Start Scanning
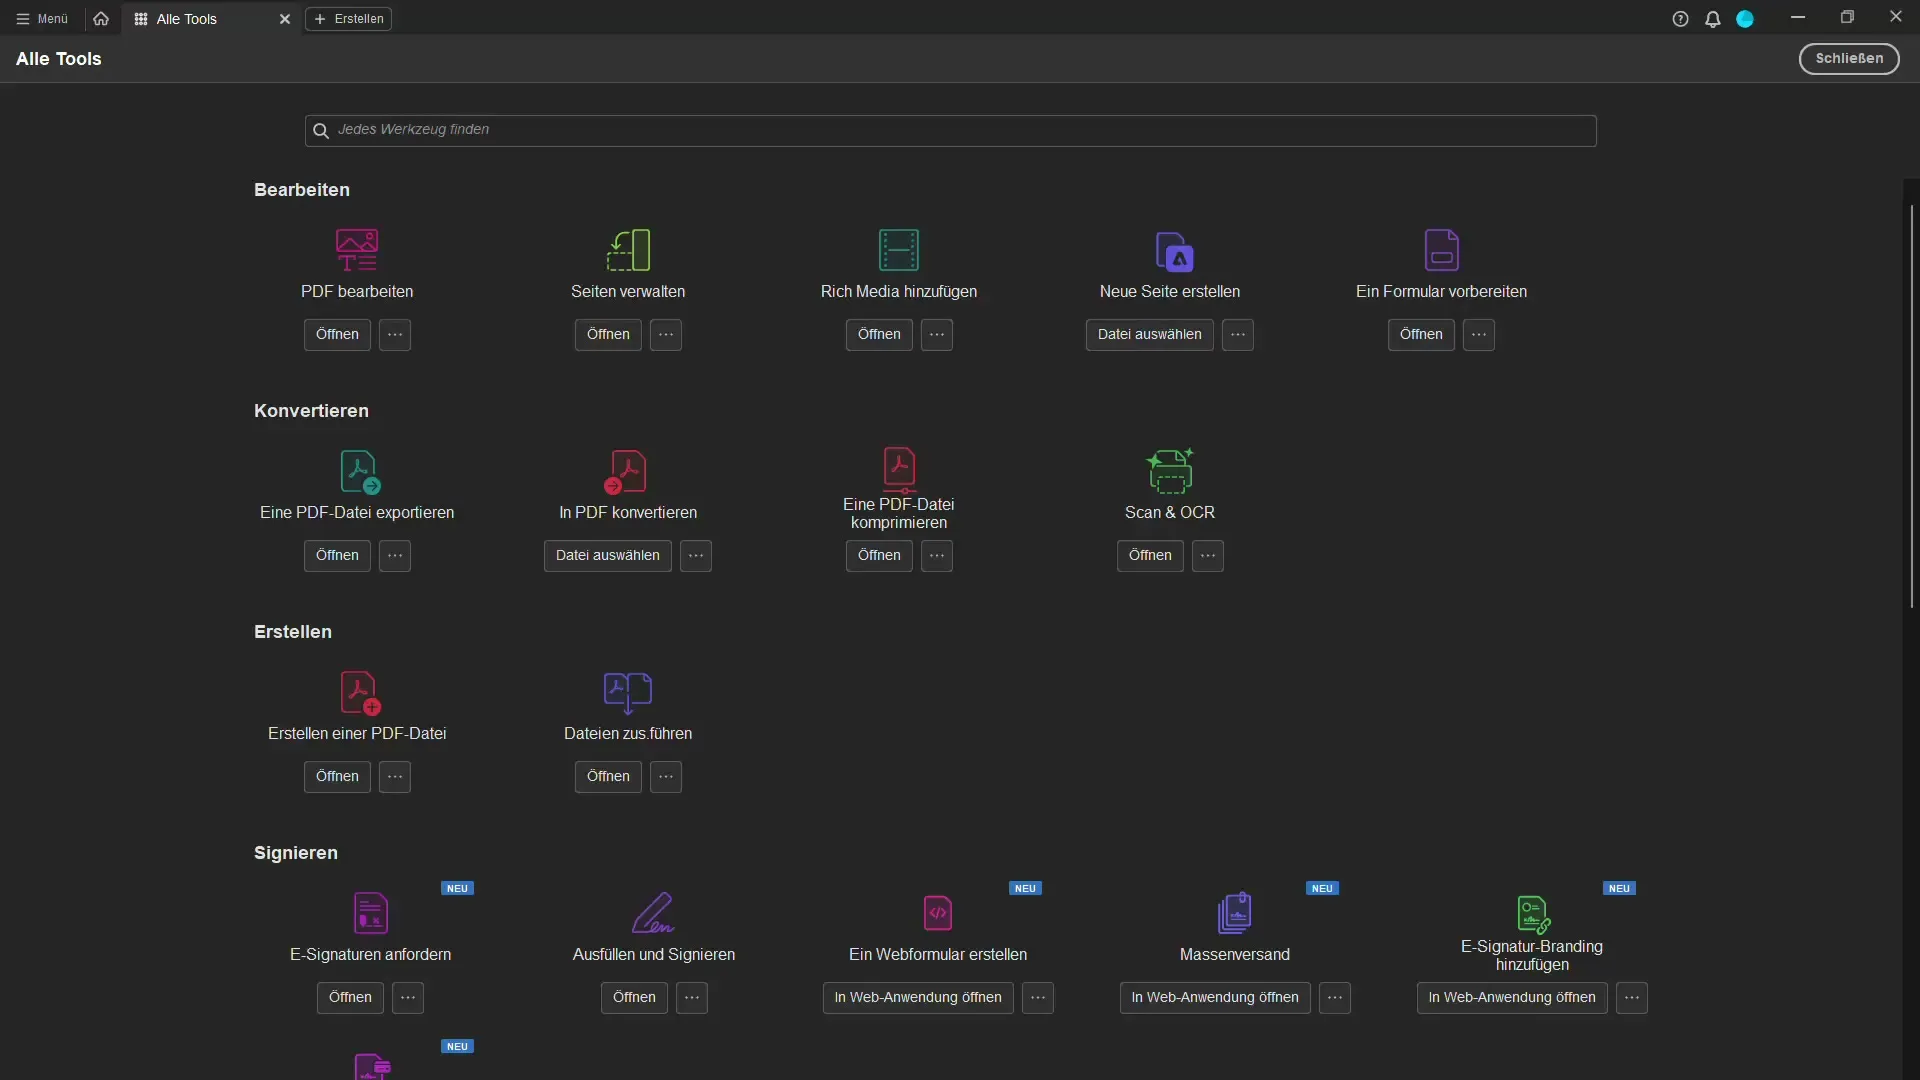
Open Adobe Acrobat. You can either select "All Tools" from the main menu or use the search function to directly look for "Scan." Clicking on it will allow you to start scanning your document on the scanner.
2. Setting up the Scanner
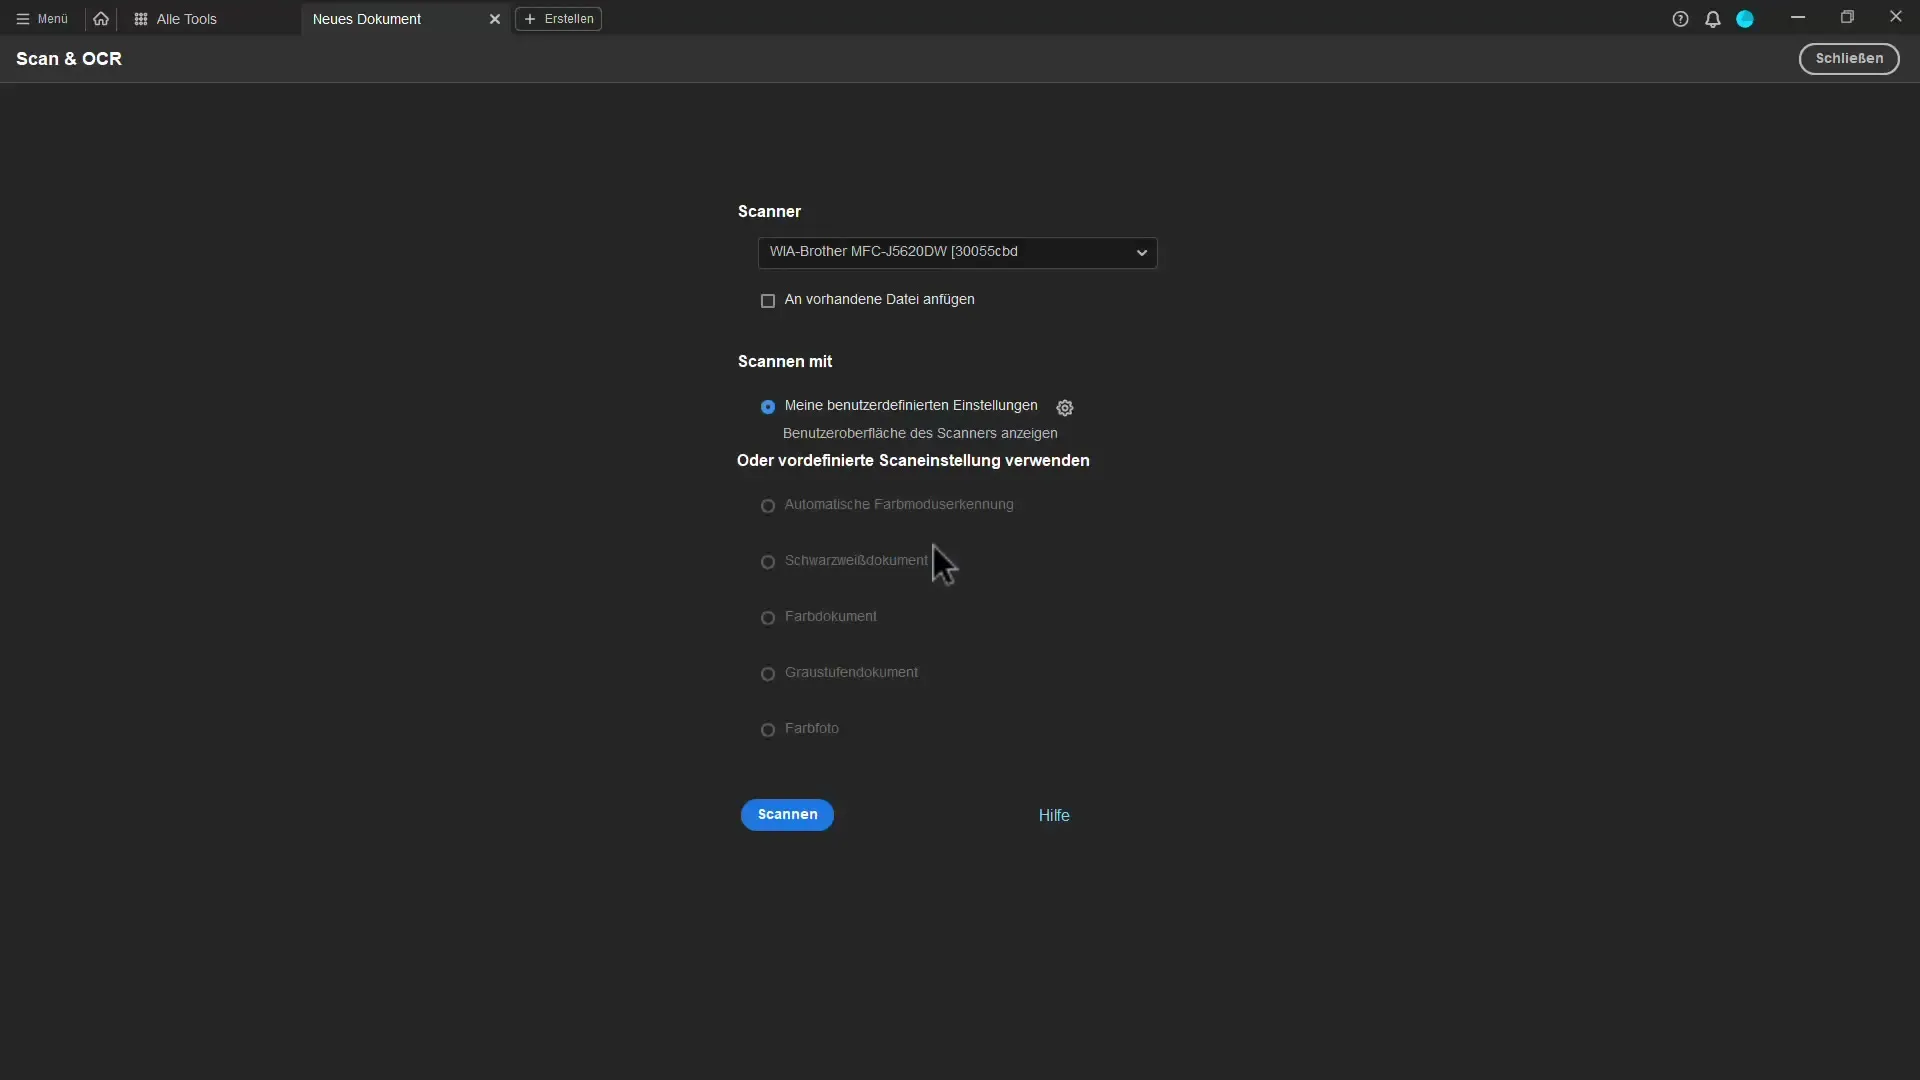
If you have a scanner connected, click on the scan button. This will open a window where you can define the scanner settings. You can either use the default settings or choose the specific settings of your device. Start the scanning process by clicking on "Scan."
3. Processing the Scanned Document
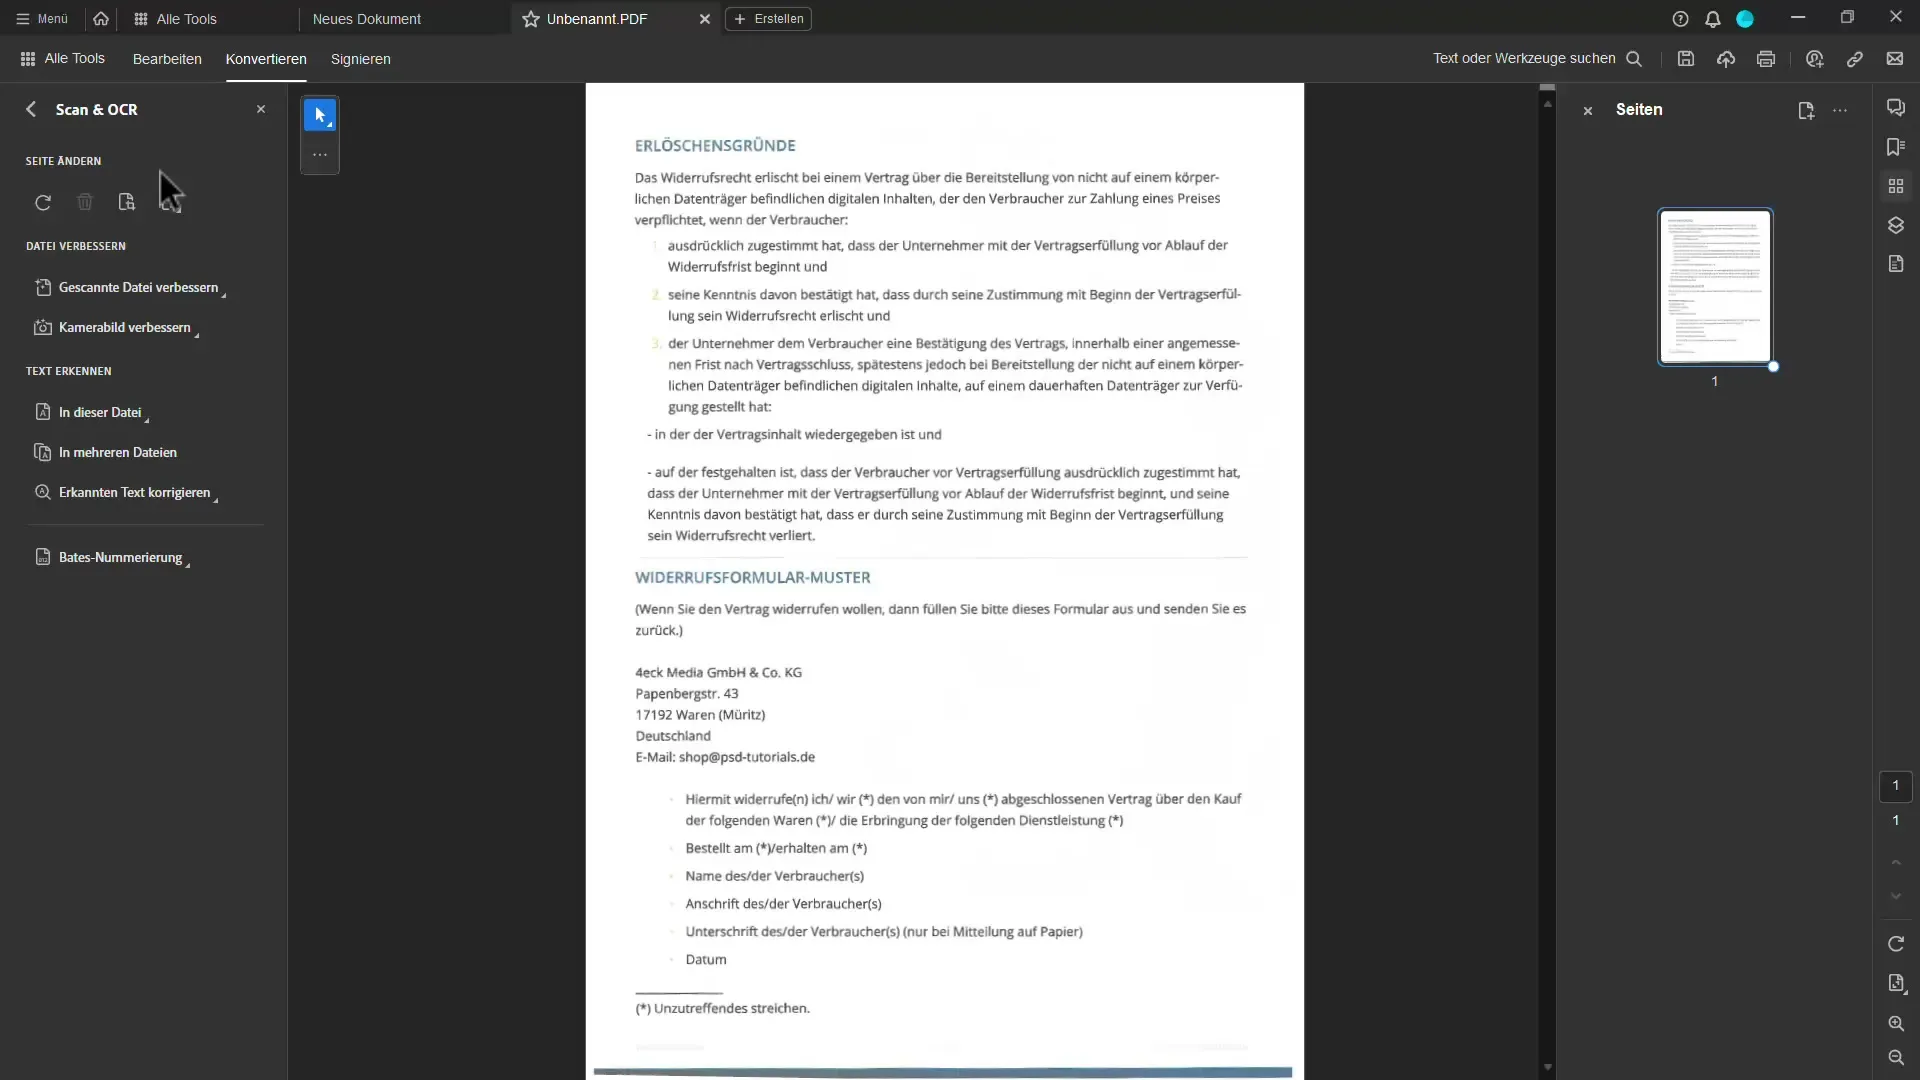
Acrobat processes the scanned document automatically. During the scan, you can see the pages being processed one by one.
4. Activating Text Recognition
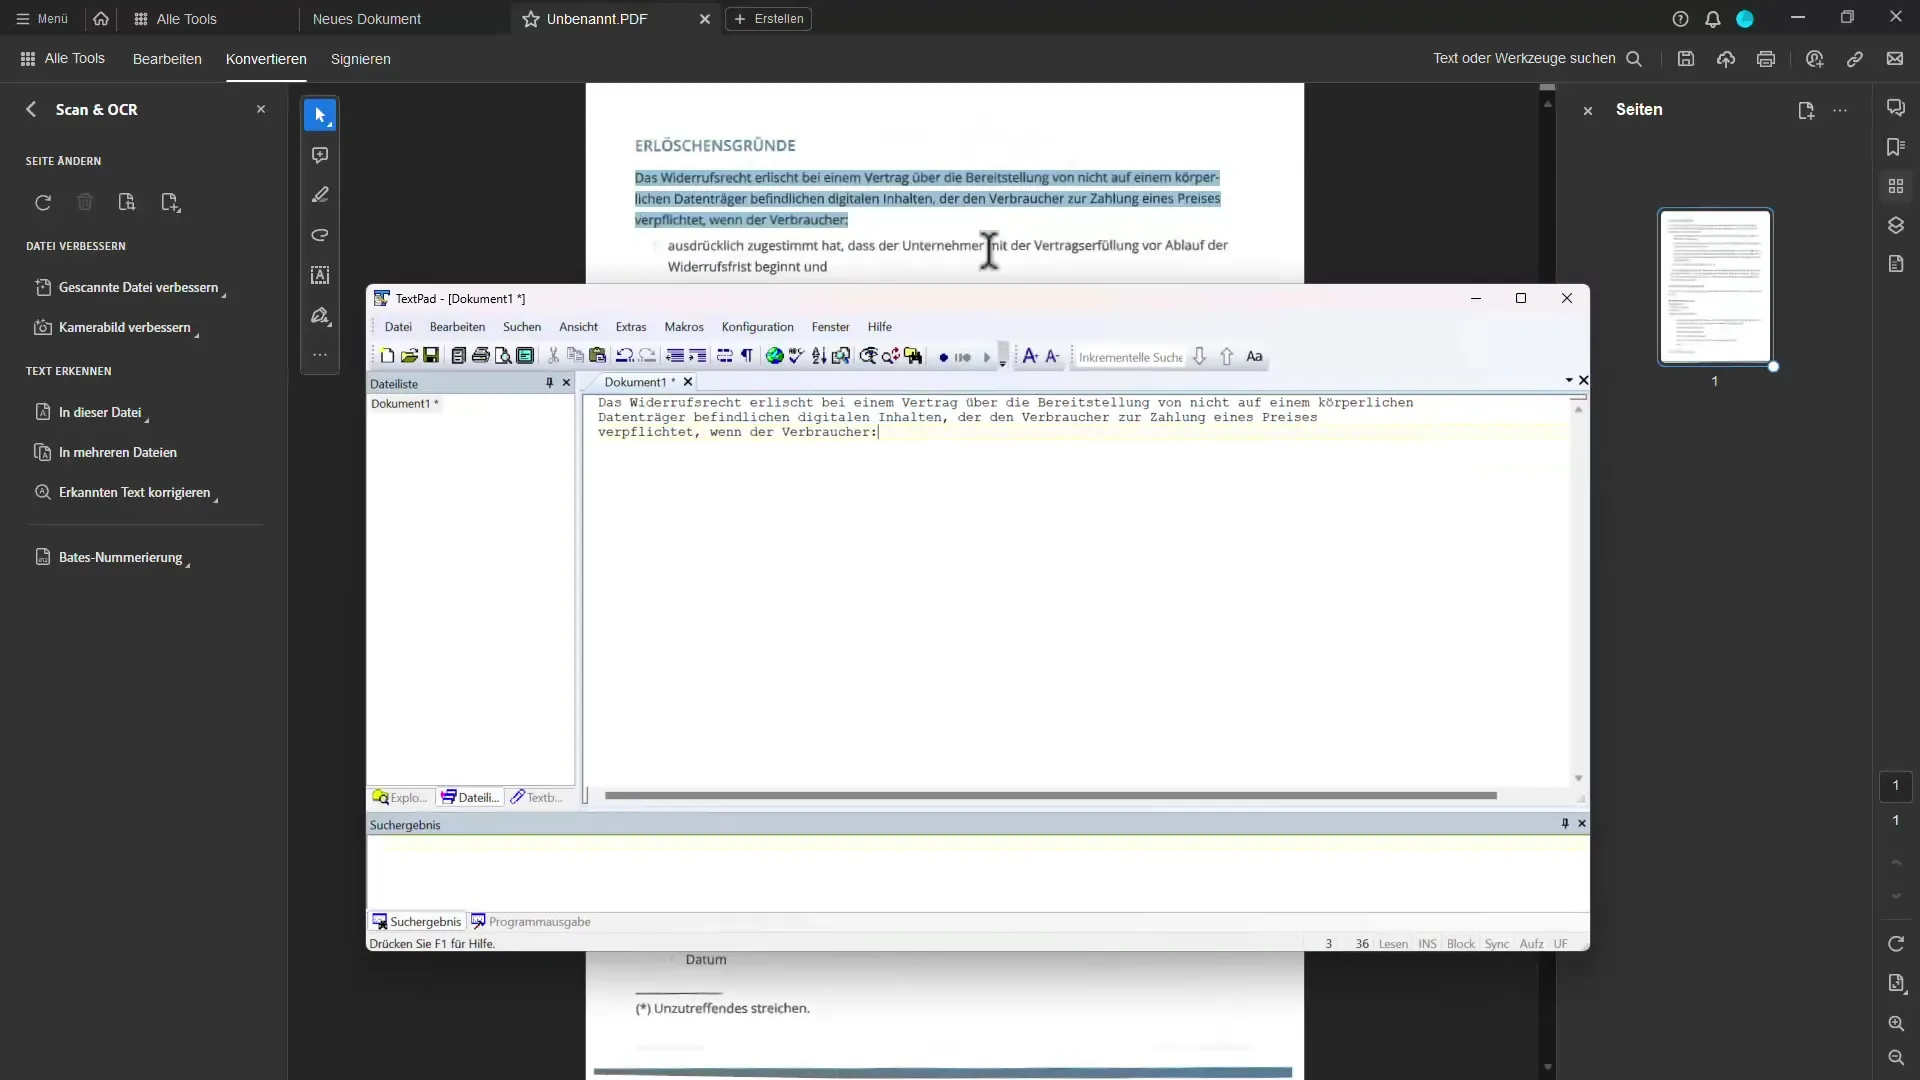
Once the scanning is complete, you can immediately use the scanned text as editable text. By right-clicking on the text, you have the option to copy it and paste it into a word processing program.
5. Reviewing Text Recognition
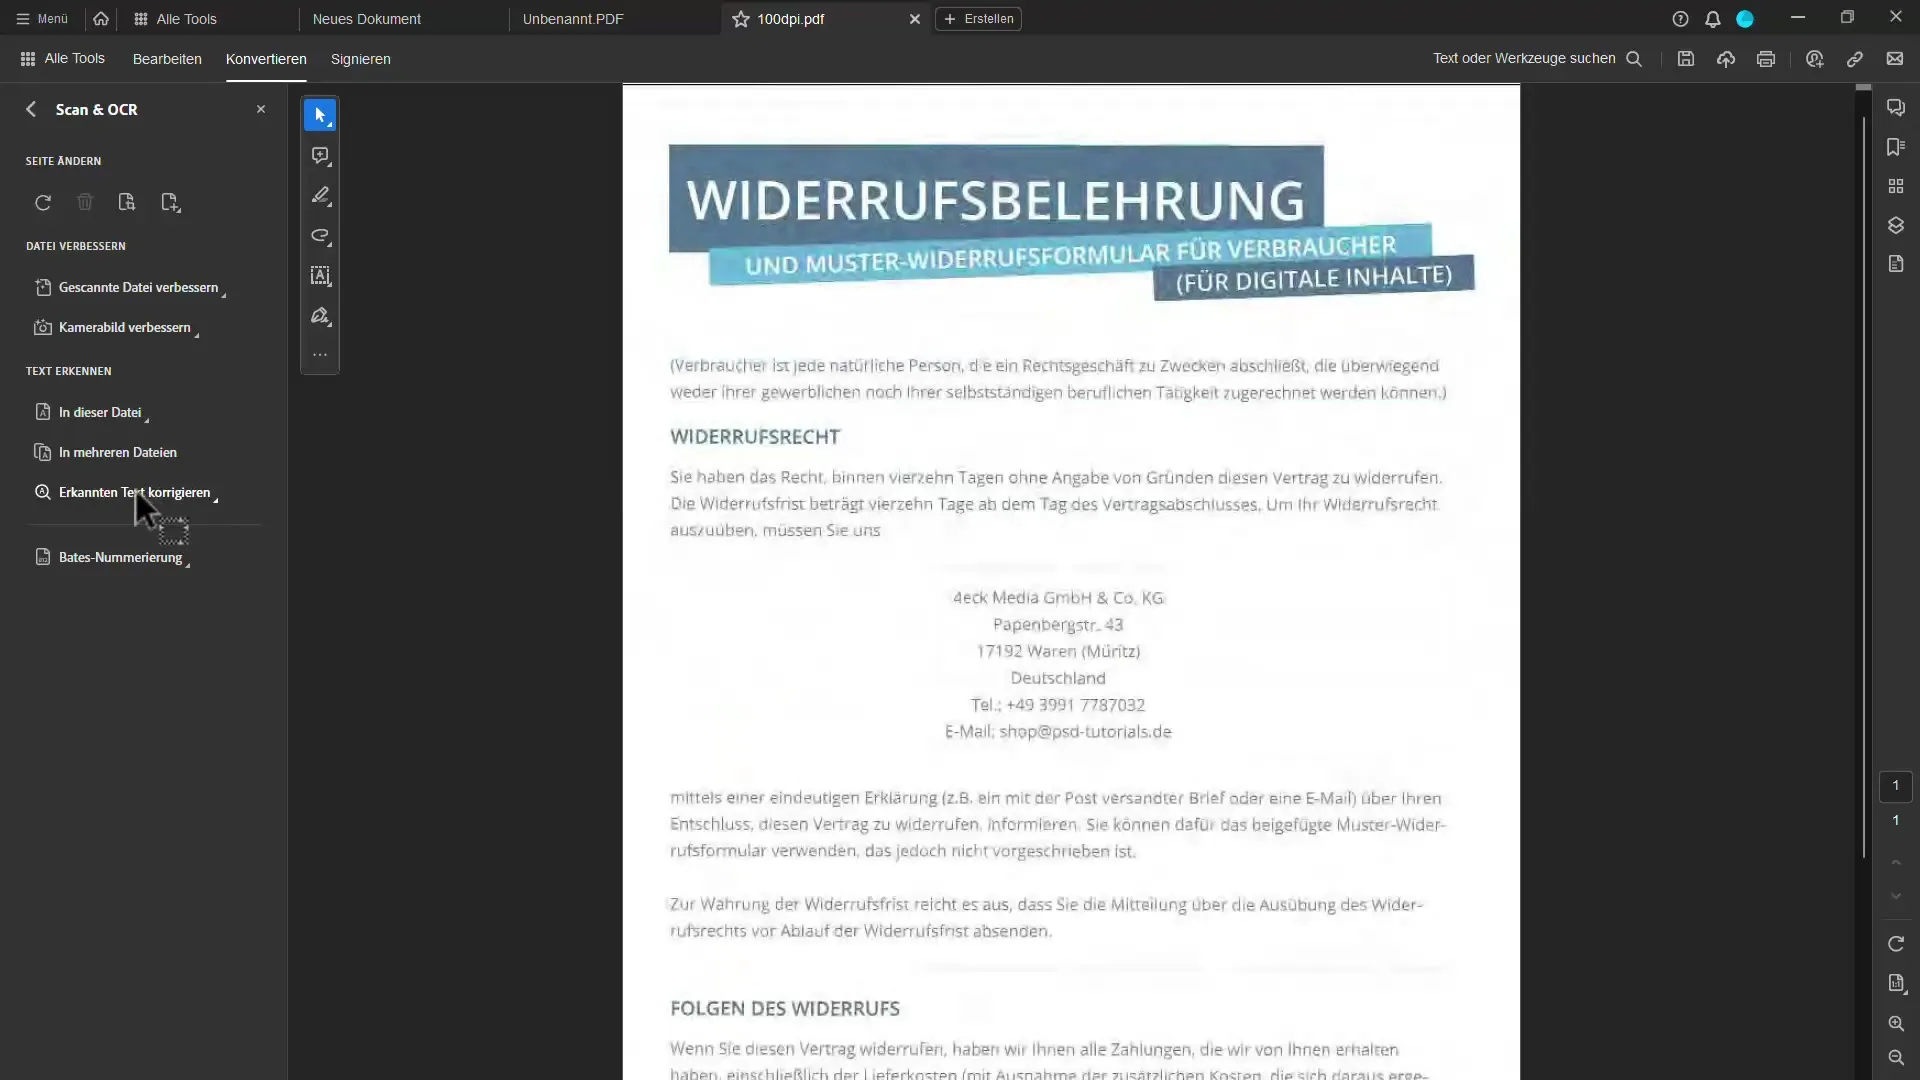
It is advisable to review the automatically recognized text. If some parts were not detected correctly, you can assist the text recognition by using the "Correct text" function. Review the selected text sections and correct any errors.
6. Optimizing Text Recognition
To optimize text recognition, it is recommended to scan with a higher resolution. A setting of at least 300 dpi ensures that text recognition can work more accurately. Additionally, you can add multiple files at once to activate text recognition.
7. Searching within the Document
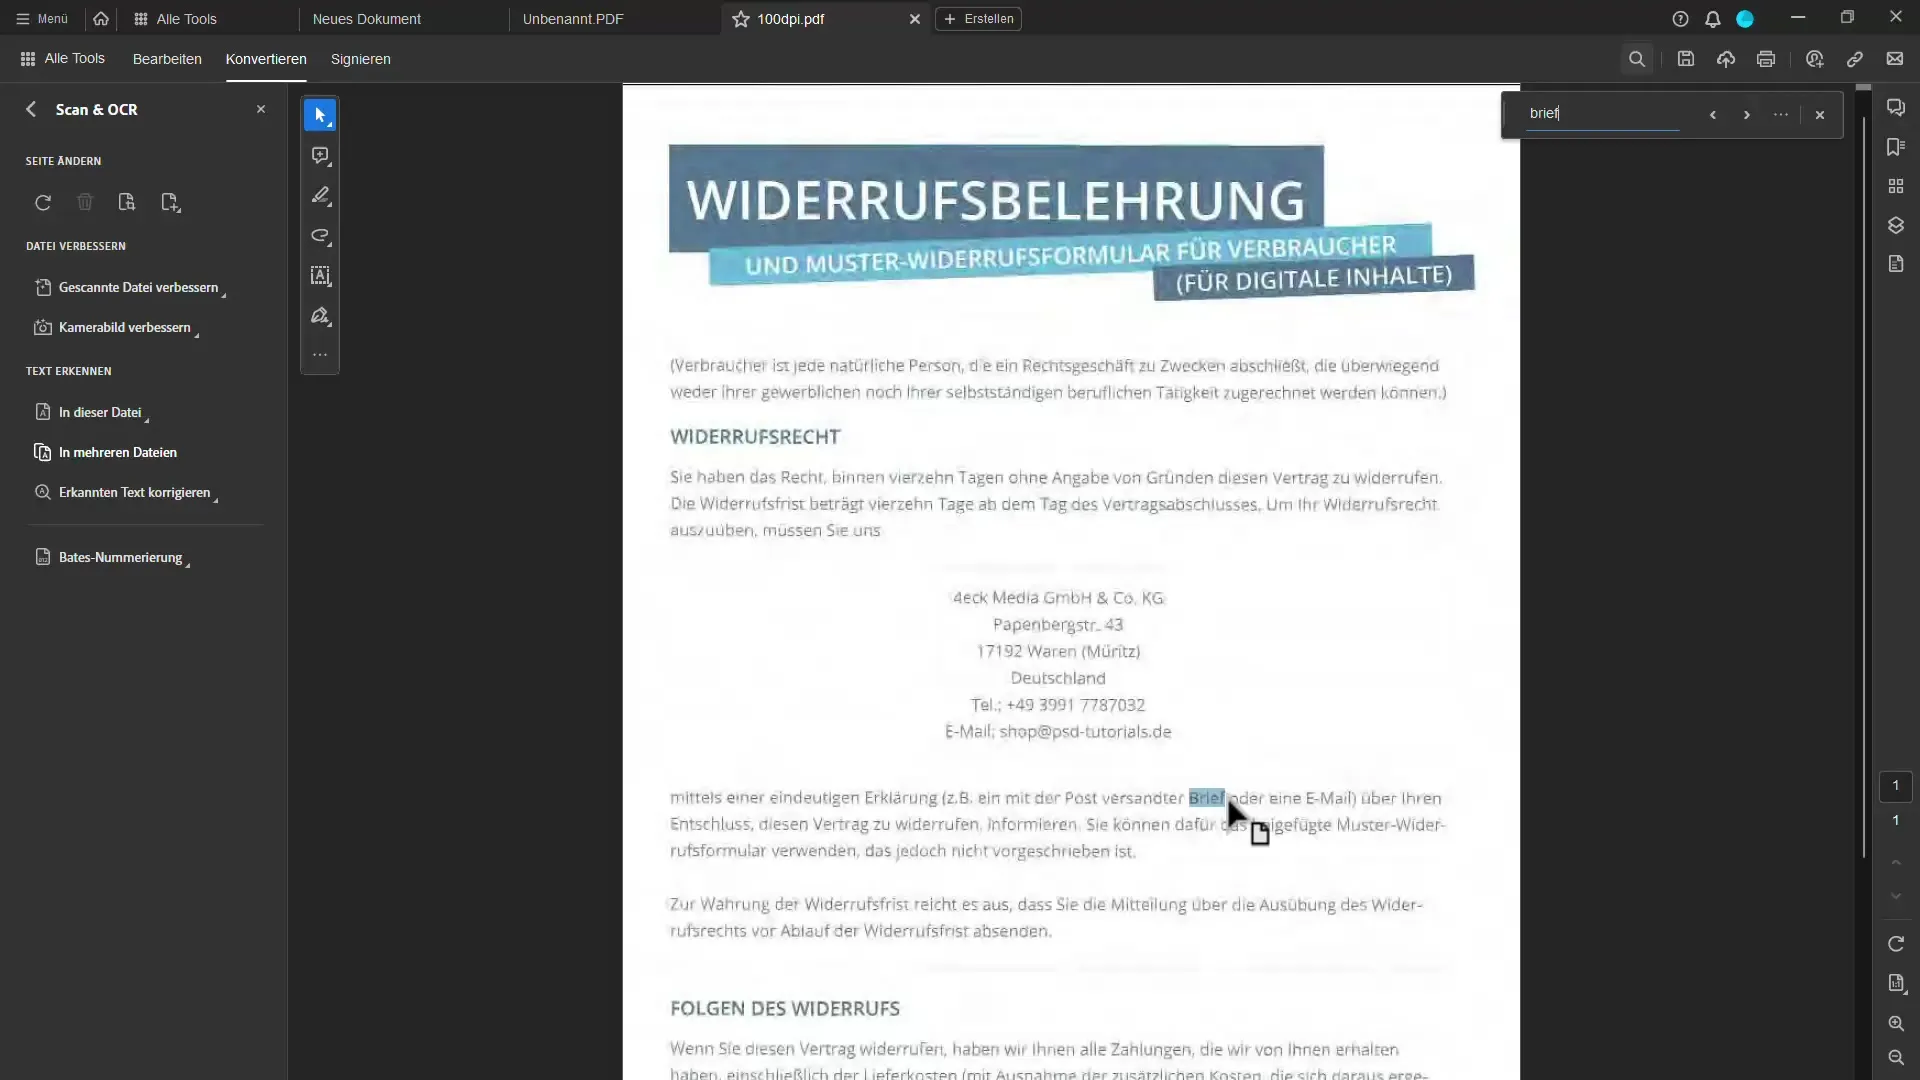
You can start searching within your document by using the Ctrl + F keyboard shortcut. Enter the word you are looking for, and Acrobat will immediately show you the relevant sections within your document.
8. Additional Editing Options
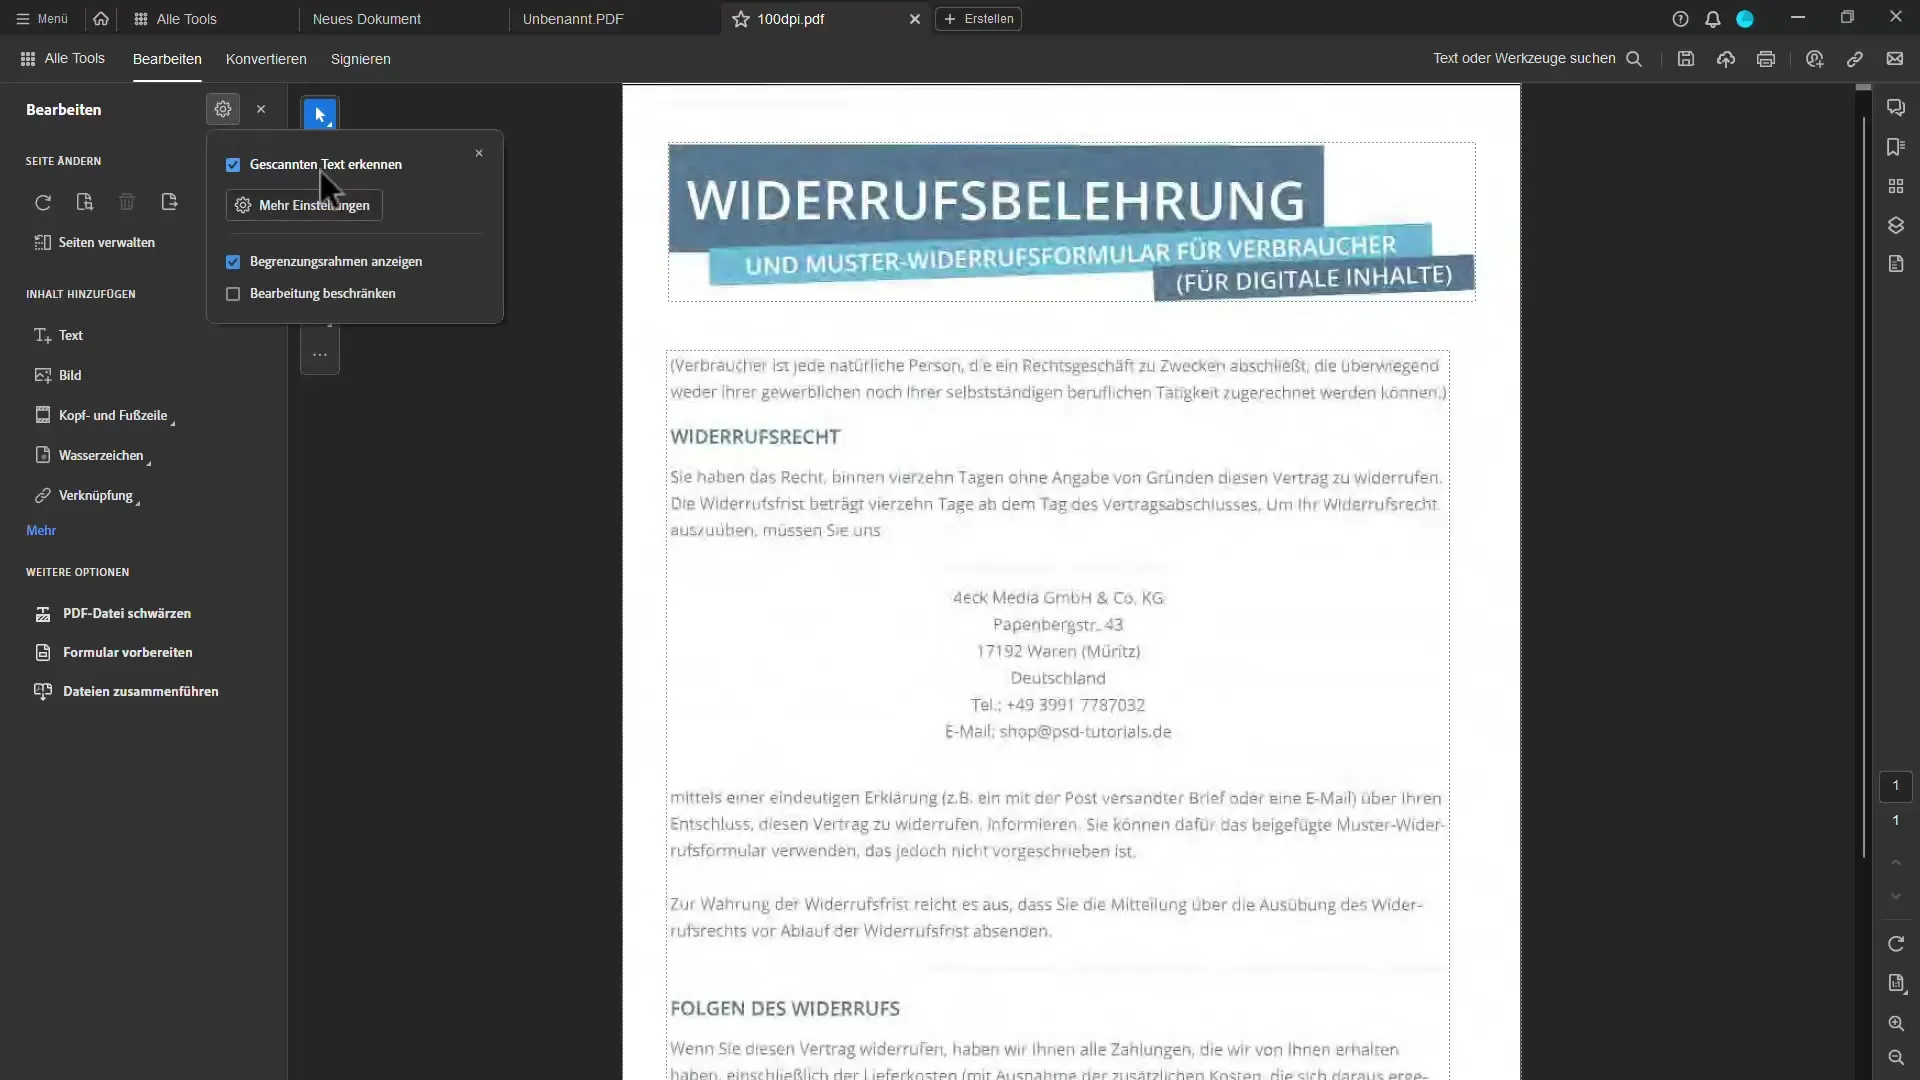
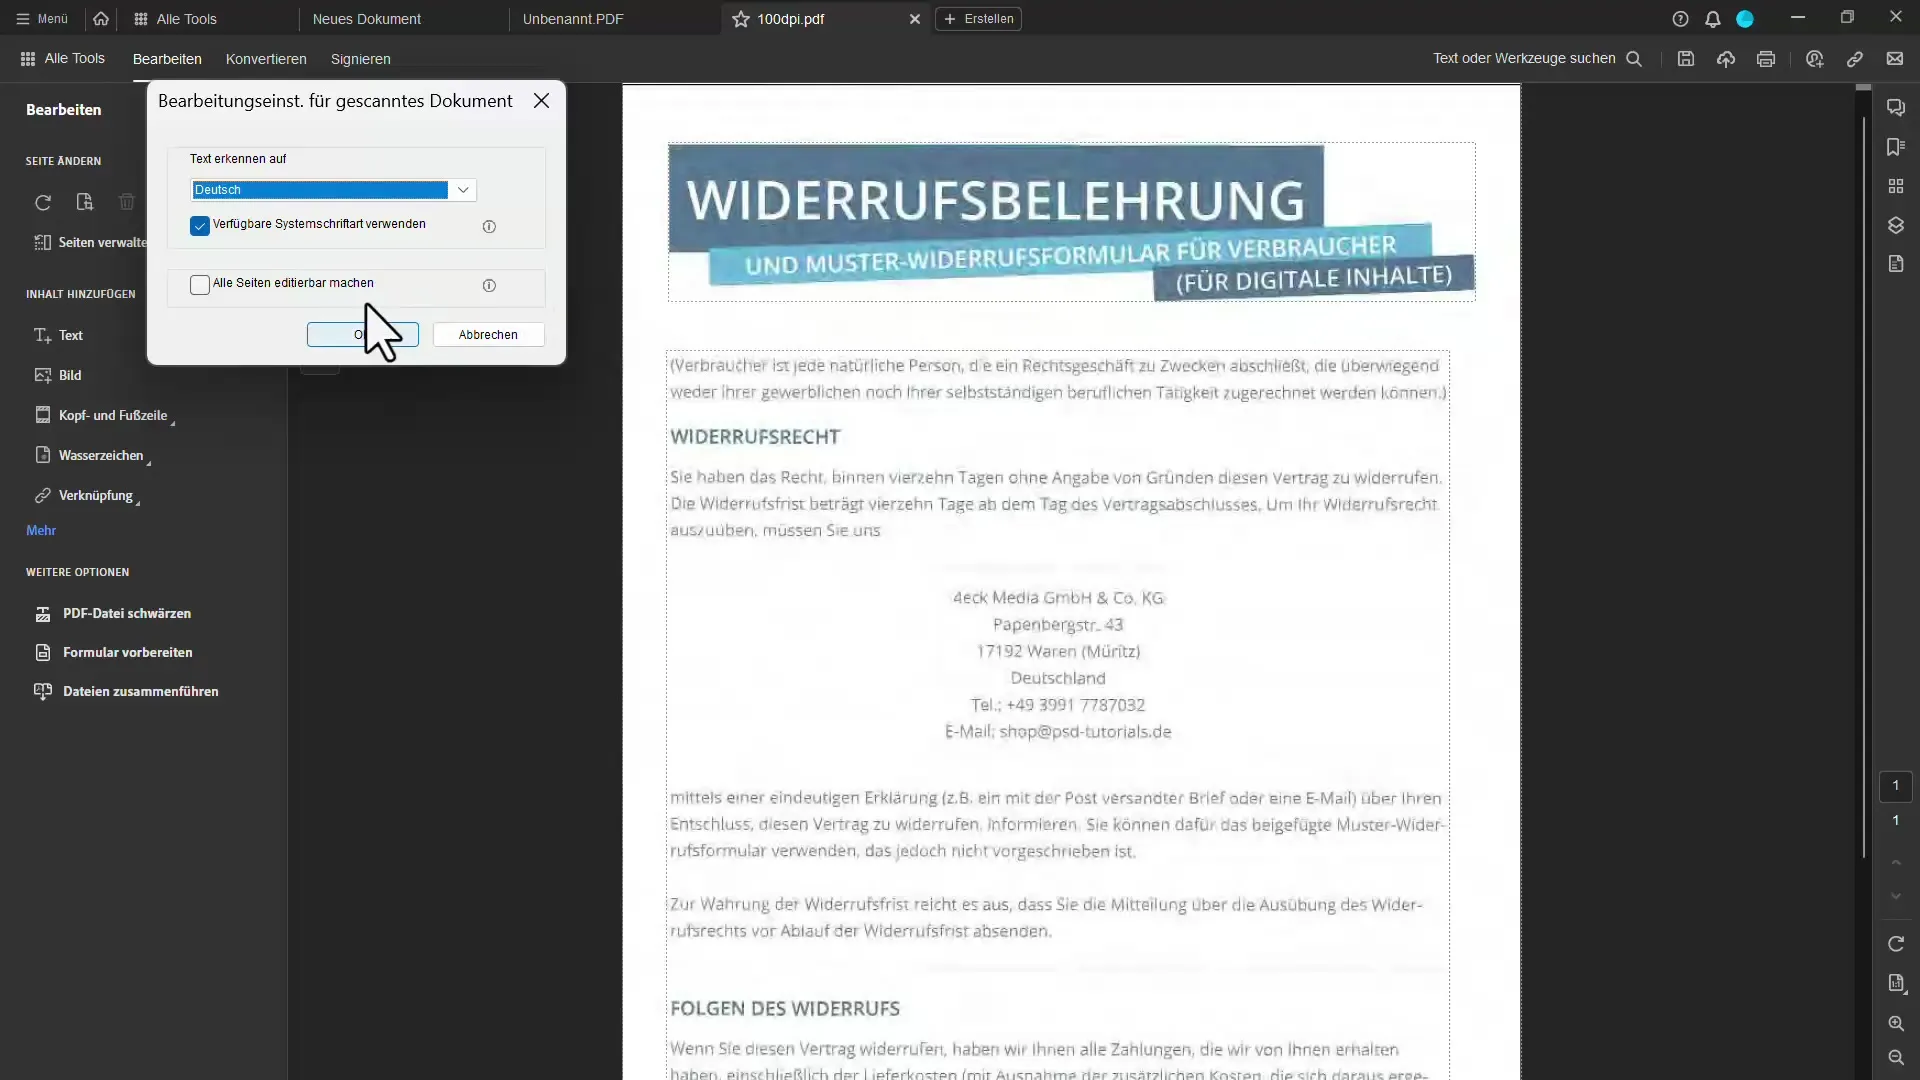
Under the Edit menu, you have several options available, such as adjusting fonts or creating searchable areas on multiple pages. Make sure that all pages are customized according to your needs.
9. Optimizing Documents
You can further improve the quality of your document. Acrobat offers the function to automatically optimize the document by giving a straight alignment to skewed scanned pages, for example.
10. Editing Multiple Pages
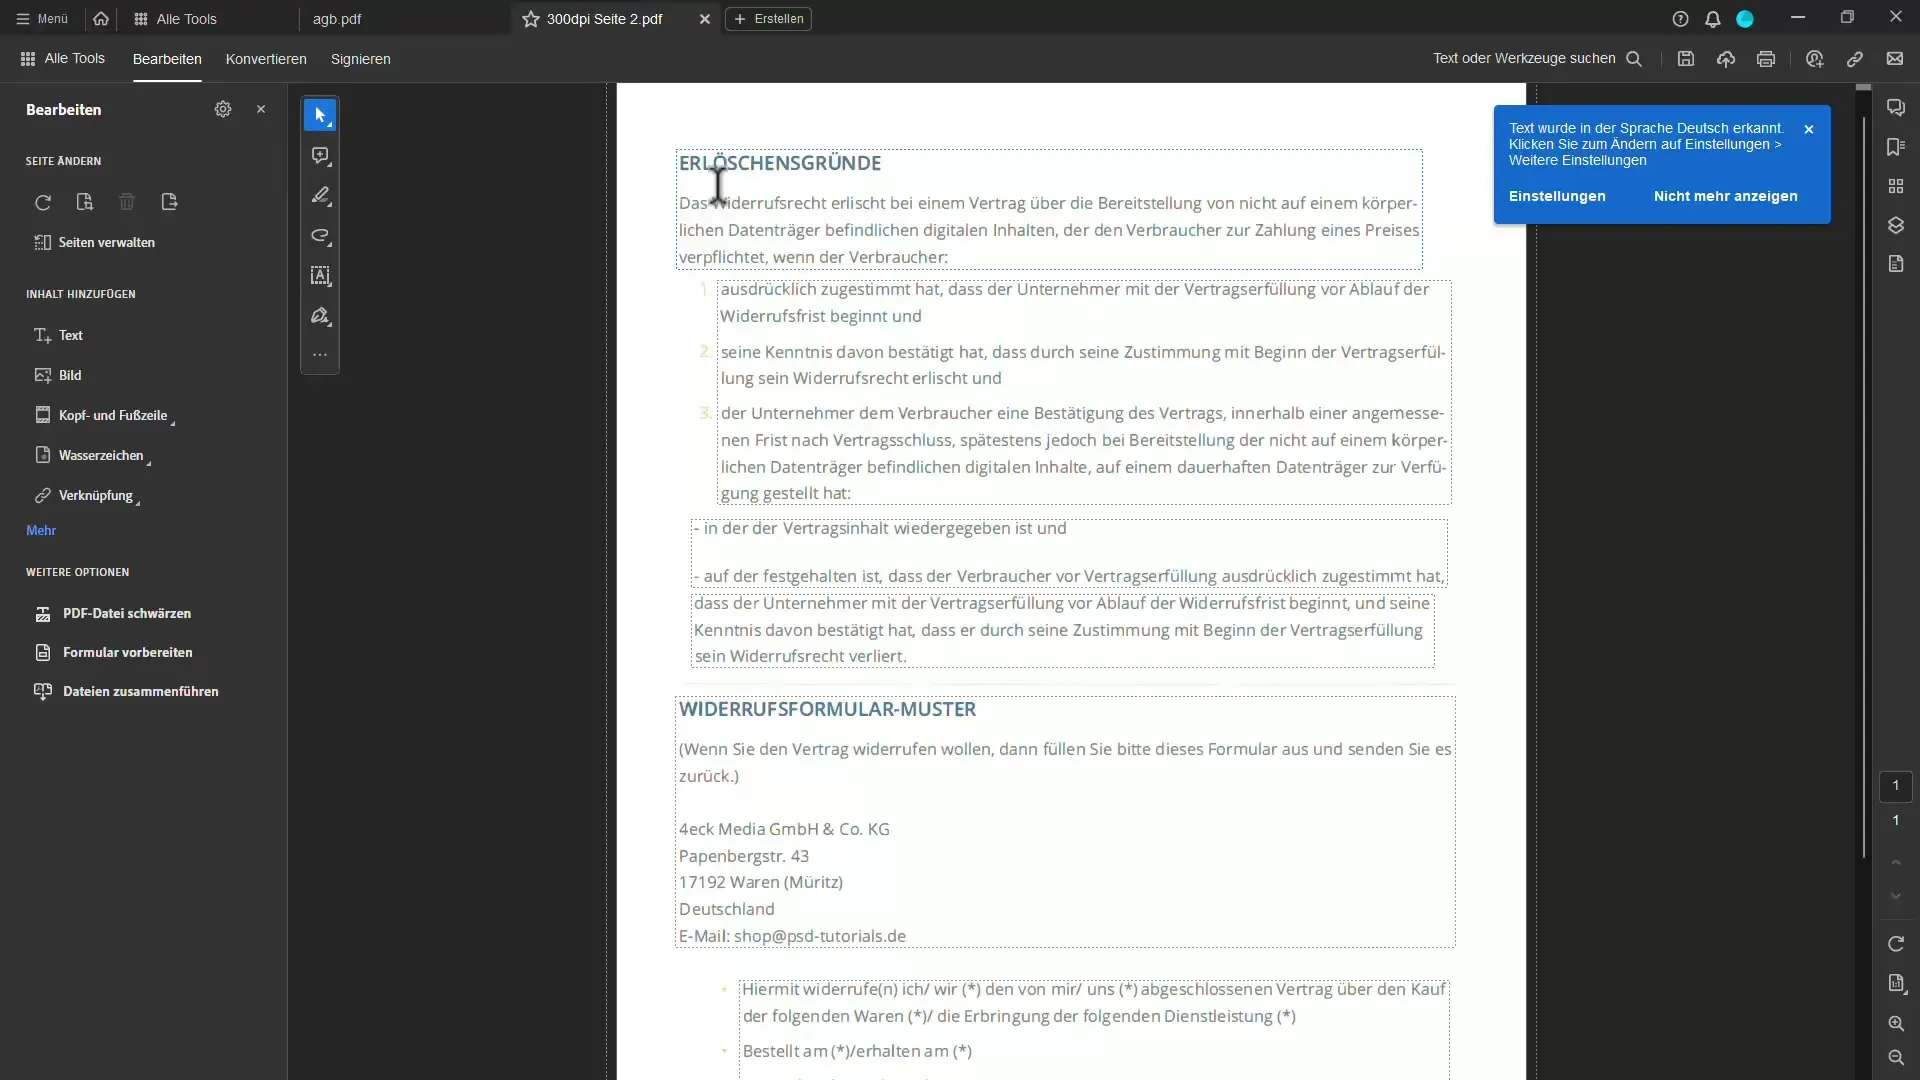
If you have many pages, you can choose the option to edit all pages at once, which significantly speeds up the process.
11. Finalizing and Saving
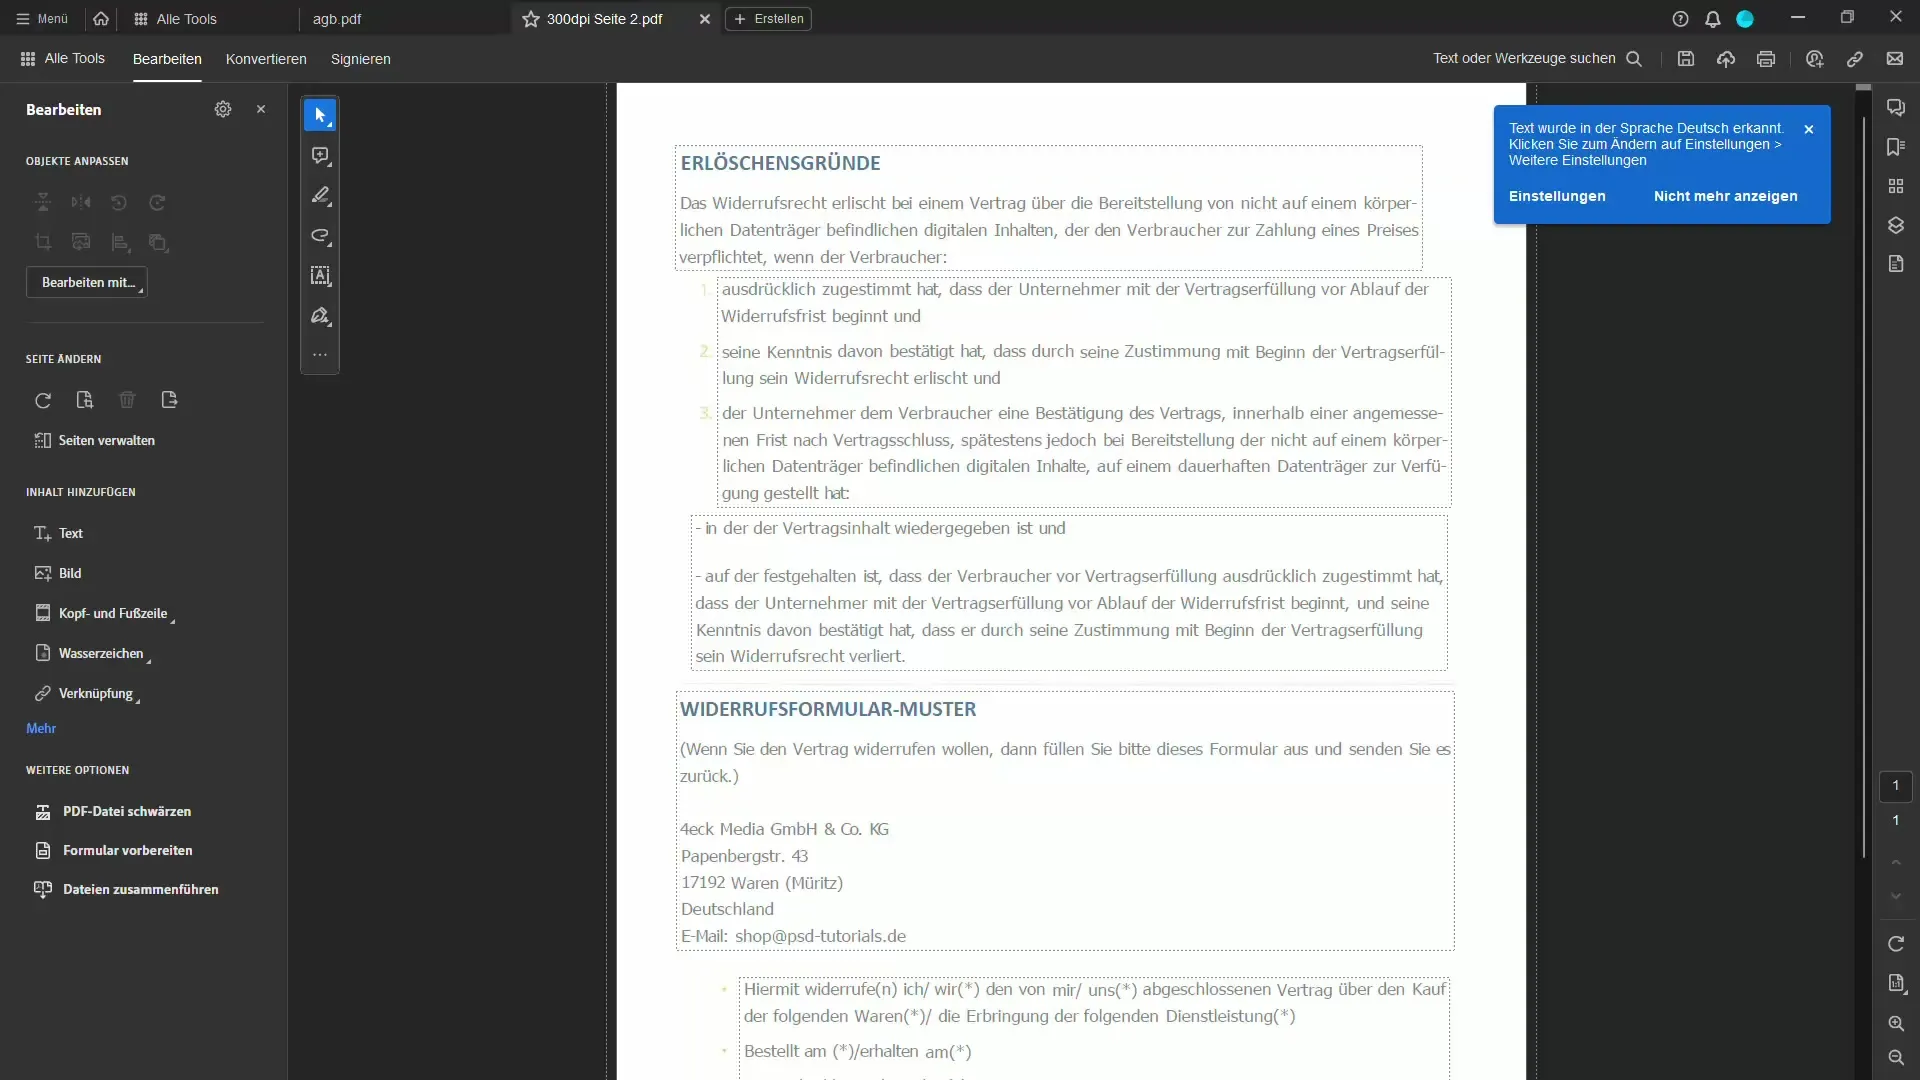
After you have edited the document, save the file. Now you have a searchable and editable PDF document that you can use anytime.
Summary
In this tutorial, you have learned how to convert scanned documents into searchable and editable PDFs with Adobe Acrobat. Precise text recognition and simple editing options make working with scanned documents efficient and time-saving.
Frequently Asked Questions
What should be the scan resolution?Scan your documents with a minimum of 300 dpi for the best text recognition.
Can I scan multiple documents at the same time?Yes, you can add multiple files that will be processed simultaneously.
How can I check the text recognition?Use the "Correct Text" feature to easily correct recognized errors.
Can I adjust fonts when copying text from the scanned document?Yes, Acrobat tries to use similar and available system fonts.
What formats can I create with Acrobat?You can create PDF documents that can be edited and searched.


