With an appealing typography cut effect, you can achieve stunning visual effects in your designs. This technique is particularly effective for flyers and wallpapers, as it attracts the attention of potential customers. In this guide, you will learn step by step how to create a typography cut effect in Adobe Photoshop.
Key Insights
- You can create convincing cut effects with text in Adobe Photoshop.
- The use of clipping masks is the key to effective design.
- Color choice and text adjustment significantly contribute to the appeal of the final product.
Step-by-Step Guide
First, you should open Photoshop and start a new project. Go to "File" > "New" and choose the desired dimensions for your document.
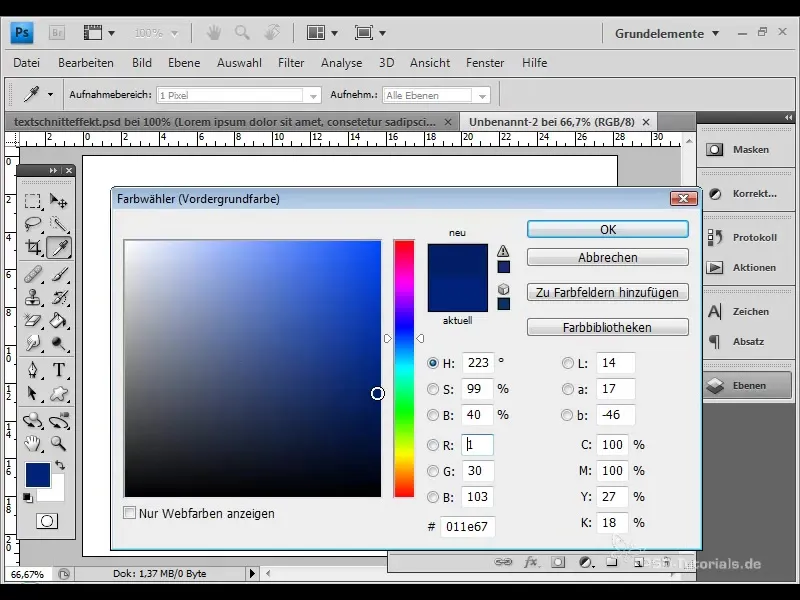
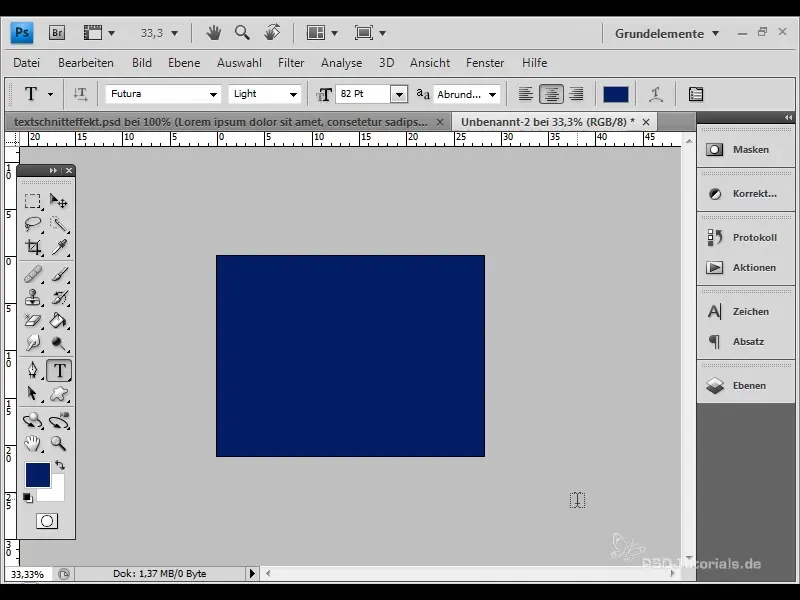
For an effective background, choose the fill tool and select a dark color. Start by filling your background layer with a deep blue.
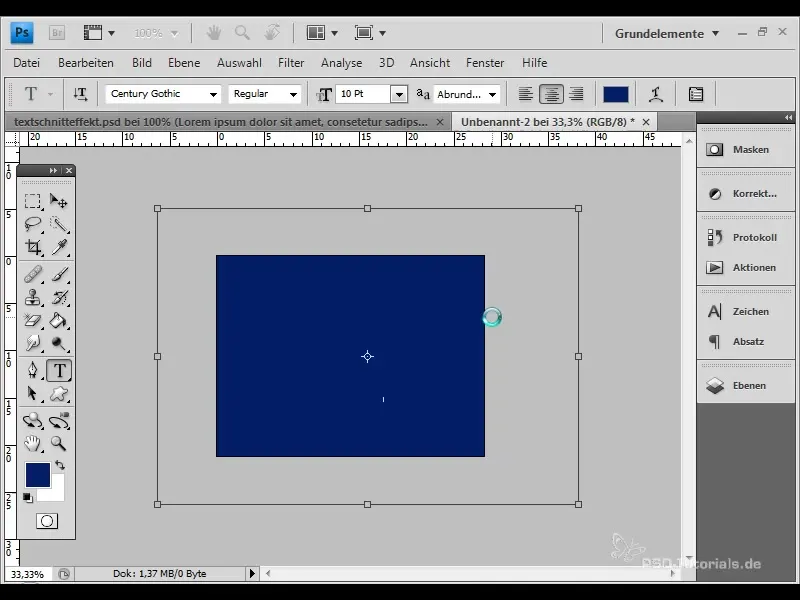
In the next step, select the text tool, draw a text frame, and fill it with lorem ipsum text or your desired name. Here, we are using the font "C goovic" with a size of 10pt.
To ensure that the text covers your entire workspace, duplicate the text and paste it as many times as needed to cover the entire area. Then, choose a slightly lighter color for better visibility against the background.
Now it's time to rotate your text a bit. To give a dynamic effect, rotate it to the left so that it appears to be "rising" from the bottom to the top.
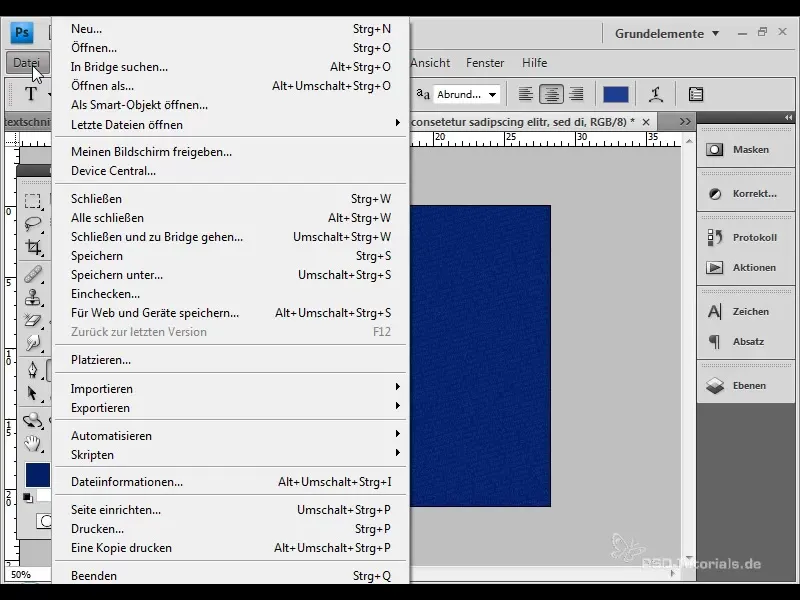
In the following step, place your logo. Go to "File" > "Place" and select your prepared logo file. You can then resize it to fit your design.
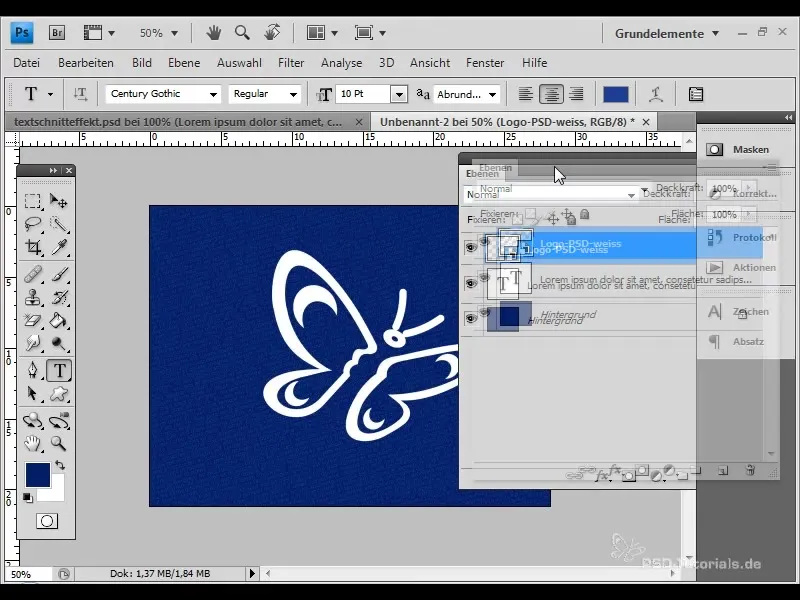
To create the clipping mask effect, create a clipping mask for your text layer. You can do this by going to "Layer" > "Create Clipping Mask" or alternatively, use the shortcut "Ctrl + Alt + G."
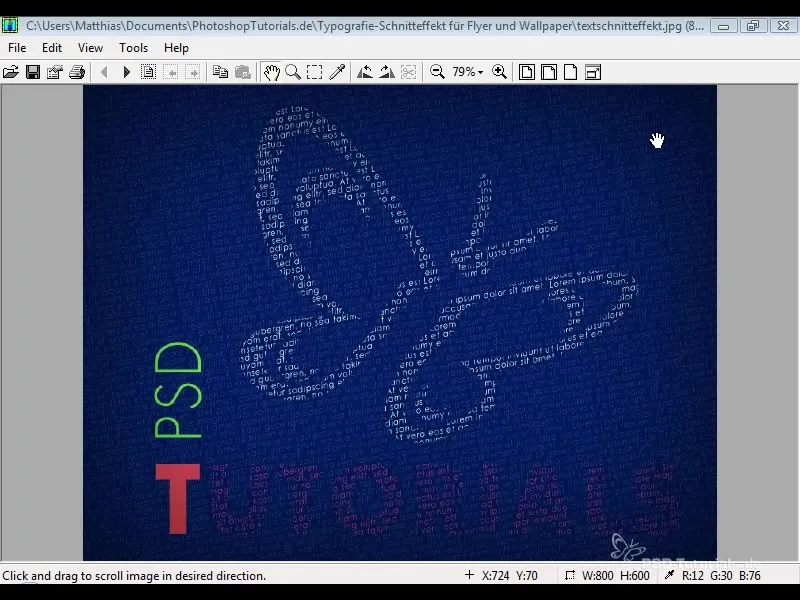
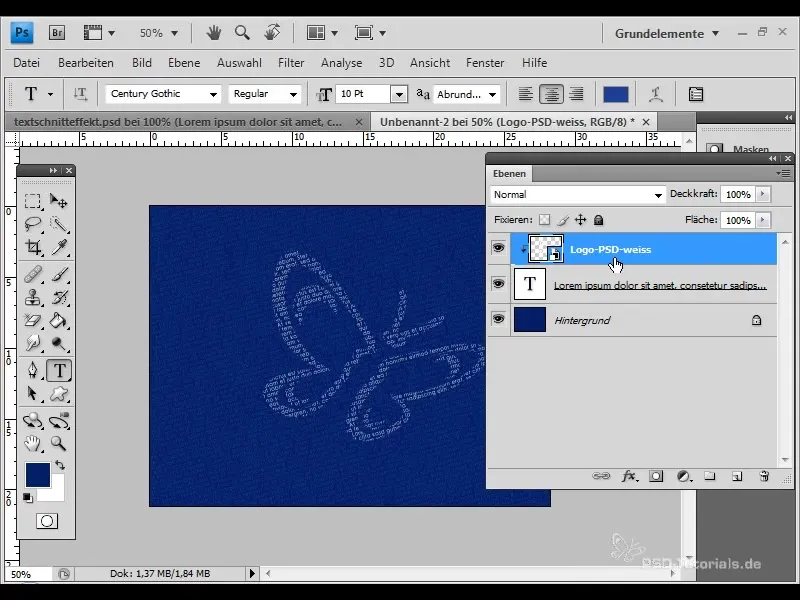
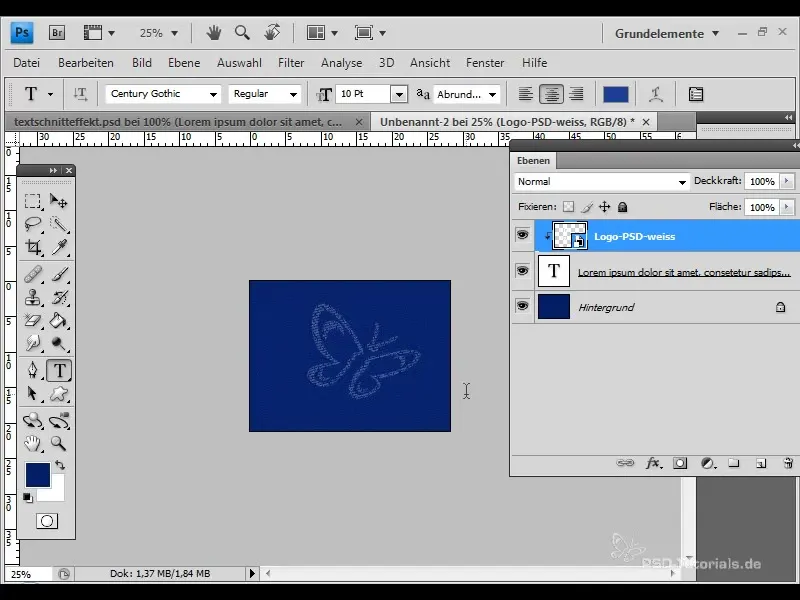
Now you can see how the text shines through the logo, making your design more lively and appealing.
Now add another text. Create a text frame again and choose a different font and size. We opt for a Futur font at a size of 100pt and input "PSD".
Color the new text bright green and finally, rotate it before placing it in the desired position.
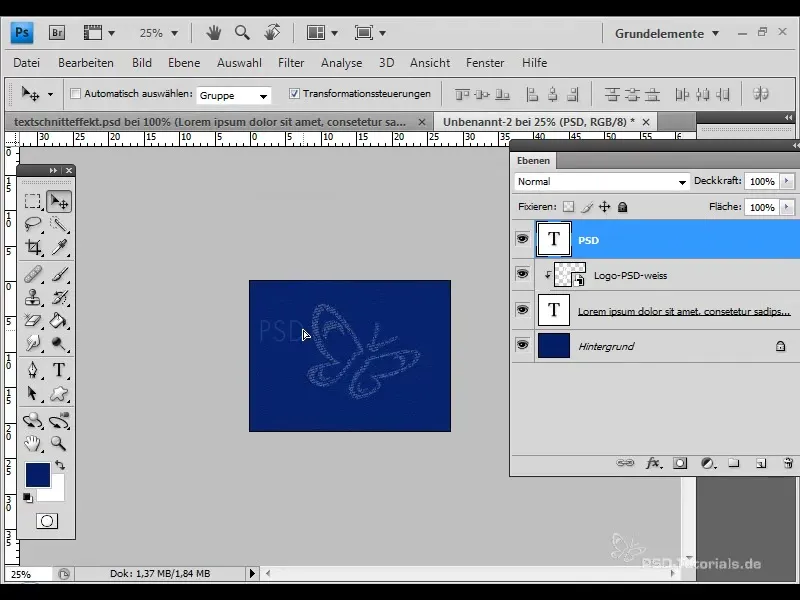
Create another text layer, this time for the text "Tutorials." Here, we use a red hue and make the text bold.
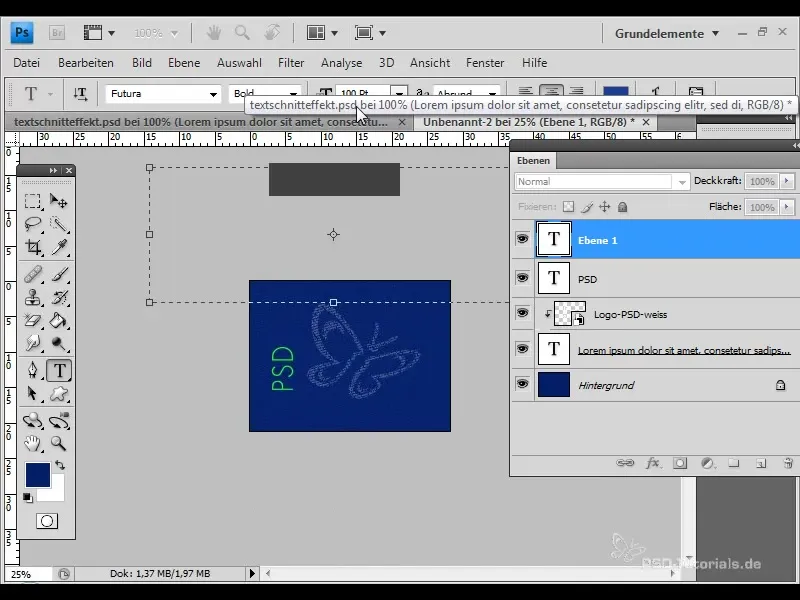
The beauty of clipping masks is that you can continue to adjust the positioning of your logo without affecting the overall design effect. This allows for flexible design.
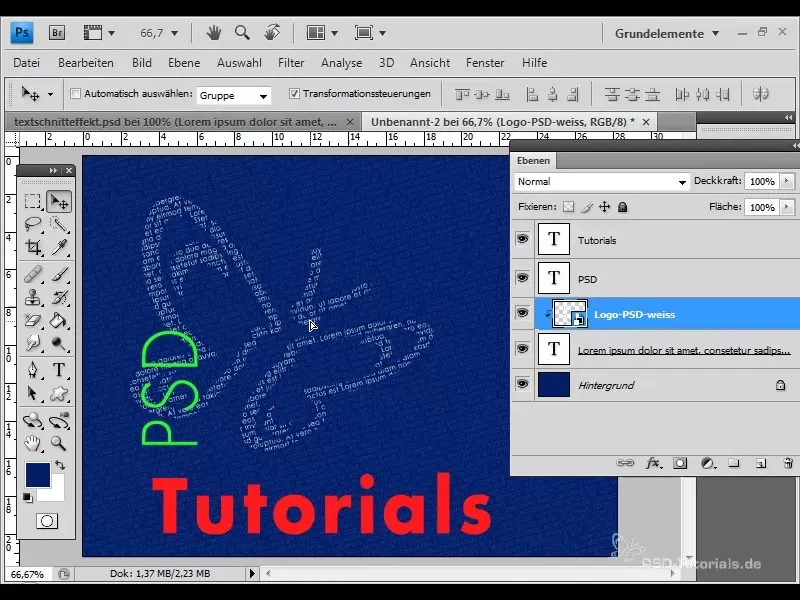
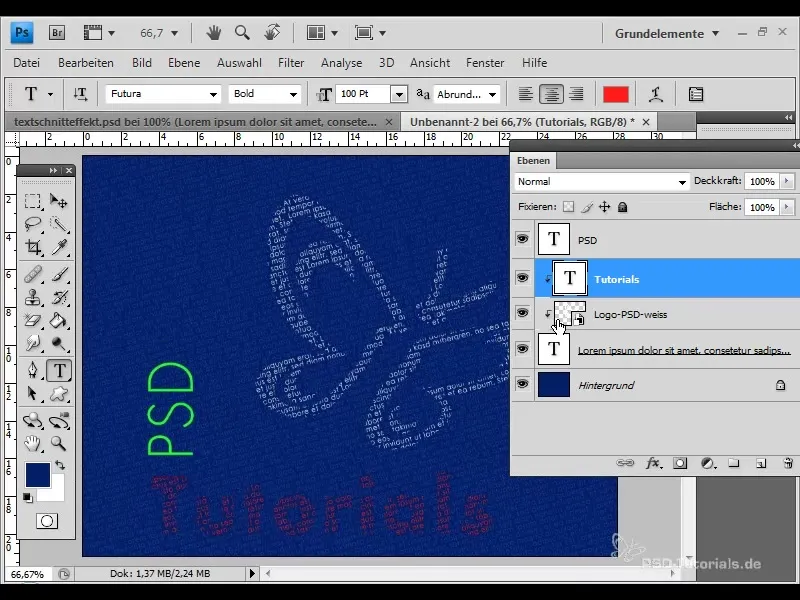
Now, copy the letter "T" for an additional text layer and apply a clipping mask to achieve the same effect once again.
To further enhance the design, you can add shadow to the background. Create a new layer and fill it with any color.
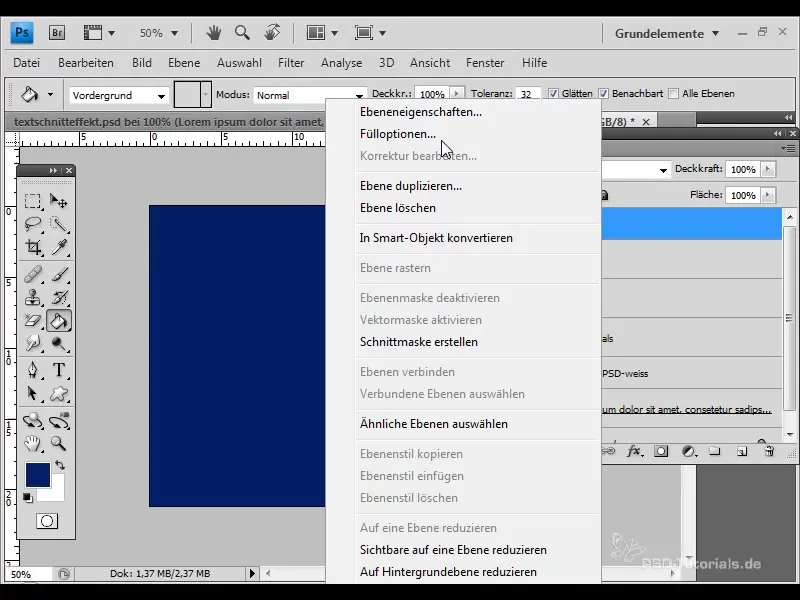
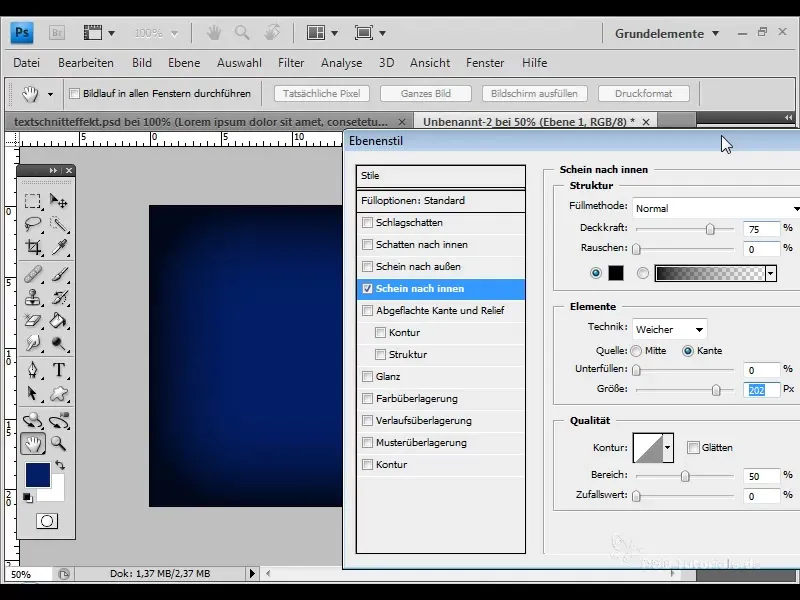
Go to the fill options and add an inner glow in black. Experiment with the size until you achieve the desired effect.
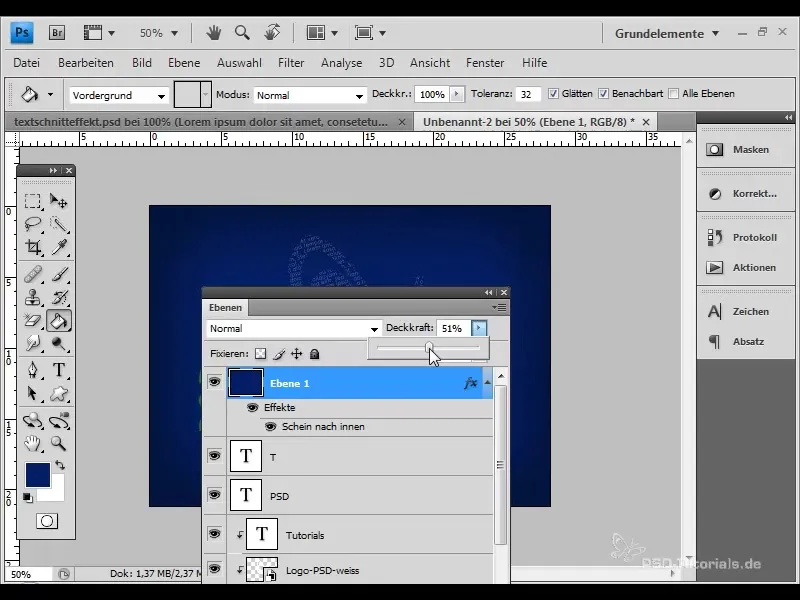
To refine the inner glow, reduce the layer's opacity. This allows you to keep the fill option visible while making the layer's content more transparent.
Finally, you can slightly adjust your logo to optimize the entire composition.
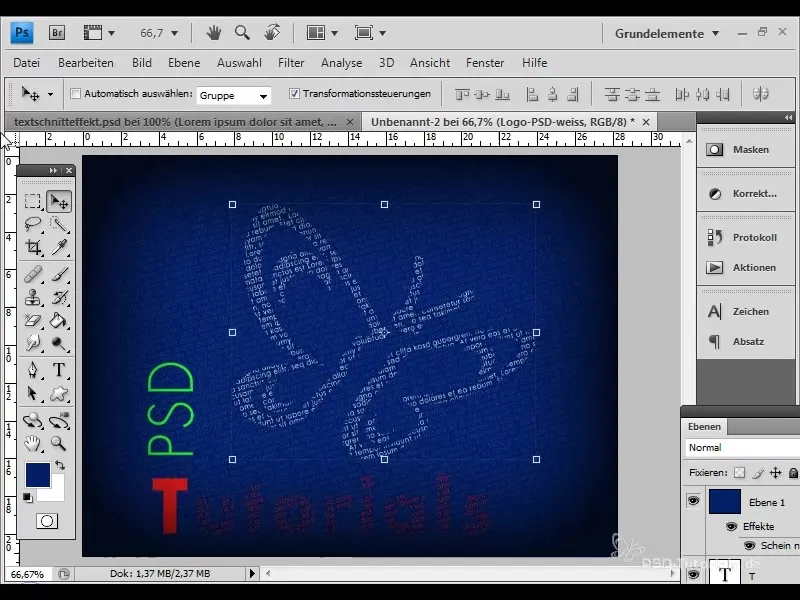
That's all! You can now get creative and use this technique for your own projects.
Summary
In this tutorial, you learned how to create an impressive typography cut effect in Adobe Photoshop. The process involves using text tools, clipping masks, and smart color choices to achieve an attractive design. Use the steps as a starting point to create your own unique designs.
Frequently Asked Questions
Which fonts are best suited for cut effects?Fonts that are easily readable and have a clear structure are recommended.
Can I use this technique for other graphics as well?Yes, this technique is versatile and can also be applied to other graphics such as images.
Is there a difference between clipping masks and cut options?Yes, clipping masks change the visibility of the layer based on the underlying layer, while cut options adjust the properties of the layer.


