Creative designs are the be-all and end-all for appealing flyers and wallpapers. However, by using simple geometric shapes such as stripes, you can achieve an impressive effect. In this guide, you will learn how to create effective stripe effects in Photoshop that will add depth and dynamism to your design.
Key Insights
- Stripe effects can be created quickly and easily in Photoshop.
- By using anchor points and the brush tool, you can create spatial depth.
- Strategic color choices and symmetry enhance the visual impact.
Step-by-Step Guide
Create Document
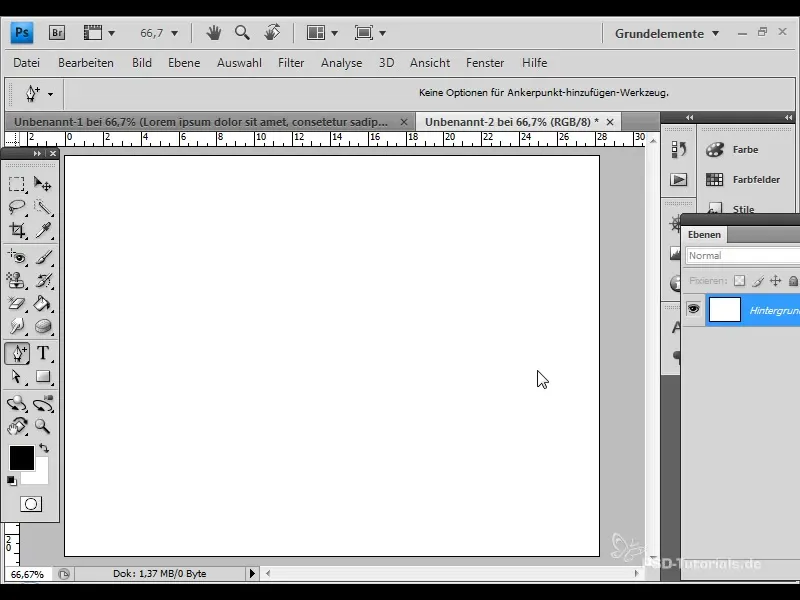
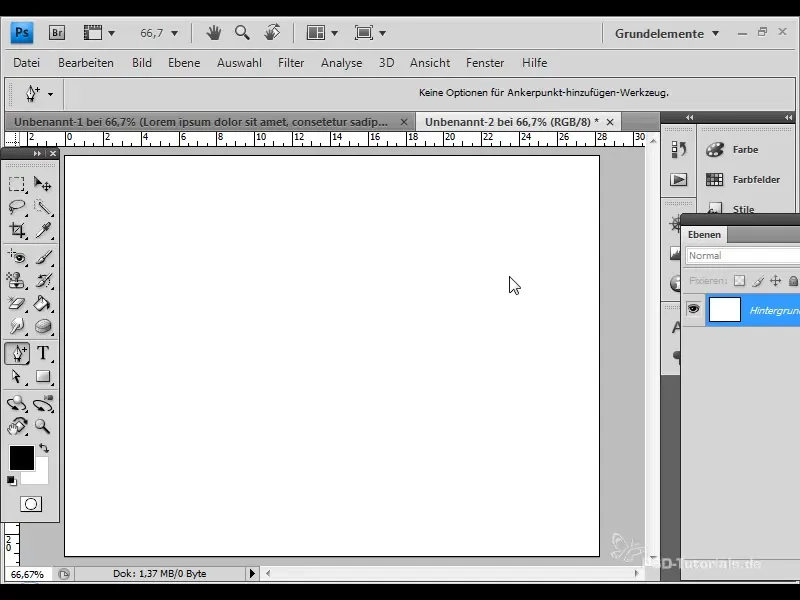
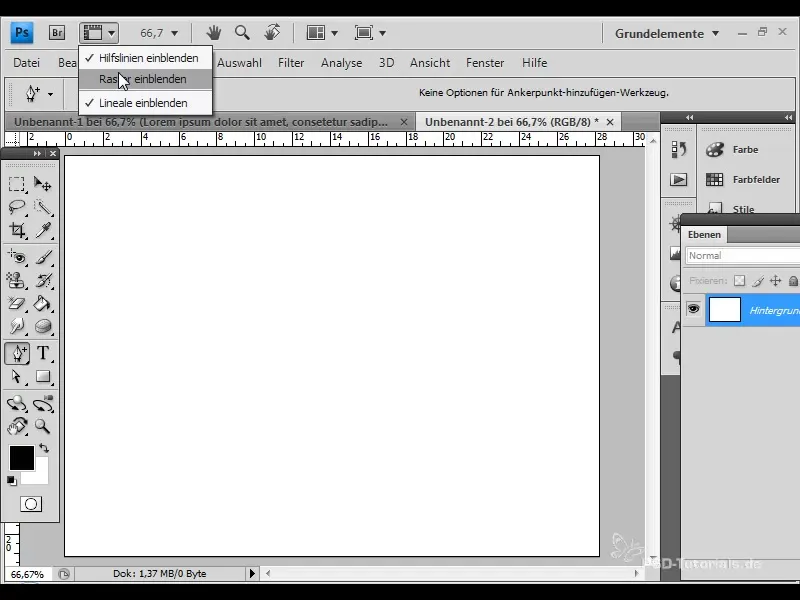
First, open Photoshop and create a new document with dimensions of 800 x 600 pixels. To work precisely, it's helpful to display the grid. This makes it easier to place the stripes.
Draw Rectangles
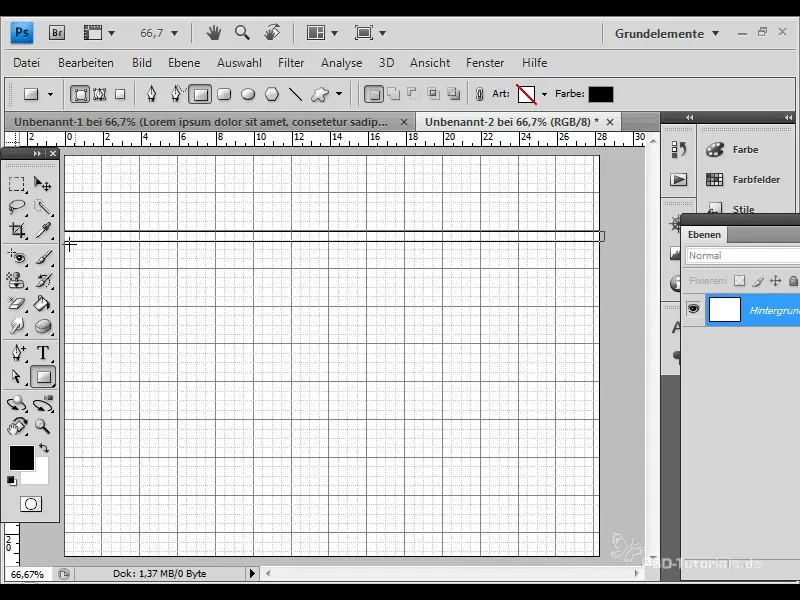
Use the rectangle tool to draw the individual stripes. You can vary different rectangles and their sizes to create a total of five stripes. Place the stripes so that they are evenly distributed.
Set Colors for Stripes
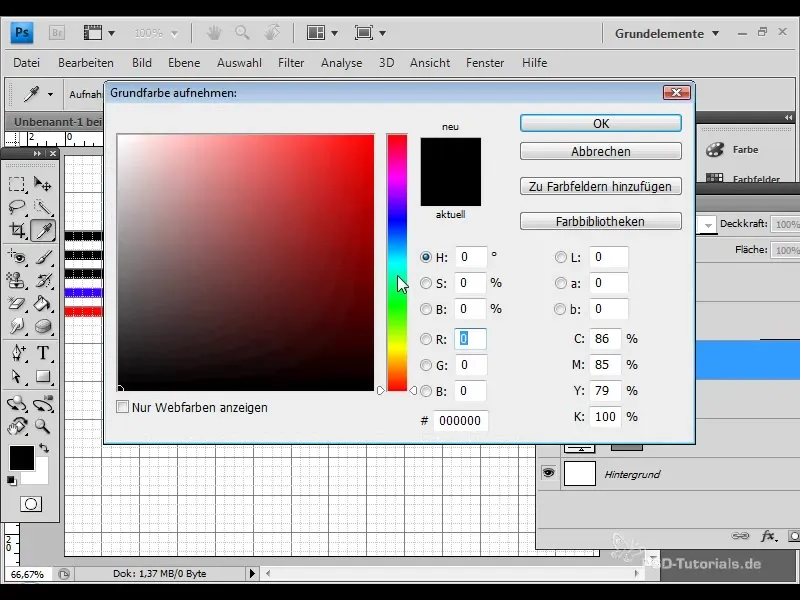
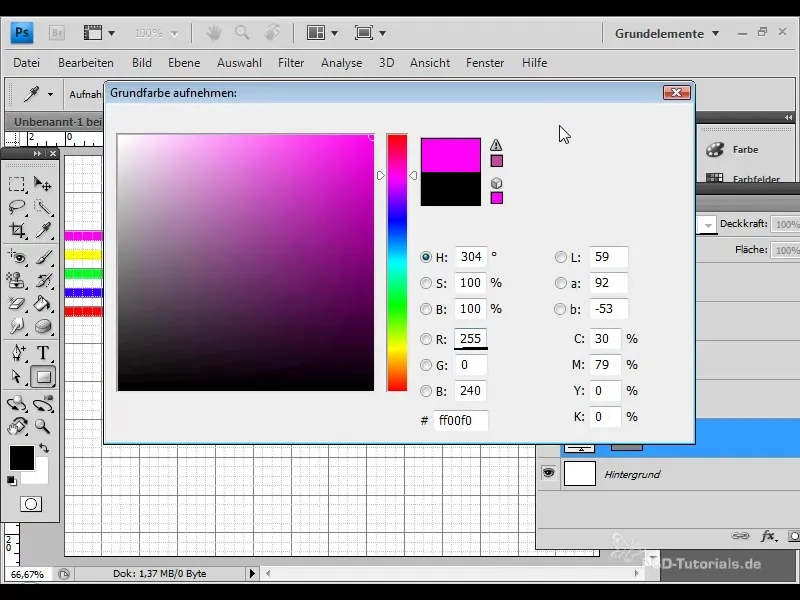
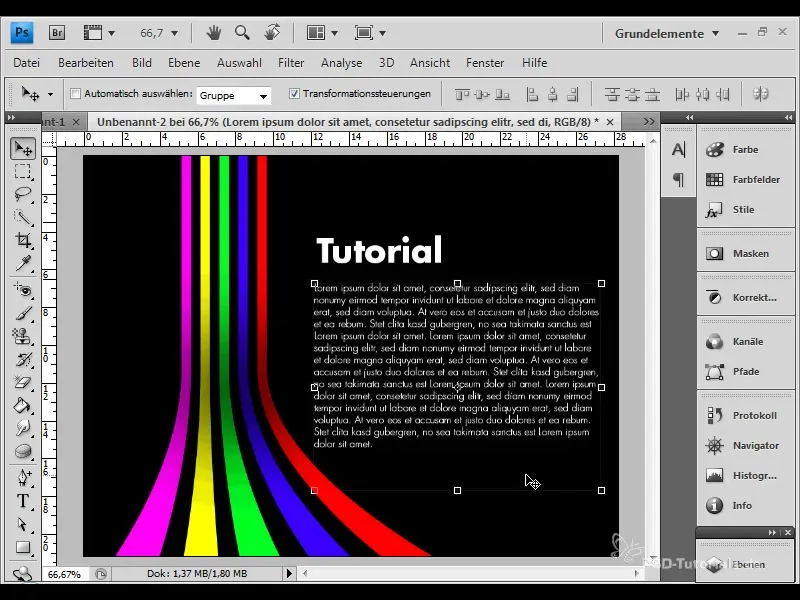
Now choose a different color for each stripe. Start with a red stripe, followed by blue, green, yellow, and finally a pink tone for the last stripe. These color variations create contrasts and provide a lively representation.
Add Anchor Points
Use the selection tool to define anchor points for each stripe. Place the points in a way that changes to the stripes can create the desired curves. This is particularly important for achieving the illusion of depth and movement.
Adjust Shapes
In this step, you will adjust the anchor points for the individual stripes. Drag the points up or to the side to make the stripes appear more dynamic. Make sure that the changes remain harmonious and symmetrical.
Set Background Color
To create more contrast, color the background black. This decision highlights the colorful stripes and adds more intensity to the design.
Use Brush Tool
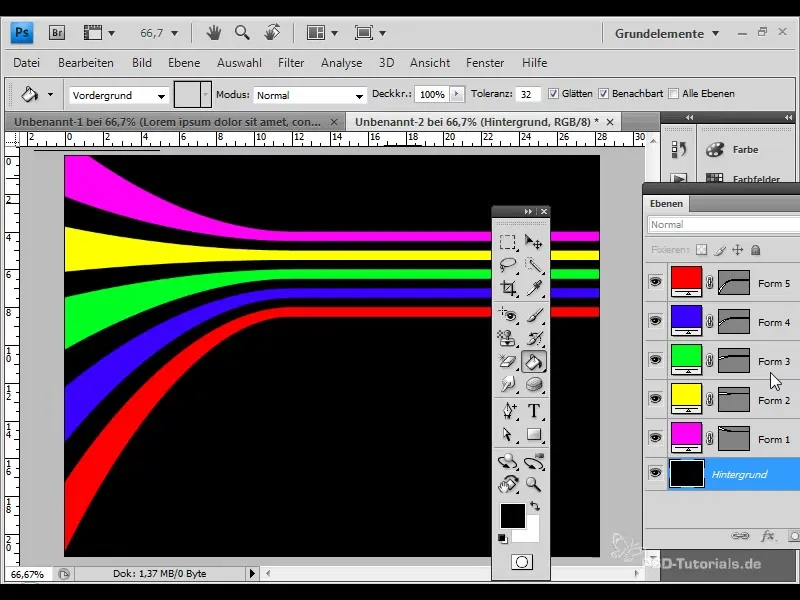
Now it's time to work with the brush tool. Choose a large brush with 300 pixels and 5% opacity. Darken the areas where the stripes should have a curve. This creates a realistic sense of depth and enhances the spatial impression.
Add Text
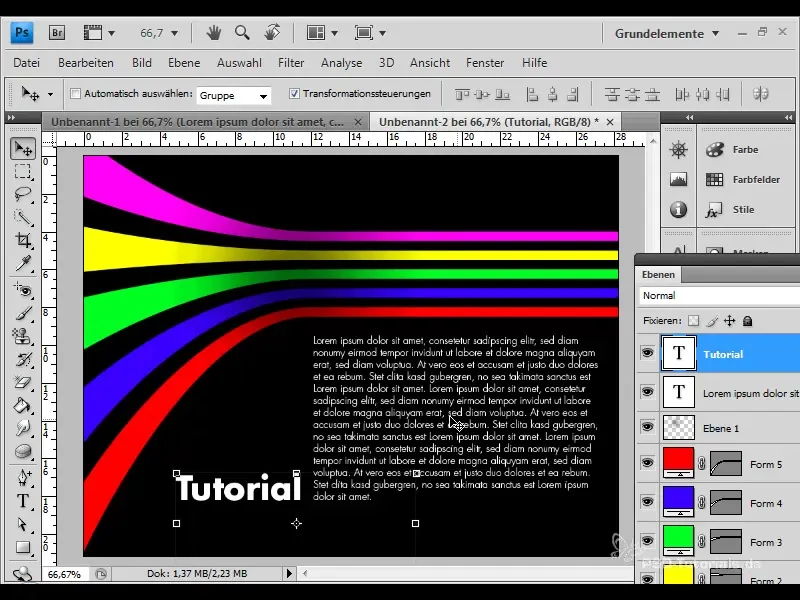
To give your design a message, drag a text frame and write a suitable text. Experiment with different font sizes and styles to make the flyer and wallpaper visually appealing.
Adjust Elements
You can now group the entire text and stripe combination as one group and add external effects to further enhance the visual impact. Rotate the entire group to optimize the effect and create more spatial depth.
Export
Finally, save and export your design. This allows you to distribute the finished product for both print and digital purposes.
Summary
In this tutorial, you have learned how to create impressive stripe effects for flyers and wallpapers in Photoshop using simple tools. By making targeted adjustments and choosing colors carefully, you have the opportunity to customize your design and give it a unique depth.
Frequently Asked Questions
How can I rotate the stripes in Photoshop?Select the group of stripes and use the transformation tool to rotate them as needed.
Can I add more design elements?Yes, experiment with additional shapes and filters to further develop your design.
Are the colors suitable for all designs?The color choice is flexible; adjust it according to your overall look and preferences.
Can I use this technique for other projects?Absolutely! The technique is suitable for various design projects, whether in print or digital media.


