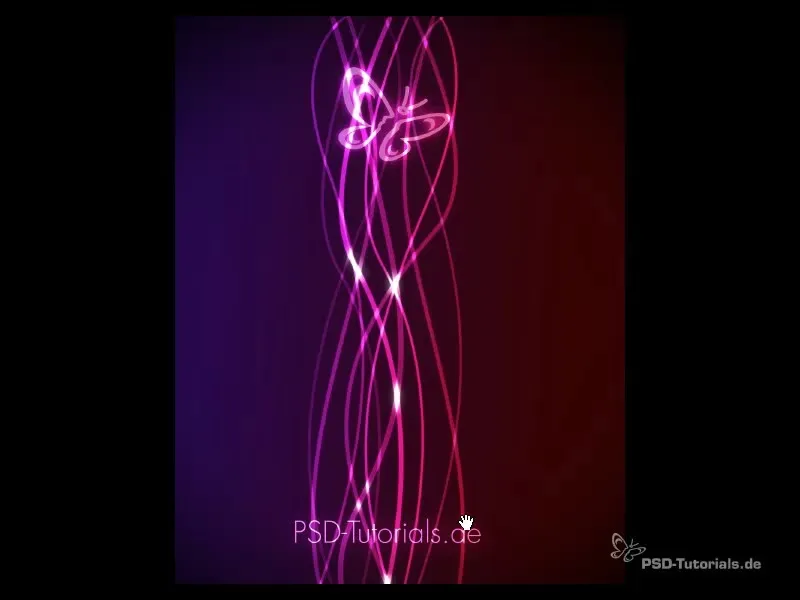
The strip light effect is an effective way to give designs in Photoshop a special depth and an appealing visual style. It can be used in combination with various graphics and texts to create impressive flyers and wallpapers. In this tutorial, you will learn how to create this effect yourself.
Main Takeaways
- You will learn how to create a gradient in the background, which serves as the base for the effect.
- Using brush and drawing tools, you will add the stripes.
- You will discover how to adjust the structures and colors to achieve a harmonious overall impression.
- The use of blending modes creates interesting light and shadow effects.
Step-by-Step Guide
First, open Adobe Photoshop and create a new document where you will integrate your strip light effect. Let's start with the background.
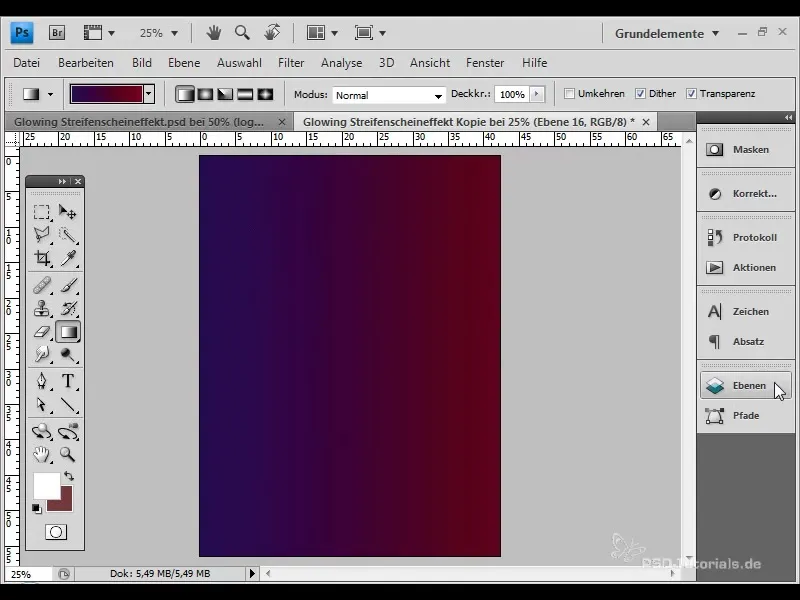
Now create a gradient in the background. Choose the gradient tool and set a combination of a dark blue tone and a dark red tone. Hold down the Shift key while dragging the gradient to ensure it remains straight.
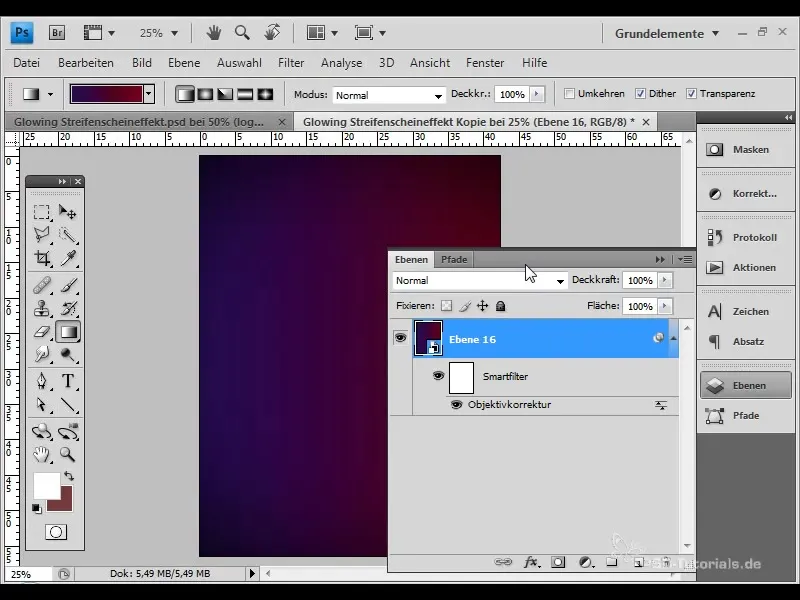
To give the background more depth, convert the gradient layer into a smart object. Go to "Filter" > "Distort" > "Lens Correction". Here, choose a value of around -70 for the bend and +45 for the midpoint.
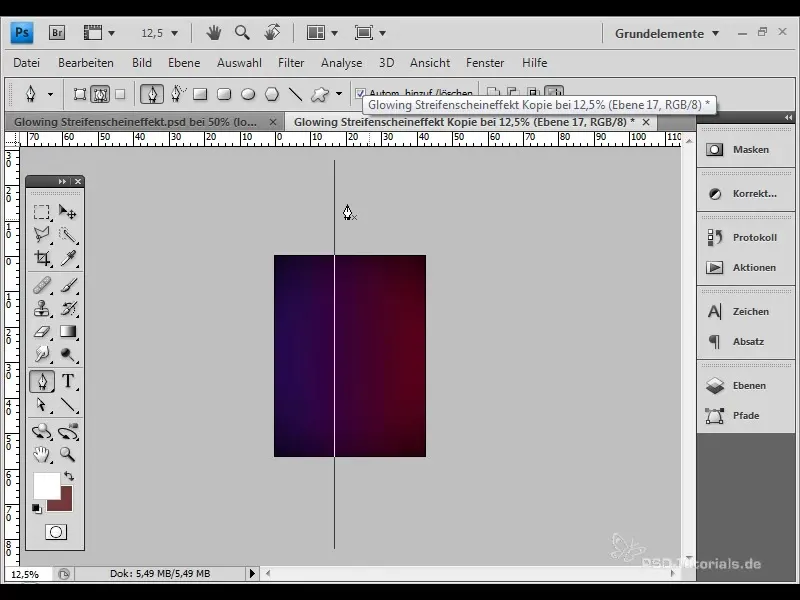
Now it's time to add the stripes. Create a new layer and choose the pen tool. Reduce the document view to have more space. Draw a large line that will later act as a stripe.
Add anchor points to the line and use the direct selection tool to reshape the line as desired. You can create curved shapes with the handles.
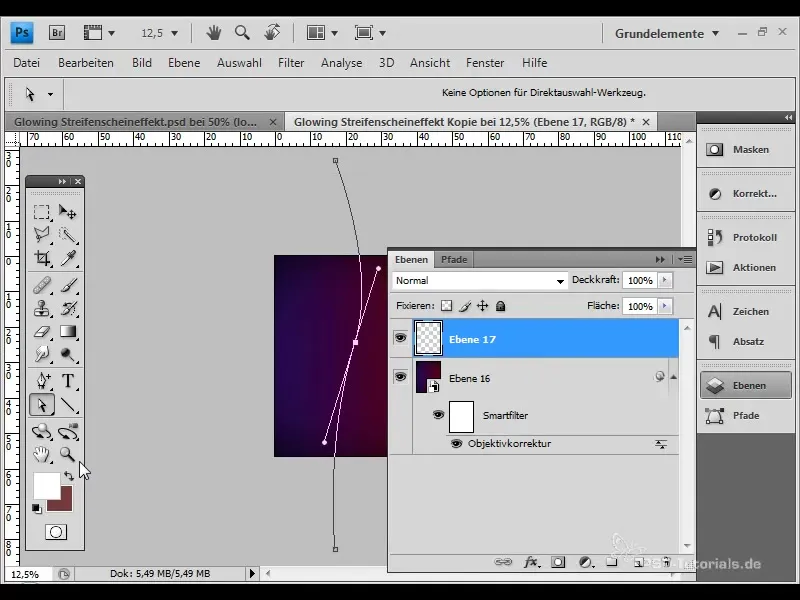
Now change the color of the line. Choose the brush tool and set a brush size of 10. Fill the line with white color using the brush tool.
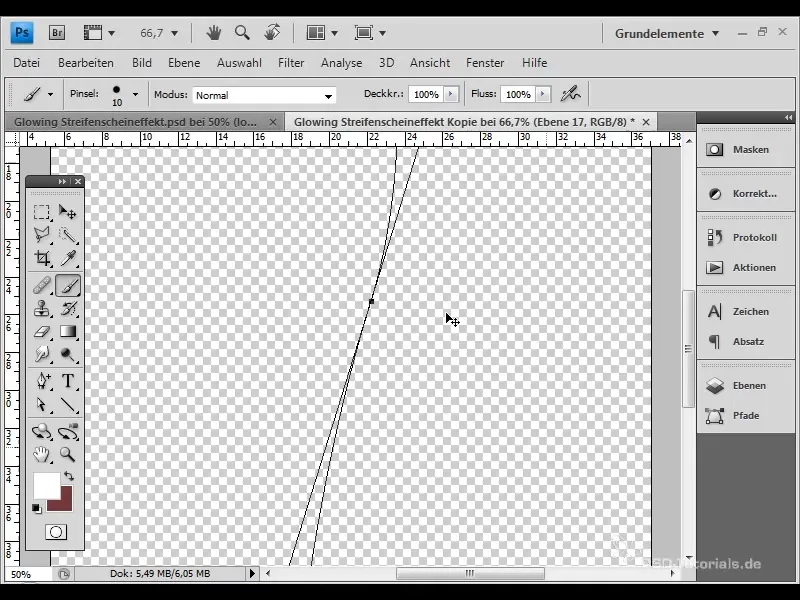
Repeat the process by creating several new layers and adding one more line each time. Do this a total of five times, each with different contours.
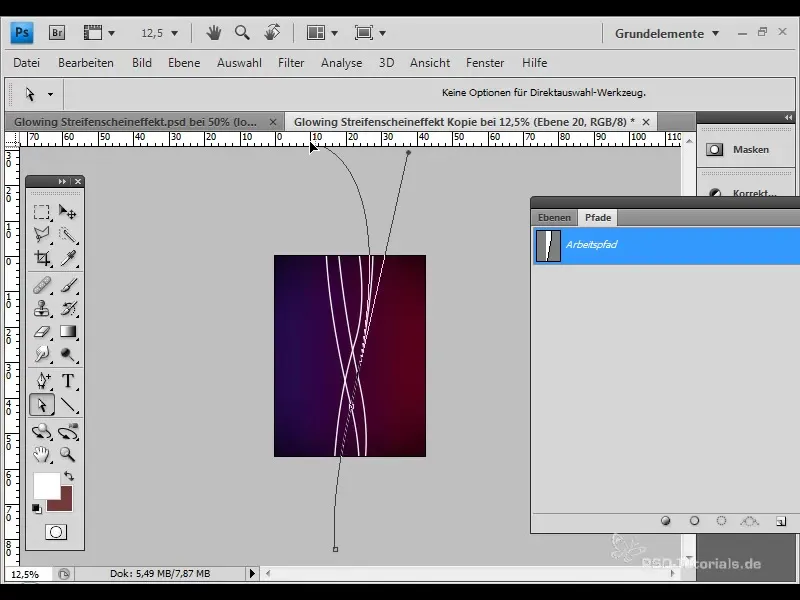
Once you've created all the lines, group them together. This allows for easier editing and more control over positioning.
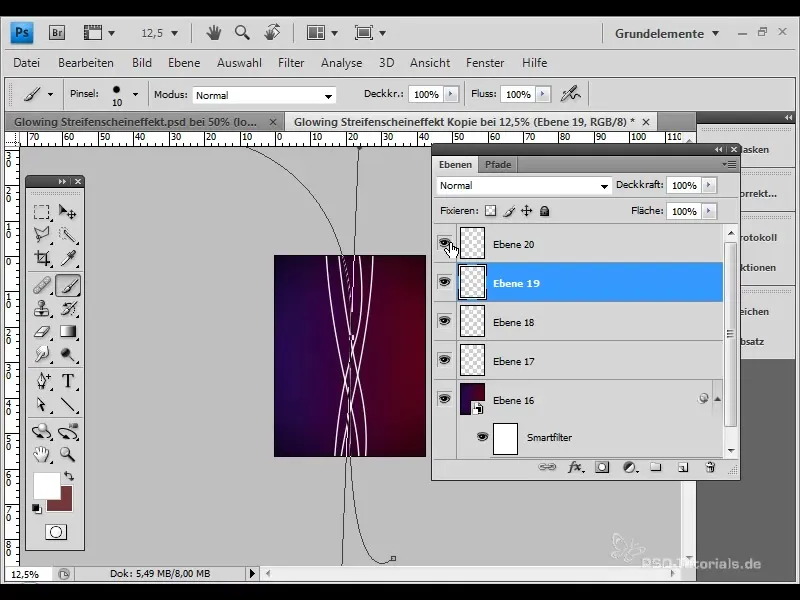
Next, take the larger stripes and change the blending mode to "color dodge". Adjust the fill opacity to create an interesting visual effect.
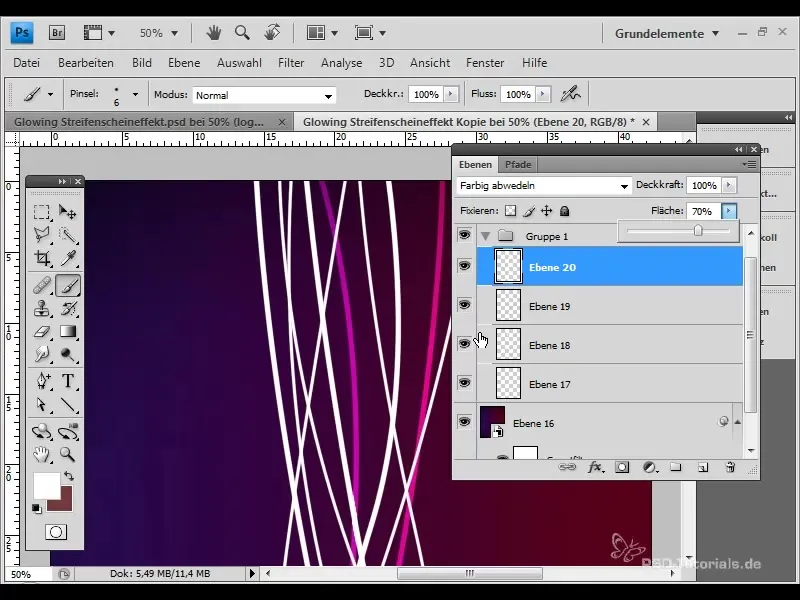
Apply the blending mode and fill adjustments to the other stripes as well to ensure they are harmoniously connected. Use different values to vary the contrasts and visibility of the stripes.
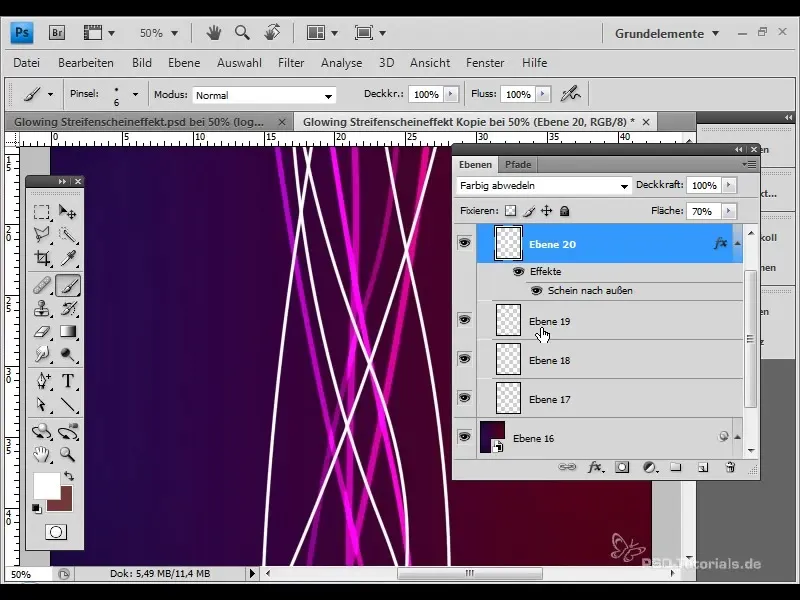
Now add an outer glow to the larger stripes. Go to "Layer" > "Layer Style" and set the opacity to 70% to achieve a subtly glowing effect.
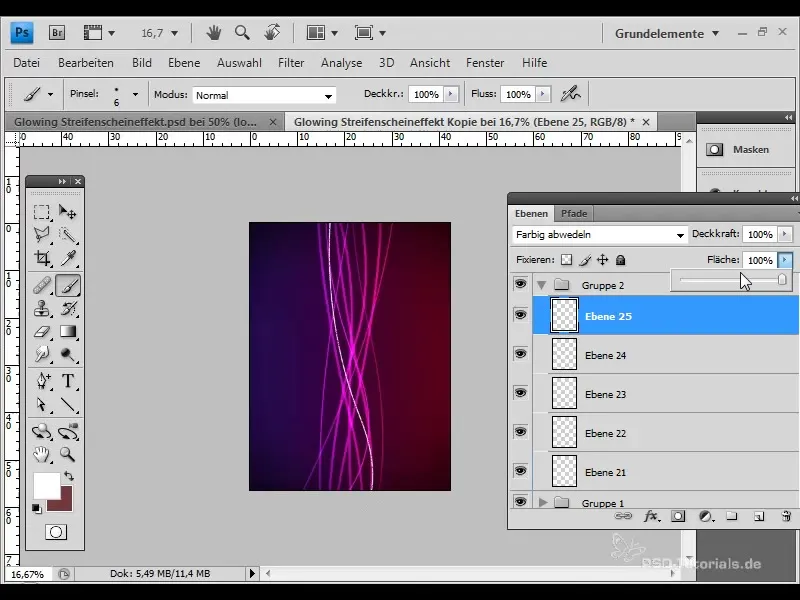
Now focus on the narrower stripes. Add these in the same way, but adjust the size and blending mode based on the existing structures.
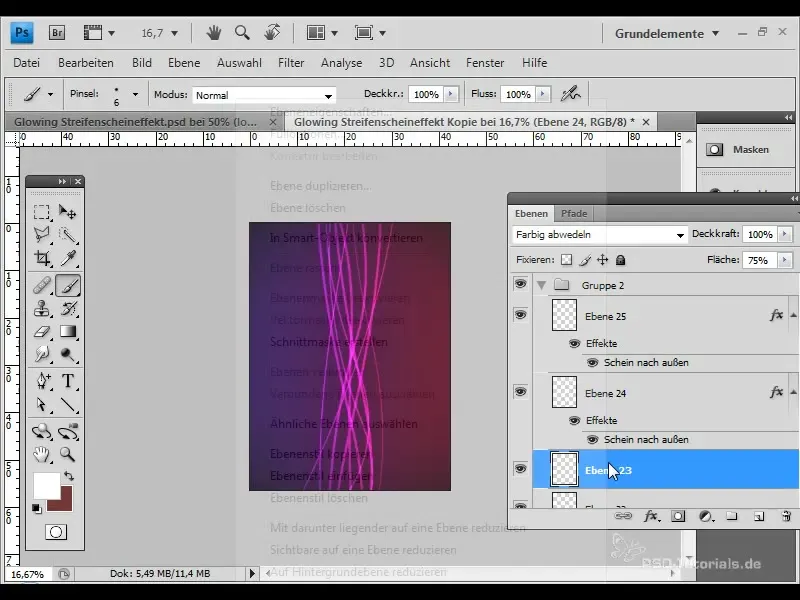
To highlight the intersections of the stripes, you can create a new layer and edit it with the brush in white color. Reduce the opacity to about 15% for a subtle shine.

The next step is to add a logo to your design. Go to "File" > "Place" and choose the logo. Position it where you want and scale it accordingly.
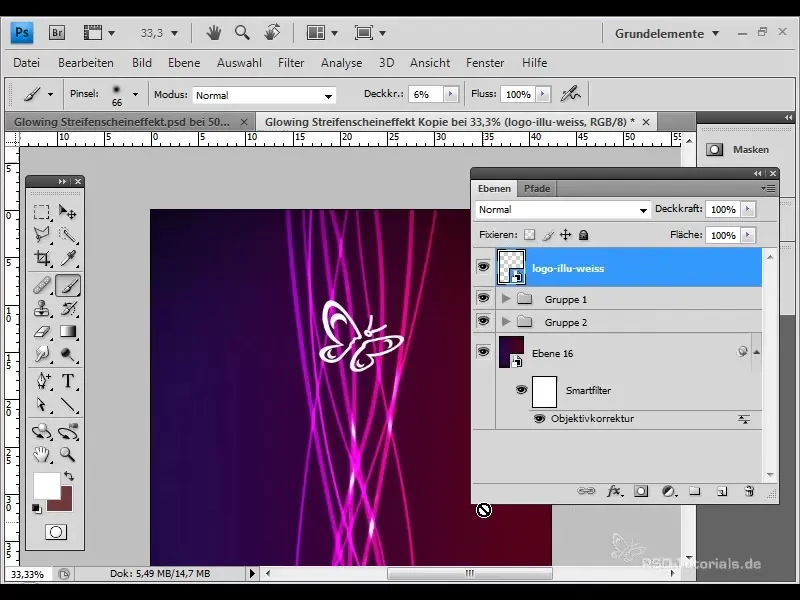
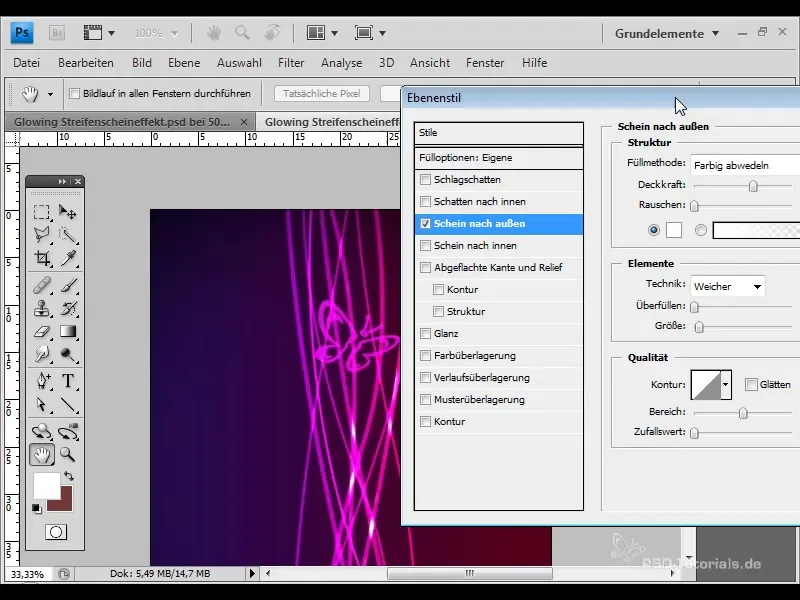
Change the blending mode to "color dodge" here and adjust the opacity and fill height to create a harmonious transition to the background.
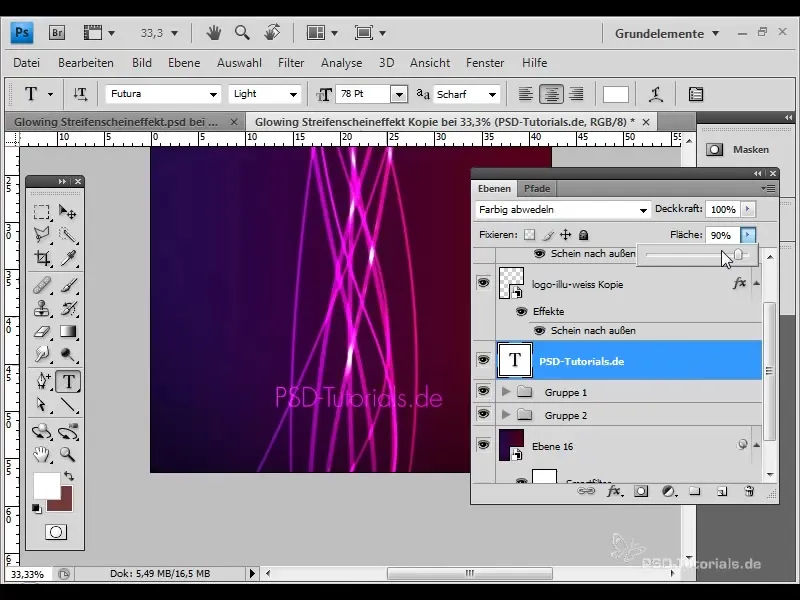
Now add some text. Select the text tool and create a text frame. Use white color, set the blending mode to "color dodge" and adjust the fill to 90%.
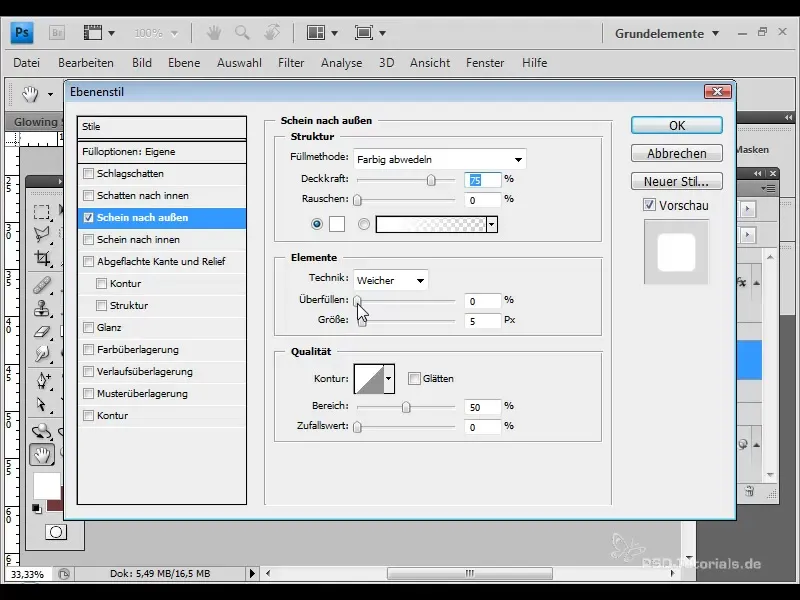
Also give the text an outer glow here to complete the overall look. Pay attention to parameters such as opacity and size to achieve a coordinated style.
When everything is ready, you can duplicate each group to enhance the effects in your design. This is a simple way to optimize the shine and depth of your design.
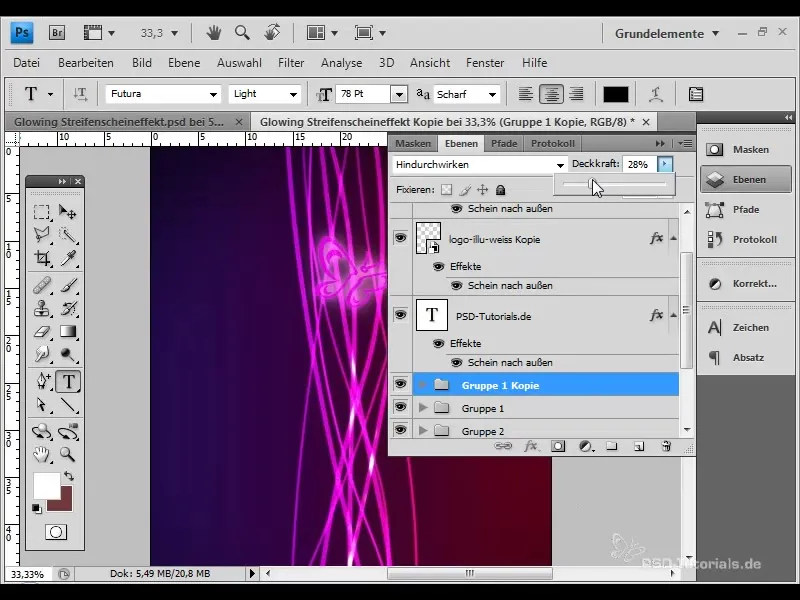
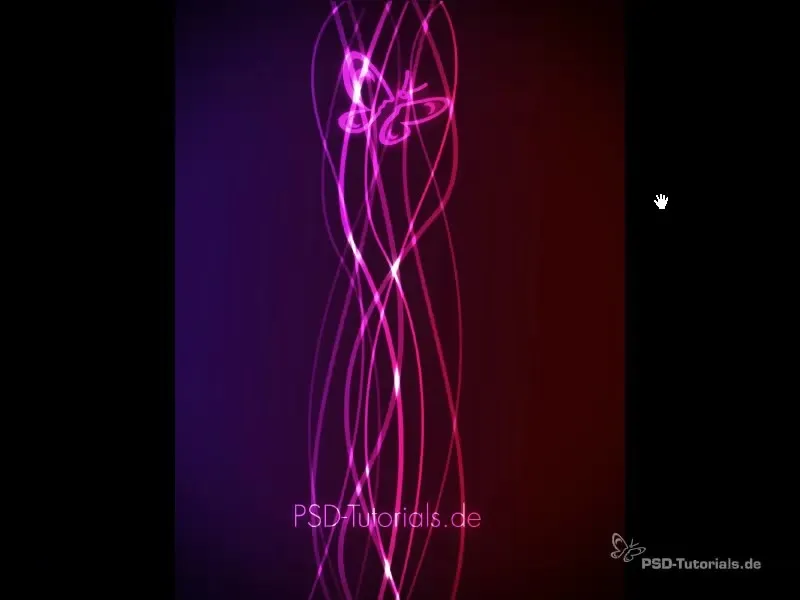
Enjoy the end result you have created with these steps. You have now created an effective glowing stripe shine effect for flyers or wallpapers.
Summary
This tutorial shows you how to create an engaging stripe shine effect for your designs using Adobe Photoshop. With the right tools and techniques, you can achieve visually stunning results that enhance your flyers and wallpapers.
Frequently Asked Questions
What is a stripe shine effect?A stripe shine effect is a visual effect in designs created by colored stripes or lines with a glowing effect.
How do I create a gradient in Photoshop?Select the gradient tool and draw a line in your document. You can choose different colors and adjust the gradient.
Why is it important to use layers?Layers allow you to edit and organize different design elements independently, making adjustment and layout easier.
Can I create the effect in other programs as well?Yes, similar effects can also be created in other graphic design programs like GIMP or Illustrator that offer comparable tools.


