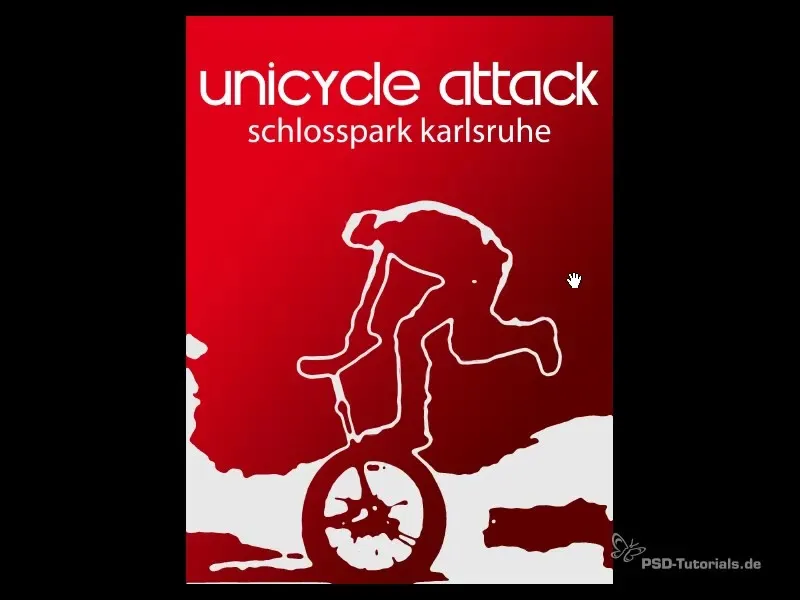
Do you want to enhance your design projects with appealing contour image effects? This technique is an excellent way to transform photos into creative design elements that are perfect for flyers or wallpapers. In this tutorial, you will learn step by step how to create such an effect from a photo in Photoshop.
Key takeaways
- Contour image effects add depth to designs and help highlight elements.
- The process starts with converting the background layer into a smart object.
- Tone separation is the key to creating a unique contour effect.
- Selection tools and layer styles allow for precise adjustments and creative design.
Step-by-step guide
First, open your Photoshop and load the image you want to use for your flyer or wallpaper. Make sure to resize your image to the appropriate format.
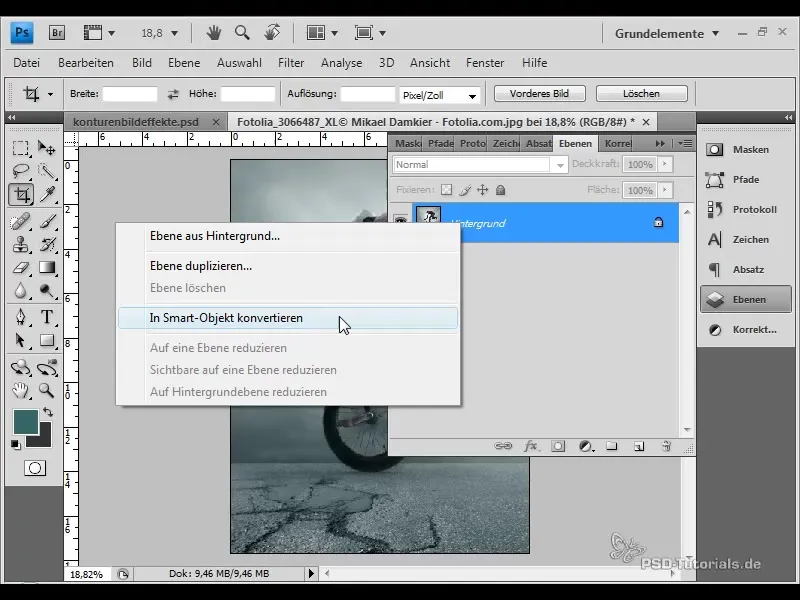
Next, you need to convert the background layer into a smart object. This allows you to reset or change all filters and adjustments at any time. Right-click on the background layer and choose "Convert to Smart Object."
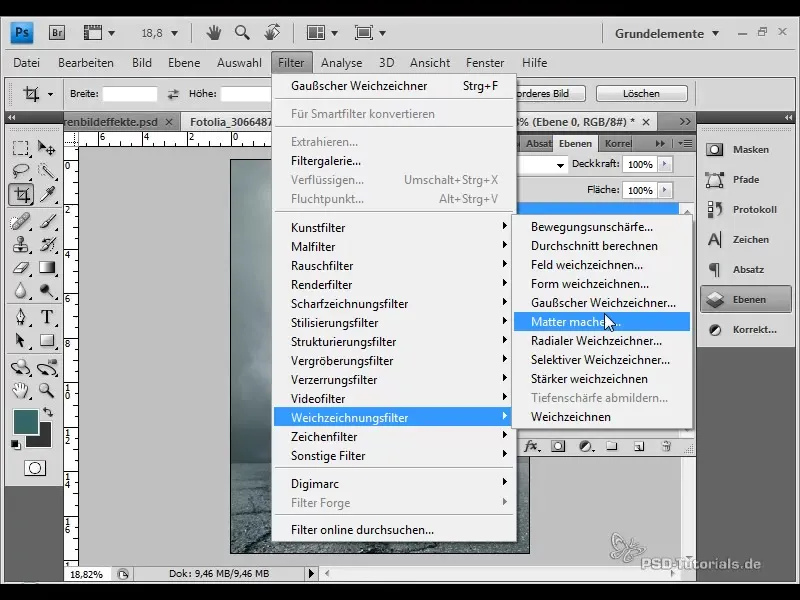
In the next step, we will apply the blur filter. Go to "Filter" > "Blur" > "Gaussian Blur." Choose a radius of about 5 to 6 pixels to soften the details and enable more effective tone separation.
After blurring, discuss the application of tone separation. Go to "Layer" > "New Adjustment Layer" > "Gradient Map" and choose a value for the tonal levels. Usually, grayscale images are used, but this technique also works in RGB mode. Set the tonal levels to 4 or 5 to achieve an ideal result.
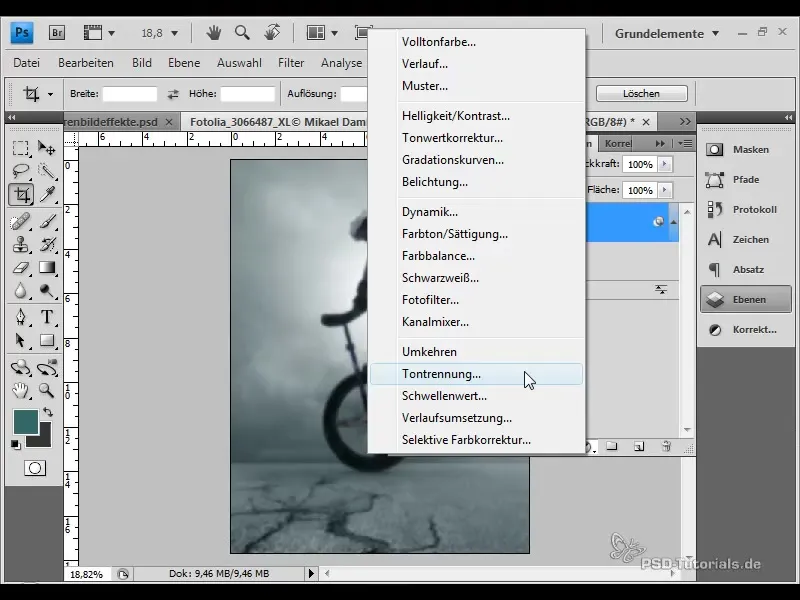
The tone separation is now its own adjustment layer. Zoom in on your image to see the individual tonal levels. With 5 tonal levels per channel, you will have a total of 15 colors to use in your image. This foundation is important for the subsequent process.
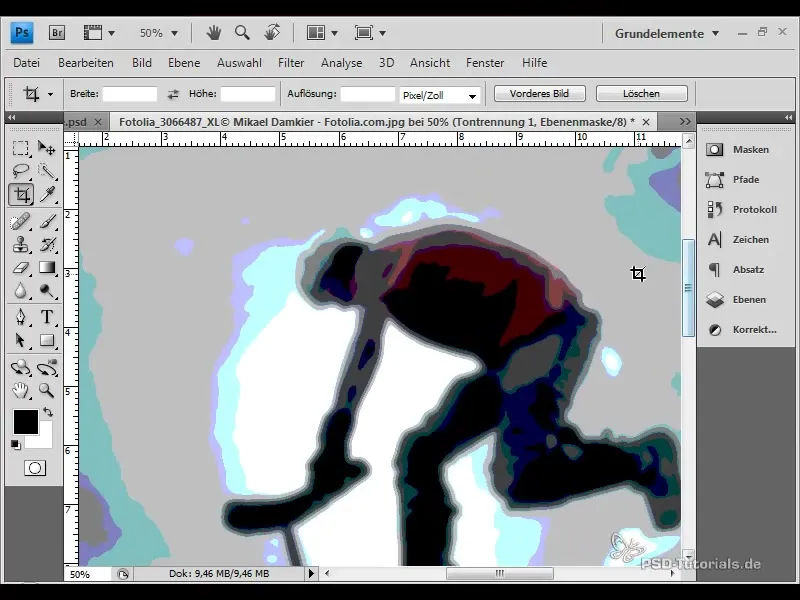
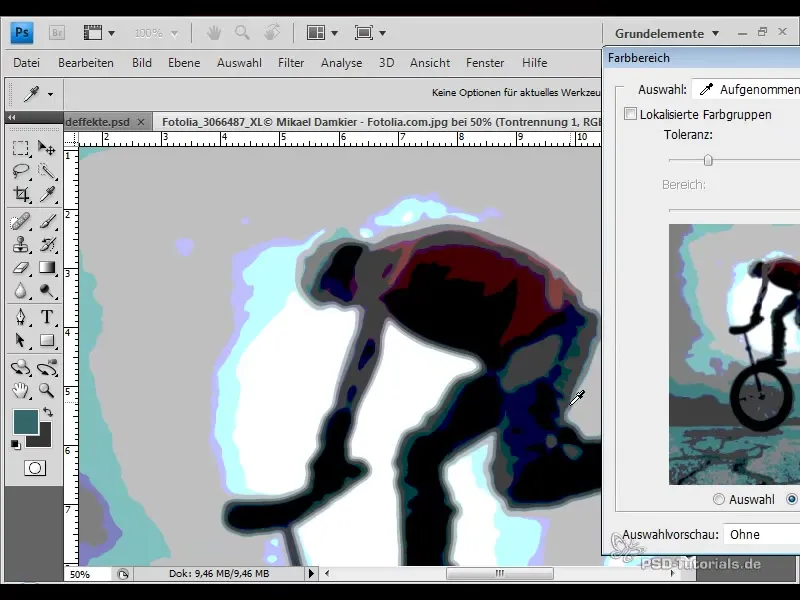
Now, we want to make a selection from the image. Go to "Select" > "Color Range" to choose the colors you want to use for your contour effect. Ensure that the tolerance is set to an appropriate value to capture the desired colors. Confirm the selection.
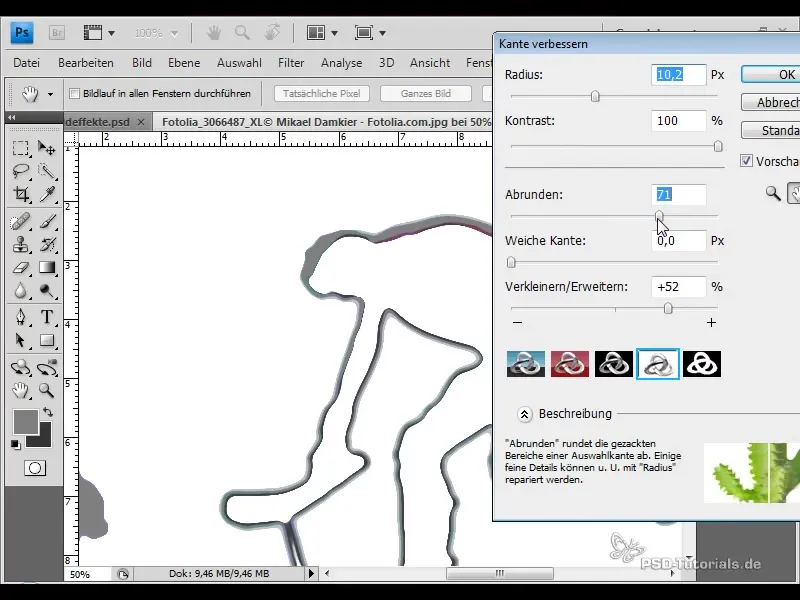
To improve the edges of the selection, use the "Refine Edge" tool. Here, you can make various adjustments such as rounding the edges and expanding the selection. These options help you achieve a clean result.
Once the selection is ready, you can copy it. Use the "Ctrl + C" keys (Windows) or "Cmd + C" keys (Mac) to copy the selection and paste it into a new layer using "Ctrl + V" or "Cmd + V".
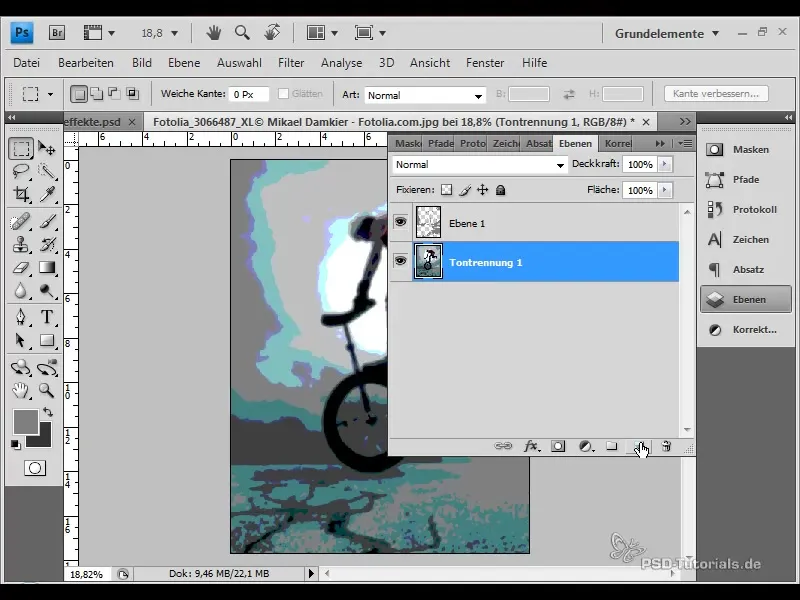
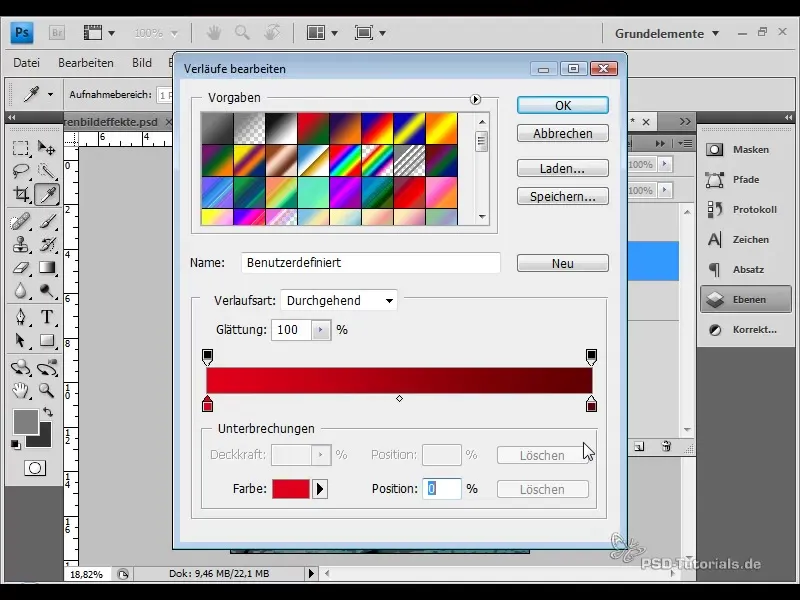
Next, create a new layer that you fill with a gradient. Go to "Layer" > "New" > "Layer Fill Options". Choose a gradient between a red color and a darker shade, and use the gradient tool to apply a gradient to the new layer.
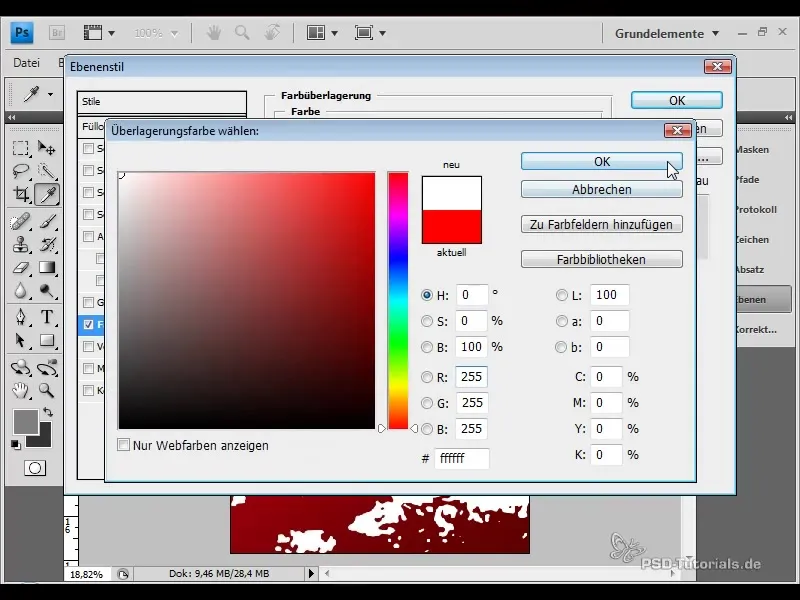
To emphasize the contour clearly, go to the fill options of the selection and choose "Color Overlay". Set the color to white to make it stand out well from the gradient background.
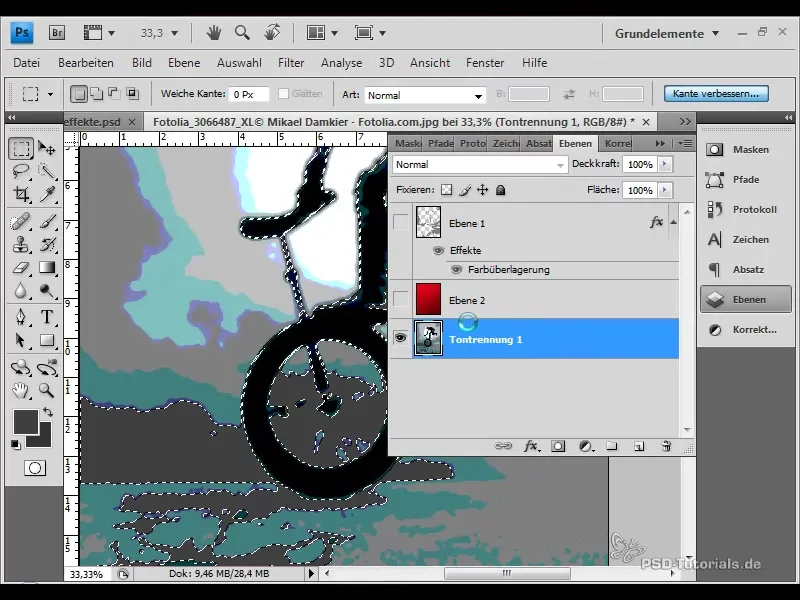
It may happen that not all details are optimally visible in the tone separation. If certain areas, like a wheel in your image, are difficult to recognize, you can select them again. Go back to "Select" > "Color Range" and choose the desired area.
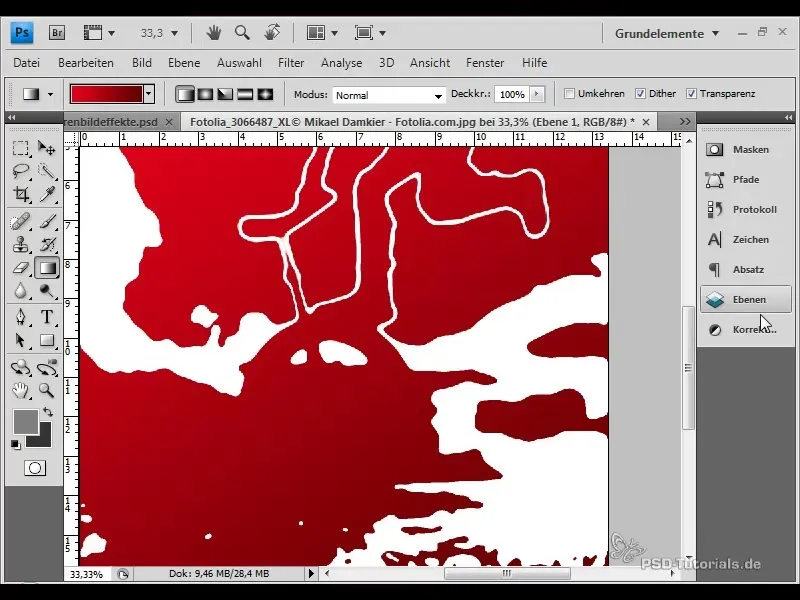
Once you have made the selection, you can refine the edges again. It is advisable not to expand too much in order to keep the shape detailed.
The next phase is to copy the layer style and paste it into the new file. This ensures that the design and color scheme remain the same, which guarantees the consistency of your designs.
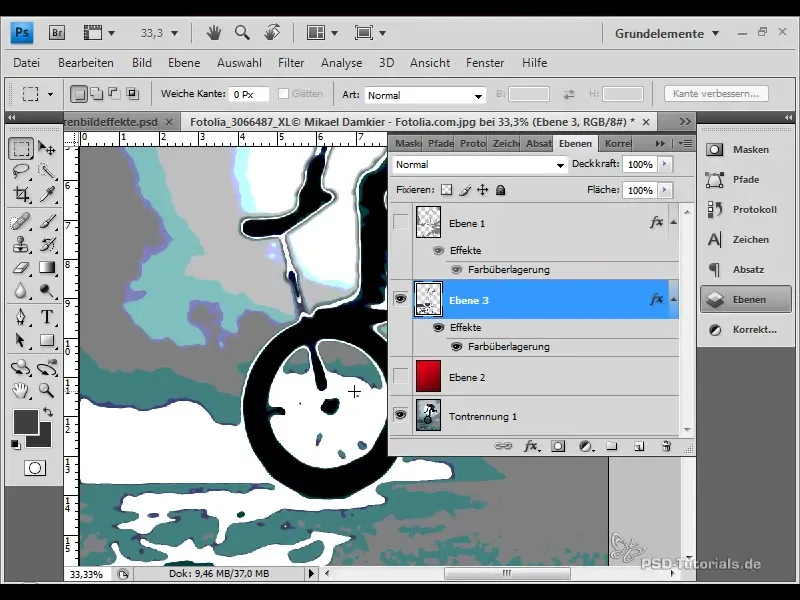
To ensure that all areas of your design are clearly visible, you can use a layer mask. Select the brush tool and paint over the areas you want to hide with black.
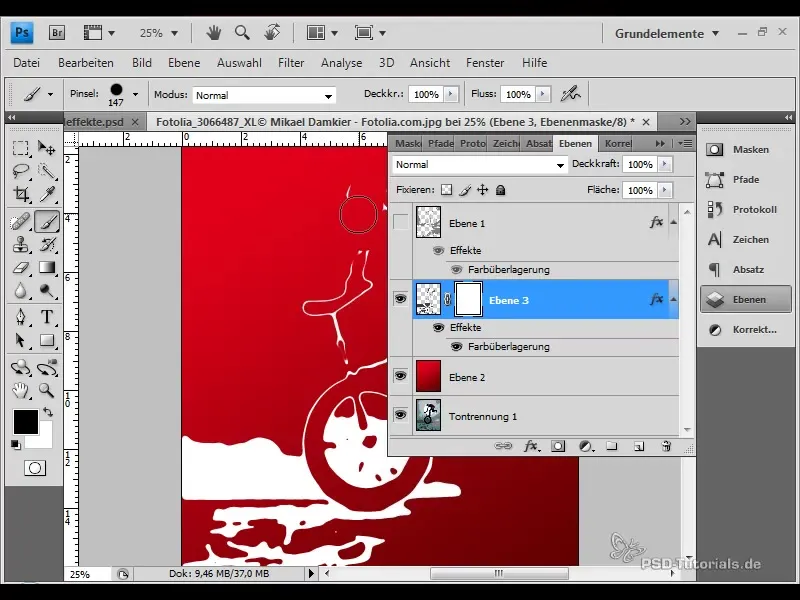
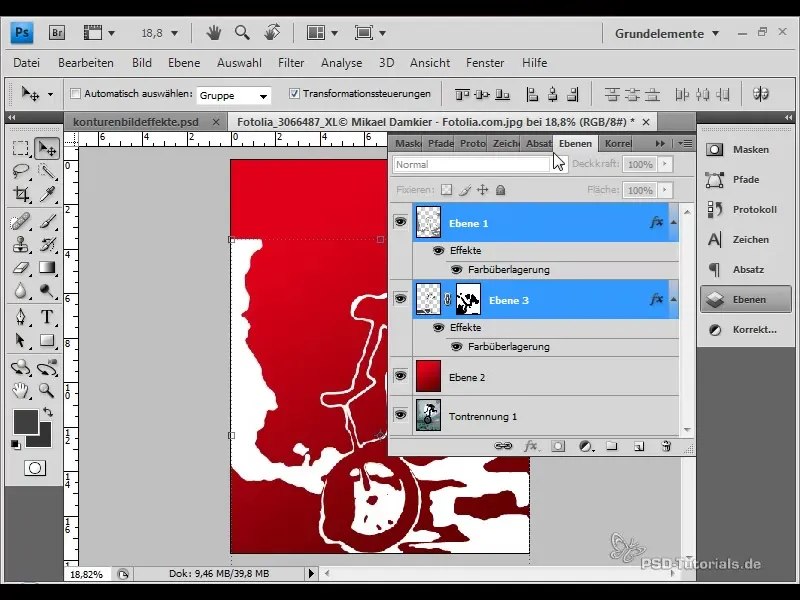
If you are satisfied with the result, you can click on both layers and move them down. This gives you space to add text.
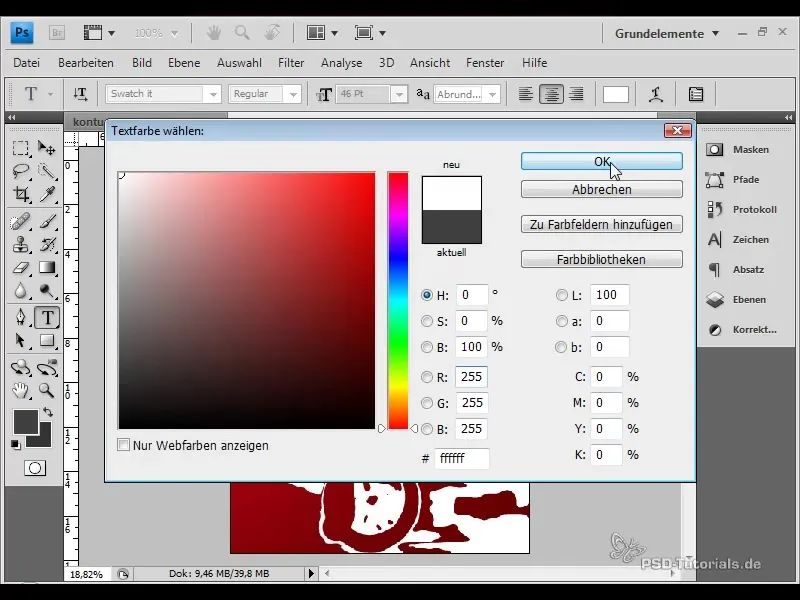
Use the text tool to add the name of the event or other important information. To complete your design, choose a suitable font and size. Great options are, for example, the "Swatch" font for the title and "Myriad Pro" for the location.
By applying shadow tears and a non-uniform line width, you achieve a vibrant effect that enhances the design. This technique is versatile and can easily be applied to other images to create different designs.
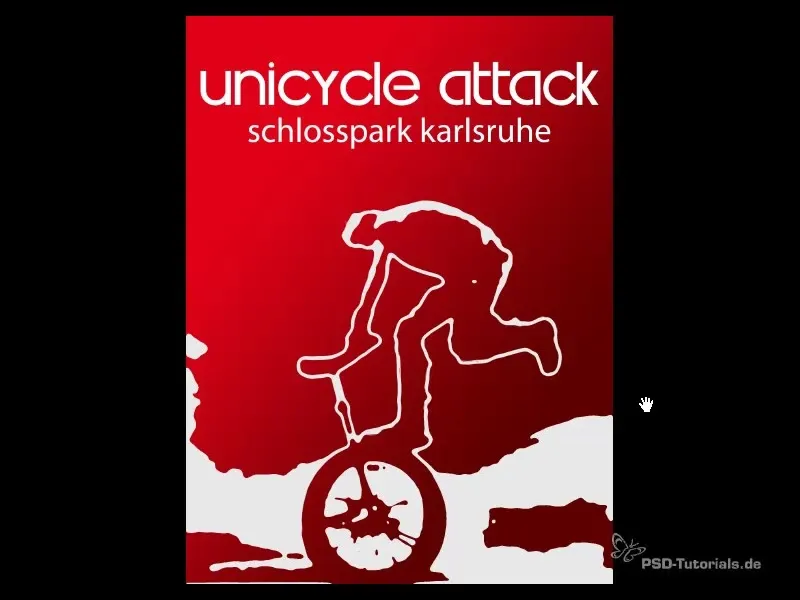
Summary
With this detailed guide, you have learned all the necessary steps to create contour image effects in Photoshop. Experiment with the techniques and apply them to different projects to highlight your designs.
Frequently Asked Questions
How can I consistently achieve good results with contour image effects?By experimenting with tonal values and color selection, as well as using blur filters, you can achieve optimal results.
Can I use this technique for other image formats as well?Yes, this technique works with different image formats as long as the right settings are adjusted.
Do I need to purchase Photoshop to apply this technique?Yes, applying these steps requires the use of Photoshop, as they rely on specific tools and functions of this software.


