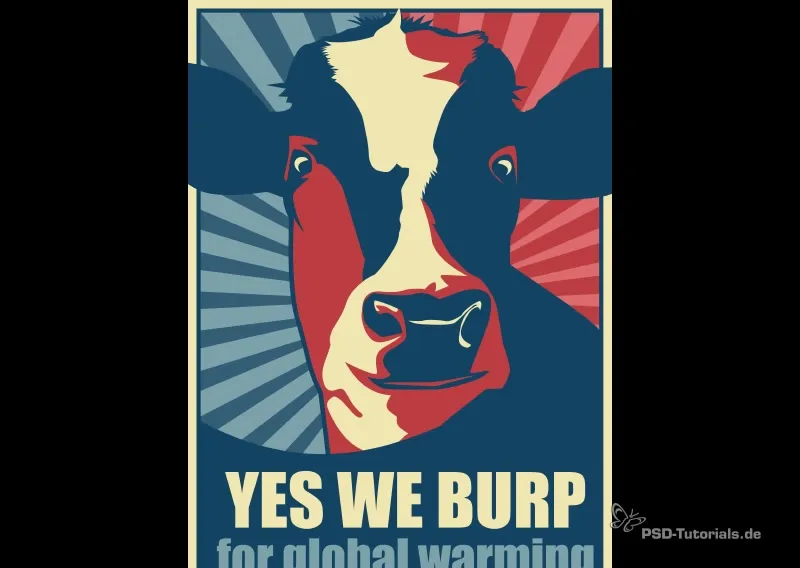
A powerful Photoshop design influences perception and can effectively communicate important topics. With the illustrative propaganda look, inspired by the famous "Hope" poster by Shepard Fairey, you can draw attention to social issues in an appealing way. In this guide, you will learn how to create a flyer on the topic of "Global Warming." You will be guided through the process step by step and receive tips on color design, shaping, and typography. Let's get started!
Main Insights
The illustrative propaganda look is characterized by bold colors, simple shapes, and targeted messages. During the creative process, it is important to clearly highlight the main motif and coordinate the color design well. With the right techniques and settings, you can create an impressive design that engages viewers and stimulates reflection.
Step-by-Step Guide
Step 1: Create a New File
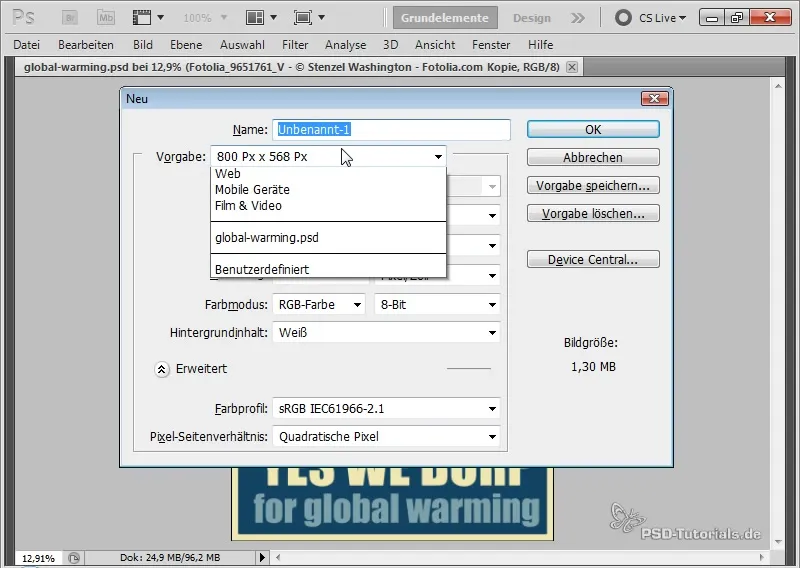
Start by creating a new file. Press Ctrl + N and select the A4 format in portrait orientation. Prepare the workspace to create the illustrative look.
Step 2: Set Background Colors
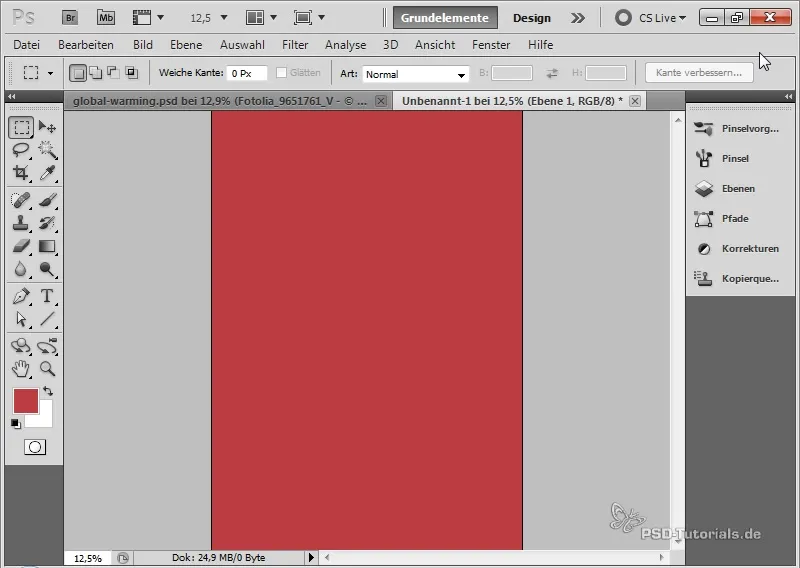
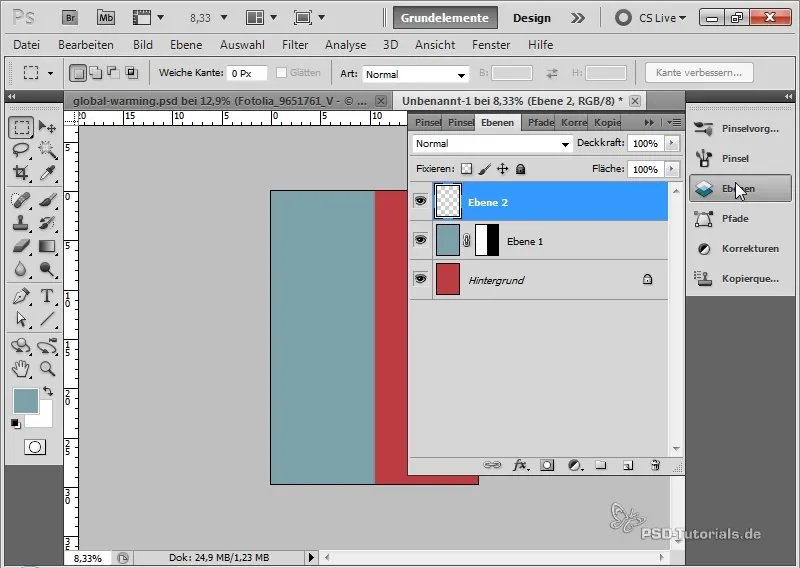
Select the background color. Go to the color window and choose a slightly saturated red tone. Note the corresponding hex code for it. Fill the background with the chosen color.
Create another layer for a second color. Repeat the process and select a slightly saturated blue tone with its own hex code to fill this area as well.
Step 3: Add Layer Mask
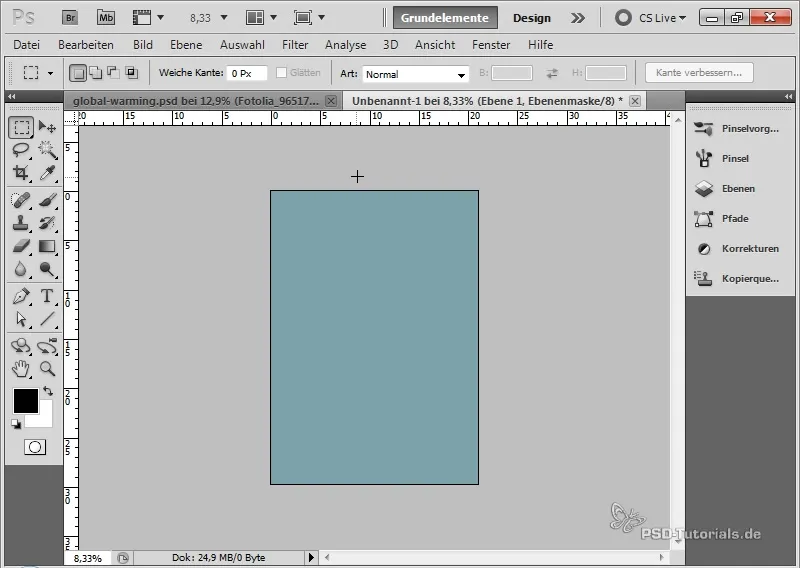
Add a layer mask to your blue layer. Use the selection tool to draw a selection area and fill the upper color part. This creates a harmonious gradation between the two colors.
Step 4: Add Outlines
Create a new layer for the outline. Set the fill of this layer to 0 and add a 50-pixel yellow outline through the fill options. This outline adds depth to your design.
Step 5: Adjust Outlines
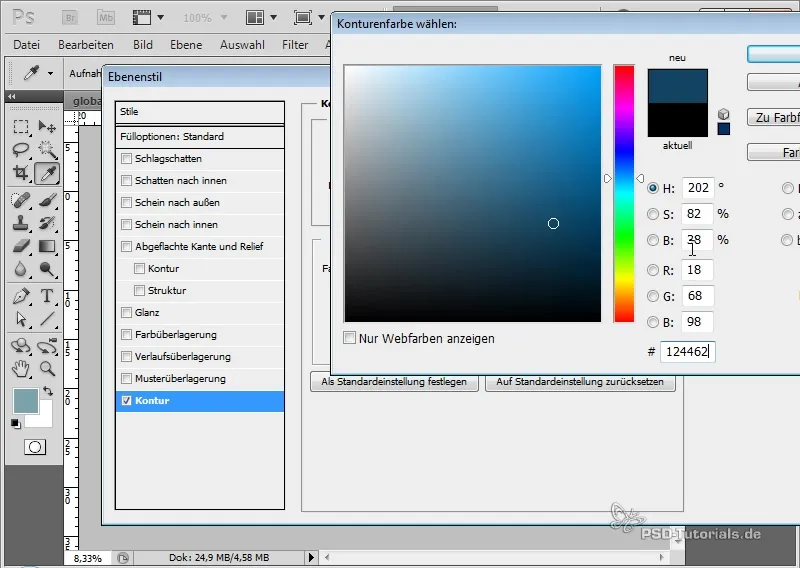
Right-click on the outline layer to create it as a separate layer. Release the clipping mask and adjust the outlines by adding an outer 25-pixel dark blue outline.
Step 6: Place Main Motif
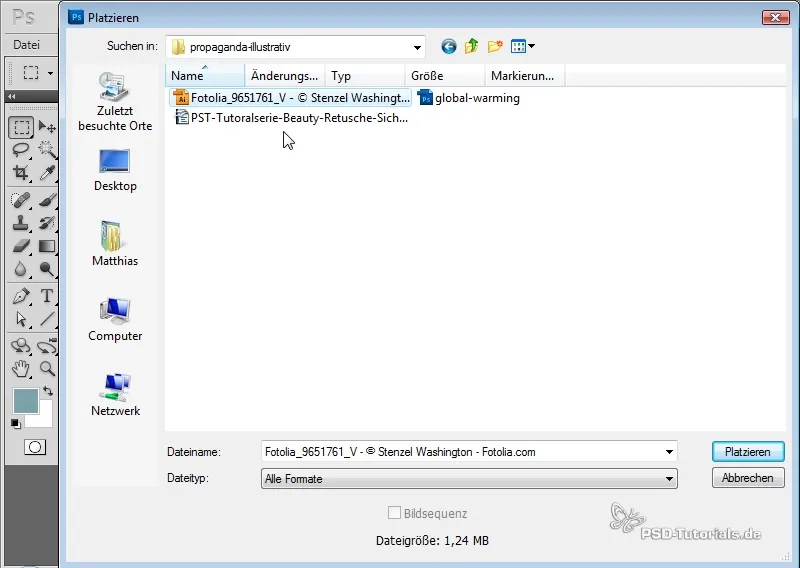
Insert your main motif by choosing File and Place. You can use an existing illustration that you have already selected. Position and scale the illustration harmoniously into your design.
Step 7: Adjust Illustration Colors
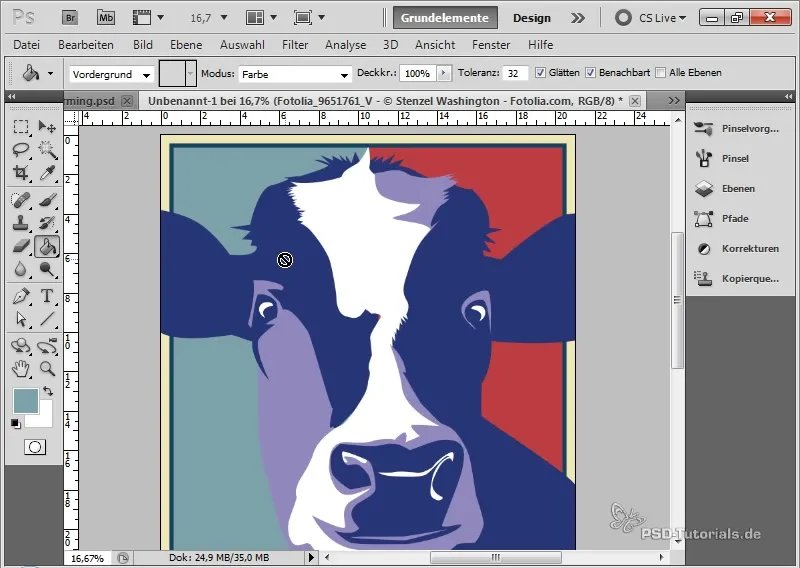
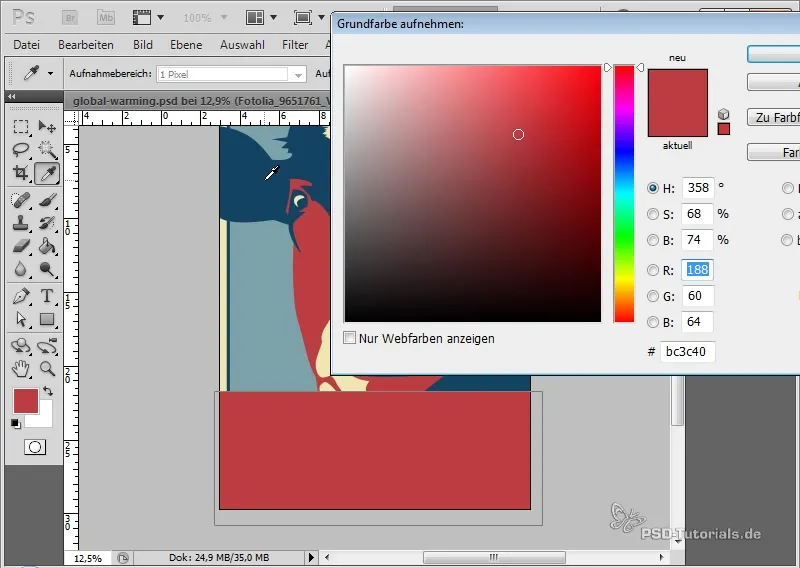
Use the fill tool to adjust the colors of your illustration. Make sure to color different areas of your motif in similar tones to the background to create unity.
Step 8: Create Text Background
To make room for your text, draw a rectangle that you want to adjust the color of. Distort the rectangle to give it an appealing shape.
Step 9: Text Insertion
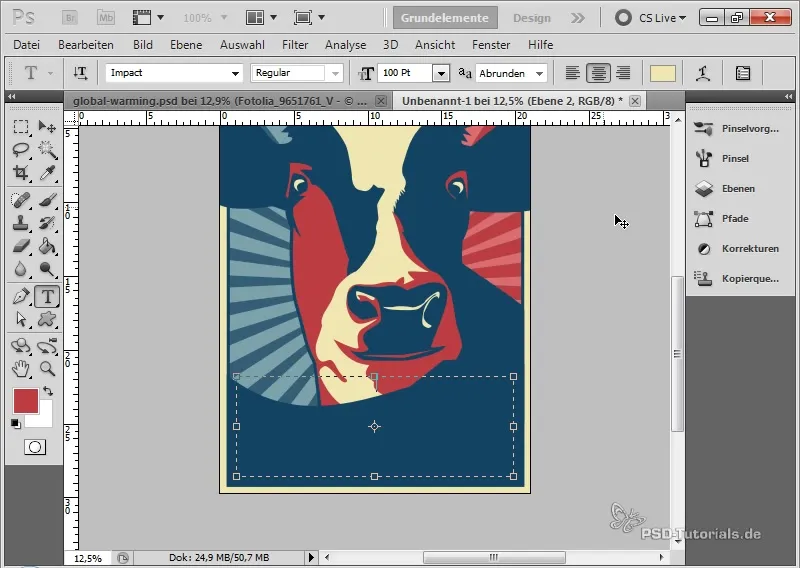
Select the text tool and insert your text. You can use an Impact font to make a strong visual impression. Set the font color to yellow and adjust the line spacing to make the text clear and readable.
Step 10: Finalizations
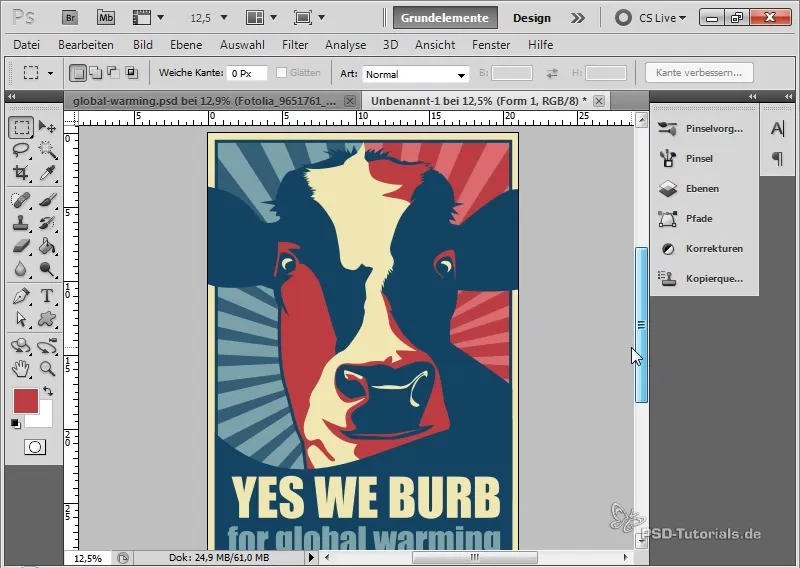
Check the entire design to make sure everything fits well together. Make sure no elements overlap and adjust the layers as needed to create a harmonious overall image.
Summary
You have learned how to create an appealing flyer in an illustrative propaganda style. From color selection to text creation – each element contributes to communicating an impactful message. The techniques you have learned in this tutorial will help you create creative designs on various topics.
Frequently Asked Questions
What is the illustrative propaganda look?The illustrative propaganda look is a design style characterized by bold colors and simple shapes to effectively communicate social messages.
How can I bring my own style into it?Experiment with different color combinations and shapes to create your individual design.
What software do I need for this tutorial?The tutorial is based on Adobe Photoshop, so you will need this software to implement the steps described.


