Designing flyers and wallpapers often requires creative approaches to capture the viewer's attention. One particularly effective technique is the color contrast look, which stands out with vibrant colors and strong contrasts. In this tutorial, you will learn step by step how to create such an effect using Adobe Photoshop. You will work with different layers and blending modes to create impressive designs that are perfect for flyers or web projects.
Key insights
- Using the blending modes "Color Dodge" and "Color Burn" allows you to achieve impressive color contrasts.
- A clever use of layer masks lets you emphasize or darken specific areas.
- The gradient effect varies the intensity of colors and can create a dynamic visual presentation.
Step-by-Step Guide
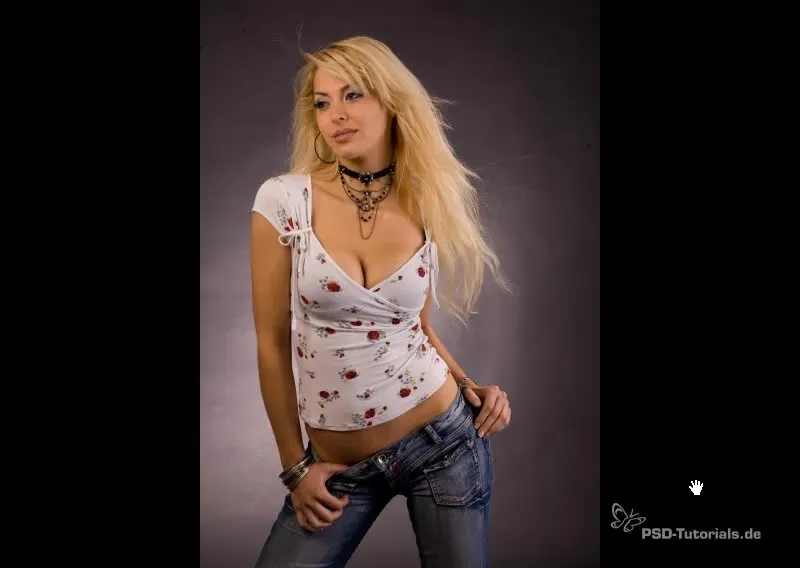
First, you upload your unedited image in Photoshop. In this example, we are using a simple base image and transforming it into an artistic design that immediately catches the eye.
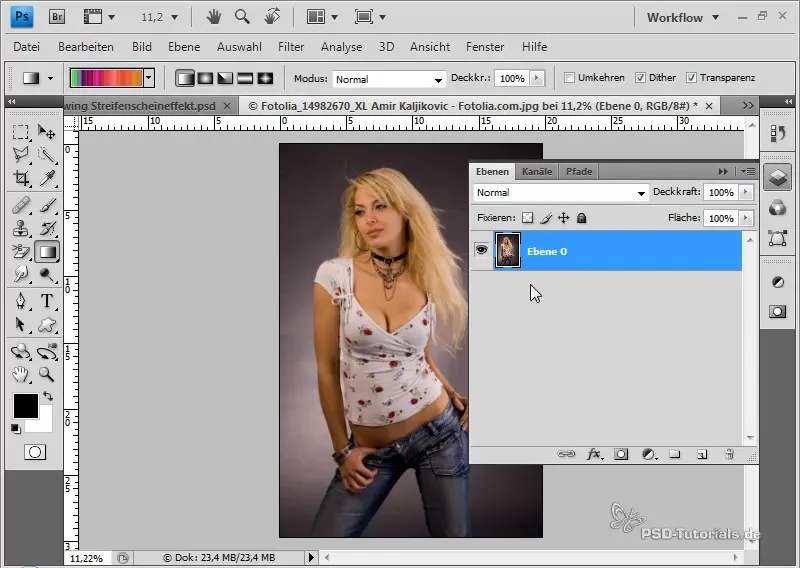
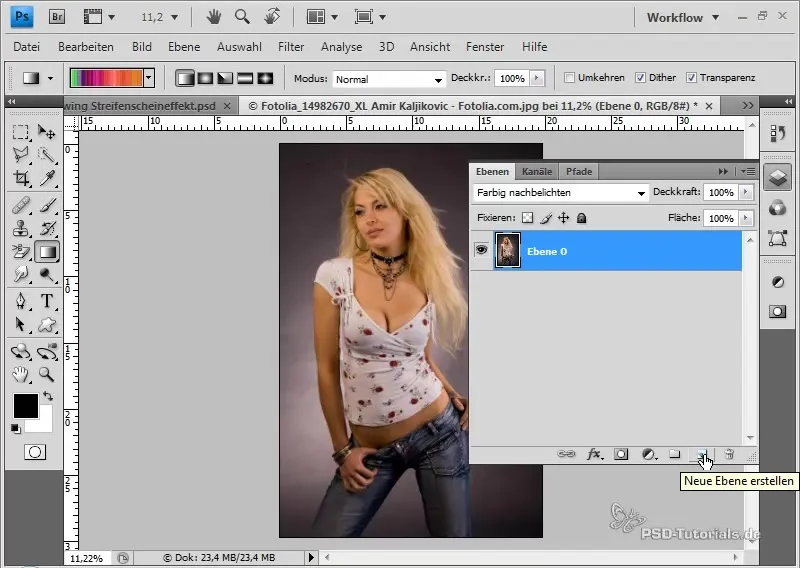
The first step is to convert your background layer into a regular layer. You can do this by right-clicking on the background layer and selecting "Layer from Background."
Now you can edit the image using the "Color Dodge" mode. This mode makes the colors in the areas you change appear darker and increases saturation. Simply choose the appropriate option from the blending modes.
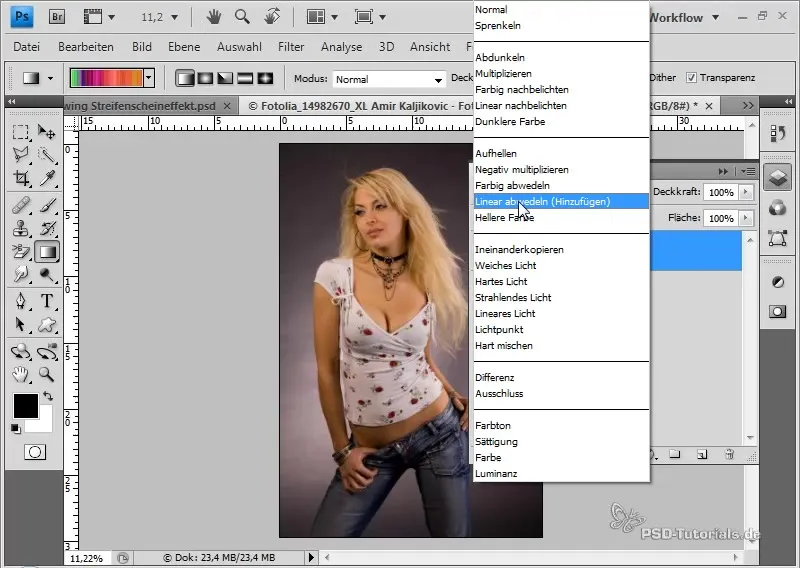
To better understand the effects of these methods, use the "Color Burn" mode, which increases saturation while maintaining the original colors. This combination of two different blending options helps you achieve vibrant colors.
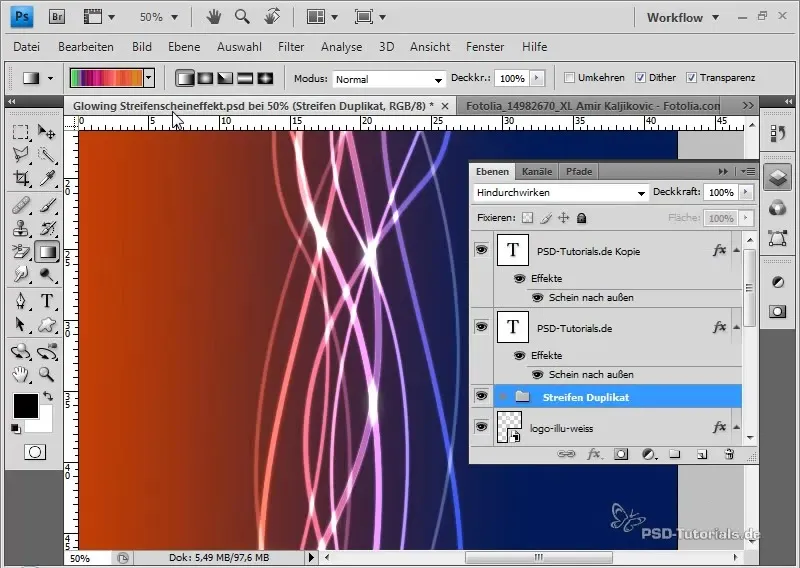
Next, create a new layer by clicking on the layer icon at the bottom of the panel. Hold down "Ctrl" while clicking to place the new layer directly beneath the currently selected layer.
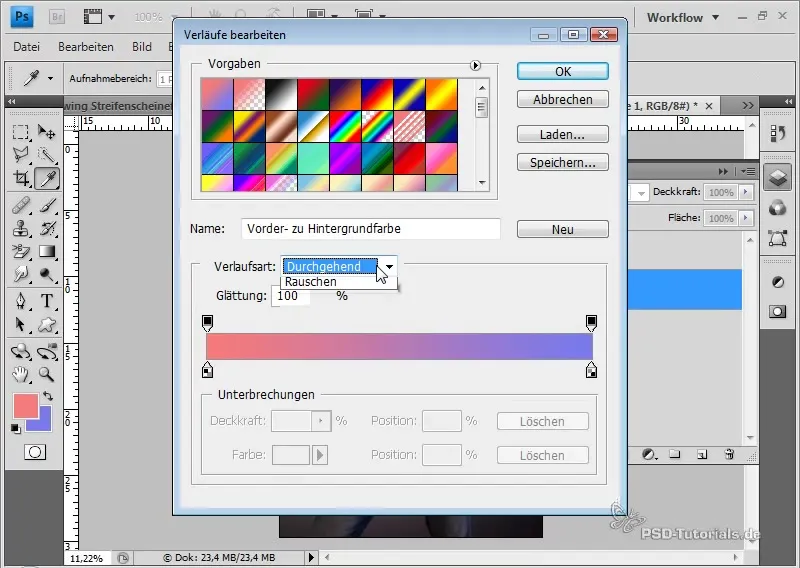
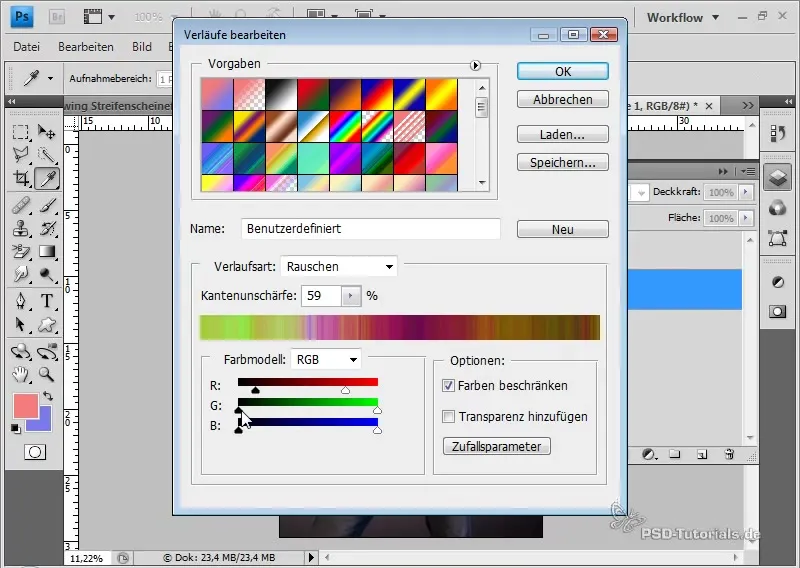
Now select the gradient tool from the toolbar. In the gradient options, you can set the type to "Noise" to create the desired striped effect. Vary the edges and sharpness of the gradient to achieve the desired gradations.
As the gradient is applied, it is important to control the saturation of the colors to prevent them from becoming too intense. You also have the option to further adjust the gradient to achieve the perfect look.
To enhance the colors of the image, it is advisable to highlight the area with folds and the blouse. Duplicate the current layer to create a new editable layer.
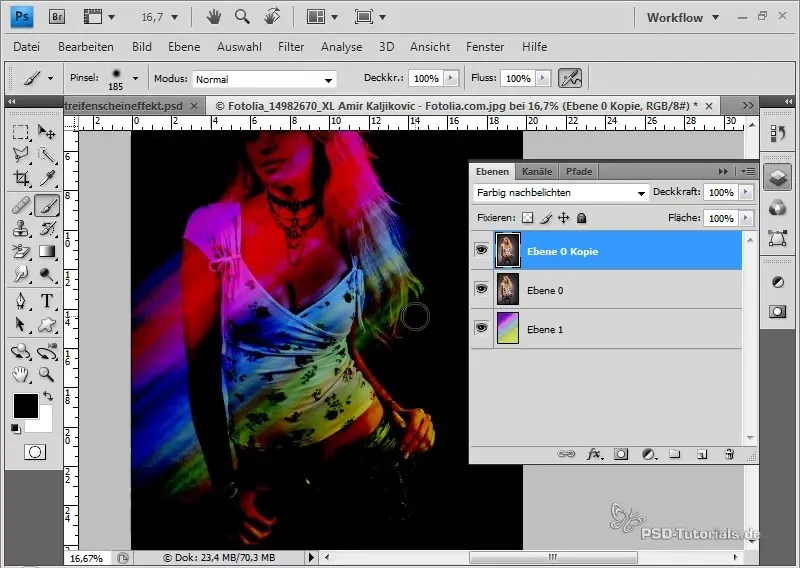
Add a layer mask to this duplicate layer and fill the mask with black color to hide the underlying image information. By painting with a soft brush in white, you can restore visibility of the duplicated layer in desired areas.
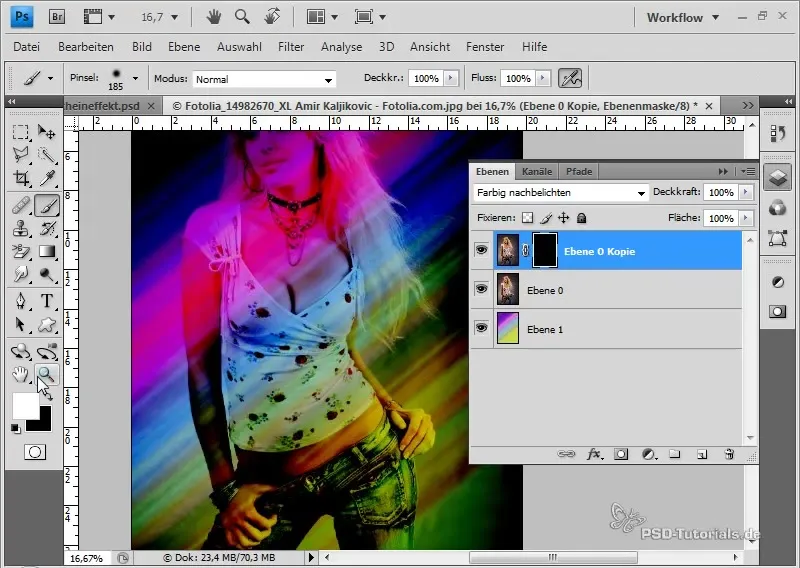
To optimize the overall look, duplicate the edited layer once again and place it at the top of the layer stack. Set this layer to "Color Burn" mode as well to brighten the colors and achieve a dramatic effect.
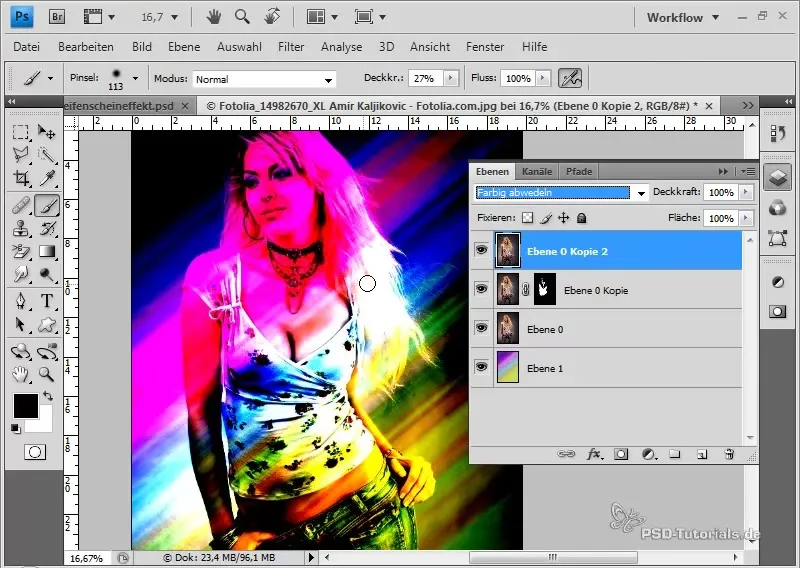
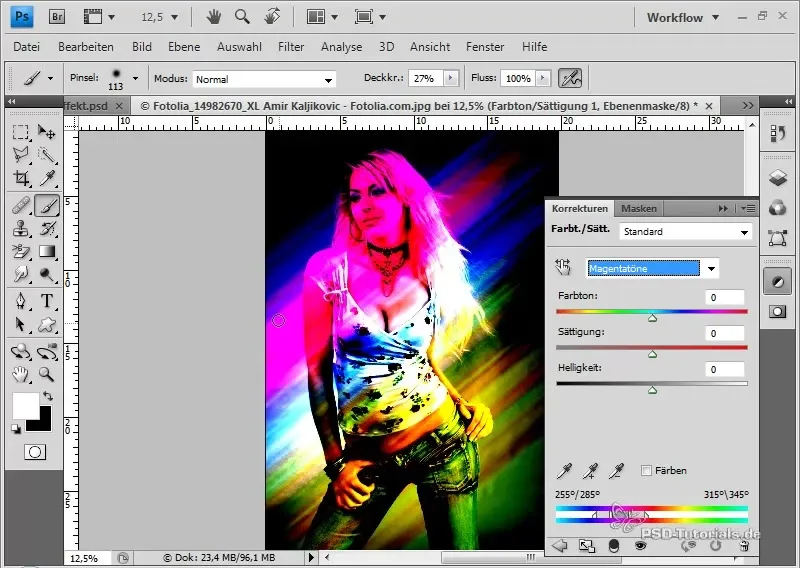
If the facial features and colors appear too strong, one way to reduce the magenta or pink tones is through an "Hue/Saturation" adjustment layer. Simply drag the hue slider to the left until you achieve a satisfactory adjustment.
To further refine the gradient, you can create another layer below the model layer to selectively limit or expand the effect. Start with a low opacity (around 10%) working in darker areas with black color and lighter areas with white color.
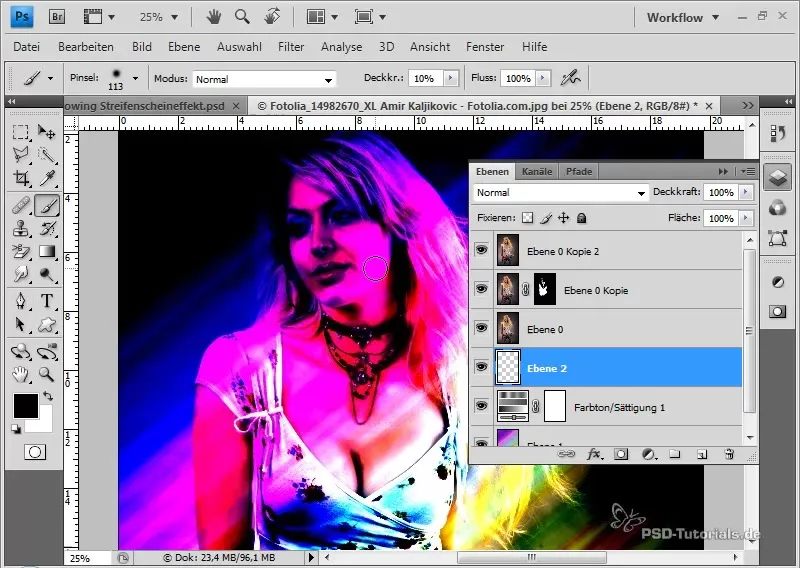
It is important to find the balance between black and white tones to achieve the desired effect. Use textured brushes to create more depth and dimension.
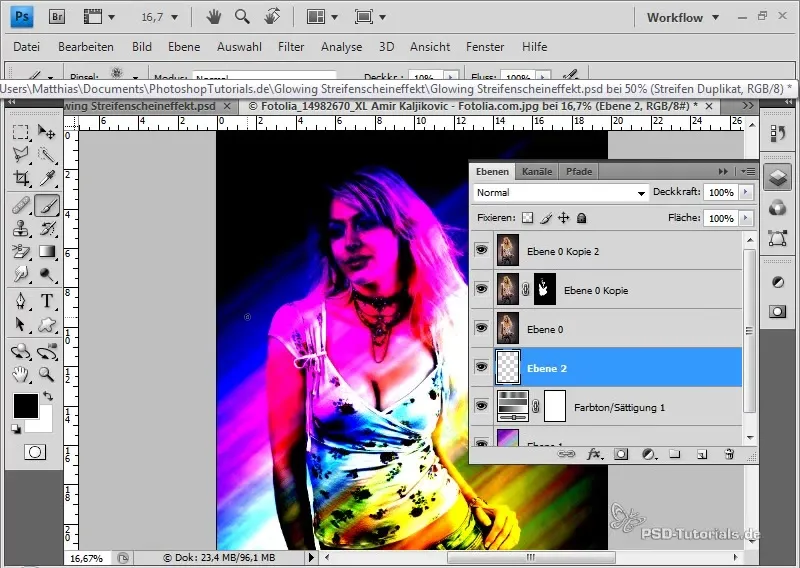
You can make a final improvement by creating a smart object, allowing you to adjust lighting effects flexibly without altering the original layer.
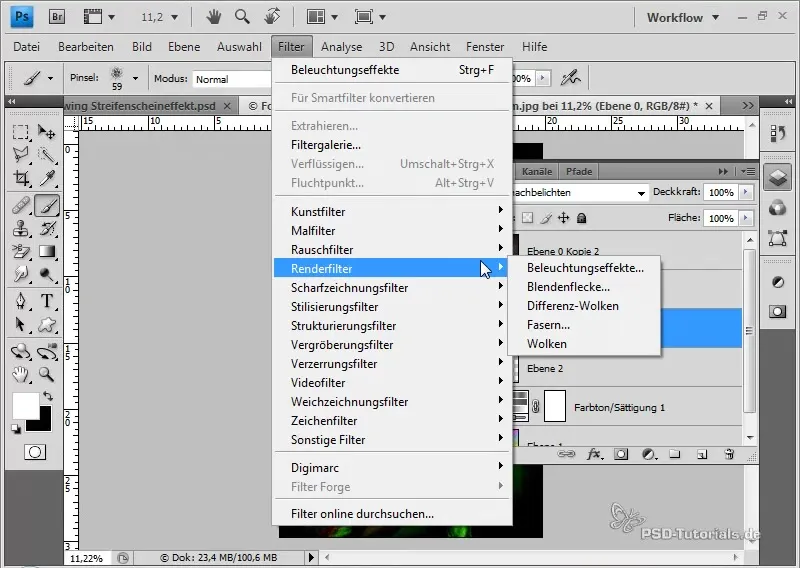
Applying "lighting effects" in the form of a smart filter gives you bilateral control over every visible part of the background. This is crucial to ensure that the effect is optimal for your end project.
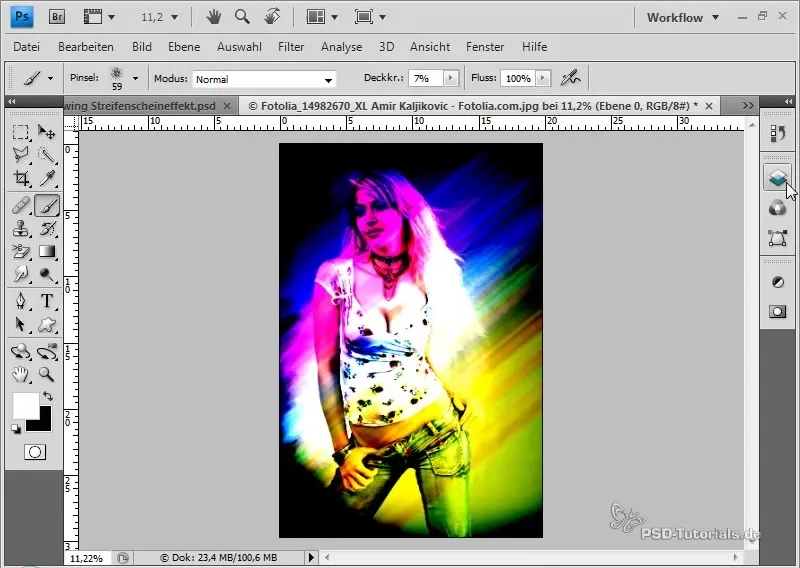
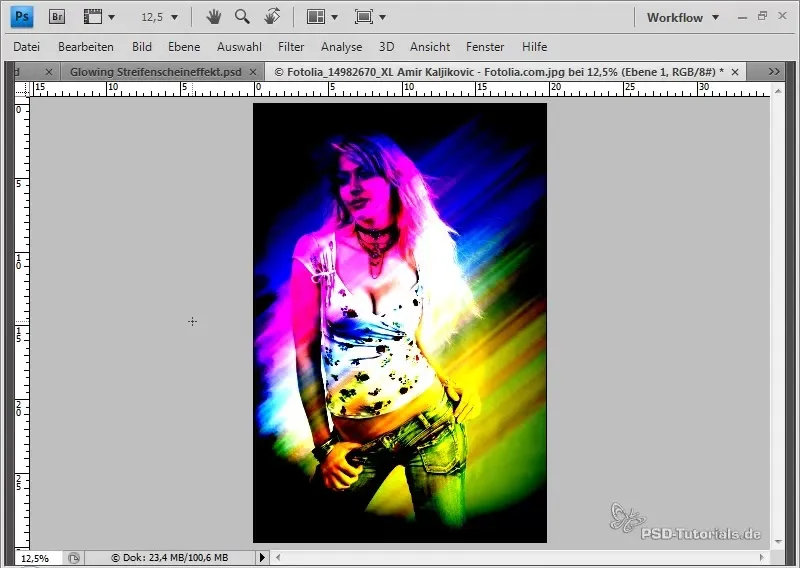
Once everything looks as you envisioned, you can proudly present the result. A quick design within two minutes can unleash your creativity and help you create appealing backgrounds for flyers.
Summary
With these steps, you have learned how to create an exciting color contrast look. You have used various tools and settings in Photoshop to achieve vibrant effects that are ideal for designing flyers or digital backgrounds.
Frequently Asked Questions
How do I duplicate a layer in Photoshop?Select the layer and press "Ctrl + J" on your keyboard.
What is the difference between "Color Dodge" and "Color Burn"?"Color Dodge" increases saturation and darkens colors, while "Color Burn" increases saturation and lightens colors.
How can I adjust the colors in my image specifically?Add a "Hue/Saturation" adjustment layer and adjust the sliders.
Can I change the effects later on?Yes, if you apply the effects as a smart object, you can edit them at any time.
How do I create a gradient that looks good?Experiment with different gradient settings and colors to achieve the best effect.


