Photographs can be enhanced not only with skillful color gradients, but also imbued with new, fascinating moods. In this tutorial, we will show you how to achieve a specific visual effect in your photos using a gradient. We will guide you step by step through the process so that you can easily replicate this technique. For our example, we will use an image of a city skyline with a boat in the foreground. Let's get started!
Key Takeaways
- Color gradients can significantly influence the mood of an image.
- The gradient tool in your photo editing software is crucial for this technique.
- Various blending modes such as "soft light" can enhance the effect of the color gradient.
Step-by-step Guide
Step 1: Image Preparation
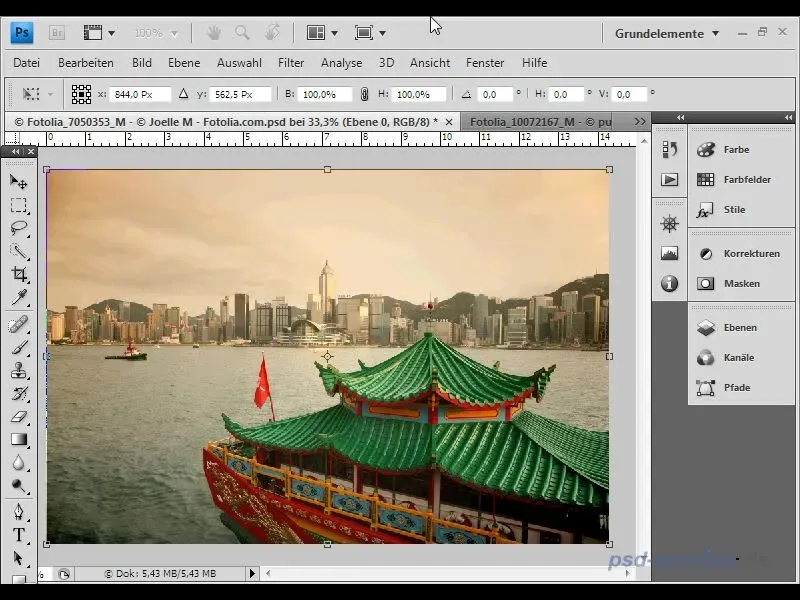
First, select the image you want to edit. In this case, we are using an attractive photo of a city skyline with a boat in the foreground. Ensure that the image is of good quality.
Step 2: Create a New Layer
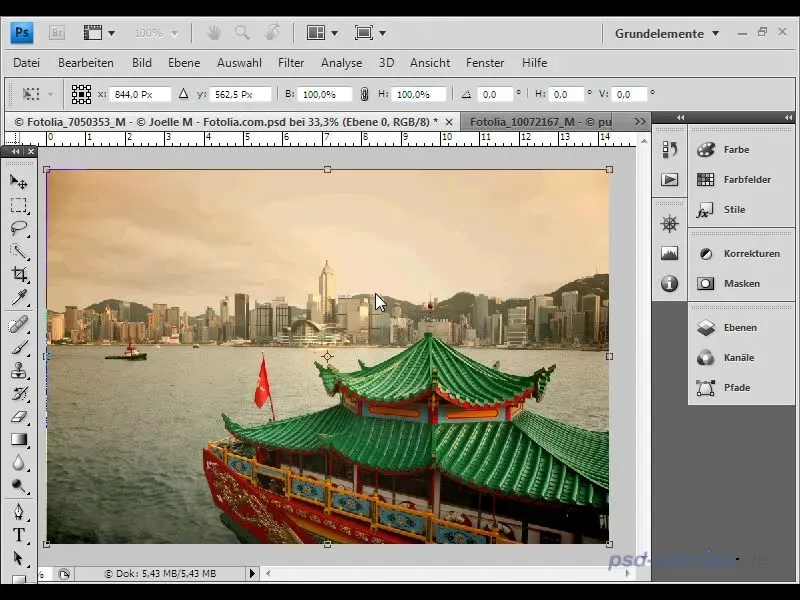
Next, create a new layer in your photo editing program. This layer is necessary to manage the gradient separately from the background image.
Step 3: Select the Gradient Tool
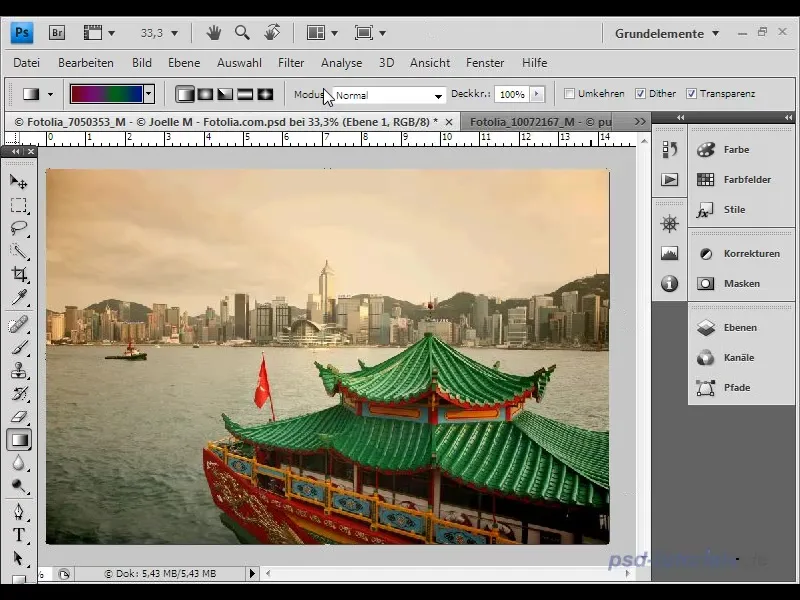
Now, choose the gradient tool. It is important to adjust the correct settings for the gradient that appear in the menu above. First, go to presets and select an appealing gradient.
Step 4: Gradient Selection
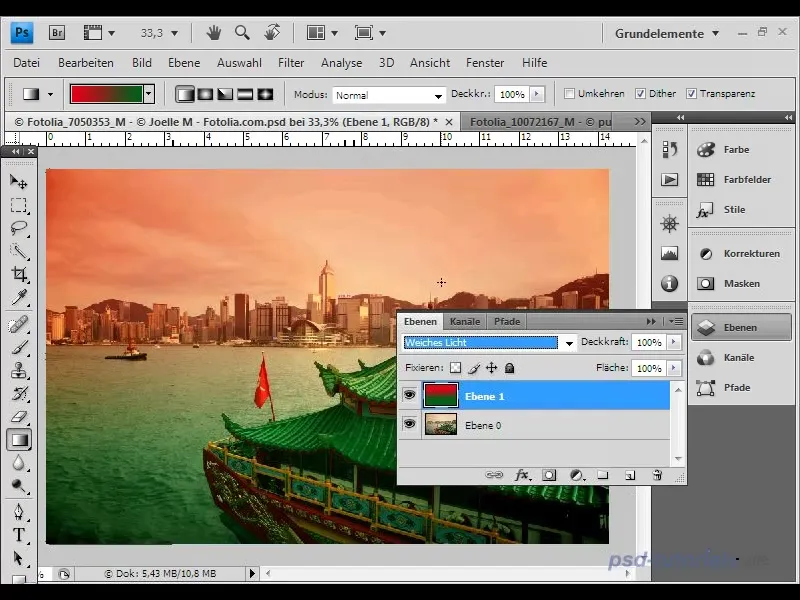
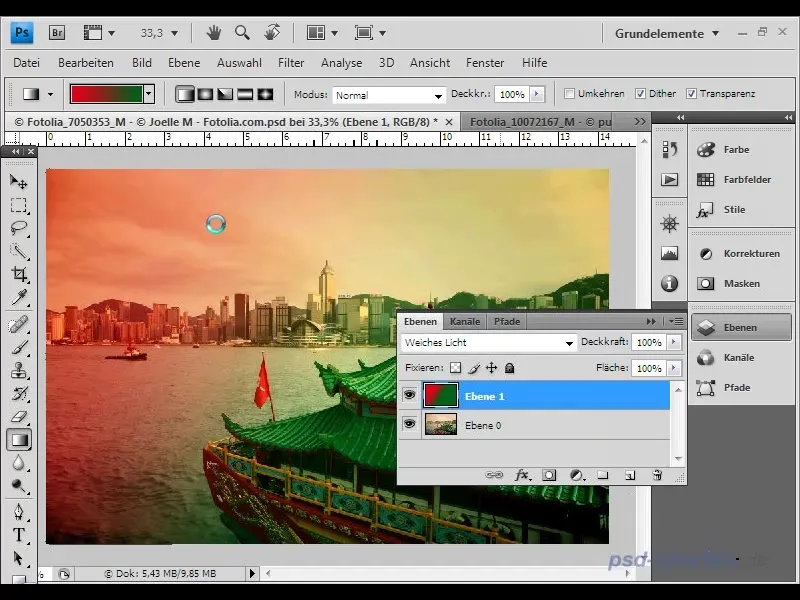
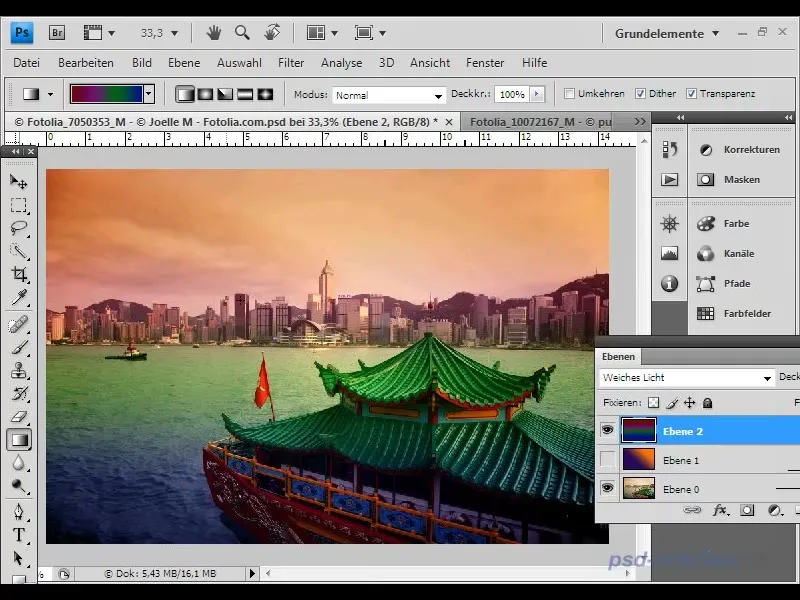
In this step, you can, for instance, choose a green-red gradient. Confirm your selection and drag the gradient on the new layer to achieve the desired effect.

Step 5: Change the Blending Mode
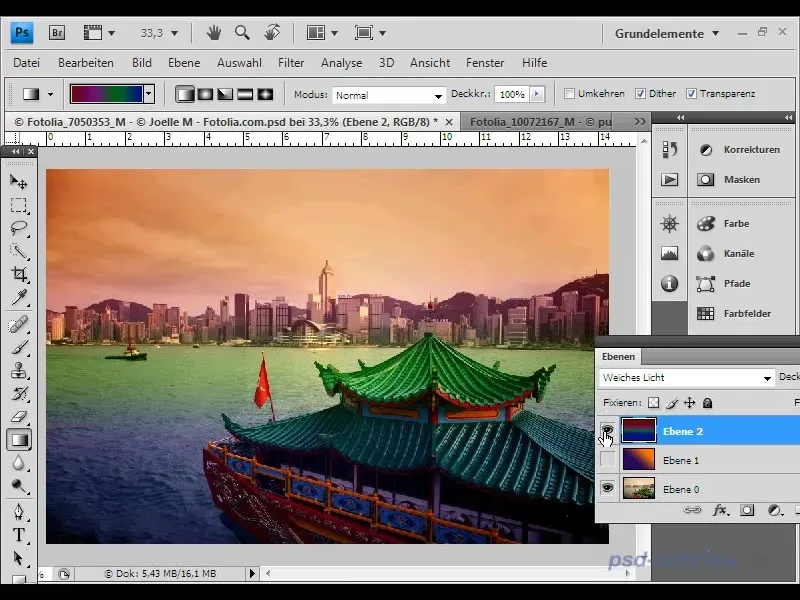
To better integrate the gradient into the image, change the blending mode of the new layer to "soft light." This means that the colors interact with the underlying layer and only affect the color intensity.
Step 6: Fine-tune the Gradient
Now you can experiment and see how the visual effect changes. Play with the intensity and orientation of the gradient, and observe how the overall image changes.
Step 7: Try an Alternative Gradient
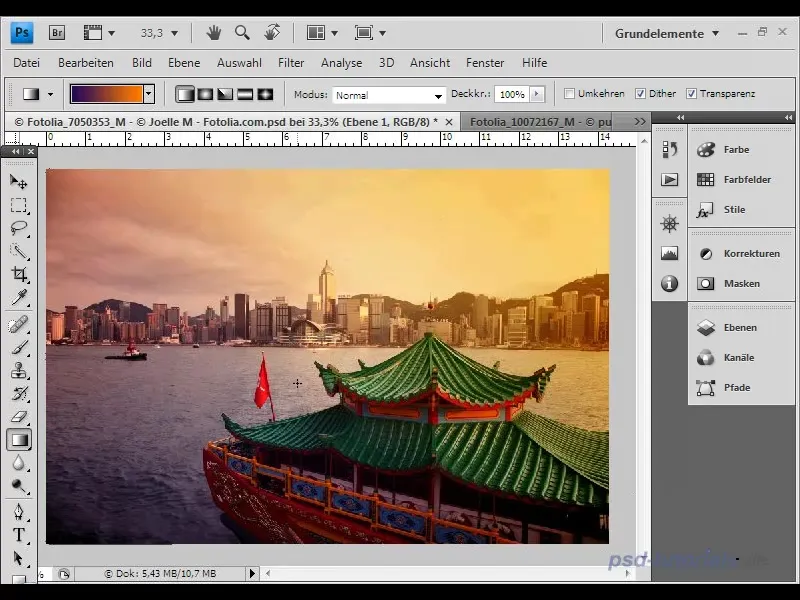
Experiment with a different gradient to achieve new effects. For example, a gradient reminiscent of a sunset. This can place the boat in a new scene and significantly alter the mood of the image.
Step 8: Compare "Before-After"
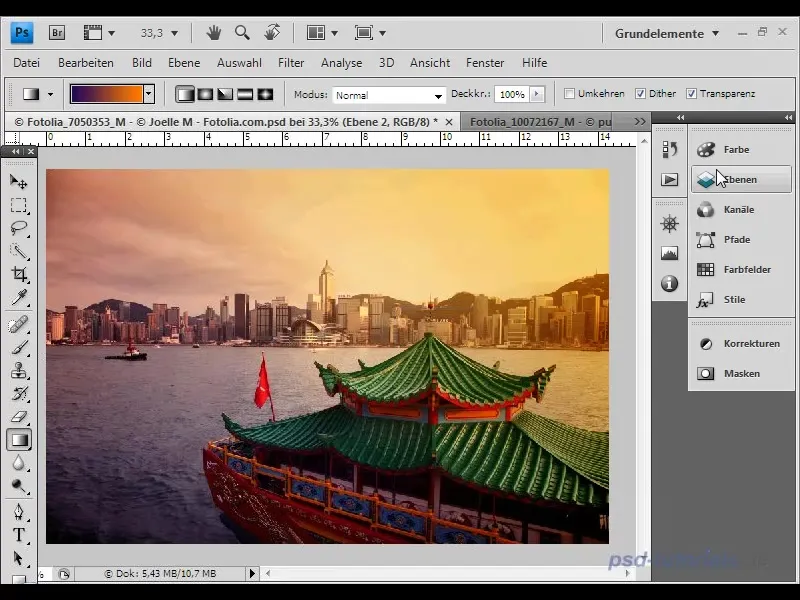
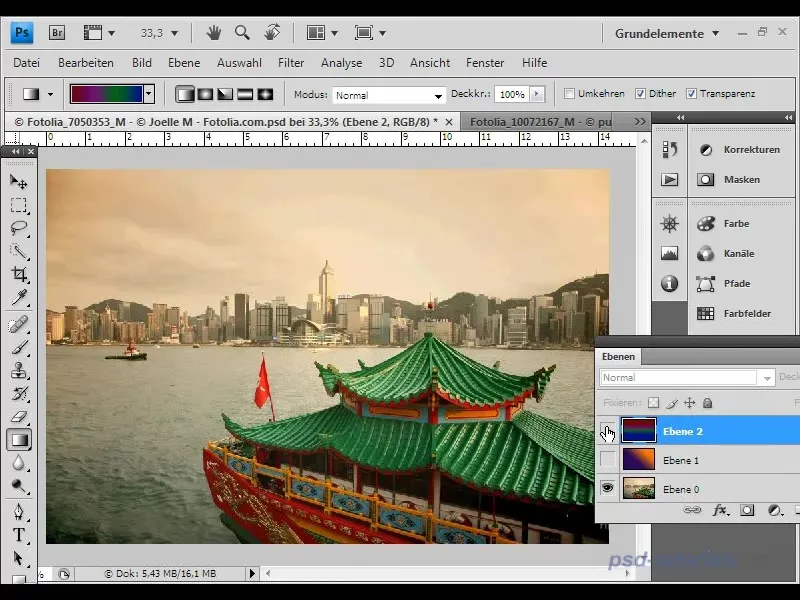
Take the opportunity to compare "before-after" and see how the changes due to the gradient are pronounced. You will be amazed at how the gradient influences the composition of your image.
Step 9: Test Multicolored Gradients
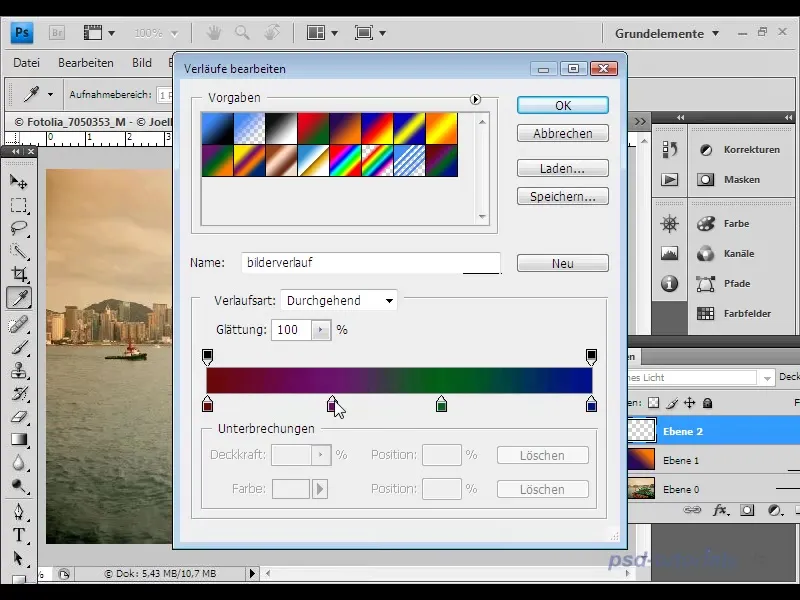
Now you can try a gradient with multiple colors. This allows you to adjust the colors even more precisely by modifying the color stops and changing the spacing between colors.
Step 10: Further Fine-tuning
After you have adjusted the colors, apply the gradient again to your image and pay attention to the reactions of the different elements in the image. It's fun to experiment here.
Step 11: Final Adjustments
Stay creative! Try different combinations of gradients or integrate combinations of multiple effects. Make sure not to overdo the gradient.
Step 12: Conclusion
With these tips and the right use of gradients, you can enhance your photos in a simple yet effective way. This technique works especially well for landscape and water shots, or even for concert photography where colors play a big role.
Summary
Gradients are an excellent tool to significantly enhance the impact of your images. With simple steps and various settings, you can give your photographs a fresh, artistic touch.
Frequently Asked Questions
How do I choose the best gradient?It greatly depends on the mood you want to create. Experiment with different combinations.
Can I apply a gradient to black and white images?Yes, it can create interesting effects as the colors will stand out more prominently.
What are the best uses for gradients?Gradients work particularly well with landscape shots, water images, or concert photography, as colors play a central role in these scenarios.


