Digital cross-processing brings back the nostalgic character of analog photography and transforms your images into fascinating works of art. The appealing effect you achieve can be easily replicated using Adobe Photoshop. In this guide, you will learn how to do this and what steps are necessary to integrate the special look of the 80s into your digital photos.
Key Takeaways
- Cross-processing allows manipulation of colors and contrasts in images.
- The technique can be easily implemented in Photoshop.
- The result often shows a more intense color scheme with characteristic tint colors.
Step-by-Step Guide
To achieve the cross-processing effect in Photoshop, follow these steps:
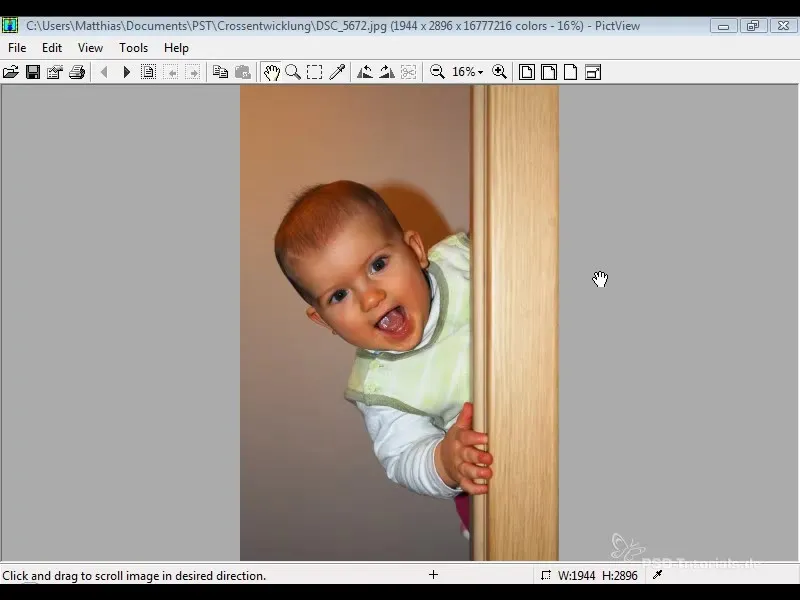
First, open your image in Photoshop that you want to edit. In this tutorial, we are using a sample image that you can also use.
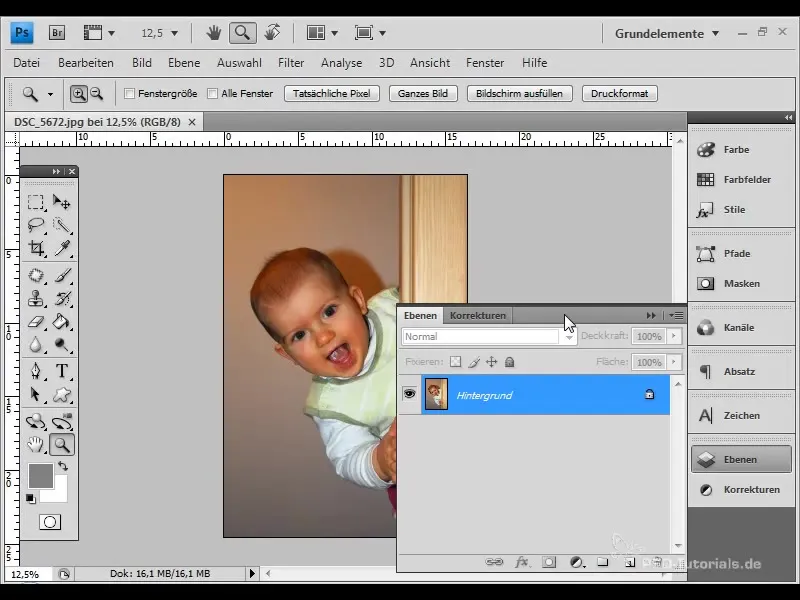
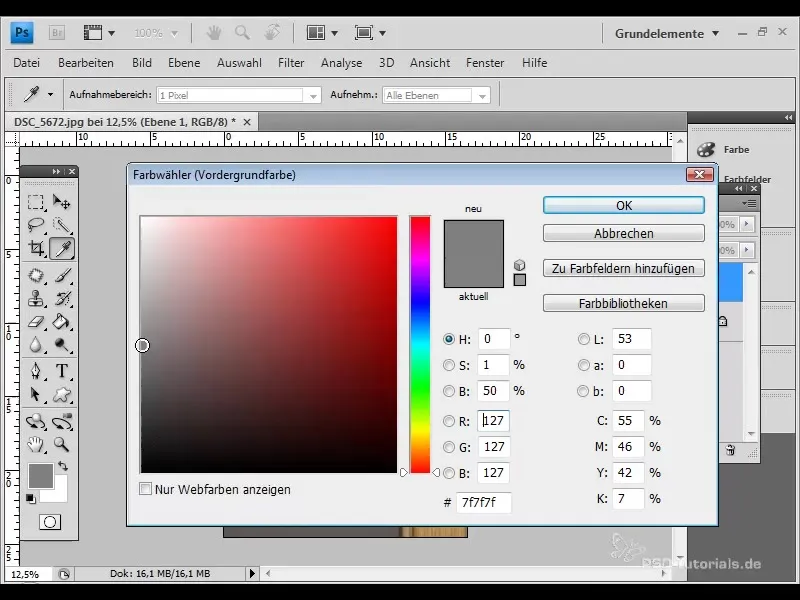
The first step is to add grain to your image. Go to the "Layer" menu. Click on "New Layer" and fill the new layer with a medium gray value.
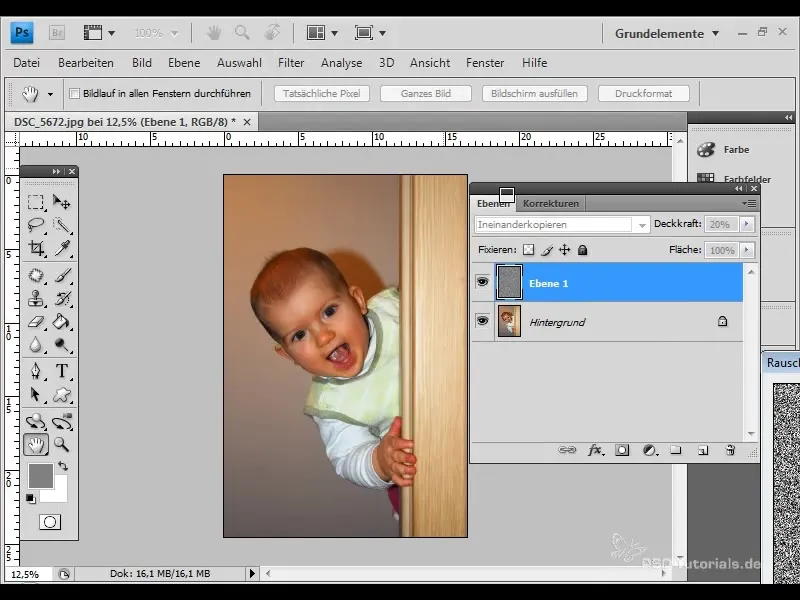
Now change the layer mode to "Overlay" and adjust the opacity to about 20% to gently introduce the grain into your image.
To refine the grain further, apply the noise filter. Go to "Filter" and choose "Add Noise." Set the noise value to 30%, make sure the distribution is set to "Gaussian," and the "Monochromatic" option is enabled. Confirm with "OK."
Next, we want to soften the grain. Select the "Blur" filter and set the radius to about 0.5 pixels.
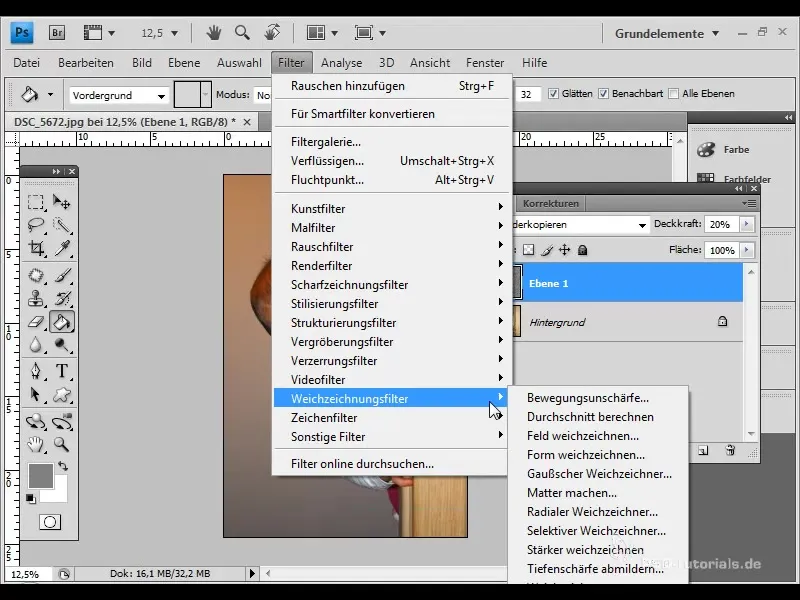
If the grain appears too strong, you can also reduce the opacity of the grain layer further to 10%.
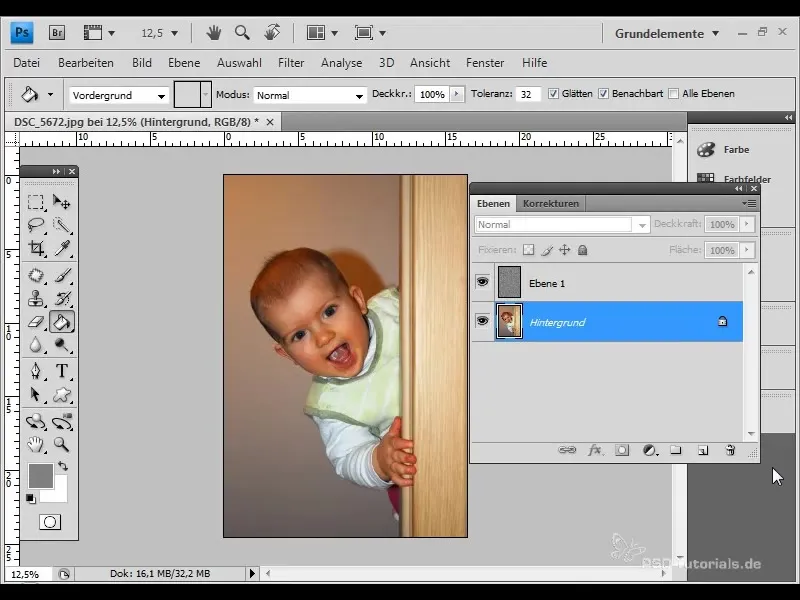
To create the typical cross-processing effect, you need to add an adjustment layer for the curves. Go to "Adjustment Layers" and click on "Curves."
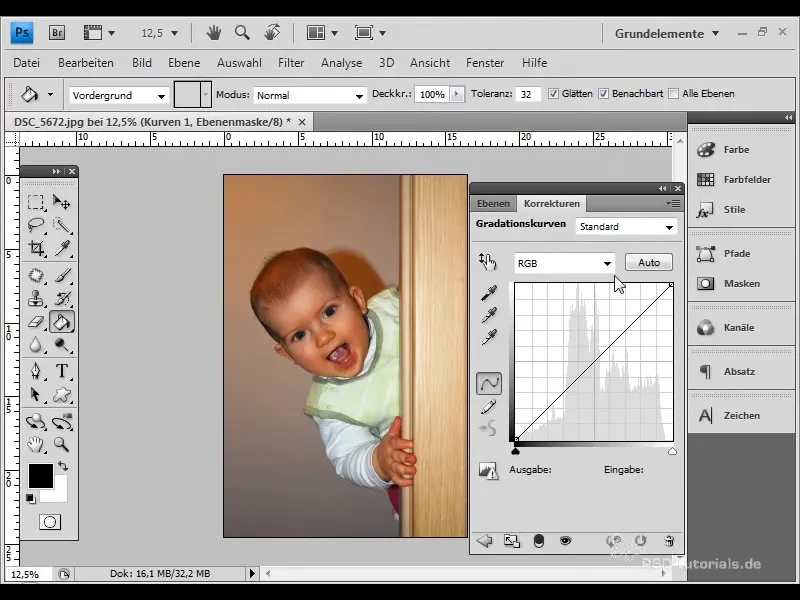
In the curves, you will already find a predefined setting for cross-processing. However, we want to create our own curve that is more authentic. Click on the RGB channel and add a curve point - adjust the curve to achieve the desired color shifts.
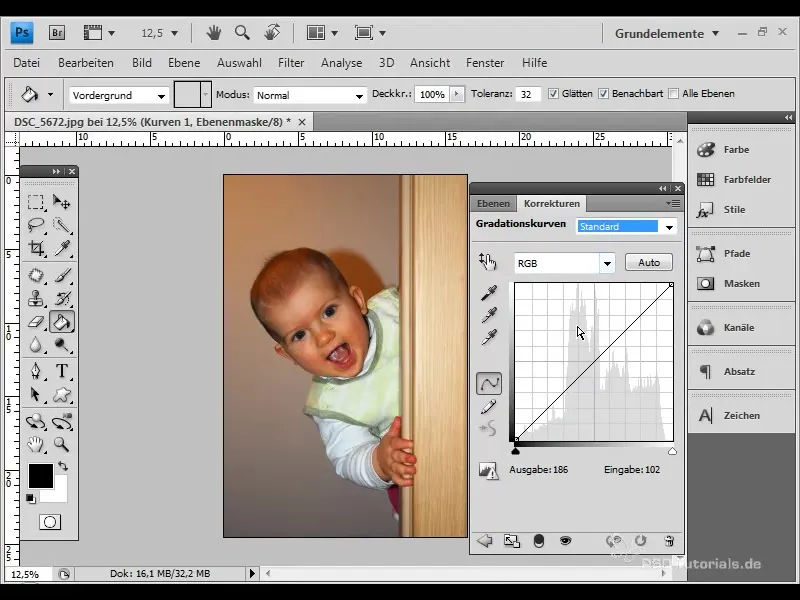
Then move on to the individual color channels:
- Add a curve point in the Red channel.
- Repeat this in the Green and Blue channels to finely adjust the color effect.
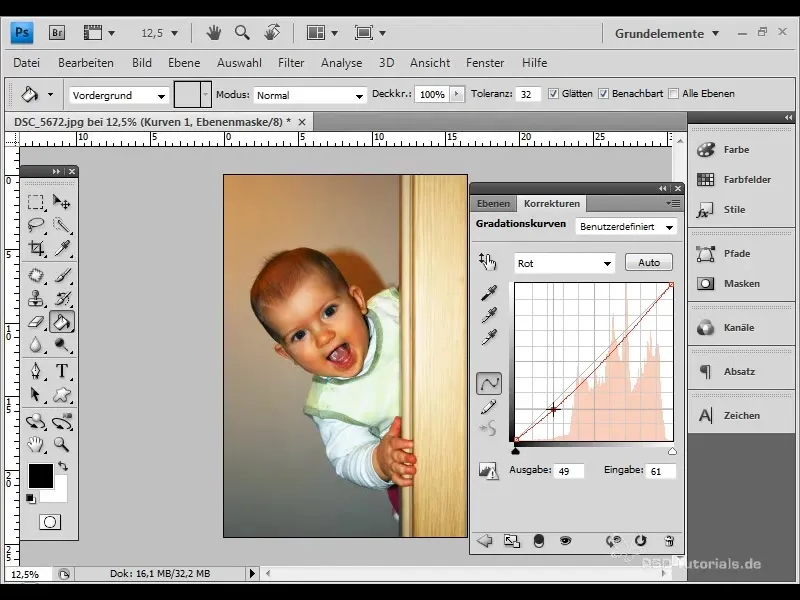
Observe how the color scheme of your image changes.
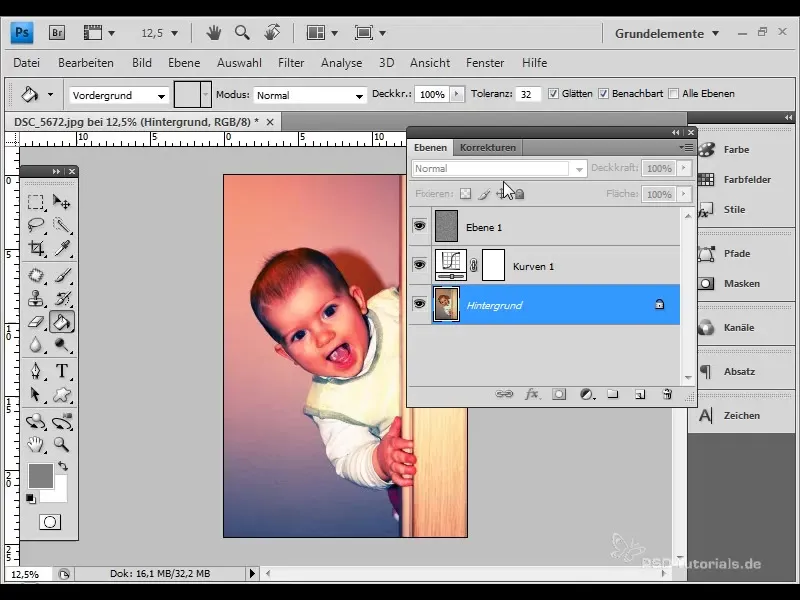
Now we add a yellow tint, typical of the cross-processing effect. Create a new Solid Color layer and choose an intense yellow hue. Set the layer mode to "Color" and adjust the opacity to about 15%.
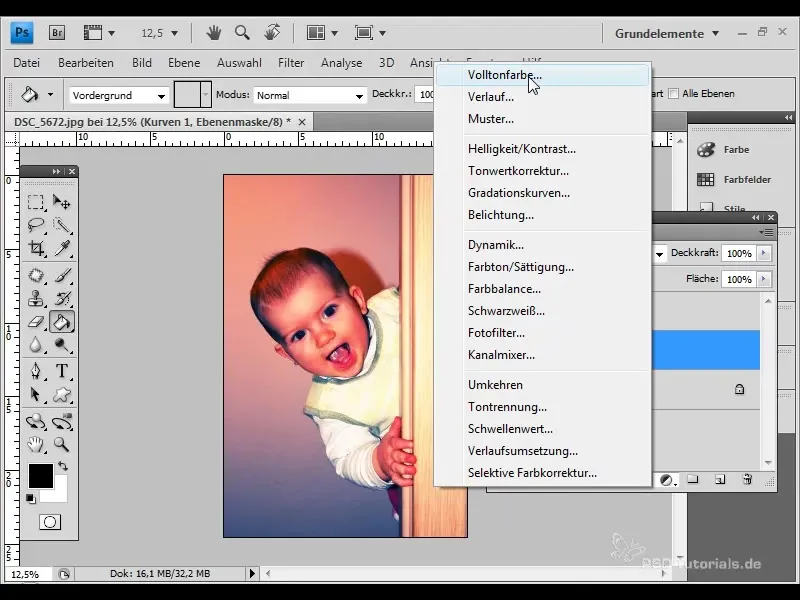
With these adjustments, you have already achieved a strong color shift. The final touch is adding the typical vignetting found in many analog images. Convert the background layer into a Smart Object.
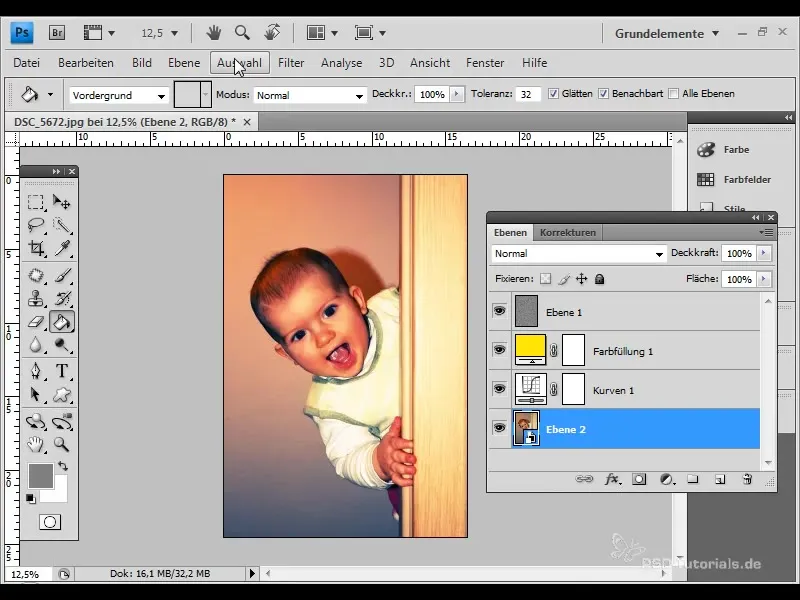
Now apply the "Lens Correction" filter and activate the vignetting option. Set the strength to -40 and the midpoint to 70 to achieve the desired effect.
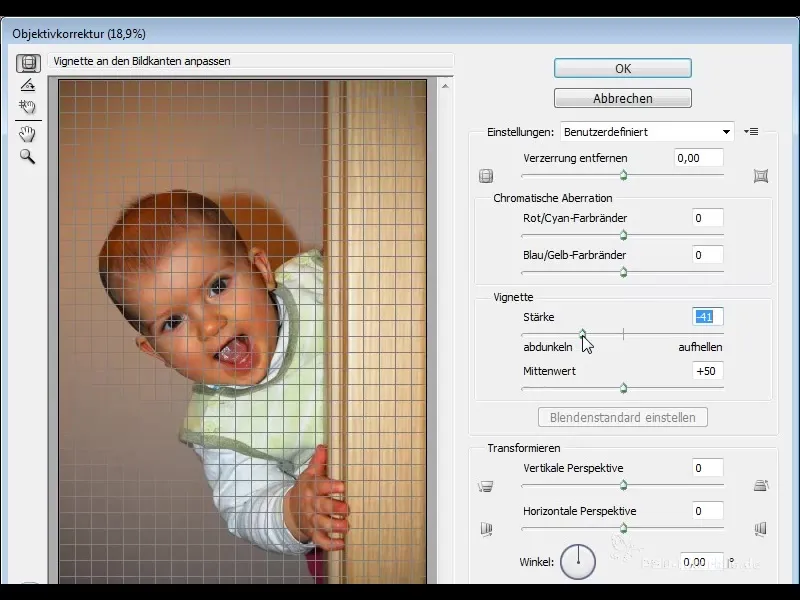
Click on "OK" and check the result. You have now added the characteristic vignetting that rounds off the look.
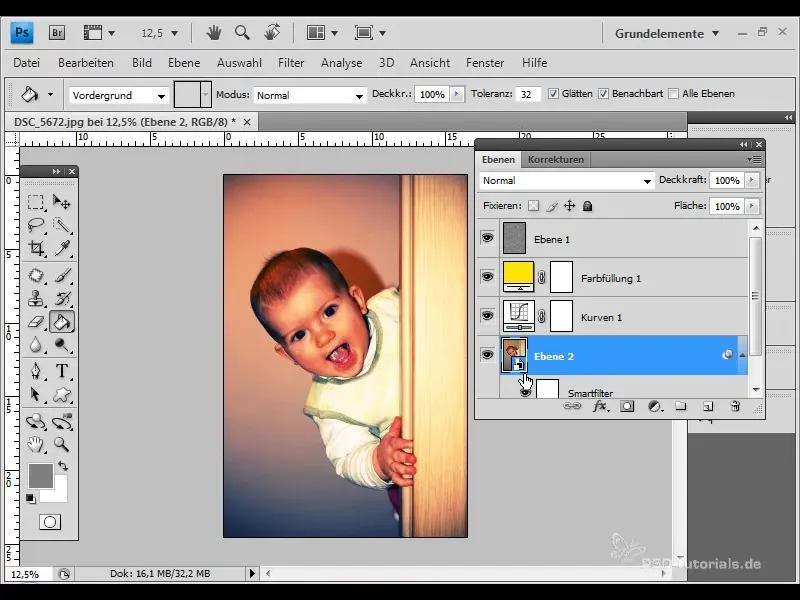
To see the final result, compare your image by turning the filter off and on again. You will notice a significant change - the image now exudes the cool, nostalgic style of the 80s!
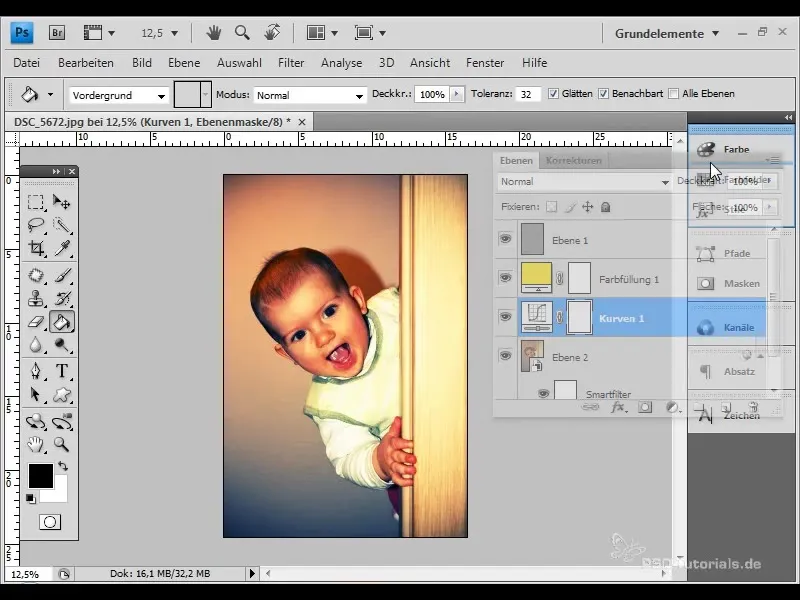
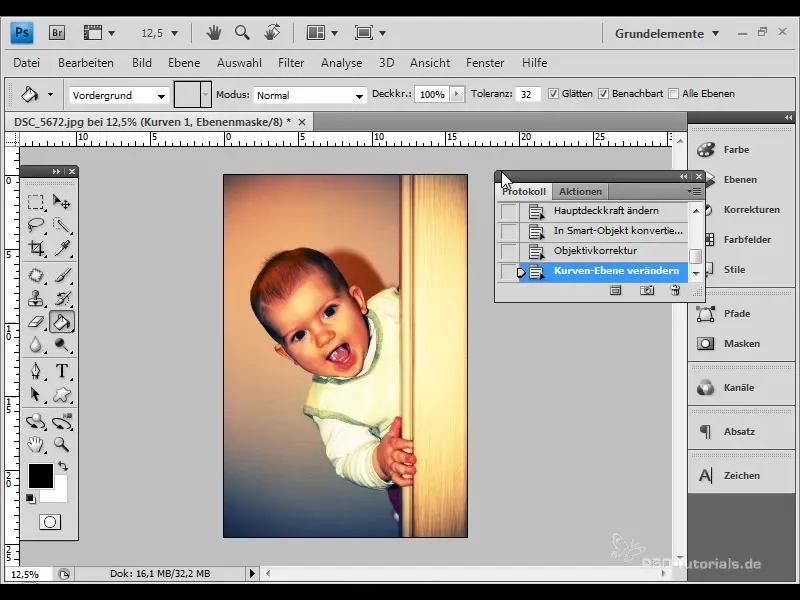
In this step, you can experiment by further adjusting the tone curves, for example, to create additional color effects or achieve an even stronger contrast.
Summary
Digital cross-processing is an exciting technique to achieve creative effects in your photographs. By combining grain, color shifts, and vignetting, you bring back the nostalgic feel of the 80s. With the described steps, you have the basic tools to easily and effectively apply this style in Photoshop.
Frequently Asked Questions
How can I add grain to my image?You can create a new layer, fill it with a gray value, and change the layer mode to "Overlay".
What values should I use for the noise?Set the noise to about 30%, with Gaussian distribution and the "Monochromatic" option.
How can I adjust the color shifts?Use the tone curves and adjust the curves of the RGB, Red, Green, and Blue channels individually.
How do I add a vignette?Convert your background layer into a smart object and apply the "Lens Correction" filter.
Can I adjust the tone curves afterwards?Yes, you can adjust the tone curves at any time to achieve additional effects.


