Creativity in photo editing opens up numerous possibilities to turn standard images into works of art. A particularly impressive effect is the shadow silhouette combined with a spotlight effect. This technique not only gives depth to the images but also makes the subjects stand out impressively. In this guide, I will show you, step by step, how you can achieve this creative look with Adobe Photoshop.
Key Insights
- With radial gradients and blending options, you can create interesting light and shadow effects.
- When selecting images, make sure the edges are precise to achieve a clean shadow silhouette.
- The use of layer masks is essential for making fine adjustments to the effect.
Step-by-Step Guide
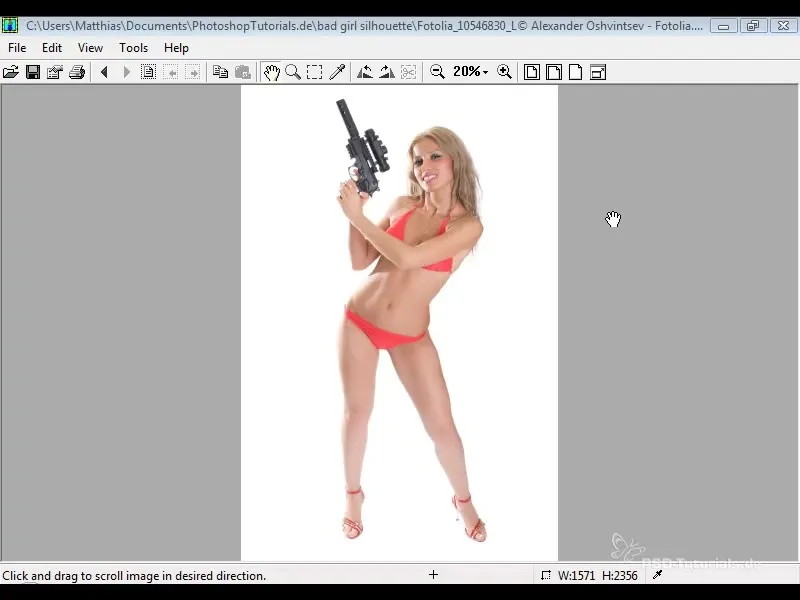
First, you should open the desired photo in Adobe Photoshop. I have chosen an image of a young woman that provides the suitable background for our editing.
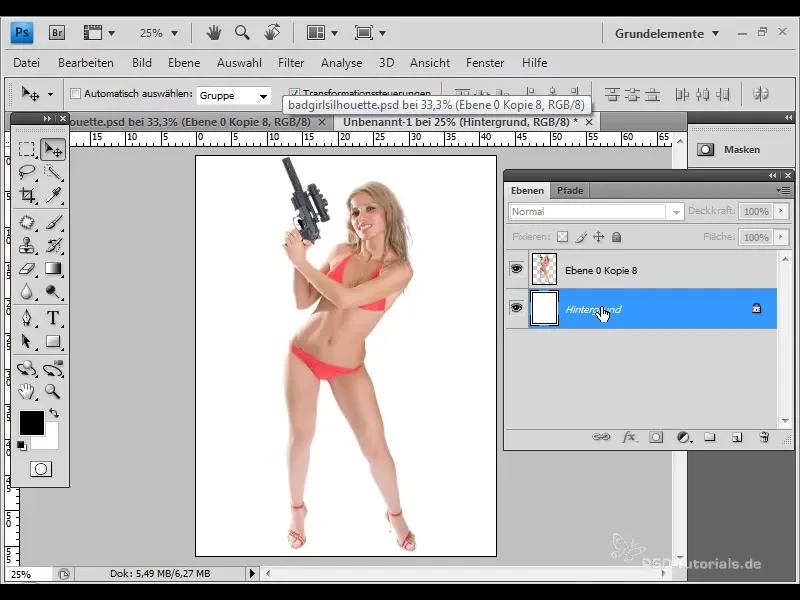
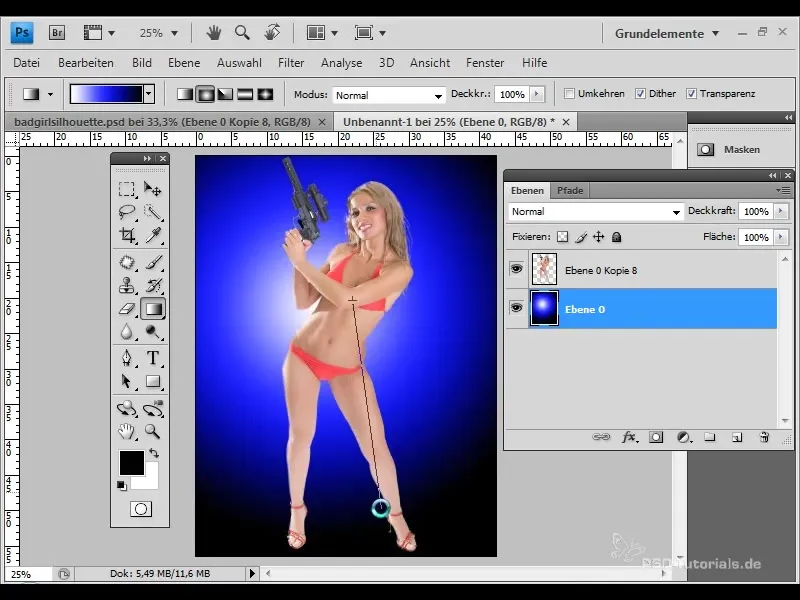
First, you need to create the radial gradient background. To do this, click on your background while holding down the Alt key. Now you have a new empty layer. Select the Gradient Tool and change the colors from black and white to a combination of white, a shade of blue, and black.
Now drag the gradient over the layer until you are satisfied with the result. This gives your image a sentimental and dramatic background effect.
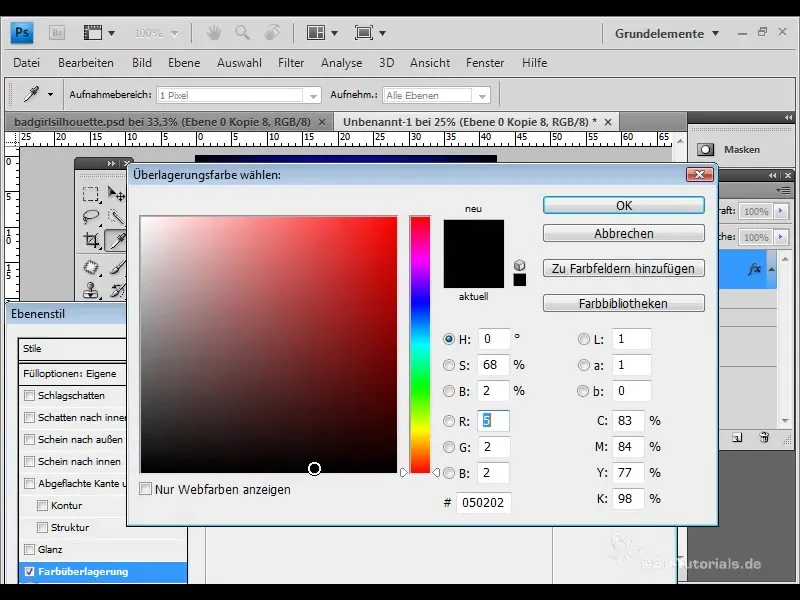
In the next step, we will transform the model layer into a shadow silhouette. To do this, hide the visibility of the original, select the blending options, and set the color overlay to black with 100% opacity.
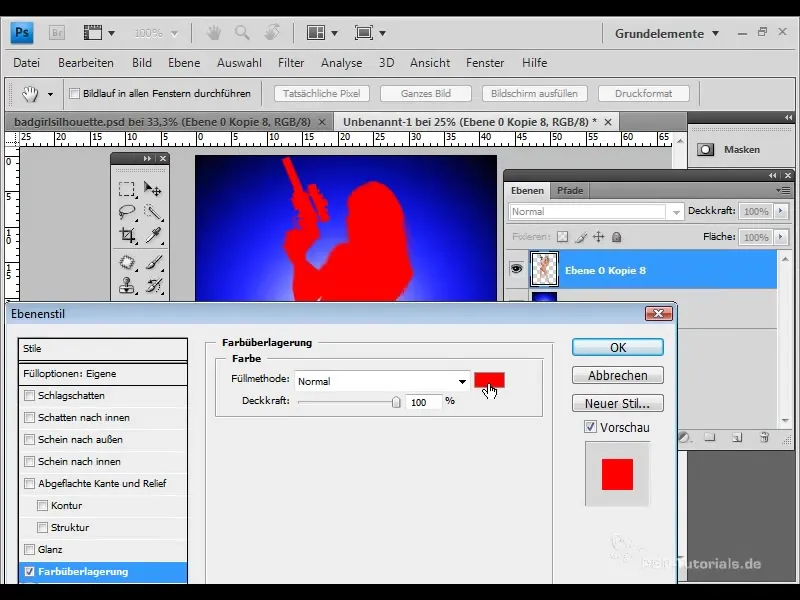
Check the edges of the shadow silhouette to ensure they are cleanly delineated. Inaccuracies are normal, especially when the light is coming from behind – this can even give the effect an interesting character.
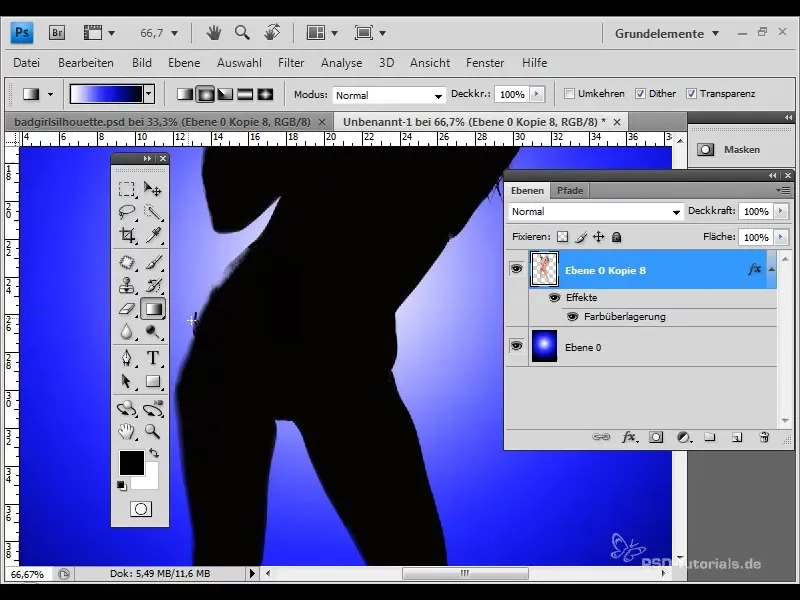
You can duplicate the shadow silhouette layer to enhance the effect. Then, merge all layers into a single layer to optimize performance.
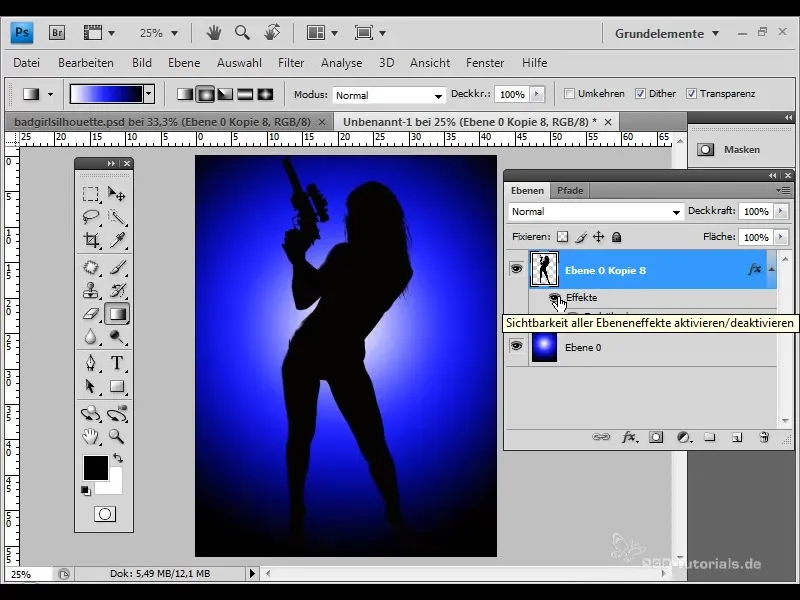
Now onto the next step: Let's add some small spotlight points. Adjust the image to look its best.
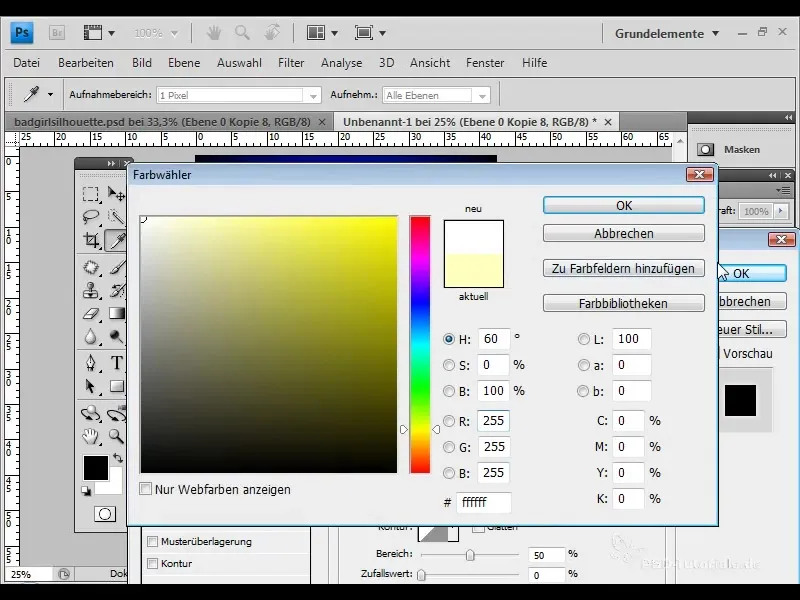
To create an outward glow, skip the blending options and choose "Outer Glow." Set the size to 4 pixels and choose a white color.
Click "OK," and ensure that the glow is created as its own layer. Transform the shape a bit by rotating and resizing it so that it emanates from the person's legs.
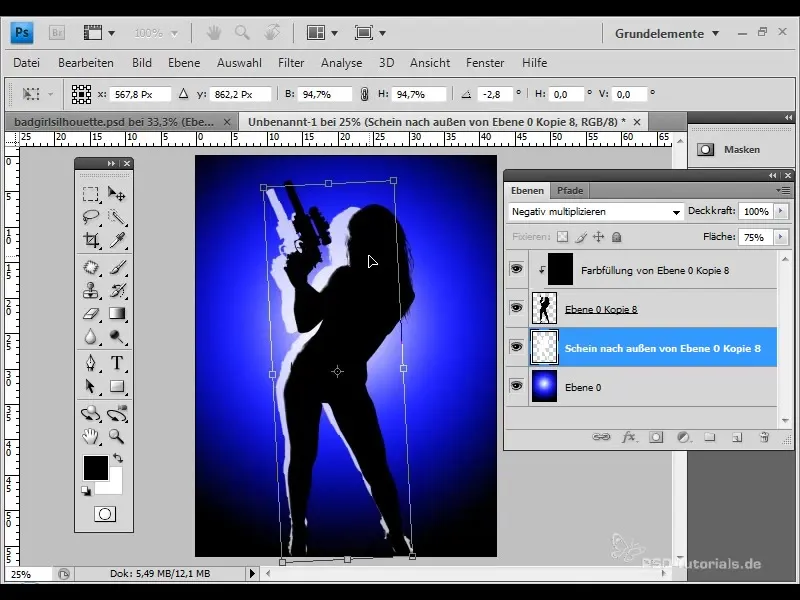
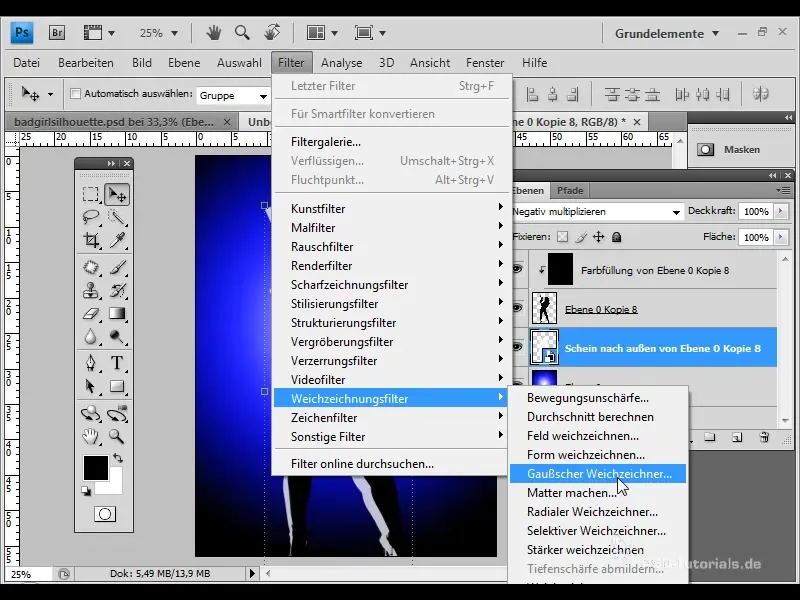
To softly blur the glow, convert the glow layer into a Smart Object. This allows you to make changes to the filters at any time. Apply a Gaussian Blur and set the radius to about 20 pixels.
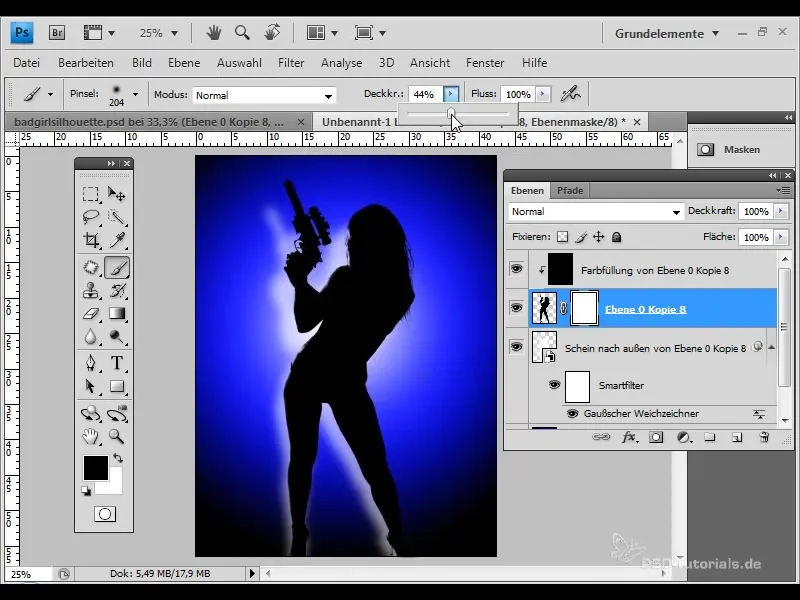
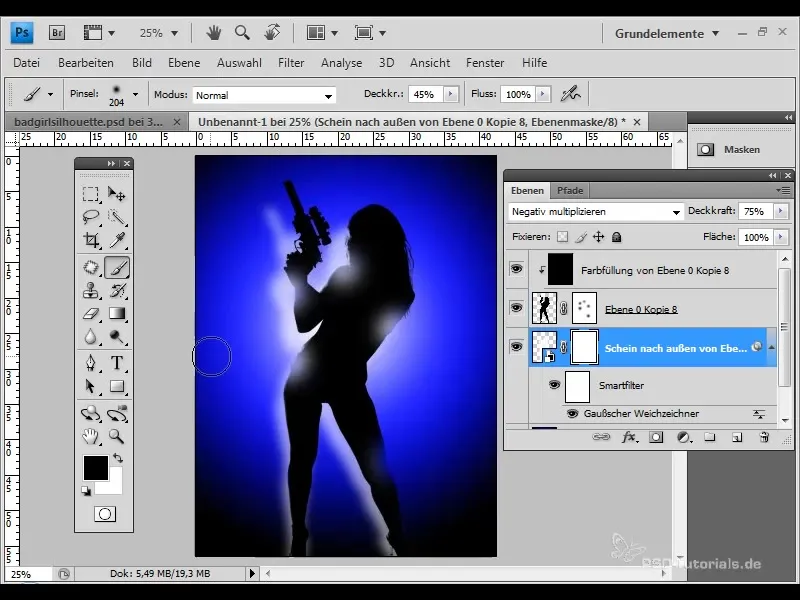
Now add a layer mask to the model layer and choose a soft brush with 45% opacity. With this brush, you can add small spotlight points where you see fit.
Understand that the outward glow extends to the bottom of the image. I want to slightly diminish this. Add a layer mask to reduce the glow.
Next, create a new layer to draw some small stripes with the pen tool to enhance the image even more.
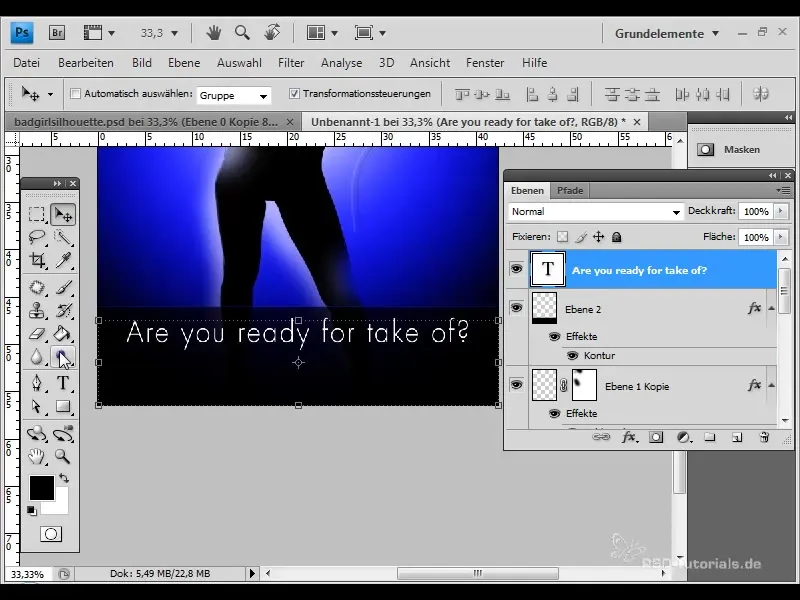
Finally, make the final adjustments by adding a small text with the text tool that complements your work.
Summary
This tutorial has shown you how to achieve creative editing in Adobe Photoshop by using radial gradients, shadow silhouettes, and appropriate fill options. With these techniques, you can expand your artistic skills and generate impressive visual effects.
Frequently Asked Questions
How can I cut out an image?Use the "Extract" filter in Photoshop to outline the contours and cut out the image.
Is it important to adjust the colors in the gradient?Yes, color selection is crucial for the overall impression and light play in the image.
How can I adjust the effects without losing the original image?Convert your layers to Smart Objects to change the application of filters at any time.


