While in printed publications such as newspapers and magazines, text structured in several columns and interspersed with illustrations and advertisements does not detract from readability, the same layout on the screen, especially on smaller displays, is much less convenient for the user. The page section has to be constantly readjusted by scrolling horizontally and vertically and zooming in and out.
You can change this and use the article reading tool to guide the reader comfortably through the multi-column text flow of the document.
To do this, open the Document processing category in the toolbar and click on Add article section.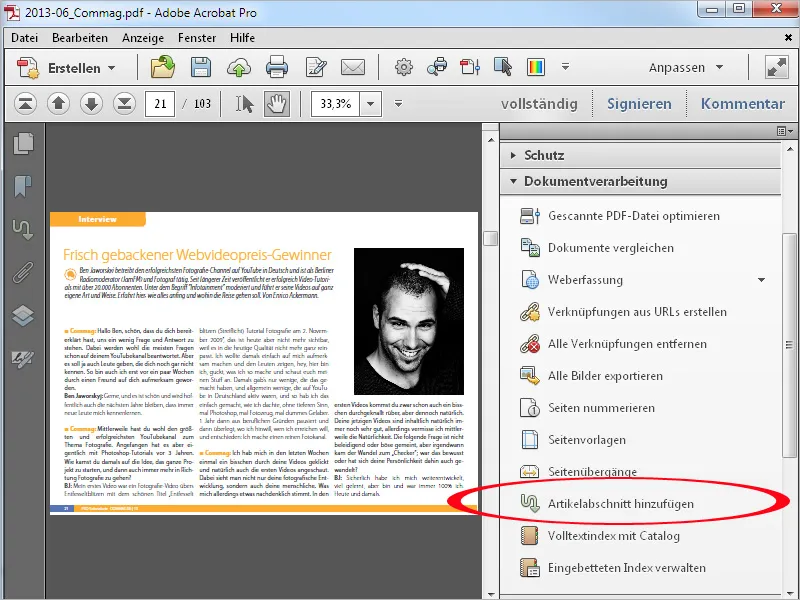
Now hold down the mouse button and drag frames around individual sections in the order in which the document is to be read. These may include not only text but also images.
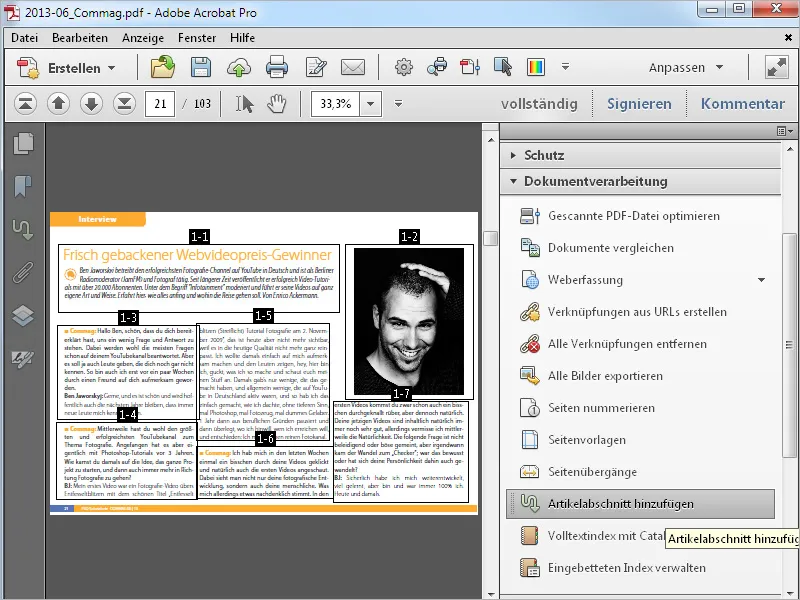
If your document contains several pages, turn to the next page and continue marking the sections until the end of the article.
The individual sections are numbered logically in the order in which they are marked. This designation consists of the number for the (whole) article and - separated by a hyphen - the number of the article section.
This means that in a document containing several articles, these are numbered consecutively as they are created.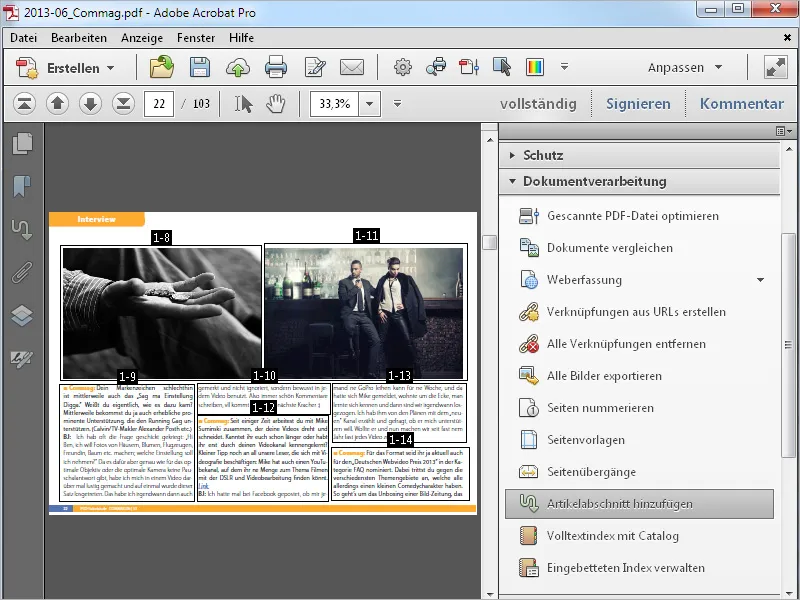
At the end of the article, press the Enter key to complete the process. In the article properties window that opens, you can enter information on the title, topic and author. Then click on OK.
You can then proceed to divide another article in the document into article sections.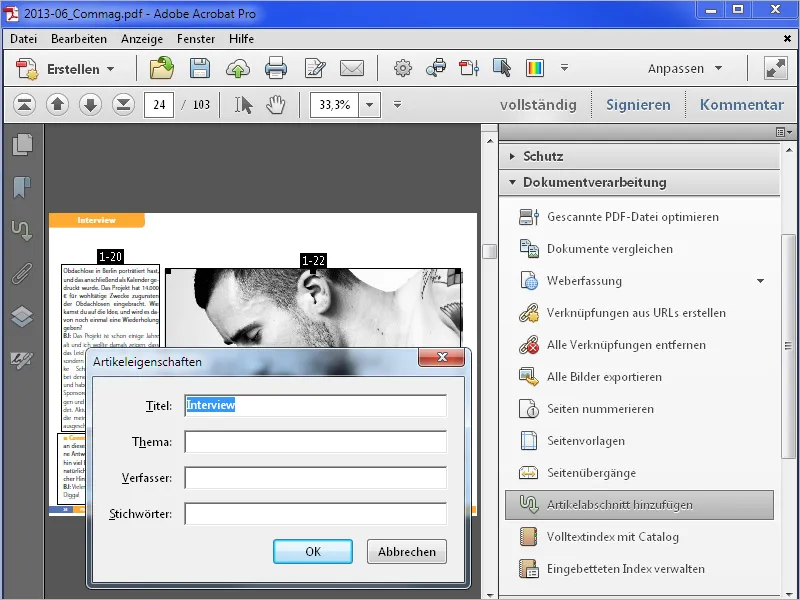
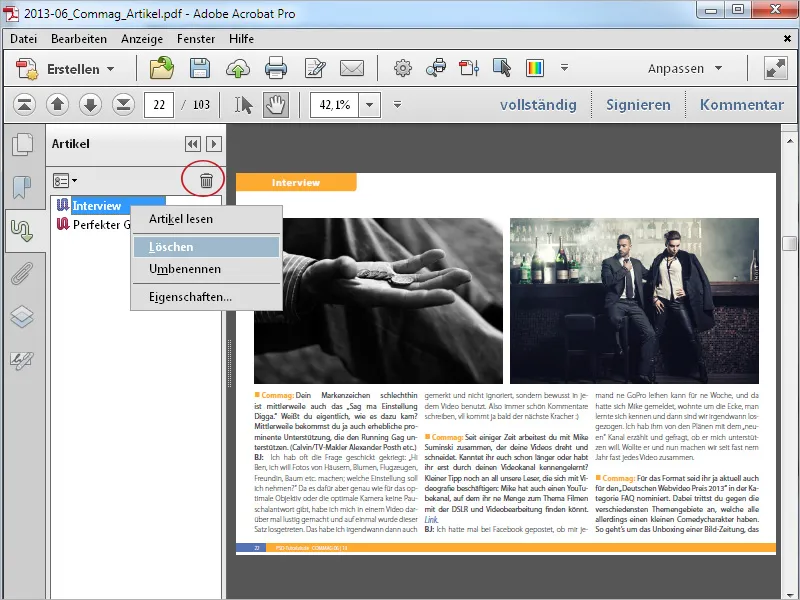
To make the overview and orientation easier, the articles created in a PDF document are displayed in the article bar, which you can show by clicking on the button of the same name in the navigation bar. If this button is not visible, activate it in the context menu by right-clicking on the navigation bar.
Click on the title of a chapter to jump to the beginning of the chapter - just like with bookmarks. The page is initially displayed here in full-page view.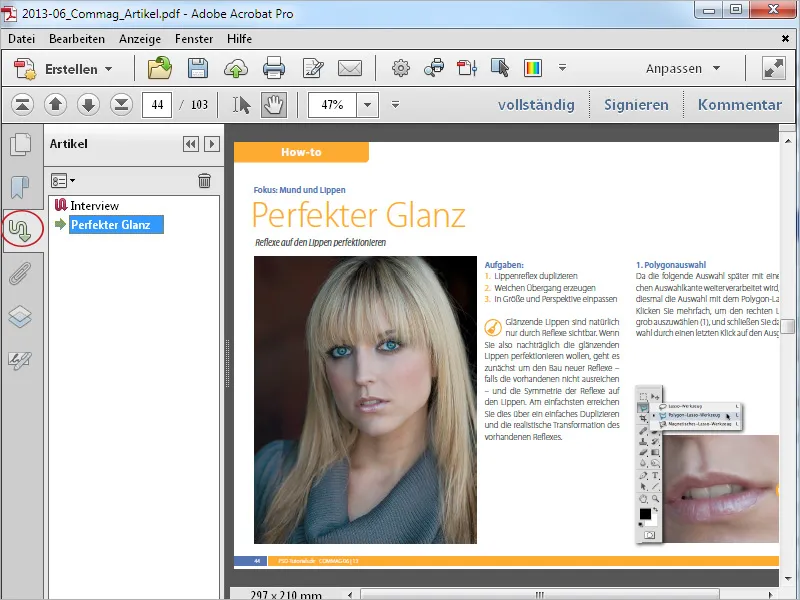
Then close the article bar and, if necessary, the toolbar to get more space to display the content and select the hand tool. As soon as you move it into an area defined as an article section, it changes its appearance and becomes an article reading tool.
Click on the start of the article. The view now jumps to the upper left area and displays the first article section full screen.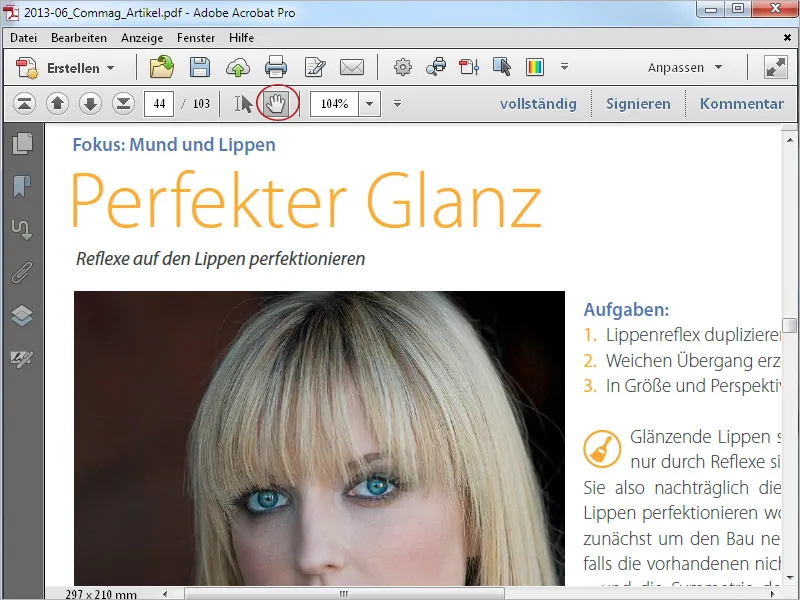
Each time you click again (in the same place), the view jumps to the next chapter section. If the defined section exceeds the area available for display, it is displayed in several views one after the other.
In this way, the article can be read comfortably without scrolling.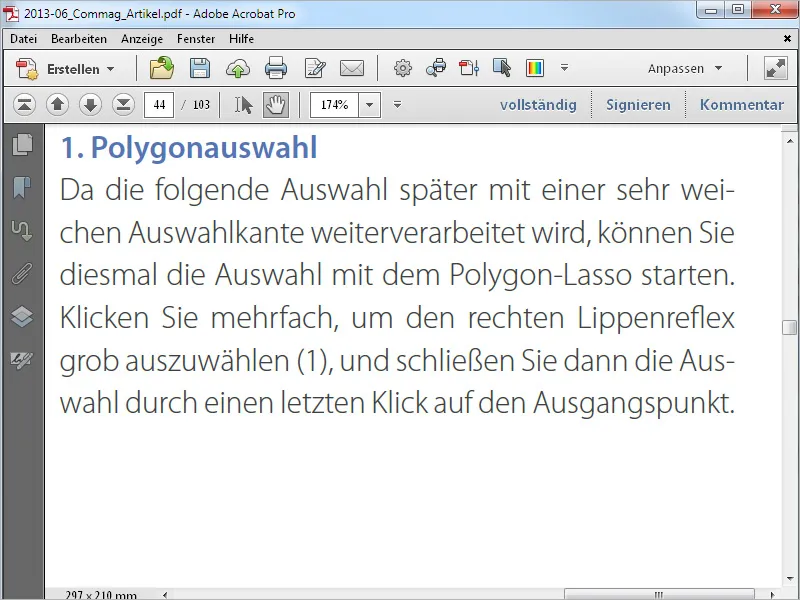
Article sections can be edited subsequently. To do this, select the Add article section tool again. The sections are now displayed again with the frames surrounding them. If you move the mouse over it, the pointer becomes a double arrow with which you can change the size. You can also move the entire frame to a different position by holding down the mouse button. You can use the right mouse button context menu to edit the properties or delete the article section .
In this case, the remaining sections will be renumbered.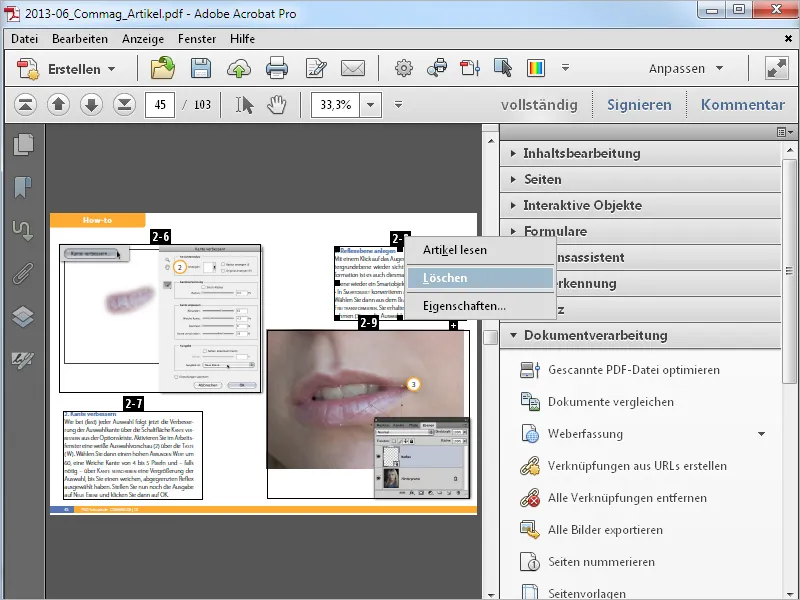
To add a new section within an article, click with the mouse on the small plus sign below the previous article section.
Confirm the prompt that appears with OK and draw the frame for the new section.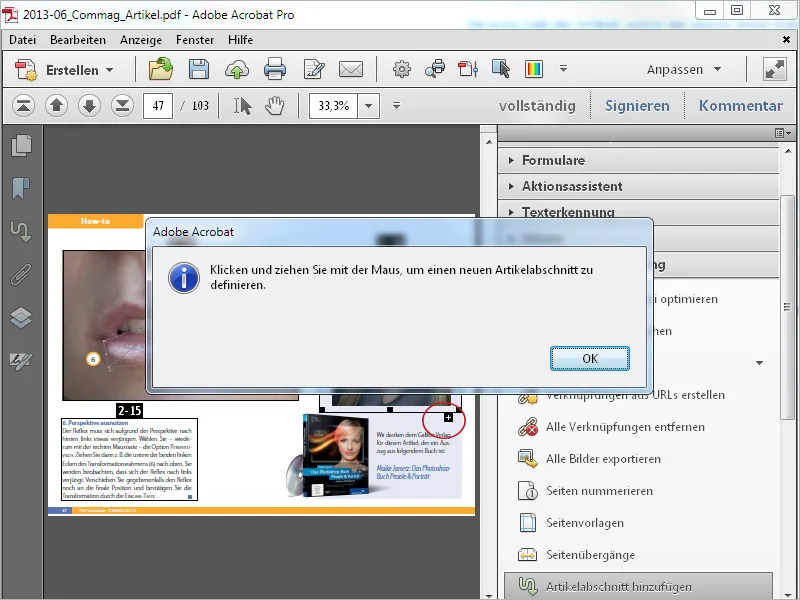
This will be given a corresponding number. If the new section is located between two old ones, the subsequent ones are automatically renumbered.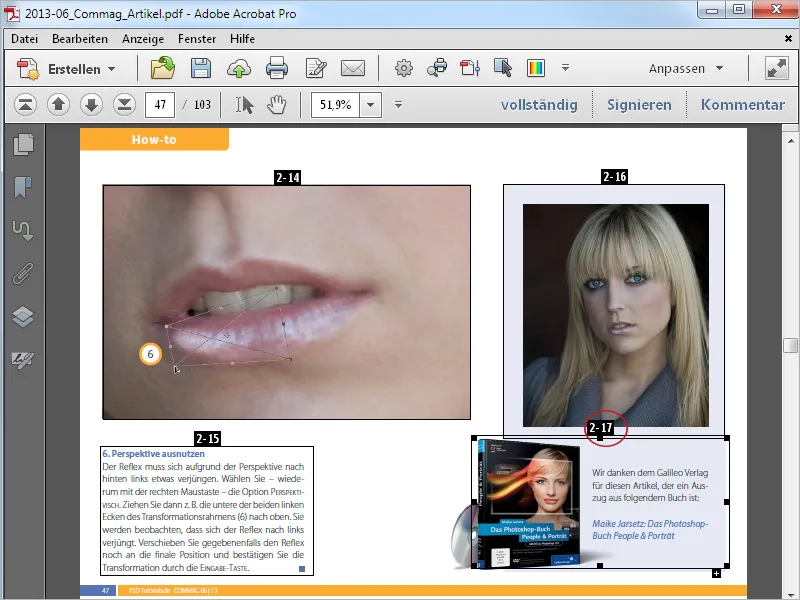
To delete an article completely, select it in the article bar and then click on the trash can icon. Alternatively, you can also find the delete command in the context menu.