Your images deserve to be showcased properly. Sometimes, a little fine-tuning is all it takes to turn an average photo into a true masterpiece. In this Photoshop tutorial, I'll show you how to enhance the appearance of your photos using image outlines and frames in a simple and effective way. Let's get started right away!
Key Takeaways
- Image outlines and frames enhance the impact of the image.
- Through targeted adjustments in image editing, you can highlight the content.
- Simple techniques, such as shadow effects and blurring, give your image a professional touch.
Step-by-Step Guide
Step 1: Image Selection and Preparation
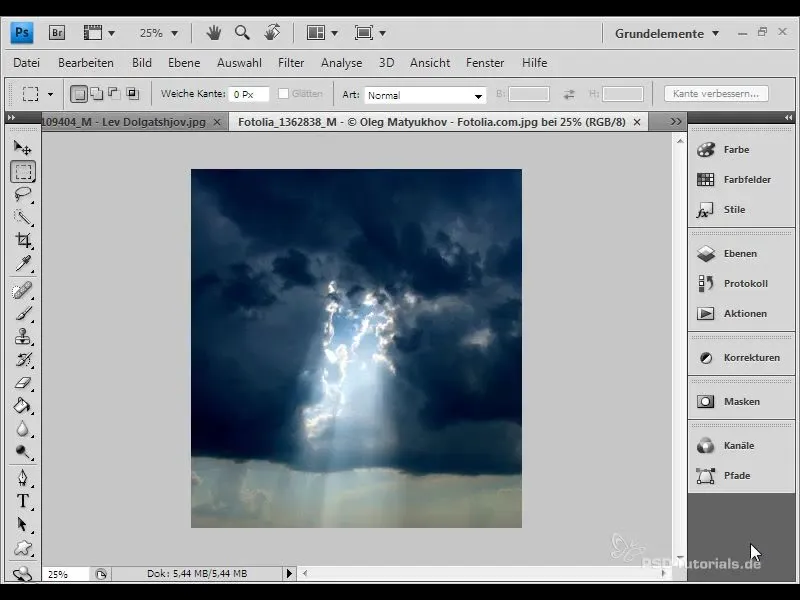
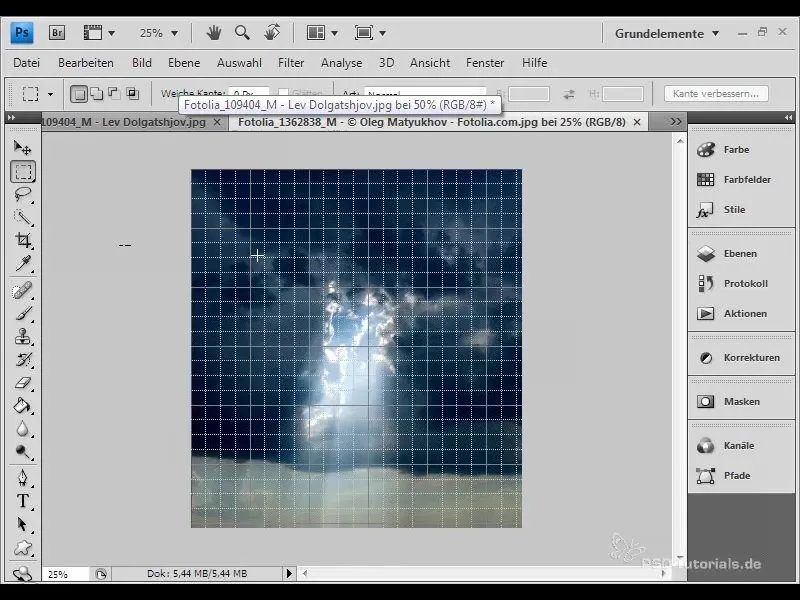
First, select a suitable image that you want to edit. I have chosen a photo from Fotolia. To edit it, I add the grid to determine the correct position and cropping of the image.
As you can see, the grid is helpful in ensuring that the main contents of the photo are pleasingly placed. I copy the desired area of the image and paste it into a new layer.
Step 2: Image Cropping
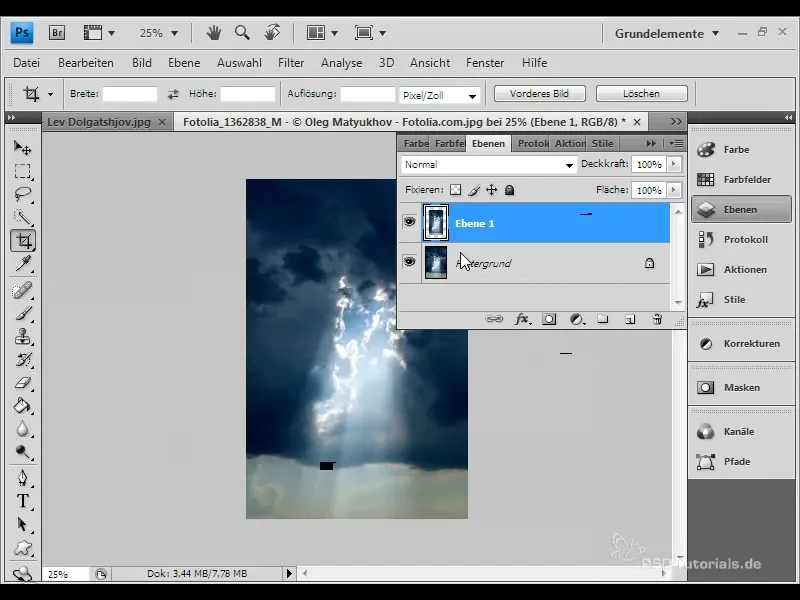
Now let's get down to business. I will crop the entire image to optimize the format and change the image's impact. You can decide how large the final image should be.
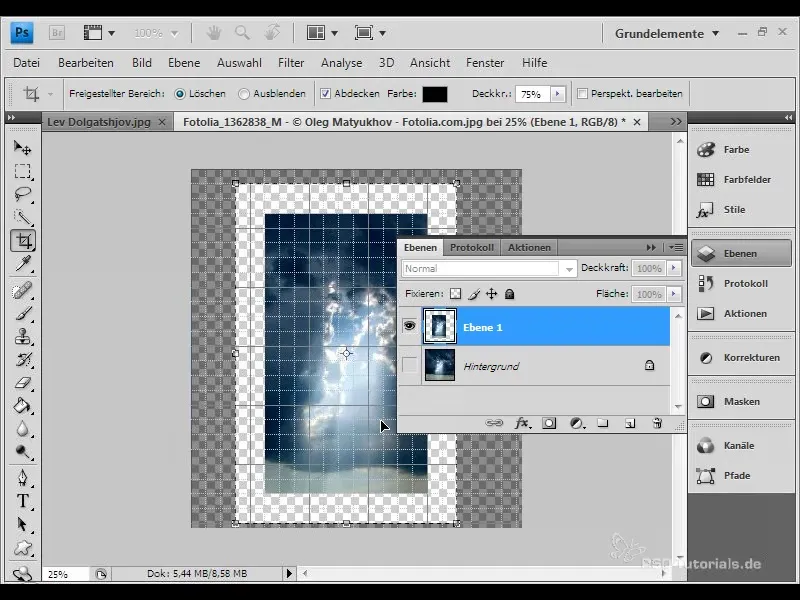
Cropping changes the focus and makes the image more appealing. Make sure the composition remains harmonious.
Step 3: Adding Outline
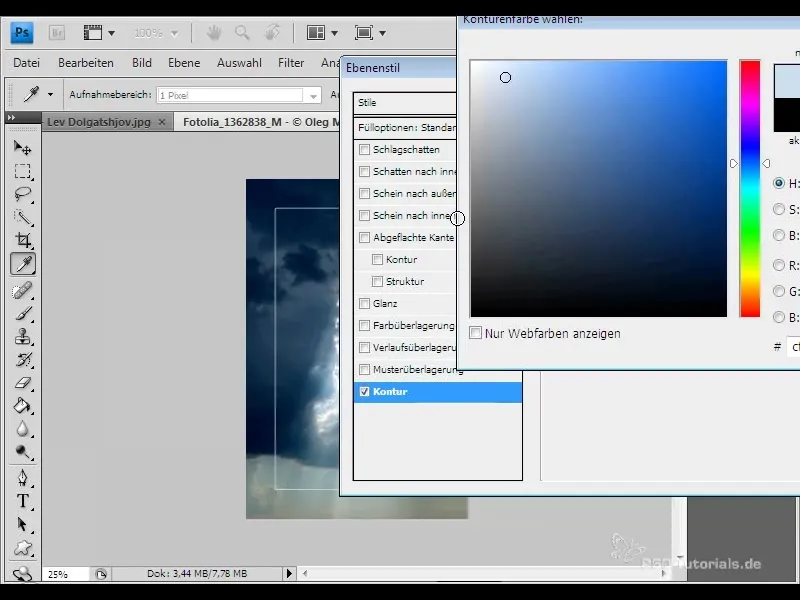
In the next step, I add an outline to the image. To do this, I go to the layer options and select the outline.
Here, I set the outline thickness to three pixels and choose a color that matches the image, in this case, a light blue. This way, you focus on the content of the image.
Step 4: Adding Shadow Effect
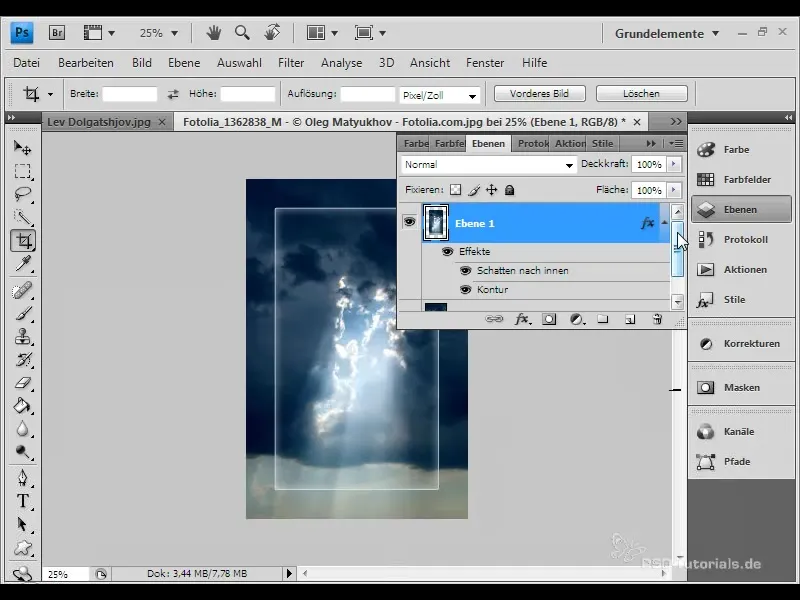
To give the image more depth, I will add an inner shadow. I make sure the color is light since the image itself is darker. I do not specify a distance, slightly increase the size, and adjust the opacity to 50%.
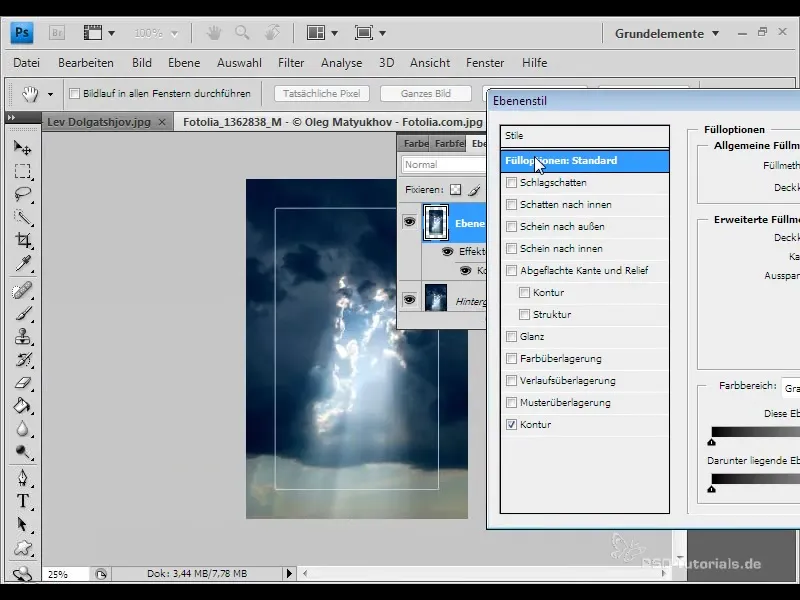
Once it looks good, I confirm the settings.
Step 5: Blurring the Outer Frame
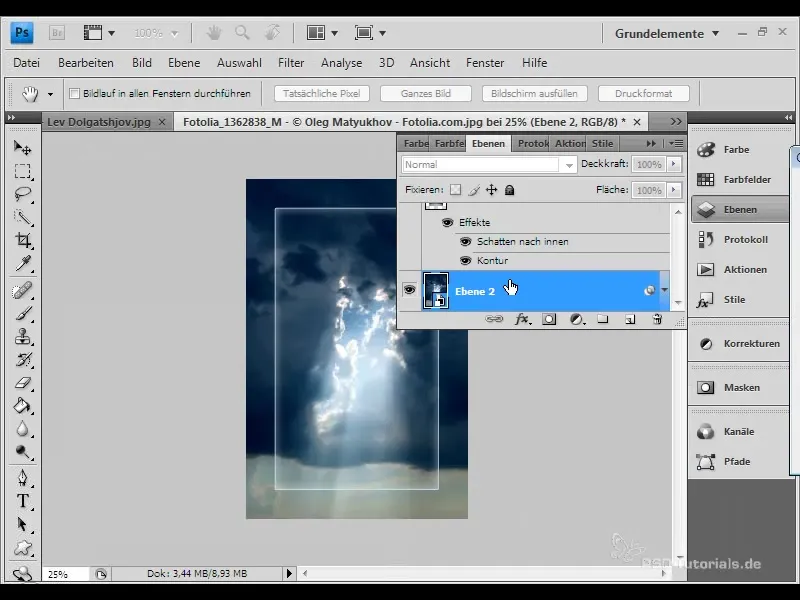
For the next effect, we want to slightly blur the outer frame and enhance the contrast. For this, I convert the background layer into a smart object.
I apply the Gaussian Blur and set it to four pixels to achieve a smooth transition edge.
Step 6: Adjusting Brightness and Contrast
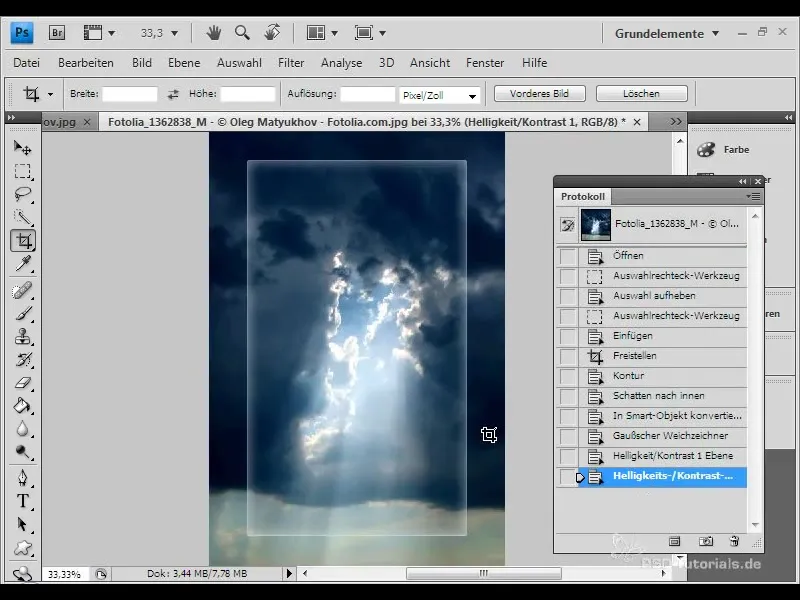
Now, I select an adjustment layer for brightness and contrast to make the outer frame a bit darker and more contrasting. The inner frame remains as is, directing the focus to the image.
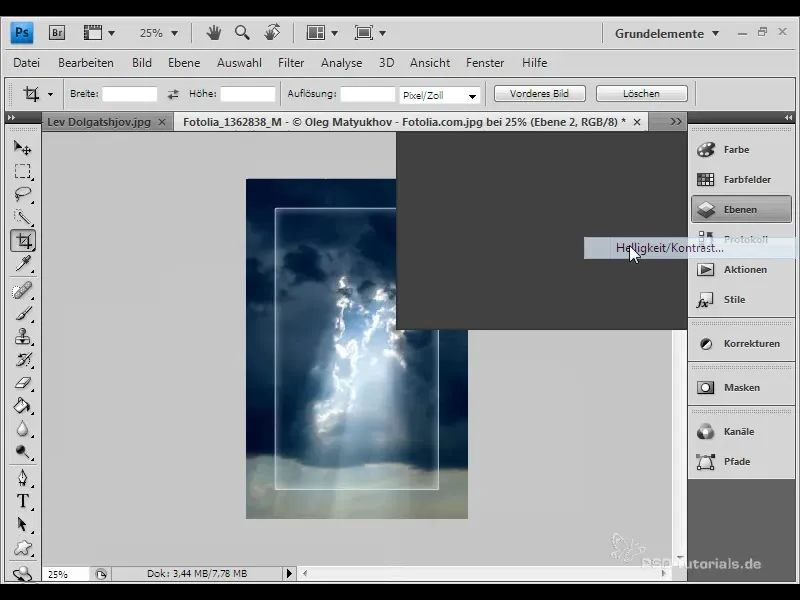
By now, the image has significantly more impact through the adjustments made.
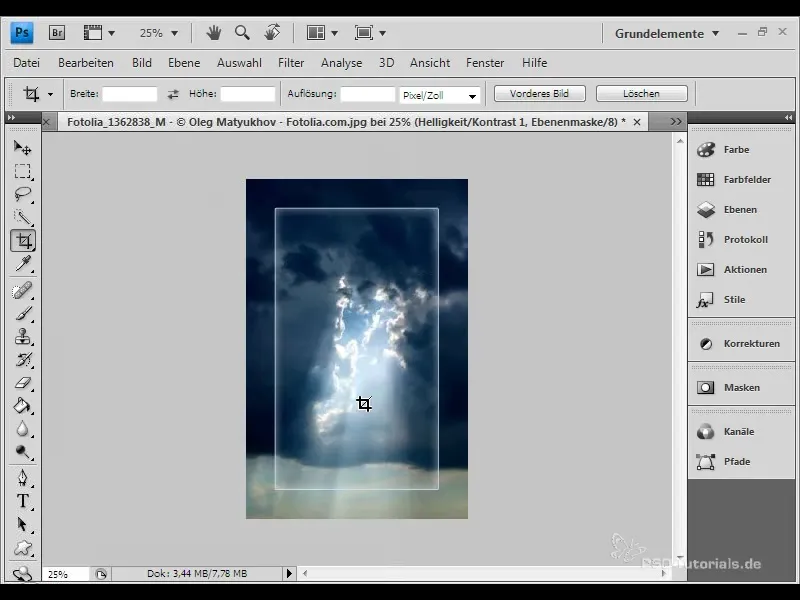
Step 7: Before-After Comparison
To see how much the image has changed due to the effects, I look at the comparison between the original version and the edited version. In the log, I can simply jump back to make the difference visible.
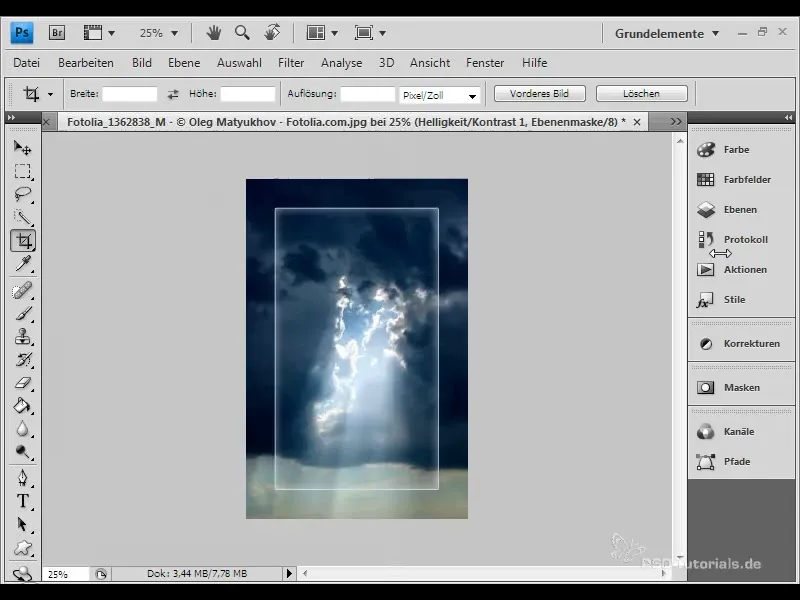
This is what the image looked like before I edited it, and here is the result after editing.
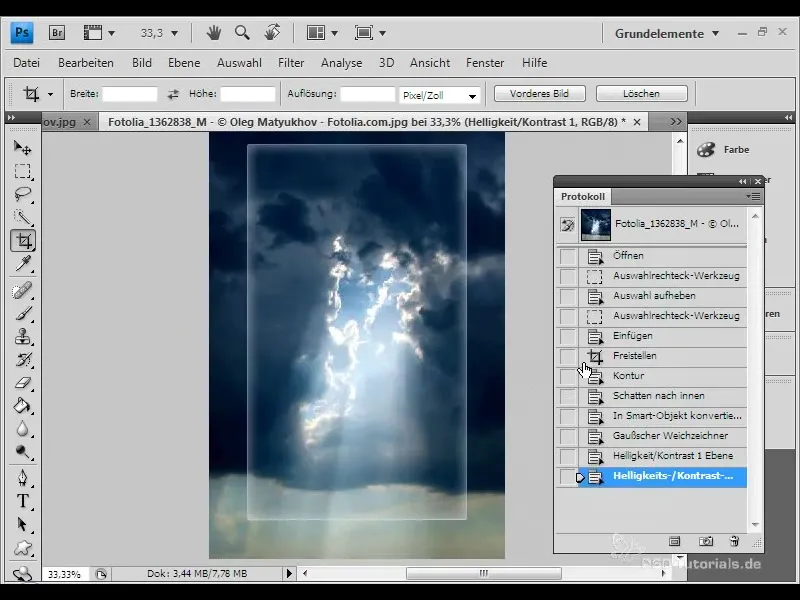
Step 8: Conclusion
With these simple techniques, you have breathed new life into your image. A little softening, shadows, and a stylish outline can work wonders and bring your images to the forefront.
I hope you feel inspired to try out these techniques in your own projects!
Summary
Using image outlines and frames can significantly enhance your photography. You have learned how to effectively use these elements to increase the impact of your images. Do not hesitate to apply these techniques in your next image editing!
Frequently Asked Questions
How do I add an image outline?Go to the layer options and select 'Outline.'
How can I adjust the outline color?Select the color directly from the image or set a new color for the outline.
Is it possible to adjust the shadow inwards?Yes, you can adjust the size, distance, and opacity of the shadow.
Can I combine multiple shadow effects?Yes, you can combine different forms of shadow and contours together.
What is the Gaussian blur?The Gaussian blur is a filter that provides soft transitions and blurring.


