You want to create an appealing photo filmstrip that not only presents your pictures optimally, but also impresses with creative effects and easy interchangeability? In this tutorial, I will show you how to create step by step a filmstrip template with reflection and an efficient method for exchanging images. We will use shape layers that significantly simplify the process.
Key Takeaways
- Choose the appropriate file and image size to create a wide filmstrip.
- Work with shape layers to easily create picture frames.
- Use the functions of smart objects to exchange images effortlessly and apply transformations efficiently.
- Create reflections with smooth transitions and efficient image changes.
Step-by-Step Guide
To create your filmstrip, follow this structured guide:
1. Create a New File
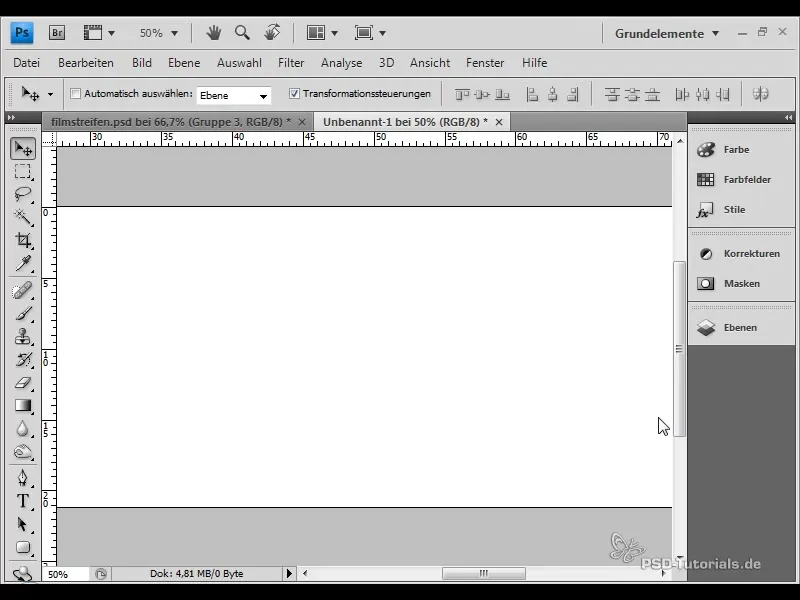
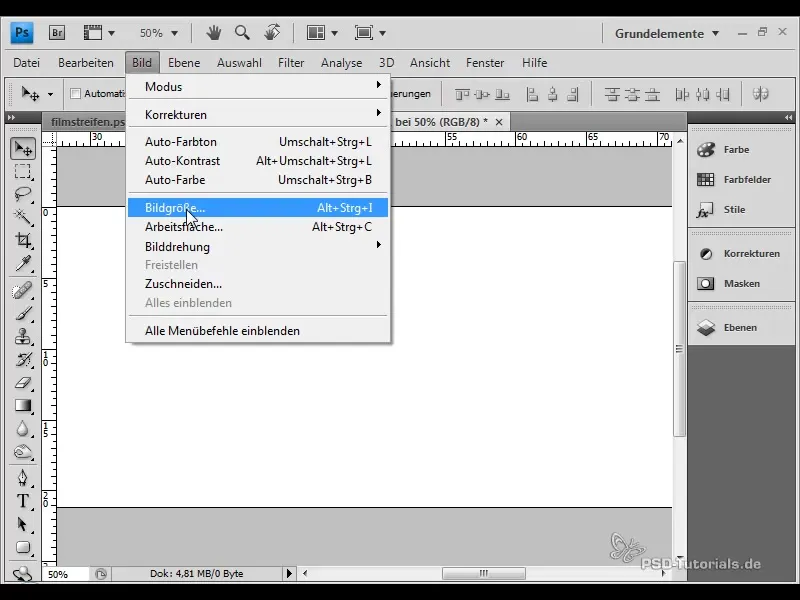
Start by creating a new file in Photoshop. Choose the dimensions 2800 x 600 pixels to provide enough space for your eight images. To work precisely, show the grid by pressing CTRL + R.
2. Draw the Filmstrip Shape
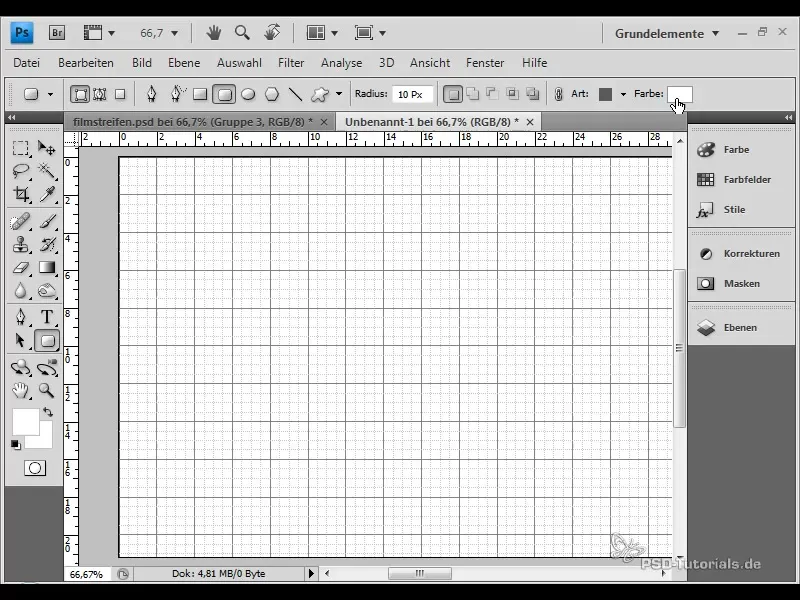
Use the rounded rectangle tool to create the basic shape of your filmstrip. Choose a black color for the background. Draw the shape so that it lies on its own layer.
3. Create the Filmstrip Holes
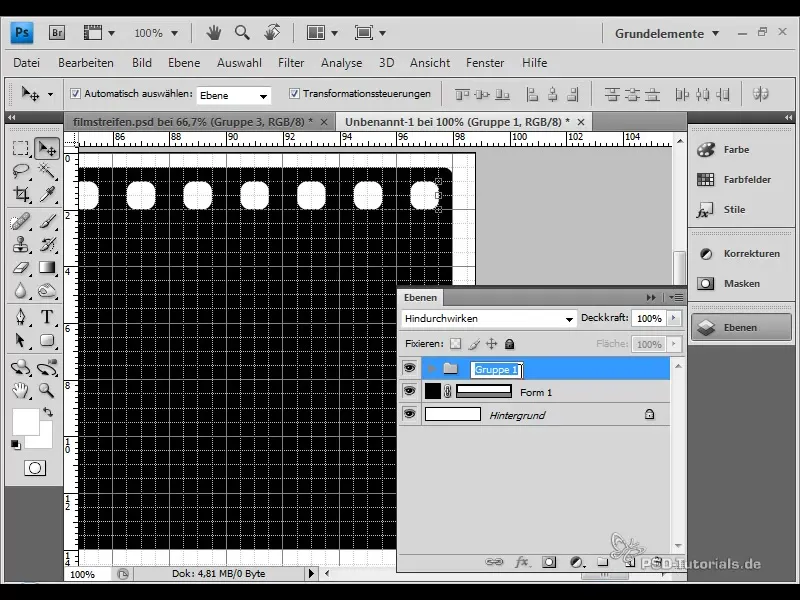
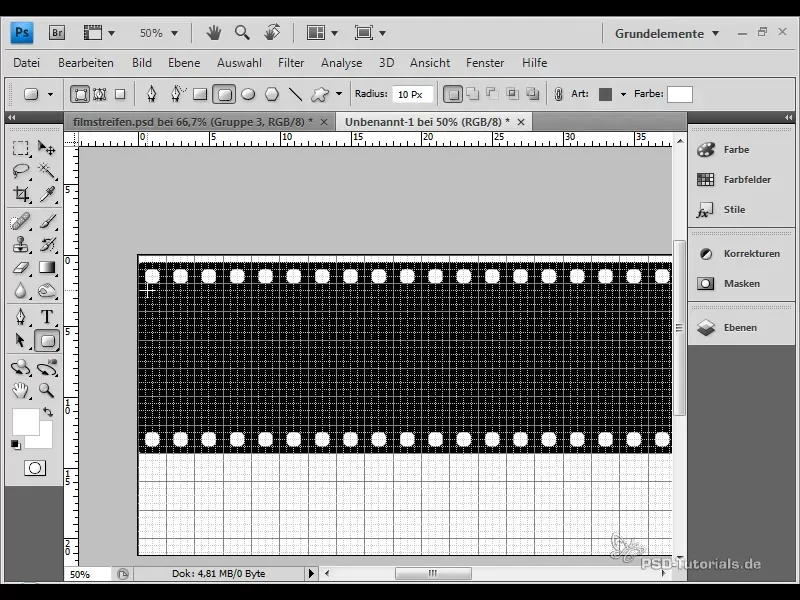
To create the typical holes in the filmstrip, use the rounded rectangle tool again. Choose white as the color and align with the grid to draw four squares precisely and leave two spaces in between. Select these and duplicate them to achieve a symmetrical arrangement.
4. Group the Layers
Select all the layers you created for the holes and group them with CTRL + G. Name the group "Top Hole Edge". Duplicate this group for the bottom hole edge.
5. Add Placeholders for the Images
Create additional placeholders with the rounded rectangle tool to function as picture frames. Place them in the "Placeholders" group. You can round the corners to achieve a harmonious design and finally confirm the shape.
6. Convert the Layers into a Smart Object
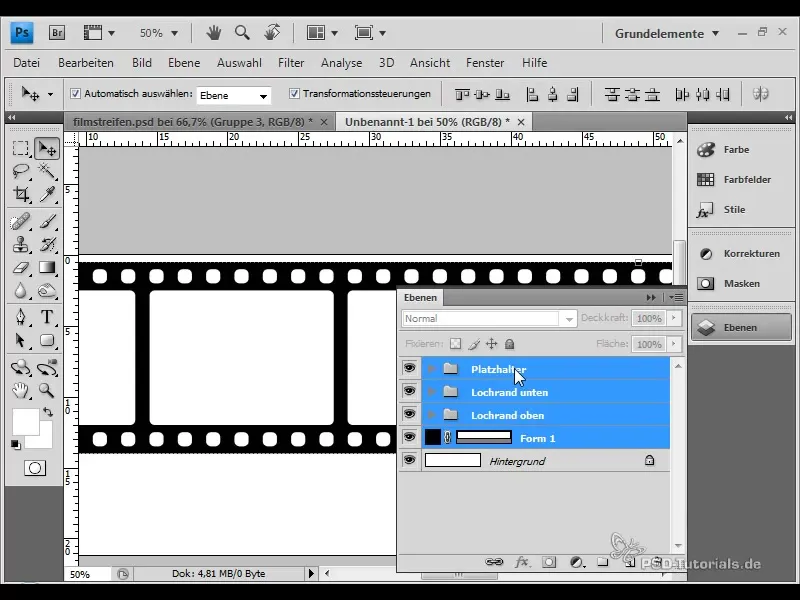
To work more easily, convert all the layers into a smart object. Right-click on the selected layers and choose "Convert to Smart Object".
7. Mirror the Smart Object
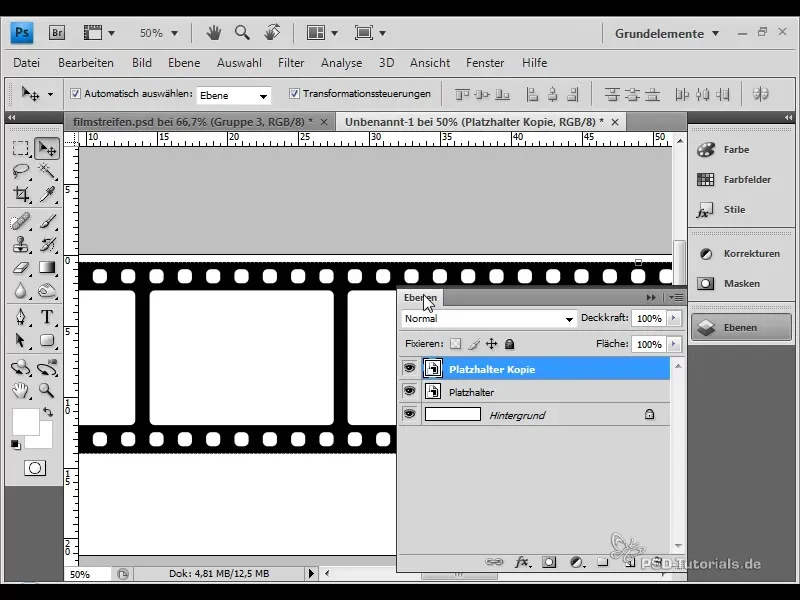
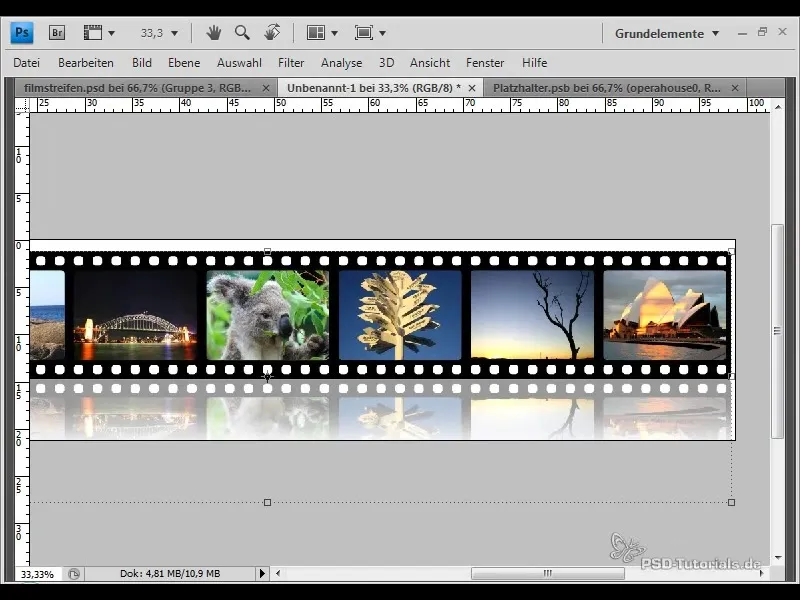
Duplicate the created smart object and transform it by pressing CTRL + T. Drag the top anchor point downwards to create the reflection. Reduce the opacity to around 40% to enhance the effect.
8. Add a Layer Mask
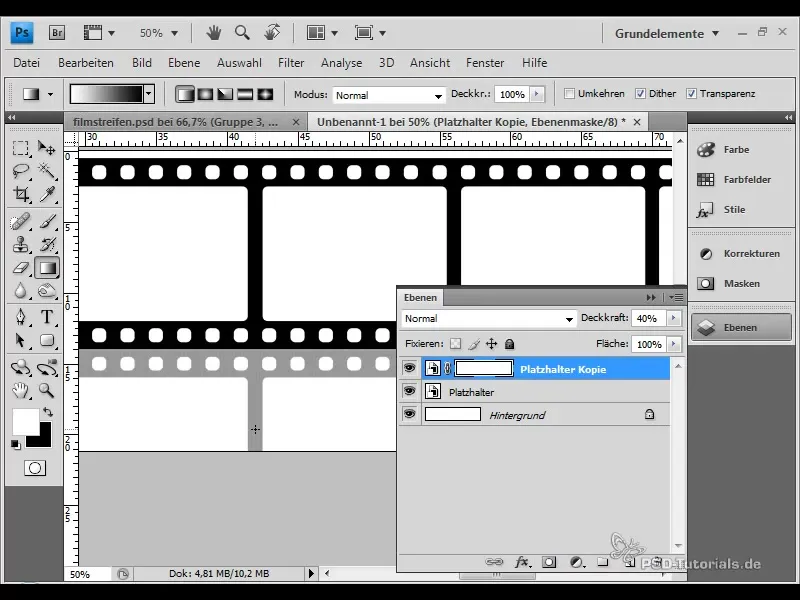
Add a layer mask to the duplicated layer and use a black gradient for a smooth transition. Ensure that the transition looks harmonious and the filmstrip looks appealing.
9. Insert Images into the Smart Object
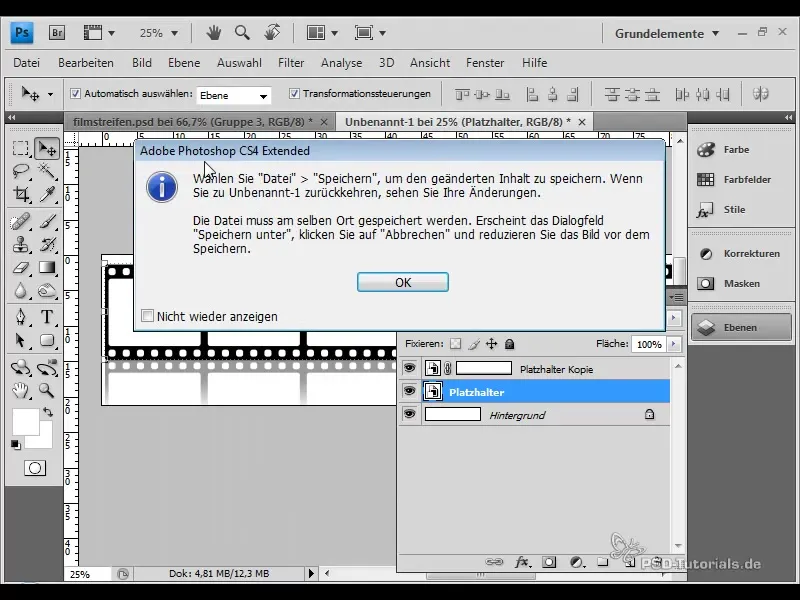
Open the smart object for editing. Right-click and choose "Edit Contents". This will open a PSB file where you can insert your images. Create a new group and place the images there.
10. Customize the images
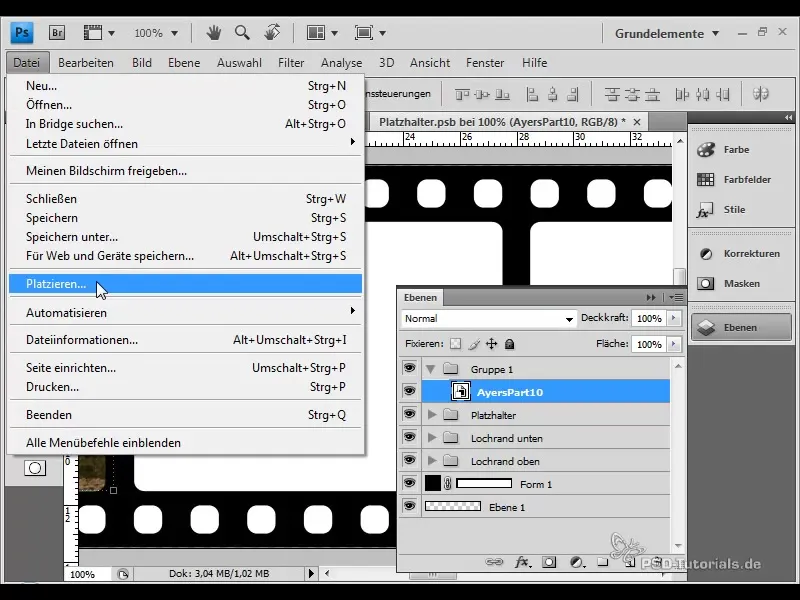
Place the images in the group. Make sure to use placeholders to integrate the rounded corners. Each image can now be easily adjusted and fit into the template.
11. Apply transformations
To make the filmstrip more dynamic, you can apply additional transformations. Select the corresponding layers and use CTRL + T to adjust perspective or scale.
12. Test the quick image exchange
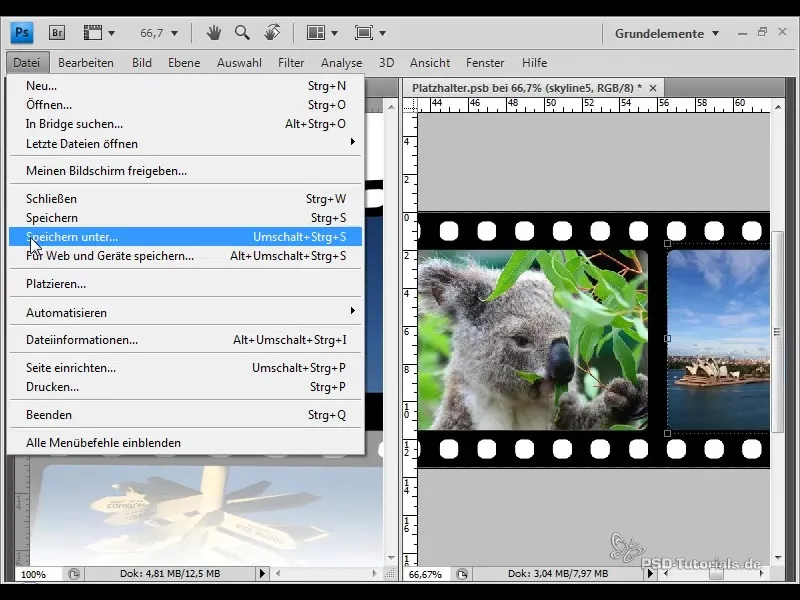
To check how easy it is to exchange images, replace one of the images in the smart object, save, and review the result. All transformations and effects will be preserved.
13. Create special effects
Experiment with different transformations to be creative. For example, you can add distortions or warps to your filmstrip to give it more expression.
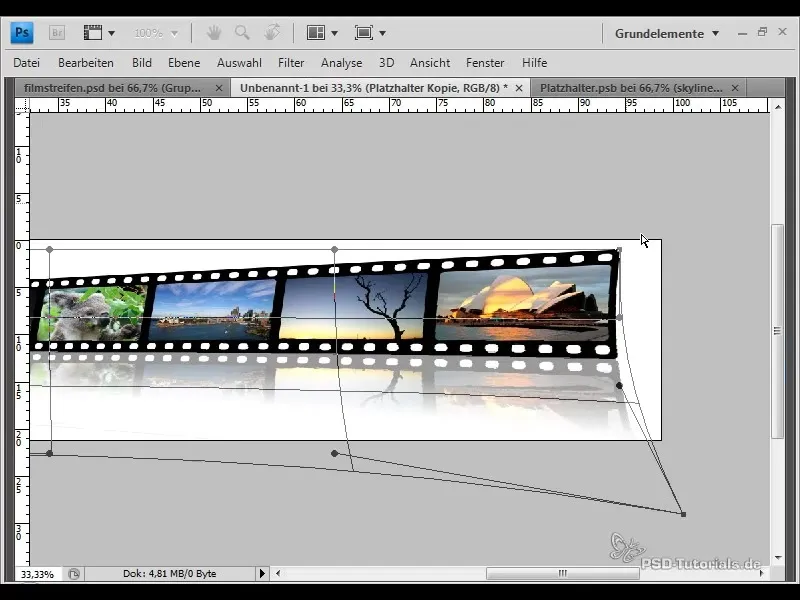
14. Final review
Check the result and consider if all images are well placed in the filmstrip and if the reflection looks harmonious. Think about whether you would like to make further adjustments.
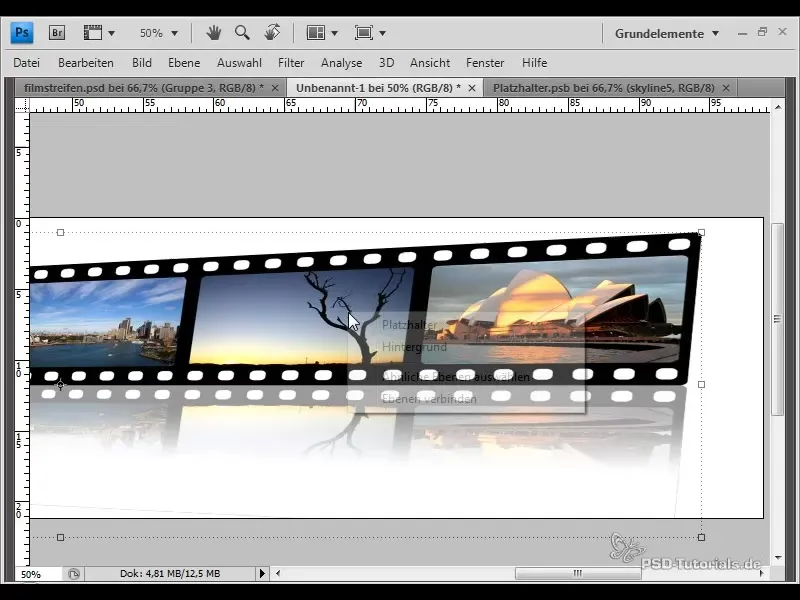
Summary
With these clear steps, you have created an attractive filmstrip with reflection that allows you to quickly exchange images and integrate creative transformations. Continue experimenting with your design and let your creativity run wild!
Frequently Asked Questions
How do I create a new file in Photoshop?Go to File > New and choose the desired dimensions.
What are smart objects?Smart objects allow you to transform layers without losing quality and provide the ability to edit content at any time.
How can I insert images into a smart object?Right-click on the smart object and select "Edit Contents" to open the PSB file.
Why should I reduce the opacity of the reflection?Reducing the opacity ensures a smooth transition and makes the reflection look more natural.
Can I later resize my images?Yes, since smart objects are used, all transformations will be preserved even after changes to the images.


