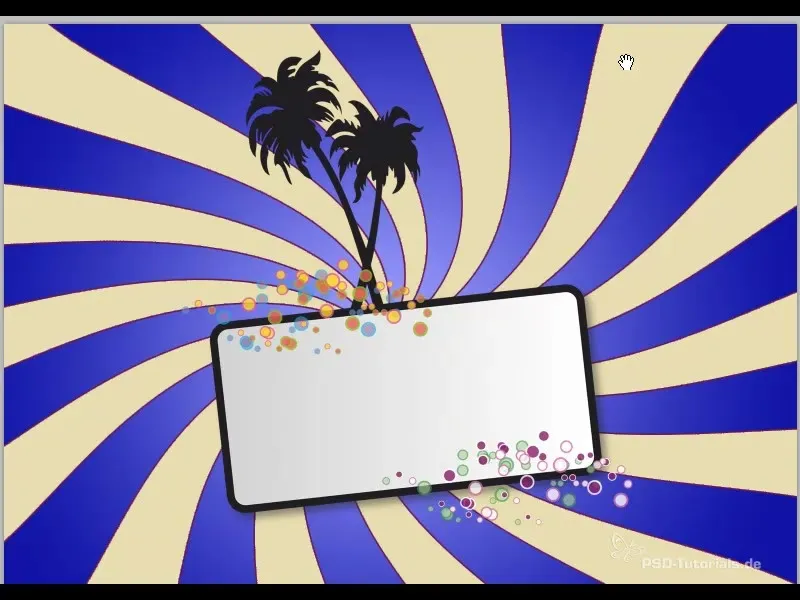
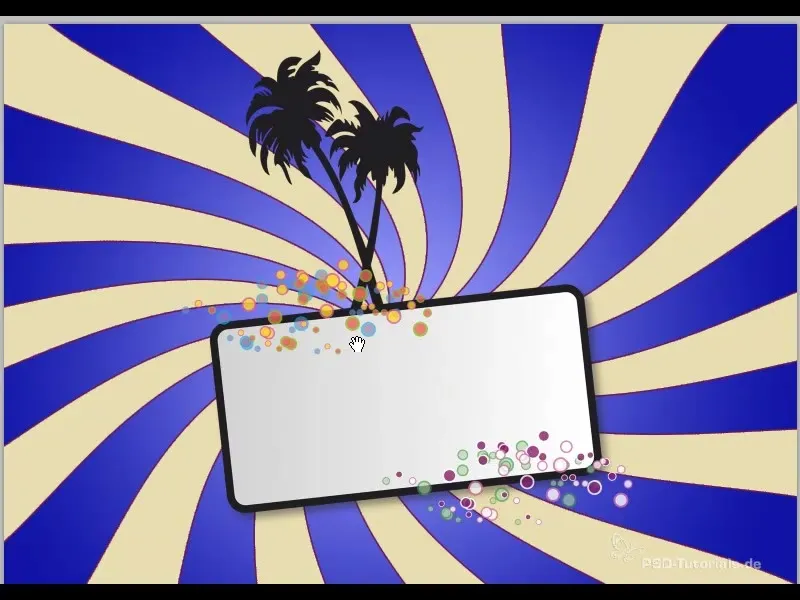
The retro ray effect is a true classic in the world of graphic design. Whether for flyers, wallpapers, or other creative projects – this effect stands out with its unique aesthetic and draws attention. In this tutorial, you will learn how to efficiently create this effect in Photoshop, including practical variations and adjustments. Let's get started and implement this fascinating effect!
Key Insights
- The retro ray effect is created by uniform, tapering stripes that provide dynamic background design.
- Adjustments like color gradients, contours, and creative oscillations add additional charm to the effect.
- Creating custom shapes simplifies the later use and adjustment of the effect in various projects.
Step-by-Step Guide
Step 1: Create Document
First, open Photoshop and create a new document. It is recommended to use a size of 1600 x 1200 pixels. Activate the grid to ensure a clean structuring of your design.
Step 2: Create Rectangles
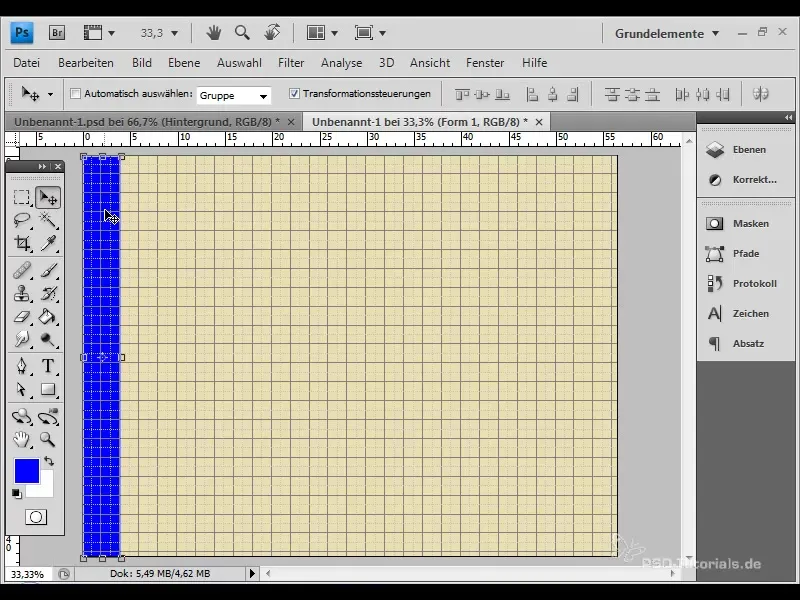
Select the rectangle tool and choose a dark color, ideally a deep blue. Drag rectangles uniformly from top to bottom to create the base for your stripes.
Step 3: Duplicate Layers
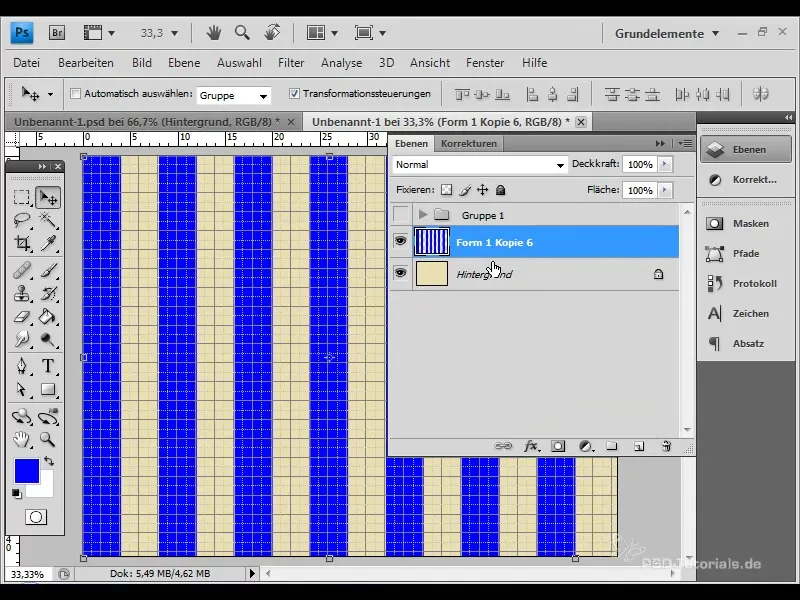
Activate the move tool and hold down the shift key while duplicating the rectangles. You can move the layers simultaneously using the alt key. This allows you to quickly and effectively fill your grid.
Step 4: Merge Stripes into One Layer
Select all stripe layers and merge them into a single layer by pressing Ctrl + E. This simplifies the application of filters.
Step 5: Apply Polar Coordinates
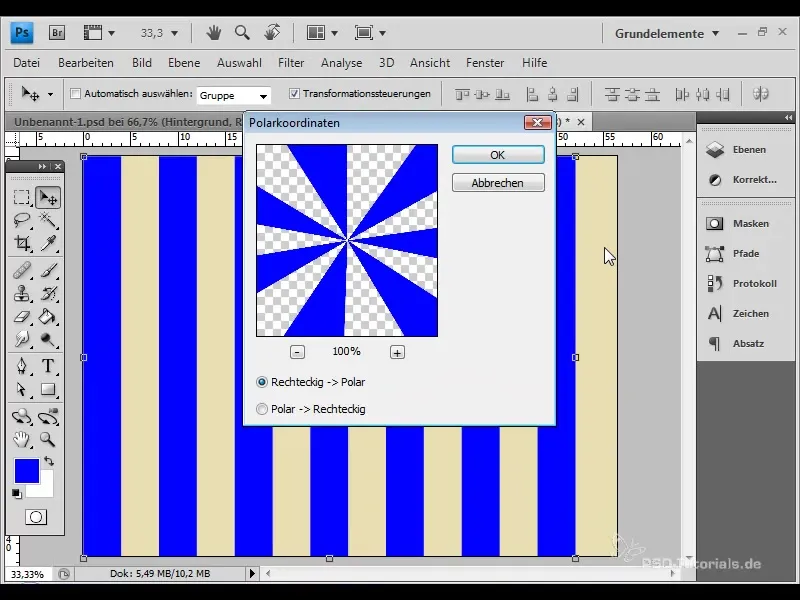
To create the retro ray effect, go to the "Filter" menu and select "Distortion Filters" followed by "Polar Coordinates." Confirm with "OK" to transform the stripes into the classic retro ray effect.
Step 6: Crop Document
Before further adjusting the effect, crop your document so that the blue stripes are evenly and symmetrically bordered.
Step 7: Create Additional Stripes
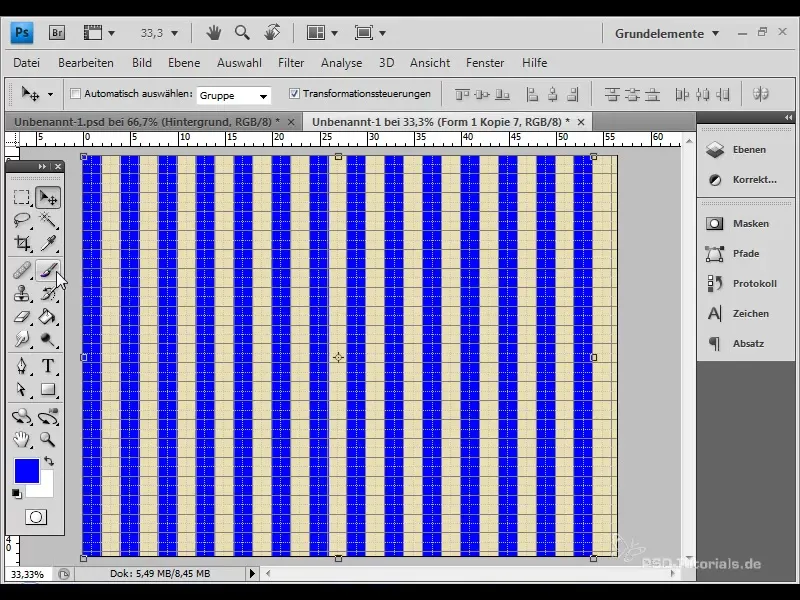
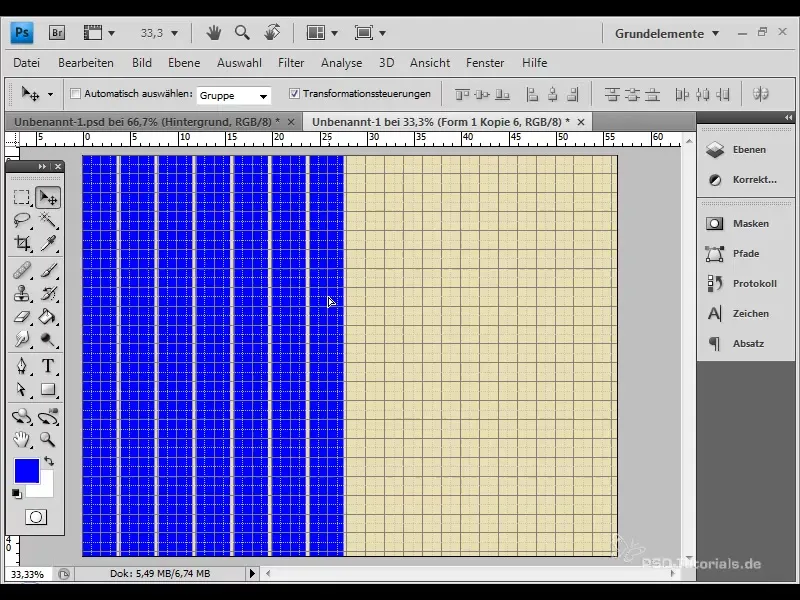
If you desire more stripes, you can shrink the existing layer and duplicate it again. Apply the Polar Coordinates filter again to see the result.
Step 8: Design Gradient
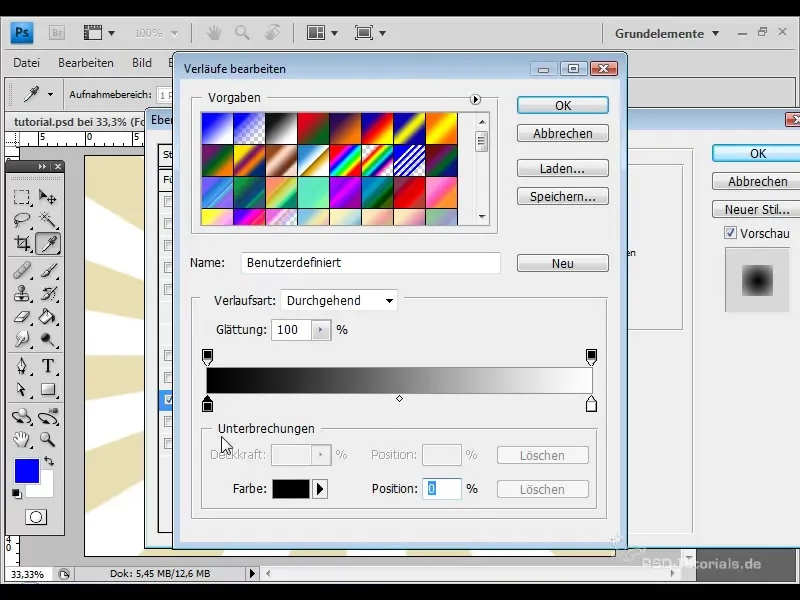
An interesting variation is the use of color gradients. Open the layer's fill options and select a gradient overlay. Place a light blue color in the middle and a dark blue color on the edges.
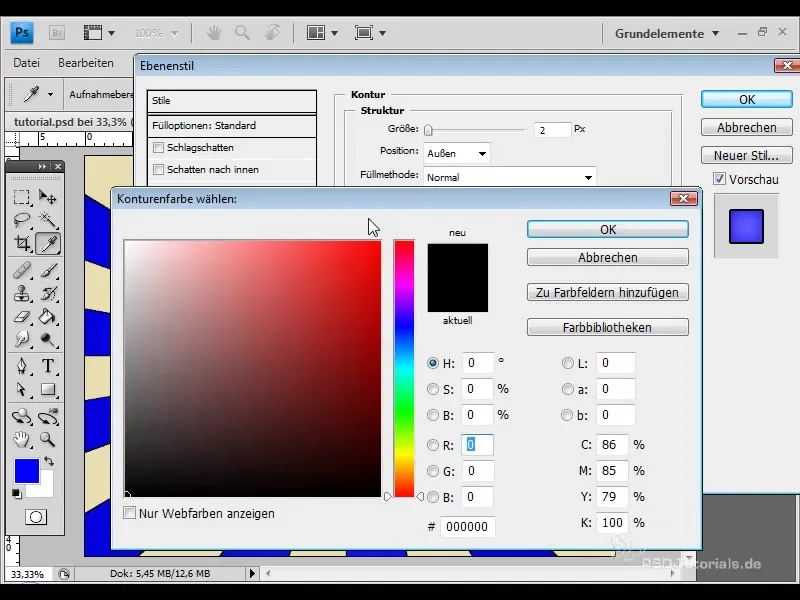
Step 9: Add Contour
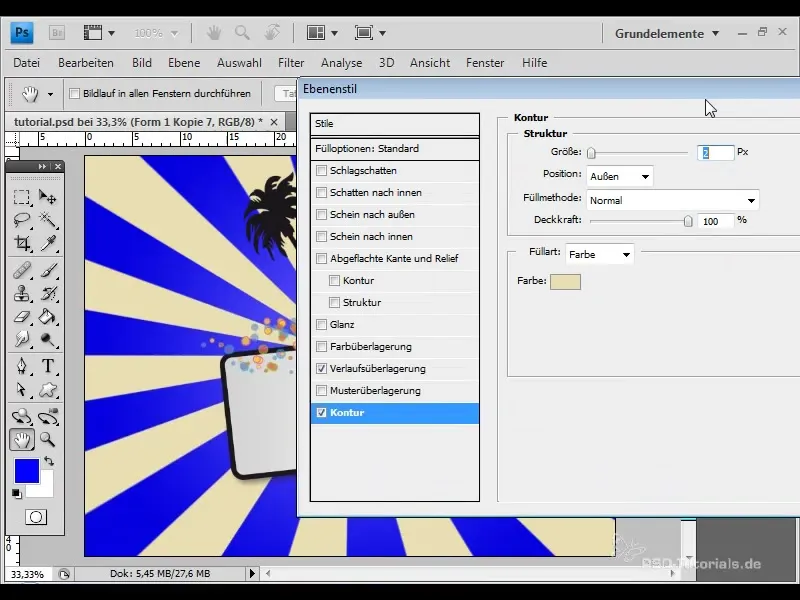
To add more depth to the effect, include a contour. From the fill options, choose a contour of about two pixels and select the same hue as from your vector element.
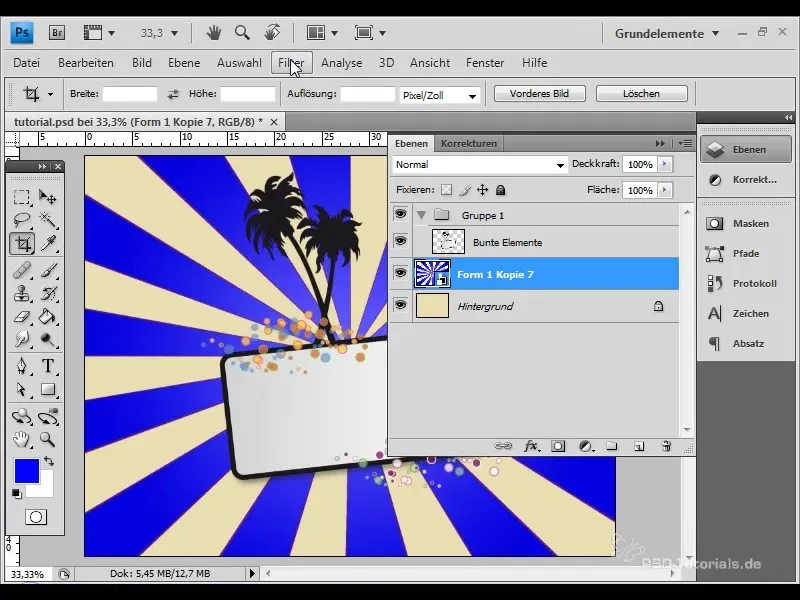
Step 10: Add Oscillations
Another creative step is to create oscillations. Convert the layer into a smart object and apply the "Twirl" filter to achieve a more dynamic impression.
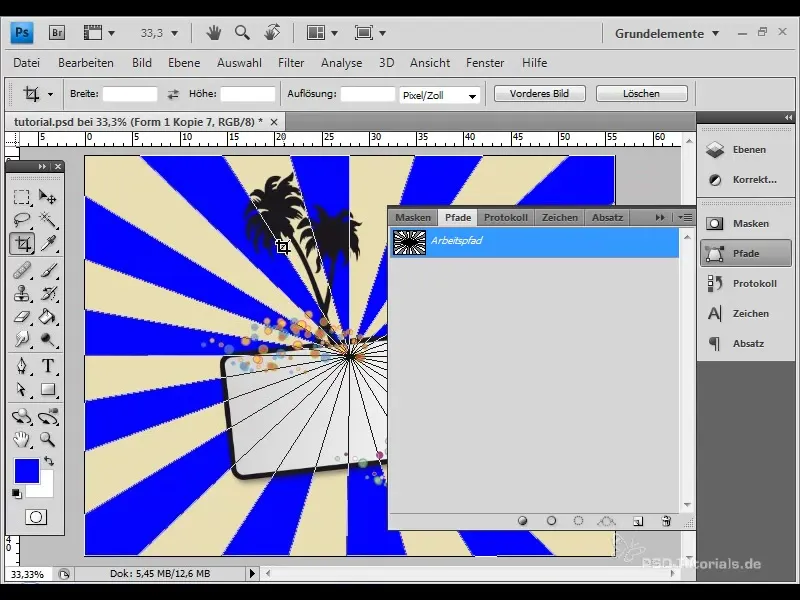
Step 11: Create and Save Shape
In order to be able to easily reuse the retro rays in the future, create your own shape. Go to the "Edit" menu and select "Define Custom Shape". Give the shape a suitable name.
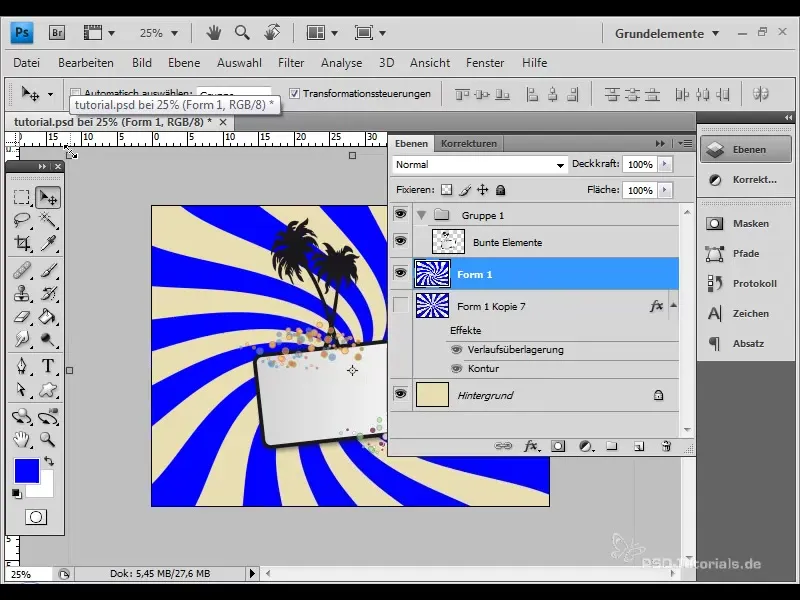
Step 12: Adjust Effect
At the same time, you can adjust the size of the newly created shape and apply the vibration filter to it again. This ensures that the rays reach all the way to the edge of your document.
Step 13: Create Spike Effect
A final creative step could be to change the outline color to the background color and increase the outline size. This creates a spiky effect that is particularly effective when there are many rays present.
Summary
You have now learned how to create and customize the retro ray effect. With the techniques described, you can create impressive designs for flyers, Wallpapers, or other creative projects that are not only visually appealing but also easy to create. Experiment with the different options and find your own unique style!
Frequently Asked Questions
How do I create the retro ray effect?You can create the effect by drawing rectangles, combining them in a layer, and then applying the "Polar Coordinates" filter.
What options do I have for gradients?You can choose different colors and gradient types to customize your effect.
How do I save the retro rays as a custom shape?Select the layer, go to the "Edit" menu, and choose "Define Custom Shape".
What software do I need?For this effect, you need Adobe Photoshop to implement the steps.
Can I use the effect in Illustrator as well?Yes, it is possible to create the effect in Illustrator, but the process is slightly different there.


