Creativity can be expressed in many ways, and one fascinating way is designing images with a circle mosaic effect. In this tutorial, I will show you how to create this impressive photo effect in Adobe Photoshop. Whether you want to create a postcard motif, a colorful wallpaper, or an appealing flyer - the circle mosaic effect offers you numerous possibilities for creative design.
Key Takeaways
- The circle mosaic effect can be created easily and quickly in Photoshop.
- By using transparent patterns, you can create unique designs.
- Adjusting the mosaic size allows for flexible design that adapts to any image.
Step-by-Step Guide
First, you need a suitable image for your project. In this tutorial, we are using a colorful image as the base.

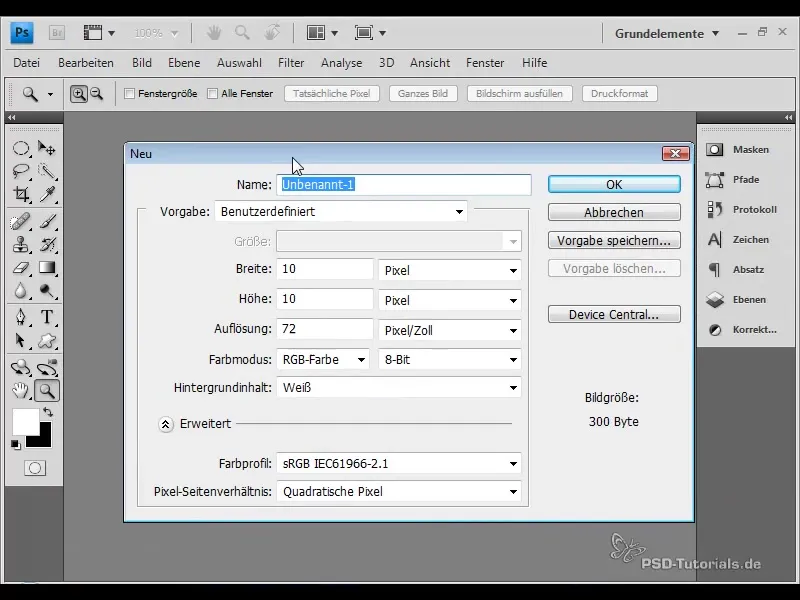
To start, open Adobe Photoshop and create a new document. You should choose the dimensions 10 x 10 pixels, as this will be the size of your mosaic circles.
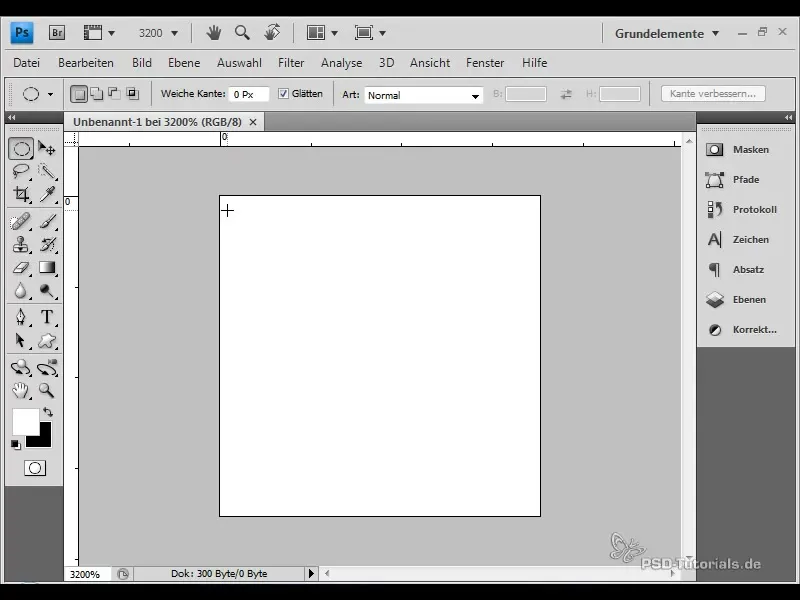
Once your document is open, zoom in to 3200% to see the details better. Now, select the Ellipse Selection Tool and hold down the Shift key while creating a perfect circle with your mouse.
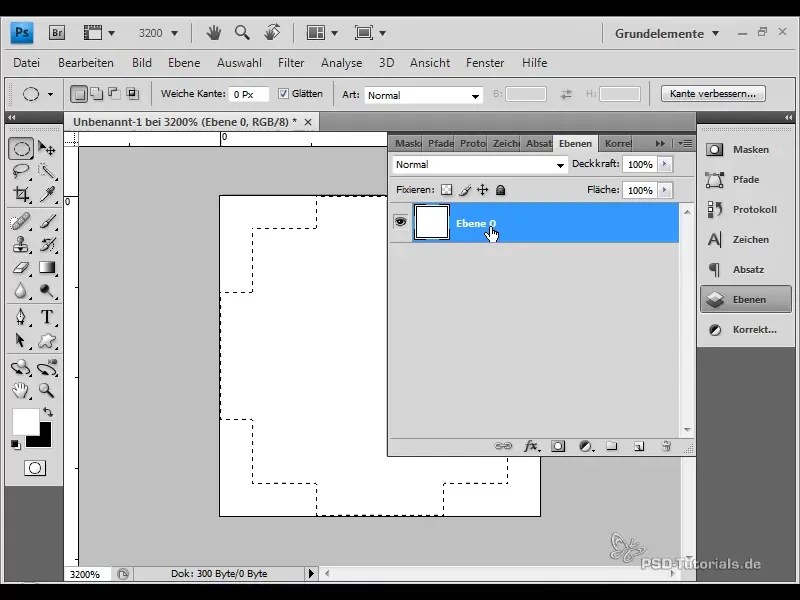
In the next step, you need to convert the background layer into a transparency layer. To do this, press the Alt key and click on the layer. This is important as background layers do not support transparency and you need transparency to fill the circles.
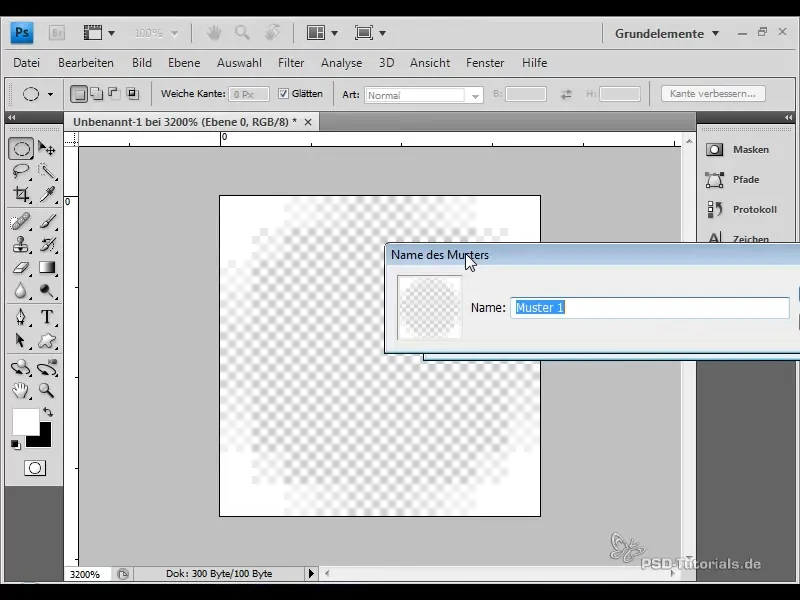
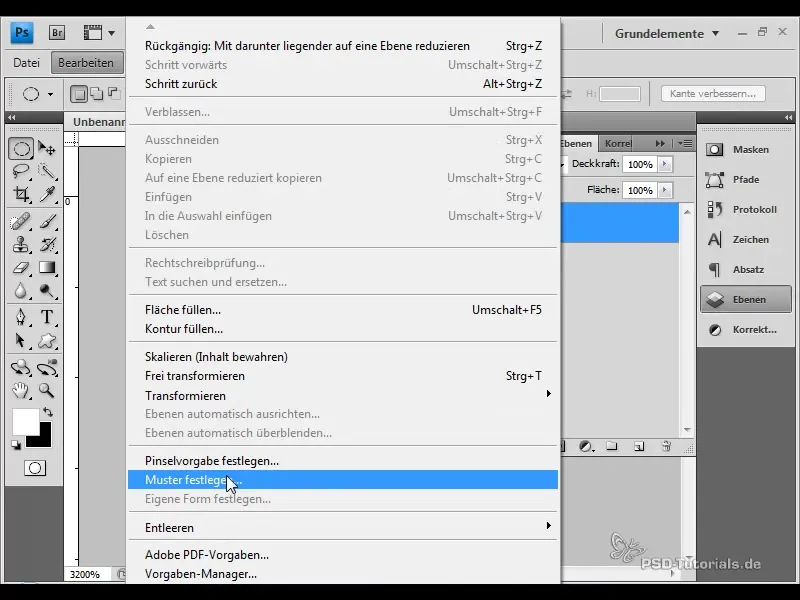
Next, you will make your selection transparent. To do this, go to the "Edit" menu and click on "Define Pattern." Name the pattern "Pattern 10 x 10" to make it easy to find later.
If you also want to experiment with a black background, you can now create a Hue/Saturation adjustment layer and add the black pixel contents. To do this, hold down the Control key and merge everything into one layer.
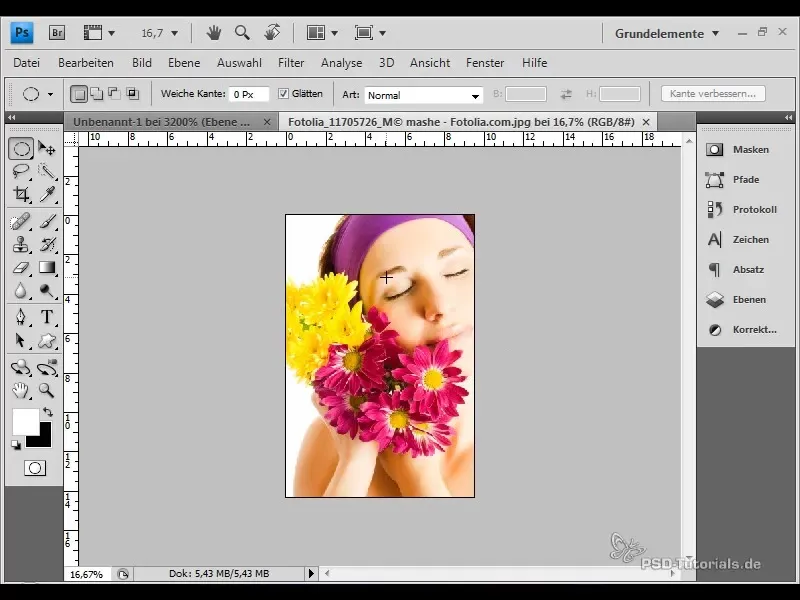
The next step is to select an image. You can choose a photo from your collection or download one from an image database. In this tutorial, we are using an image from Fotolia.
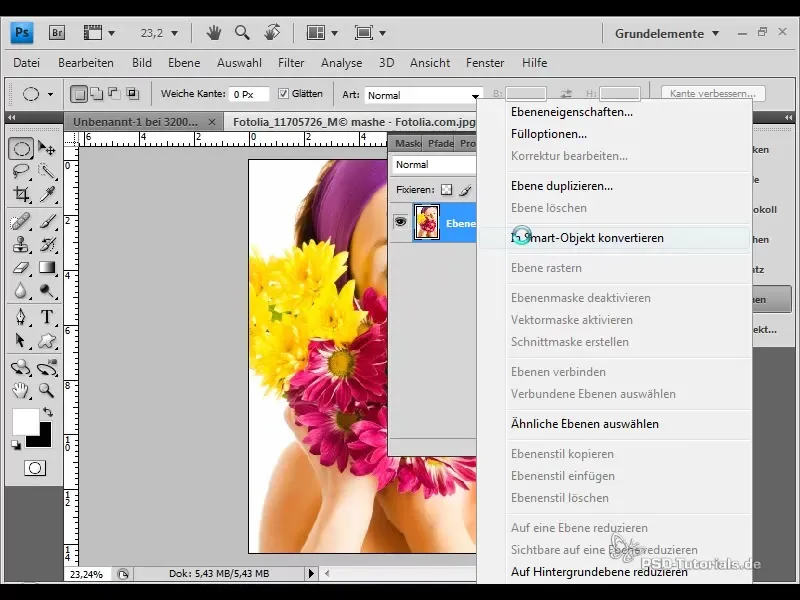
Once you have opened your image, you should convert the background layer into a transparency layer again. Right-click on the layer and select "Convert to Smart Object" to allow for flexible work with filters.
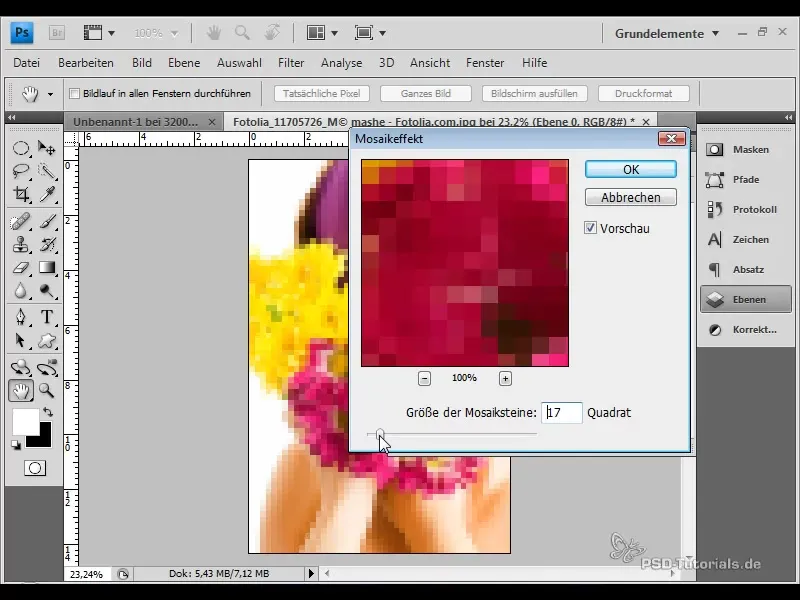
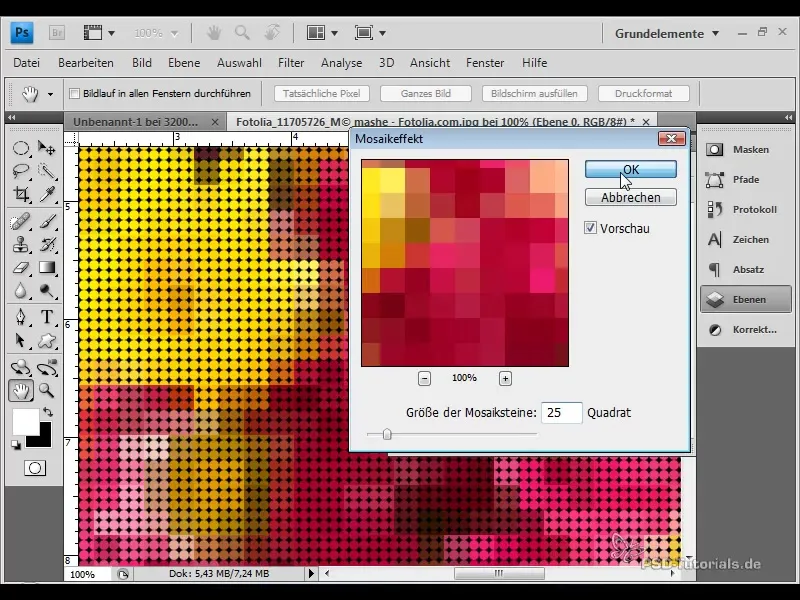
Now, go to the "Filter" menu and select "Pixelate" and then "Mosaic." Make sure to choose a cell size that matches your pattern. Since we created a 10 x 10 pixel pattern, choose 10 square pixels here too.
Confirm the settings with "OK" and right-click on the layer to open the Fill options. Choose your previous pattern overlay "Pattern 10 x 10 Black" here and click "OK."
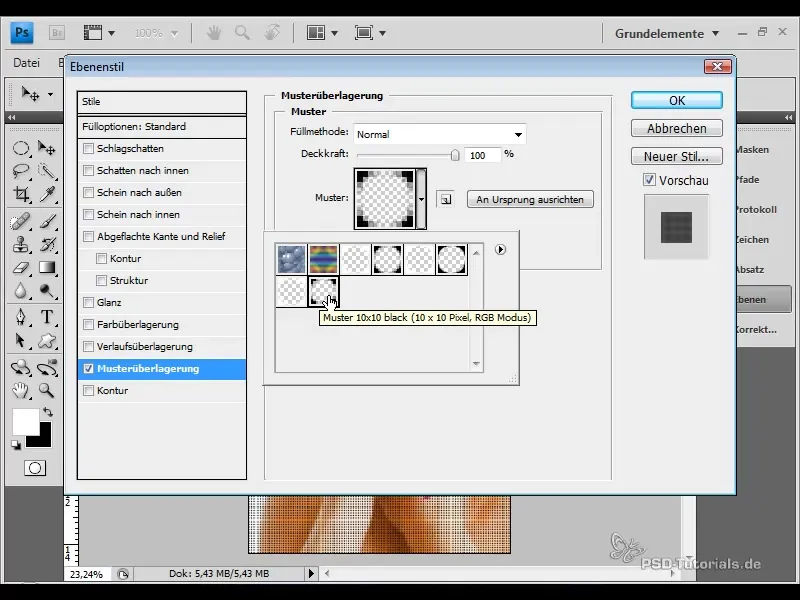
You will see the effect applied to your image. Now, it's time to vary the mosaic size as desired. You can quickly do this by adjusting the Smart Filter settings.
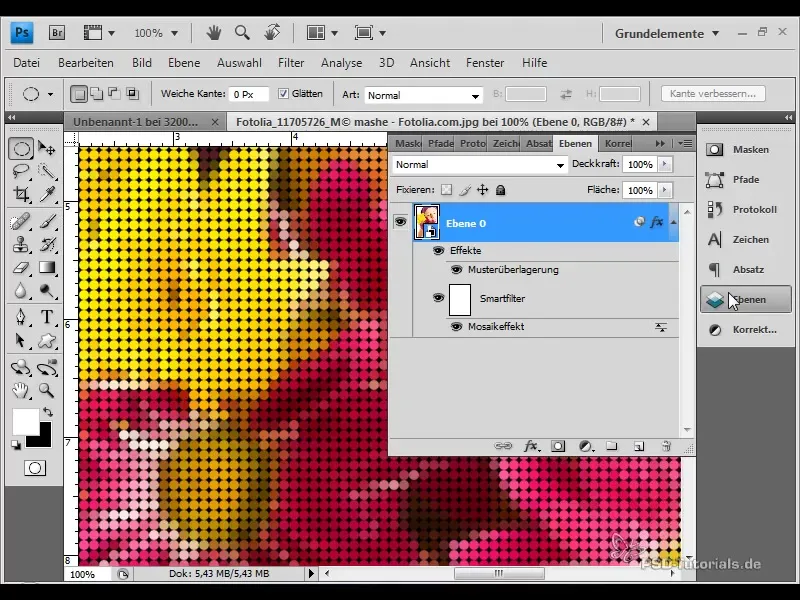
Try different sizes from 10 x 10 to 25 x 25 to see which effect you like best. This flexibility makes the circle mosaic effect appealing for various motifs, especially for colorful and flowery images.
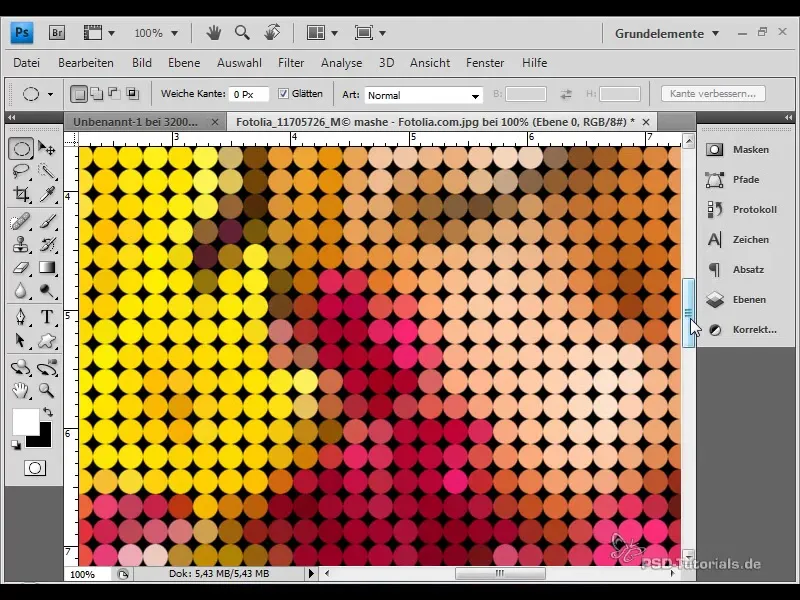
When you return to a different scene, choose the black circle again for a completely new look. With this method, you can create versatile and appealing designs.
I hope this guide has helped you understand and create the circle mosaic effect. Keep practicing and be creative with the many possibilities that Photoshop offers you! Have fun replicating!
Summary
When creating a circle mosaic effect in Adobe Photoshop, you have the opportunity to design creative designs in a simple way. With transparent and flexible pattern application, you can achieve a variety of effects that breathe life into your images.
Frequently Asked Questions
How do I create the mosaic pattern?You create a new document with 10 x 10 pixels and set your pattern under "Edit" > "Define Pattern".
What software do I need?You need Adobe Photoshop to create the circle mosaic effect.
Can I use other image sizes?Yes, the effect is easy to adjust by varying the mosaic size during the process.


