You want to give your digital image a nostalgic look? There are various ways to edit an image to make it look old and interesting. Sepia tones, scratch textures, and vignetting are just some of the techniques that can help achieve the desired effect. In this guide, I will show you in detail how to creatively use these methods to give your images a charming, vintage impression.
Key Takeaways
To make images appear old, use sepia tones, add scratch and age marks, and use vignetting to perfect the retro look. Pay attention to the right textures and fine-tuning of the effects to create a harmonious overall image.
Step-by-Step Guide
1. Image Selection and Preparation
Before you start editing, choose a suitable image. Modern motifs like electronic devices or futuristic vehicles are not really suitable for a nostalgic look. Instead, choose an image that already has some "old" features, such as landscapes or portraits.
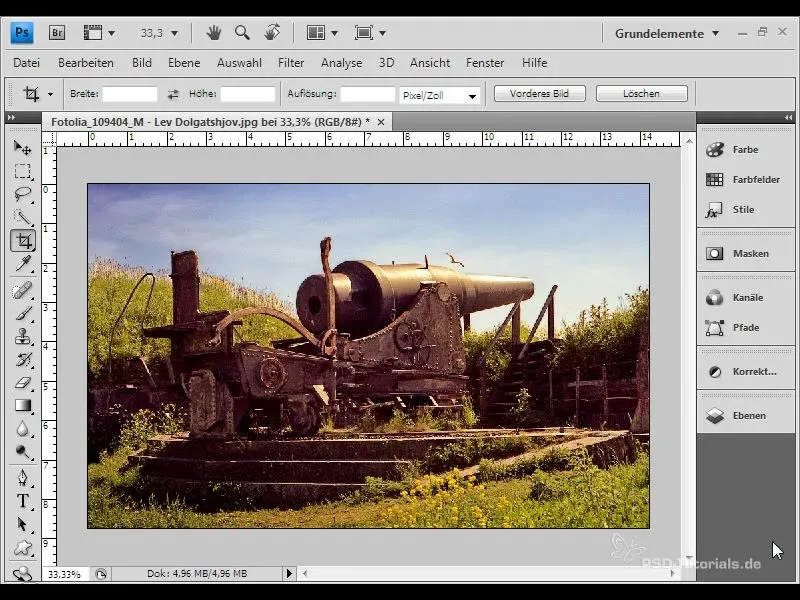
2. Add a Black and White Adjustment Layer
Open your image in Photoshop and add a black and white adjustment layer. This basis is important to achieve the sepia-like effect later on.
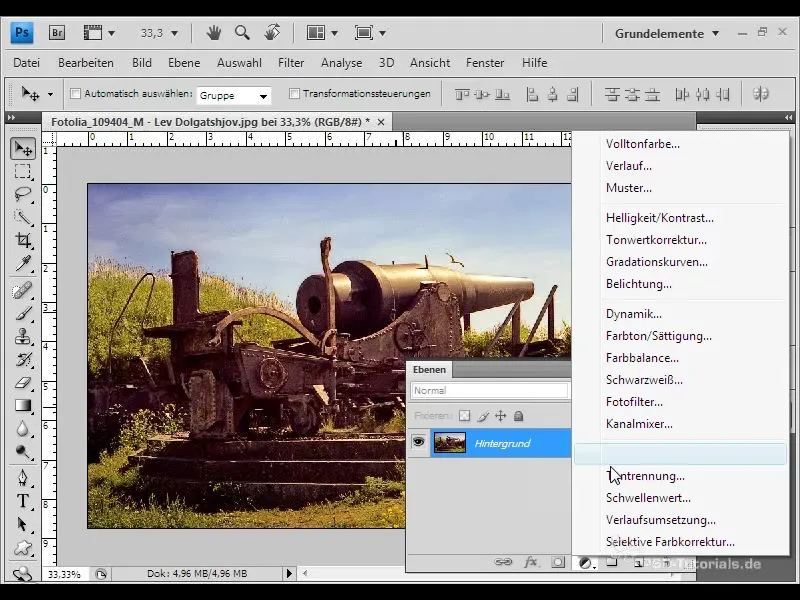
3. Apply Sepia Toning
Now go to the colors and choose a sepia-toned color. You will notice that the tinting already makes the image look older. Confirm the selection, and you have successfully completed your first step.
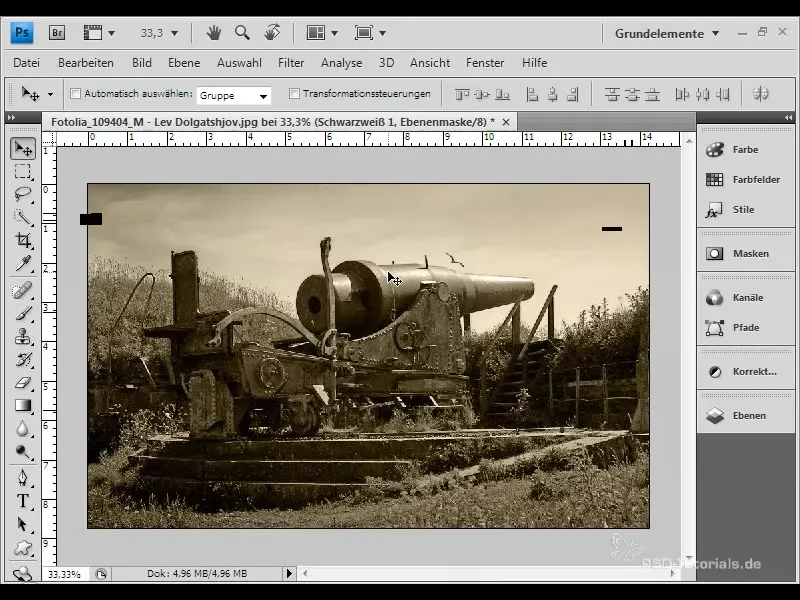
4. Add Aging Marks
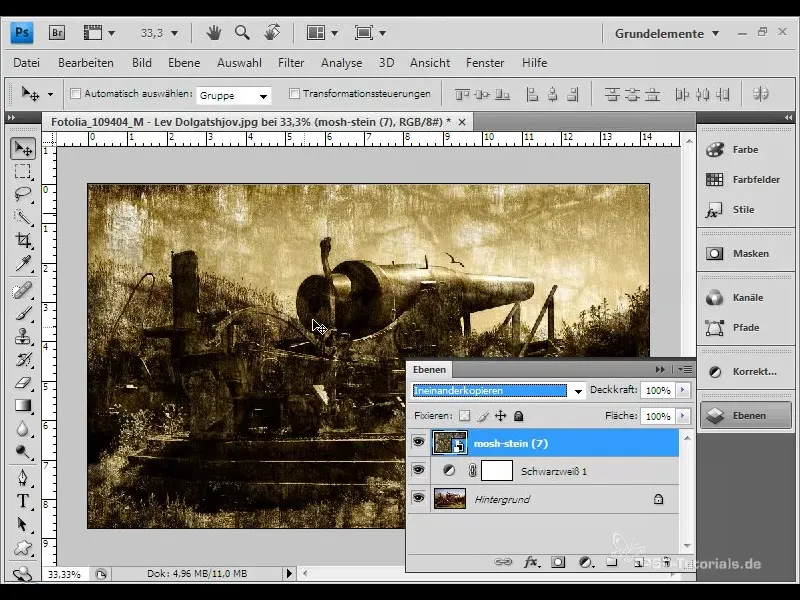
In the next step, we will add typical aging structures such as scratches and cracks. To do this, you need to overlay a suitable texture on your image. Click on "File" and then on "Place" to select the texture. You can use textures from different sources or your own download area.
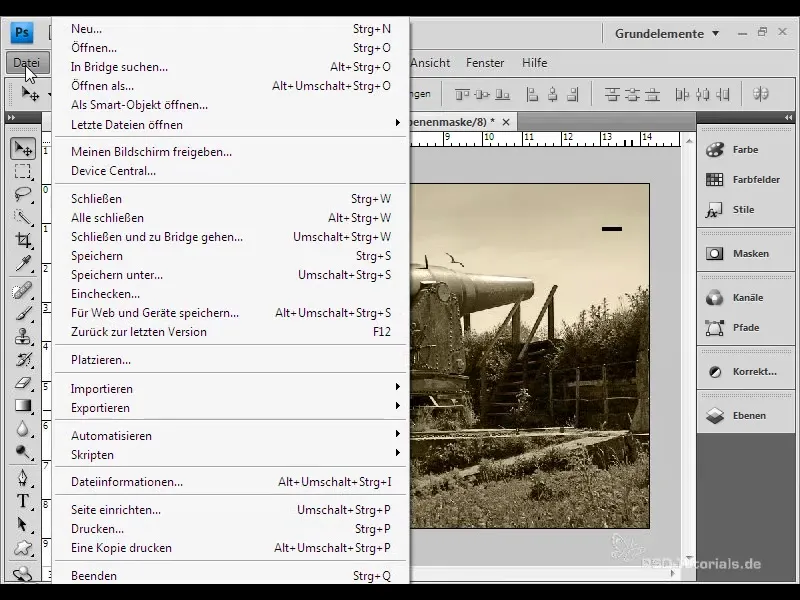
5. Change Layer Mode
After adding the texture, change the layer mode to "Multiply" to combine the texture with the base image. Make sure that the color intensity does not become too strong.
6. Adjust Color and Saturation Settings
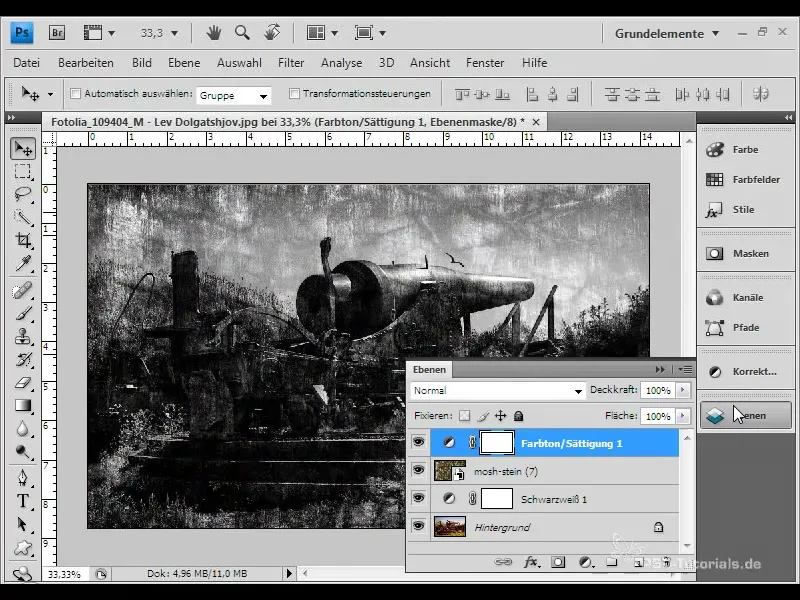
Now it is important to adjust the colors and saturation. Choose another adjustment layer for "Hue/Saturation" and make sure it only affects the texture layer. Use the clipping masks function for this.
7. Reduce Opacity
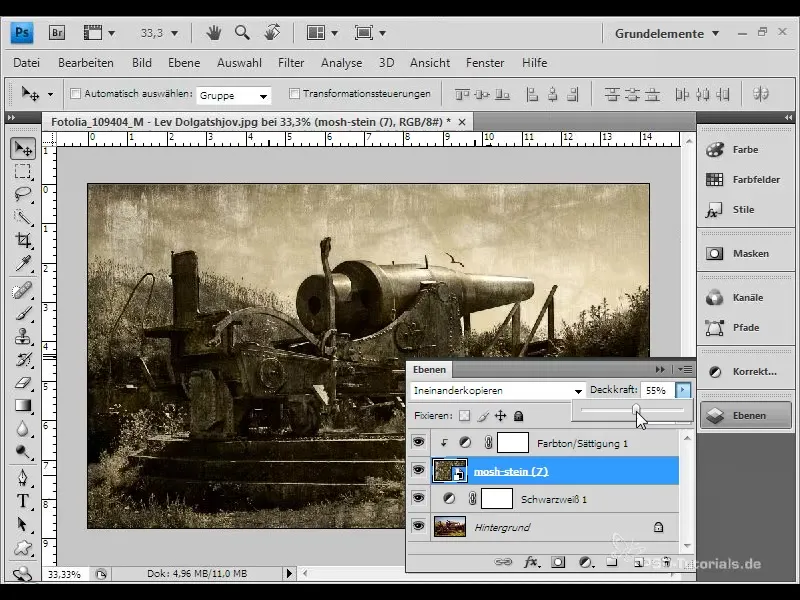
To make the final image more realistic, reduce the opacity of the texture layer. A value of around 53% could work well here to achieve the desired effect.
8. Add Vignetting
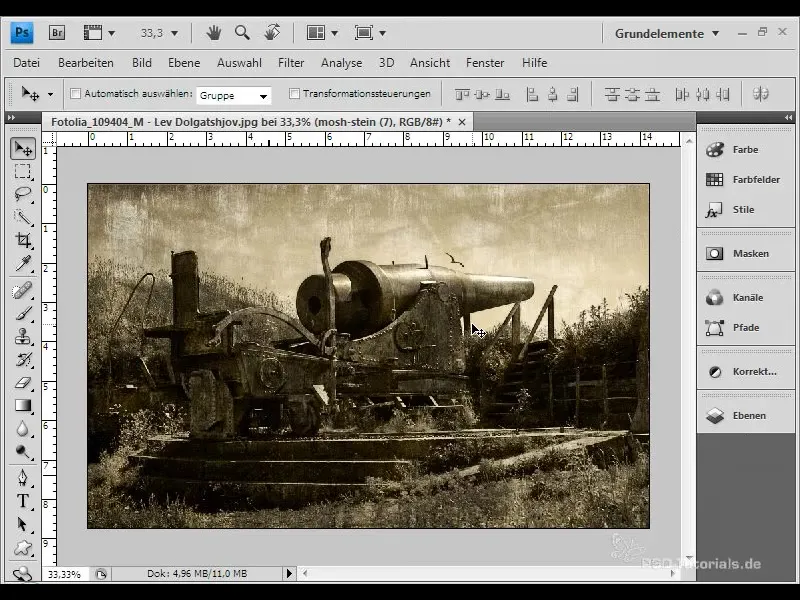
The last step is to add vignetting. This border shading is a preferred design element that gives modern images an old-fashioned touch. You can also apply the "Lighting Effects" filter for this purpose.
9. Smart Object and Filter Adjustment
To ensure that you can visually adjust the vignetting, convert the background into a smart object. This way, you can always return to this filter and make adjustments to further optimize the image.
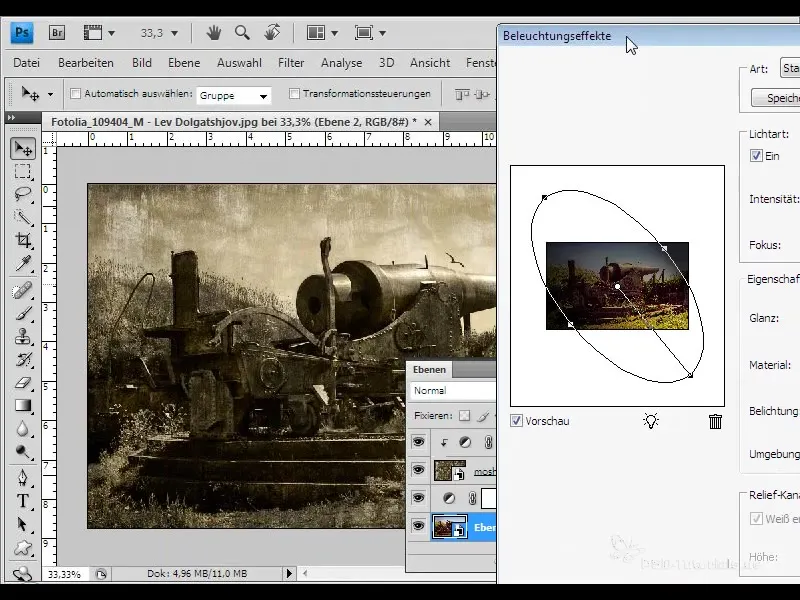
10. Completion of the Image
Now take a look at the finished image. You have an appealing edge shadow, scratch textures, and a beautiful sepia tone. This combination should give your image the desired antique flair.
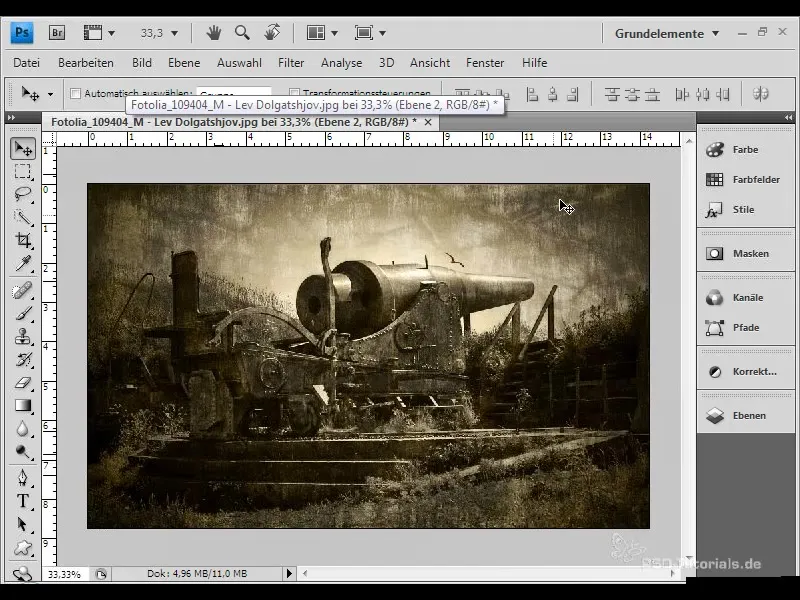
Summary
This guide has shown you how to turn digital images into nostalgic artworks with simple steps. The right selection of colors, textures, and effects is crucial for a harmonious end product. Experiment with different settings to find the look that suits you best.
Frequently Asked Questions
How do I convert a layer to a Smart Object?Right-click on the layer and choose "Convert to Smart Object".
Can I find the textures elsewhere?Yes, textures can be downloaded from various online resources.
How can I adjust the vignetting?Click on the Smart Object, go to the Lighting Effects, and adjust the settings as desired.
Are there special textures for portraits?Yes, you can use specific textures from photo archives that are well-suited for faces.
Are these editing techniques applicable in other software?Yes, similar techniques can also be used in other image editing programs.


