Creating impressive images in Photoshop can sometimes be a challenge. However, if you want to learn how to quickly and effectively transform metallic surfaces into gold, you've come to the right place. In this guide, I will show you how to turn silver, aluminum, and other base metals into an attractive gold look. With a few adjustments to the gradient curves, you can achieve impressive results that give your images a touch of sophistication.
Key Takeaways
- Using gradient curves in Photoshop is crucial for gilding metals.
- By adjusting the color channels (Red, Green, and RGB), you can achieve different gold tones and contrasts.
- The adjustments are not fixed and can be changed at any time to achieve the perfect gold look.
Step-by-Step Guide
1. Open Document and Prepare Layer
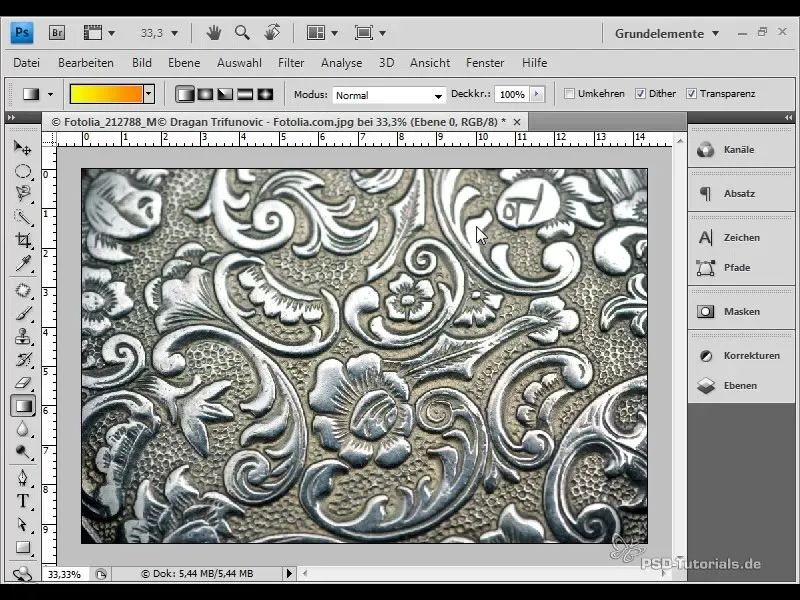
First, open your desired image in Photoshop. In this example, we are using a silver surface. Make sure you have selected the appropriate layer that you want to edit.
2. Access Gradient Curves
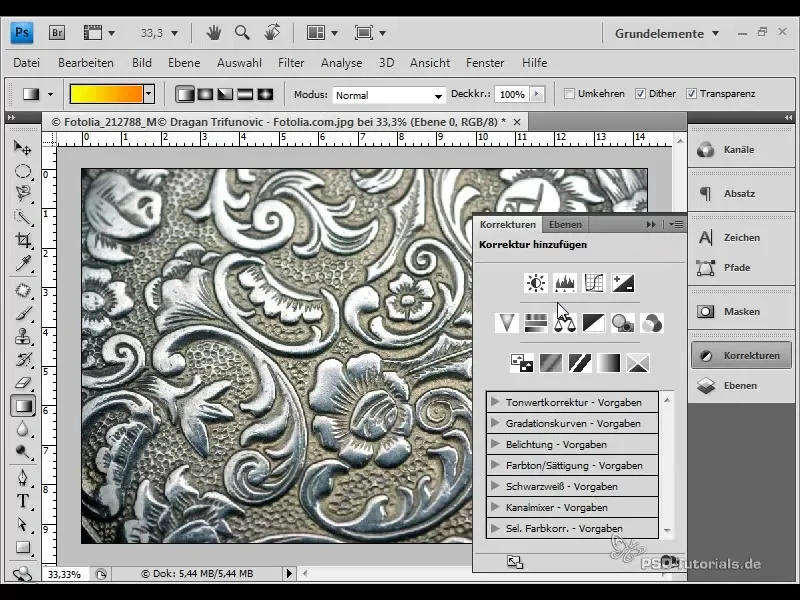
To achieve the gold look, open the adjustments window and select the gradient curves. You can find these in the menu under "Layers" and then "New Adjustment Layer." Gradient curves are a powerful tool for color corrections and adjustments.
3. Set Fine Mesh Grid
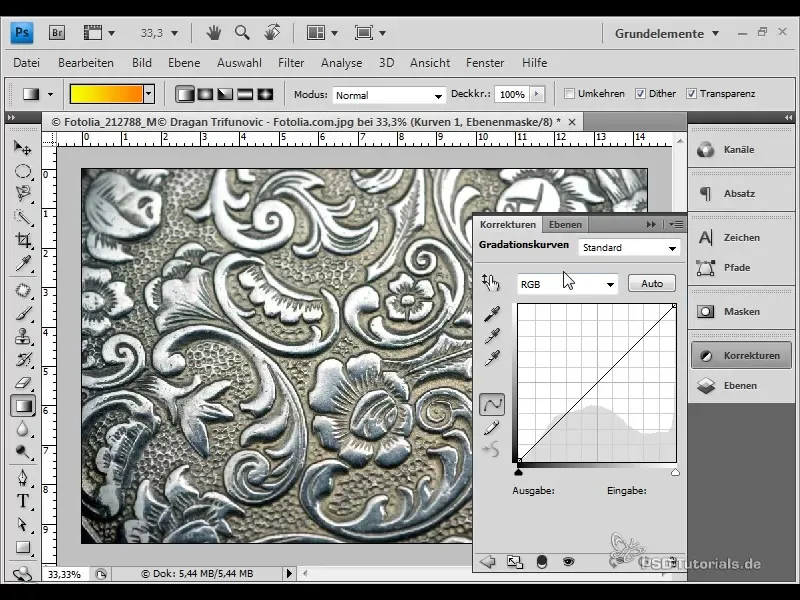
The gradient curves come with a grid that allows you to control the adjustments precisely. You can choose between a fine mesh and a coarse mesh grid. Press the Alt key while clicking with the left mouse button to switch between the two options.
4. Adjust Red Channel
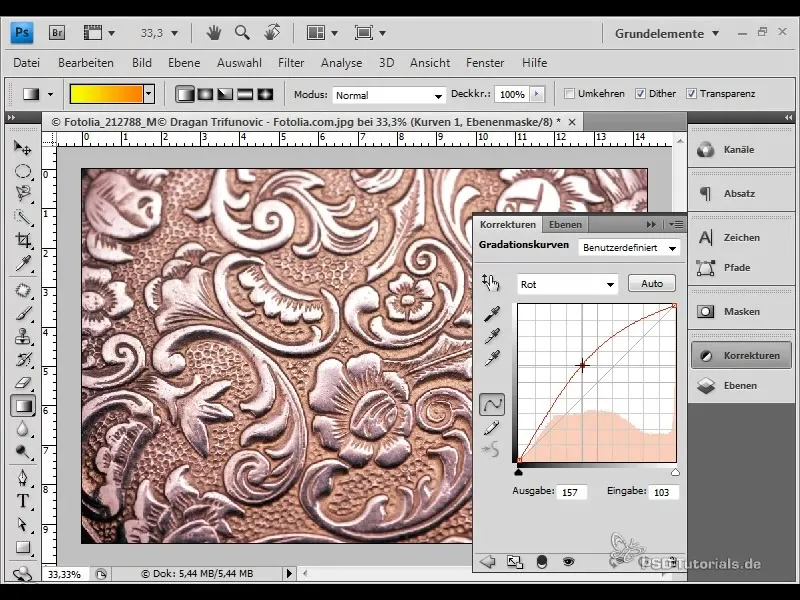
Now select the red channel and move the point up to the desired location. This adjustment creates the initial golden effects in your image. Make sure the change is subtle to obtain a natural golden tone.
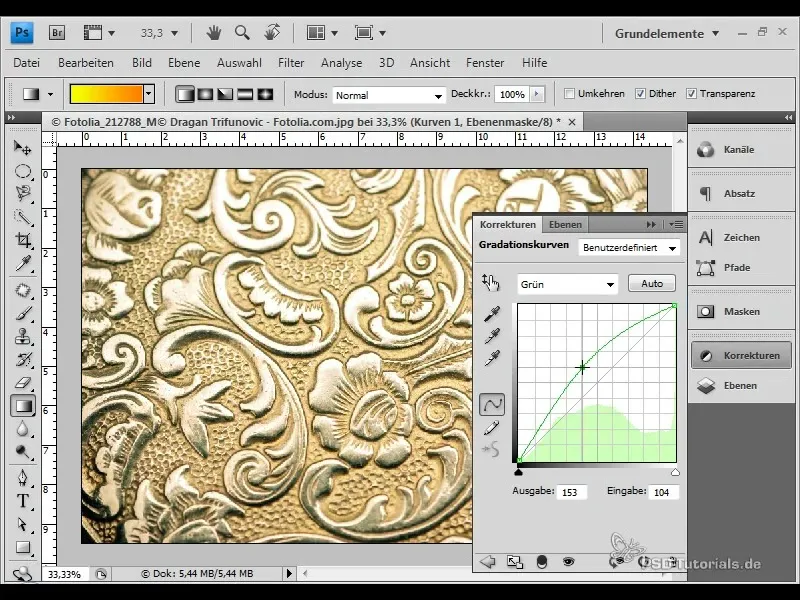
5. Modify Green Channel
Now switch to the green channel and also move the curve point there—here too, it is important to make the change subtle. You should see the impression of gold intensifying.
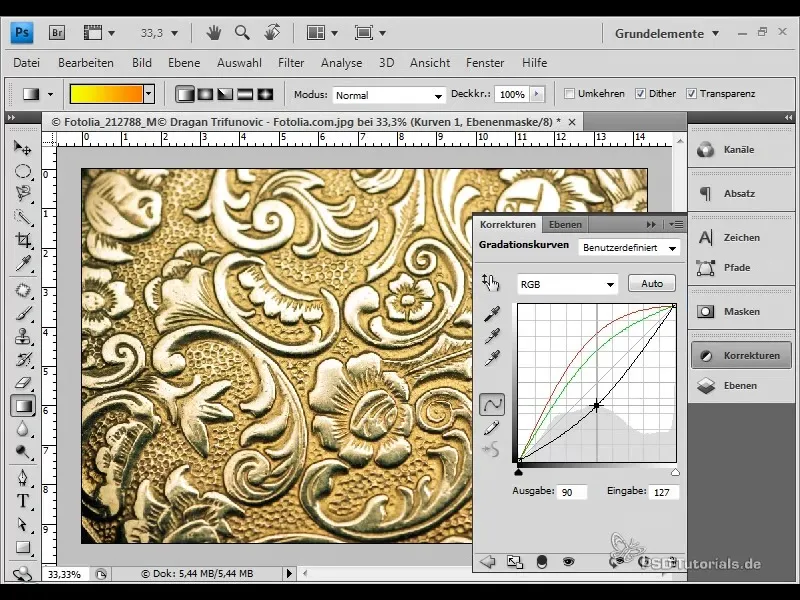
6. Adjust RGB Channel for Contrasts
To fully define the gold look, switch to the RGB channel. Here, you can enhance the contrast of your curve by pulling it slightly down. This gives your image more depth and a more realistic golden impression.
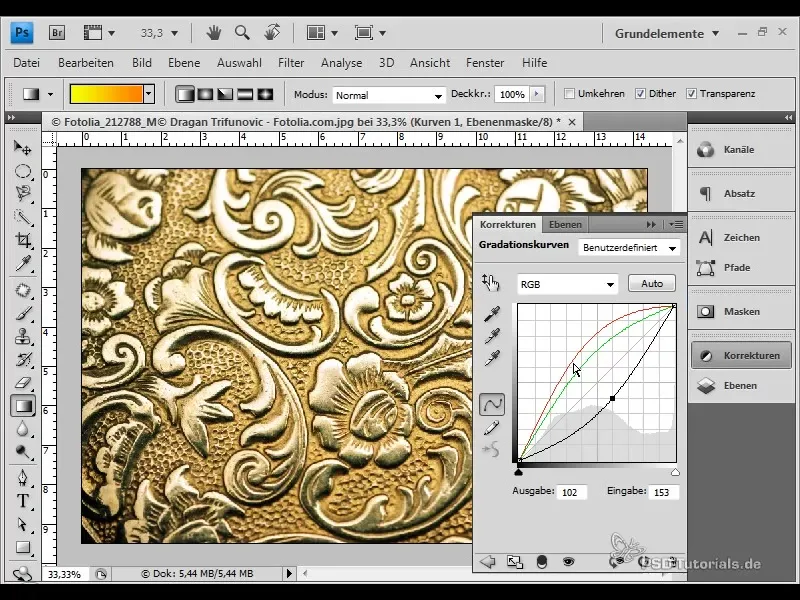
7. Further Refine the Curves
The curve adjustments are always meant as a guideline only. Test different settings to see what works best for your subject. You can adjust the curves at any time and try out new effects.
8. Adjust Image Type
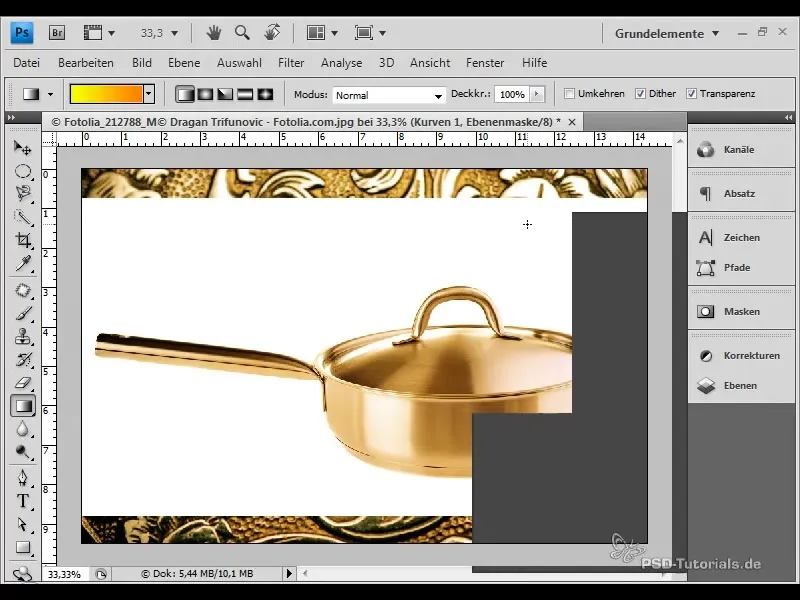
If you wish, you can also insert another image into your work. Go to "File" and then "Place." Choose another image that you want to transform into the golden look. The new image will automatically be influenced by the gradient curves you created earlier.
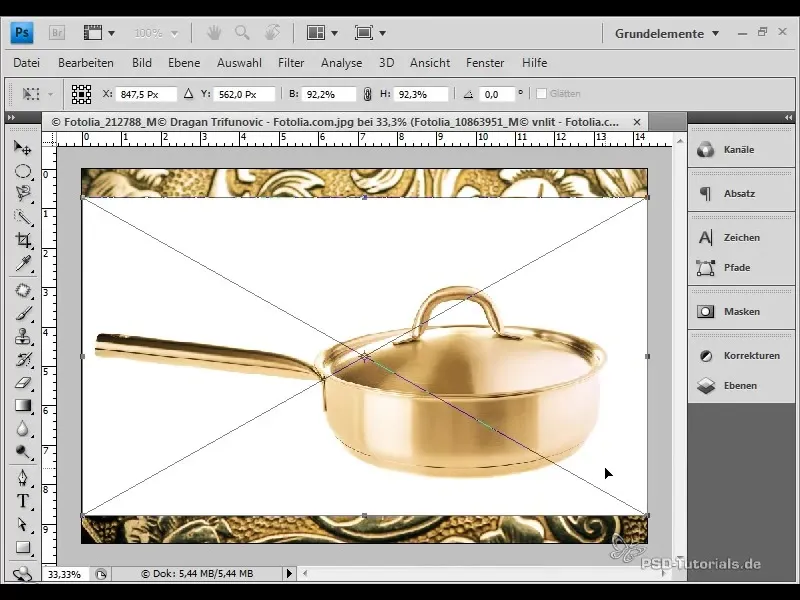
9. Further Adjust Contrast
Apply the same steps to adjust the new image. Make sure you can adjust the contrast of the curve to accentuate the desired golden effect. Depending on the image, it may be necessary to pull the curve further down to intensify the gold tone.
10. Save and Enjoy the Results
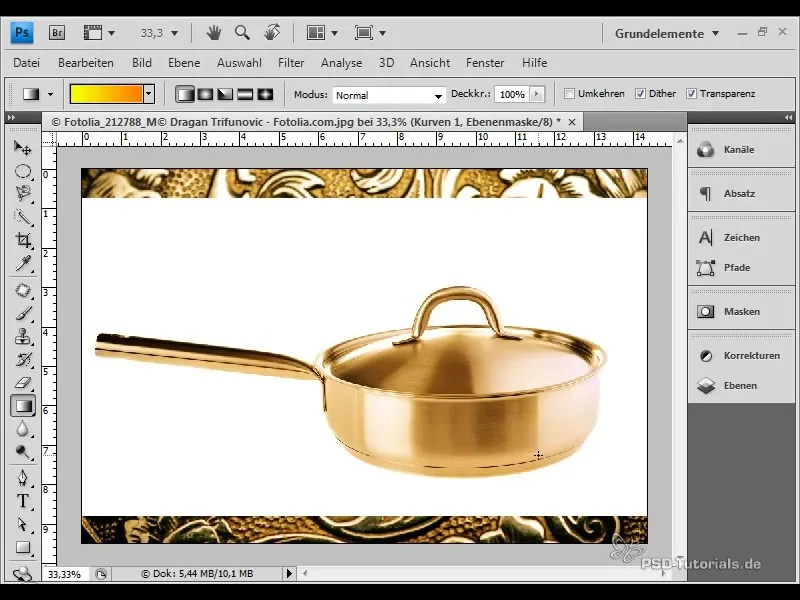
Your image now has an appealing gold look. Don't forget to save your work! You can come back at any time and adjust the curves to achieve different effects.
Summary
This step-by-step guide shows you how to effortlessly and quickly transform metallic surfaces into a golden look by using the power of the gradient curves in Photoshop. You have learned how to use the tool correctly to achieve a noble effect.
Frequently Asked Questions
How do I open the gradient curves in Photoshop?Go to "Layers" and choose "New Adjustment Layer" and then "Gradient Curves".
Can I change the adjustments at any time?Yes, the gradient curves are available as adjustment layers and can be adjusted at any time.
Does this work with other color metals as well?Yes, you can use the same technique to gild aluminum and other base metals as well.


