A visual identity can give your YouTube channel a distinct advantage. A watermark is not only a stylish element, but also a helpful tool to encourage viewers to subscribe to your channel. In this guide, I'll show you how to create a free watermark using Canva and then upload it to your YouTube channel.
Key takeaways:
- Ideal size for watermark: 150 x 150 pixels in PNG format
- Create custom designs with Canva
- Upload watermark to YouTube channel
Step-by-step guide
Step 1: Determine the optimal size of the watermark
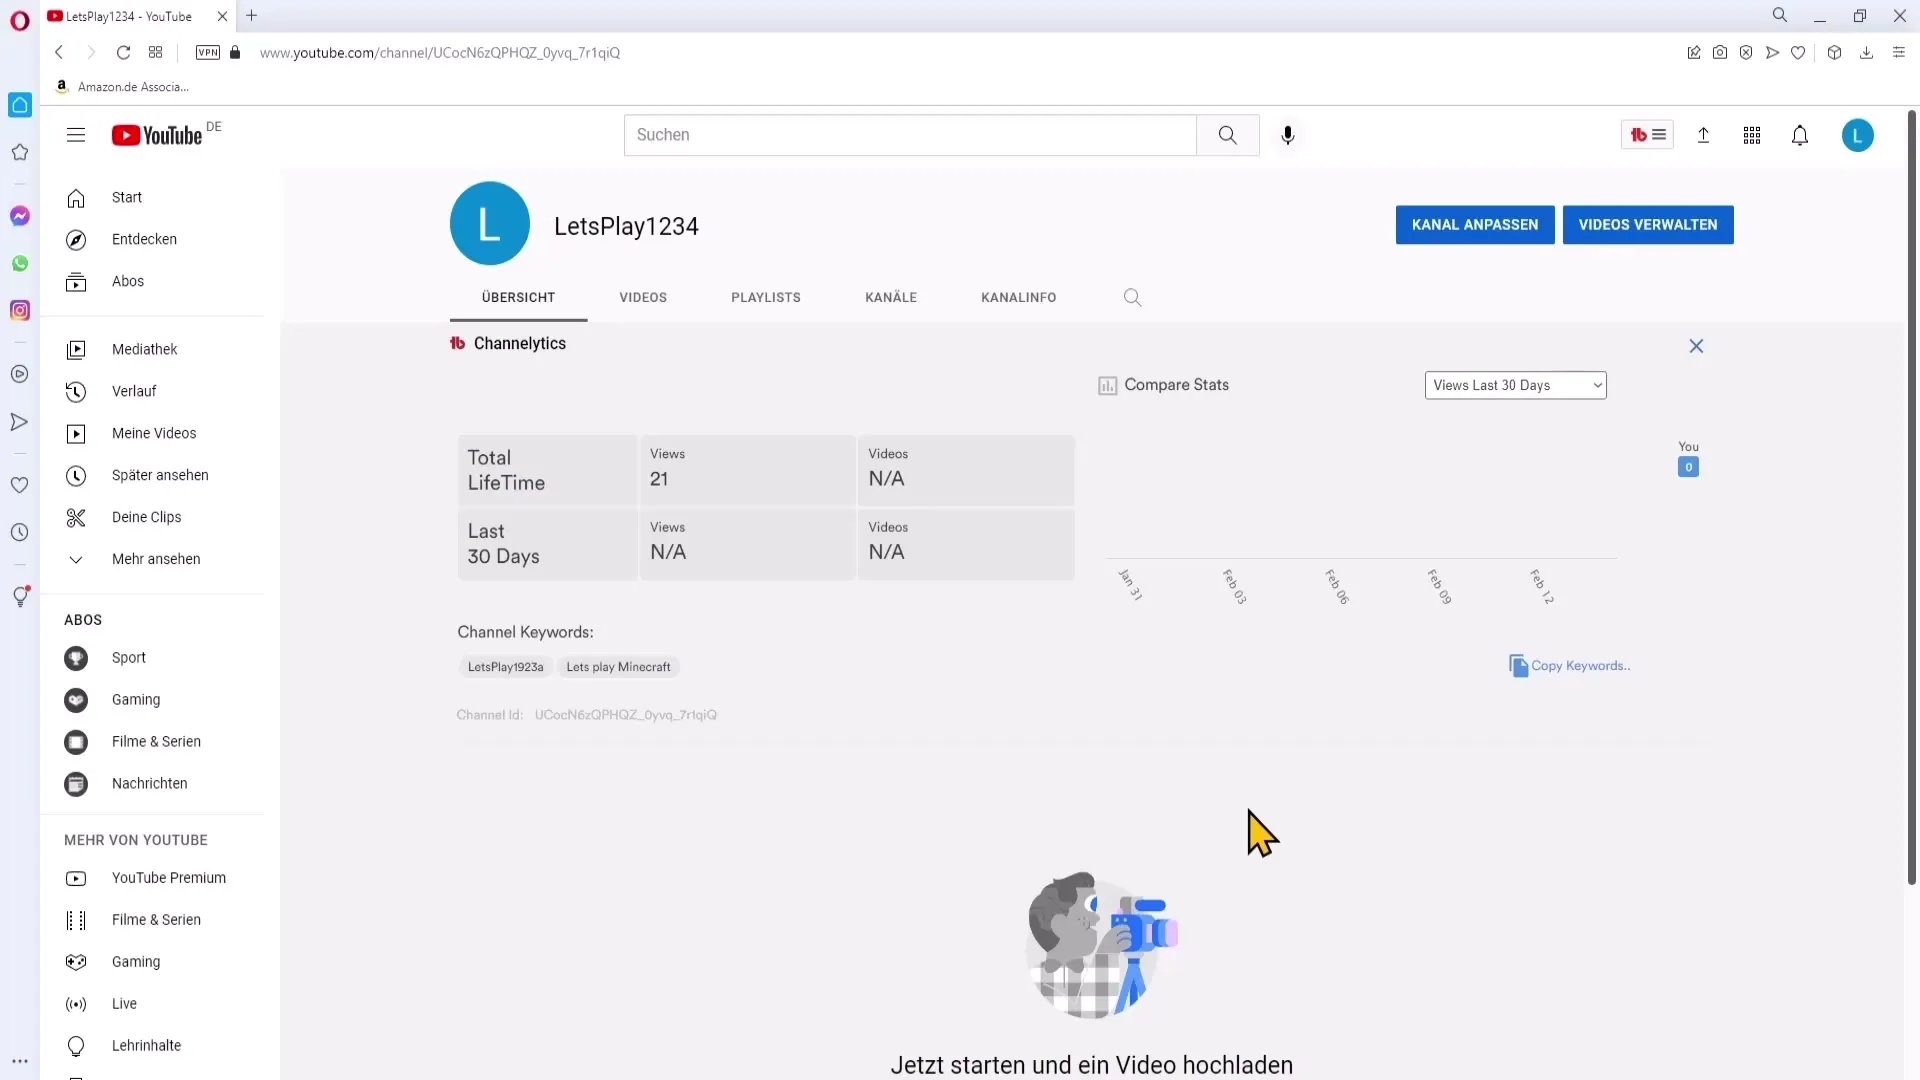
Before creating your watermark, ensure you are using the correct dimensions. Go to your YouTube channel, click on "Customize Channel," and then navigate to the branding options. YouTube recommends a size of 150 x 150 pixels for watermarks. The image should be in PNG format and no larger than 1 MB.
Step 2: Access Canva and create a new design
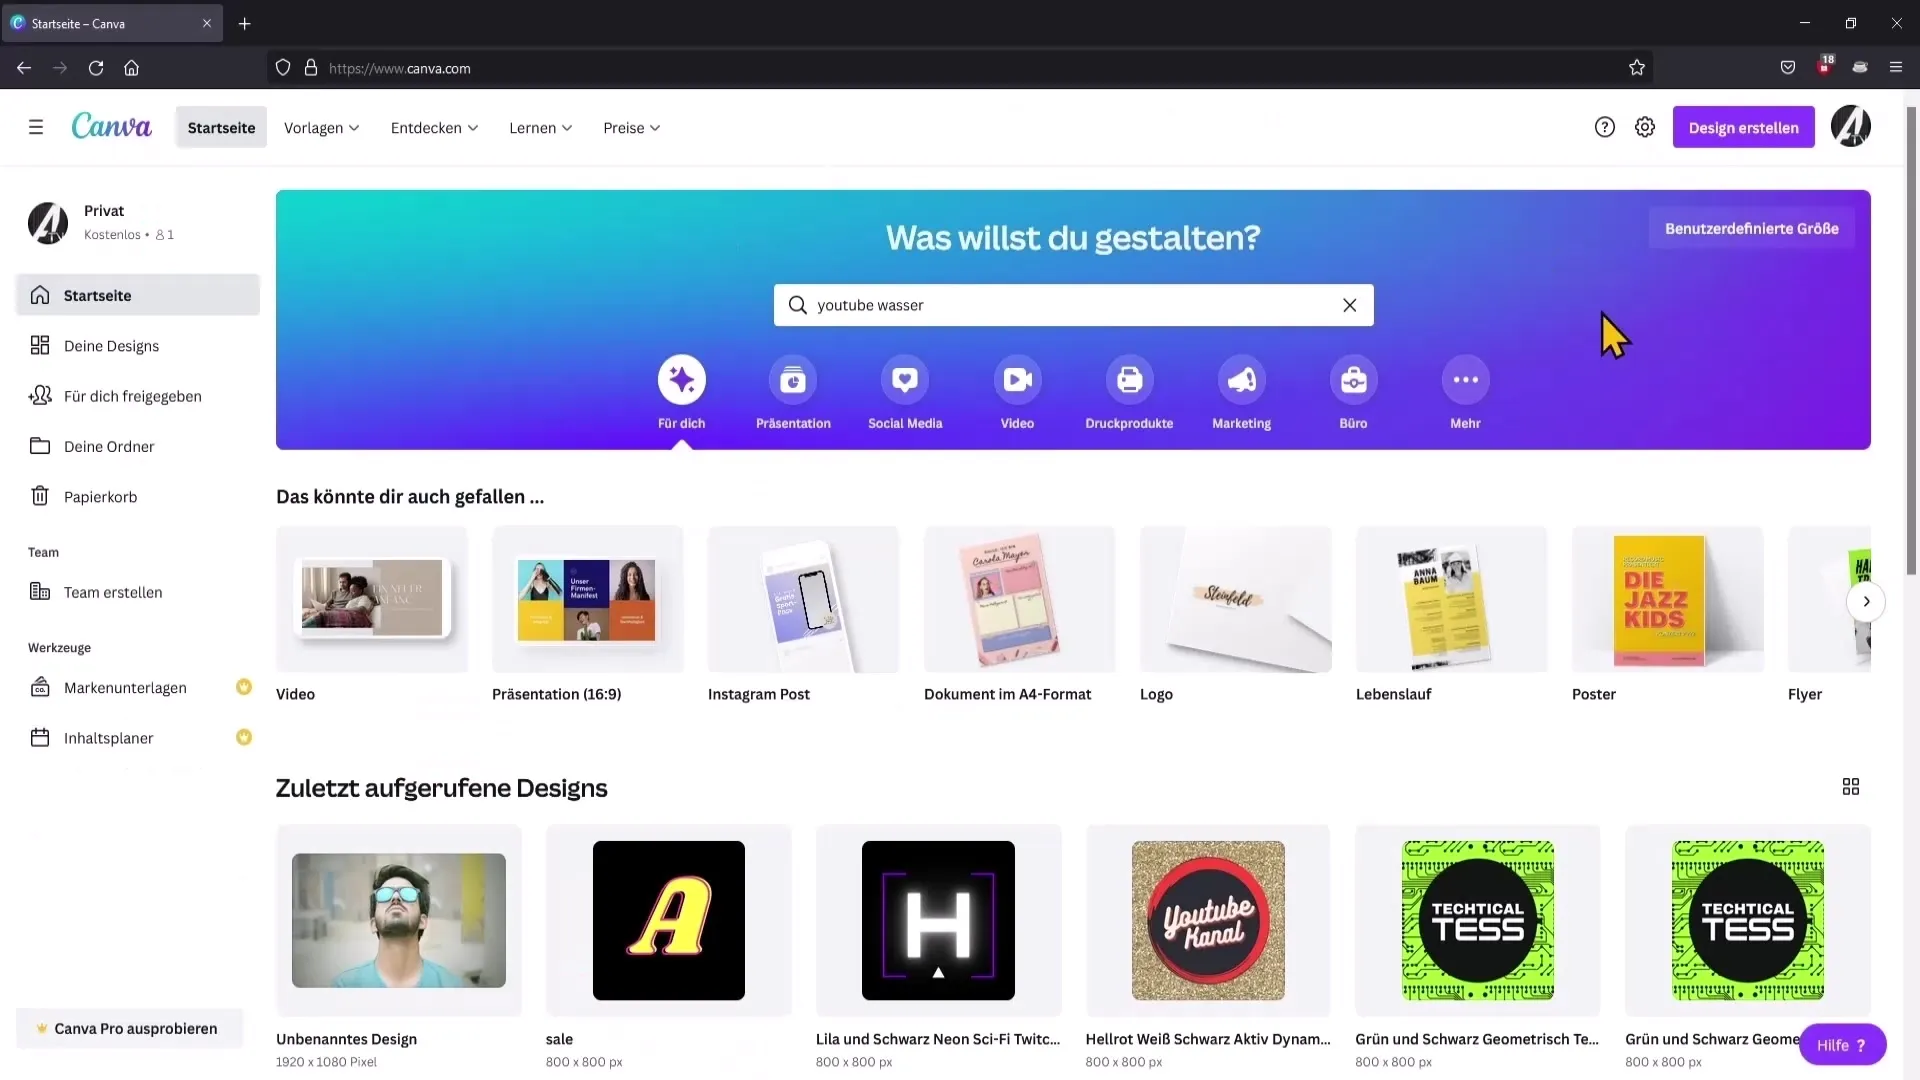
Now, head over to Canva. Visit the website and log in or create a free account. Once you're on the homepage, choose "Custom Size" and input 150 pixels for both width and height. Then click on "Create New Design."
Step 3: Select a background color
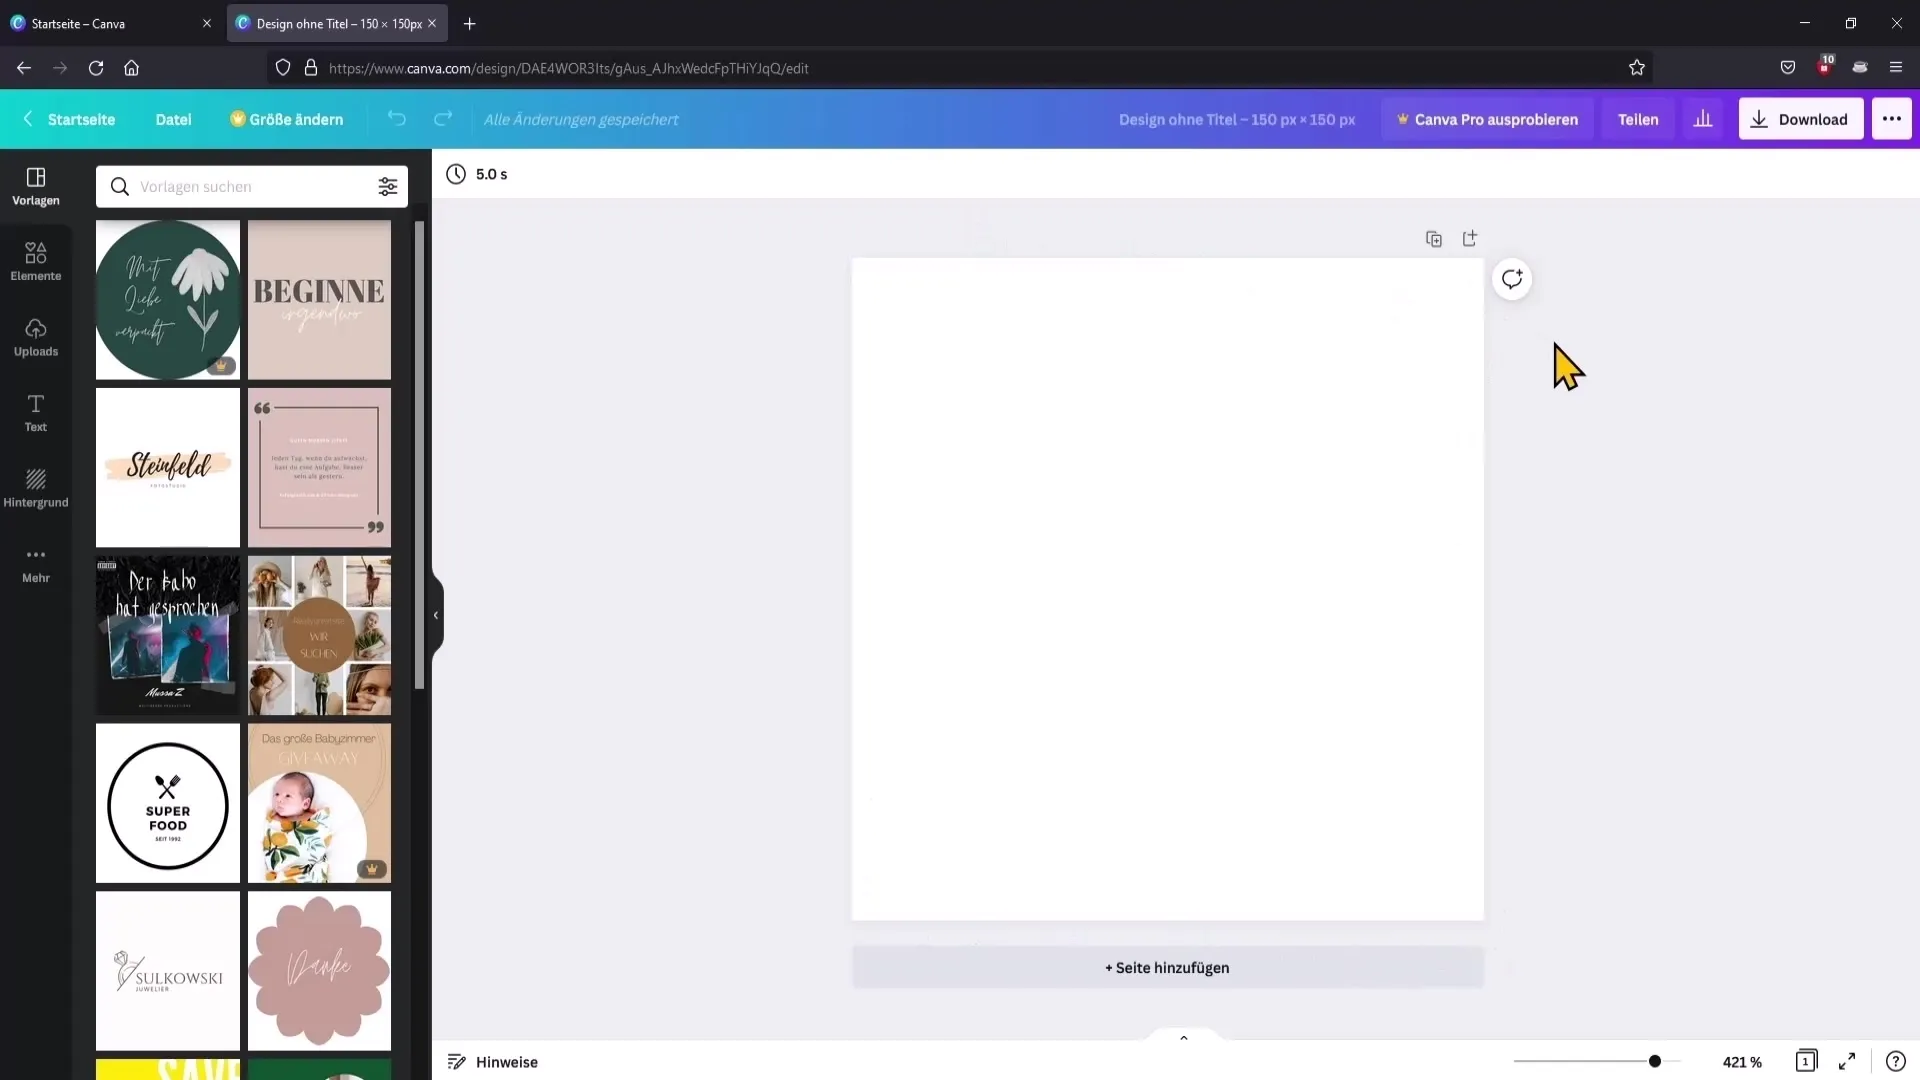
To make the watermark visually appealing, start by selecting a background color. Go to the left side and choose a red color from the color palette. This color complements YouTube well and is eye-catching.
Step 4: Add text
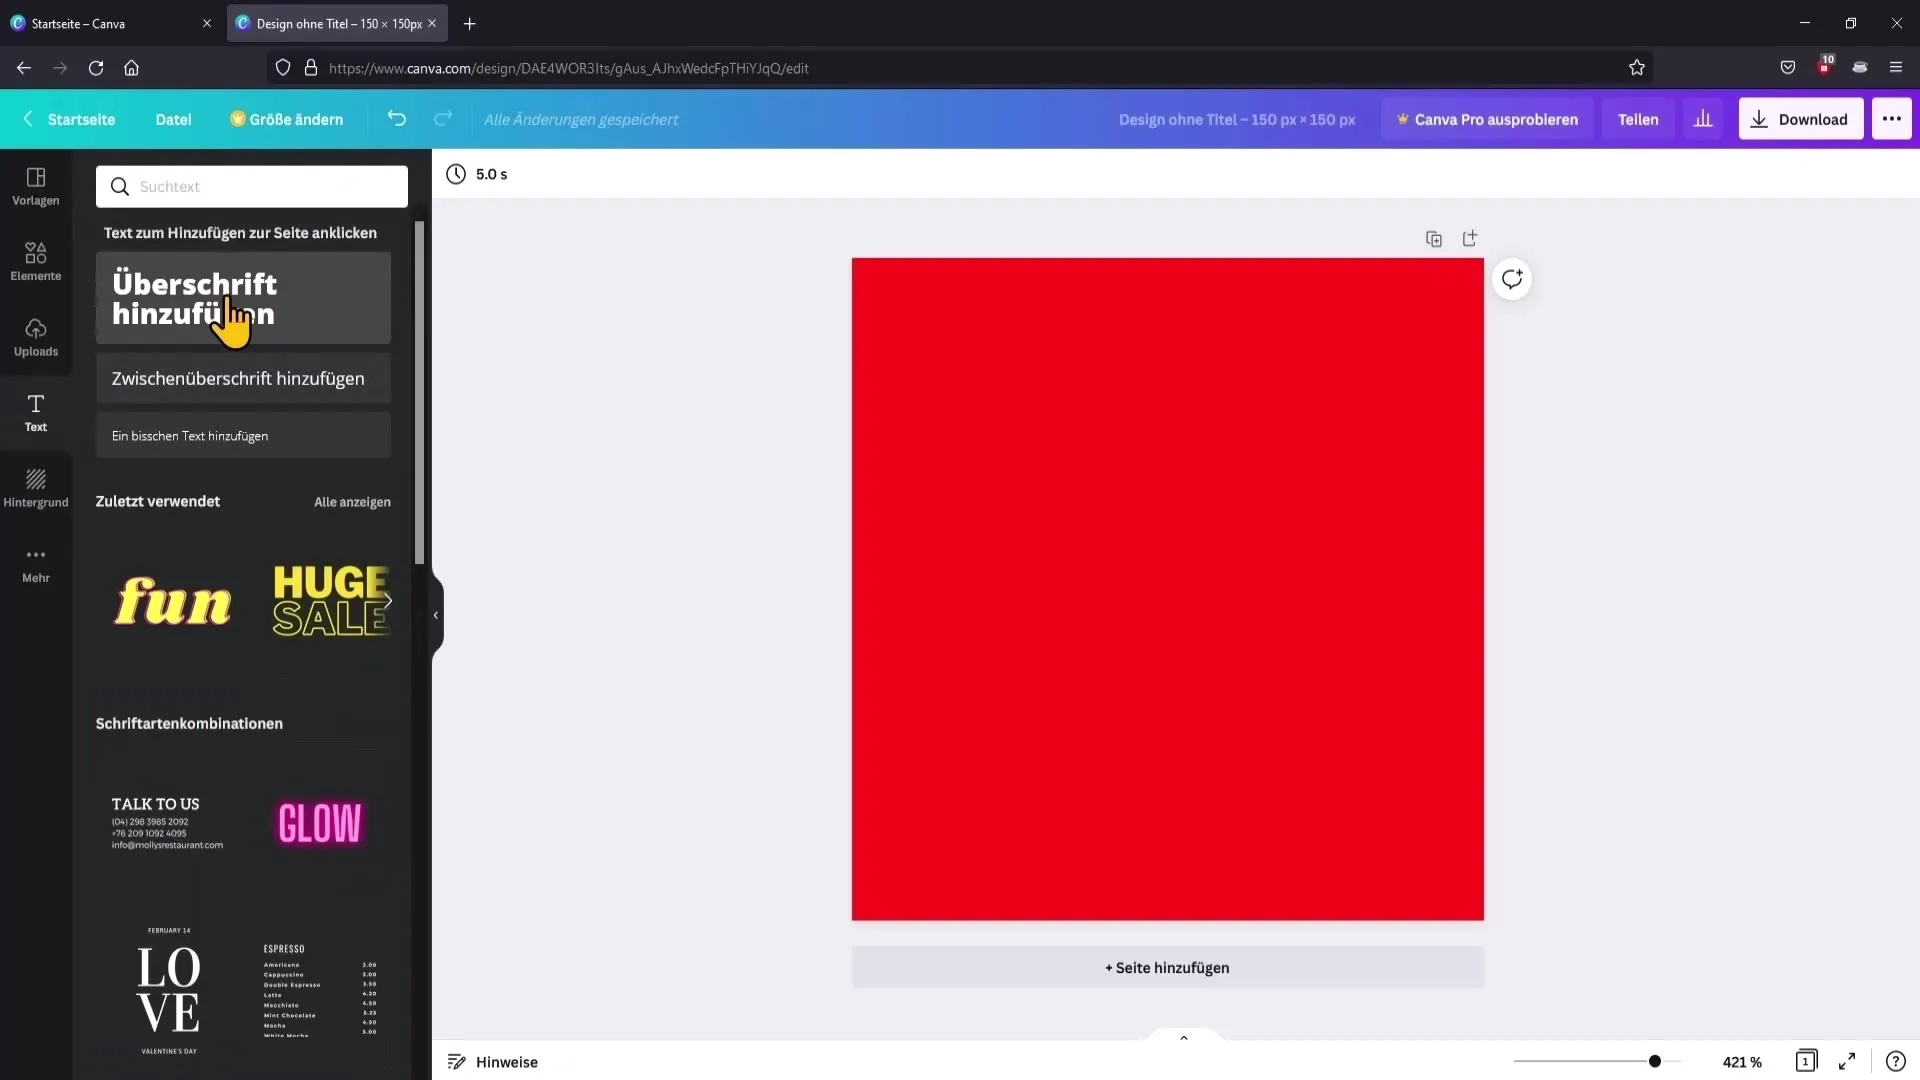
Next, let's add text that will encourage your viewers to subscribe. Choose "Add Heading" and type "Subscribe" in the text field. Short and concise words are ideal as they are easier to read.
Step 5: Adjust font and size
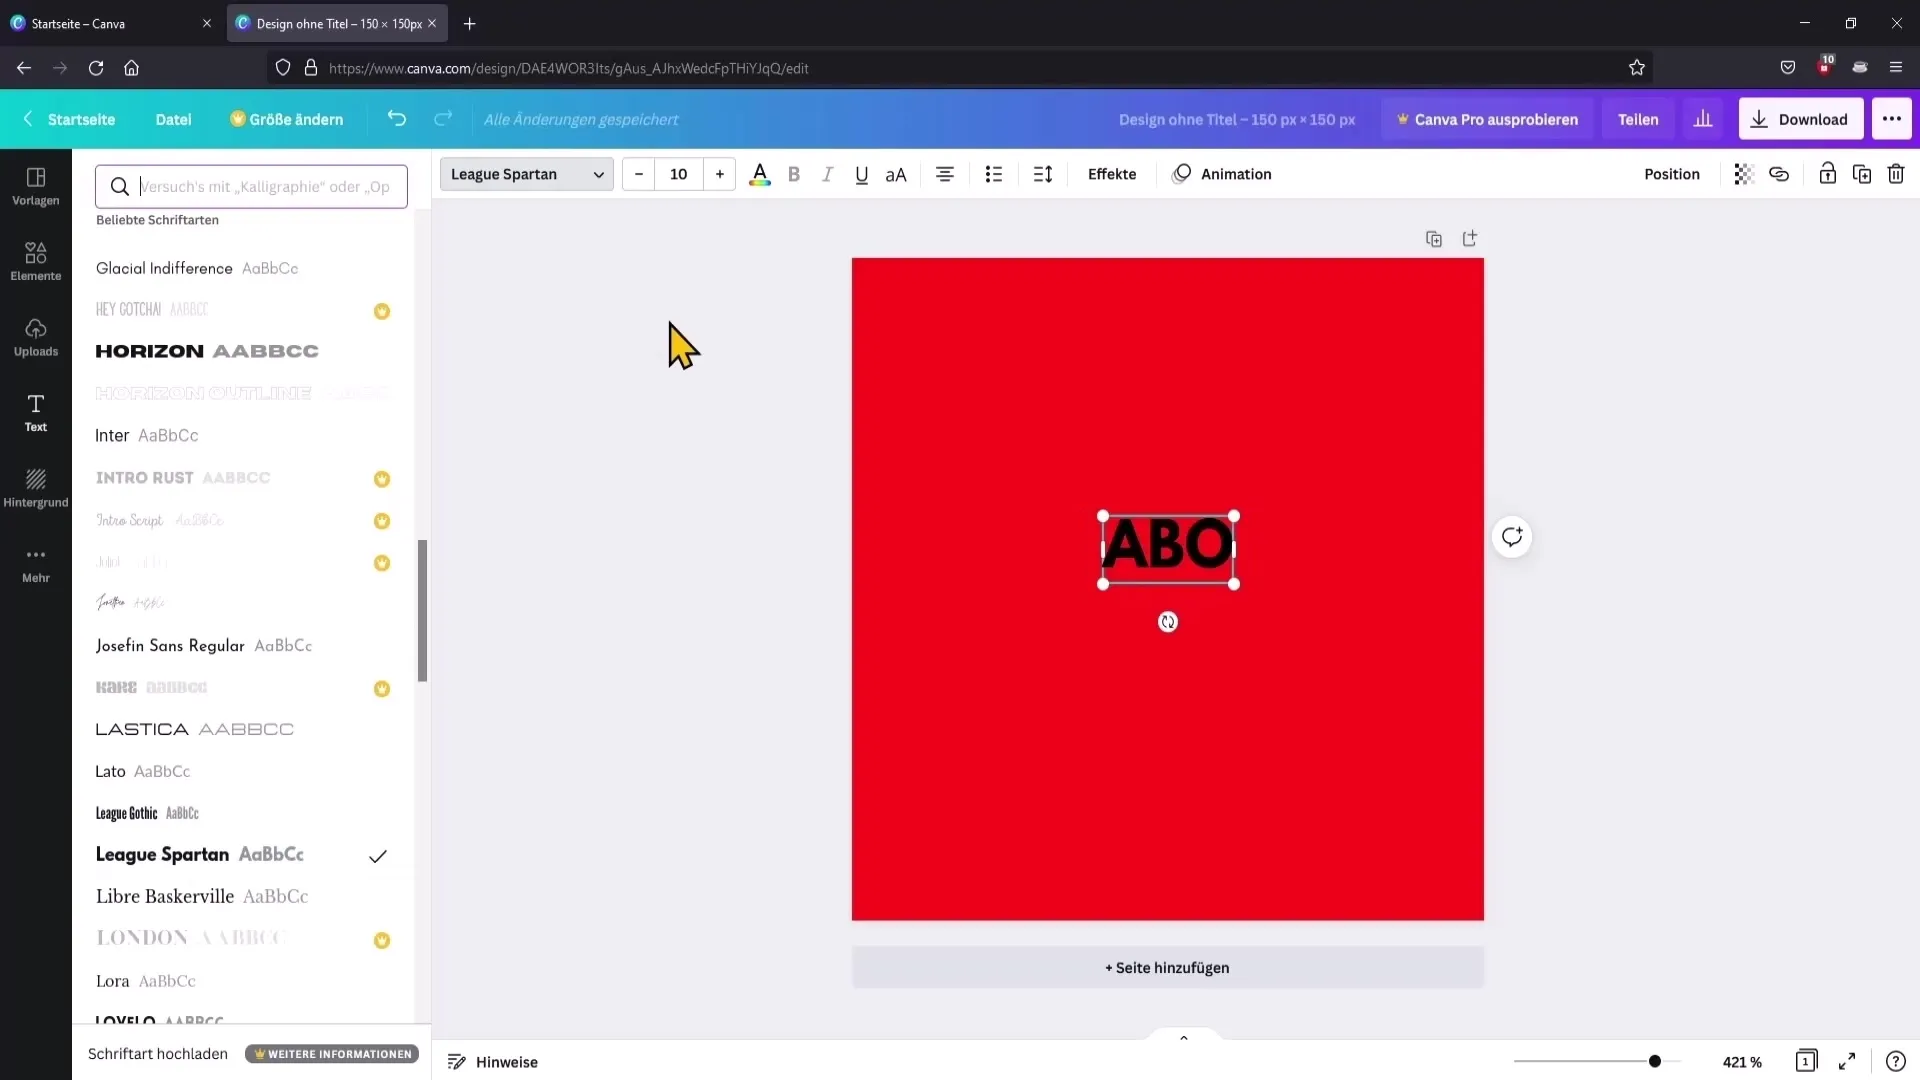
You can customize the font to your liking. Ensure the font size is chosen in a way that the text remains legible. Select the text and use the transformation options to adjust the size. Choose a free font to avoid additional costs.
Step 6: Change text color
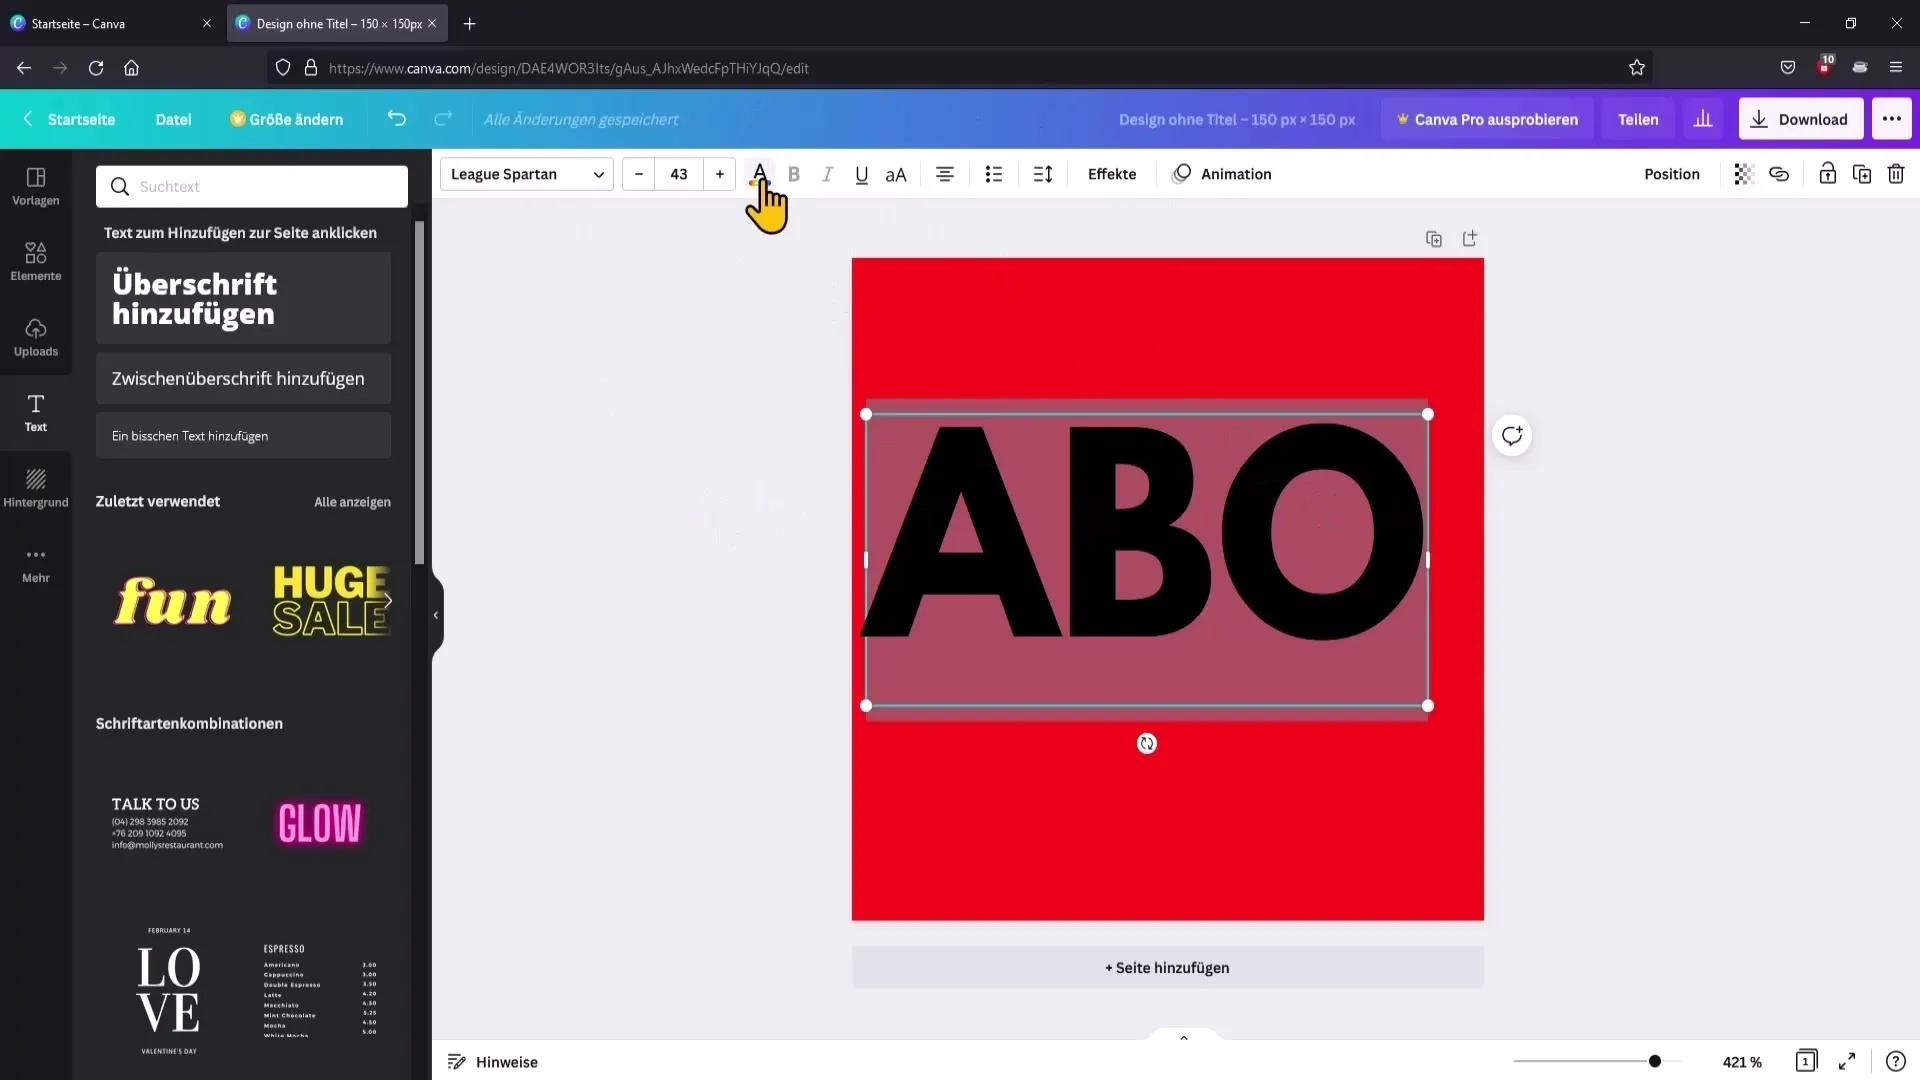
Change the text color to white to create a nice contrast with the red background. Click on the color icon and select the white color from the color palette.
Step 7: Position the text
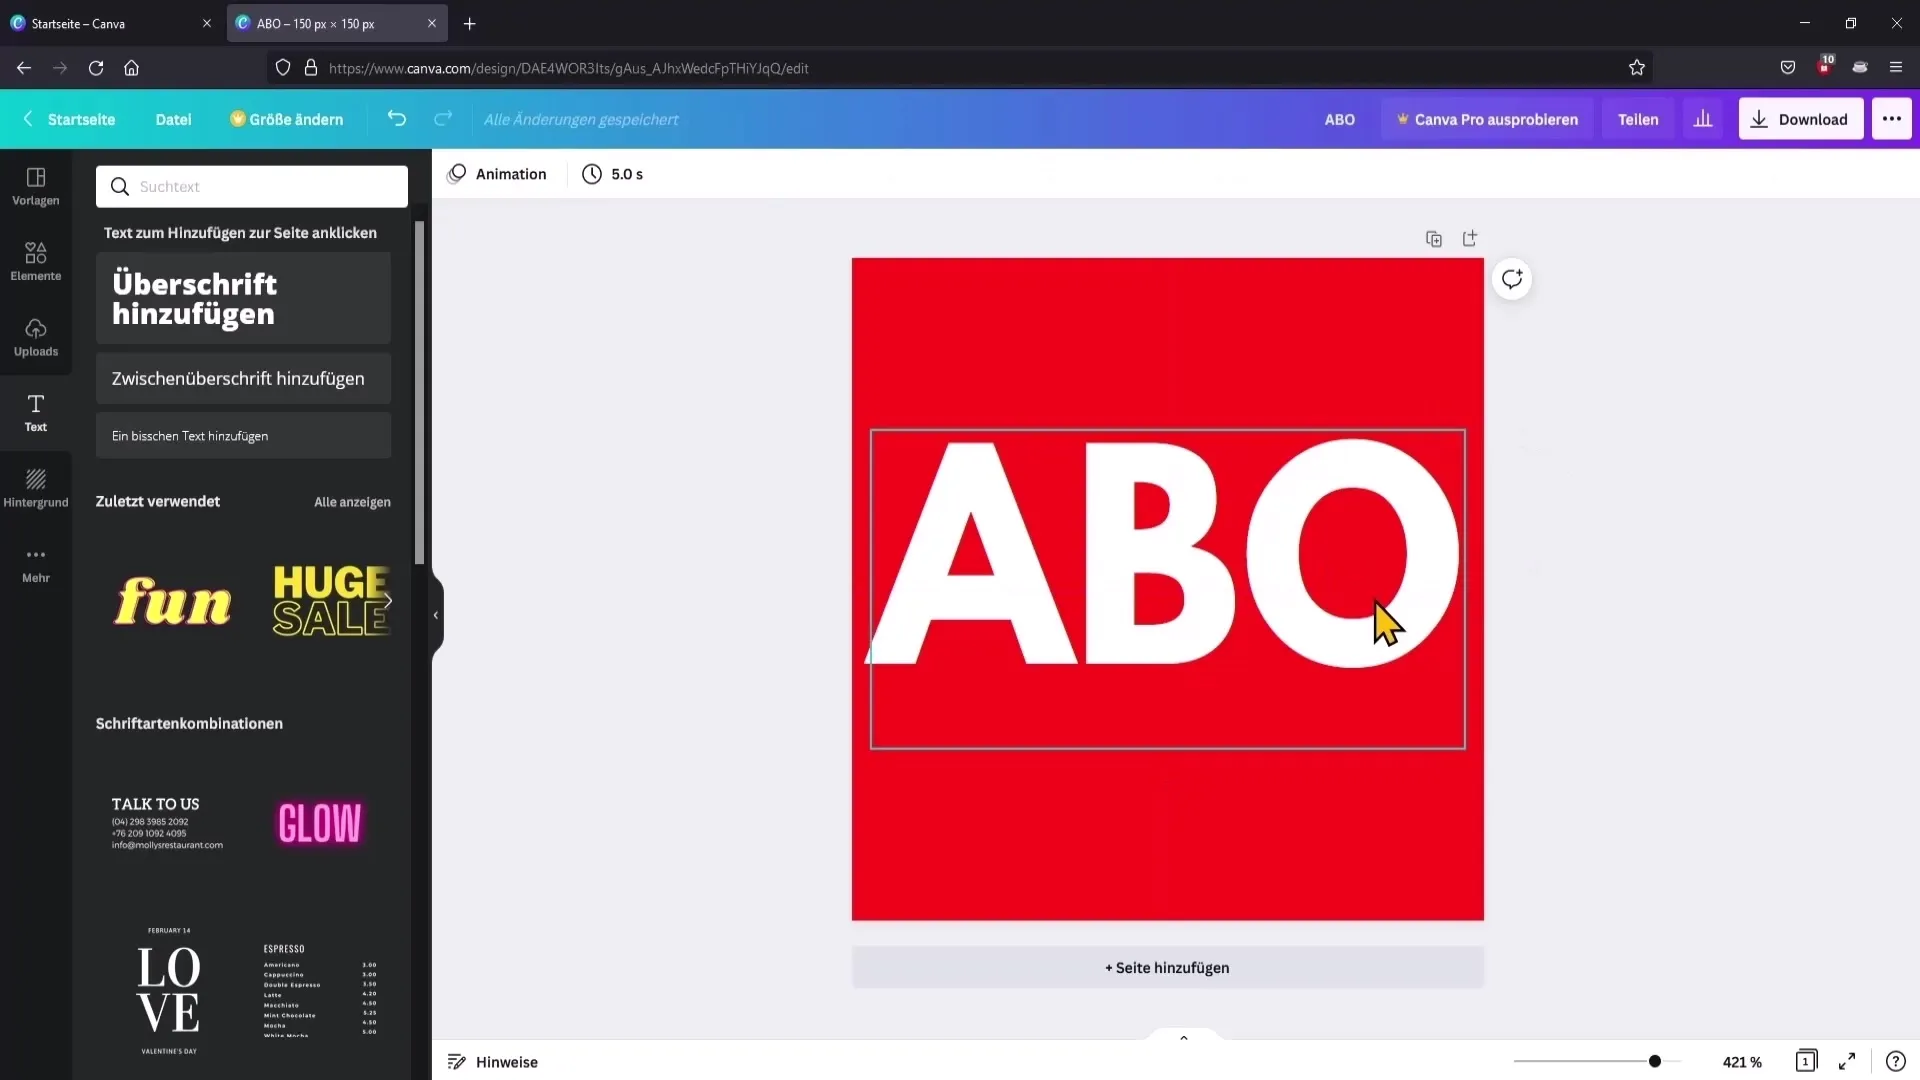
Position the text right in the center of the watermark. You can do this by clicking on the line that indicates when the text is centered. Once you are satisfied with the design, proceed to the next step.
Step 8: Download the watermark
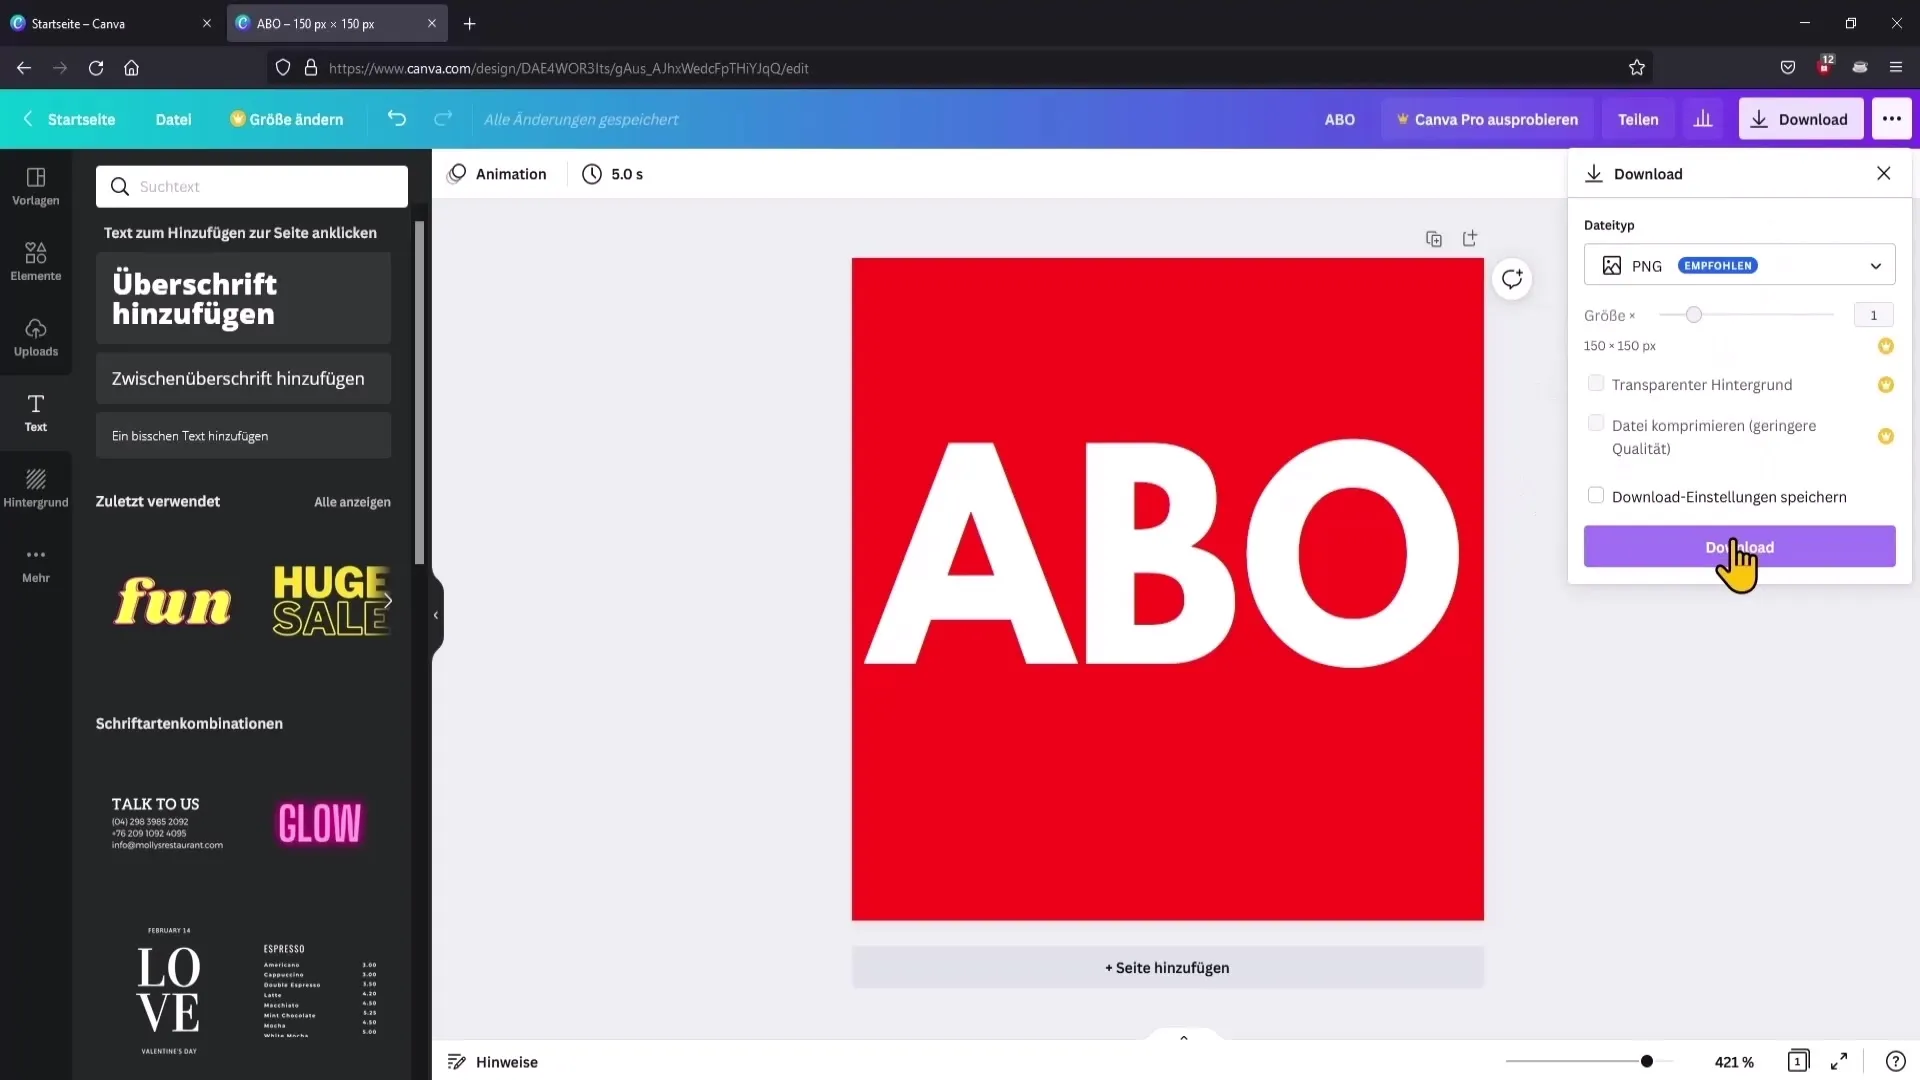
Now you can download the watermark. Click on "Download" in the top right corner and ensure PNG format is selected. Leave the other settings unchanged and click "Download" to save your design.
Step 9: Upload the watermark to YouTube
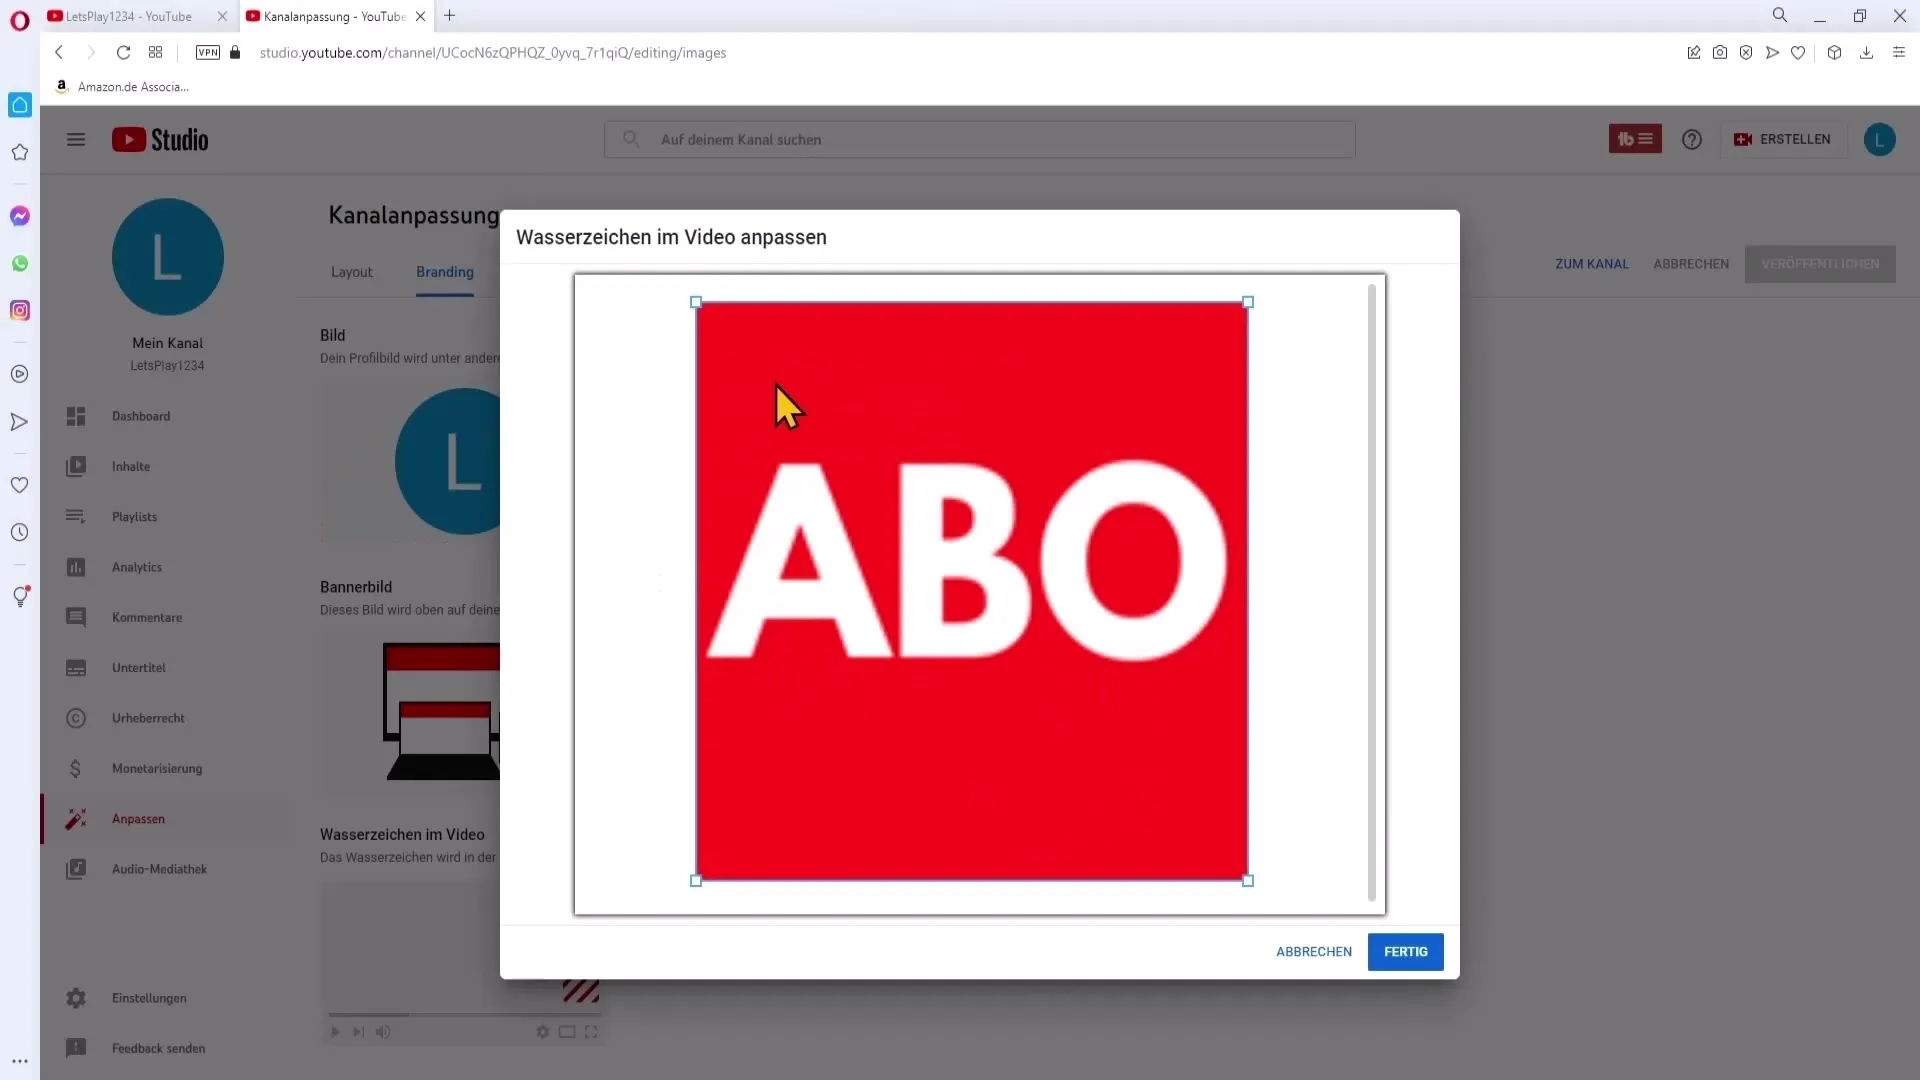
Go back to your YouTube channel. Head to the location where you can upload the watermark, usually found in the "Customize Channel" options. Click on "Upload" and select the PNG file you just downloaded. The upload may appear blurry the first time – this is normal for a small file.
Step 10: Set Position and Display Time
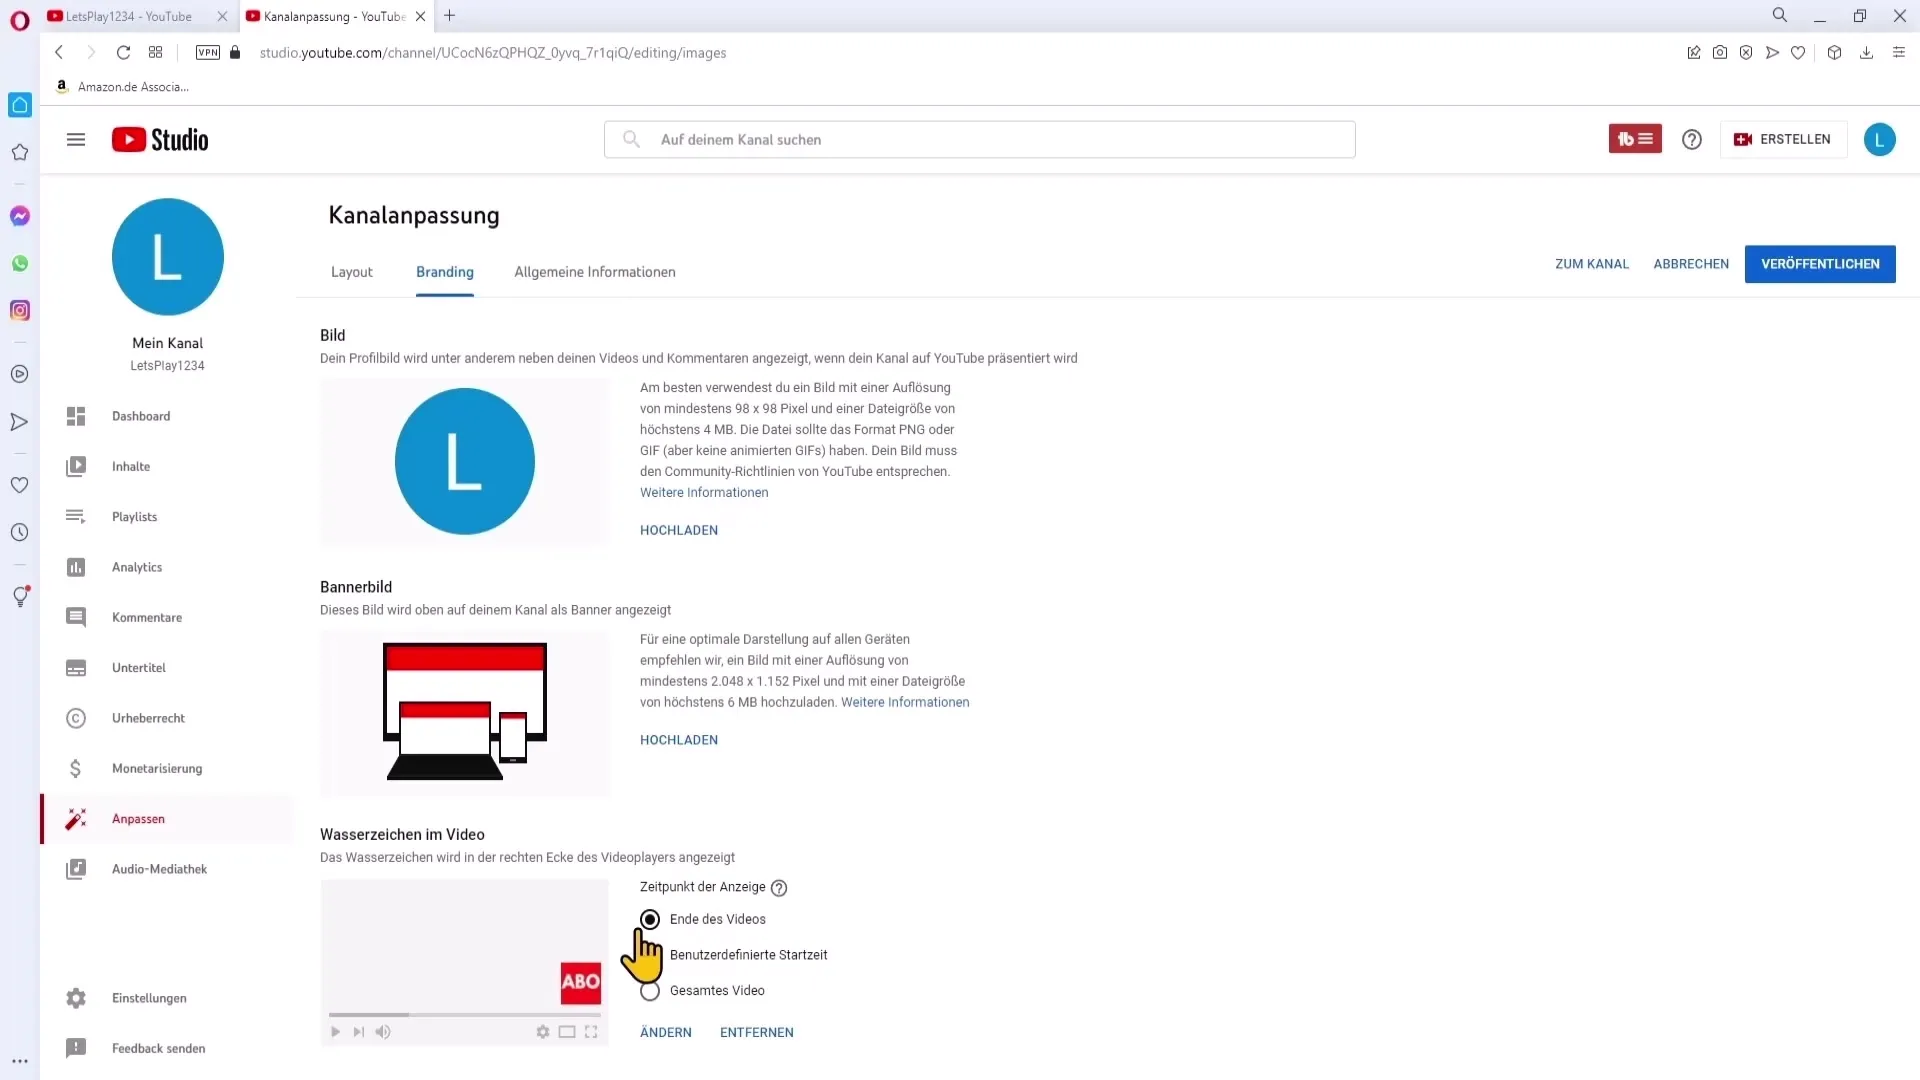
After uploading, you can determine the position of the watermark in the video. Choose "Entire Video" to make it visible during the entire movie. This option ensures that viewers are reminded of the watermark and do not accidentally overlook it.
Step 11: Save Changes
After making all your settings, save your changes and publish your settings. The watermark should now be active on your channel and appear in the lower right corner of your videos.
Summary
With these simple steps, you can create and effectively upload a custom watermark for your YouTube channel. This way, you create a brand identity and encourage viewers to subscribe to your channel.
Frequently Asked Questions
How do I create a watermark with Canva?You choose a custom size of 150 x 150 pixels, add text and background colors, and then download the design as a PNG.
What size should my watermark be?The optimal size is 150 x 150 pixels.
In what format should I save the watermark?YouTube recommends the PNG format for watermarks.
Can I use Canva for free?Yes, Canva offers a free version that is ideal for creating simple designs.
How do I upload the watermark to my YouTube channel?Go to "Customize Channel," select the option to upload watermarks, and upload your downloaded PNG image.


