The channel banner is the first visual element that visitors perceive on your YouTube channel. It not only serves to make your channel visually appealing, but also to communicate important information about your content. In this guide, I'll show you how to upload and customize your channel banner efficiently so that it looks good on all devices.
Key Takeaways
To create an effective channel banner, you should consider the following points:
- Image resolutions: YouTube recommends a minimum resolution of 2048 x 1152 pixels.
- File size: The maximum file size should not exceed 6 MB.
- Central Placement: It is important that the text and essential elements are placed in the central area of the banner to be visible on all devices.
Step-by-Step Guide
First, let's see how you can upload the channel banner from your computer.
Go to your channel on YouTube. Click on your profile picture in the top right corner and then on "My Channel".
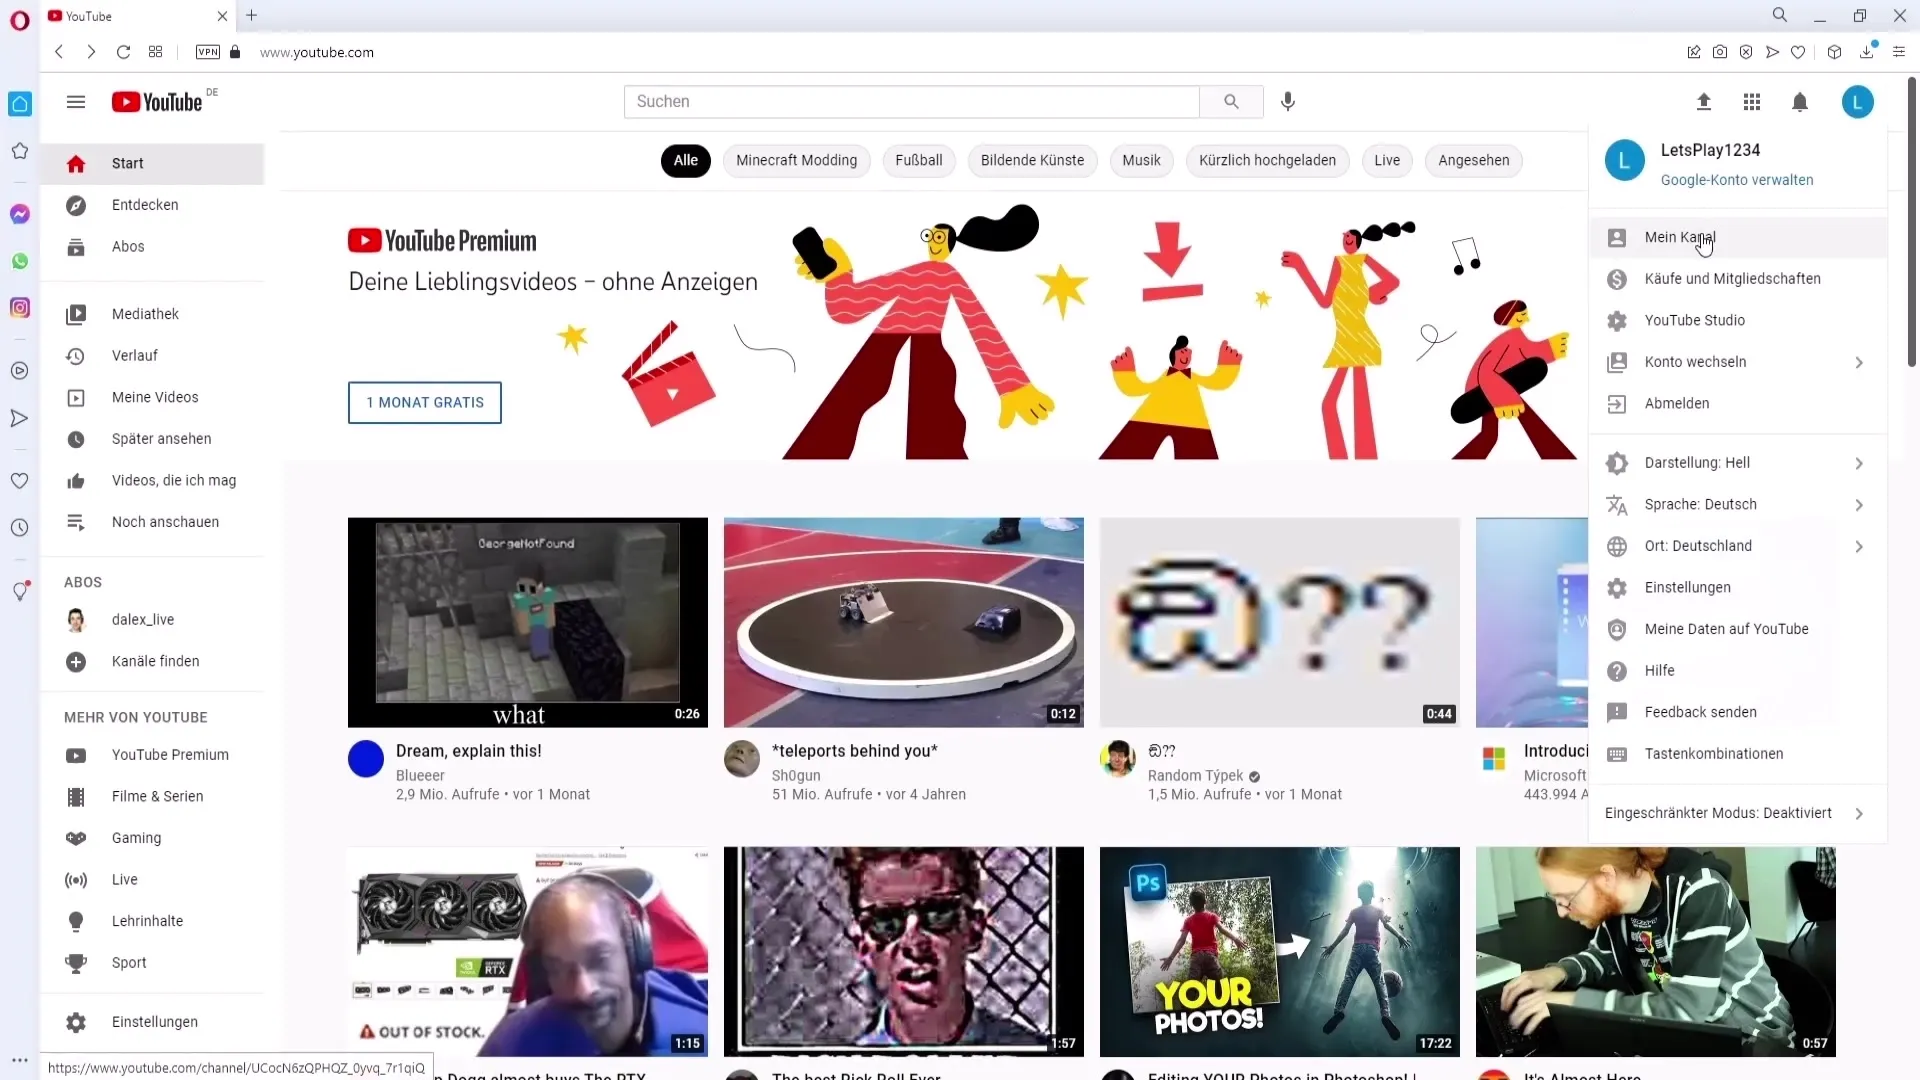
Now there is an option to customize your channel on your channel. Click on "Customize Channel" to access the editing functions.
You will land in a new window where you can click on the "Branding" tab. In this area, you have the opportunity to upload your banner image.
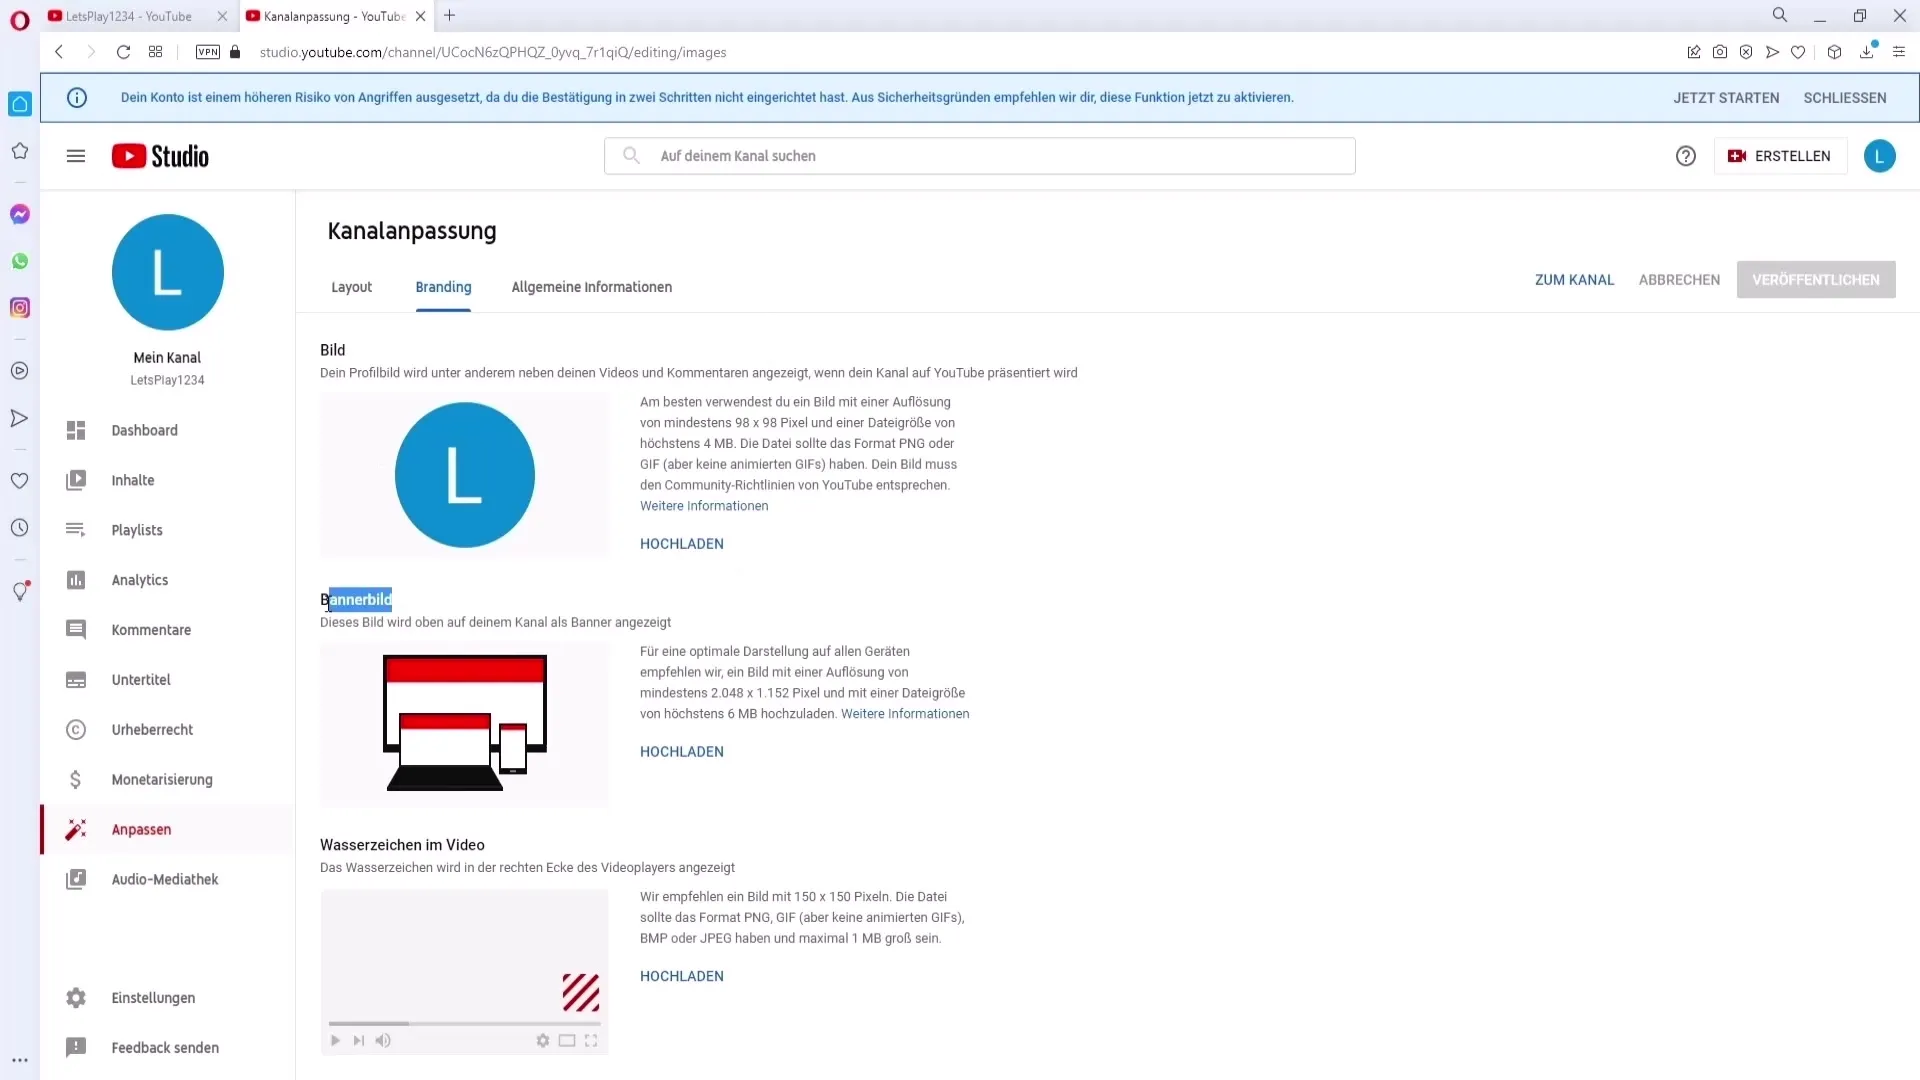
Now the requirements for your banner image are important. YouTube recommends a resolution of at least 2048 x 1152 pixels and a file size of no more than 6 MB. Check your image to ensure it meets these requirements.
Once your image is ready, you can click on the "Upload" button. Choose the banner image you prepared to upload it.
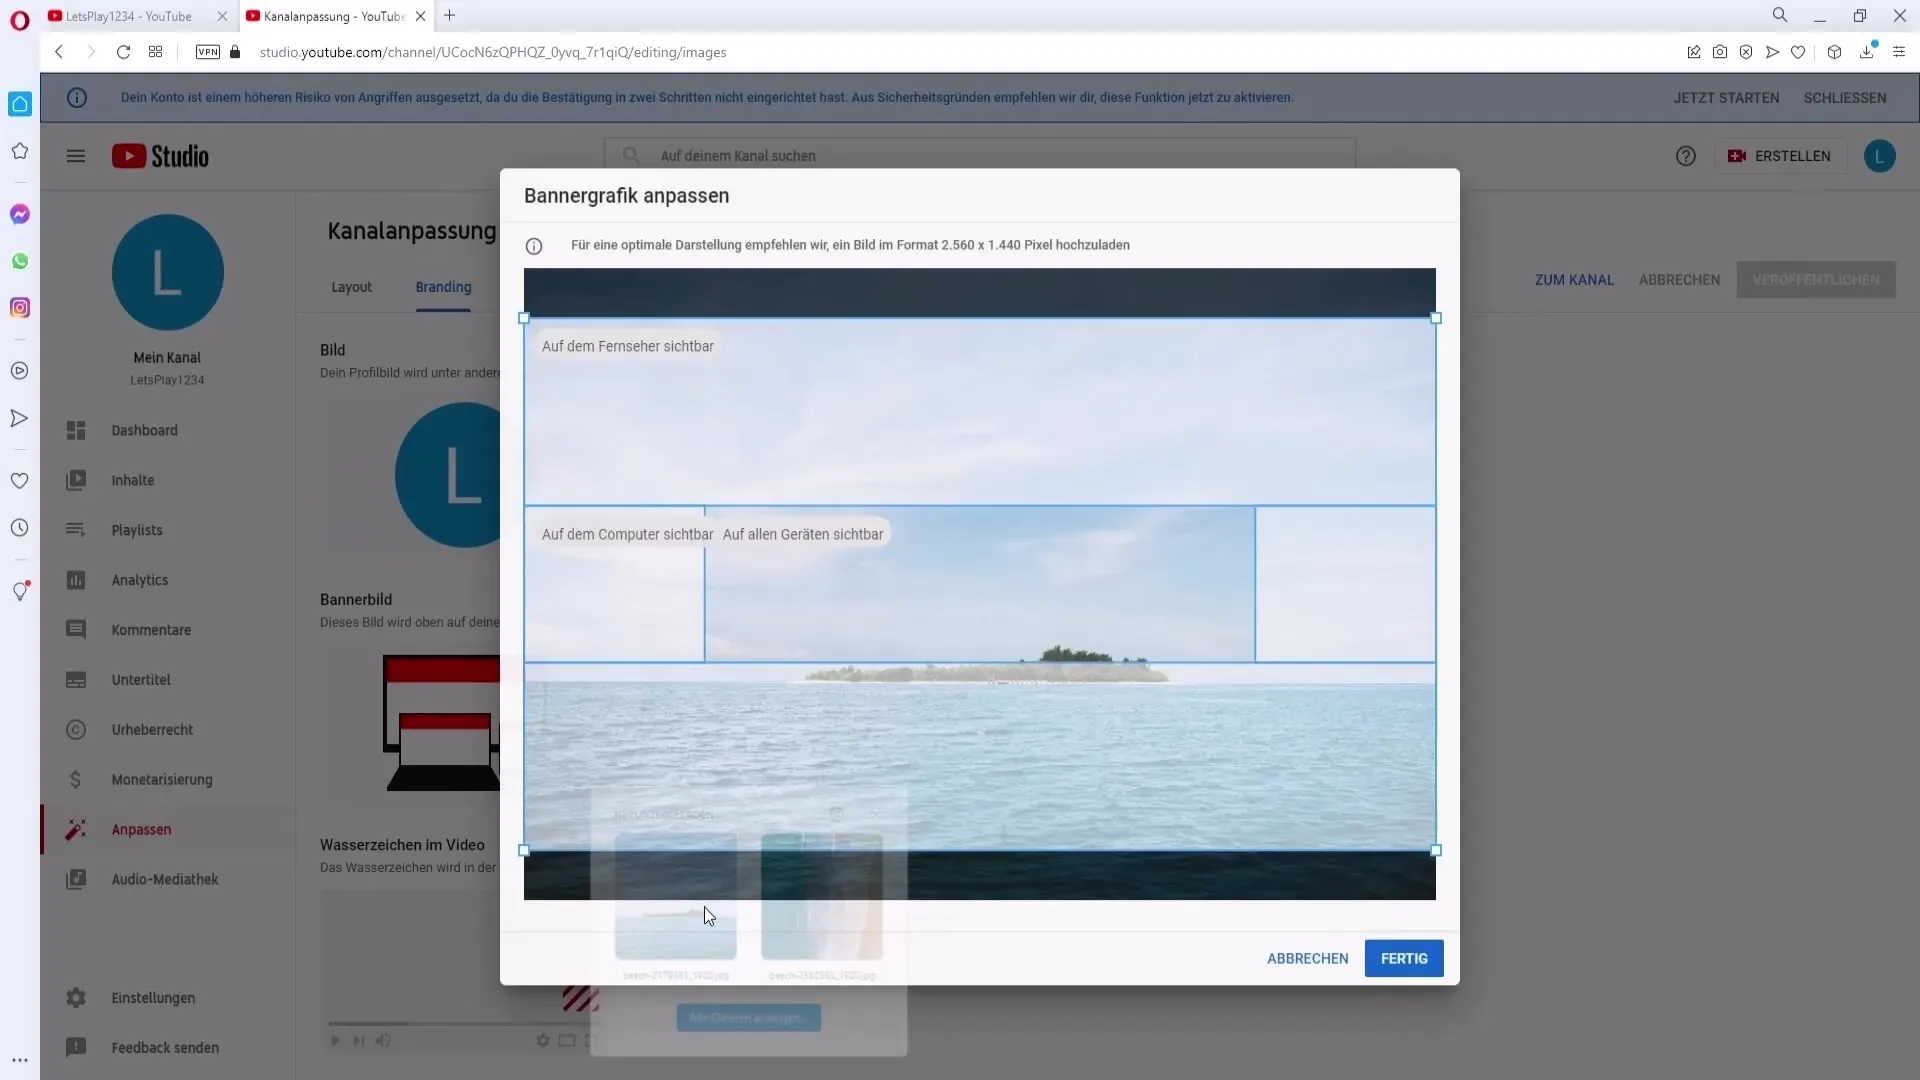
After uploading the banner image, you will see different views of your banner. These include the view for all devices, the view on the computer, and the view on the TV.
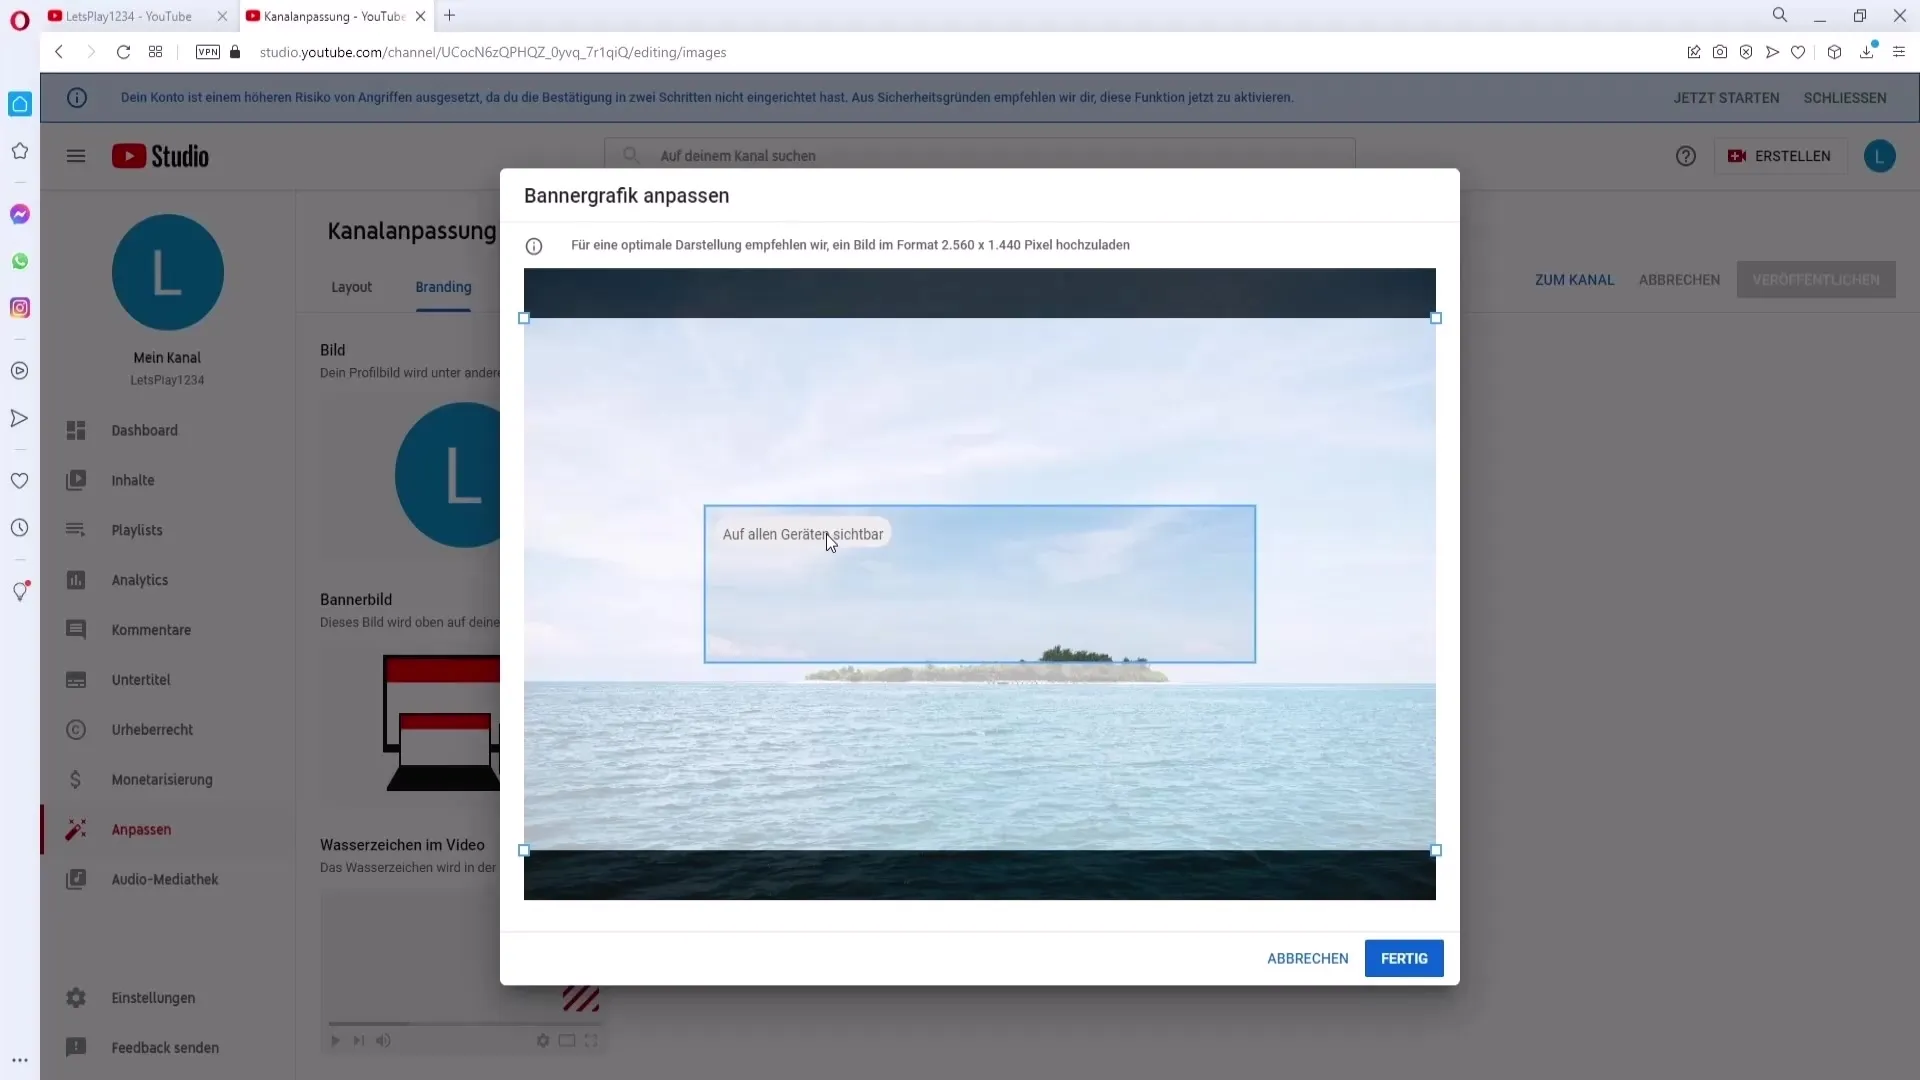
Make sure the text and all important elements are placed in the central area of the banner image. This way, we ensure they are visible in all views.
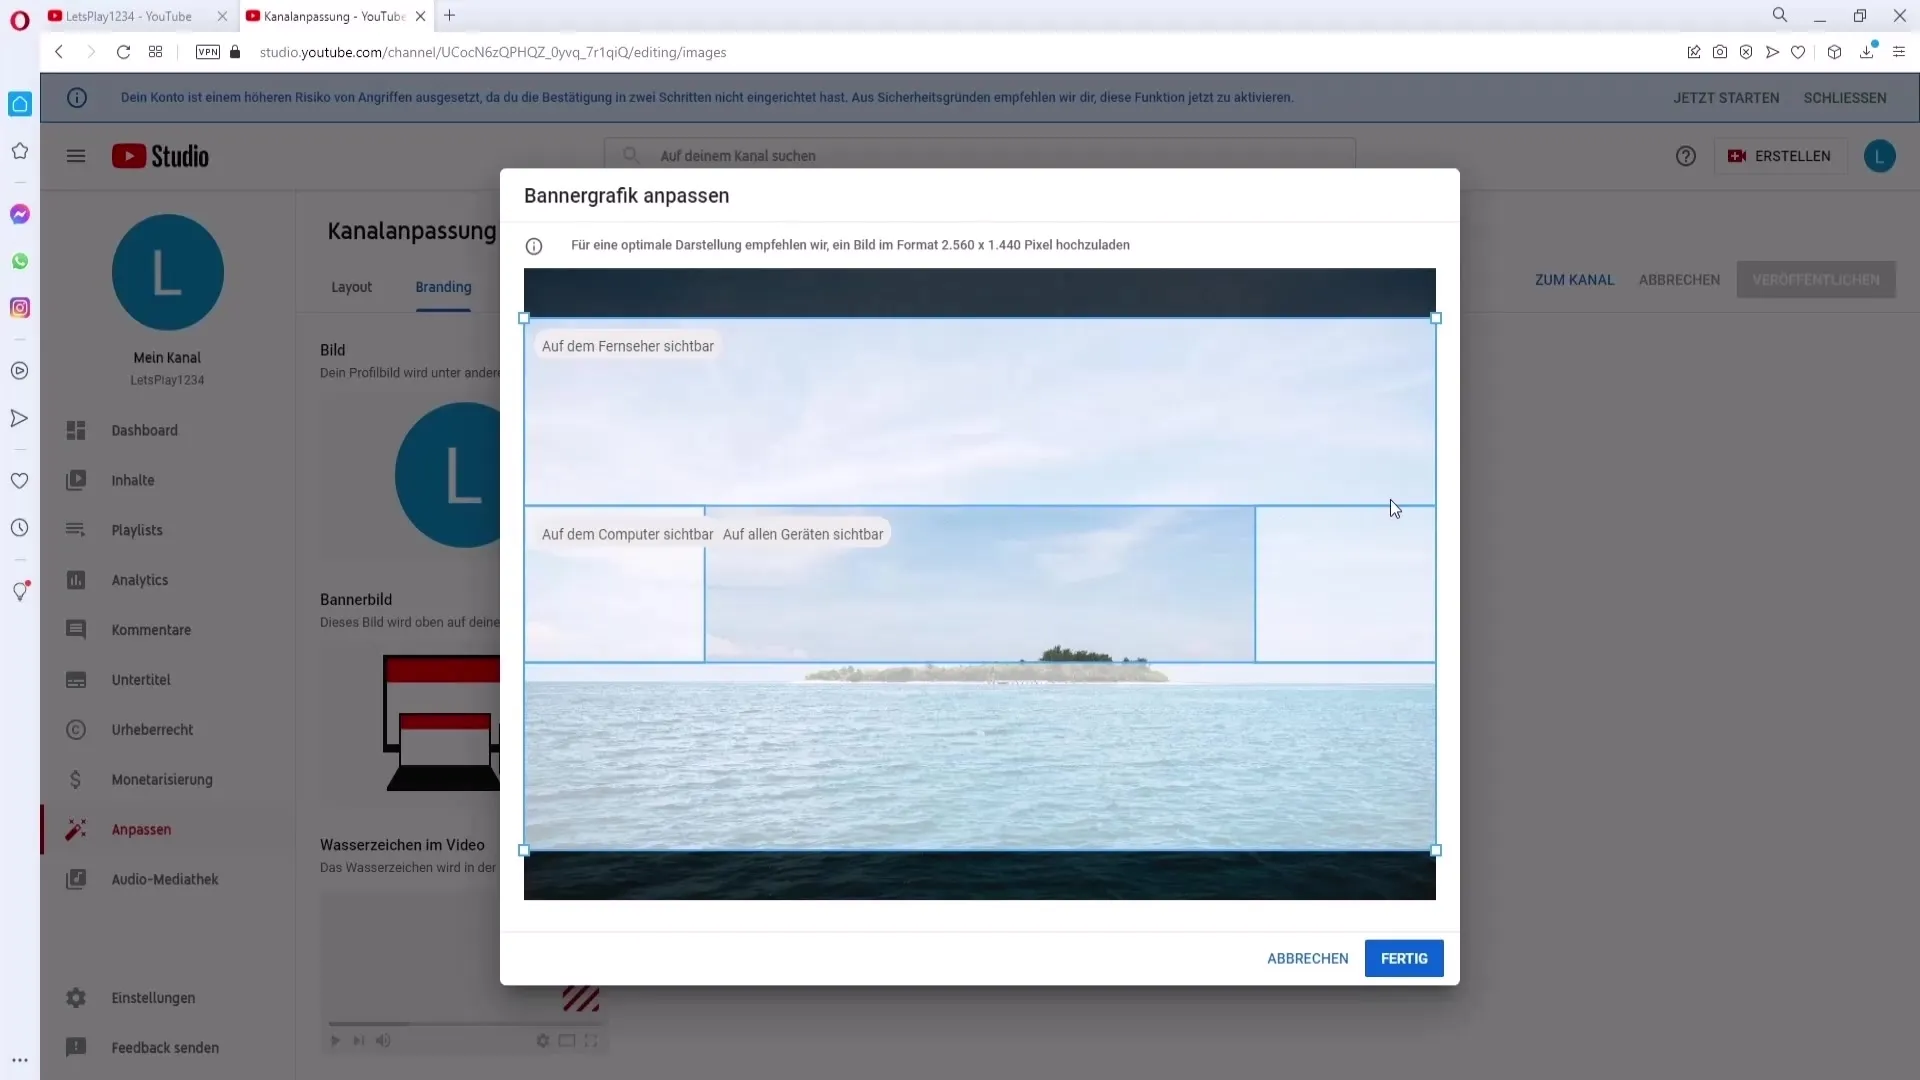
If the elements are not optimally positioned, you can also move the banner image by simply dragging it to the desired location. Once you are satisfied with the positioning, simply click on "Done".
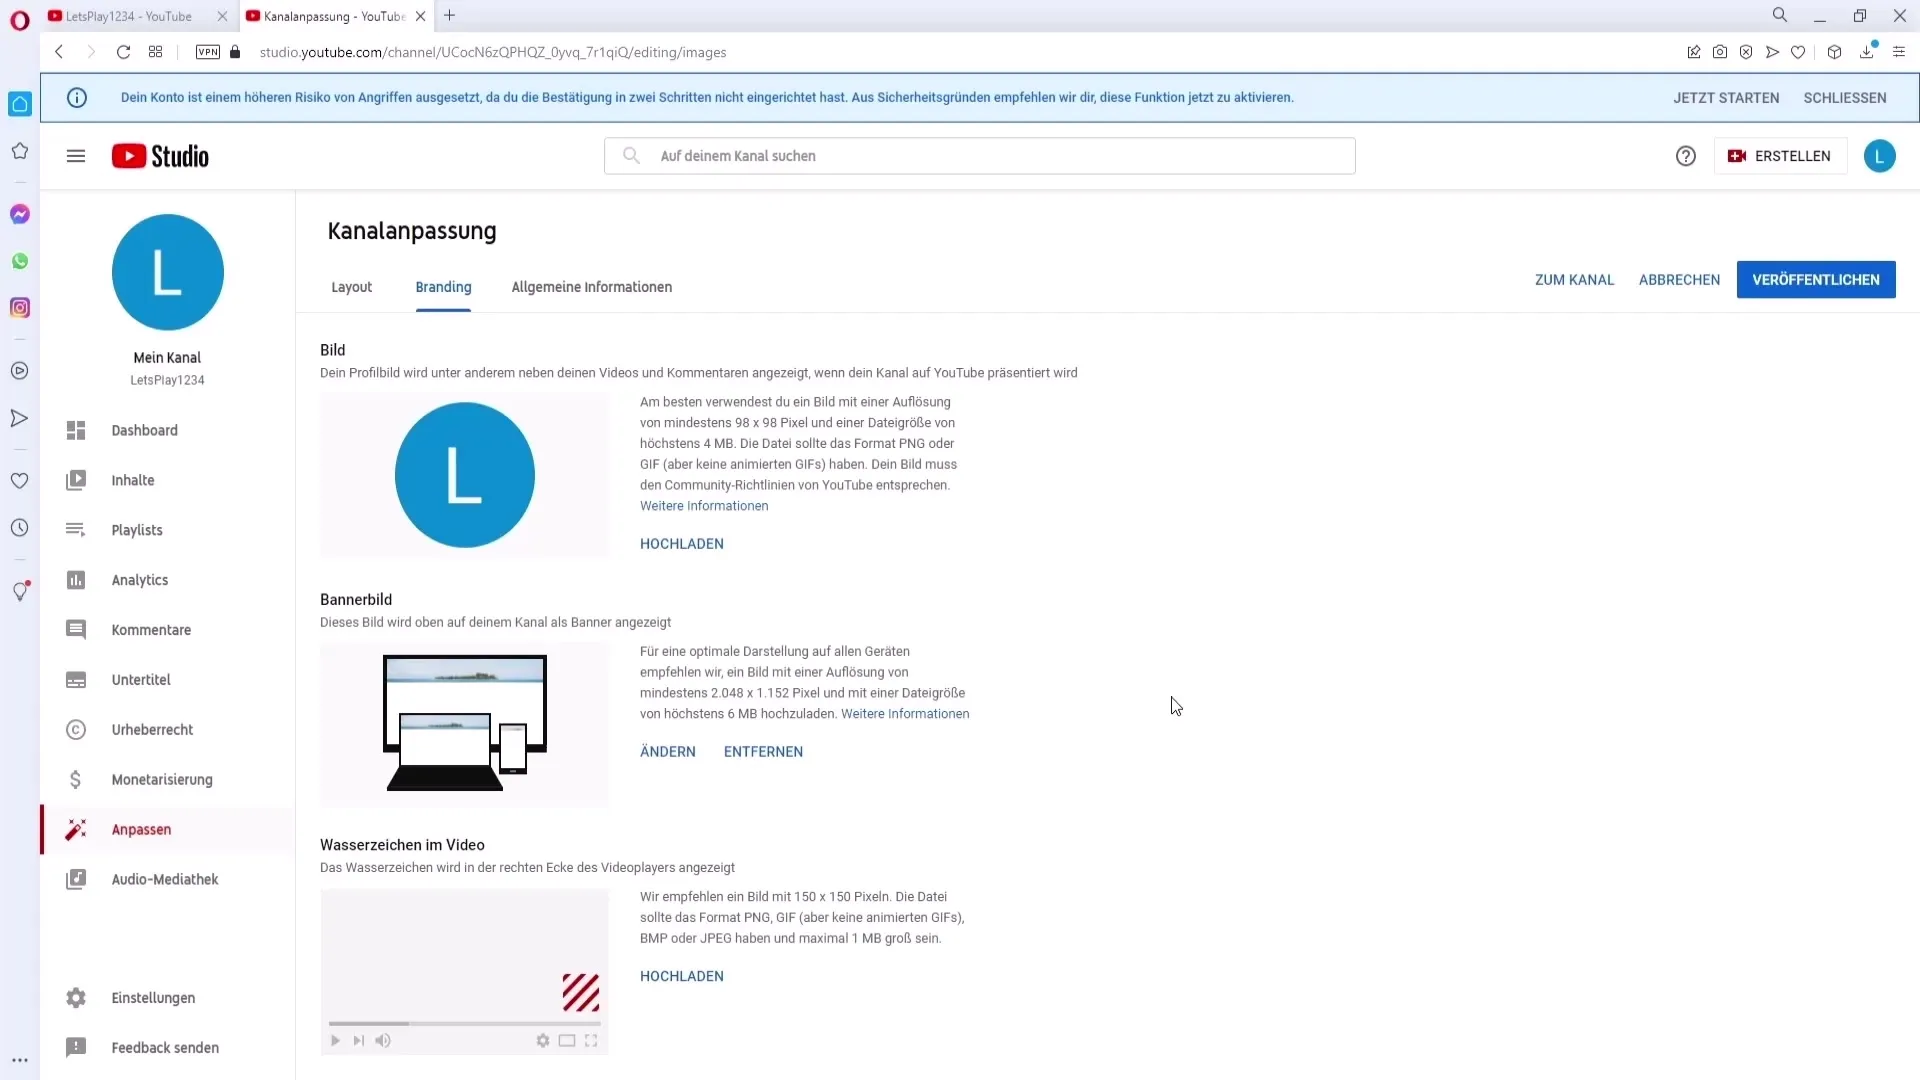
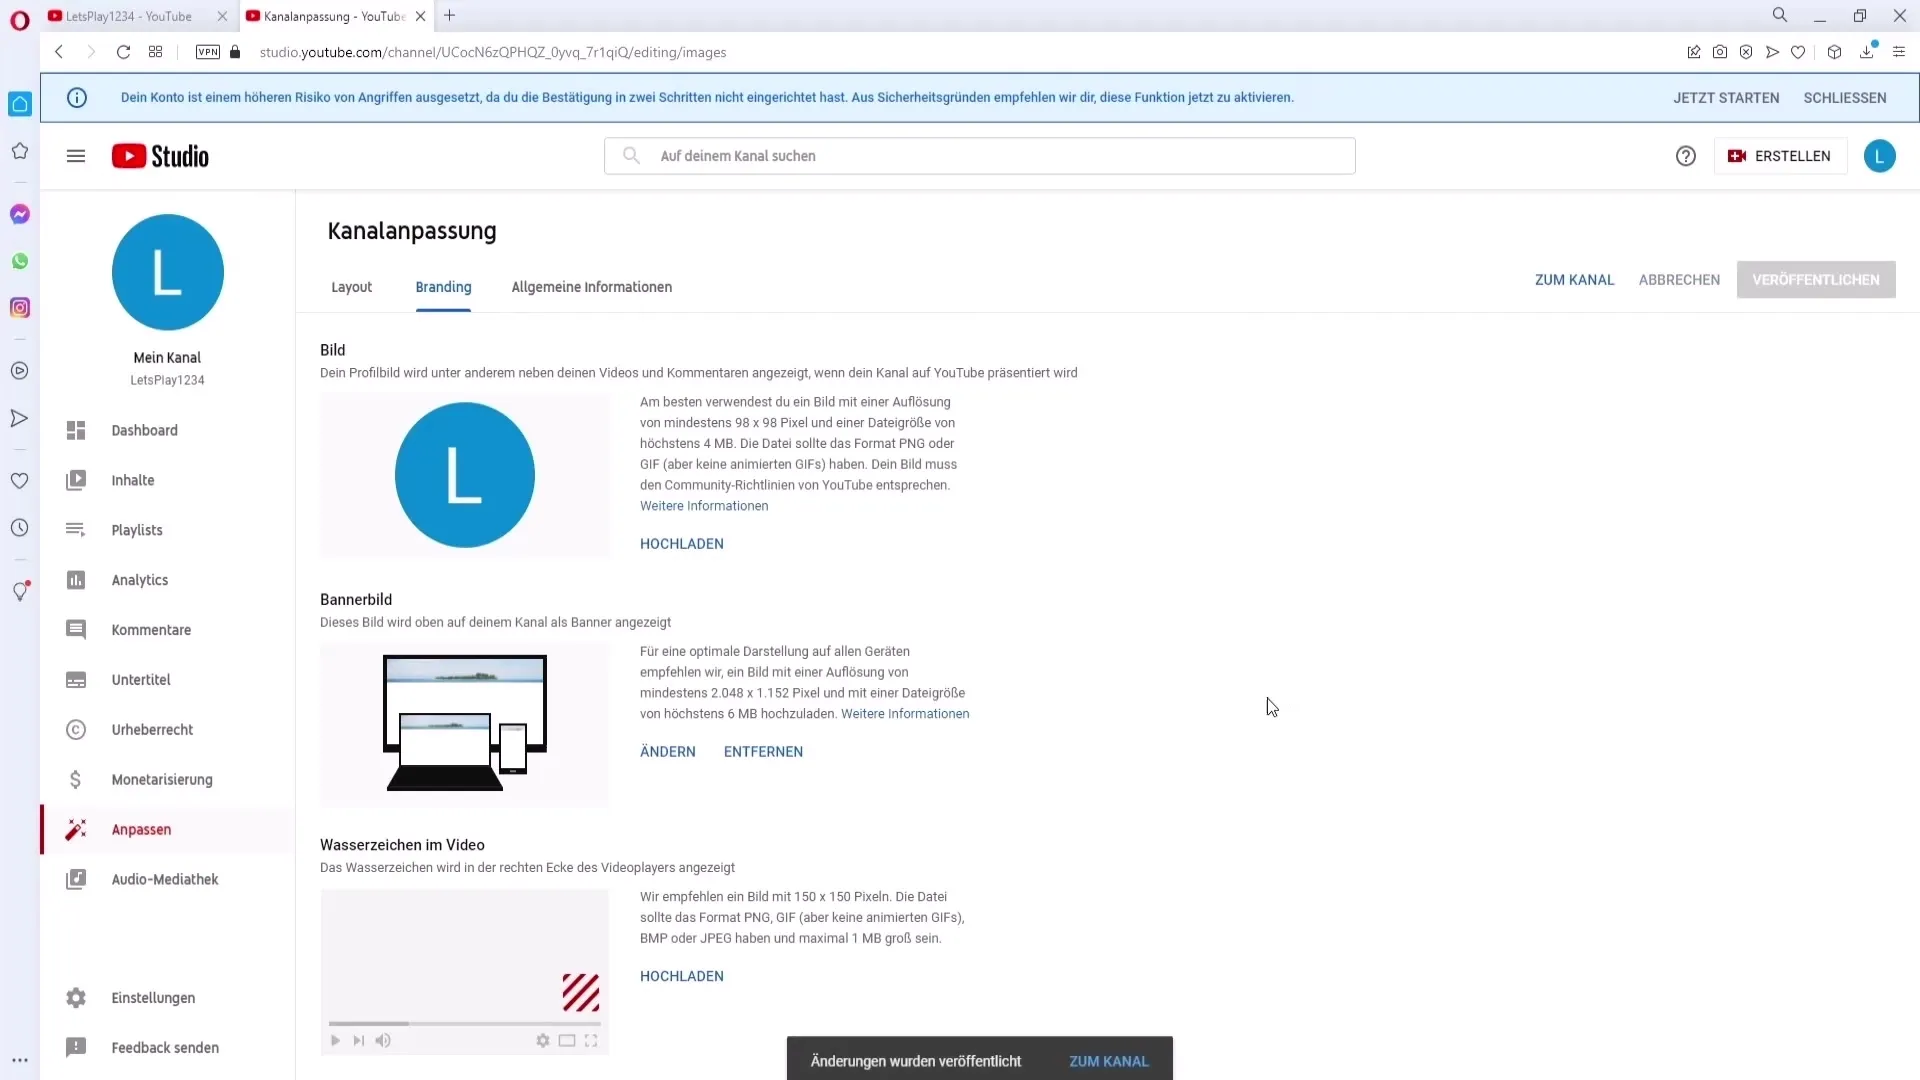
Finally, you just need to click on "Publish" to make your newly designed channel banner active.
Now let's see how this process works on a mobile device.
Open the YouTube app and go to your channel. Click on your profile picture in the top right corner and select "My Channel".
Select your channel again and click on the "Edit Channel" button. Here you will find the option to upload a new background image.
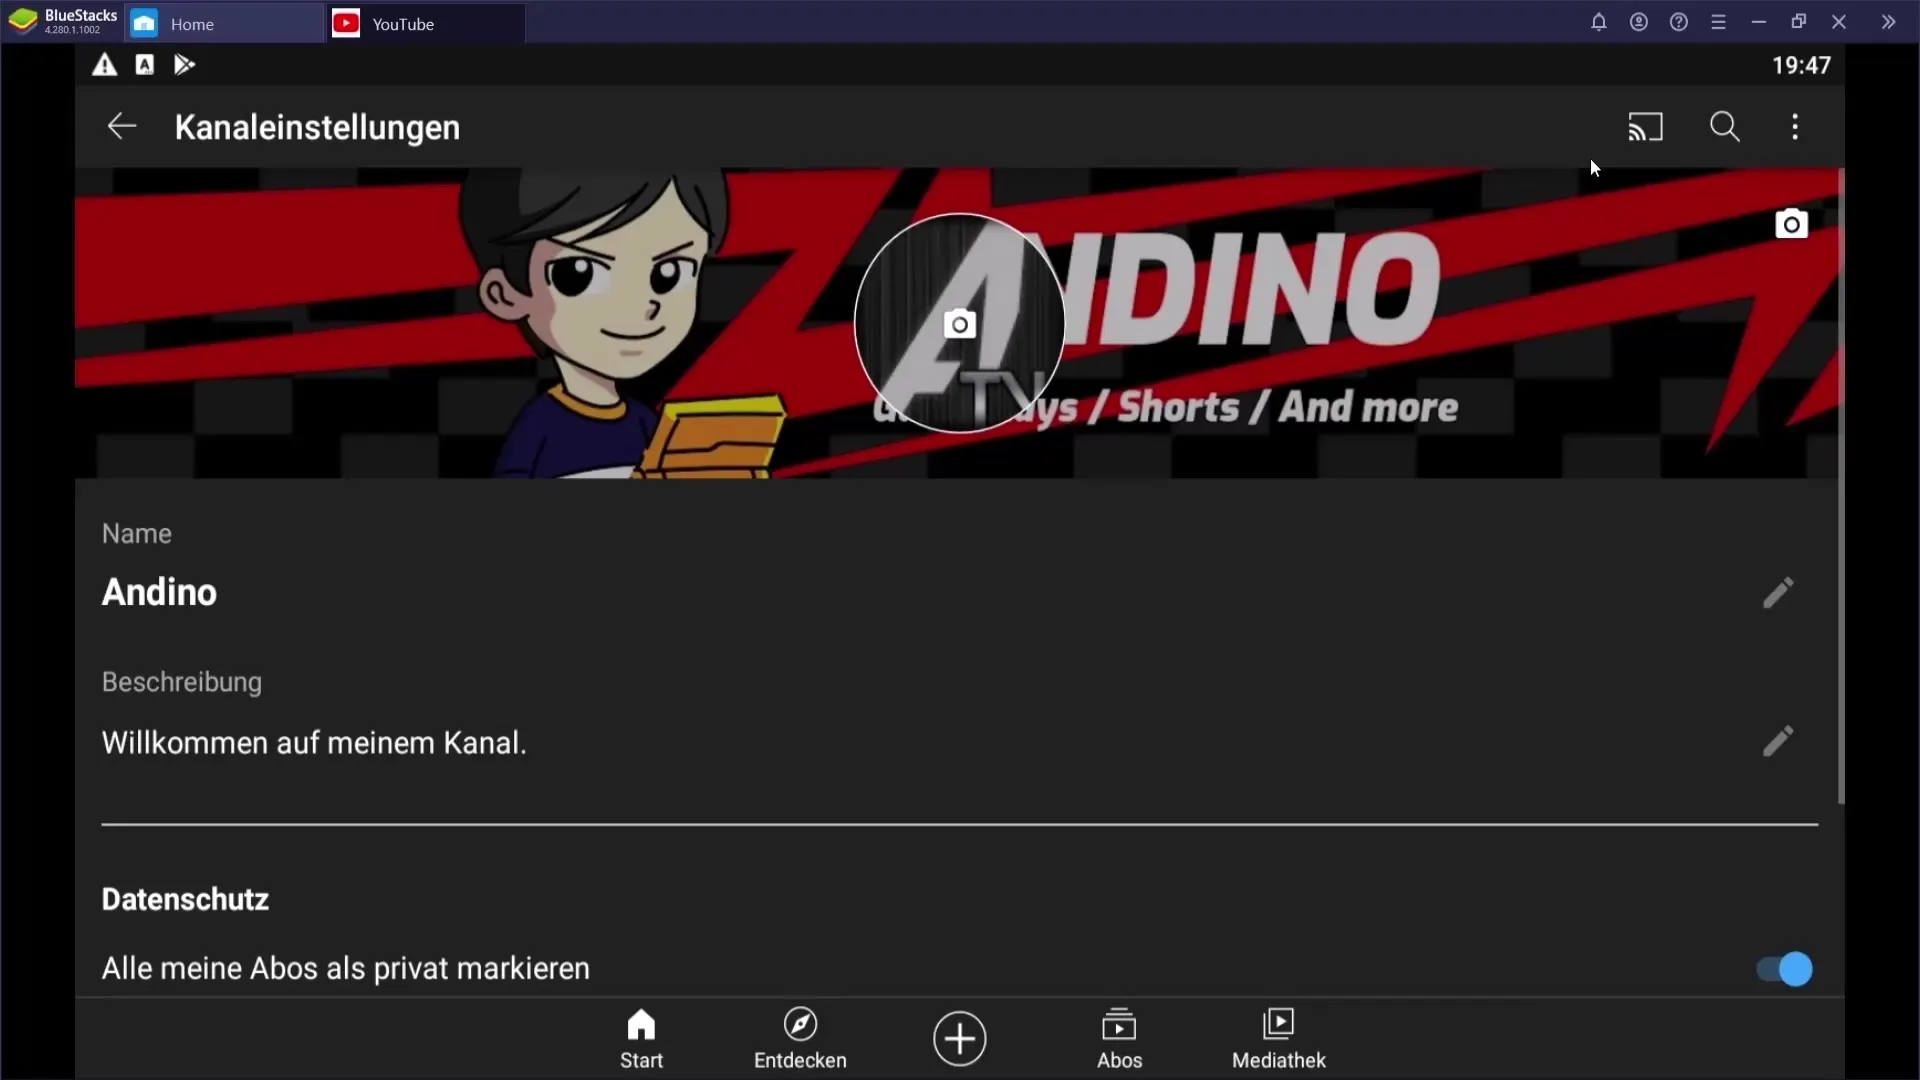
Tap on the camera icon in the top right corner to upload a new background image. Don't forget to consider the previous requirements regarding image size and resolution.
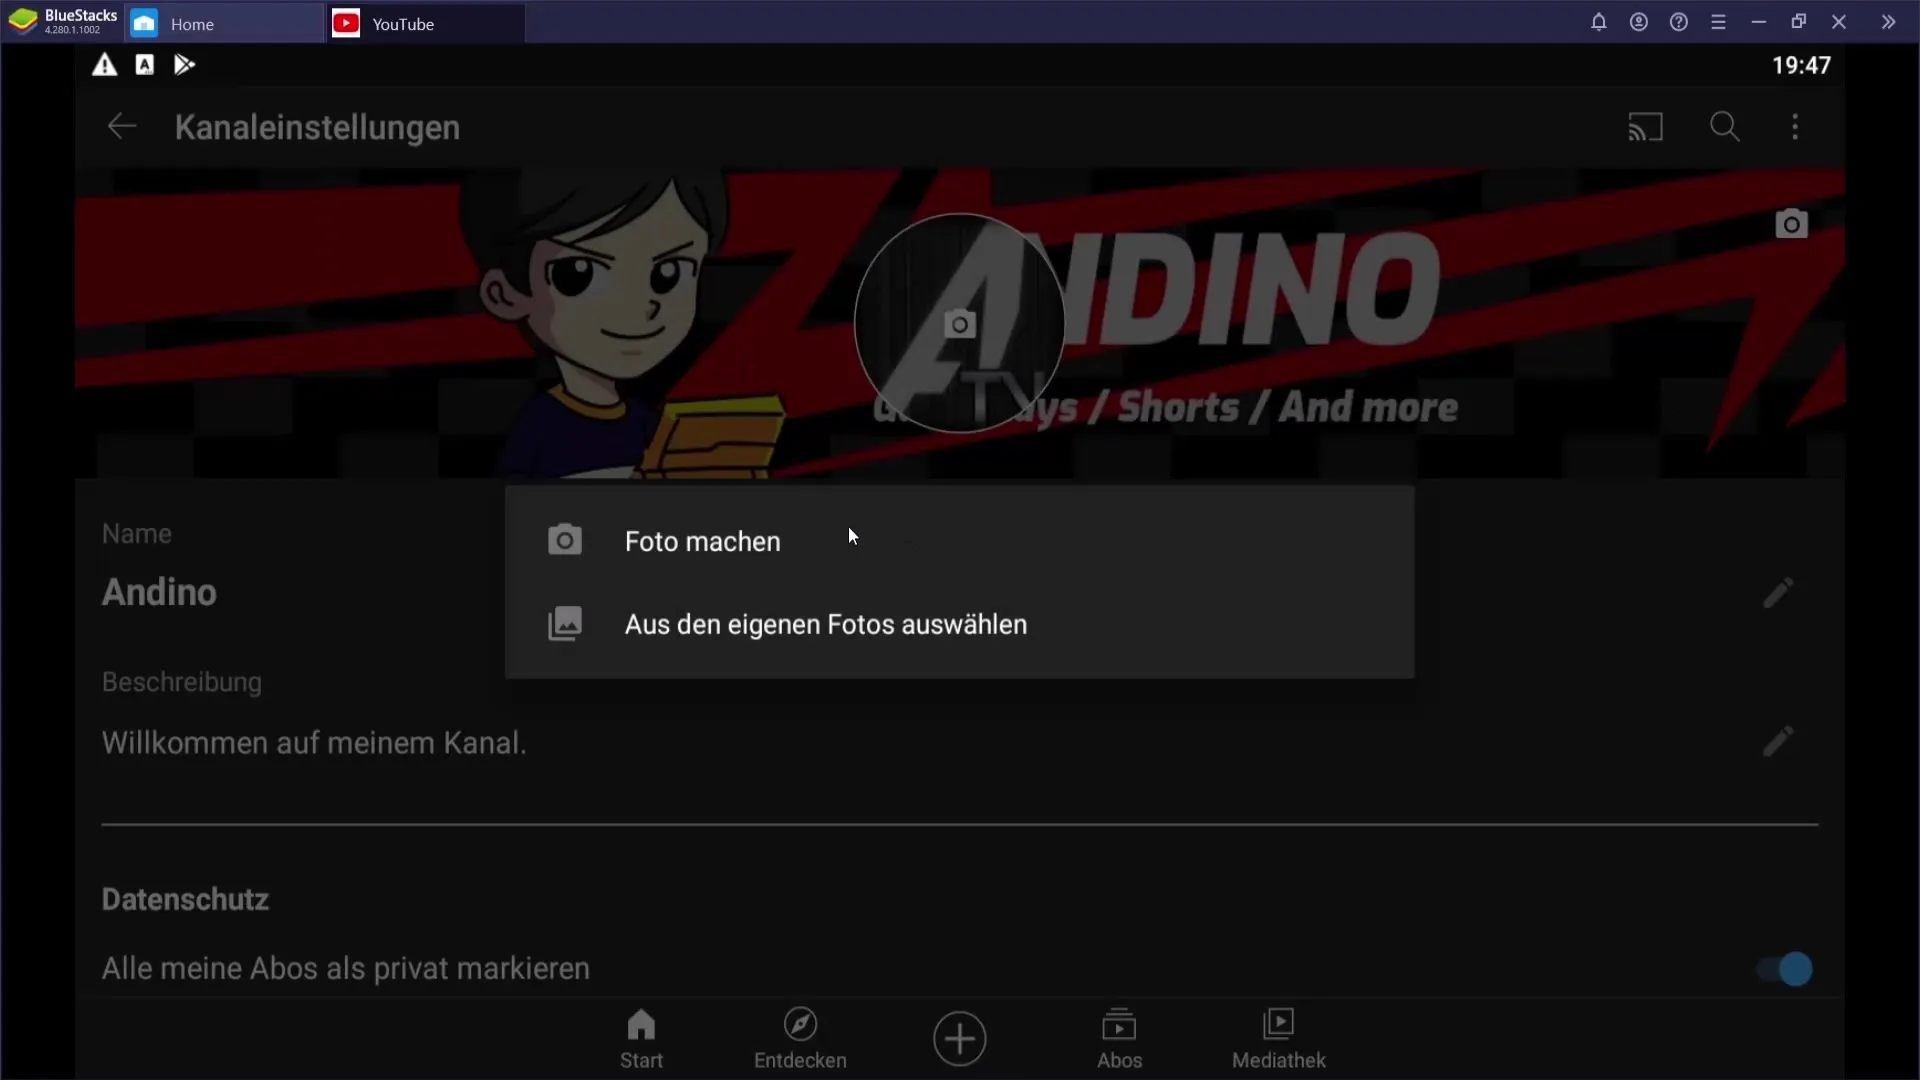
That's it! You have successfully uploaded and customized your channel banner.
Summary
In this tutorial, you have learned how to effectively upload a channel banner on YouTube, both from your computer and from the mobile app. Consider the recommended image requirements and make sure all key elements are in view, so your channel looks appealing and professional.
Frequently Asked Questions
What should be the resolution for the banner image?YouTube recommends a resolution of at least 2048 x 1152 pixels.
What is the maximum file size for the channel banner?The maximum file size for the banner image should not exceed 6 MB.
How can I upload my channel banner on mobile devices?In the YouTube app, go to your channel, select "Edit Channel," and tap on the camera icon to upload the banner image.
Do I need to pay attention to the positioning of my text in the banner?Yes, make sure that the text and all essential elements are positioned in the center area of the banner.
What happens after uploading my channel banner?You need to click on "Publish" for the banner to be active and visible to visitors.
