Every YouTube video needs an appealing thumbnail to attract the viewers' attention. A good thumbnail can be crucial for the success of your video, as it is often the first thing potential viewers see. It is important to consider some technical and content-related requirements. This guide will walk you through step by step how to upload a thumbnail to present your videos optimally.
Key Takeaways
- You need to sign in to your YouTube channel and go to YouTube Studio.
- Thumbnails should have a resolution of 1280 x 720 pixels and be less than 2 MB in size.
- The recommended file format is JPEG as it offers good quality at a smaller file size.
- You need a verified YouTube account to upload custom thumbnails.
Step-by-Step Guide
Start by logging into your YouTube channel. Click on your profile picture in the top right corner of your screen. When logged in, a dropdown menu will appear.
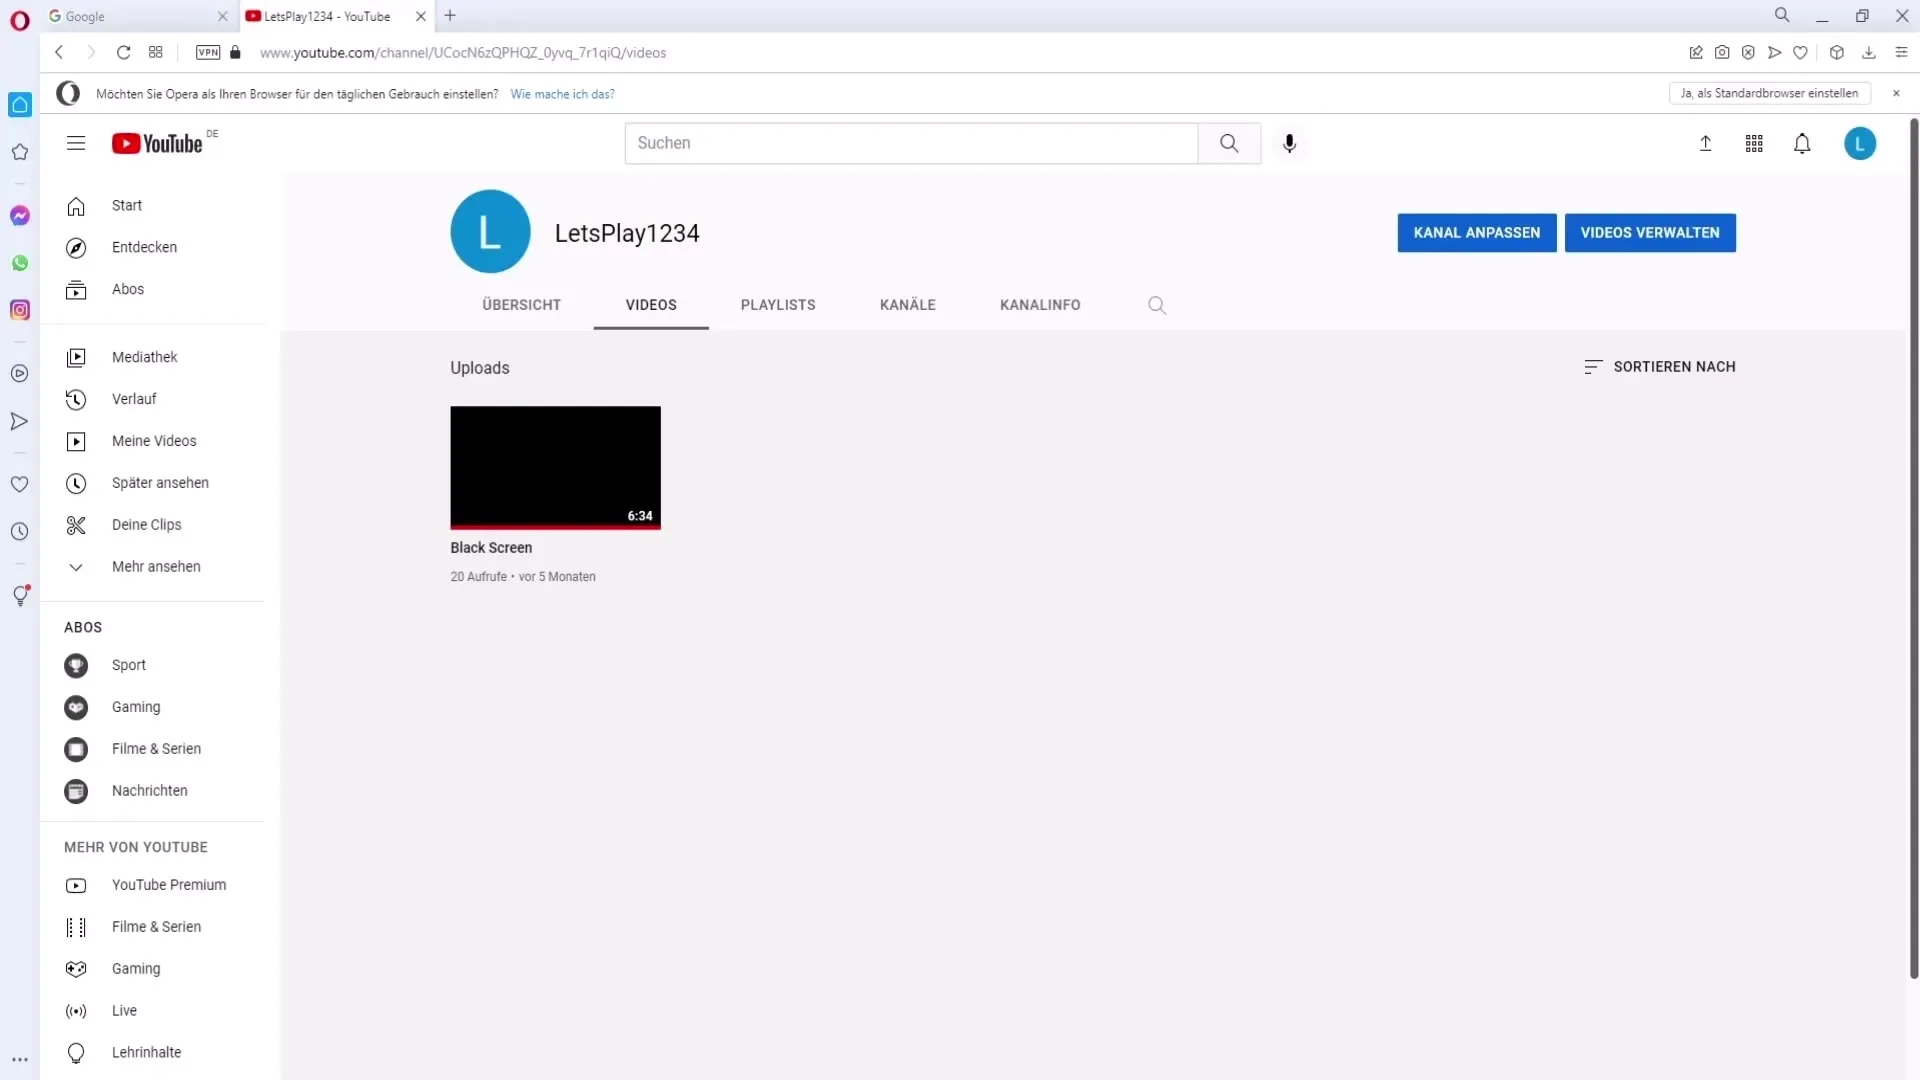
Now select "YouTube Studio" from this menu. The YouTube Studio is the central hub for all the content and statistics of your channel. Here you can manage your videos, statistics, and channel settings.
Once you are in YouTube Studio, you will see a menu bar on the left side. Click on "Content" here. This section provides an overview of all your uploaded videos.
Next, locate the video to which you want to assign a thumbnail. Click on the edit icon, which looks like a pencil, next to the video for which you want to change the thumbnail.
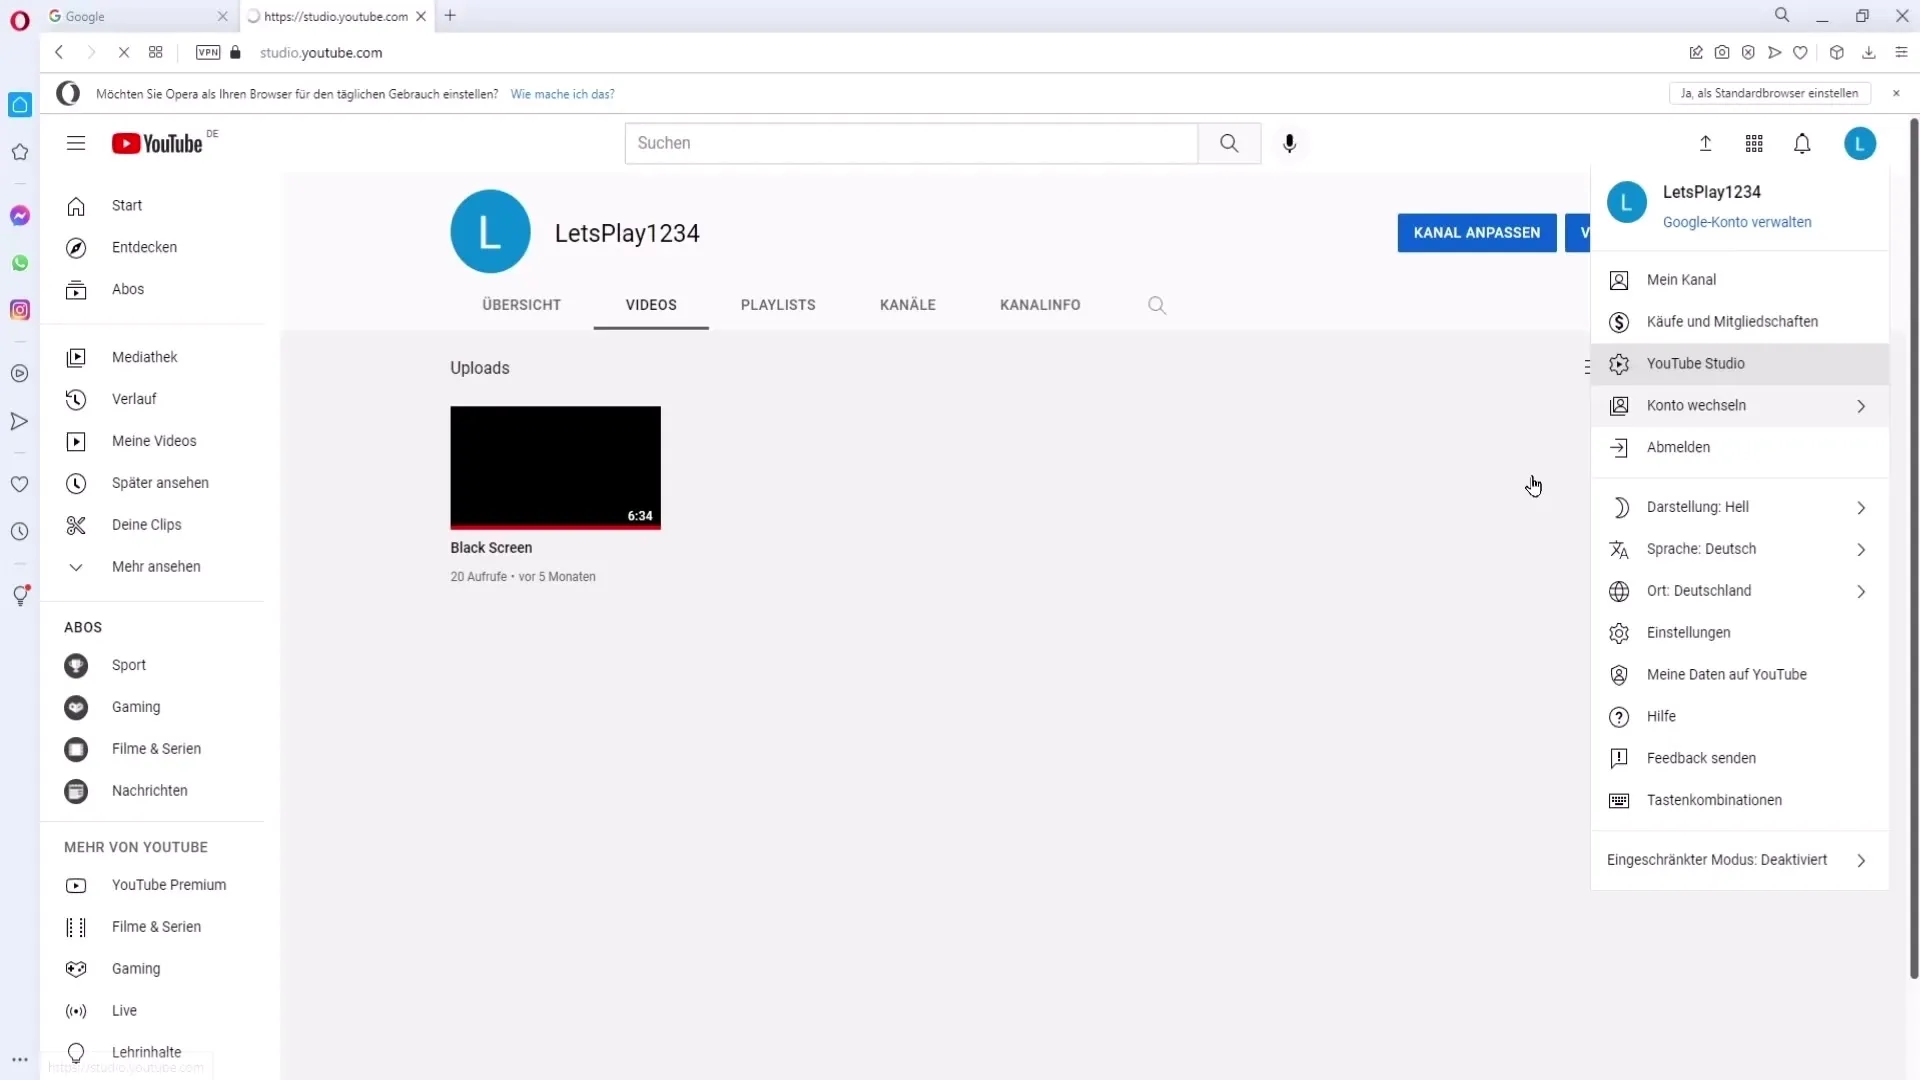
In the next step, the editing view of your video will open. Here you will see the thumbnail field where you can upload your image. There is an option to select an existing thumbnail, but I recommend creating your own thumbnail to emphasize the individuality of your video.
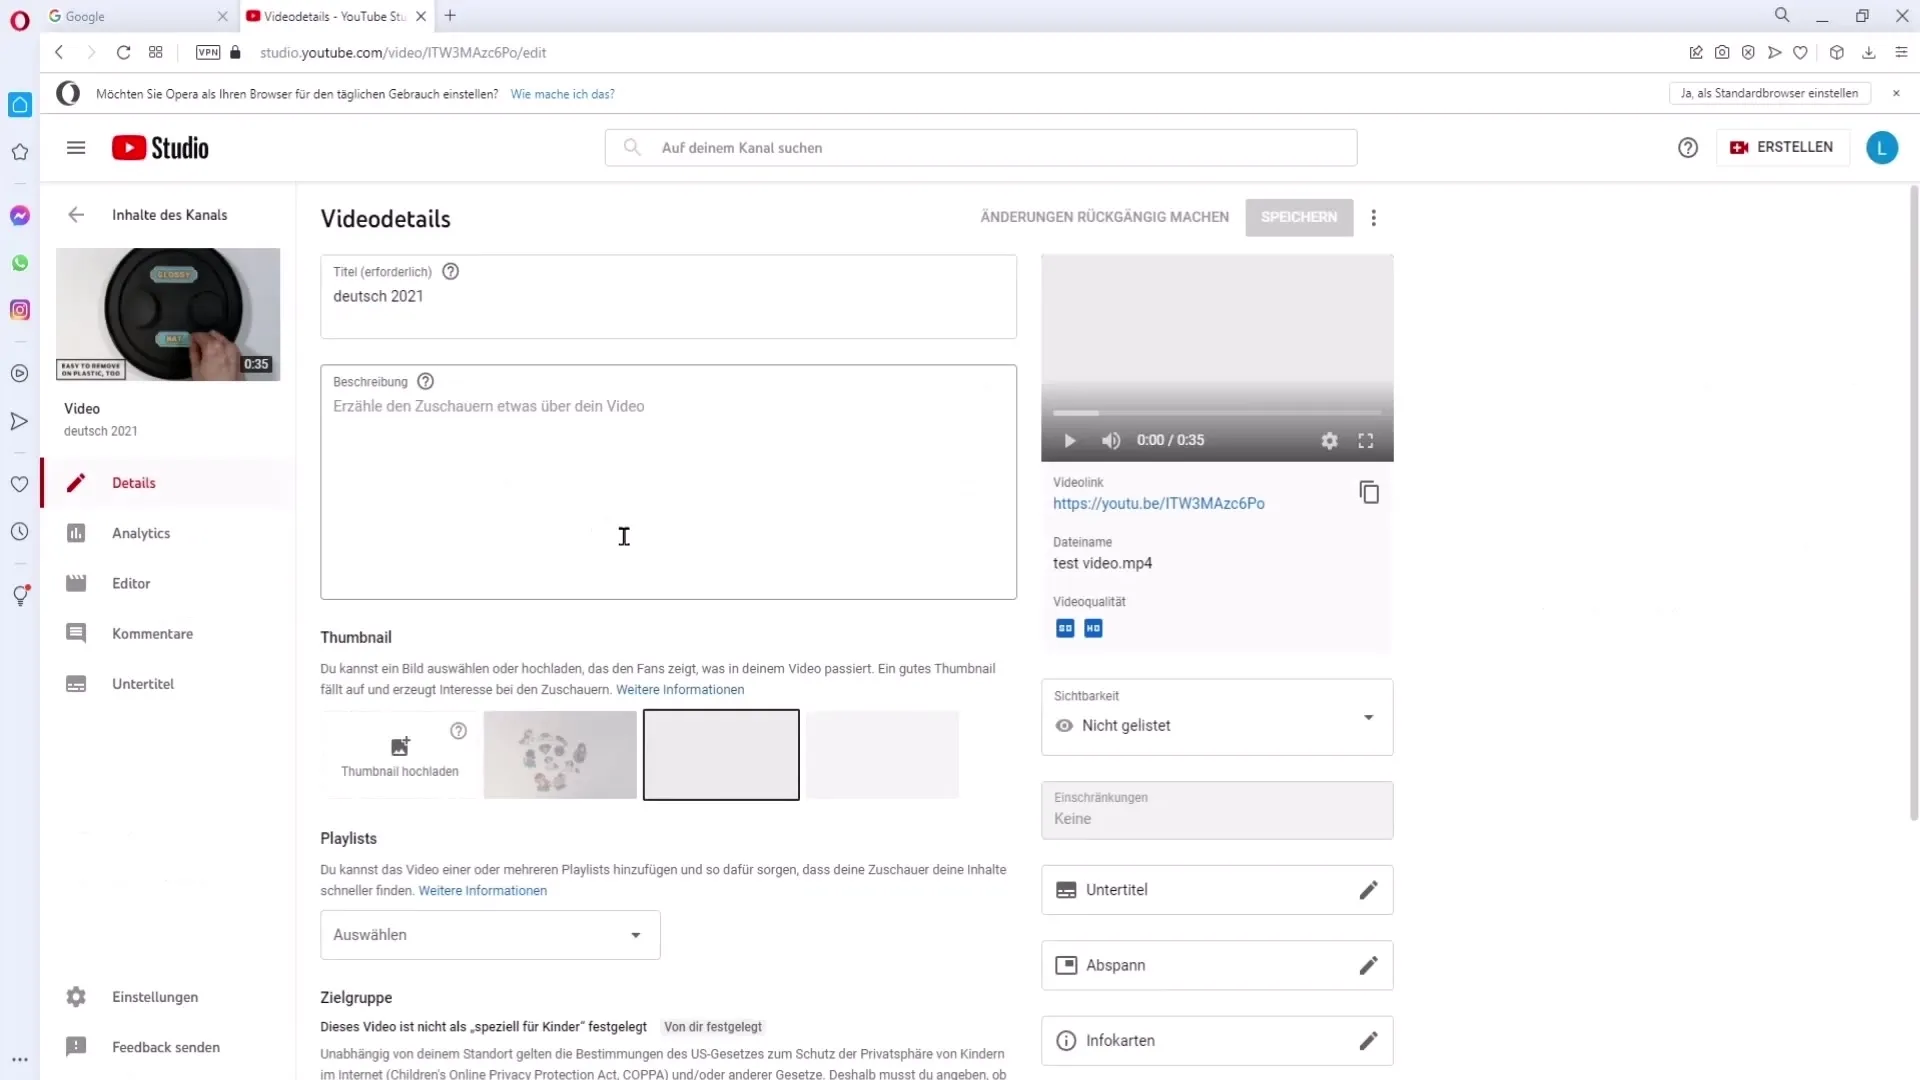
Before uploading your thumbnail, make sure to consider some technical requirements. Click on the question mark in the top right corner of the screen to review the specific thumbnails specifications. The recommended dimensions are 1280 x 720 pixels with an aspect ratio of 16:9.
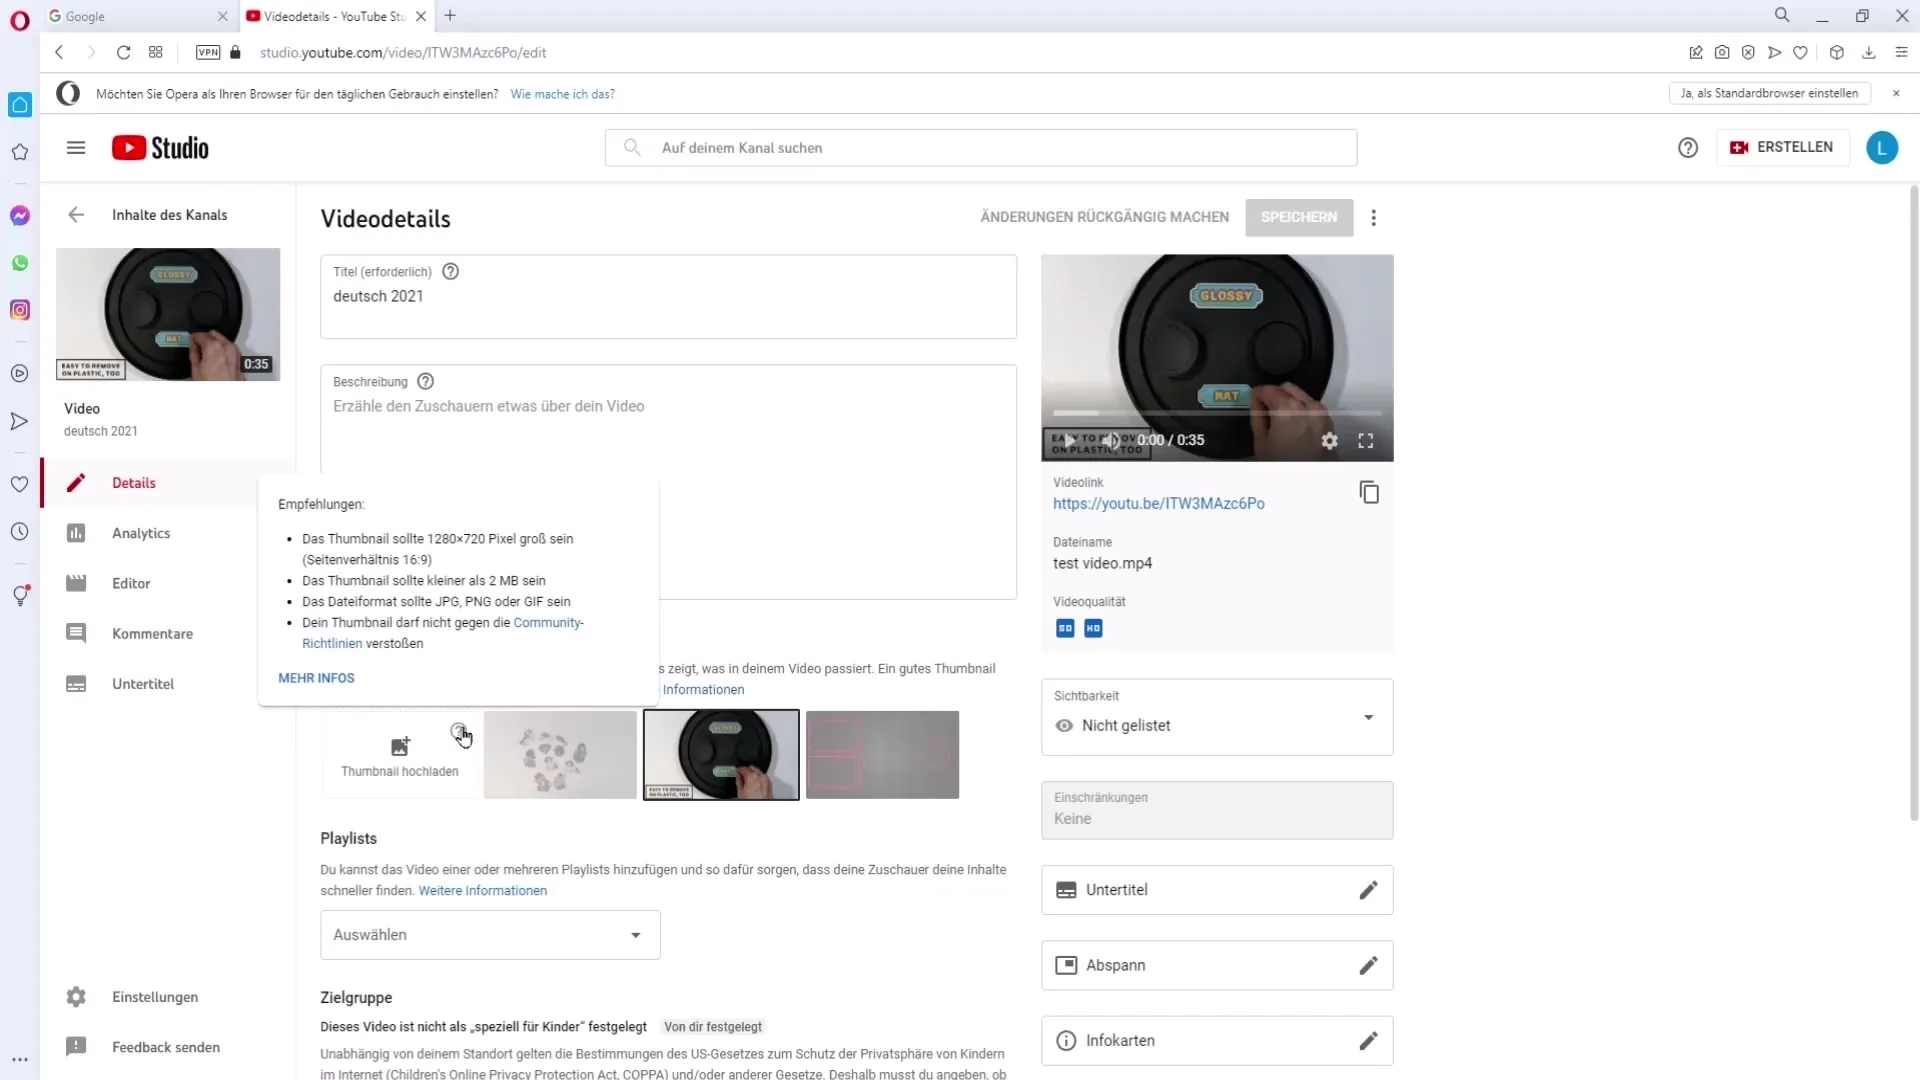
Ensure that your thumbnail is less than 2 MB in size. A good way to achieve this is by using the JPEG file format, which allows for compact files without significant loss of quality. Saving the file as PNG could make it unnecessarily large.
Make sure your thumbnail does not contain any content that violates YouTube's community guidelines. Avoid any offensive or violent material to ensure that your thumbnail is accepted. You can view the guidelines by clicking on the respective link.
When you are ready to upload your thumbnail, click on the "Upload Thumbnail" button. A new window will open where you can select your image. If you have not verified your phone number yet, you will be prompted to do so in order to add custom thumbnails.
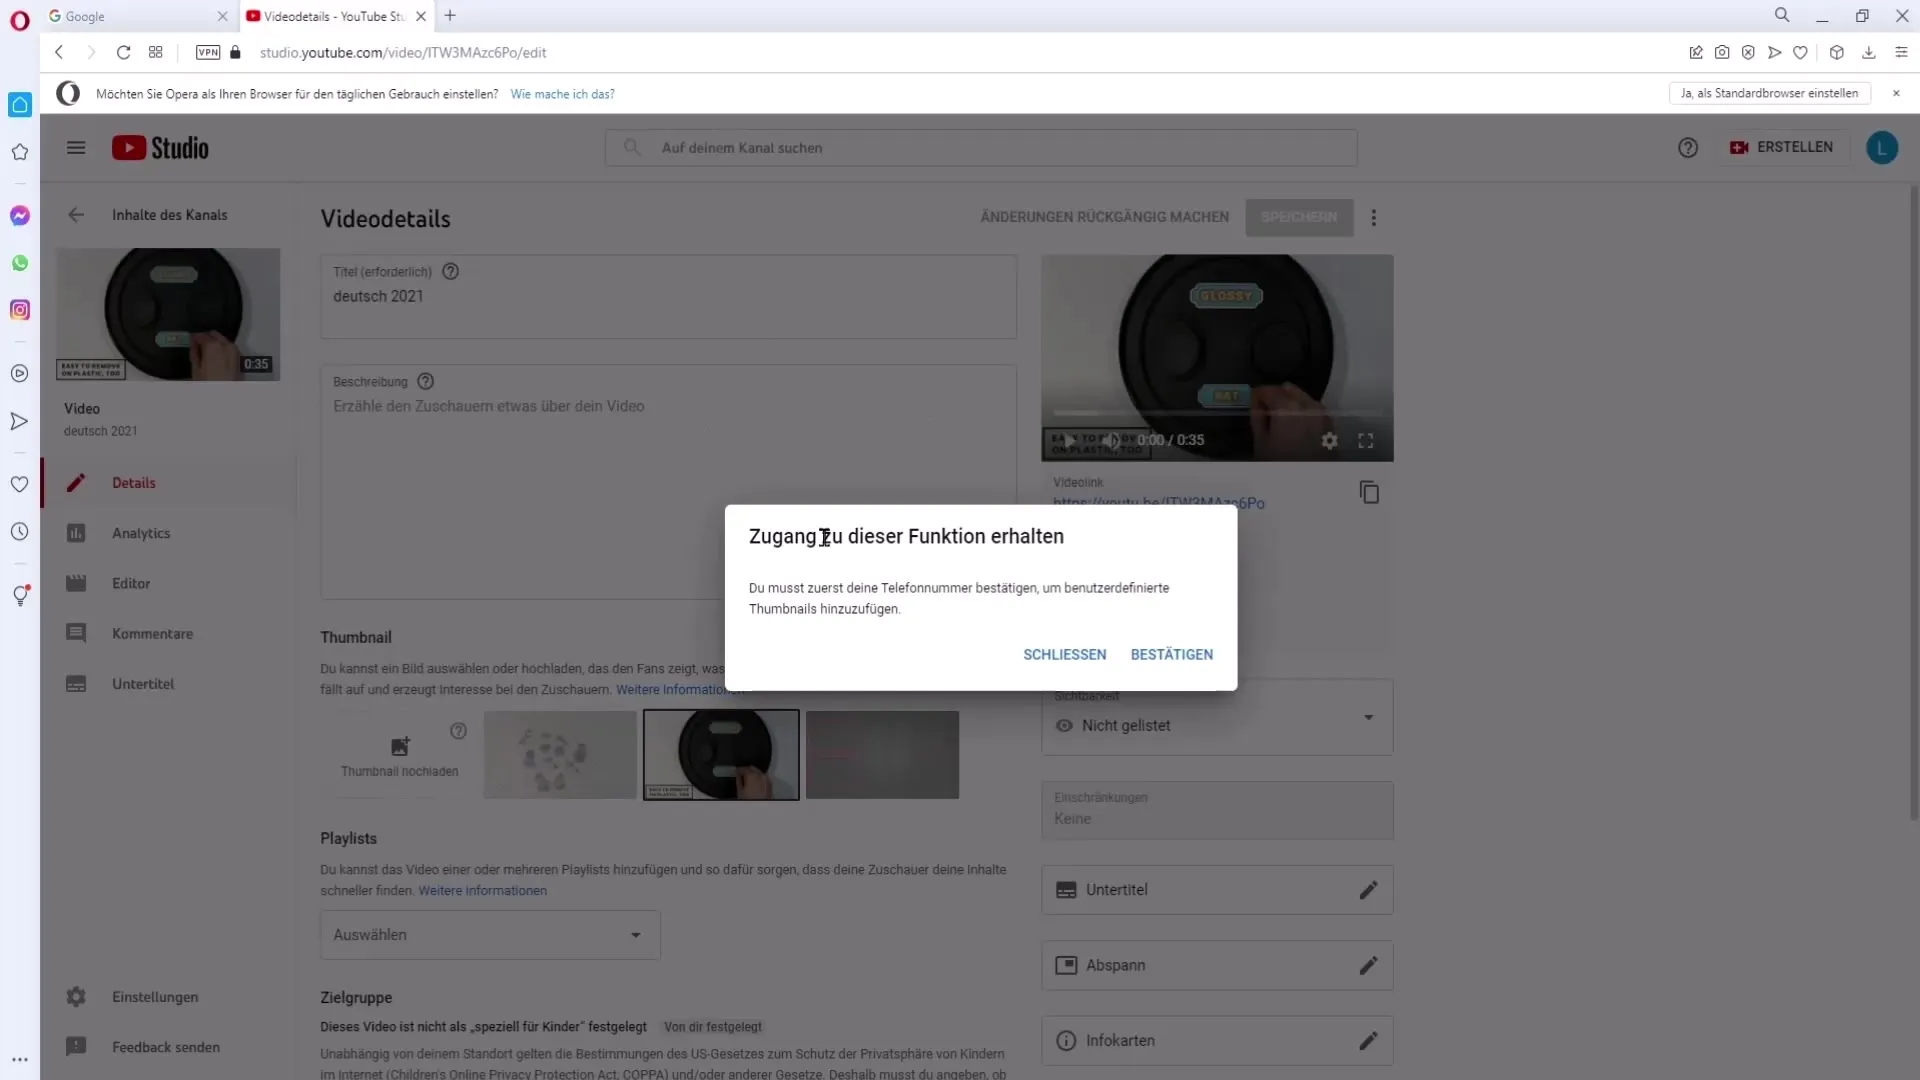
To verify your account, enter your phone number, select your country, and request a confirmation code to be sent to you. You can receive the code via SMS or automated voice message. Enter the code in the designated field.
After verification, you can upload your custom thumbnail. Simply click on the "Upload" button and select the prepared file from your computer.
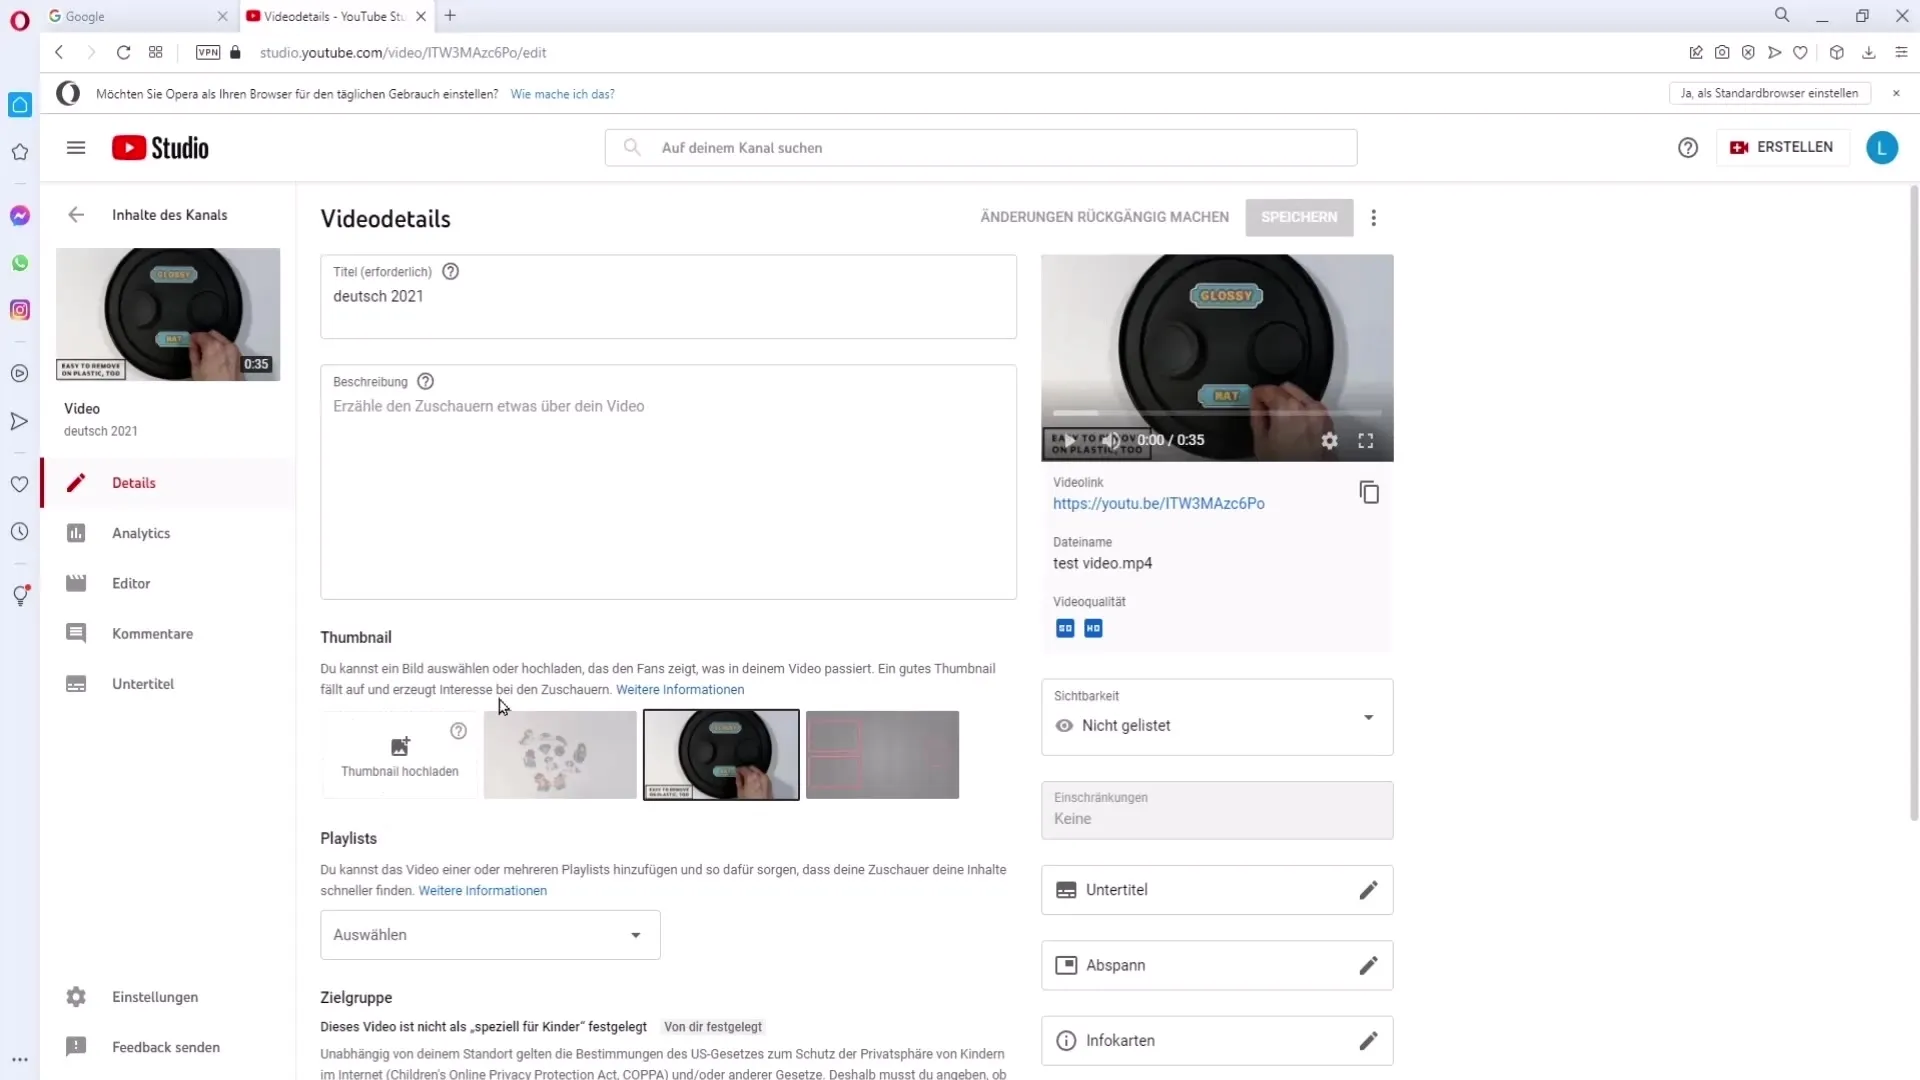
Once you have uploaded the thumbnail, don't forget to click on the "Save" button. This ensures that your thumbnail is applied. Note that it may take a few minutes for the thumbnail to be visible on your channel.
Summary
Uploading a custom thumbnail on YouTube is an uncomplicated process that requires only a few steps. Make sure to keep all technical specifications in mind and follow the community guidelines to achieve the best results.
Frequently Asked Questions
What is the recommended resolution for thumbnails?The recommended resolution is 1280 x 720 pixels.
How large can the thumbnail be?The thumbnail should be smaller than 2 MB.
Which file format is most suitable?The best format is JPEG, as it provides high quality with low file size.
What happens if I don't upload my thumbnail?Without a custom thumbnail, YouTube will use a default image, which is less engaging.
Do I need to verify my account to upload thumbnails?Yes, verifying your phone number is required to add custom thumbnails.


