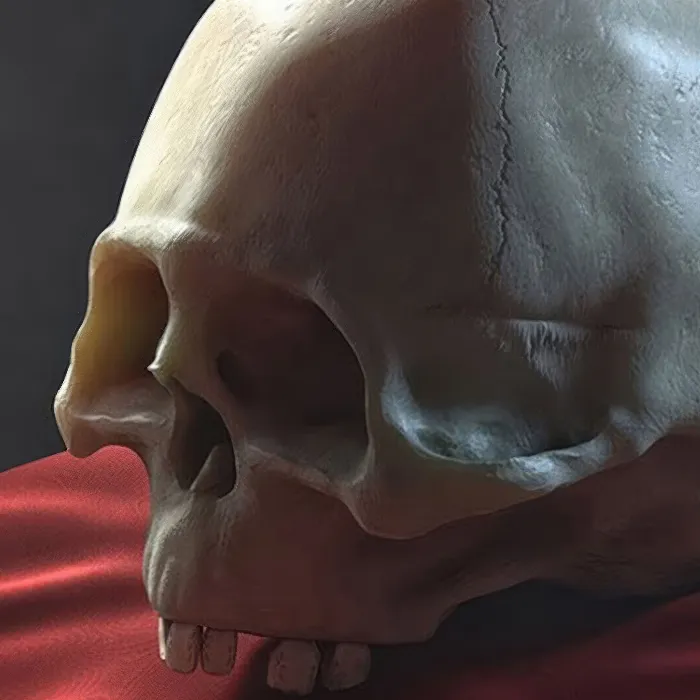
In this tutorial, I will show you how you can create a sculp yourself in just a few steps without using a finished mesh, as it is much easier to add all the parts you need than to remove them from a finished sculp.
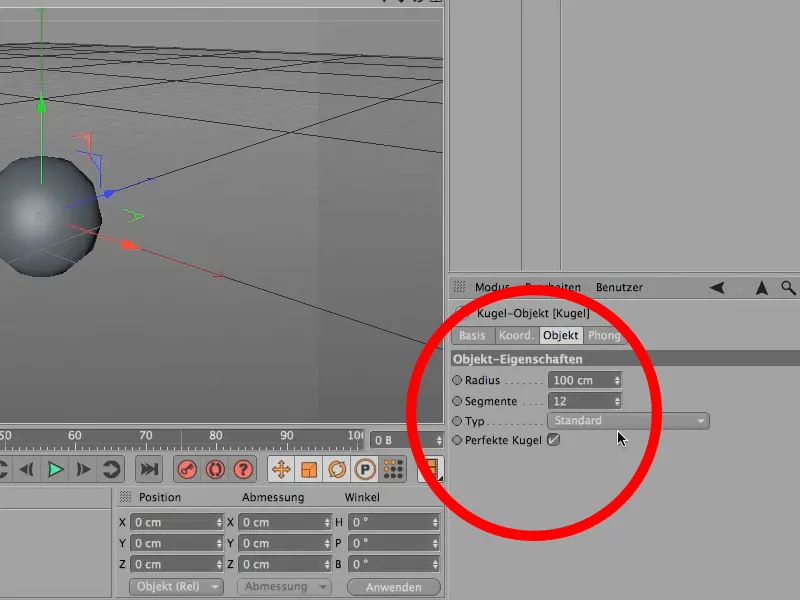
I use a sphere object for this, as this has the most important requirements. So create a sphere object.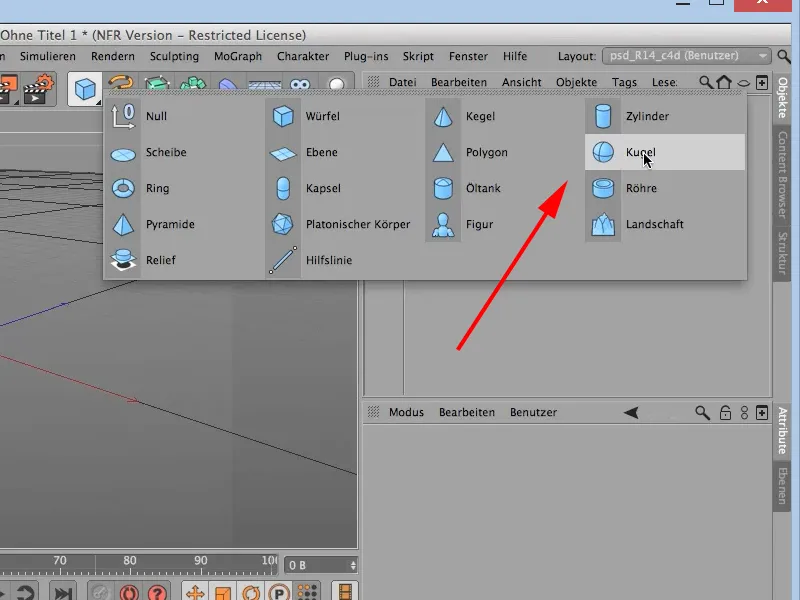
- Radius: 100 cm
- Segments: 12
- Type: Standard
- Perfect sphere: yes
So that you can also see the segments when we convert them into a polygon object, I switch the display to Gouraud shading (lines). Now convert the object into a polygon object.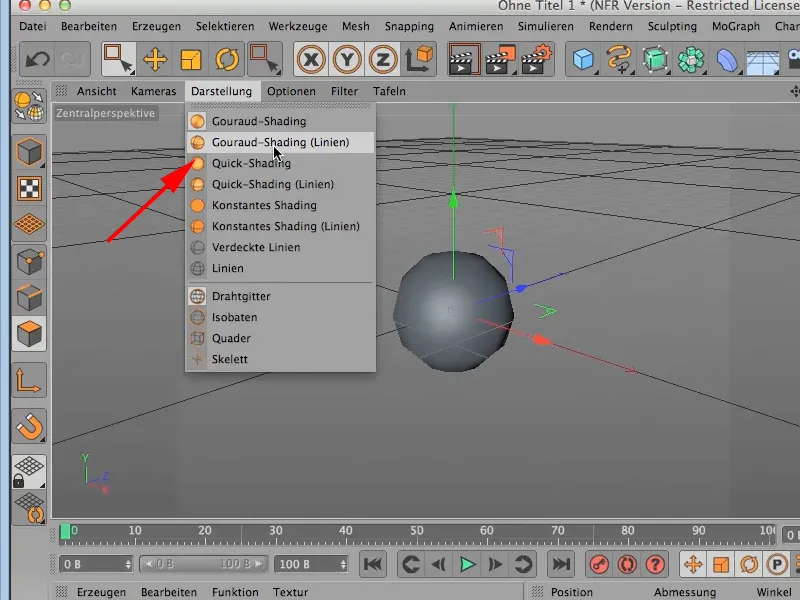
As a sphere naturally does not have the correct shape of a skull, a few adjustments need to be made here. The best way to do this is to switch to the side/right view. Make a selection here in polygon edit mode with the rectangle selection.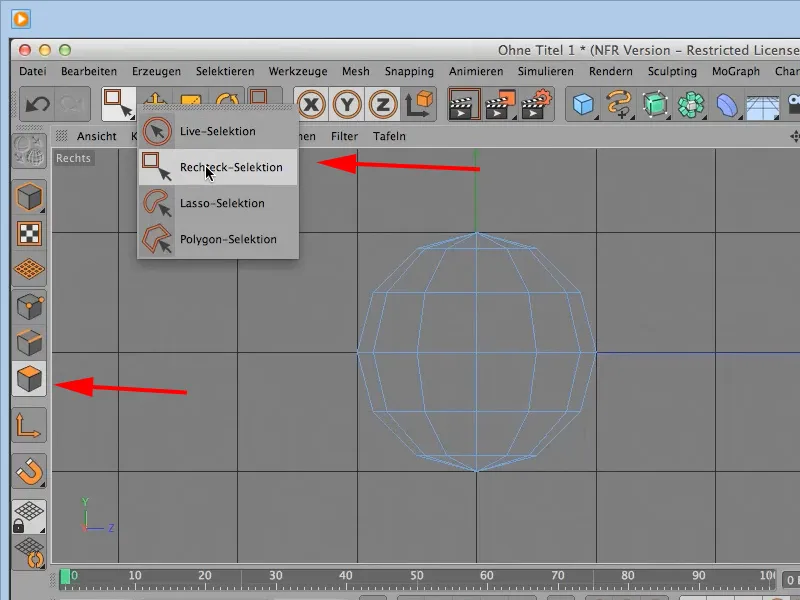
It is important that the Select only visible elements option is NOT selected, otherwise only one half will be selected and the non-visible part will be missing!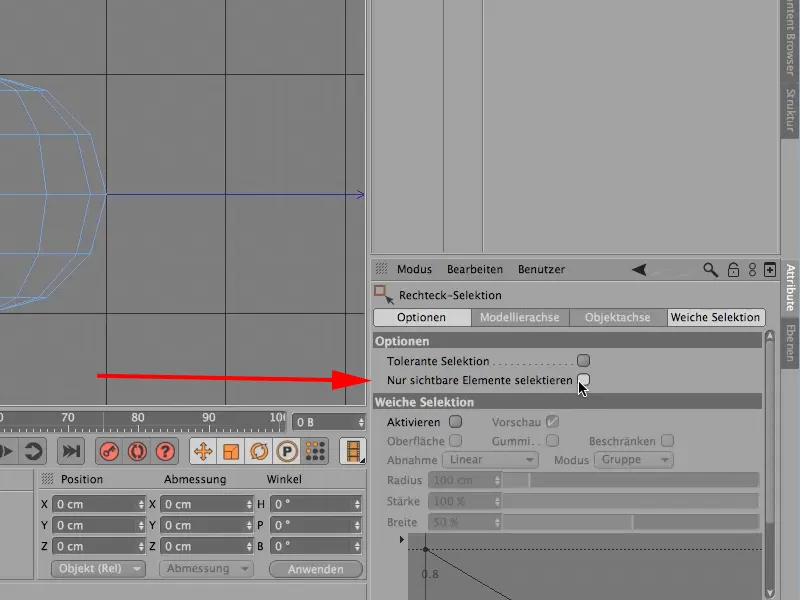
Then drag the selection: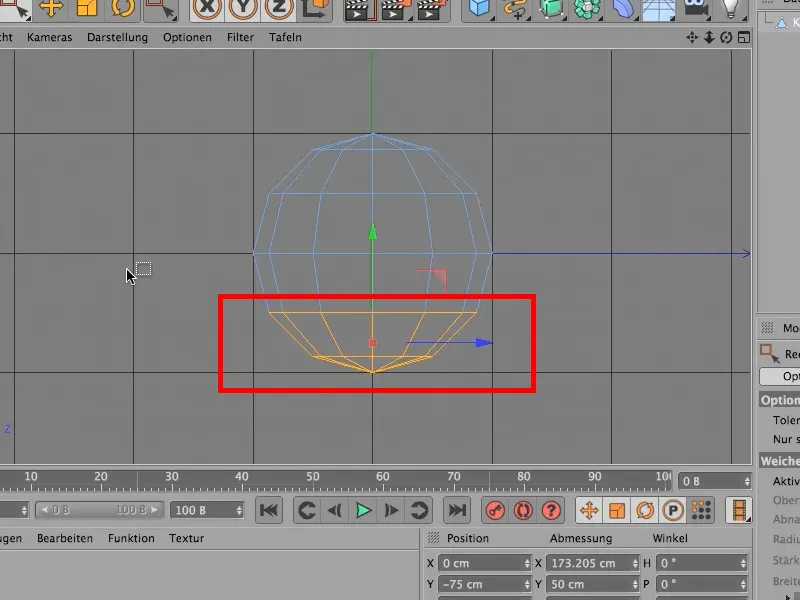
Now move the selected area up a little to flatten the sphere. As the lower area is still too "round", the lower point must be moved further up. To do this, switch to point mode and activate the live selection. Then select the lower point and move it upwards..webp?tutkfid=73678)
Then select the front 3 polygons and move them forward a little. Now switch to edge editing mode (see circle) and now ....webp?tutkfid=73679)
... select the 3 lower edges of the polygons and drag them a little forwards and downwards. So that they come close to an upper jaw with a chin. The result should look like this: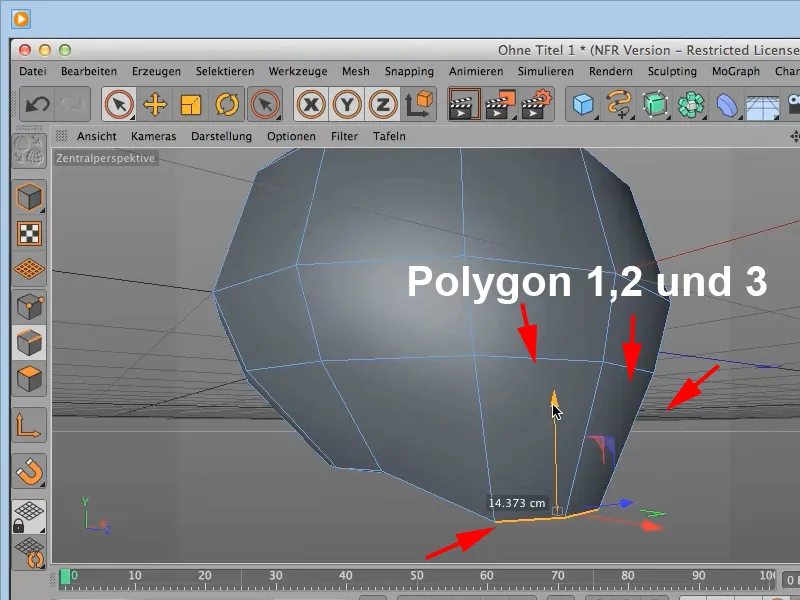
As the top of a skull does not necessarily resemble a sphere, you should activate the point mode and indent the upper point of the sphere downwards a little.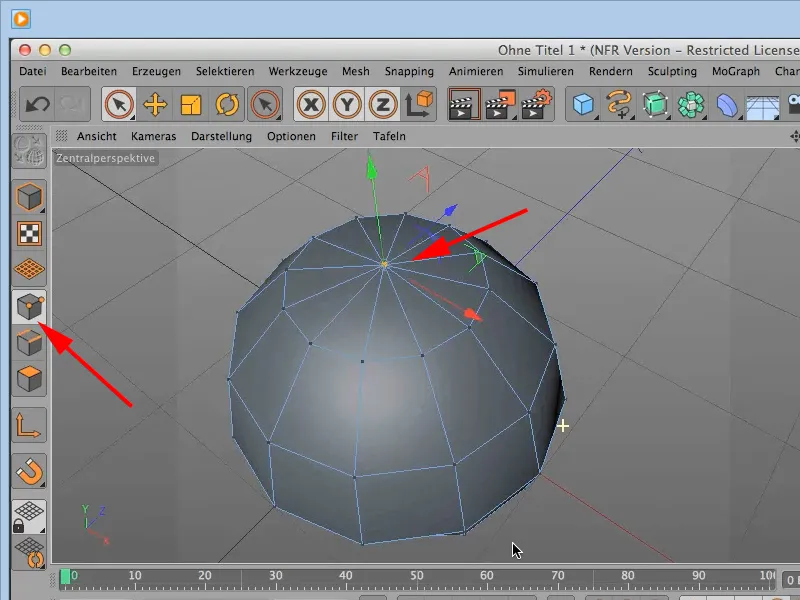
There are no exact values or specifications for any of this in the settings. For your first attempts, you can display a picture of a skull as a basis in the front view and also in the side view. The basic outline of the skull is now complete. Now switch back to the model editing mode and switch the display back to the normal Gouraud shading view.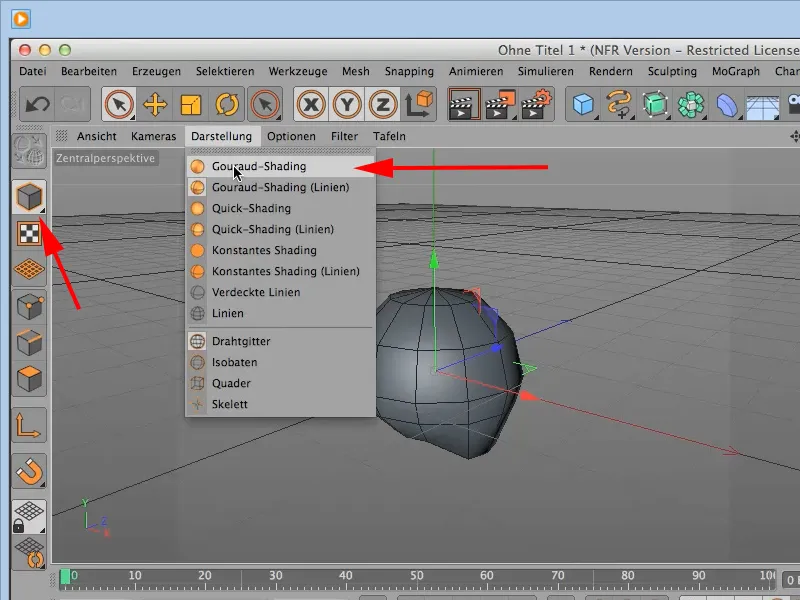
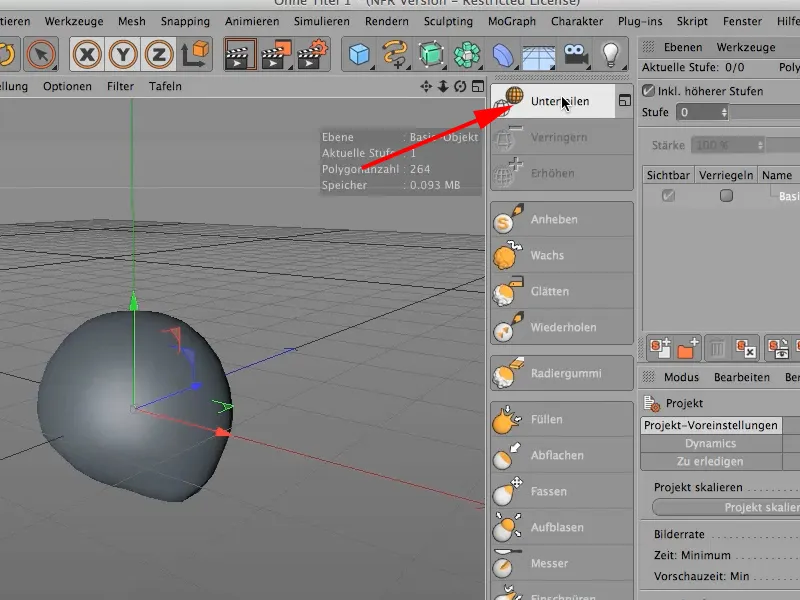
Now switch back to the sculpting layout and subdivide the whole thing 4 times. And now you are ready to continue with the sculpting tools in the next part.