Livestreaming on YouTube is gaining increasing popularity. Whether you are planning gaming streams, tutorials, or Q&A sessions, the right live streaming setup is crucial for the success of your stream. This guide provides you with a comprehensive step-by-step guide to successfully plan and manage your livestream from start to finish.
Main Takeaways
- You will learn how to adjust your livestream settings on YouTube.
- Understand the different options and their significance for your livestream.
- Receive tips on using streaming software like Streamlabs OBS.
Step-by-Step Guide
Step 1: Accessing YouTube Livestream
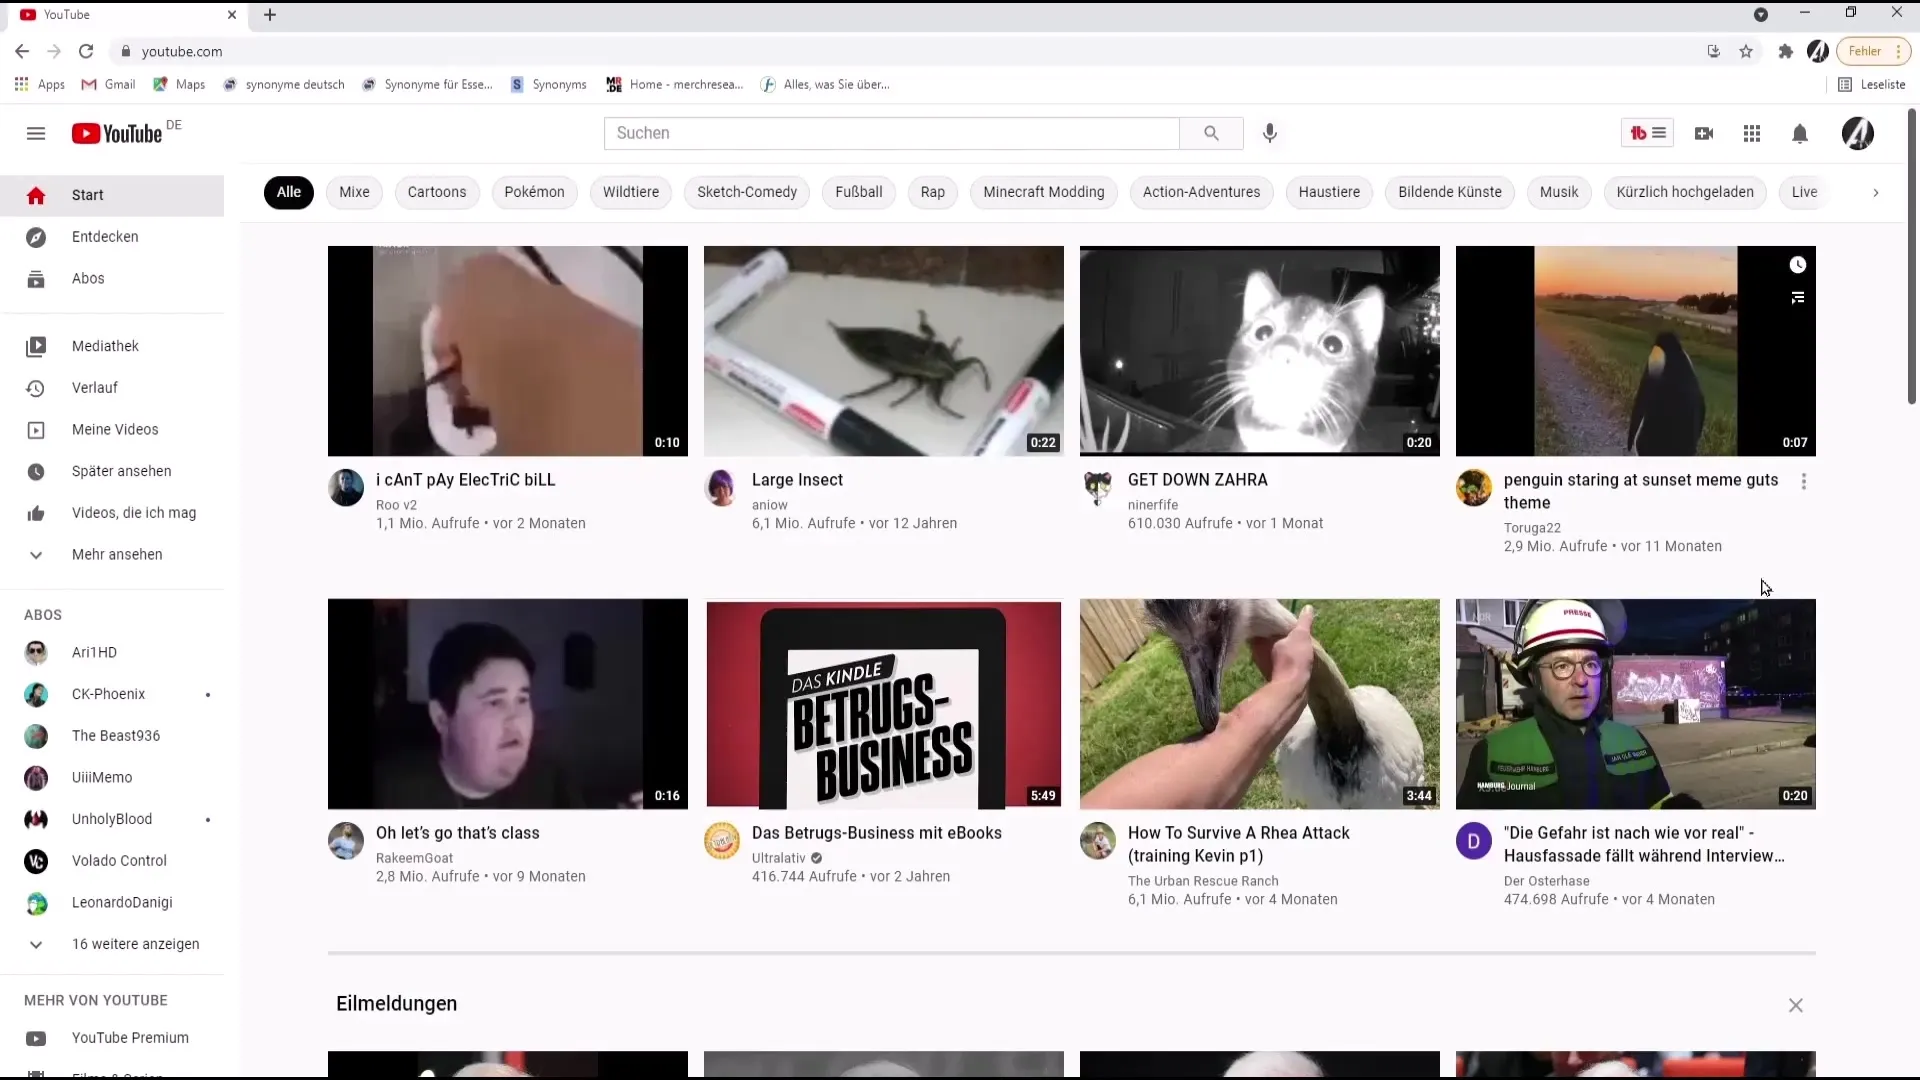
To set up your livestream, go to the YouTube website. Click on the camera icon at the top and select "Start Streaming." You will now be taken to a new screen where you can configure your stream options.
Step 2: Editing Livestream Details
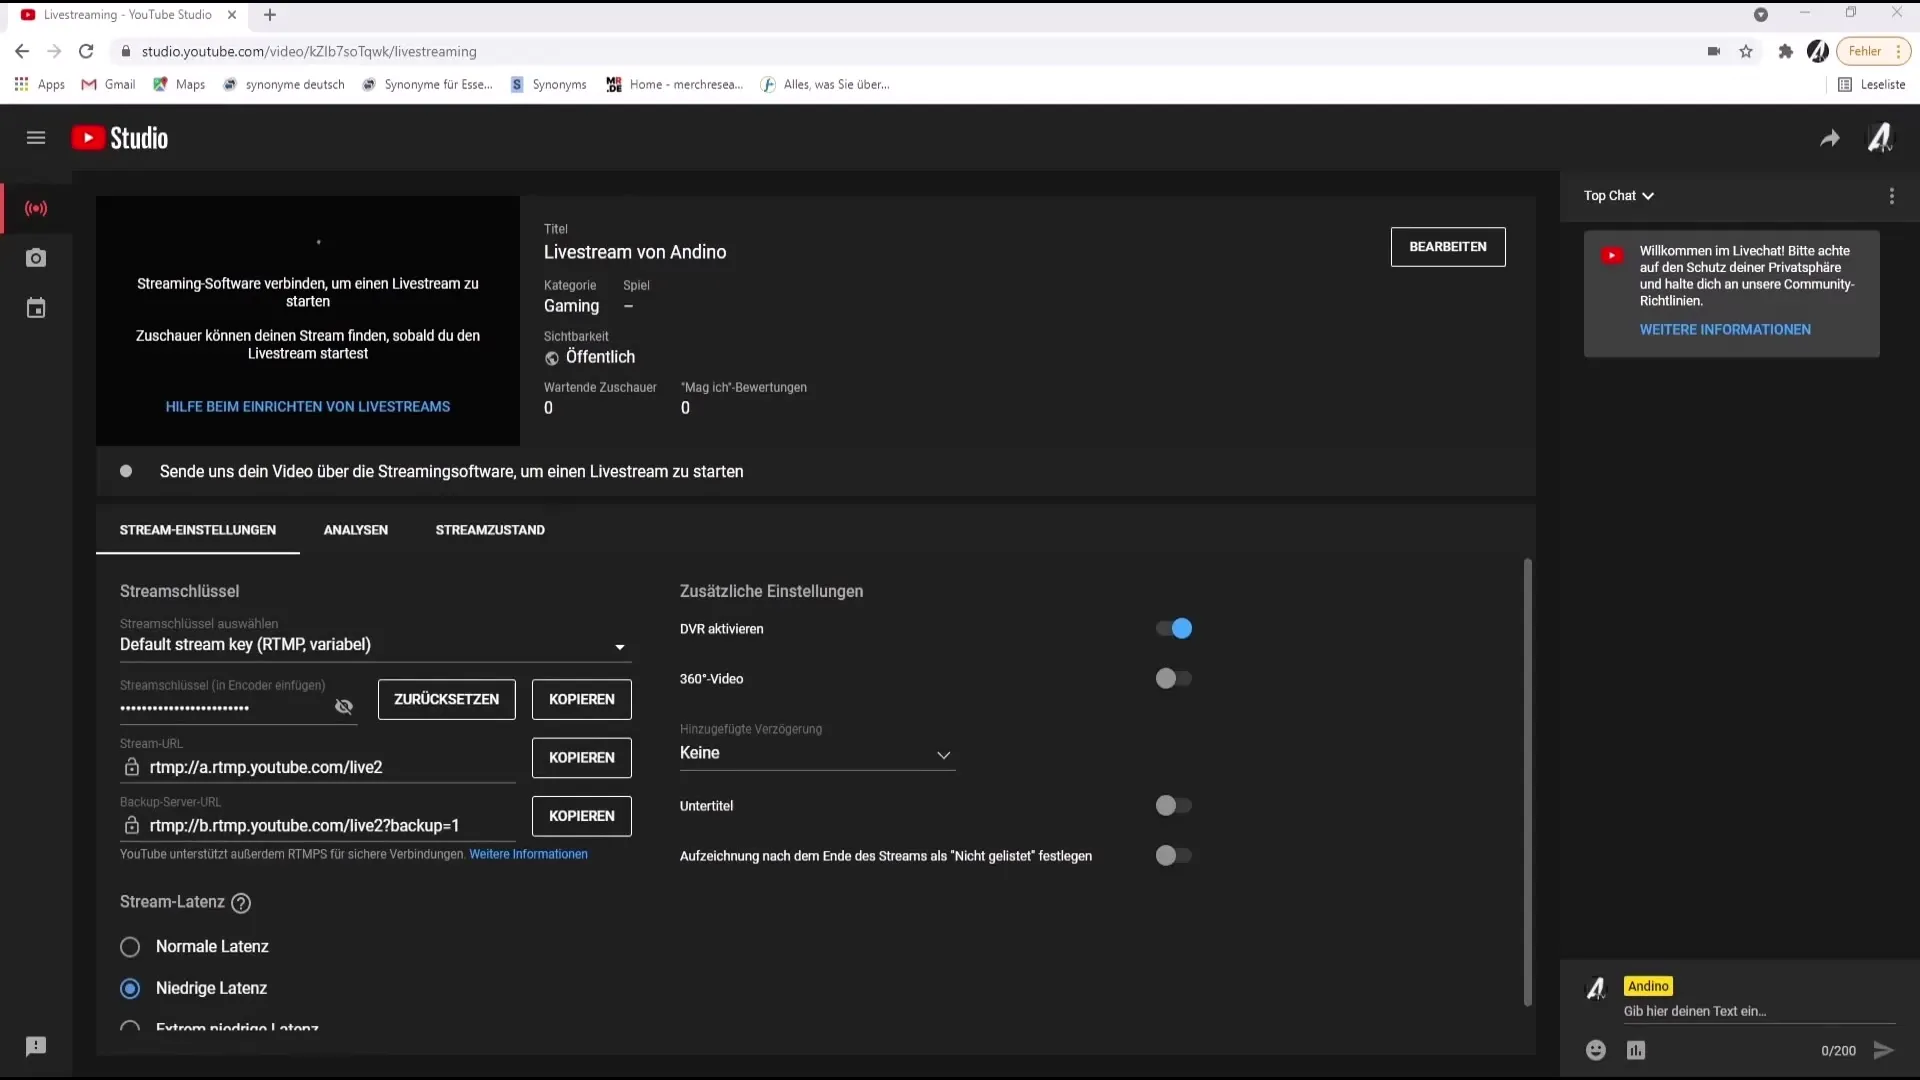
On the livestream page, you can add a title and description. Remember to write in a search-optimized manner so your stream can be easily found. Also, choose the visibility of your stream: public, unlisted, or private.
Step 3: Adding Category and Thumbnail
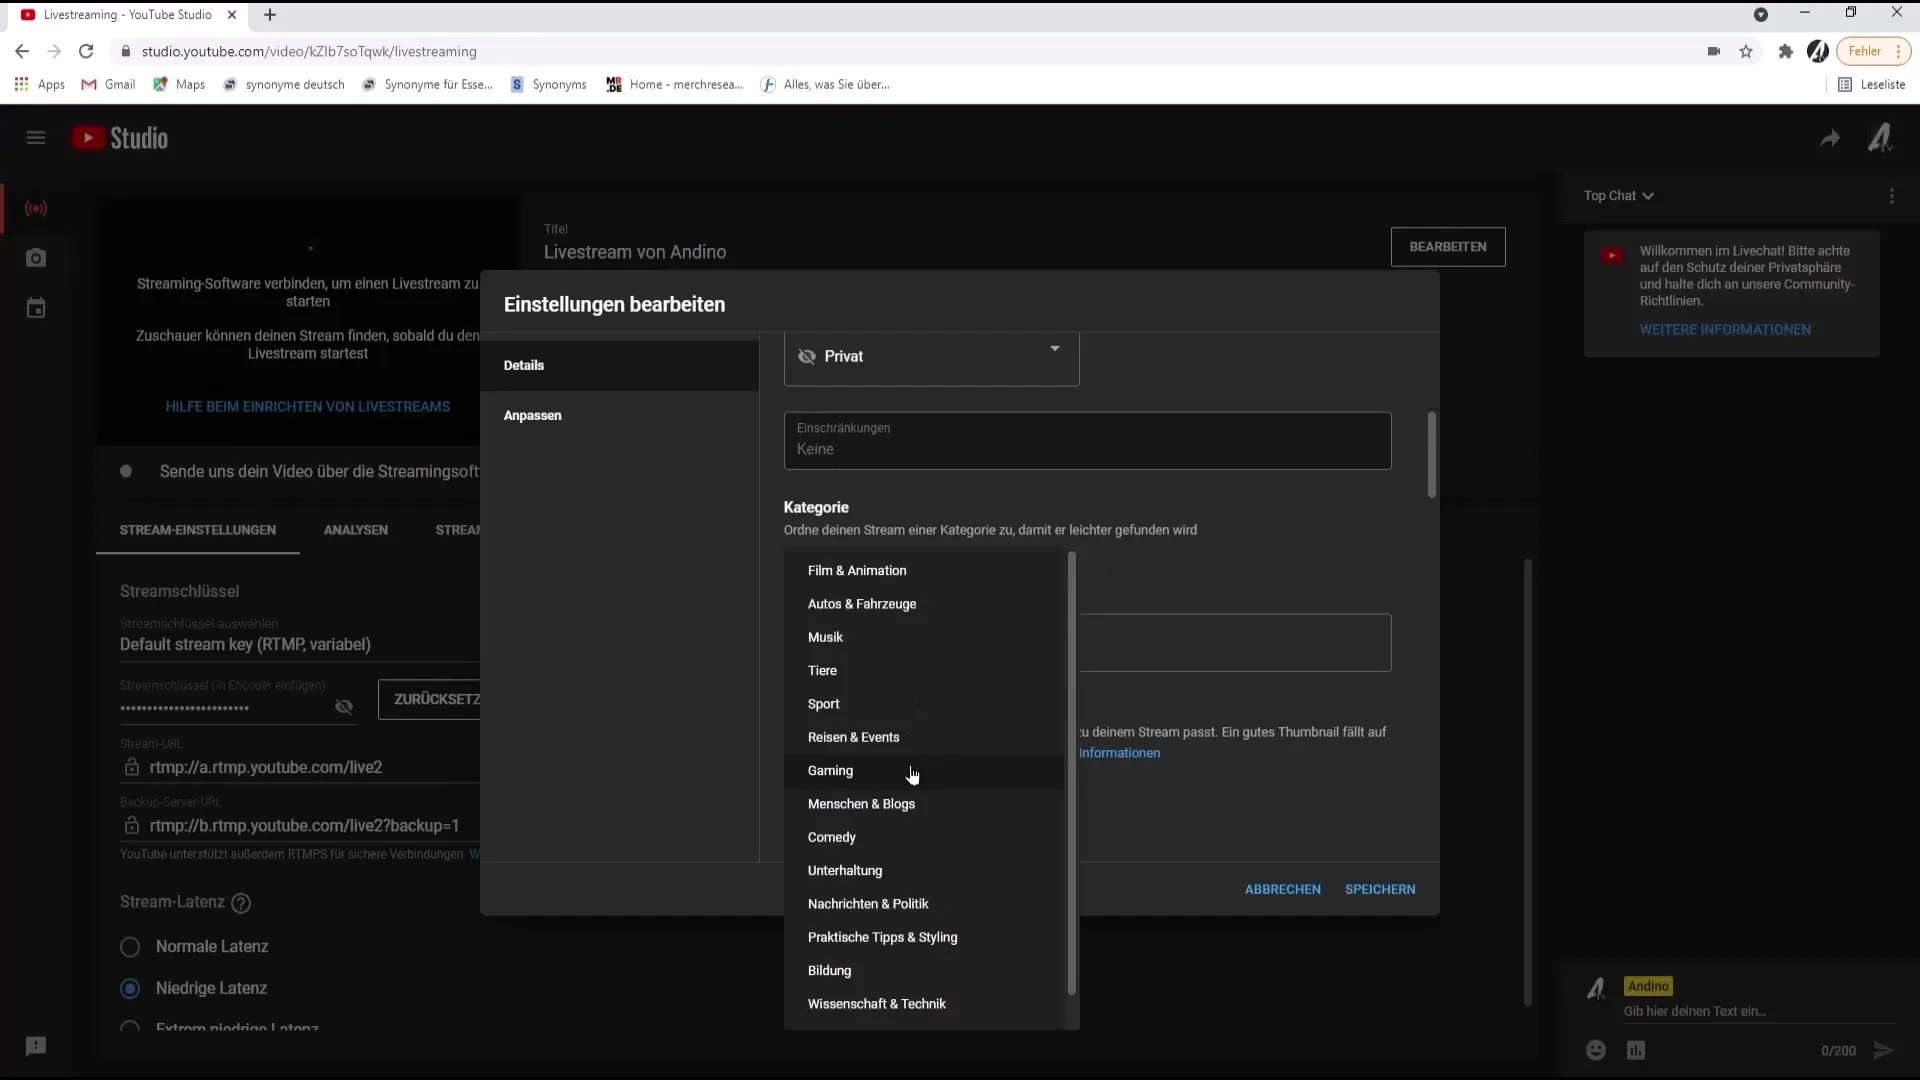
Choose the category for your stream. For example, if you are streaming a game, select "Gaming." Then, upload an appealing thumbnail that attracts viewers.
Step 4: Setting Audience and Age Restriction
Define whether your stream is specifically suitable for children and make sure to specify the age rating if necessary.
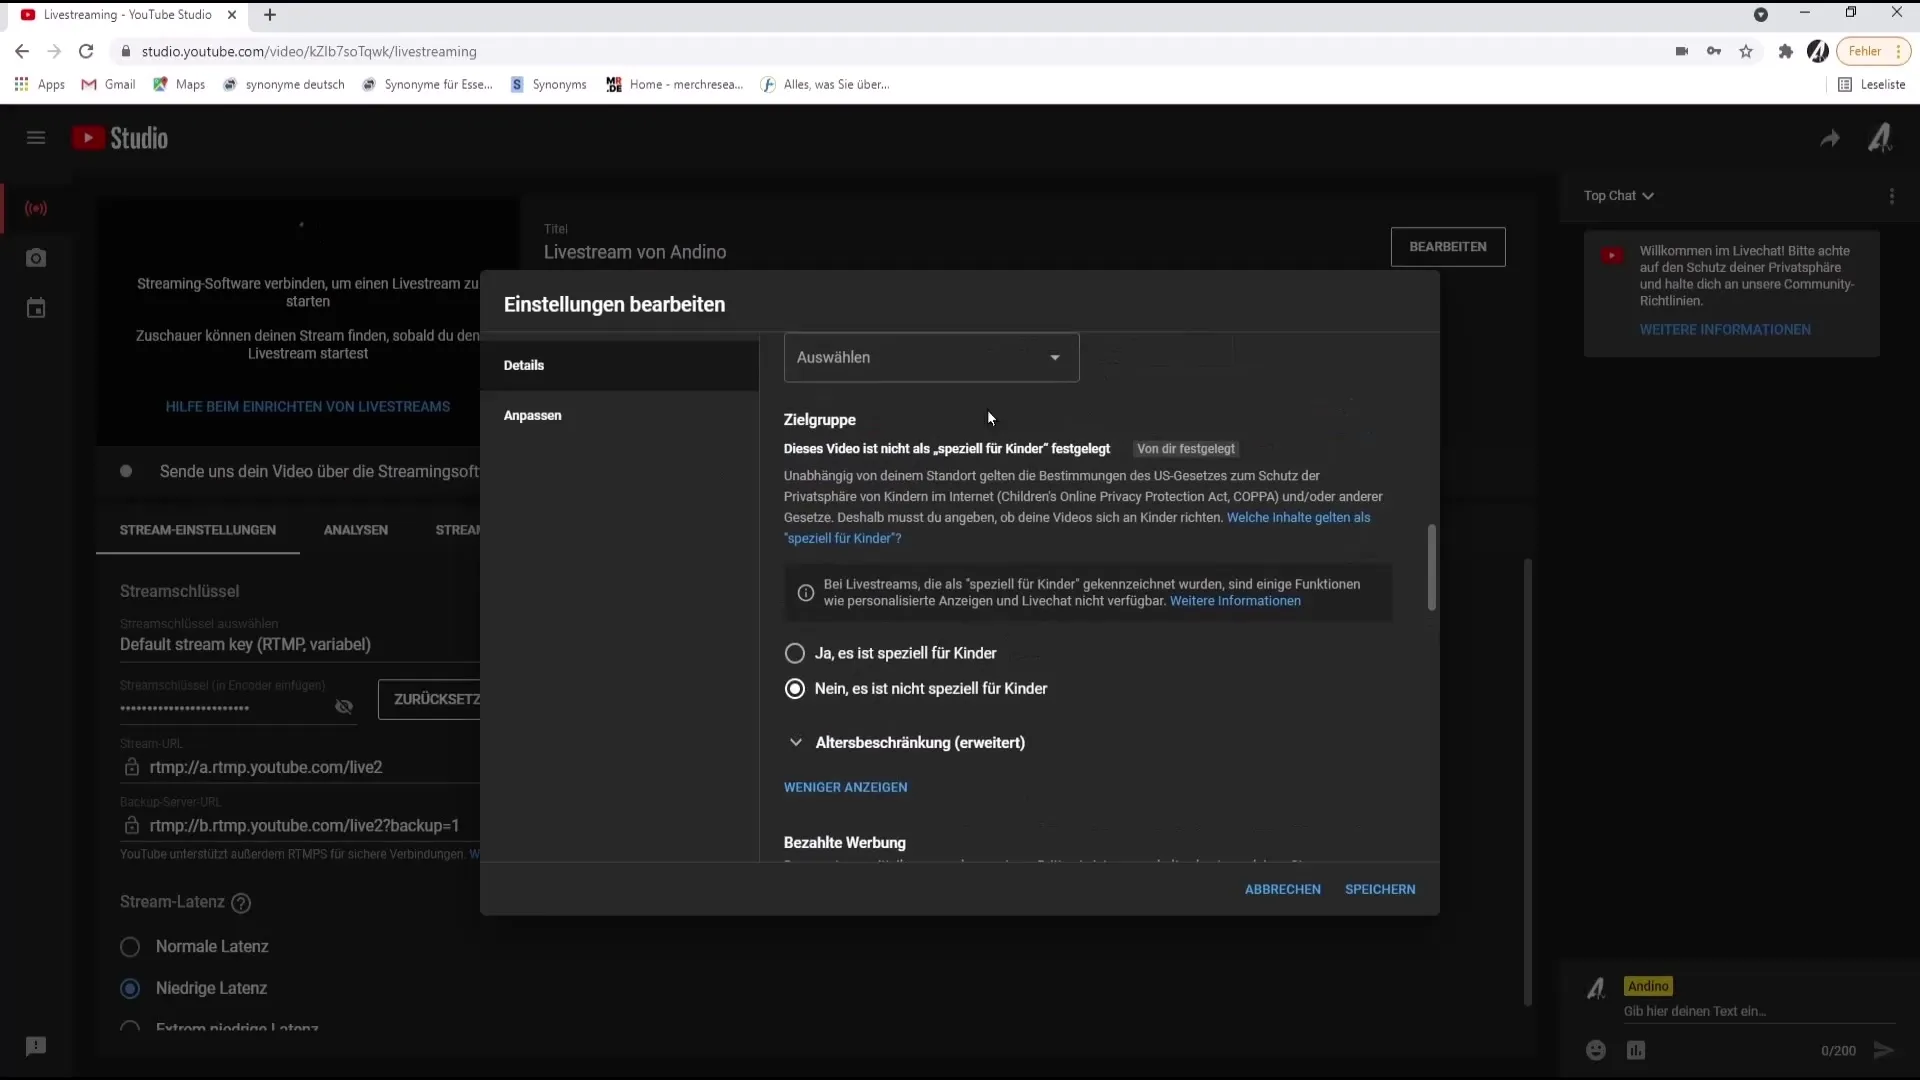
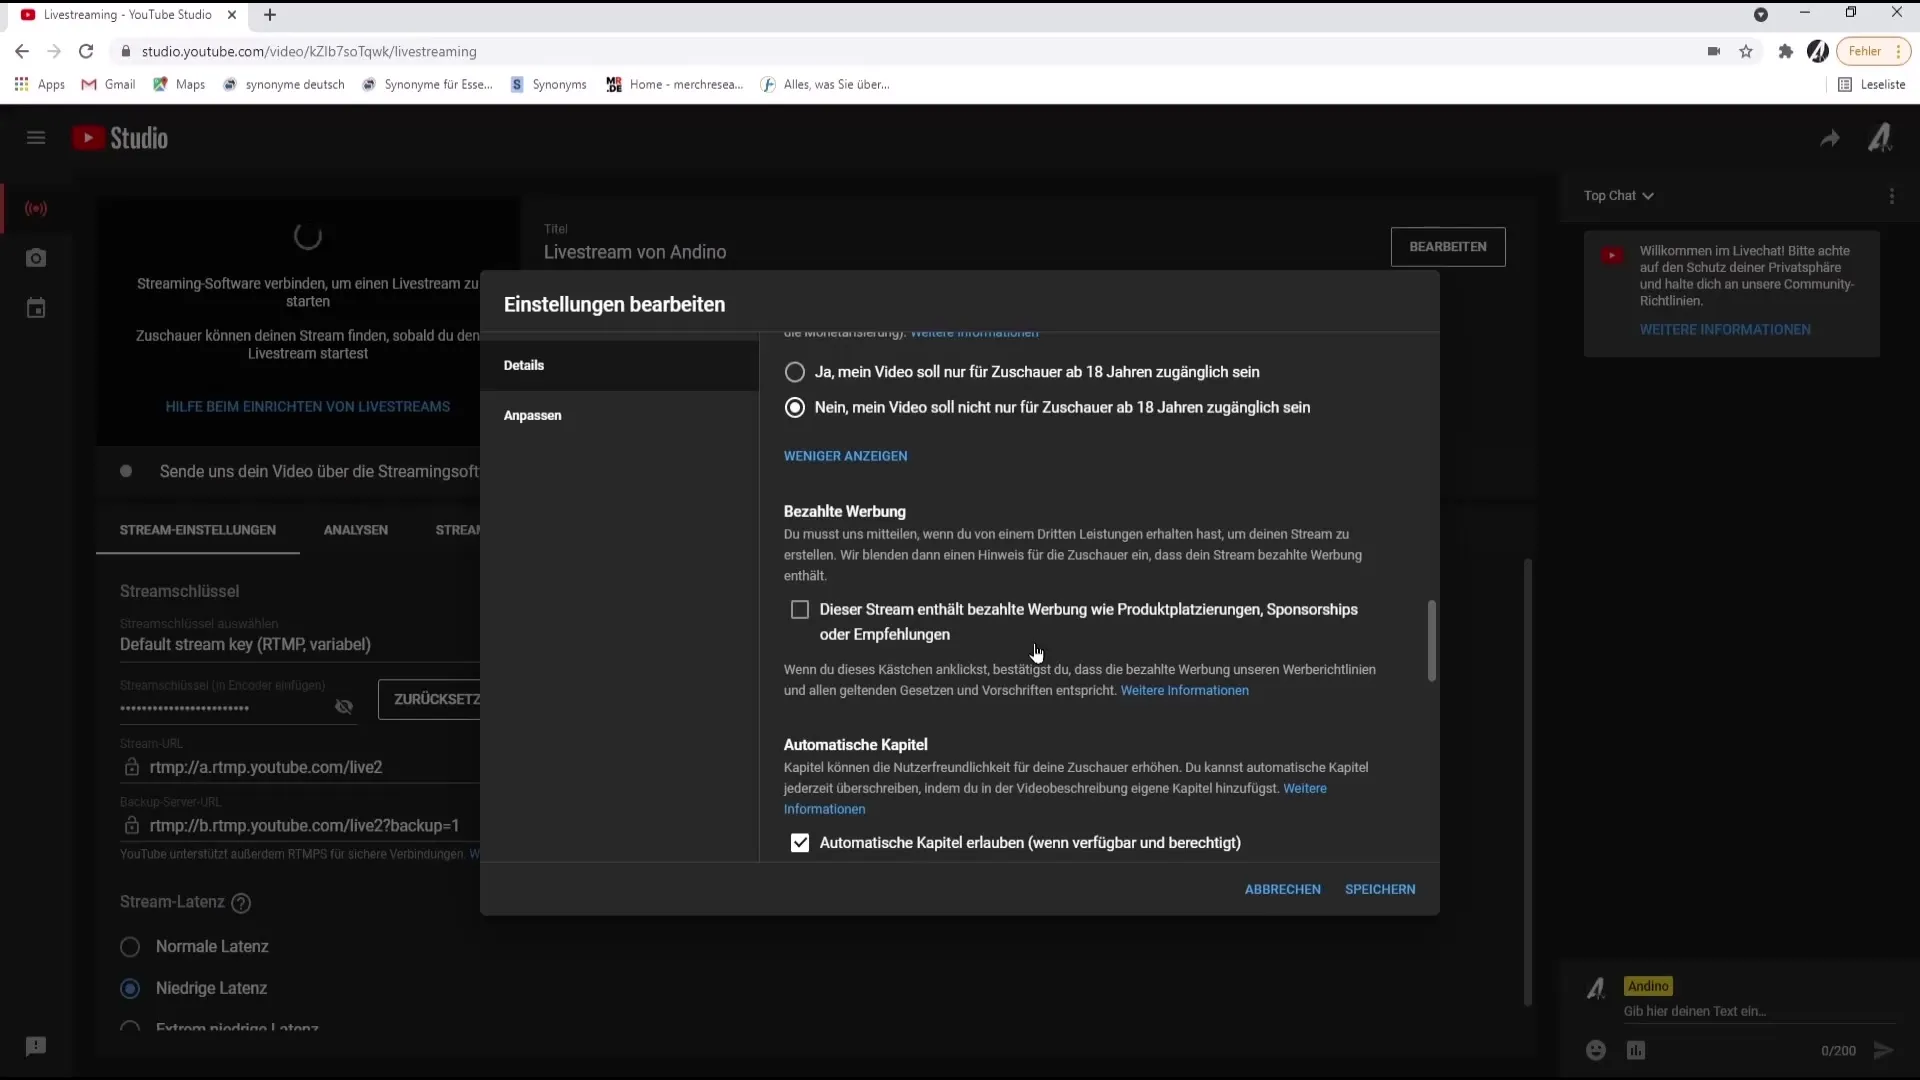
Step 5: Additional Settings and Explanations
Here, you can also specify whether your stream contains paid advertising and adjust the visibility of comments. It is worth saving the changes and enabling automatic chapters to make it easier for viewers to navigate through the stream.
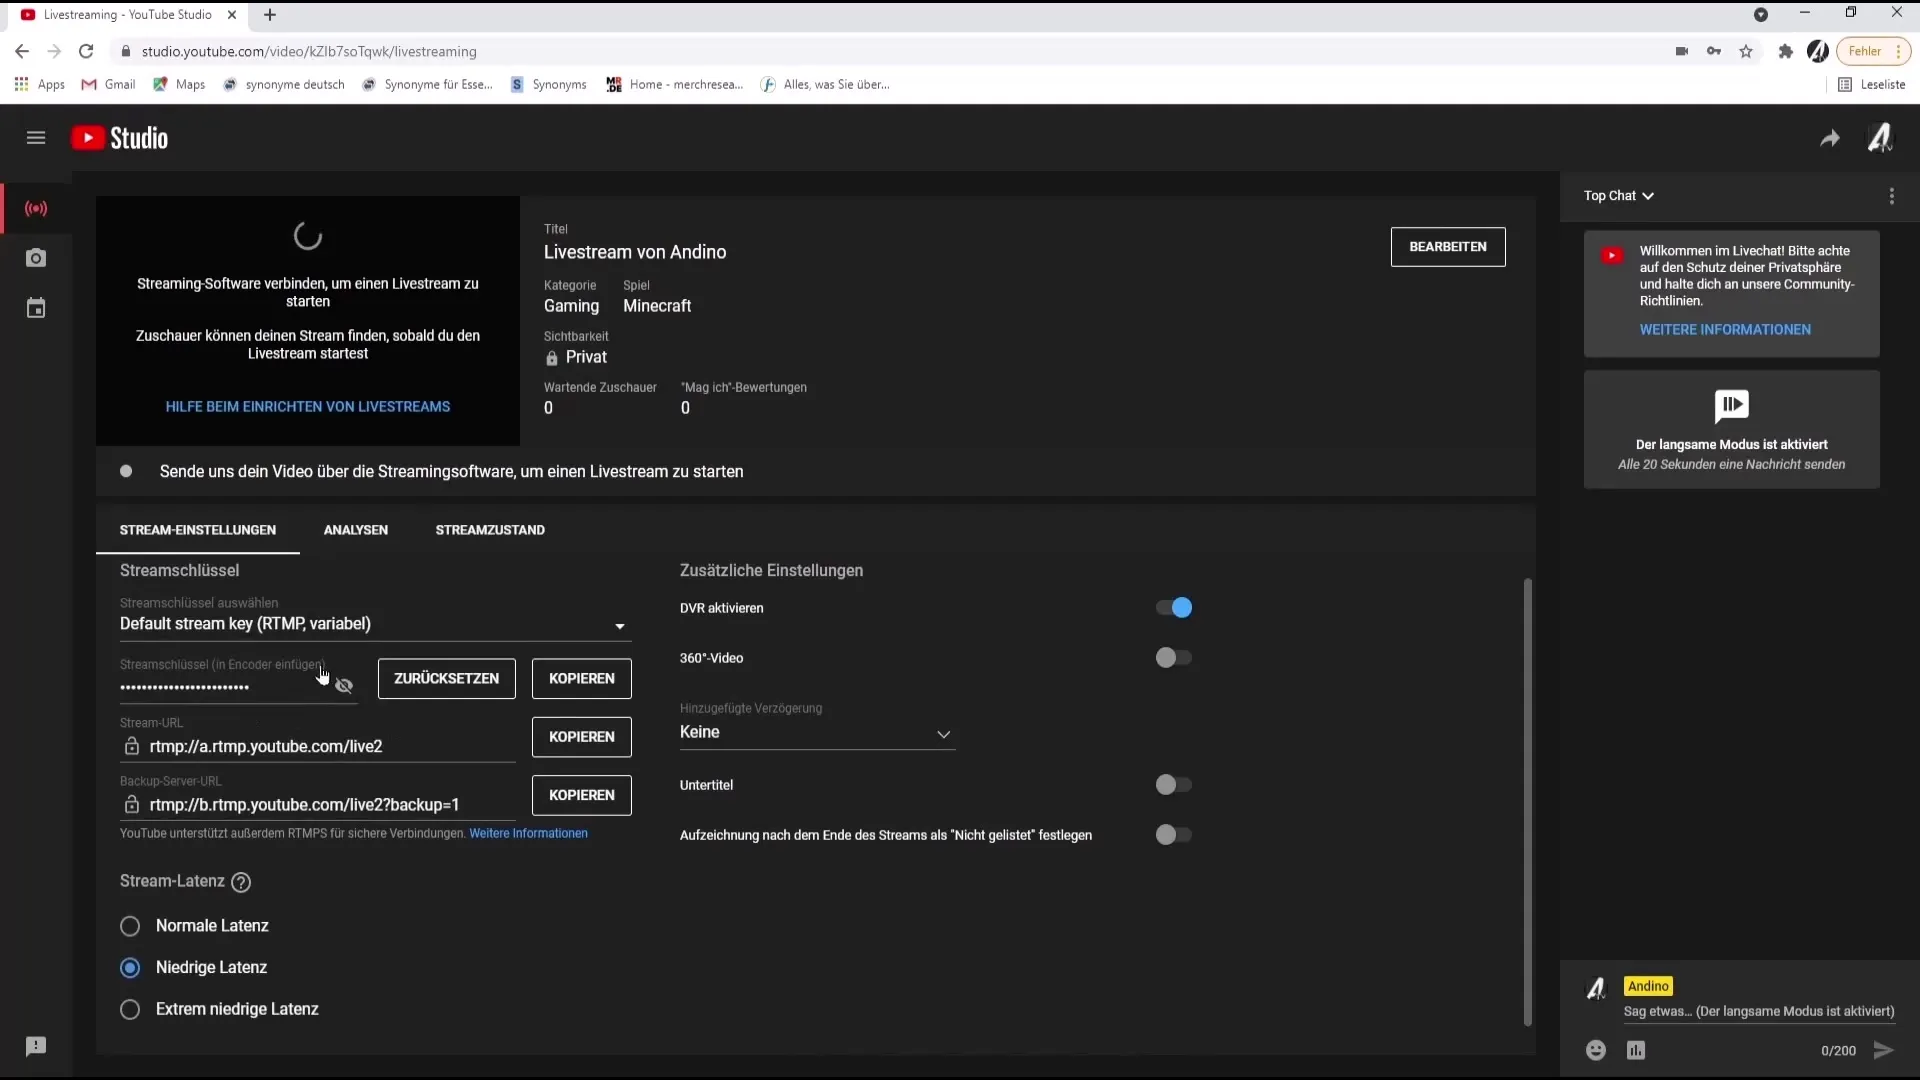
Step 6: Stream Key and Latency
Be sure to securely store your stream key. This is important for connecting your streaming program to YouTube. I recommend choosing "Normal Latency" to ensure a good balance between quality and interactivity.
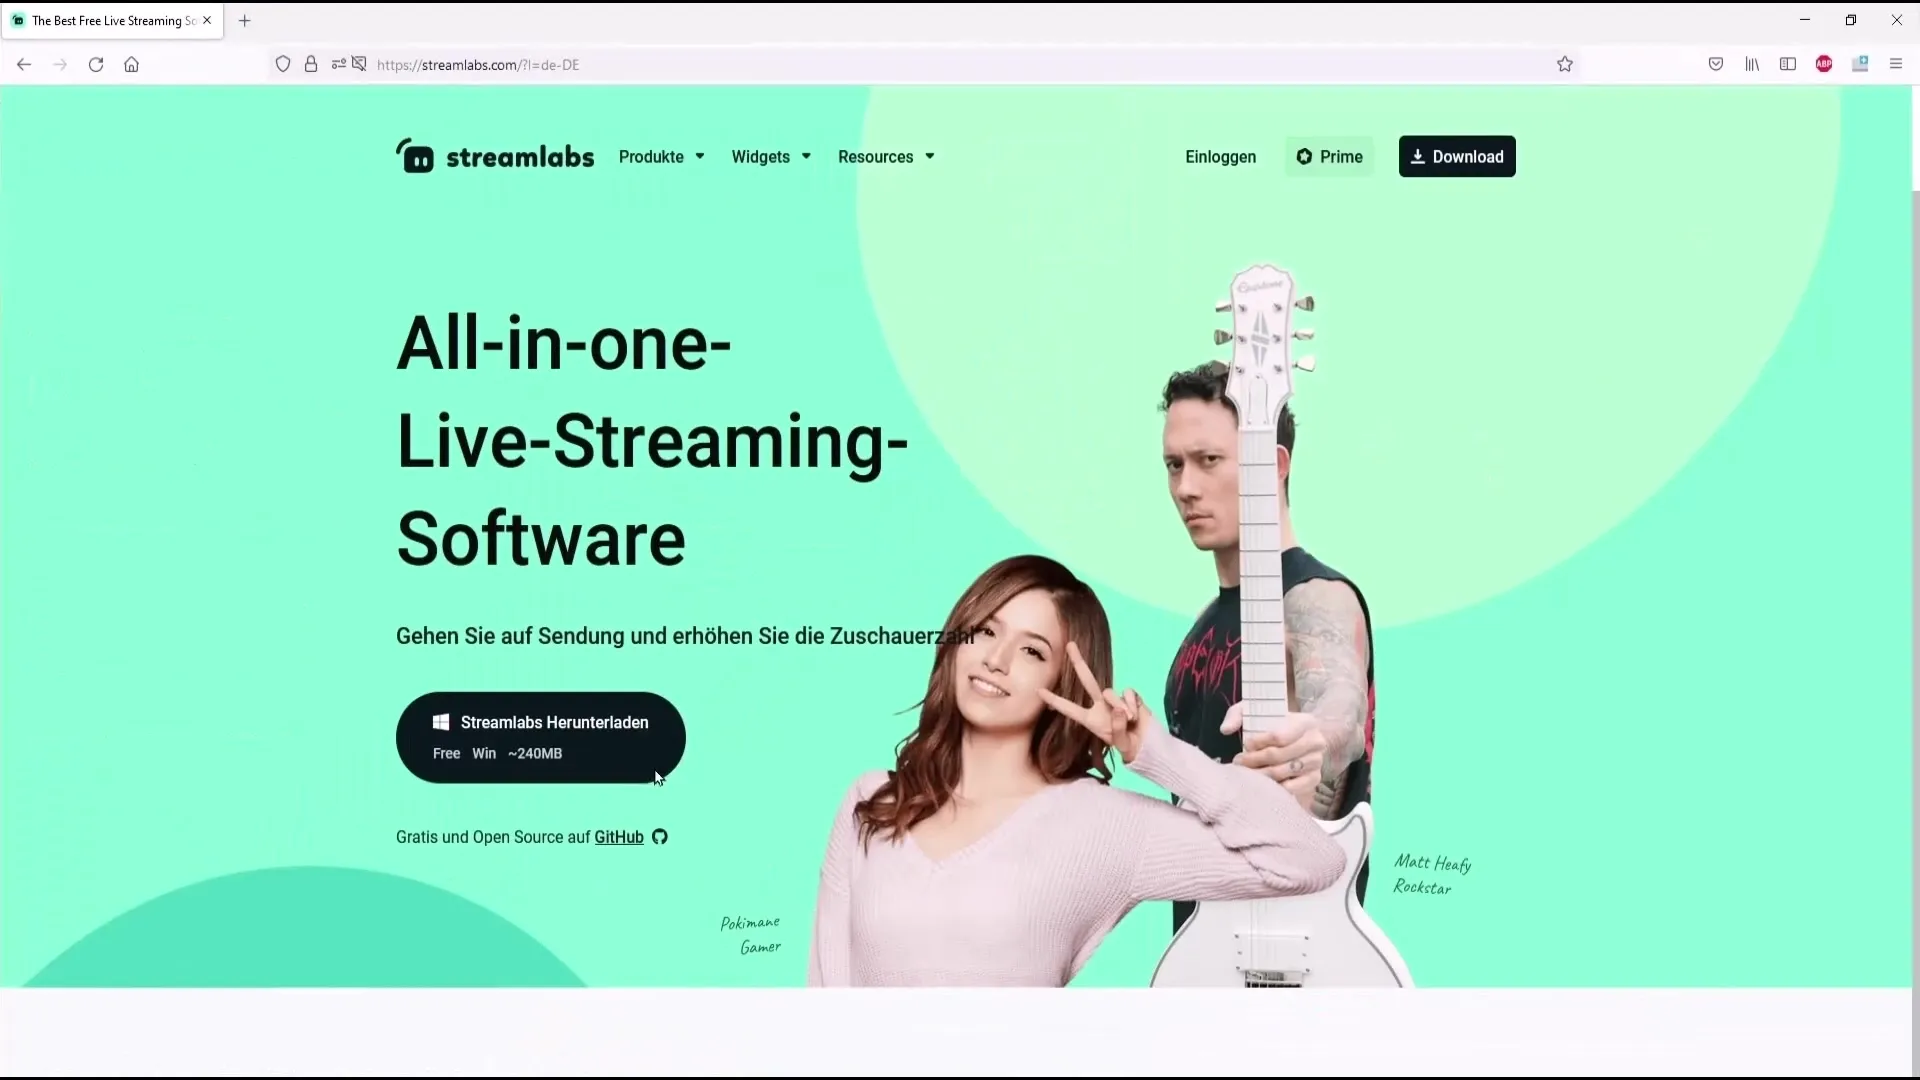
Step 7: Installing Streaming Software
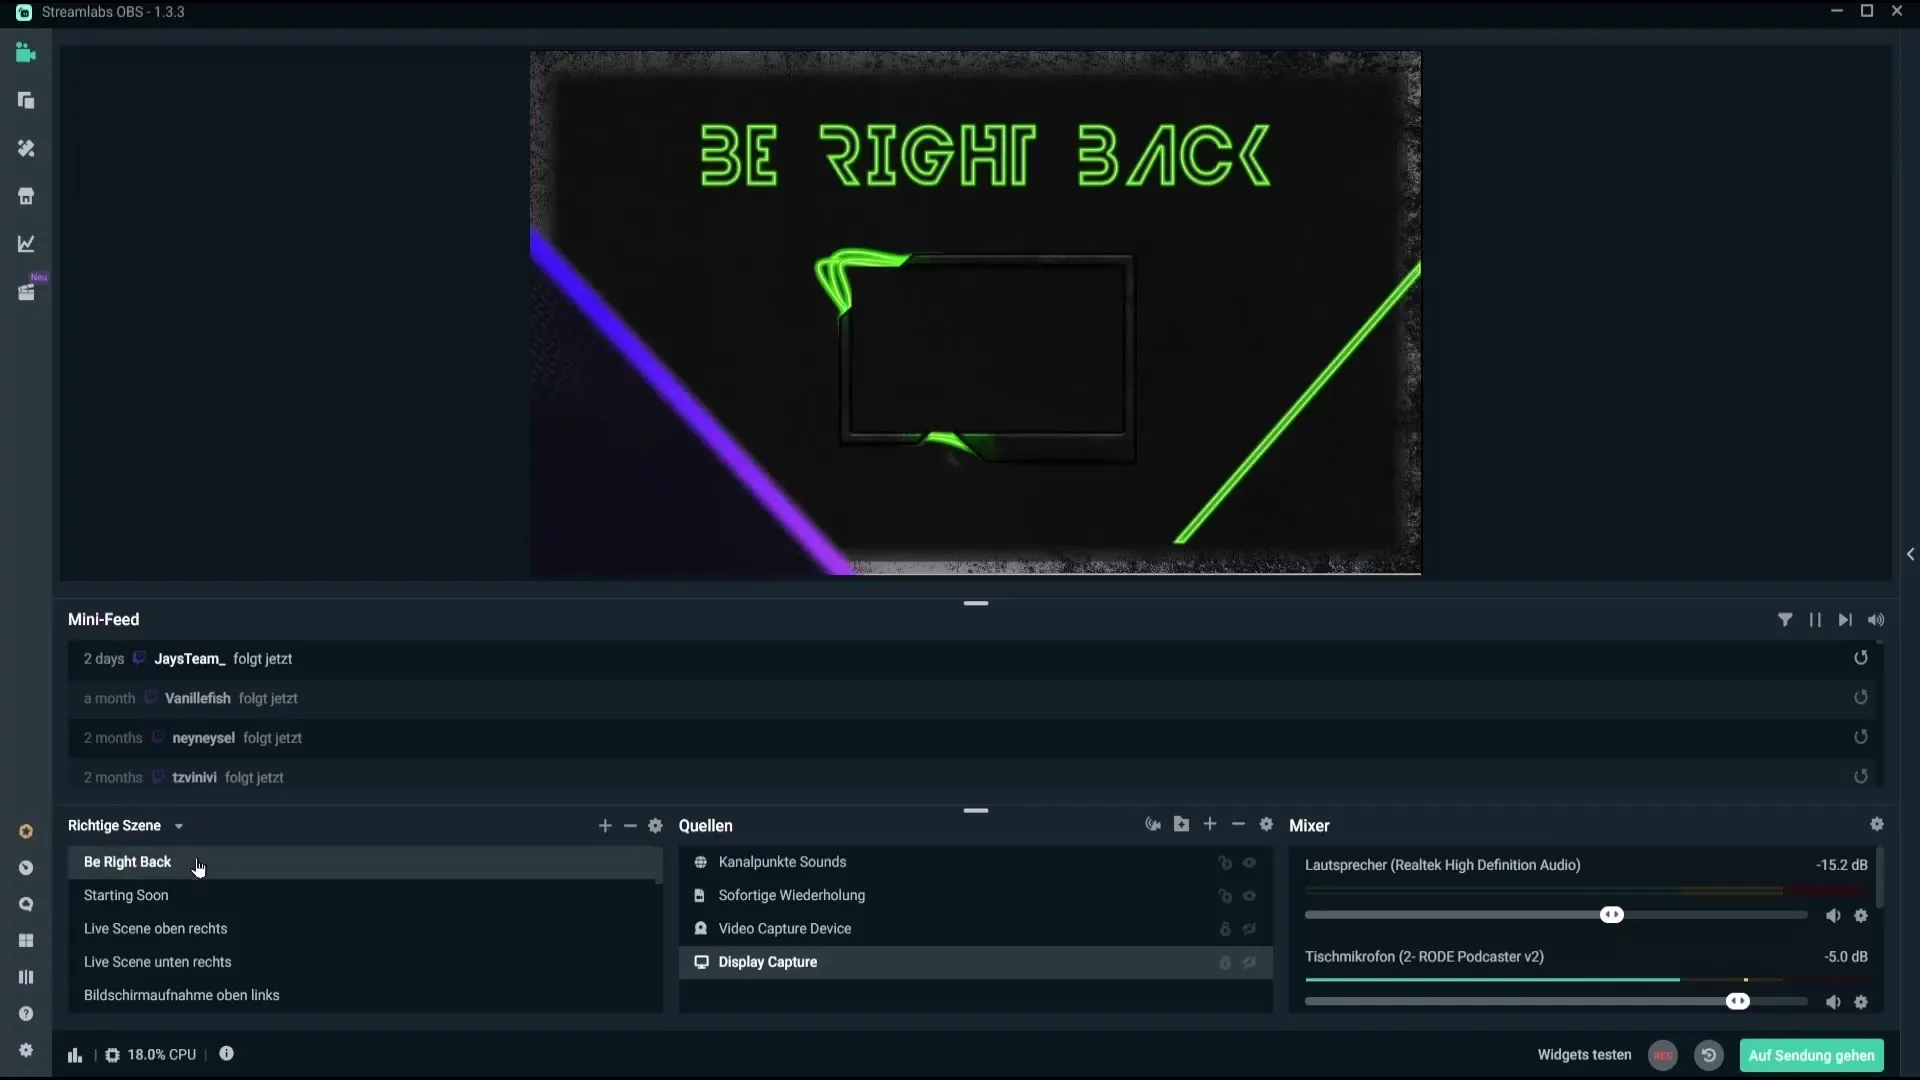
I recommend using Streamlabs OBS, as it is more user-friendly and offers many helpful features. After installation, select your microphone and camera and set them up within the software.
Step 8: Configuring Scenes and Sources
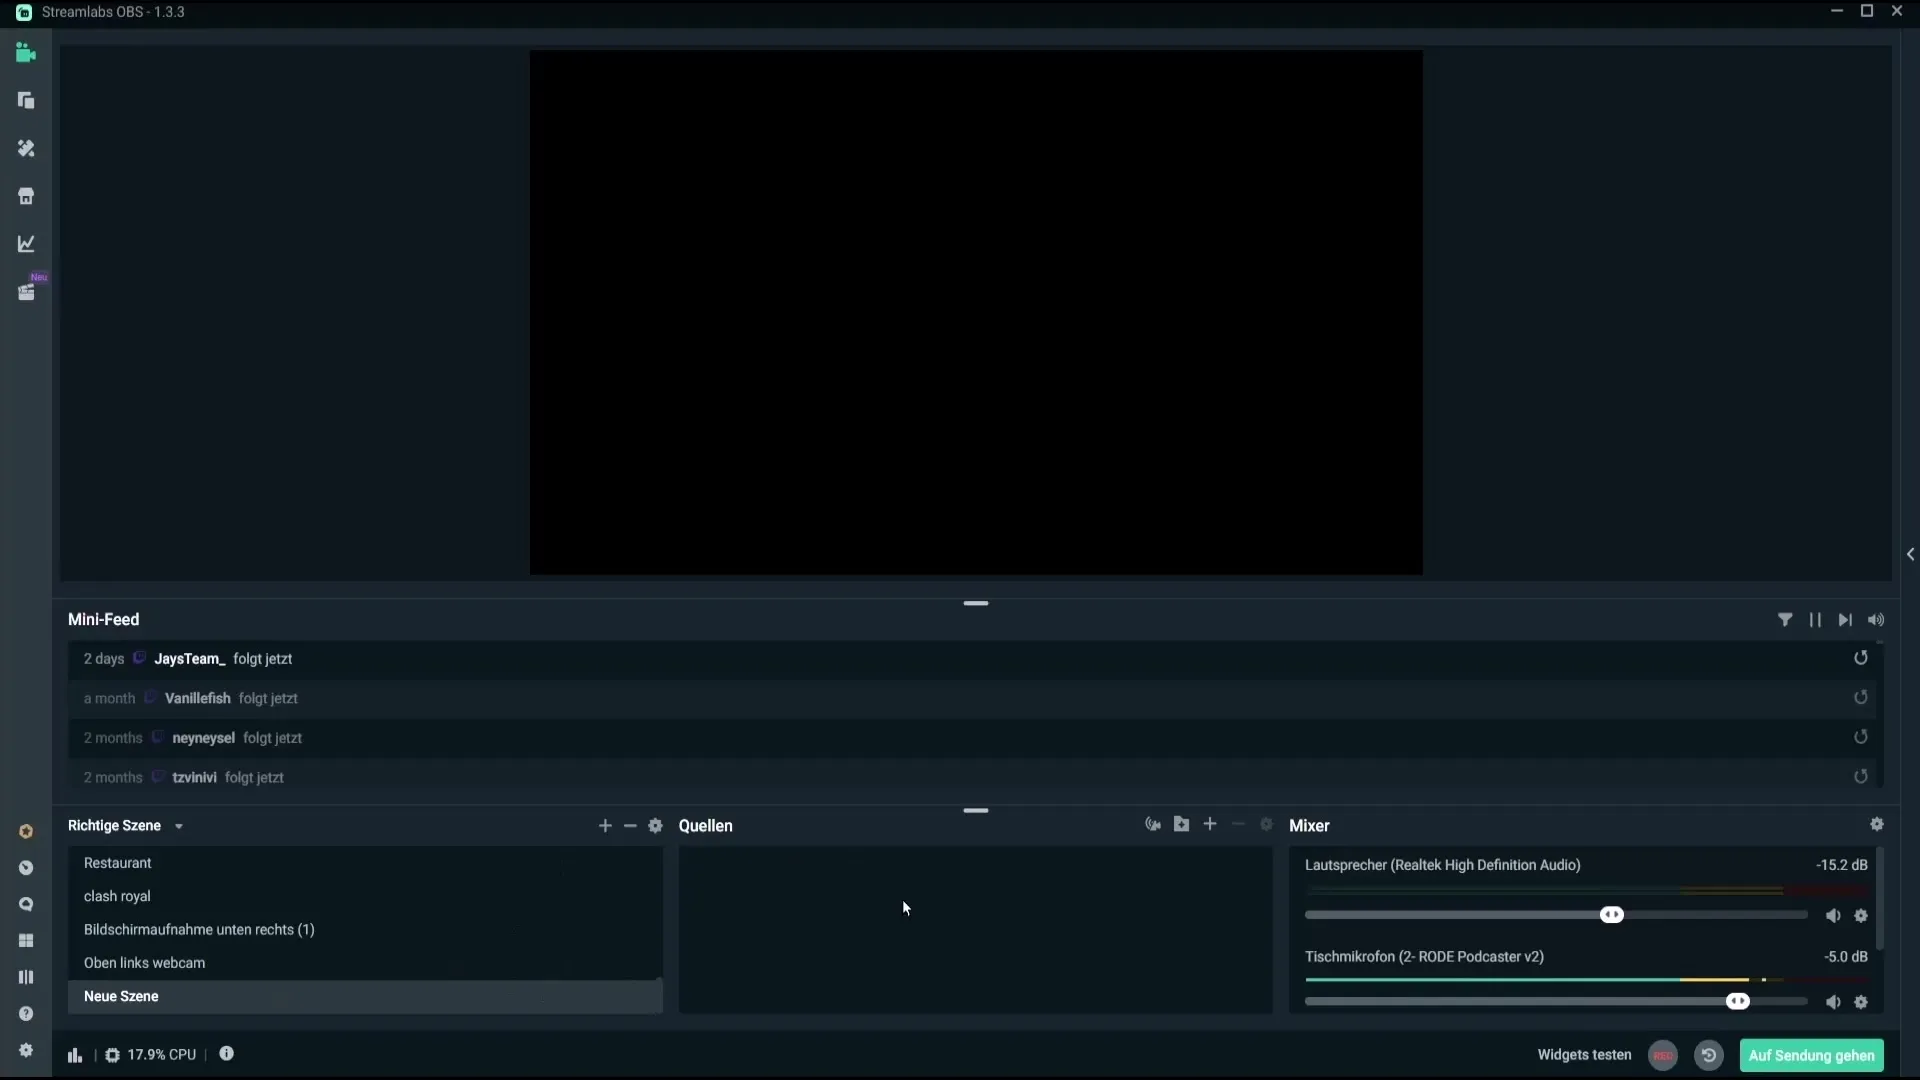
In Streamlabs OBS, you can create different scenes to switch between various views during the stream. Add elements like webcam, screen capture, or text to make your stream more diverse.
Step 9: Adjusting Audio Settings
Make sure you have selected the correct audio input and output device for your stream. Go to the audio settings and check that your microphone is properly configured.
Step 10: Starting the Livestream
After all settings have been made, go back to YouTube and click on "Go Live". You are now ready to start your livestream and interact with your audience!
Summary
With the right preparation and customized settings, you can optimize your livestreams on YouTube and reach a wider audience. Don't just linger at the start, but plan ahead. Viewers will appreciate the effort!
Frequently Asked Questions
How do I choose the right category for my livestream?The category should be based on your content, such as Gaming or Education.
What is the difference between “Public”, “Unlisted”, and “Private” in terms of visibility?Public means anyone can view the stream. Unlisted allows viewing only with a link. Private means only selected individuals can view the stream.
How do I enable automatic chapters in my livestream?You can enable automatic chapters in the advanced settings to allow viewers to jump to specific sections.
Does Streamlabs OBS work on every computer?The software should work on most computers, but make sure that the system requirements are met.
Can I edit my livestream on YouTube later?Yes, you can edit your streams after the broadcast before making them public.
