The Tier List Maker is an excellent way to add extra flair and entertainment to your Twitch or YouTube stream. Whether you want to create a ranking list for a specific game, hobby, or even food, this platform has something for everyone. Let's go through the steps in this guide so you can start right away.
Key Takeaways
- With the Tier List Maker, you can easily and freely create ranking lists.
- You have access to preset categories or can create your own lists.
- Interactive discussions in the stream can be fostered by using tier lists.
Step-by-Step Guide
1. Accessing the Tier List Maker
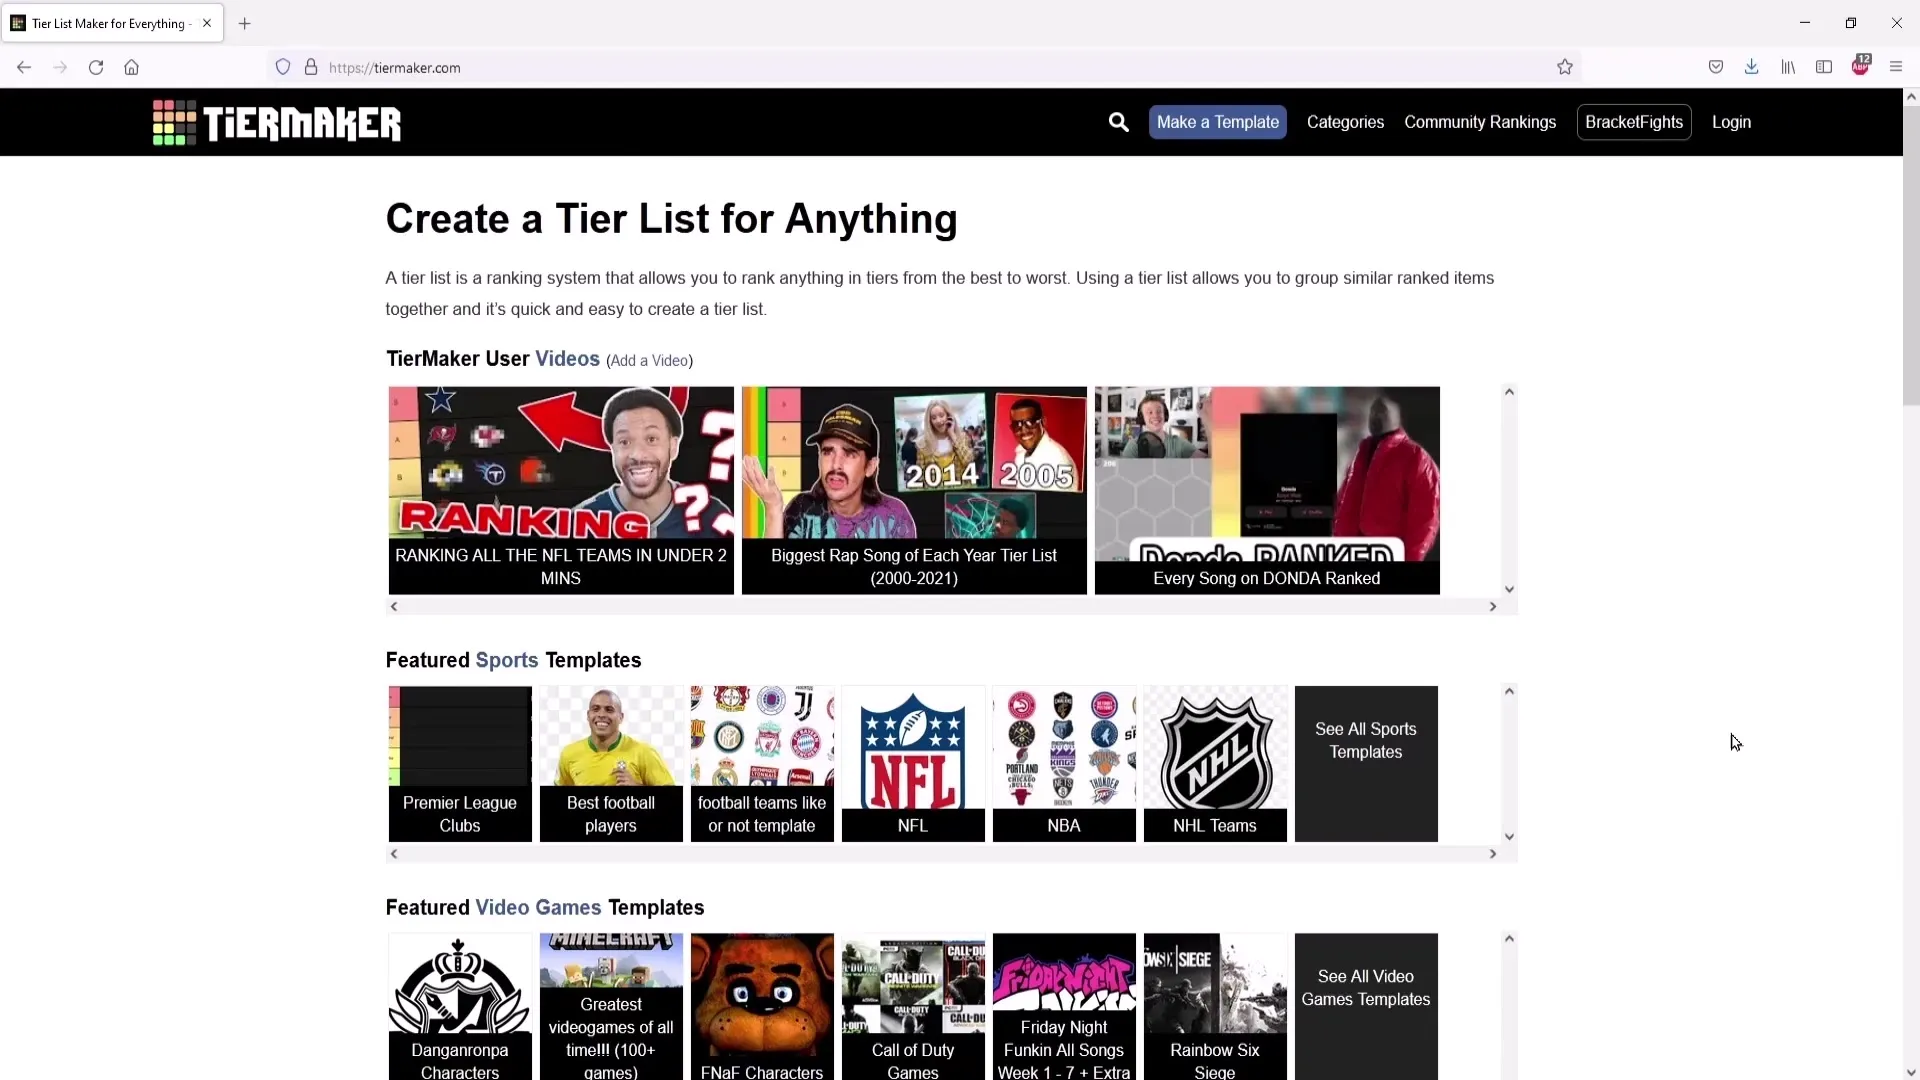
Start by visiting the Tier List Maker's website. Here, you have the option to choose between various categories or start your own tier list.
2. Exploring Existing Tier Lists
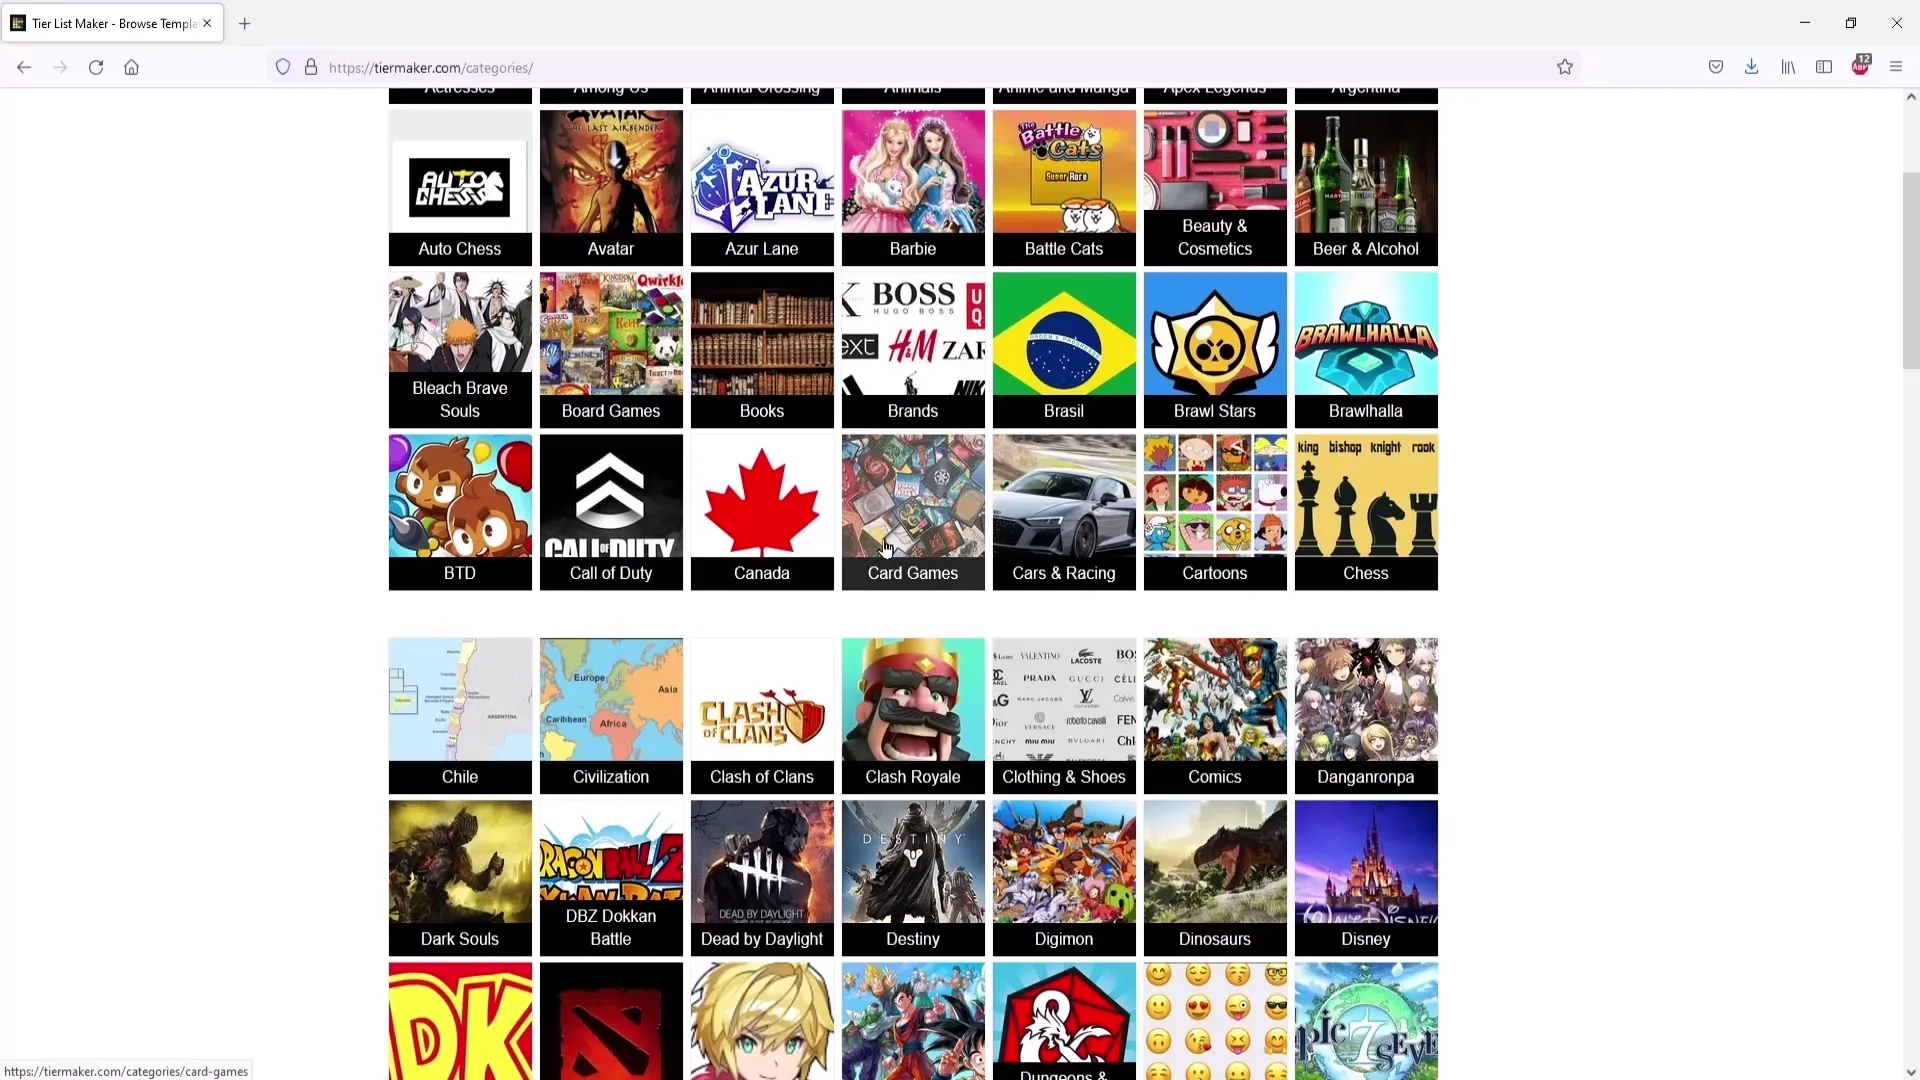
Before creating your own list, you can check out the already existing, pre-made tier lists. Navigate to the homepage or select an interesting one from the categories, such as "Clash Royale".
3. Selecting a Category
If you are a specific streamer, you can choose a suitable category. For example, if you like card games, you can also browse through the available tier lists here and find interesting content.
4. Using a Pre-made Tier List
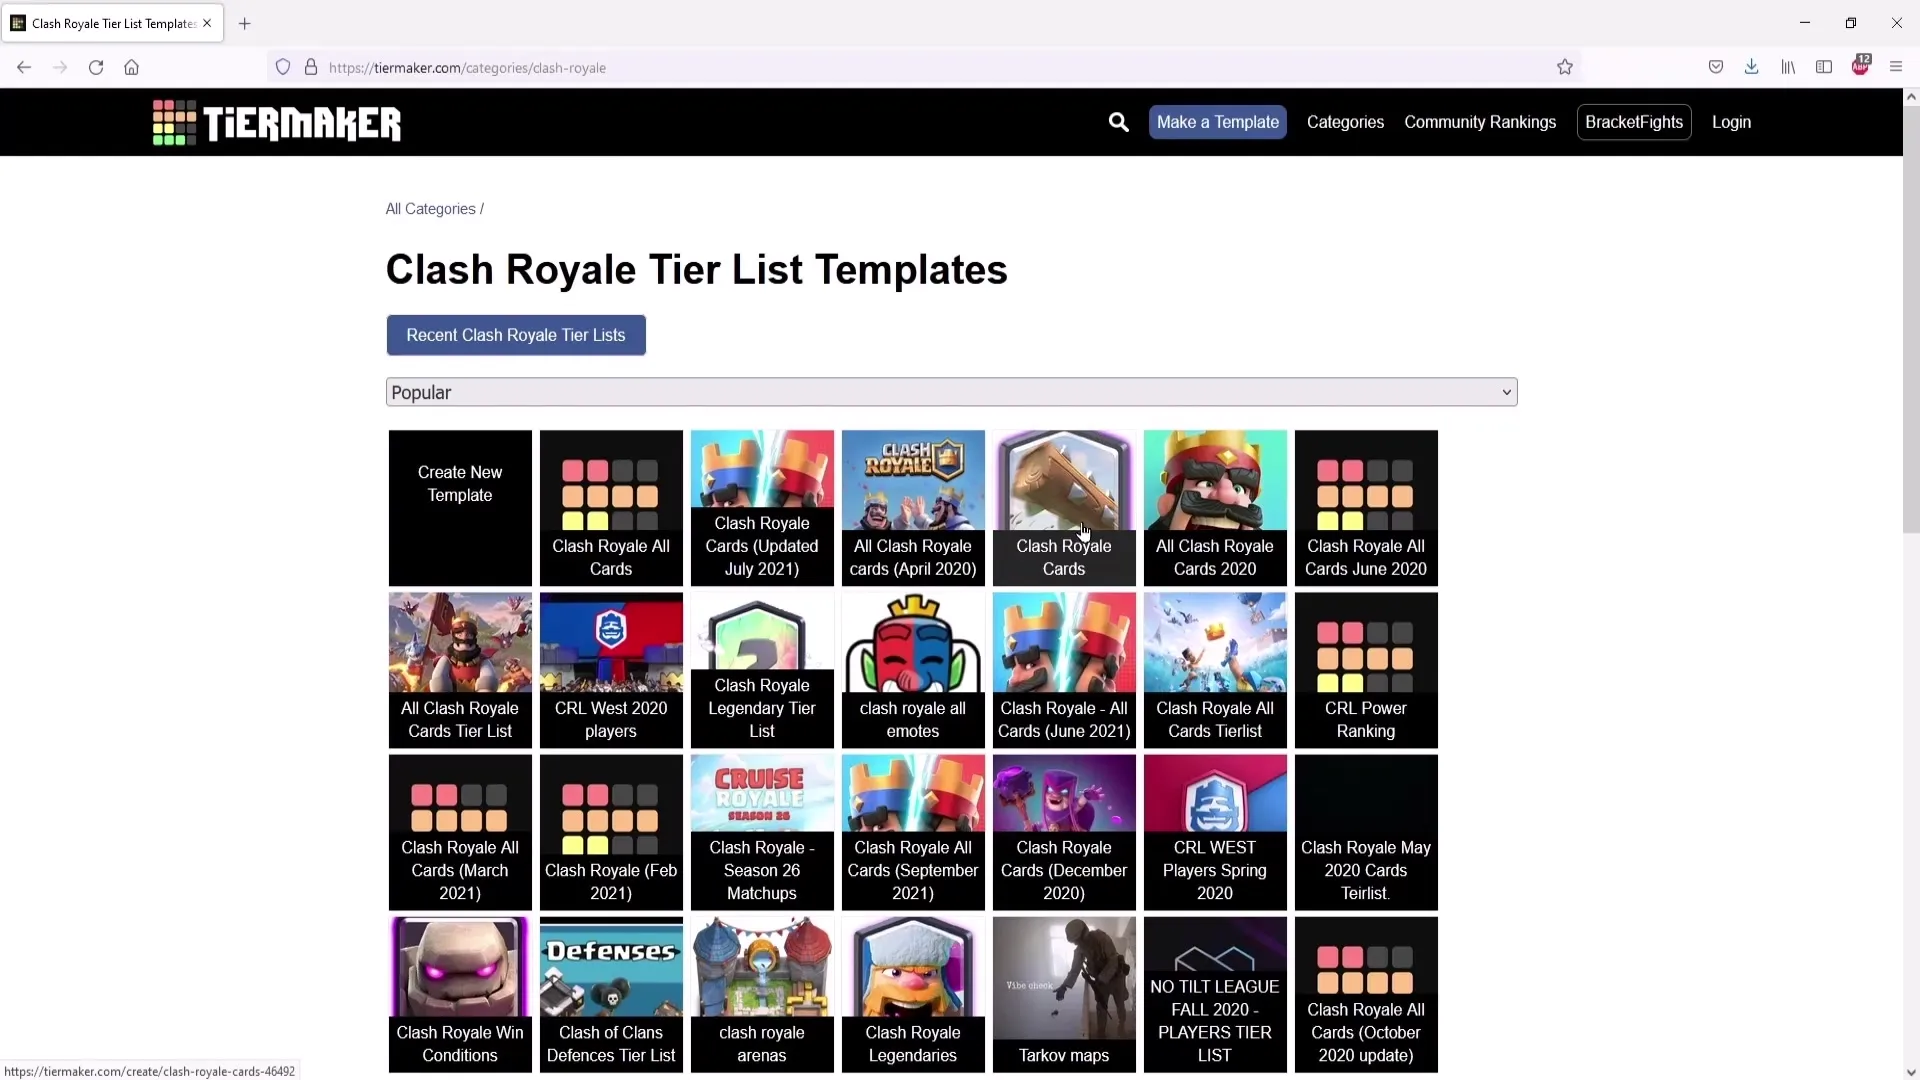
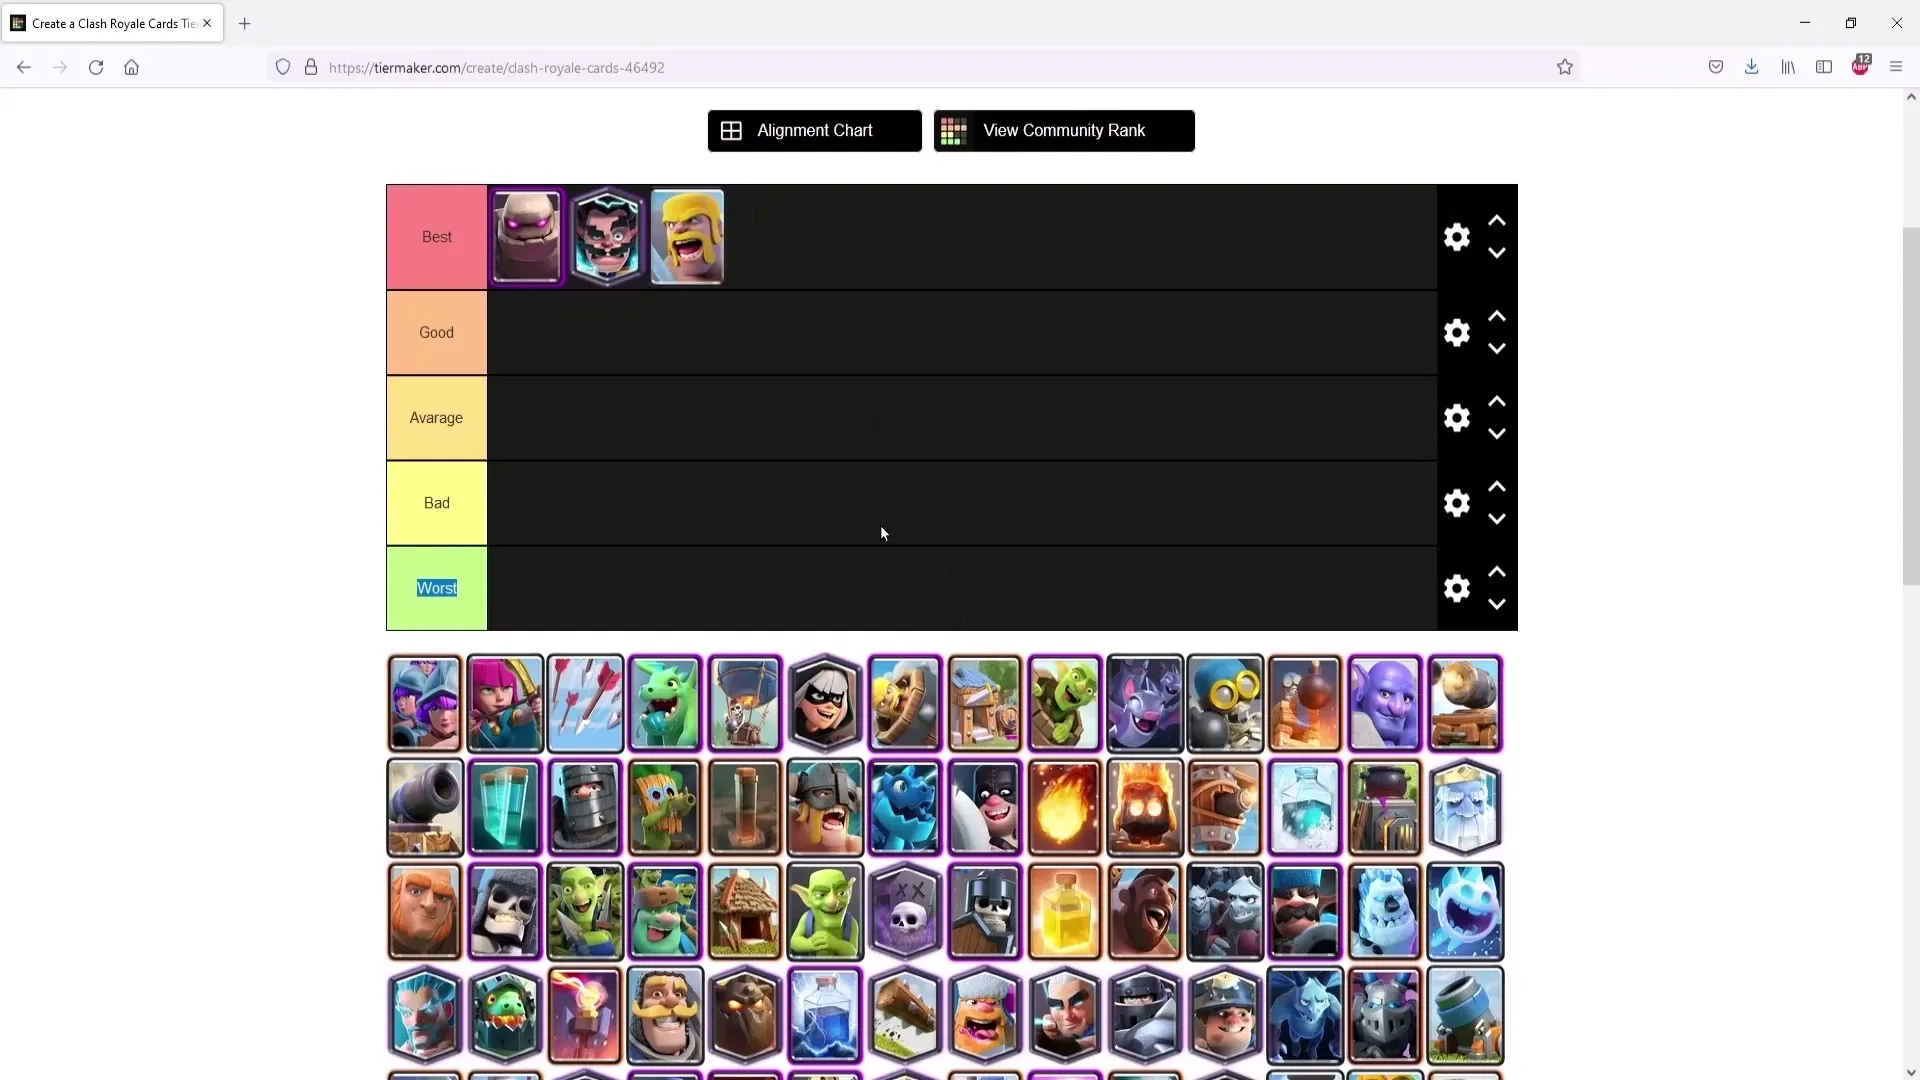
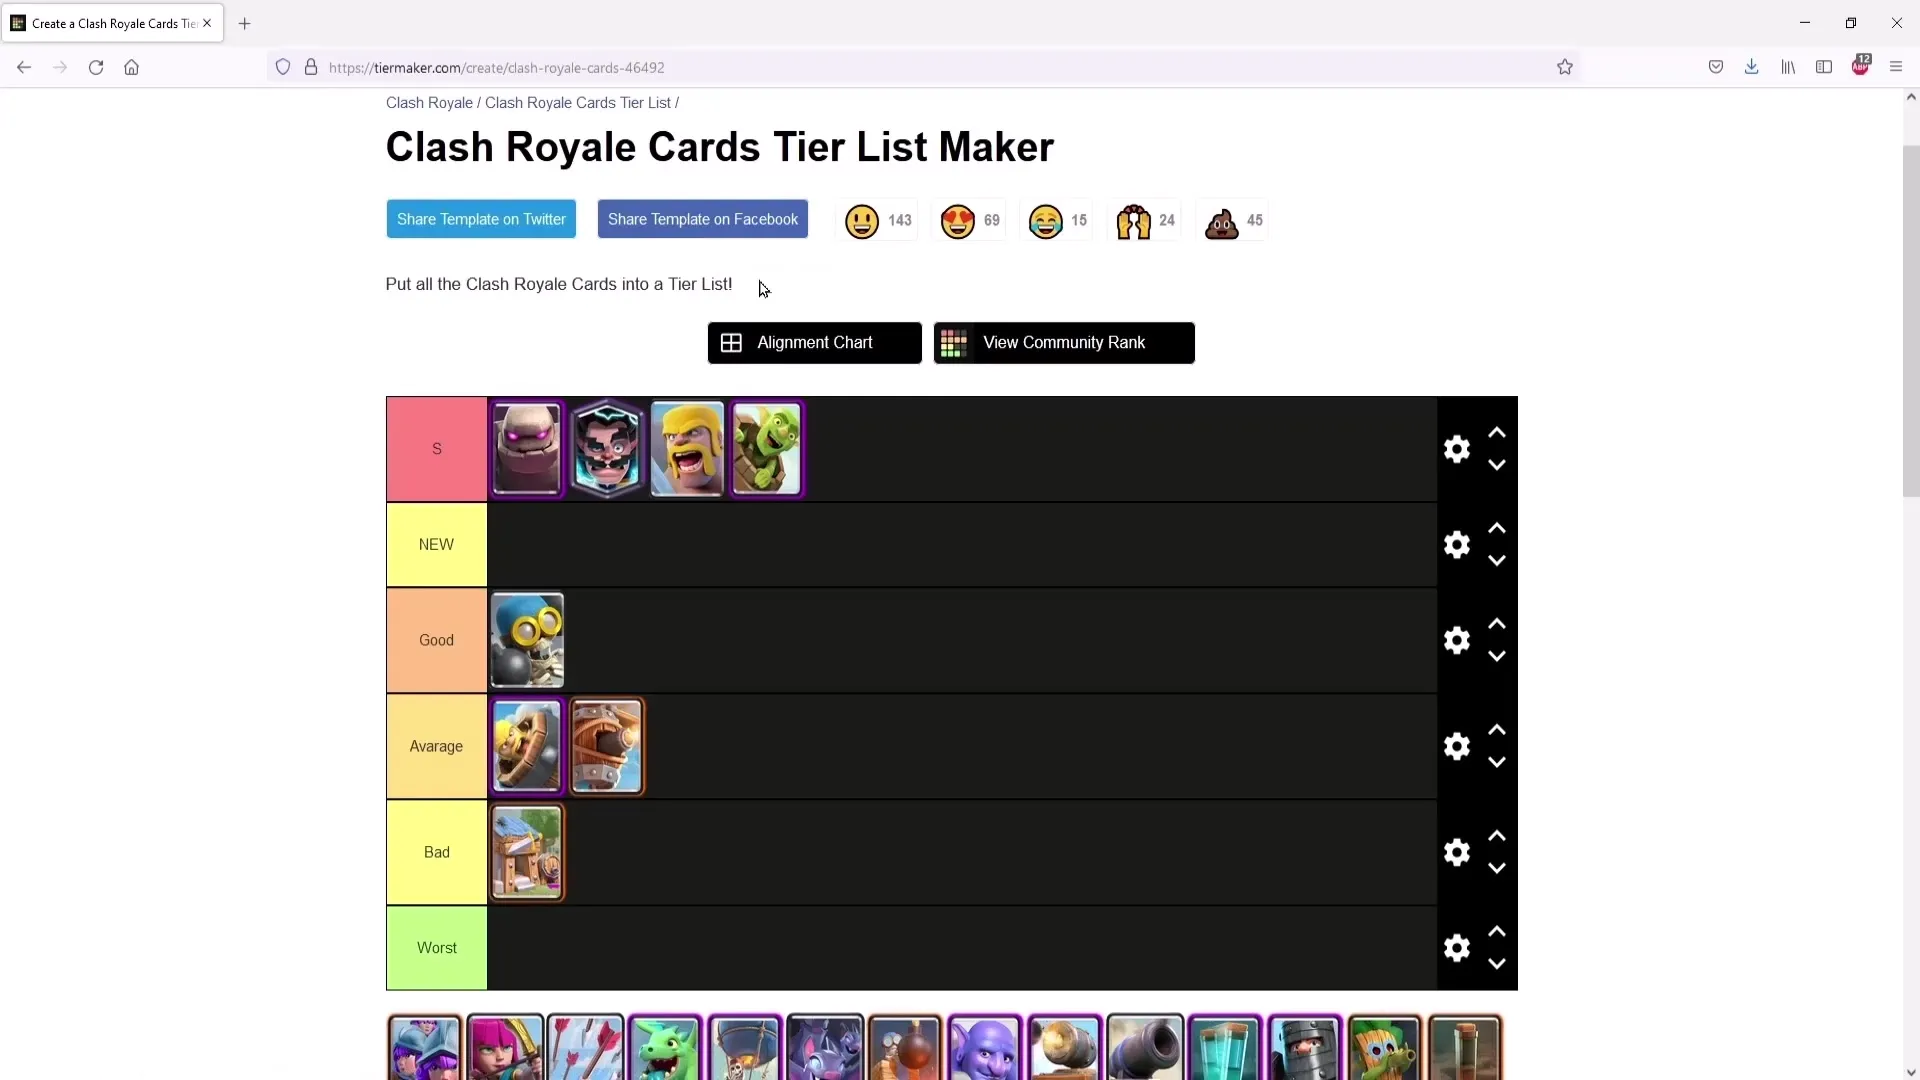
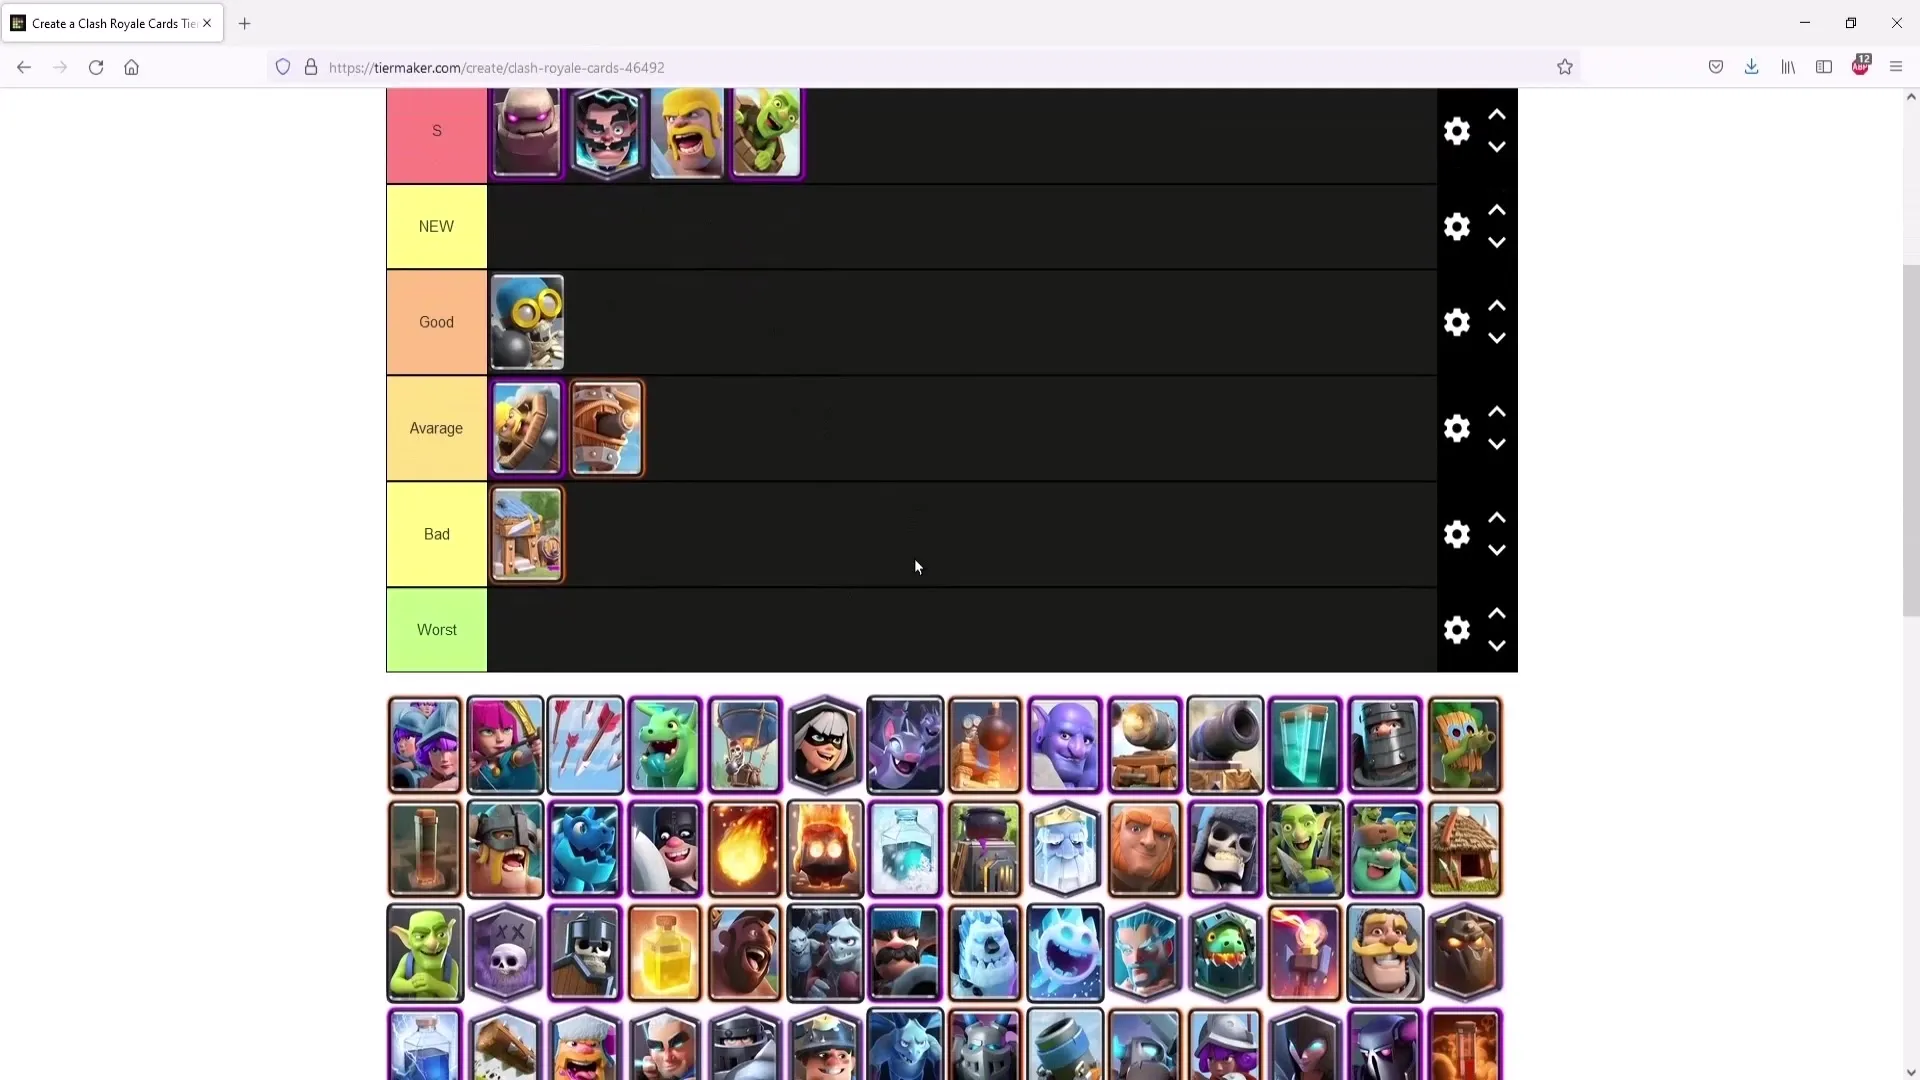
When you click on the "Clash Royale Cards" tier list, you will see the predefined arrangement – the best cards, the average cards, and the weaker cards. Here, you can arrange the cards by dragging and dropping them into their respective rows.
5. Discussion and Justifications
It is important not only to move the cards but also to give reasons for your decisions. This promotes interaction with your audience. Explain why, for example, you consider the Barbarians to be one of the best cards and invite others to share their opinions.
6. Editing Rows
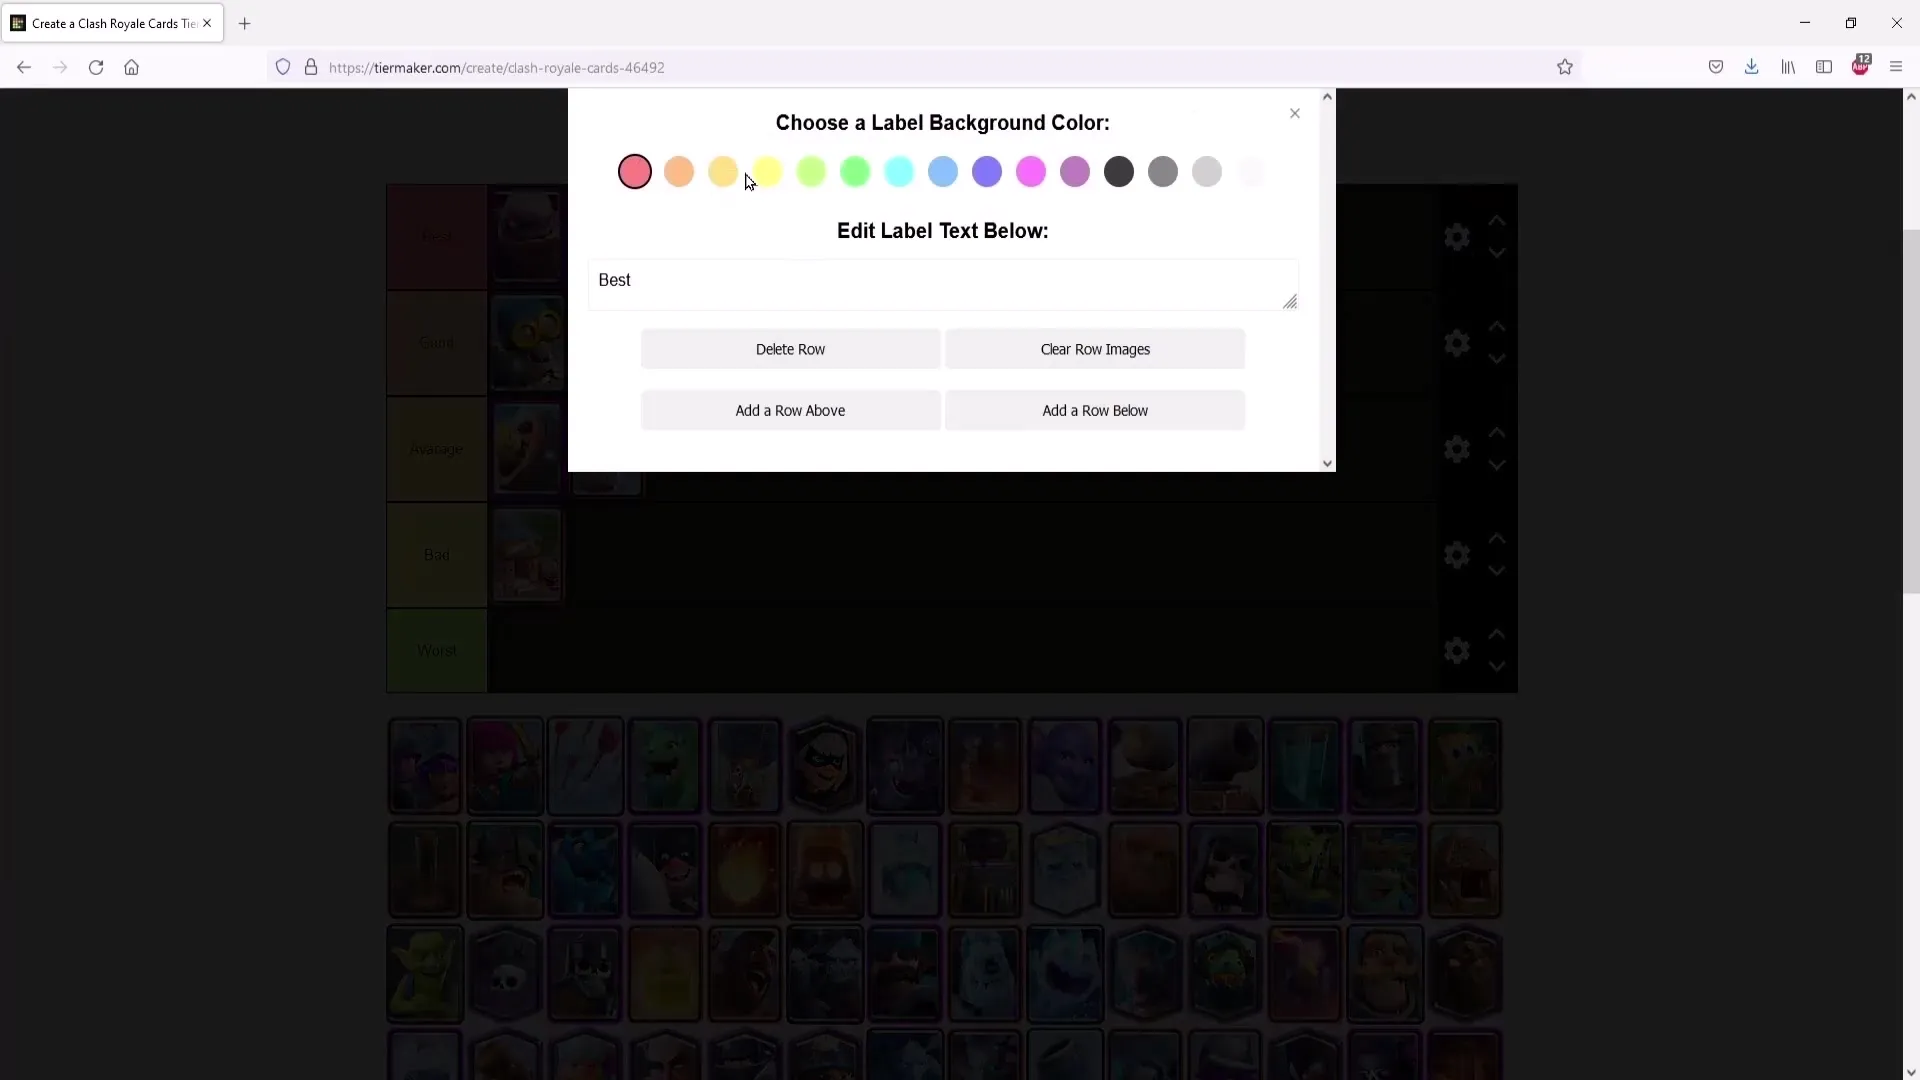
You can customize the rows in various ways. Click on the gear icon to change the labels or the number of rows. You also have the freedom to delete certain rows or add new ones.
7. Sharing Your Tier List
Once your tier list is created, you can share it on social media platforms such as Twitter or Facebook. This is particularly useful for promoting it after your stream and attracting viewers for future streams.
8. Creating Your Own Tier List
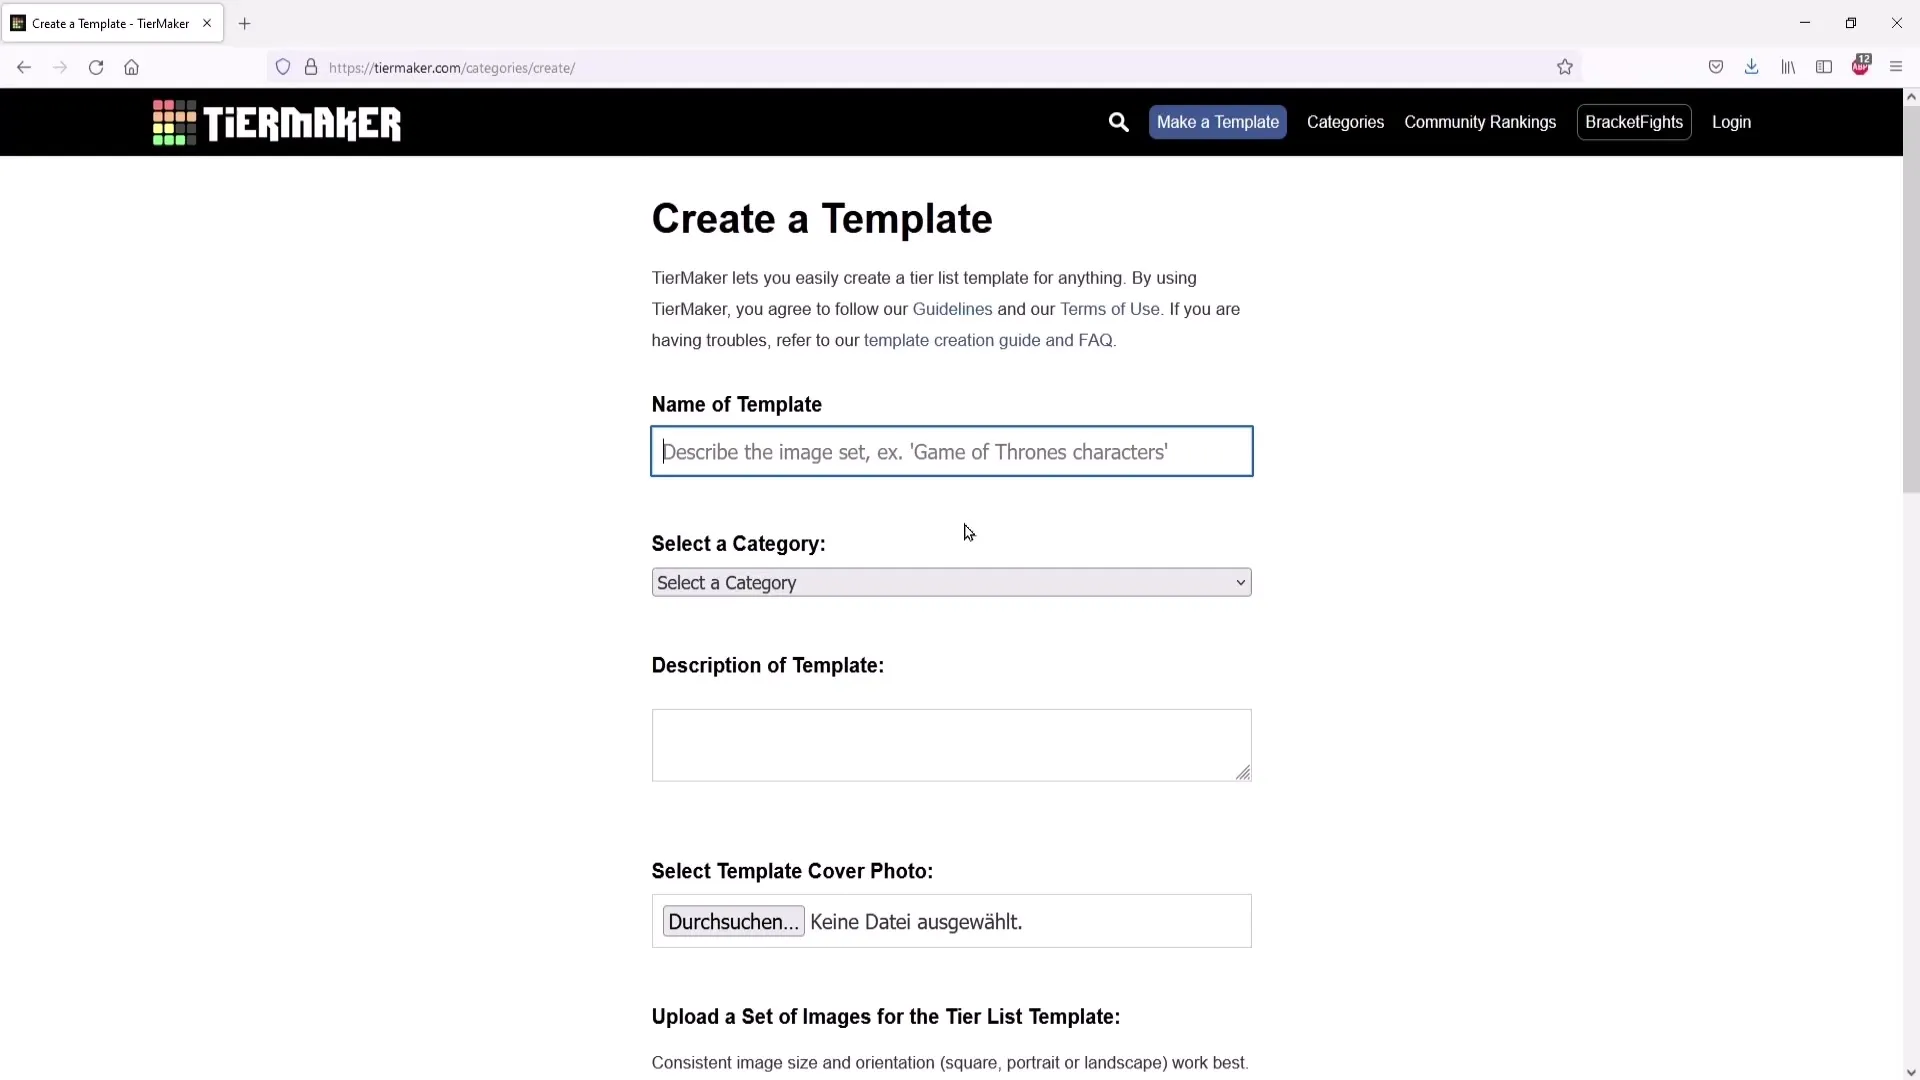
If you are ready to create your own tier list from scratch, click on "Create a Tierlist". Here, you may need to log in with your Twitter account before you can proceed.
9. Customizing Your Tier List Template
Give your tier list a name and choose the appropriate category. You can also upload a thumbnail to serve as the cover for your list. This gives a first impression before someone clicks on your list.
10. Adding Images and Formatting
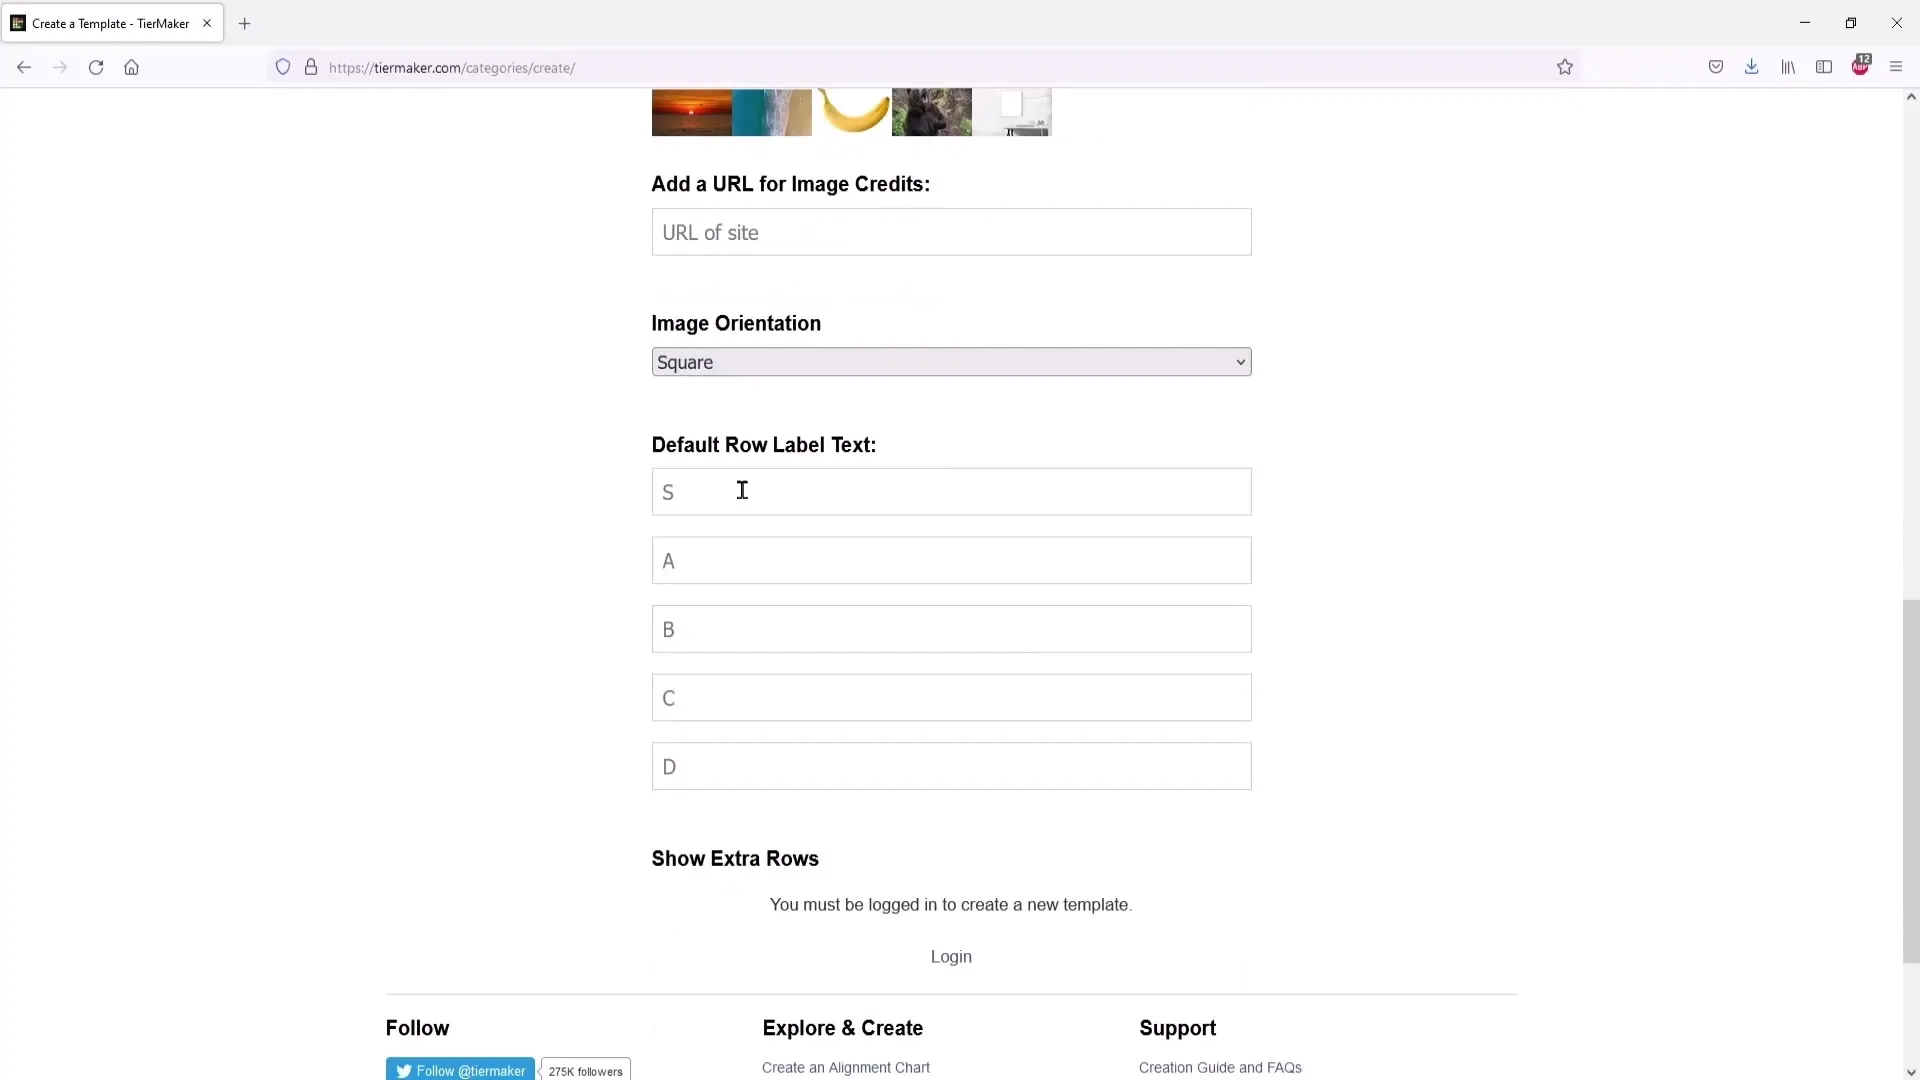
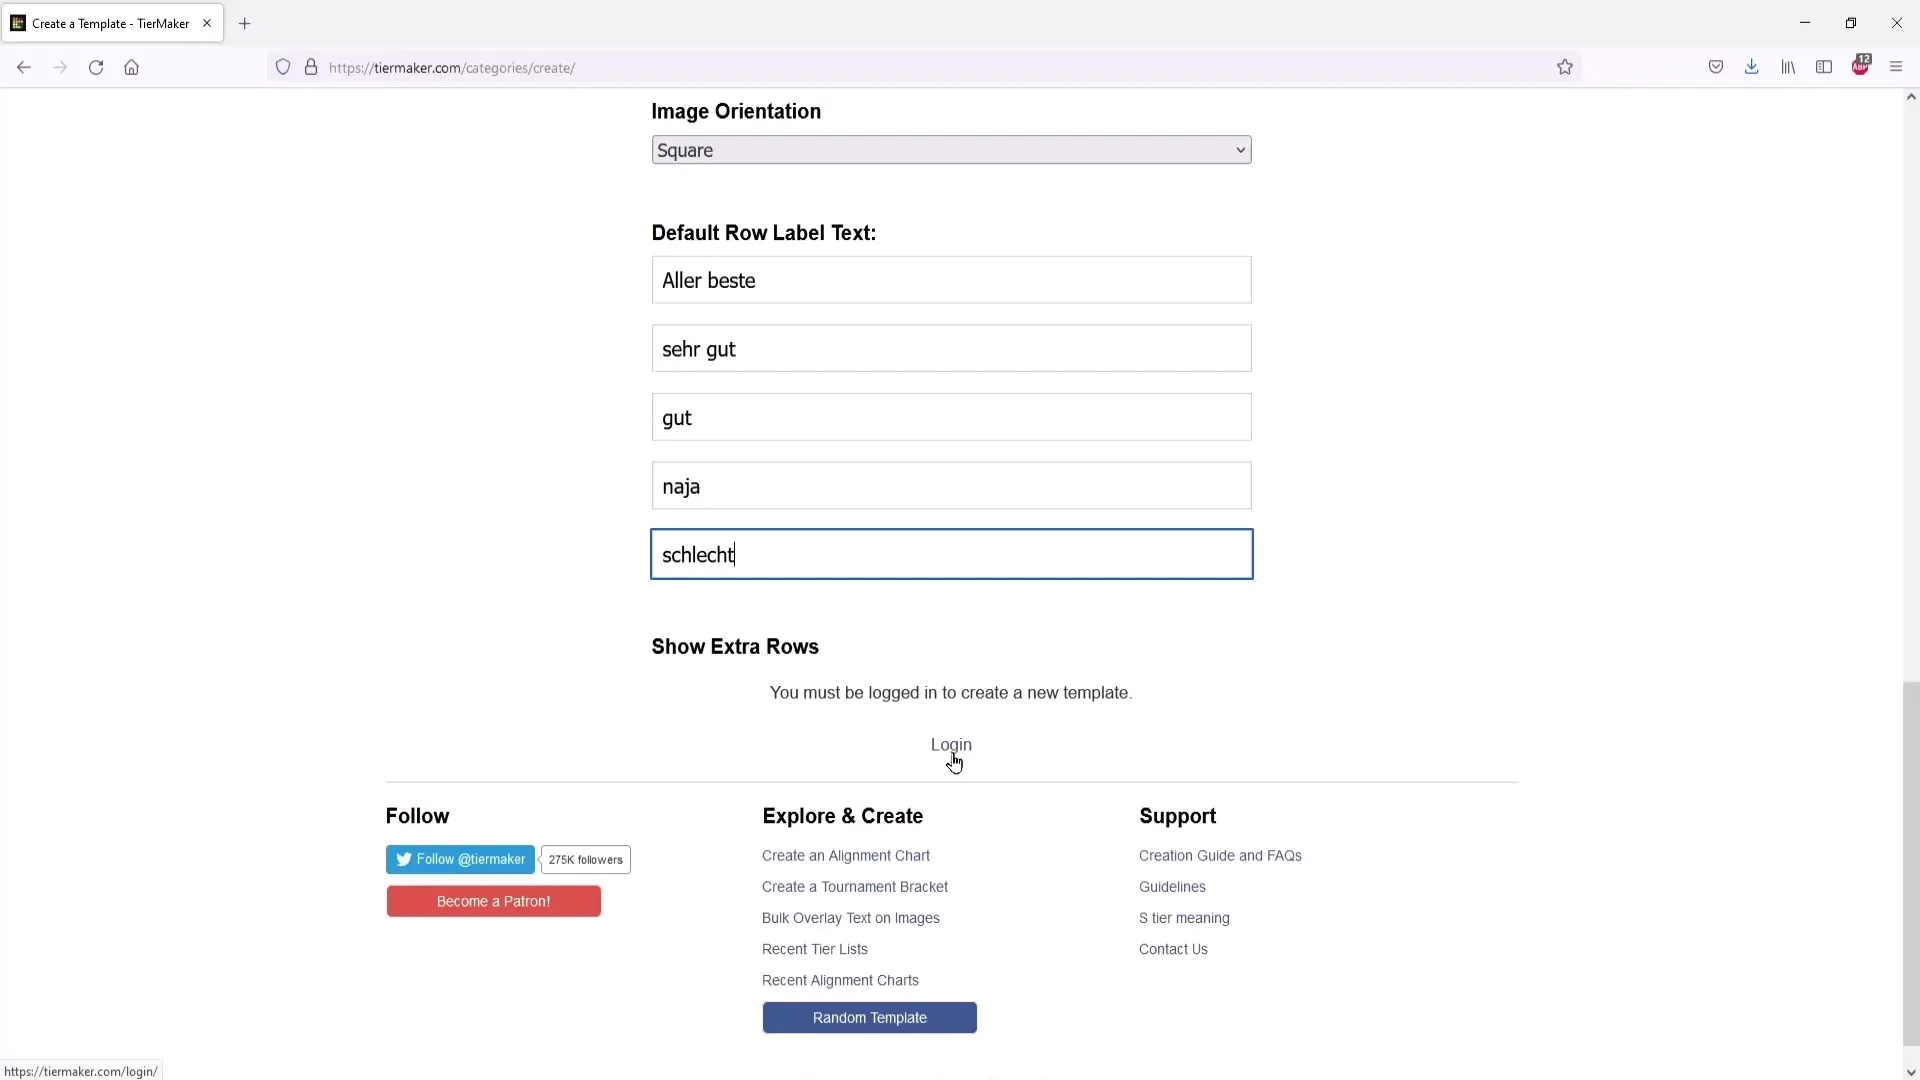
Upload the images you want to use for your animal list. Make sure to select the correct formatting, usually a square format works best. Then add the corresponding titles for the different categories.
11. Finally, save the animal list
Once you are satisfied with your animal list, you must save it in order to make the list usable for your stream. Make sure you are logged in, otherwise the list cannot be saved.
Summary
With this guide, you have learned the steps necessary to effectively use the Tier List Maker for your stream. From creation to customization to interacting with your audience – you are now well-equipped!
Frequently Asked Questions
How do I create an animal list?You can create an animal list by clicking on "Create a Tierlist," logging in, and designing your own list with images and titles.
Can I edit an existing animal list?Yes, you can select pre-made animal lists and adjust the elements in the corresponding rows using drag-and-drop.
Is the Tier List Maker free?Yes, creating animal lists on this platform is free.
How do I share my animal list?After creating it, you can share the list on social networks like Twitter or Facebook to reach more viewers.
Do I need to register to create an animal list?Yes, you need to log in with your Twitter account in order to create your own animal list.


