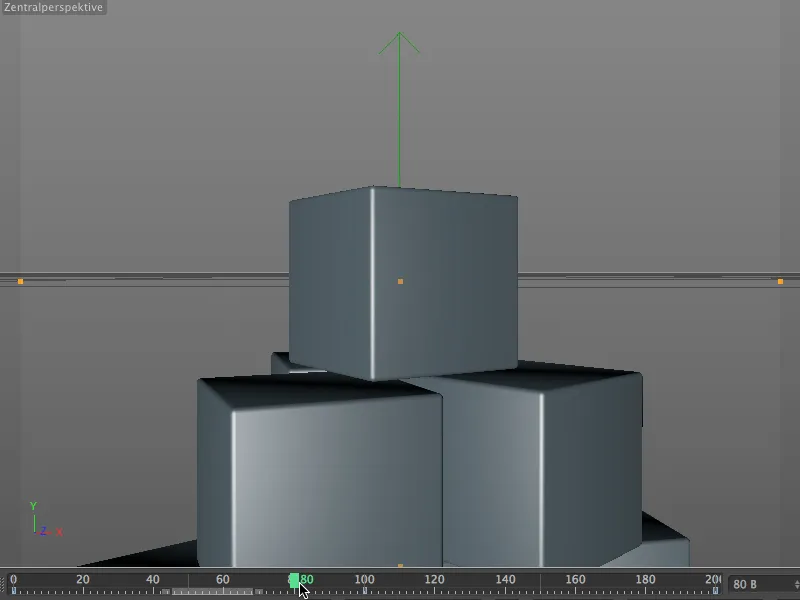
Typical applications for a camera crane are flying cameras over objects or sliding a camera down onto an object from above. The control panel used in live action film is our attribute manager in CINEMA 4D. In this tutorial, we will use the simple example of a cube tower to see what such a camera movement could look like.
Similar to the motion camera, the camera crane is actually just a special tag that gives the carrier camera the virtual structure of the camera crane. The base, arm and camera head can of course be adjusted in length and height, and the associated joints can be rotated in all directions. However, we don't need to worry about the combination of camera and tag, as the camera crane is already pre-installed in the camera object palette.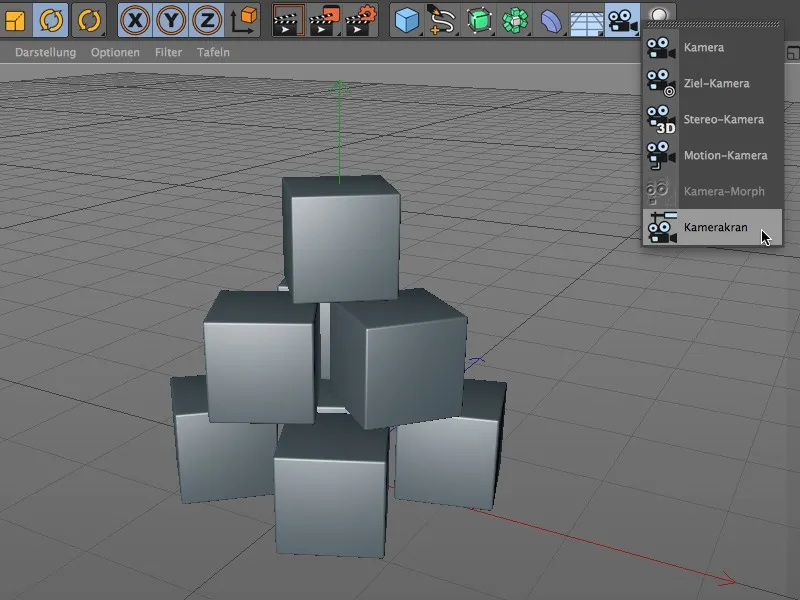
Let's take a look at this construct in the Object Manager. The actual camera with the assigned camera crane tag is created as a sub-object of a null object "Crane". If we want to edit the position or angle of the camera crane, we have to use the superordinate null object " Crane".
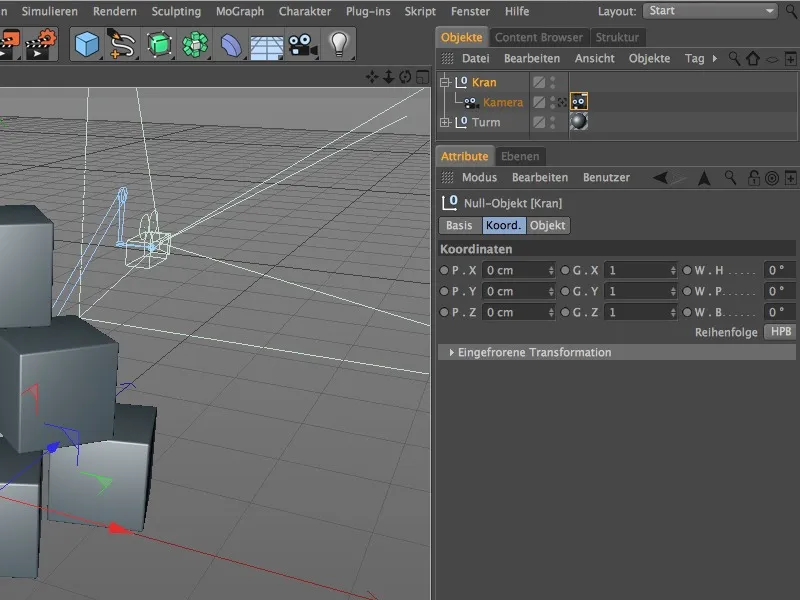
Setting up the camera crane
Once the superordinate crane null object has been selected, we can move the crane using the arrow handles. For a good starting position, I first moved my camera crane forward 500 units.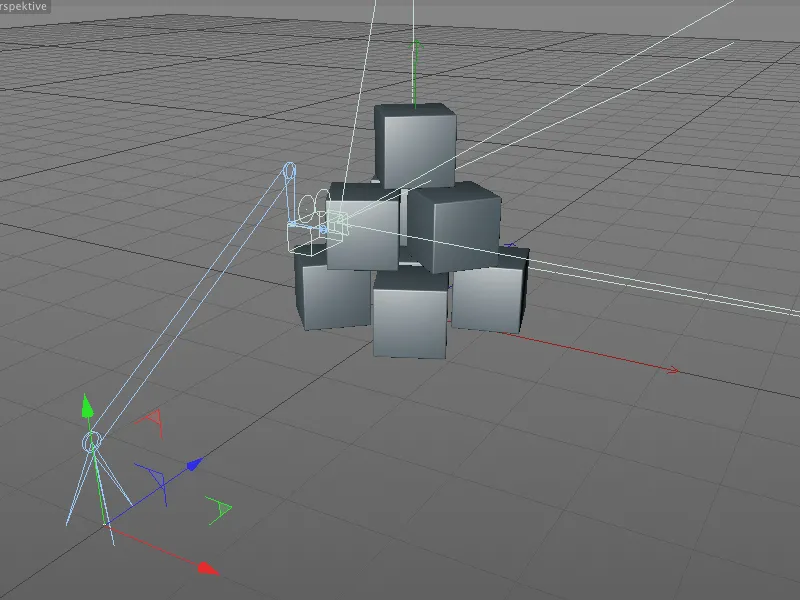
As mentioned at the beginning, the camera crane tag contains all the relevant parameters for the properties and control of the crane. For the base, arm, head and camera itself, we can change the construction as desired and animate it later.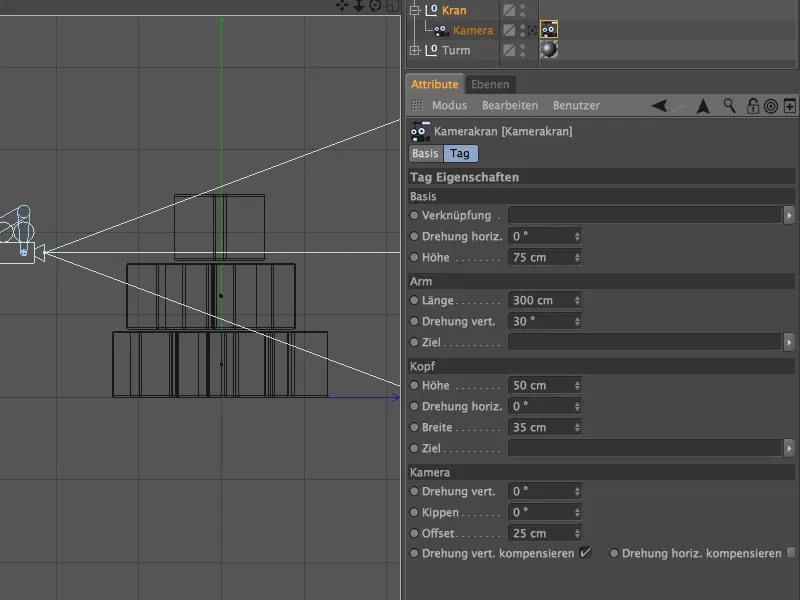
The camera movement in our example should start above the cube tower, slowly descend to the top cube and then move back until the tower can be seen from the side.
To do this, we extend the arm to approx. 640 units and rotate it vertically even further upwards. We can also increase the height of the base slightly to give us more room to move up and down.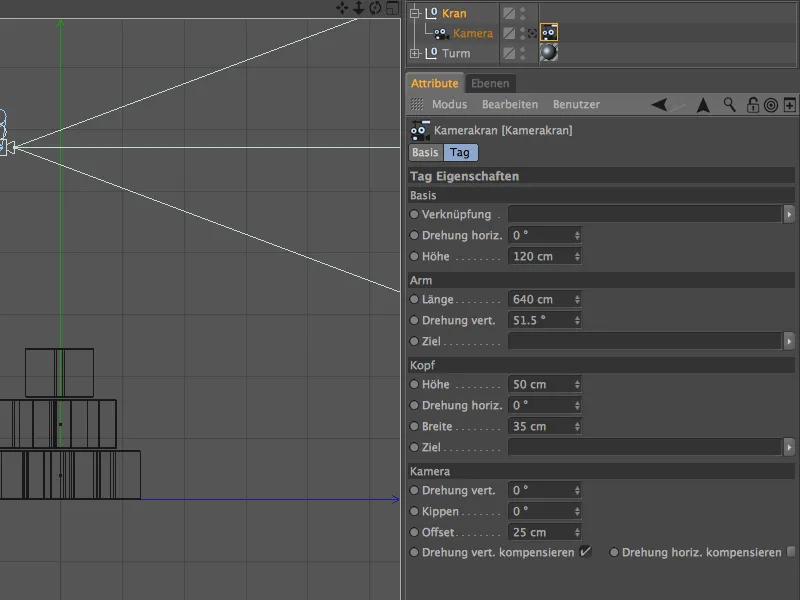
The best way to assess the parameters of the camera crane is from the side view (F3 button). The basic properties for the camera crane are thus defined. To make our work easier, we can now automatically align the camera with the topmost cube.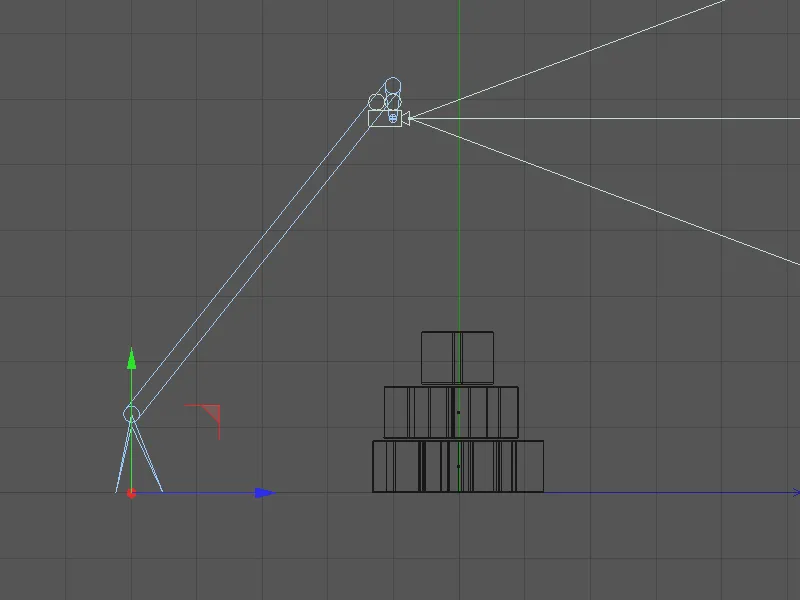
To do this, we open the "Tower" group in the Object Manager and drag and drop the single top cube into the Target field in the Header area. The camera now automatically aligns itself with the topmost cube, regardless of the movements of the camera crane.
A glance at the side view confirms this; the camera has already focused on the top cube. Incidentally, it should be noted that when using target objects, we must always pay attention to possible angular jumps, which can quickly occur if lengths and rotations are handled carelessly.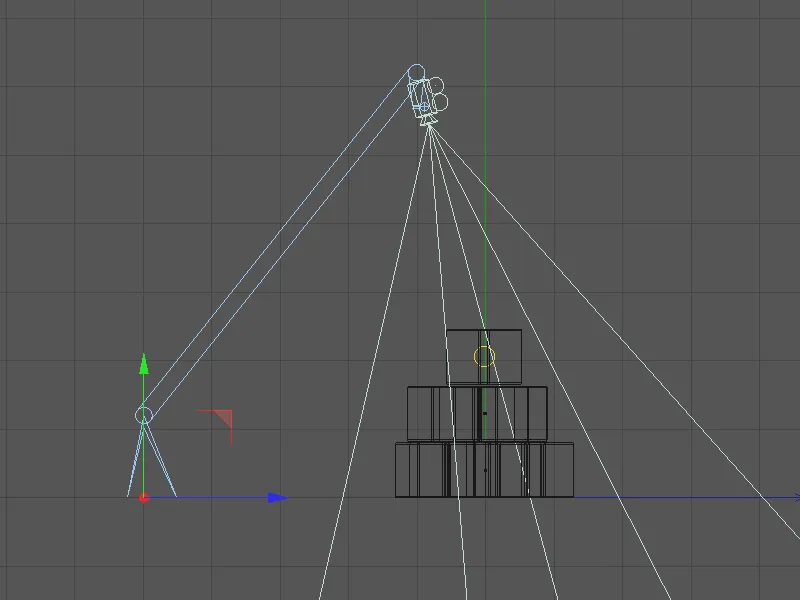
Before we start with the actual camera movement, we must of course first make sure that the camera perspective corresponds to our wishes. To do this, we switch from the standard camera to the camera of the camera crane via the Cameras>Use camera menu in the editor.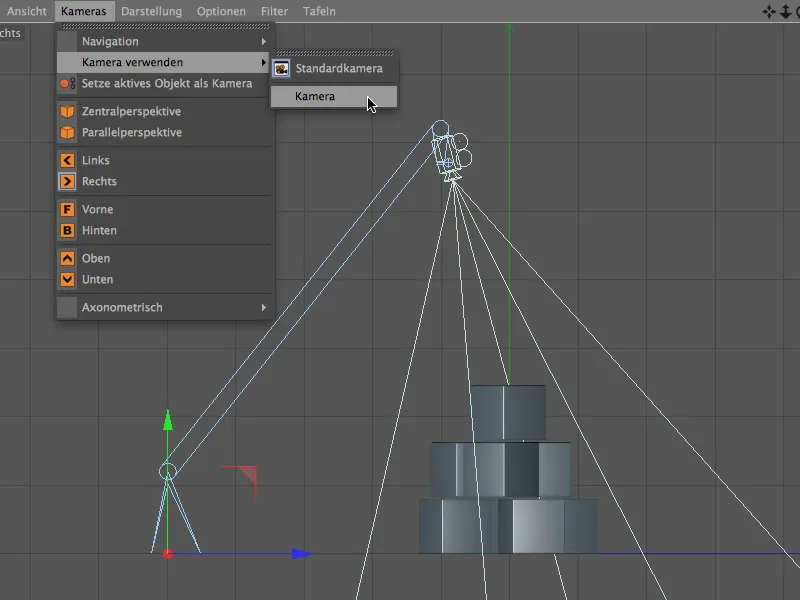
We now take our place at the camera of the camera crane and see the starting point of our camera movement. The camera's target object is, of course, the top cube in the middle. If this setting is not quite right for you, you can fine-tune it using the parameters of the camera or camera crane.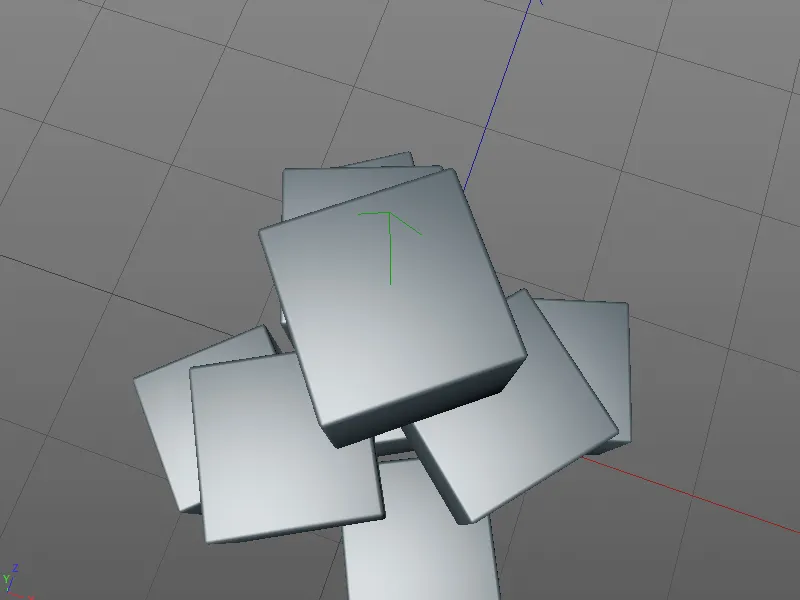
Creating the tracking shot
To create the following tracking shot, we switch back to the standard camera via the Cameras>Use camera menu in the editor. This gives us a better view of the entire camera crane setup.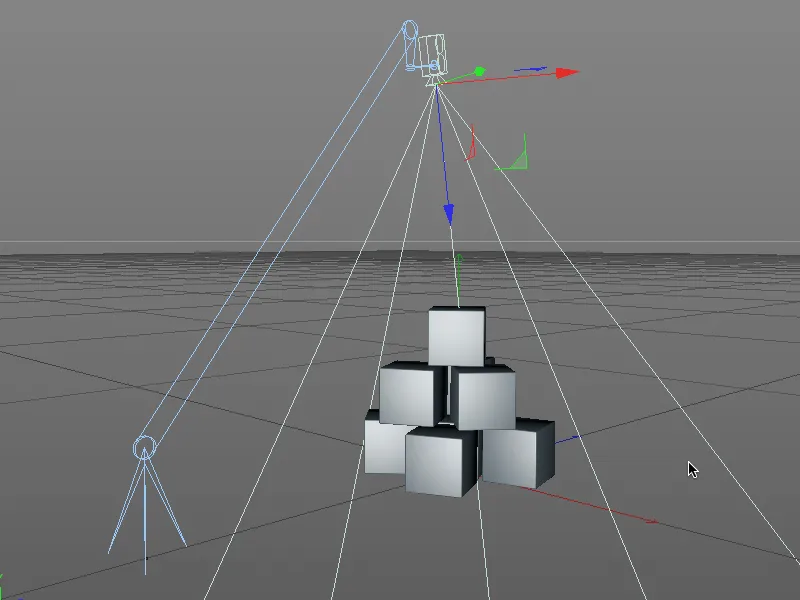
First, we record the actual state as the starting point of the tracking shot in a keyframe. Check whether the green time slider is safely set to frame 0 or 1 before you click on the parameter circle in front of the length in the arm area while holding down the Ctrl or Ctrl key.
The red colored circle indicates that there is a keyframe for this parameter on the current image.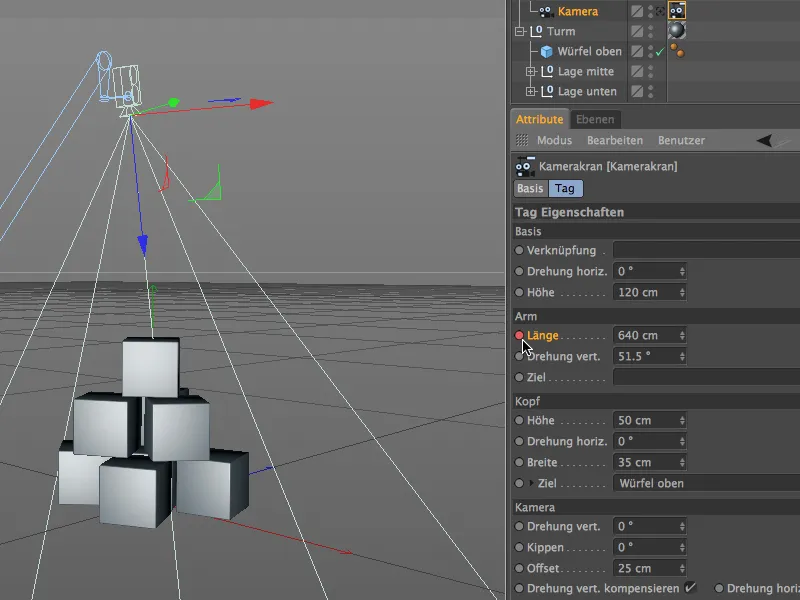
At the center point of the camera movement, the camera crane should be in normal alignment directly to the top cube. We therefore also need a keyframe here. As our animation is designed for a total of 200 frames, we move the green time slider to frame 100.
If your open project still has 100 frames, you can increase the total length of the project by entering the value 200 in the animation palette.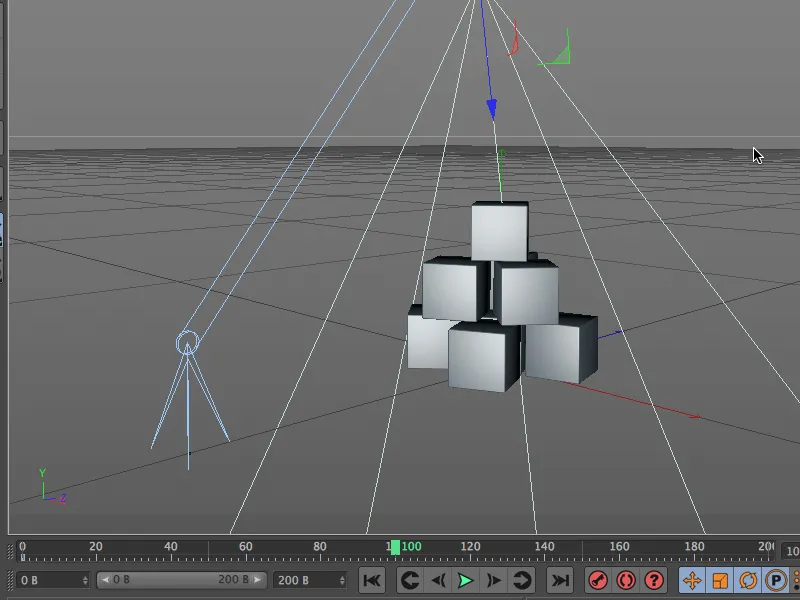
For the first part of the tracking shot, it is sufficient to reduce the length of the arm. Thanks to the target object, the camera remains aligned with the uppermost cube so that the camera, which was previously upside down, slowly tilts horizontally over the course of the tracking shot.
We specify an arm length of approx. 120 units and save this parameter in a keyframe by holding down the Ctrl key on the parameter circle.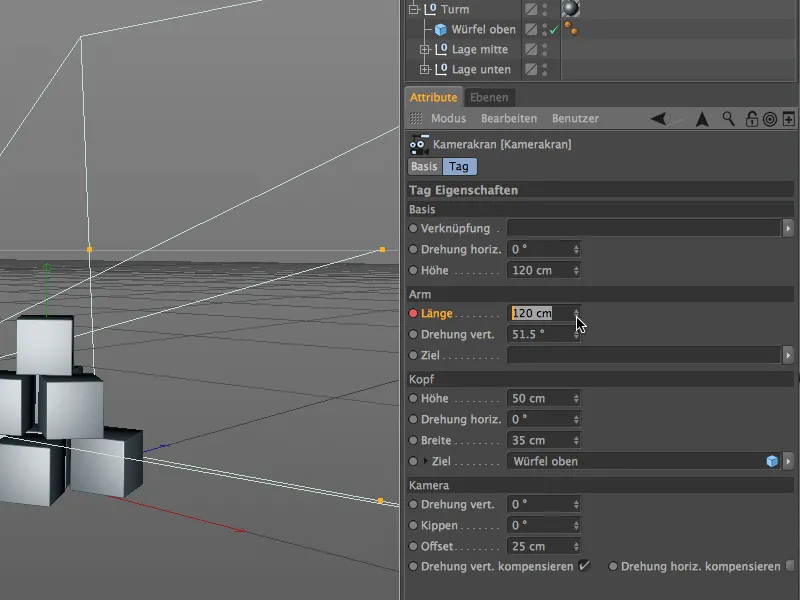
As you can see in the editor, the arm of the camera crane is now much shorter due to our modification, the camera remains stubbornly aligned to the top cube as desired.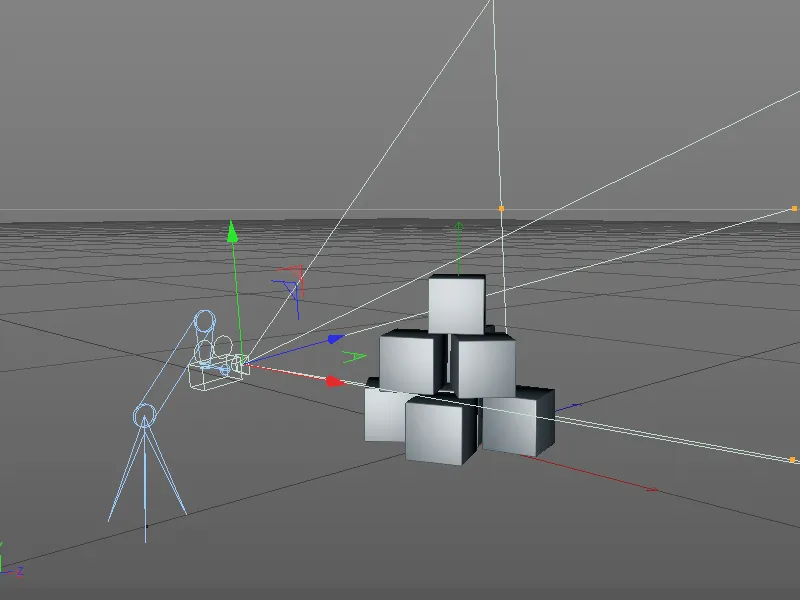
We are still on frame 100 and initiate the second part of our tracking shot there. With our camera crane, we have a wide range of options, so we can now play with the settings in the upper area.
To do this, we record the current height and width parameters in the head area of the camera crane tag in a keyframe by holding down the Ctrl or Ctrl key on the parameter circle.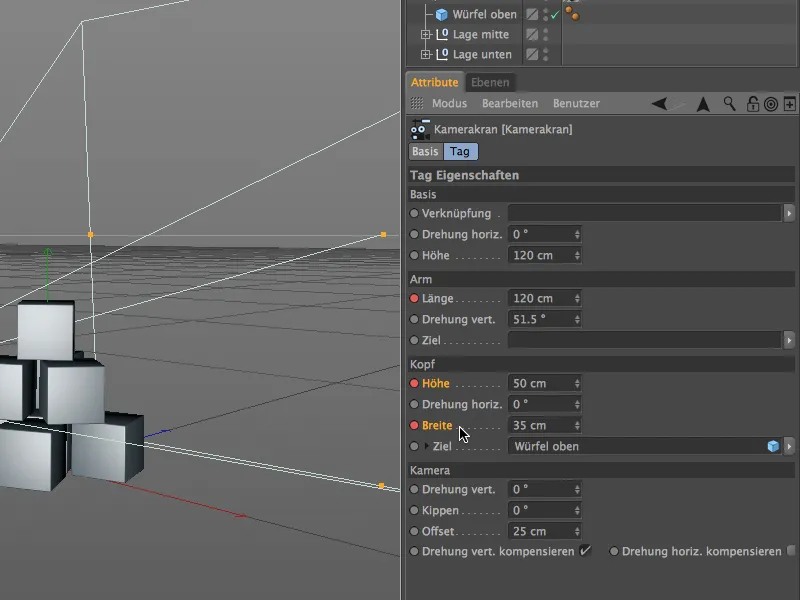
As the tracking shot should end at frame 200, we now set the green time slider of the animation palette to this final frame of the animation in order to define the final settings and save them in keyframes.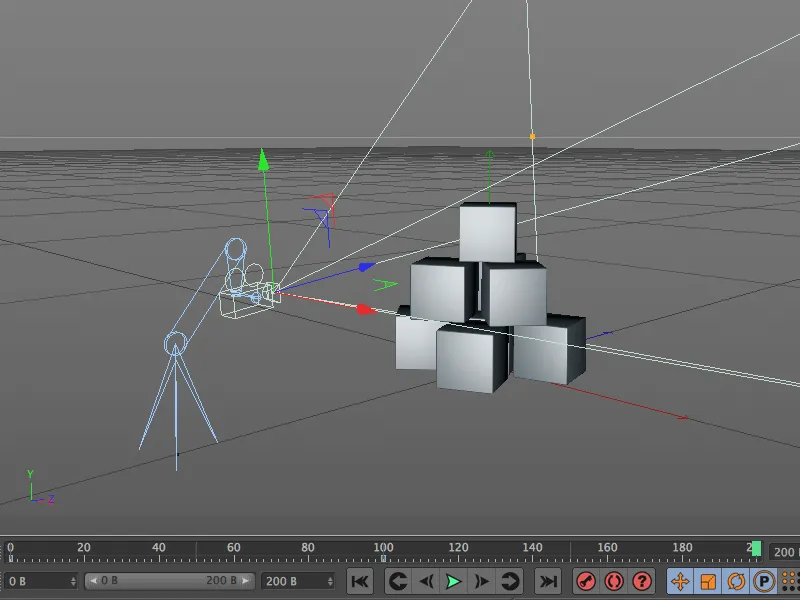
The end point of our tracking shot is slightly offset to the side, approximately at the height of the middle cube layer. To achieve this position, we change the height and width parameters of the camera crane head accordingly.
We record this end position for both properties in a keyframe by holding down the Ctrl or Ctrl key on the parameter circle.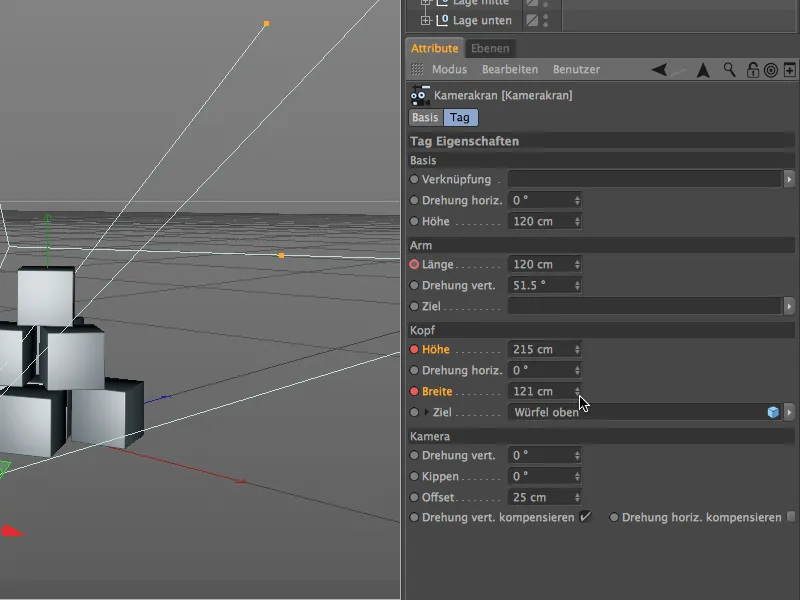
The 3D view clearly shows how the selected end position was achieved simply by changing the settings on the camera crane.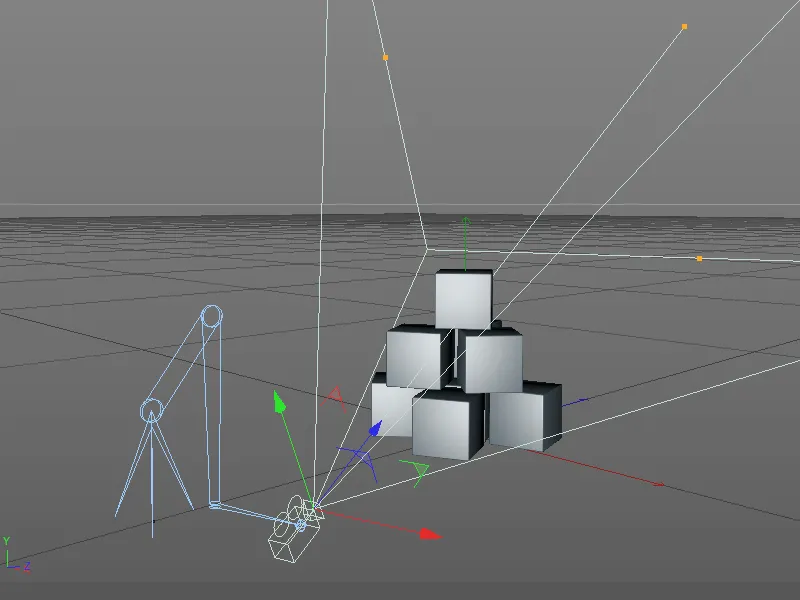
Switching to the crane camera
Now that the tracking shot has been completed and saved in keyframes, we should also check the camera perspective of the end point again and adjust it if necessary. This time we use the small viewfinder icon on the camera object in the Object Manager to switch to the crane camera. After clicking, the icon turns white and the editor view switches to the camera crane camera.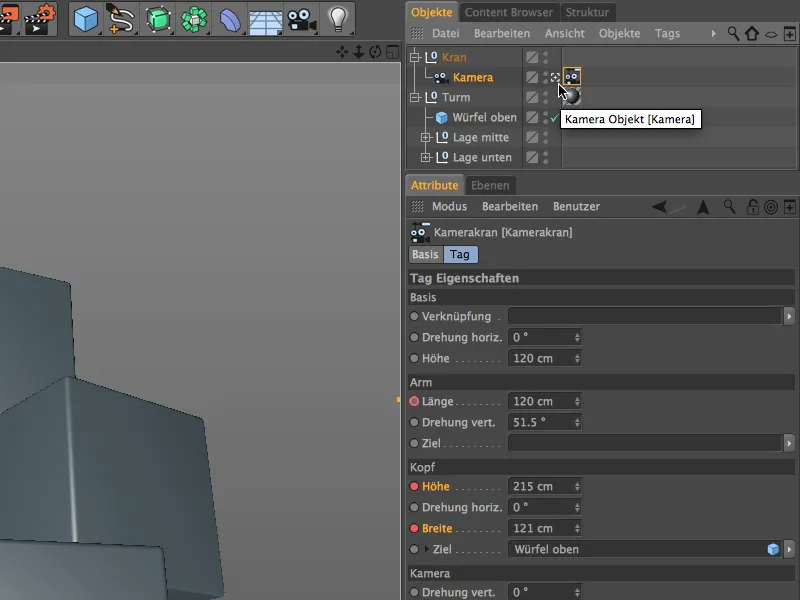
If you change the camera perspective by modifying the height and width parameters, you must of course re-record the changed values in the keyframes by clicking on the parameter circle while holding down the Ctrl or Ctrl key or overwrite the old values.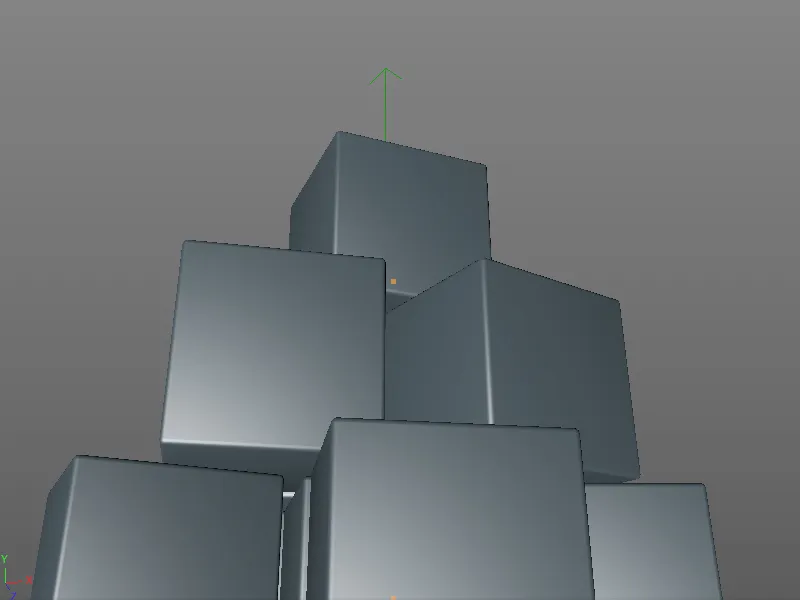
After this step, the camera movement with the new camera crane is in the box and can finally be viewed in full length by moving the green time slider or by clicking on the play button of the animation palette.