When you want to record videos with OBS Studio, it is crucial to choose the right settings. The recording settings not only affect the quality of your video, but also the performance of your system. Whether you are producing for YouTube, Twitch, or other platforms, precise configuration significantly contributes to your results. Let's go through the necessary steps together to ensure that your recordings are of the best quality.
Key Insights
- The recording settings of OBS Studio are crucial for video quality.
- The base resolution should match the current screen resolution.
- Choosing the right codec and format has a significant impact on file size and quality.
- Constant Bitrate (CBR) generally delivers the best results.
- Thorough testing of settings helps find the optimal configuration.
Step-by-Step Guide to OBS Studio Recording Settings
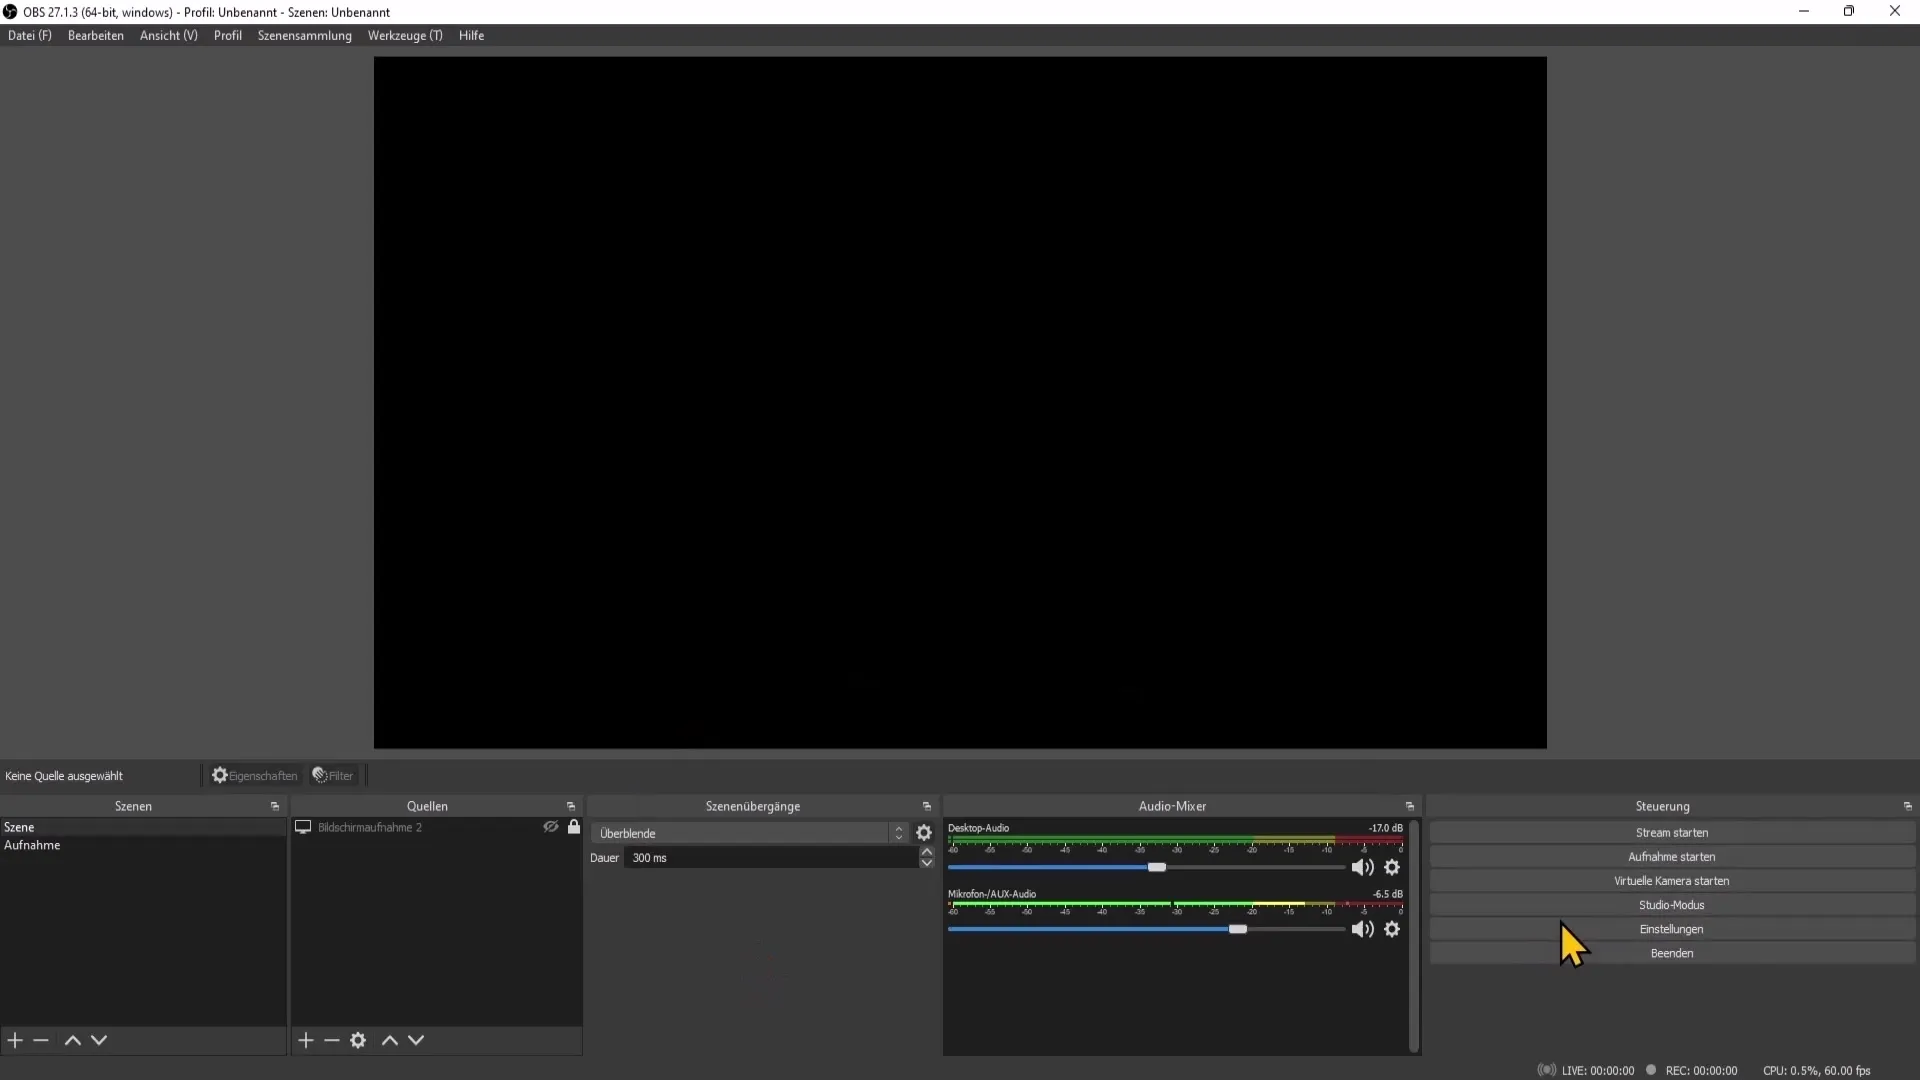
1. Accessing the Settings
To open the recording settings, you need to click on the "Settings" button in the lower right corner of OBS Studio.
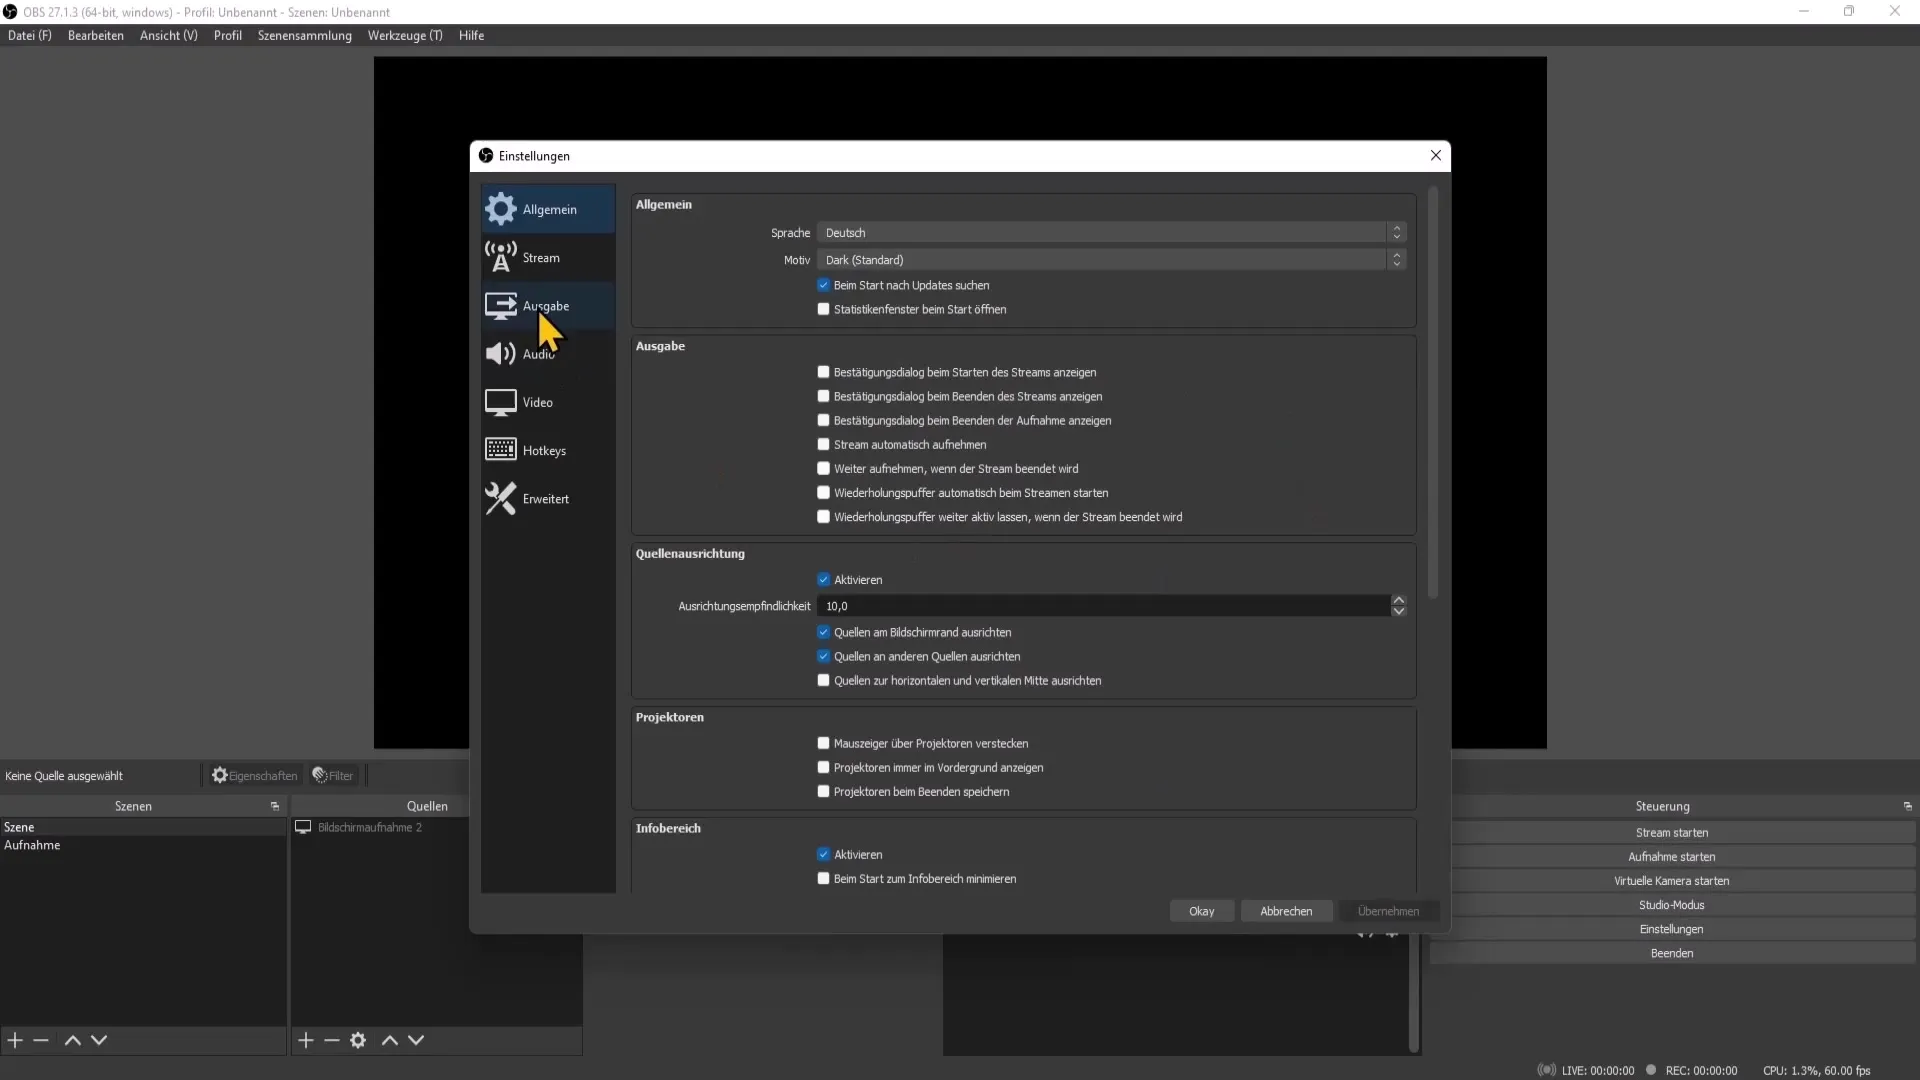
2. Accessing Video Settings
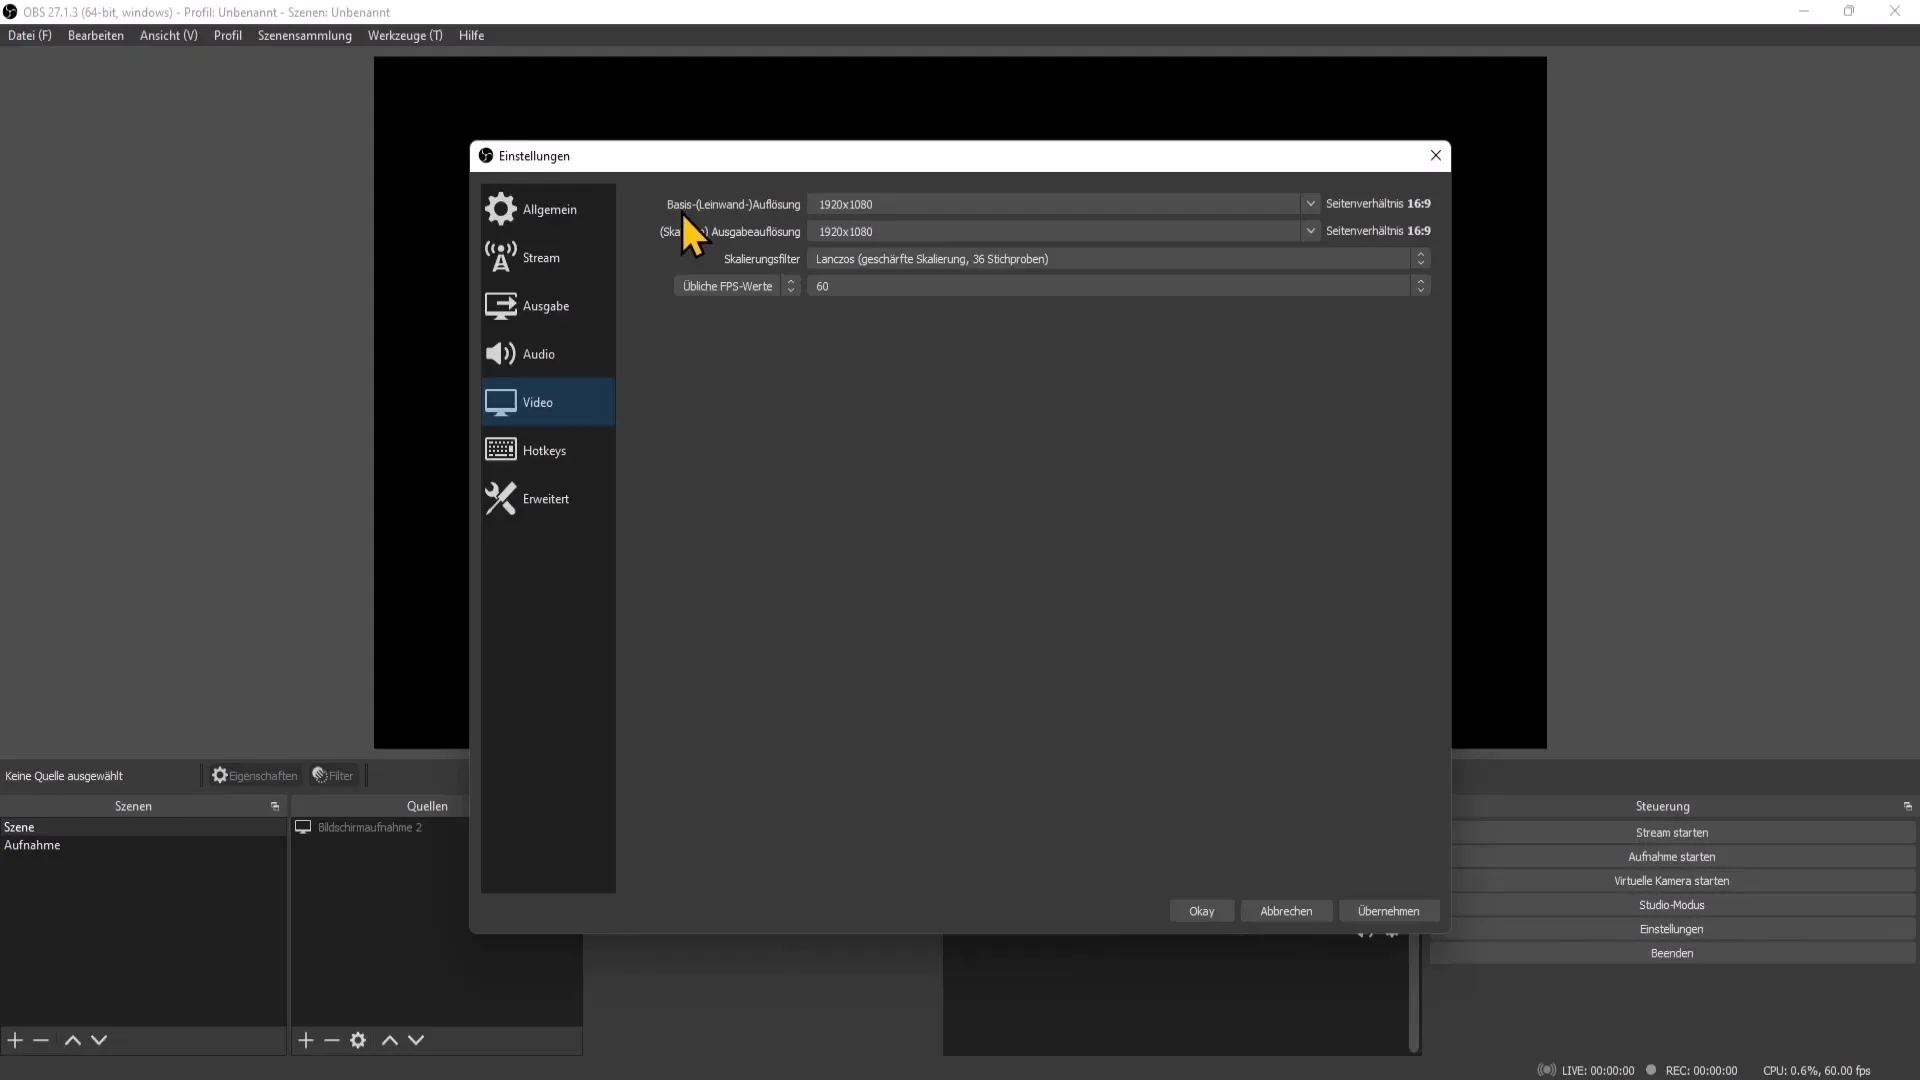
In the settings, you will find the "Video" section on the left side. Click on it to open the video settings.
3. Defining Base Resolution
The base resolution is the resolution of your desktop screen from which you are recording. To find out what resolution you have set, right-click on your desktop and select "Display settings". Compare the resolution listed there with that in OBS Studio.
4. Setting Output Resolution
In the "Video" menu, you can select the output resolution. Ensure that this setting matches your desired resolution. For example, if your desktop is set to 1080p, also choose 1920x1080 in OBS Studio.
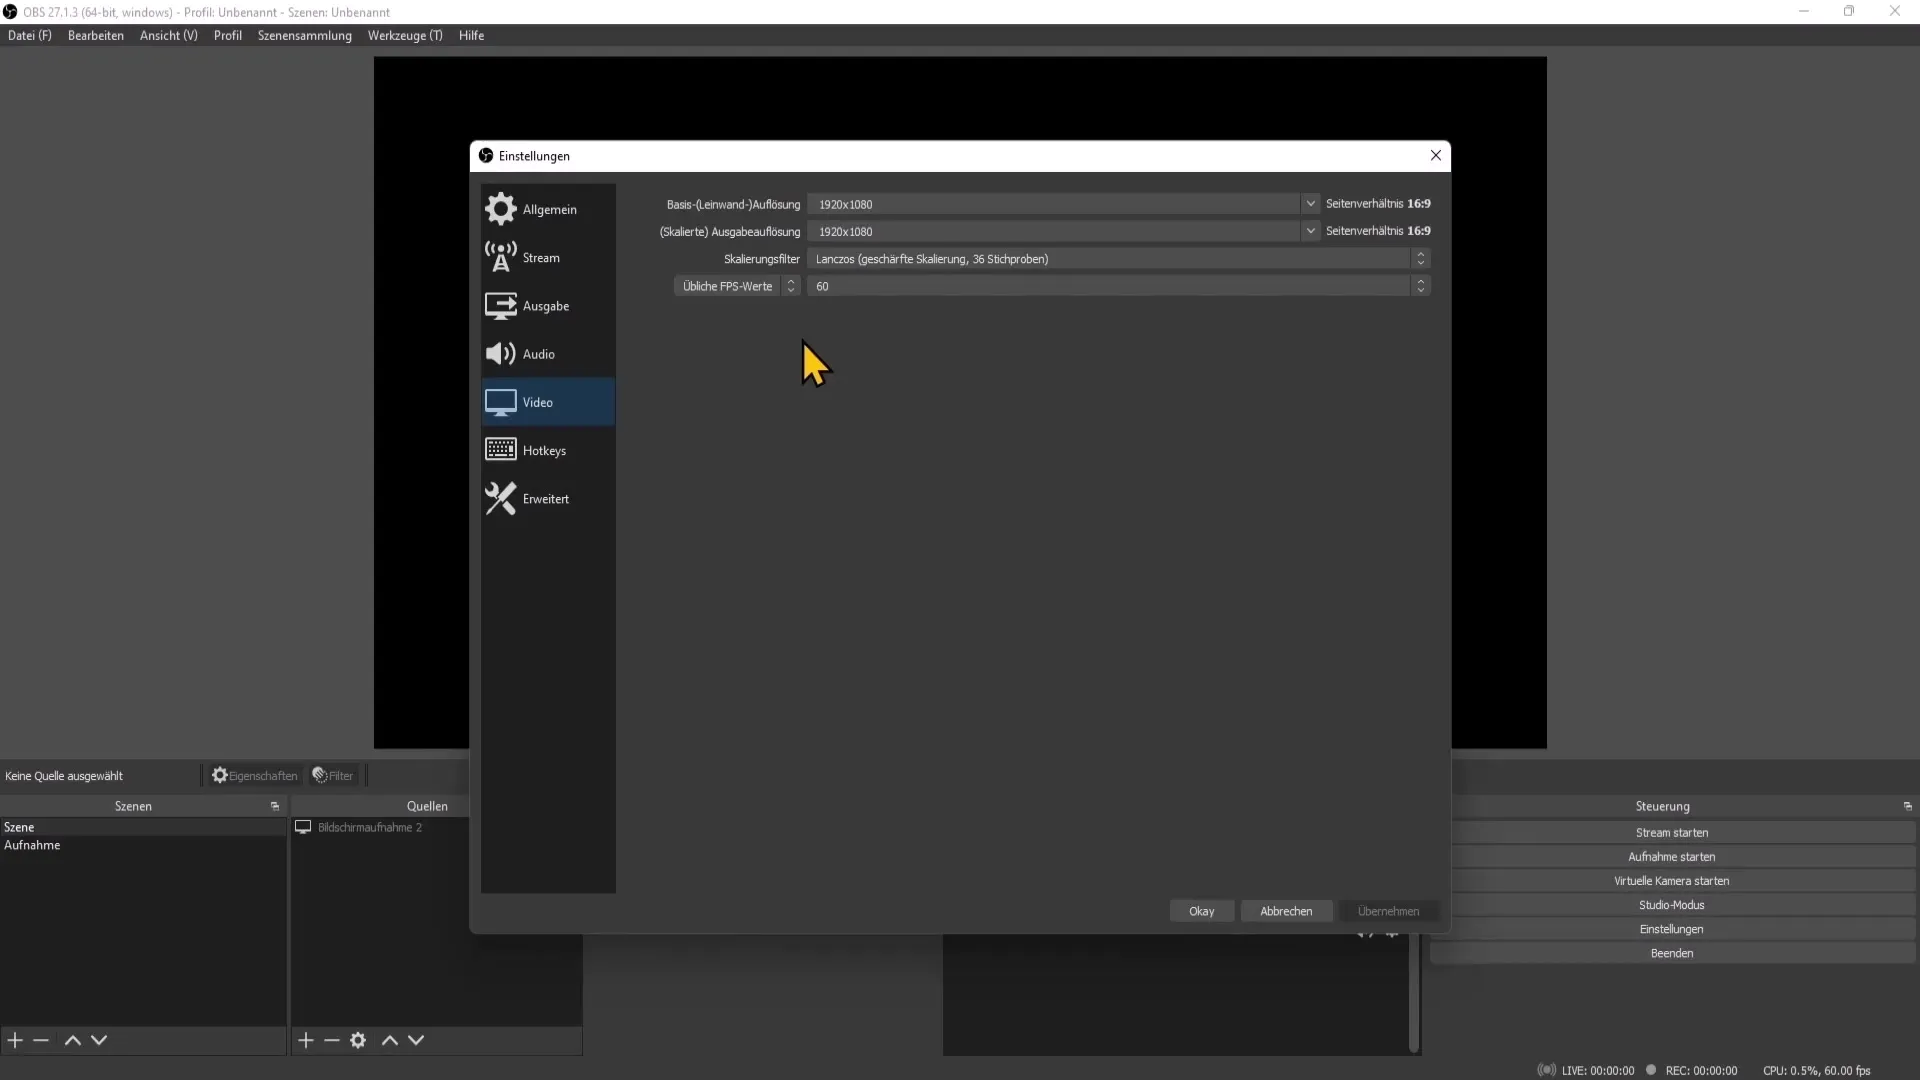
5. Setting FPS (Frames per Second)
The FPS number indicates how many frames per second are recorded. For most applications, especially games, 60 FPS is recommended. However, if you are recording calm content, 30 FPS may be sufficient.
6. Selecting Output Format
The next step is to set the output format. Here, I recommend choosing MOV as the format. MOV generally provides better audio and video quality but can generate larger file sizes. If you plan to upload your videos to other platforms, MP4 might be the more sensible choice.
7. Defining Audio Settings
To ensure the best audio settings, go to "Output" and then to "Audio". Here, you can determine which audio tracks should be included in the recording. It is crucial to ensure that your microphone and desktop audio are correctly configured.
8. Selecting Encoder
The encoder determines whether you are recording via the graphics card or the processor. In most cases, the graphics card encoder is the best choice. This way, you can relieve your CPU. Go to the "Output" settings and choose the appropriate encoder.
9. Setting Bitrate
The bitrate affects the quality and file size of your recording. For good quality, I recommend starting with a bitrate of 60,000. Make sure to decrease the bitrate if you encounter issues such as stuttering in the recording.
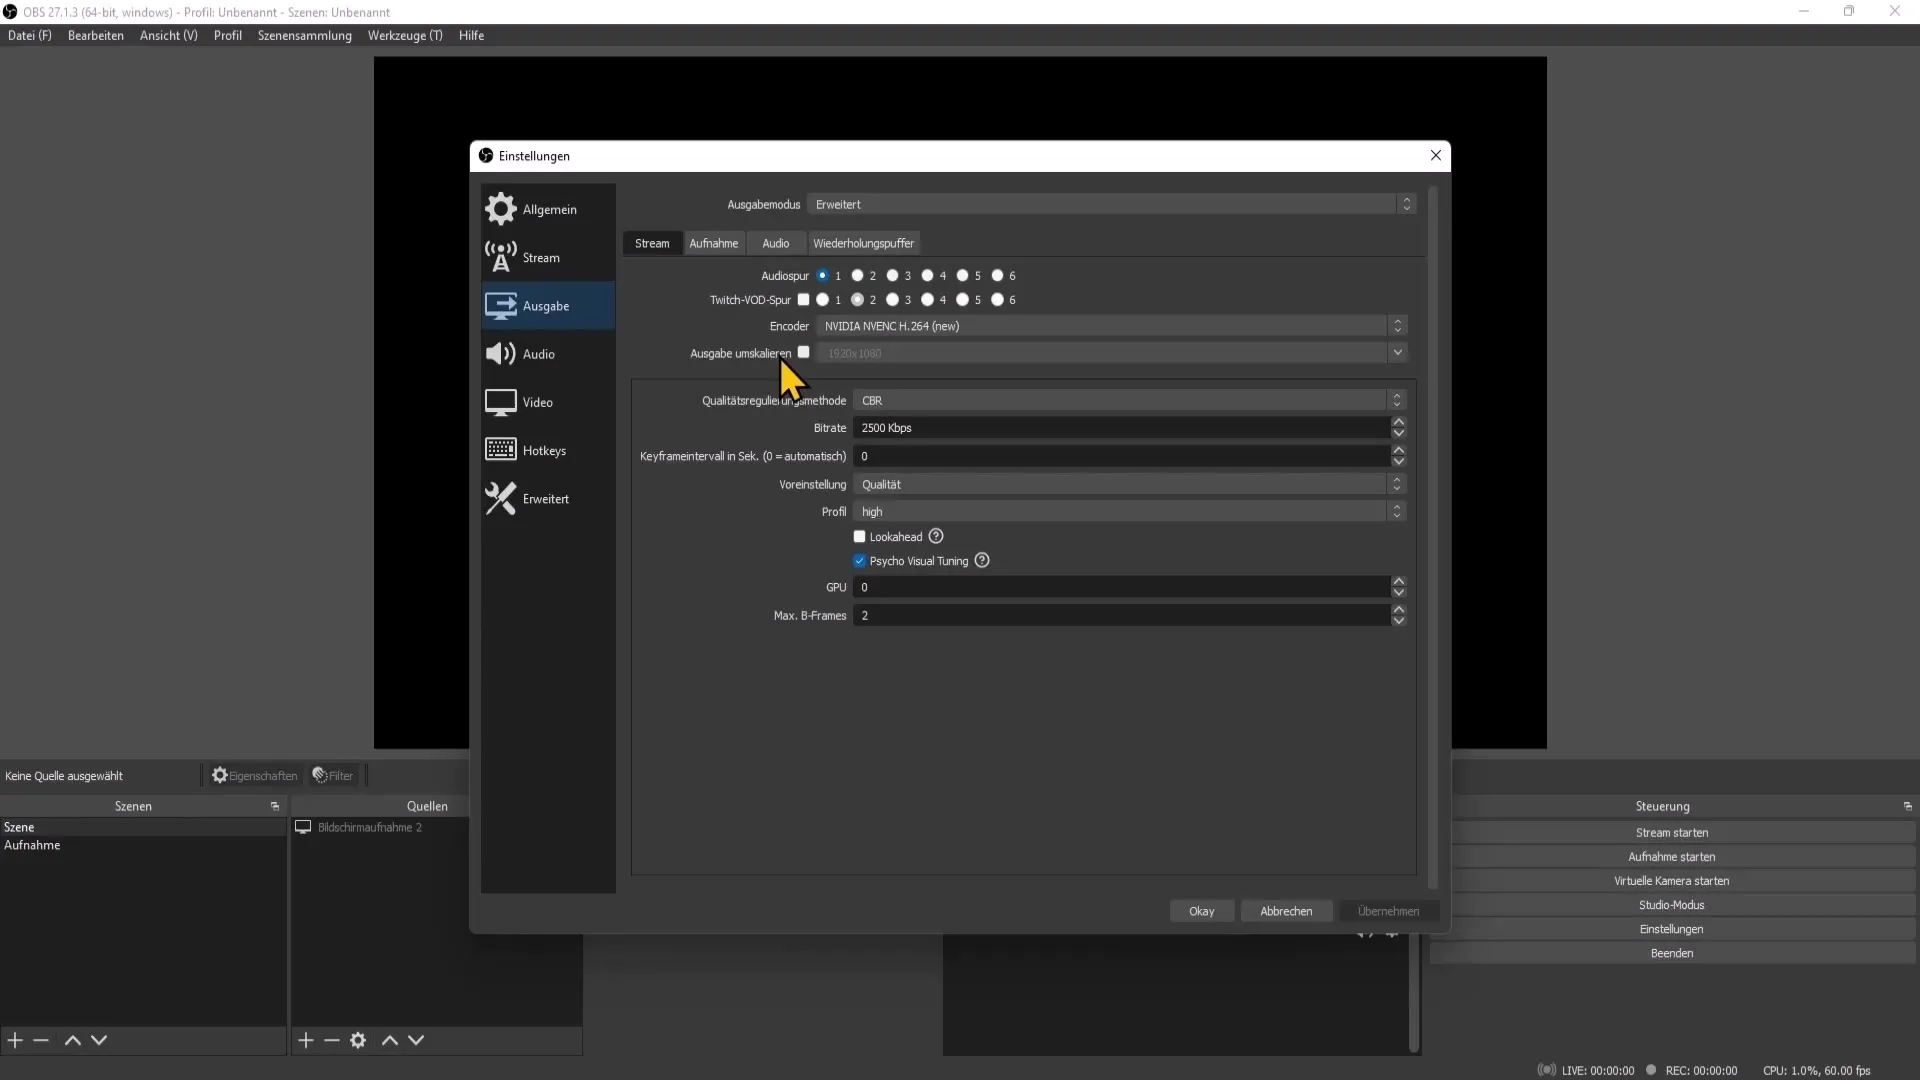
10. Setting Keyframe Interval
The keyframe interval determines how often keyframes are set in the video. Set this value to 2 to ensure smooth playback.
11. CPU Usage Configuration
The CPU usage settings help optimize the performance of your recordings. Depending on your CPU strength, you should adjust the preset. For most mid-range systems, "very fast" is a good choice. However, test different settings to find the best performance.
12. Quality Adjustments
Achieve the best results by adjusting the bitrate and CPU preset qualities. Use the Task Manager to monitor CPU usage and ensure that your system can handle the chosen settings.
13. Starting Recording
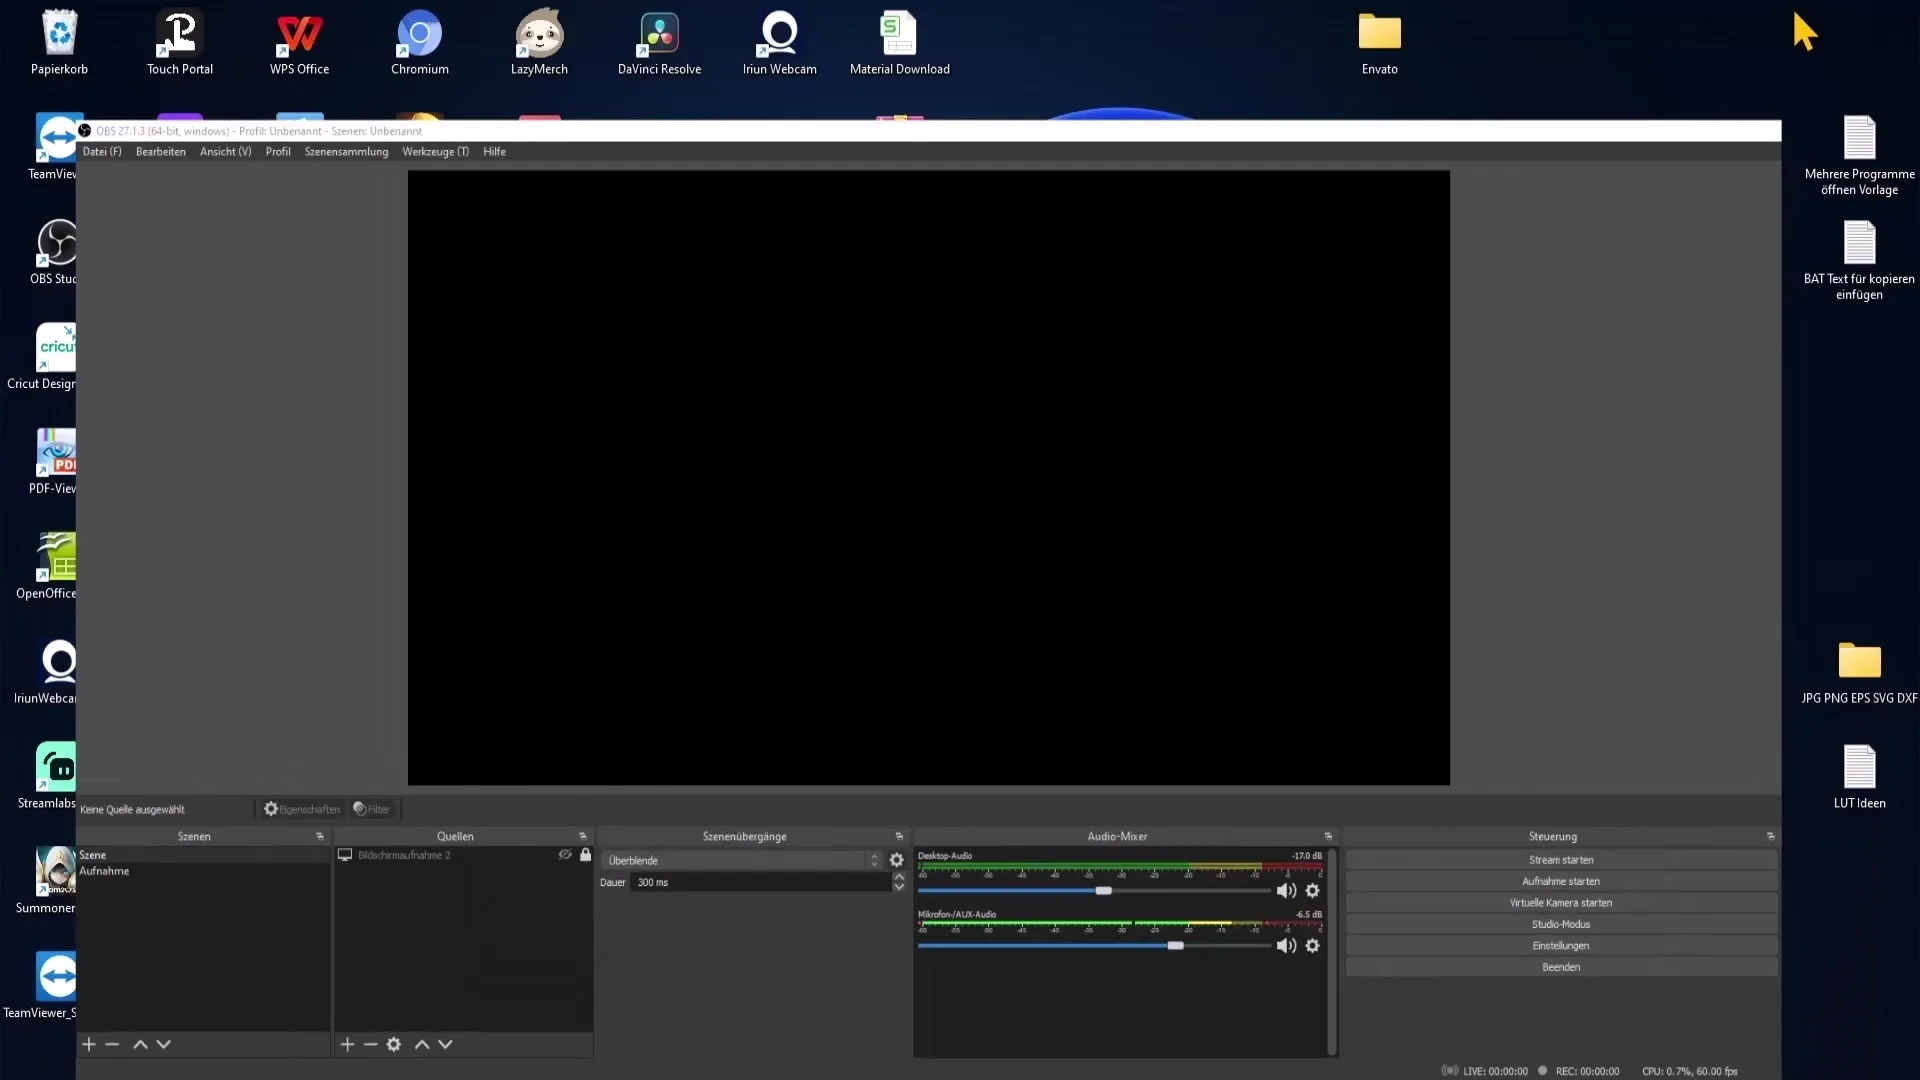
Once all settings are configured, click on "Apply" and "OK". To start recording, you need to create a scene and then add the screen capture. Click on the plus sign under "Sources," select "Display Capture," and click "OK" after adjusting the necessary settings.
Summary
In summary, you have now learned the steps to create high-quality video recordings with OBS Studio. From basic video settings to bitrate adjustment to the final recording, you have the opportunity to optimize your settings. Test different configurations to ensure the best results for your individual requirements.
Frequently Asked Questions
How do I set the best resolution for OBS Studio?The base resolution should match your desktop's resolution. If your screen is 1920x1080, choose the same resolution in OBS.
What is the difference between MP4 and MOV?MP4 is well accepted by most platforms and has smaller file sizes. MOV offers better quality but can create larger files.
Why should I adjust the bitrate?Too high a bitrate can overload the system and make the recording stutter. Adjustment is necessary to achieve the best performance.
How do I find the optimal FPS for my recordings?For fast-paced games, 60 FPS is recommended. For less motion-intensive content, such as tutorials, 30 FPS may be sufficient.
What should I do if I experience stuttering or image errors while recording?Try reducing the bitrate or adjusting the quality settings in OBS to improve performance.


