You want to give your YouTube channel the next boost and achieve optimal sound for your videos or streams? The audio settings in OBS Studio are a central part of this endeavor. Here you describe step by step how to efficiently configure and optimize your audio sources.
Key Insights
- Add and manage audio sources like microphone and speakers easily.
- Adjust the volume with the audio mixer to avoid clipping.
- Apply filters for audio enhancement.
- Use hotkeys for quick audio management in livestreams or recordings.
Step-by-Step Guide
To achieve high-quality audio in OBS Studio, follow these steps:
1. Add Audio Sources
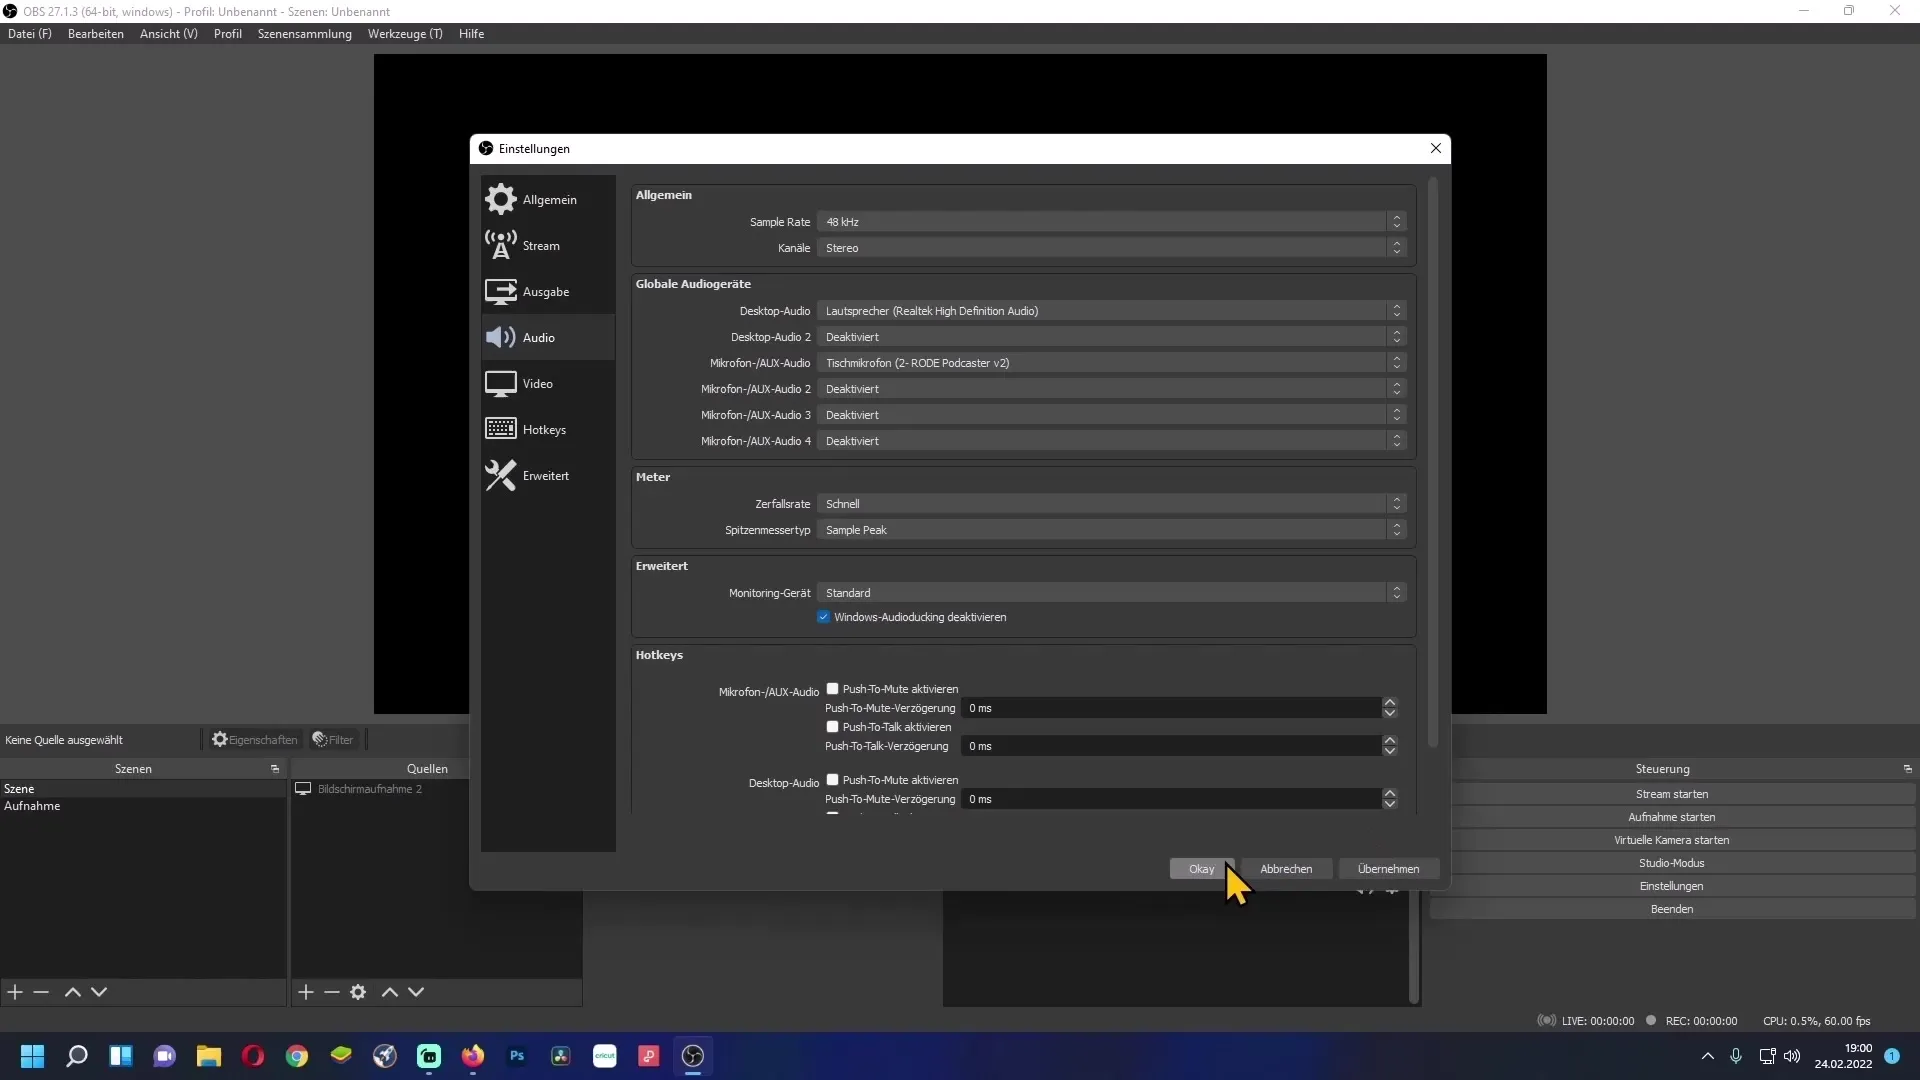
First, start OBS Studio and click on "Settings" in the bottom right corner. In the window that opens, navigate to "Audio". Here you will find the option to configure output devices. Under "Global Audio Devices" you can add both desktop audio - such as speakers or headphones - and the microphone. Note that you can add up to two desktop audio sources and up to four microphones.
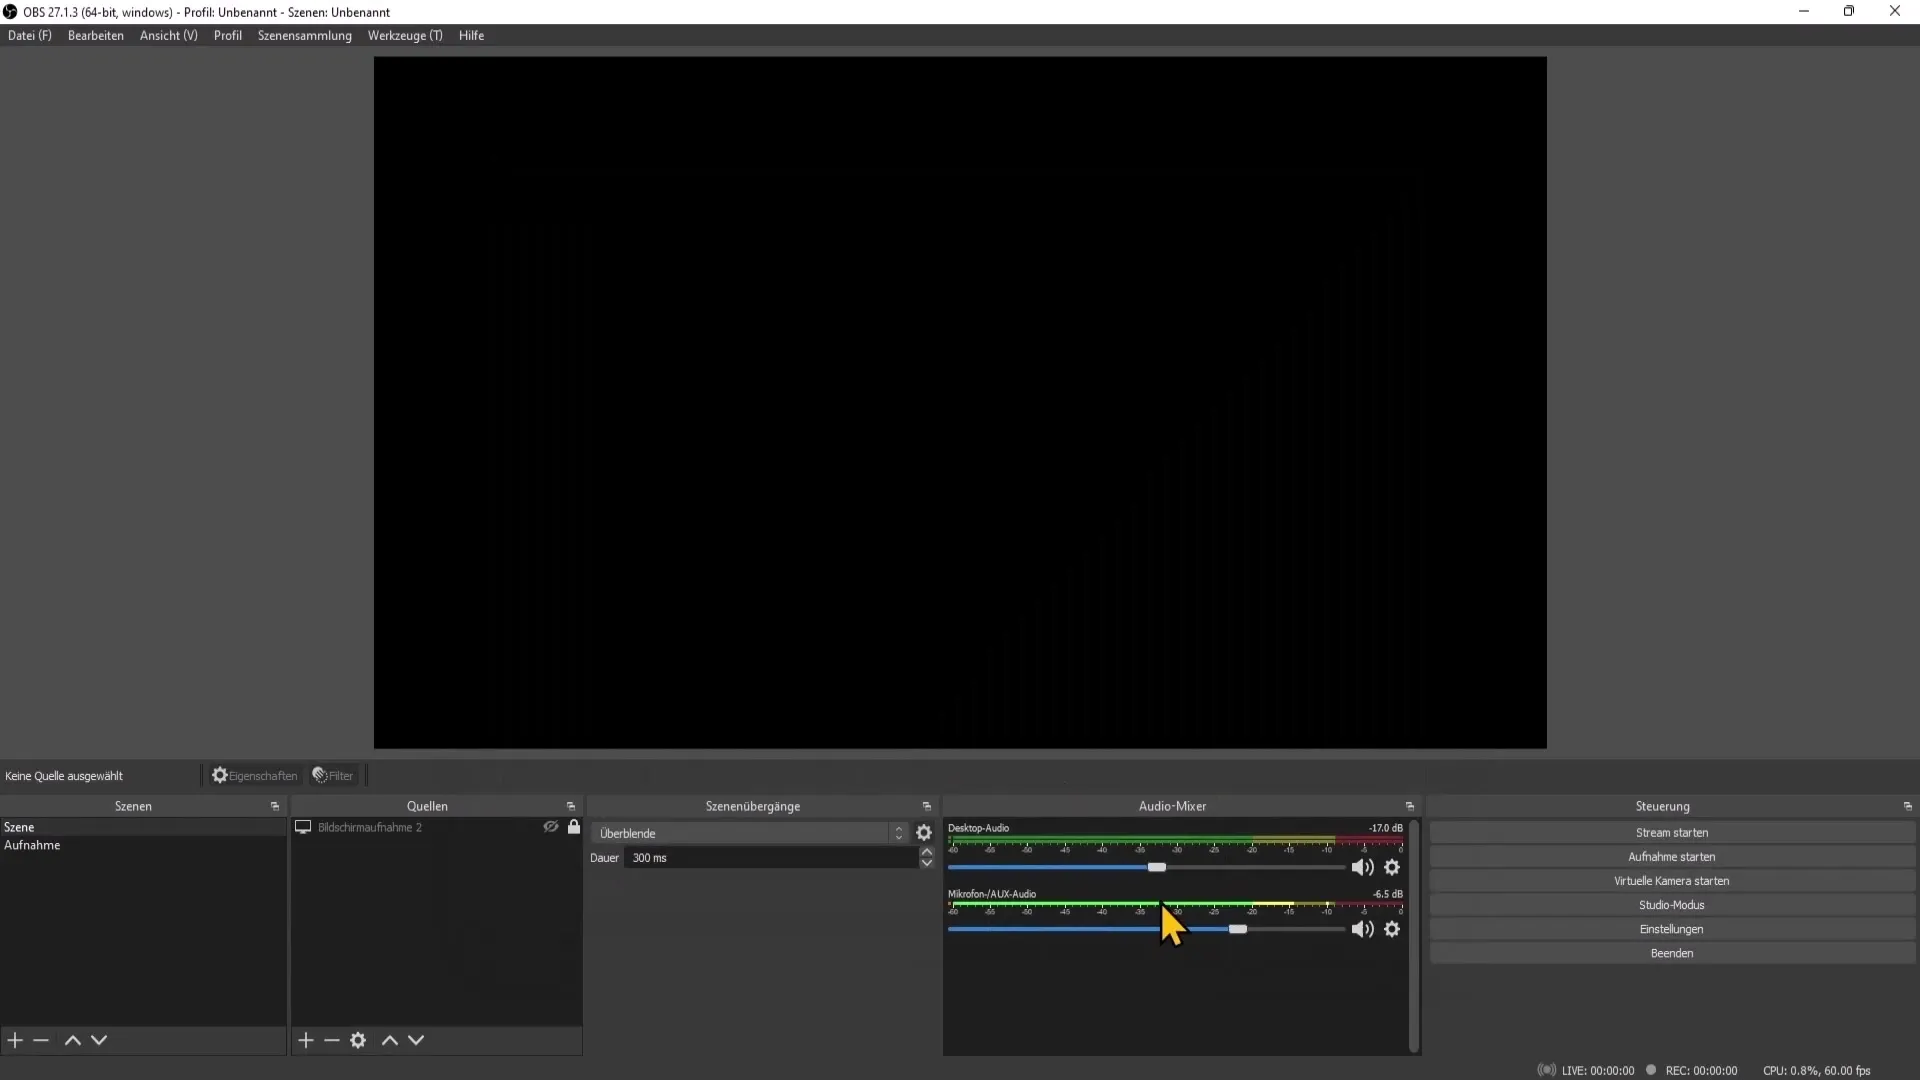
If the configuration worked, click on "Apply" and then on "OK". To check if your microphone is correctly connected, simply speak into it - the meter in the mixer should be visible. If there is no meter movement, your audio may be muted. Click on the speaker icon to check and potentially enable it.
2. Adjust Audio Sources per Scene
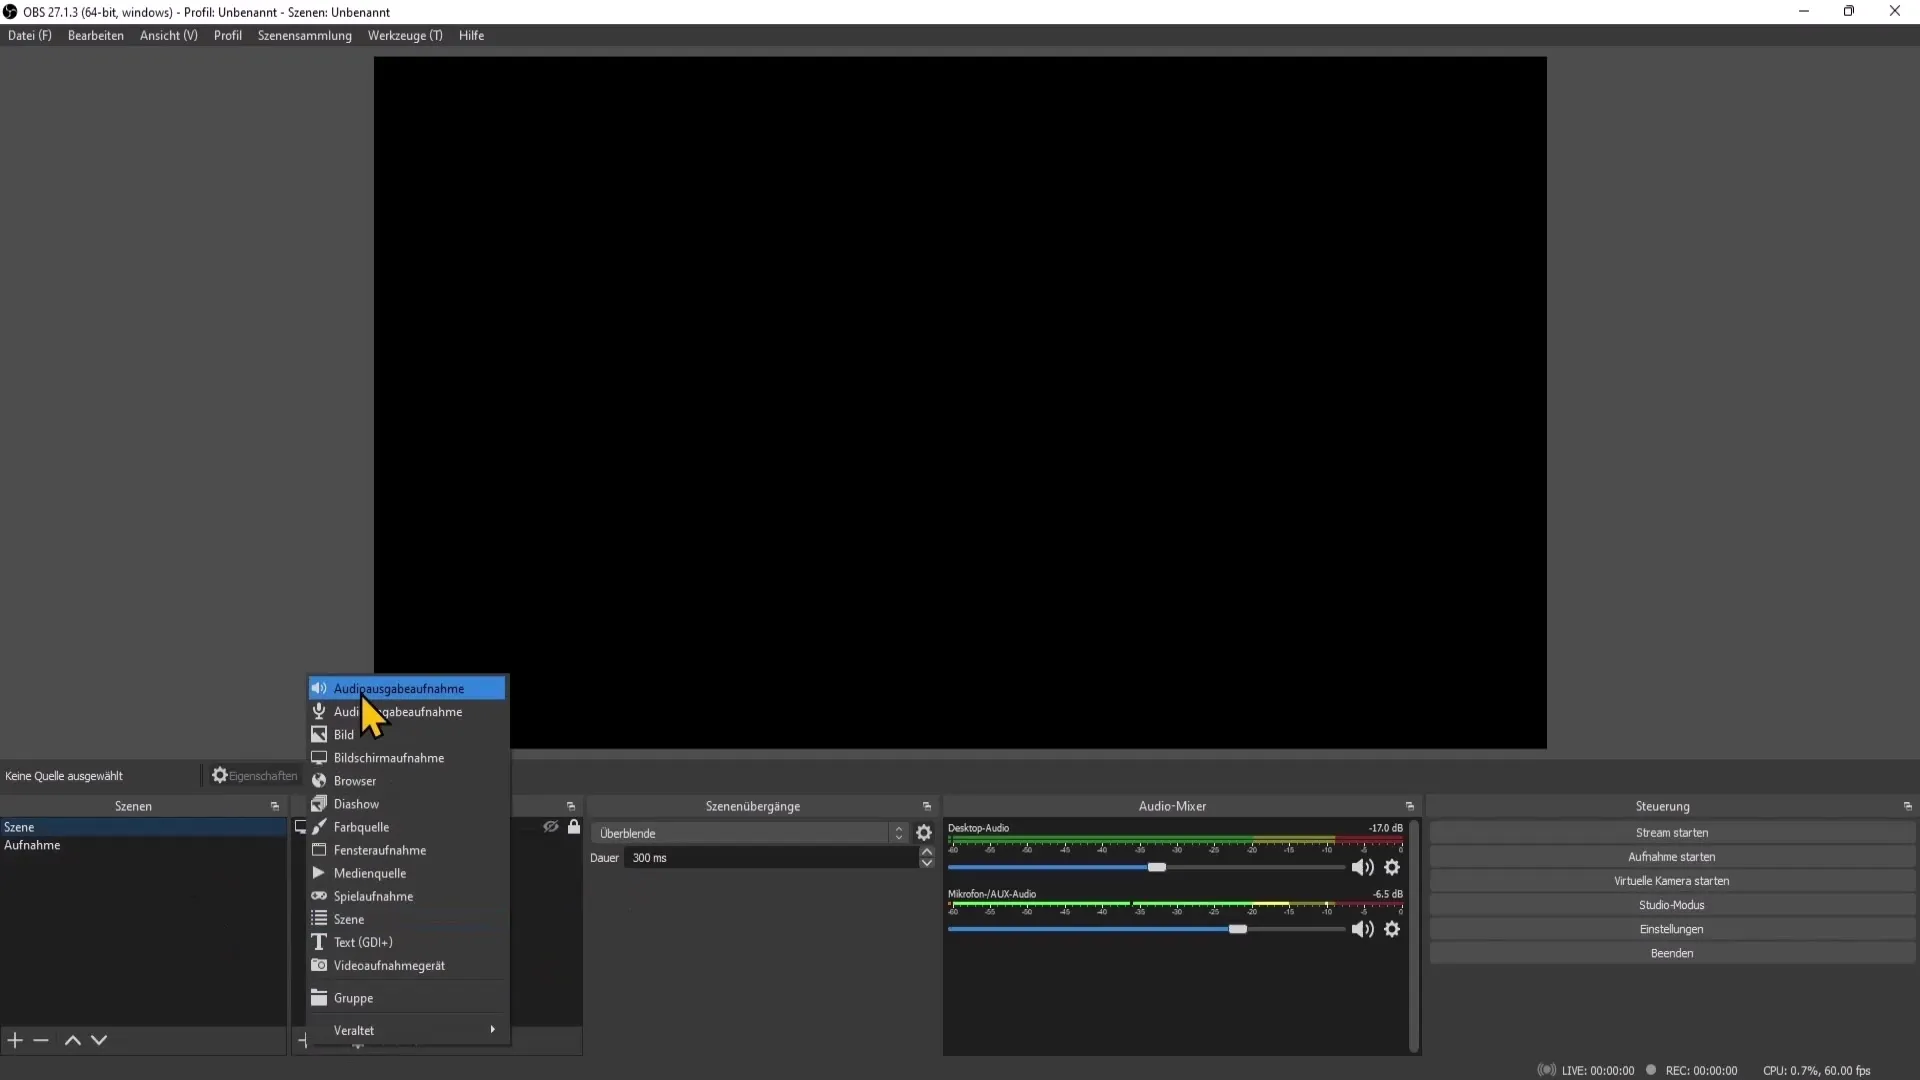
You can adjust the audio sources specifically for each scene. Select a scene and then go to "Sources" and click on the "+" symbol to add a new audio source - either as "Audio Output Capture" or "Audio Input Capture". The output capture is what your audience hears (e.g. music), while the input capture is your microphone.
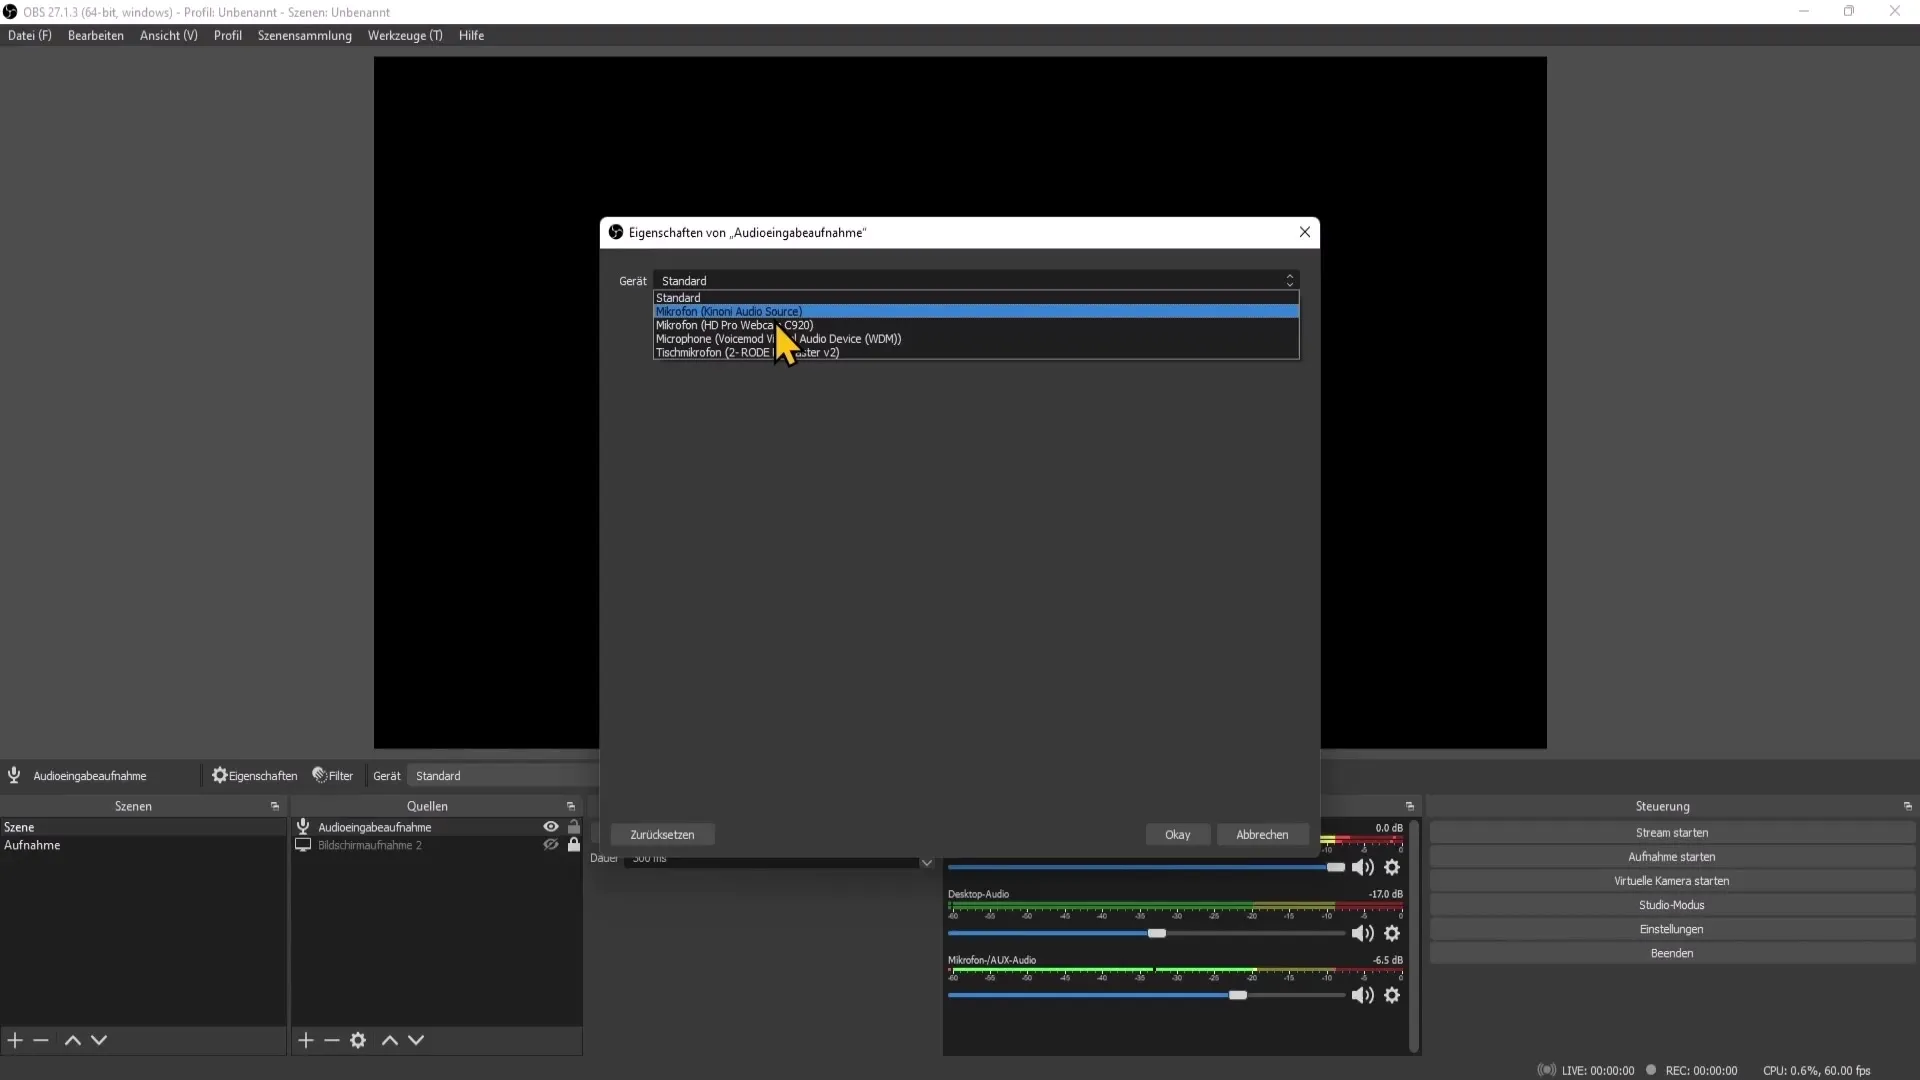
After selecting a device, you have the option to name it and configure the source. If you want to make quicker adjustments, you can also use a device timestamp to improve synchronization.
You can also remove these audio sources at any time by right-clicking on them and selecting "Remove".
3. Adjust Mixer Settings
The goal is to have a consistent audio signal that is displayed in the middle yellow area of the mixer. If your microphone is too loud and clipping into the red area, decrease the volume by moving the slider to the left.
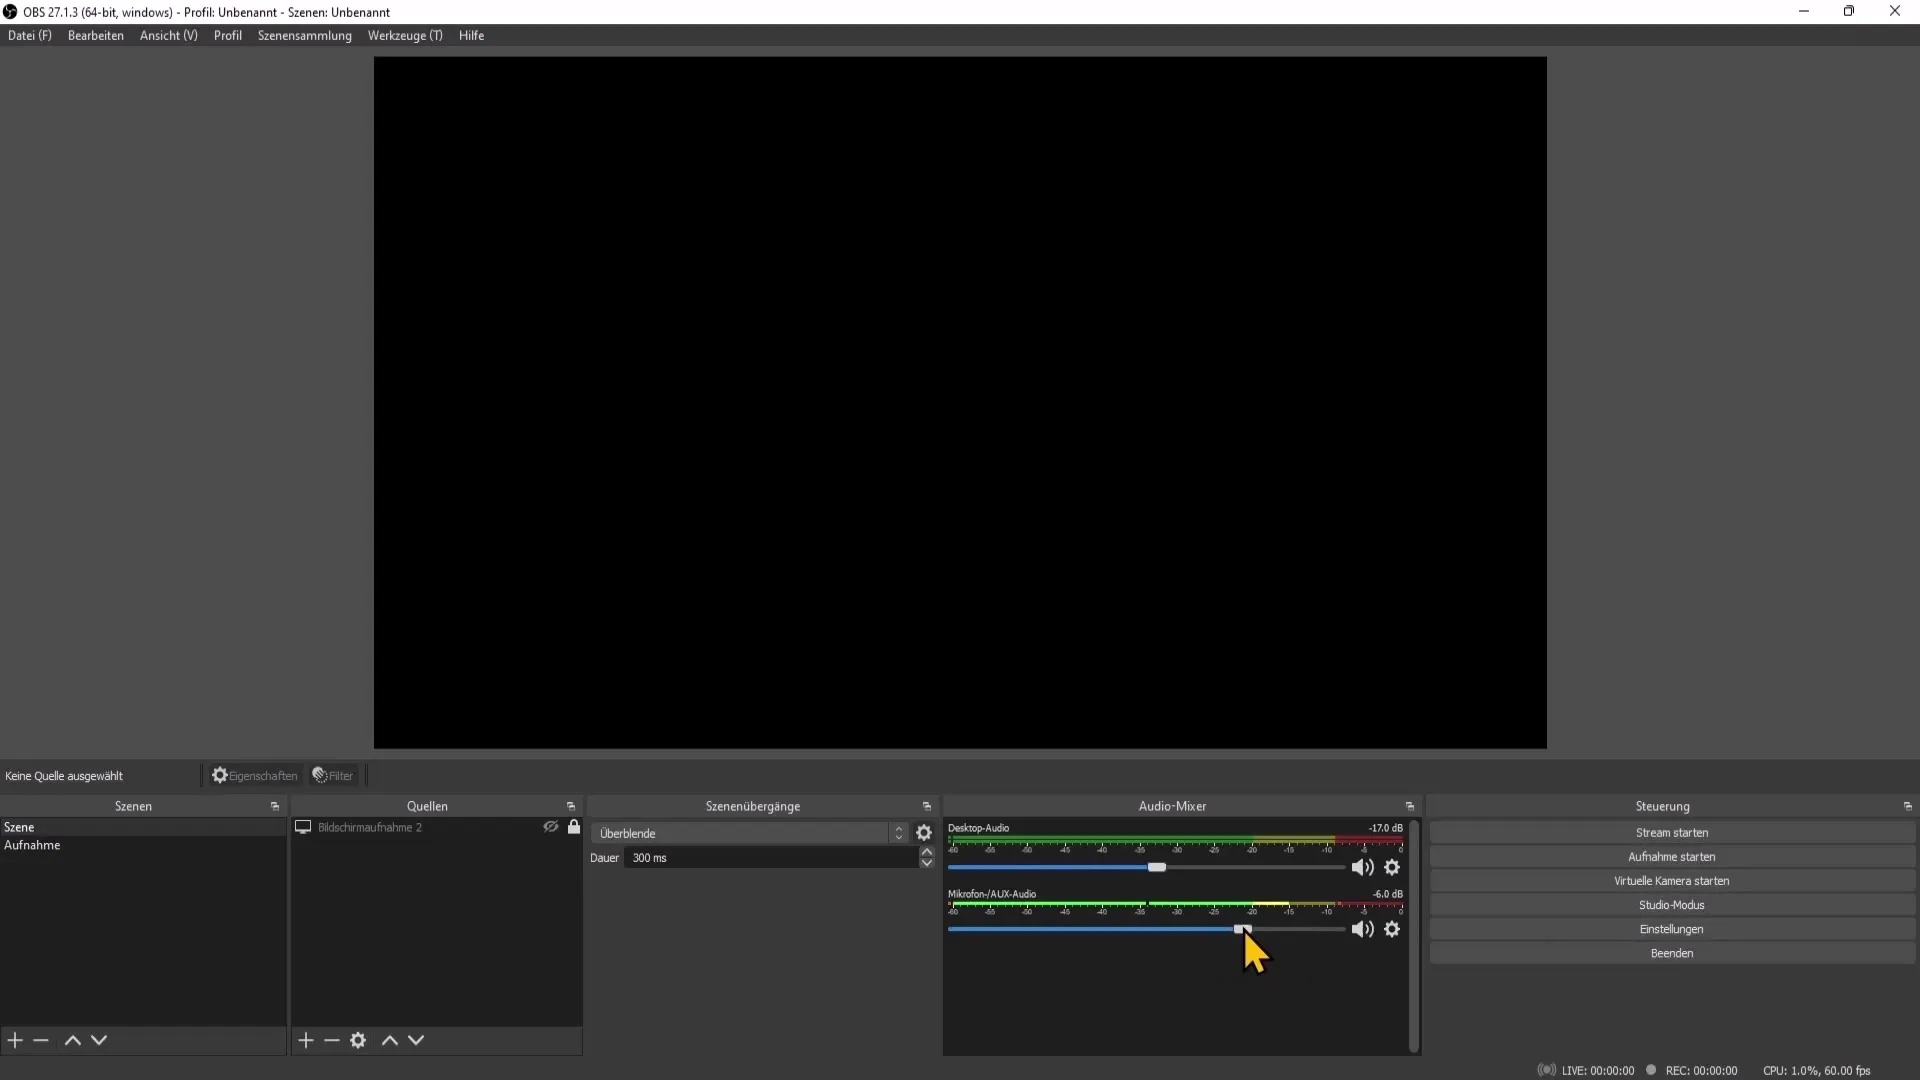
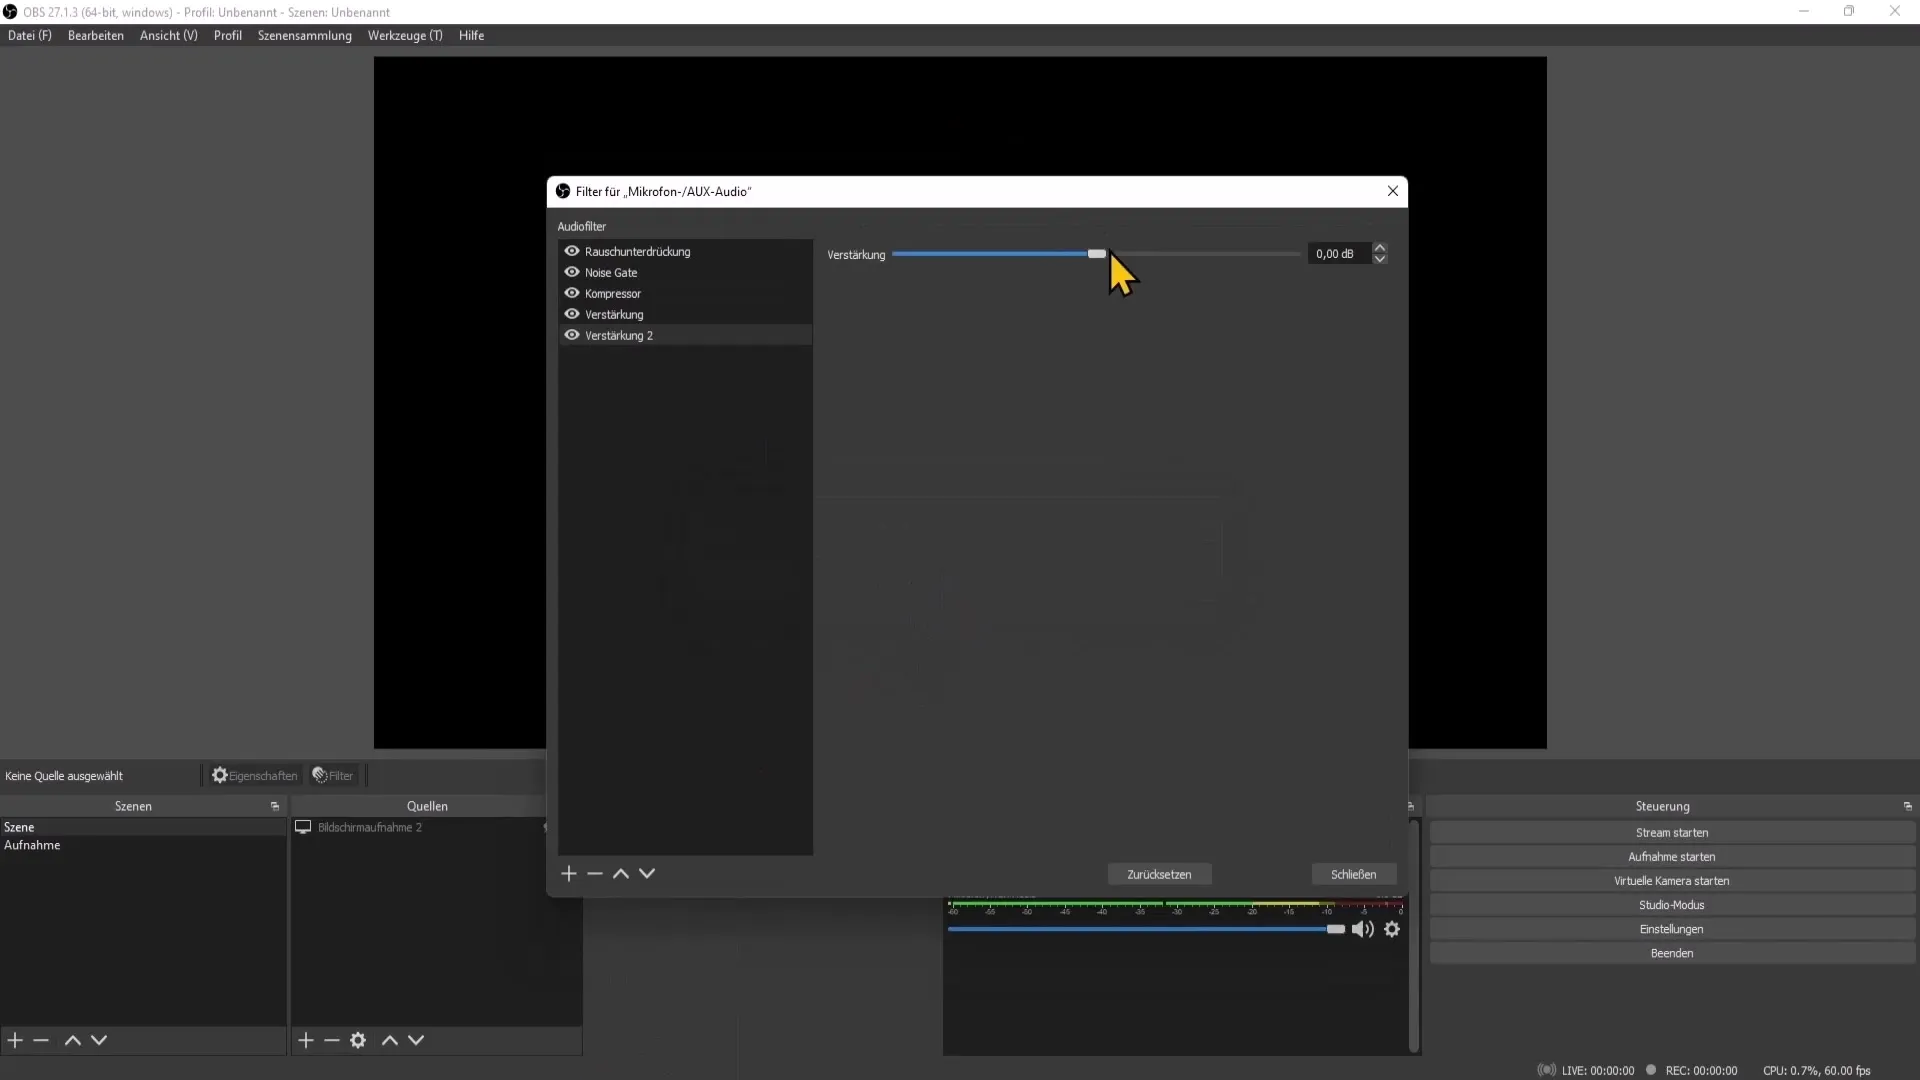
However, if your microphone signal stays in the green area and is barely noticeable, you can add an audio amplification filter. To do this, click on the gear icon next to your microphone in the mixer and select "Filters". There, click on the "+" symbol and add an amplification filter.
4. Enable Monitoring
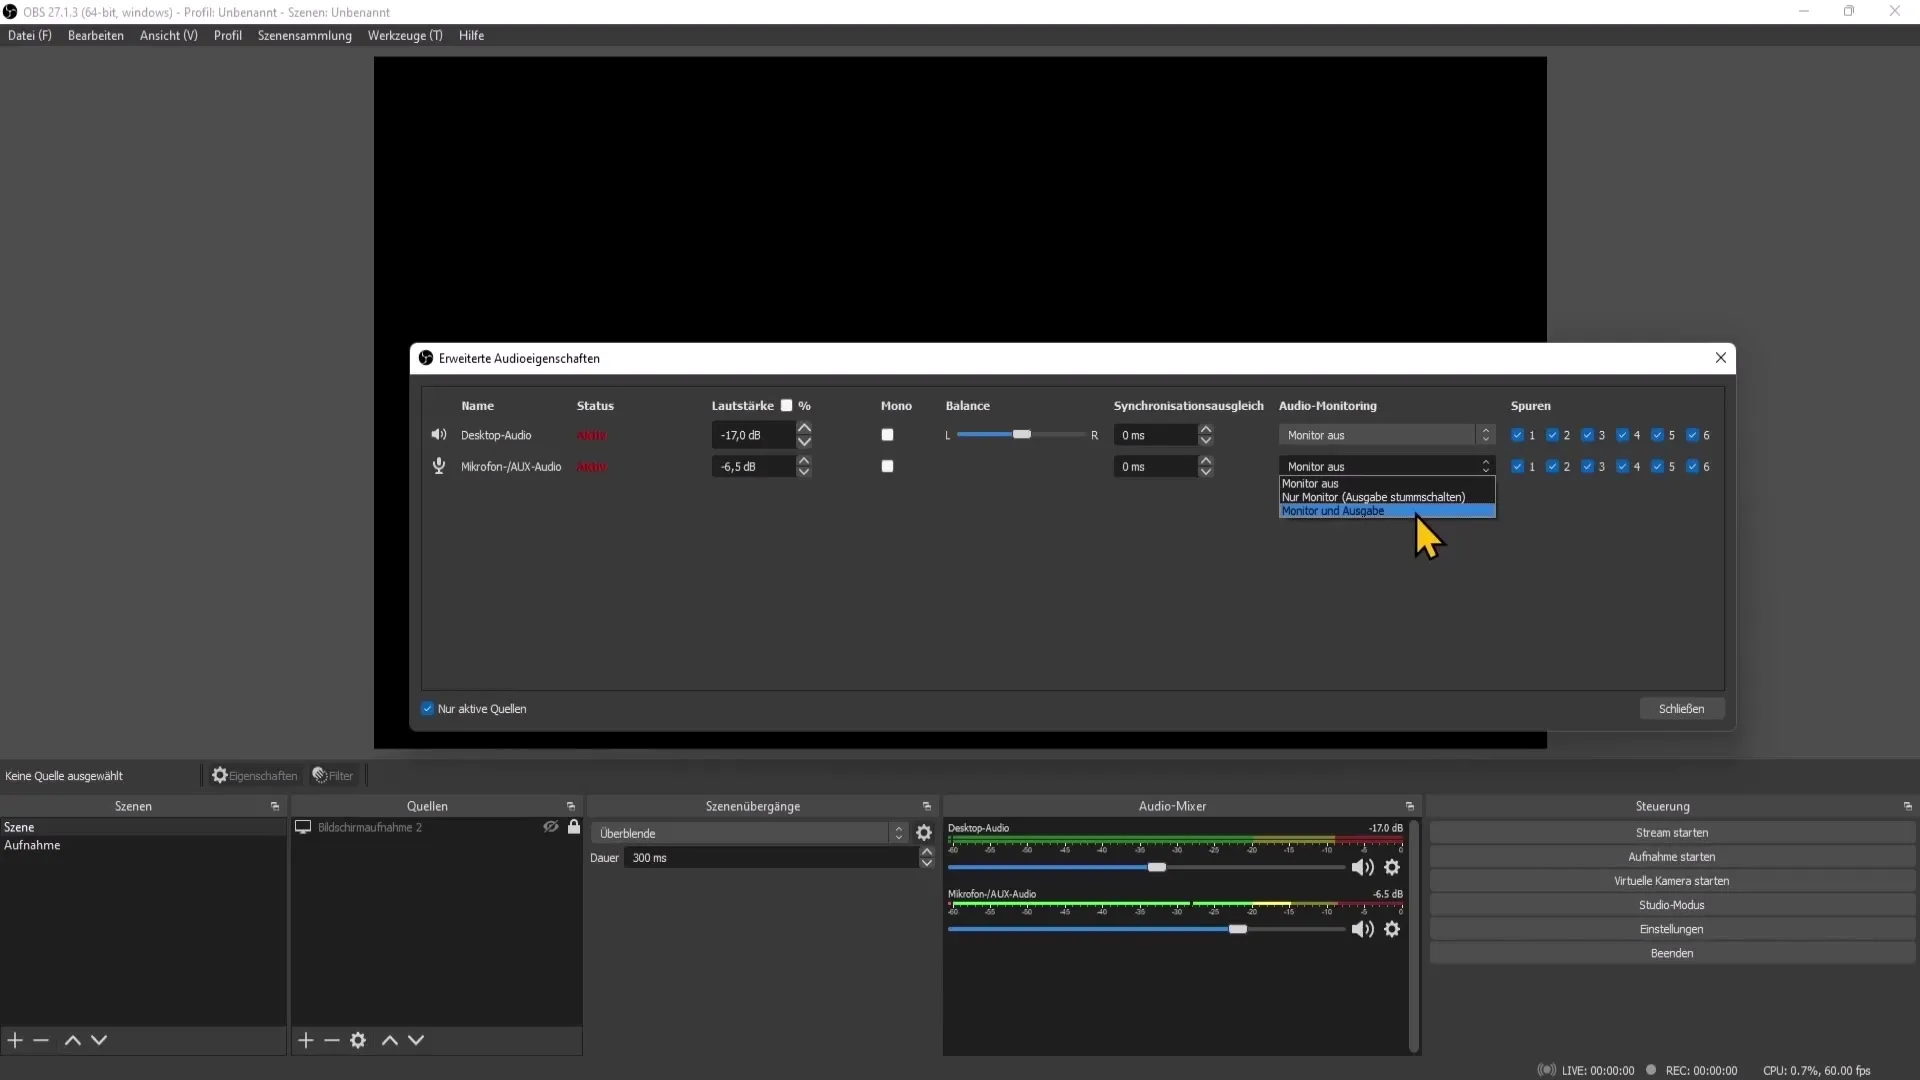
For monitoring, that is, listening to your audio sources, go back to the "Advanced Audio Properties" menu. Here you can also set whether your monitor should be active to hear how you will sound. However, this feature should be disabled when streaming to avoid double audio.
5. Make Important Settings in the Audio Mixer
Go to "Advanced Audio Properties" to further optimize the channels and balance of your better audio sources. If your audio is not in sync, you can use the sync offset. This is especially important if your audio lags behind or leads ahead compared to the video.
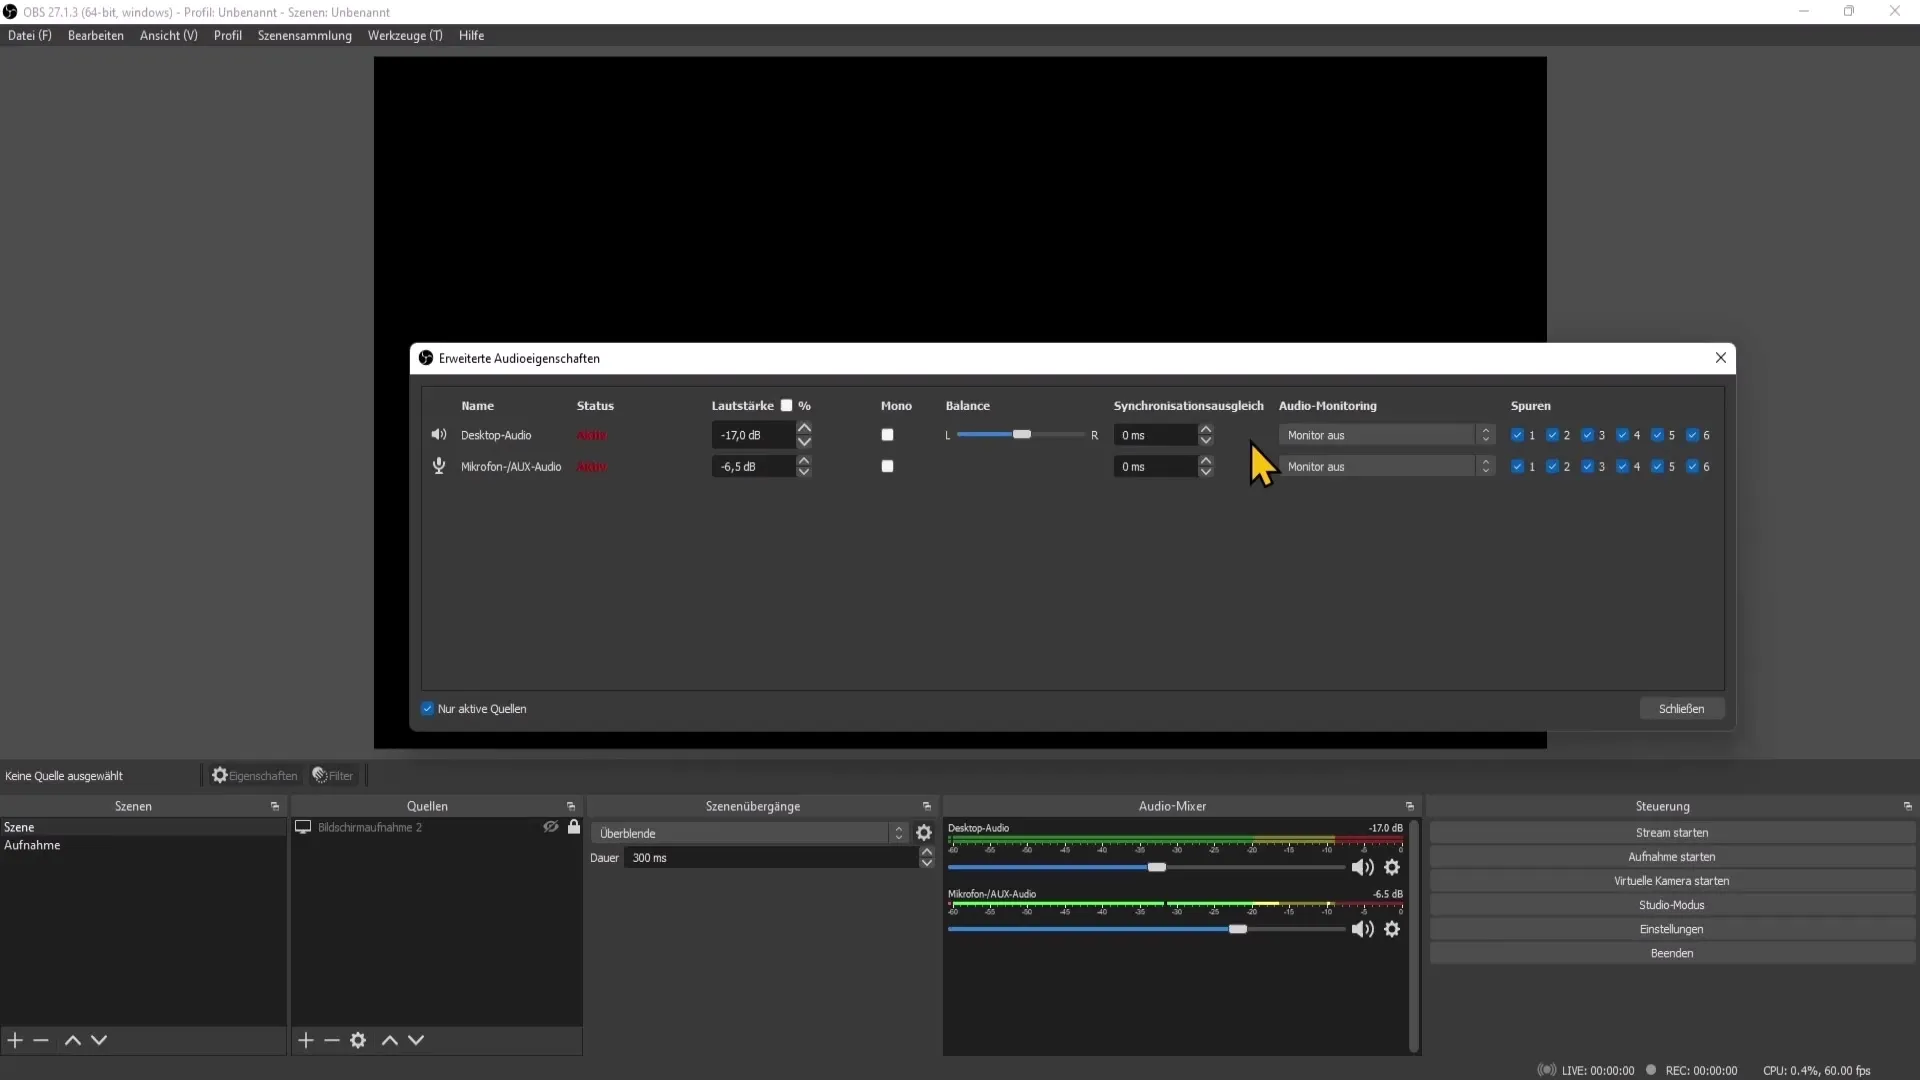
If you do not want to use the desktop audio source in your recording or stream, you can simply remove this source from the track in the audio settings menu.
6. Set up hotkeys for convenient use
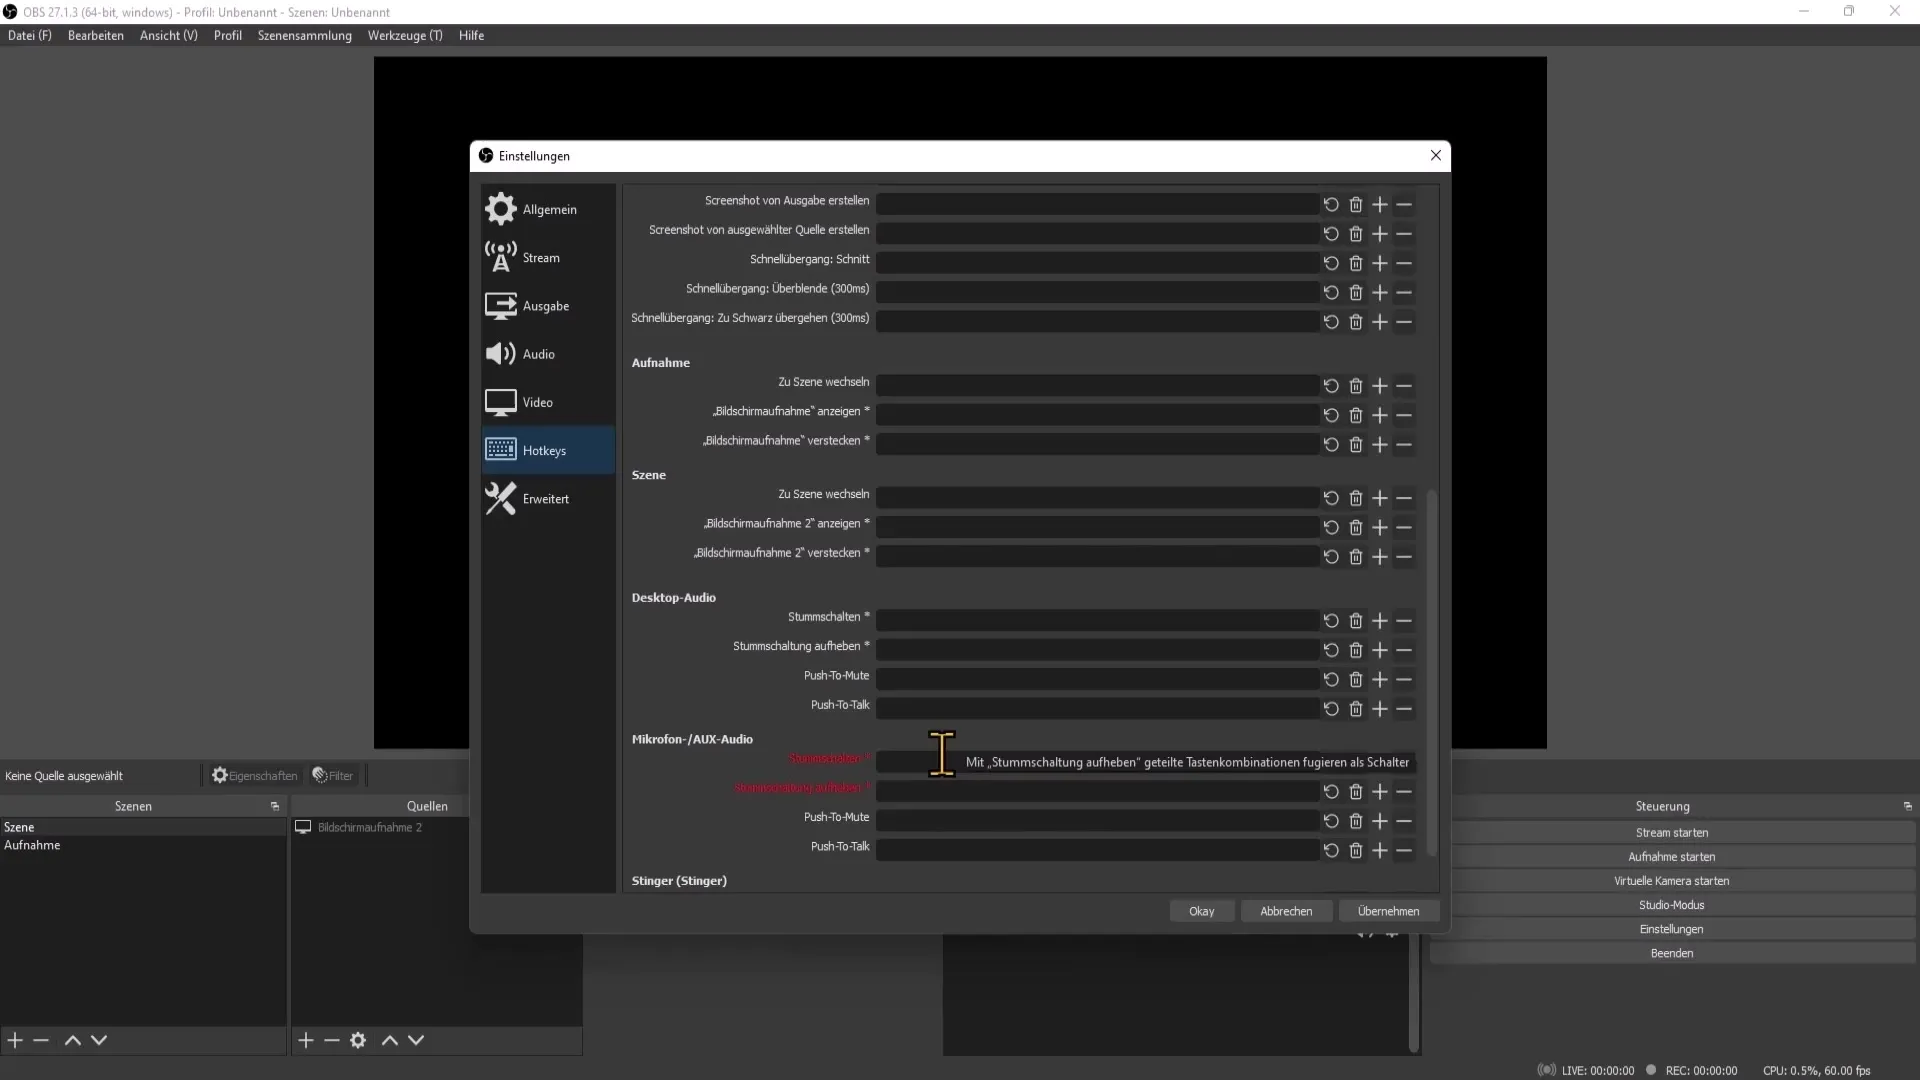
Hotkeys are convenient shortcuts that help you quickly switch between different audio settings. You can assign keys for muting your microphone or desktop audio sources. To do this, open the settings and scroll to "Hotkeys". There you can assign a key of your choice that you want to use to mute or activate the microphone.
7. Conclusion and final configuration
After you have made all the settings, do not forget to save them by clicking on "Apply" and then on "OK". Sometimes a restart of OBS Studio is necessary to ensure that all changes are correctly applied.
Summary
In this guide, you have learned how to optimize your audio settings in OBS Studio. From choosing the right audio sources, to mixing, to using efficient hotkeys – you now have all the tools at your disposal to improve your sound quality.
Frequently Asked Questions
How do I add an audio source in OBS Studio?Go to "Settings", then to "Audio" and add your desired sources under "Global Audio Devices".
How can I adjust my microphone levels?Use the slider in the mixer to decrease or increase the volume so that the display stays in the middle yellow range.
What can I do if the sound in my recording is not synchronized?Use the synchronization offset feature in the advanced audio properties to synchronize the audio and video.
How can I set hotkeys for audio settings?Open the settings, go to "Hotkeys", and set key combinations for muting or activating.
What is the purpose of monitoring in OBS Studio?Monitoring allows you to hear your sound in real-time, helping you to check the quality of your recordings or streams.


