DaVinci Resolve is one of the big names in video editing. The software is not only intended for professional video production, but also offers extensive features in its free version that are sufficient for a variety of projects. In this guide, I'll show you how to easily install DaVinci Resolve on your Windows computer.
Key Takeaways
- DaVinci Resolve can be downloaded for free.
- During the installation, you should select all additional tools to be able to access the full features.
- The installation process is simple and guides you step by step through the individual steps.
Step 1: Download DaVinci Resolve
First, you need to visit the official DaVinci Resolve website. Here you will find all the necessary information about the software and the download options. Scroll down a bit until you discover the free version of DaVinci Resolve 17.
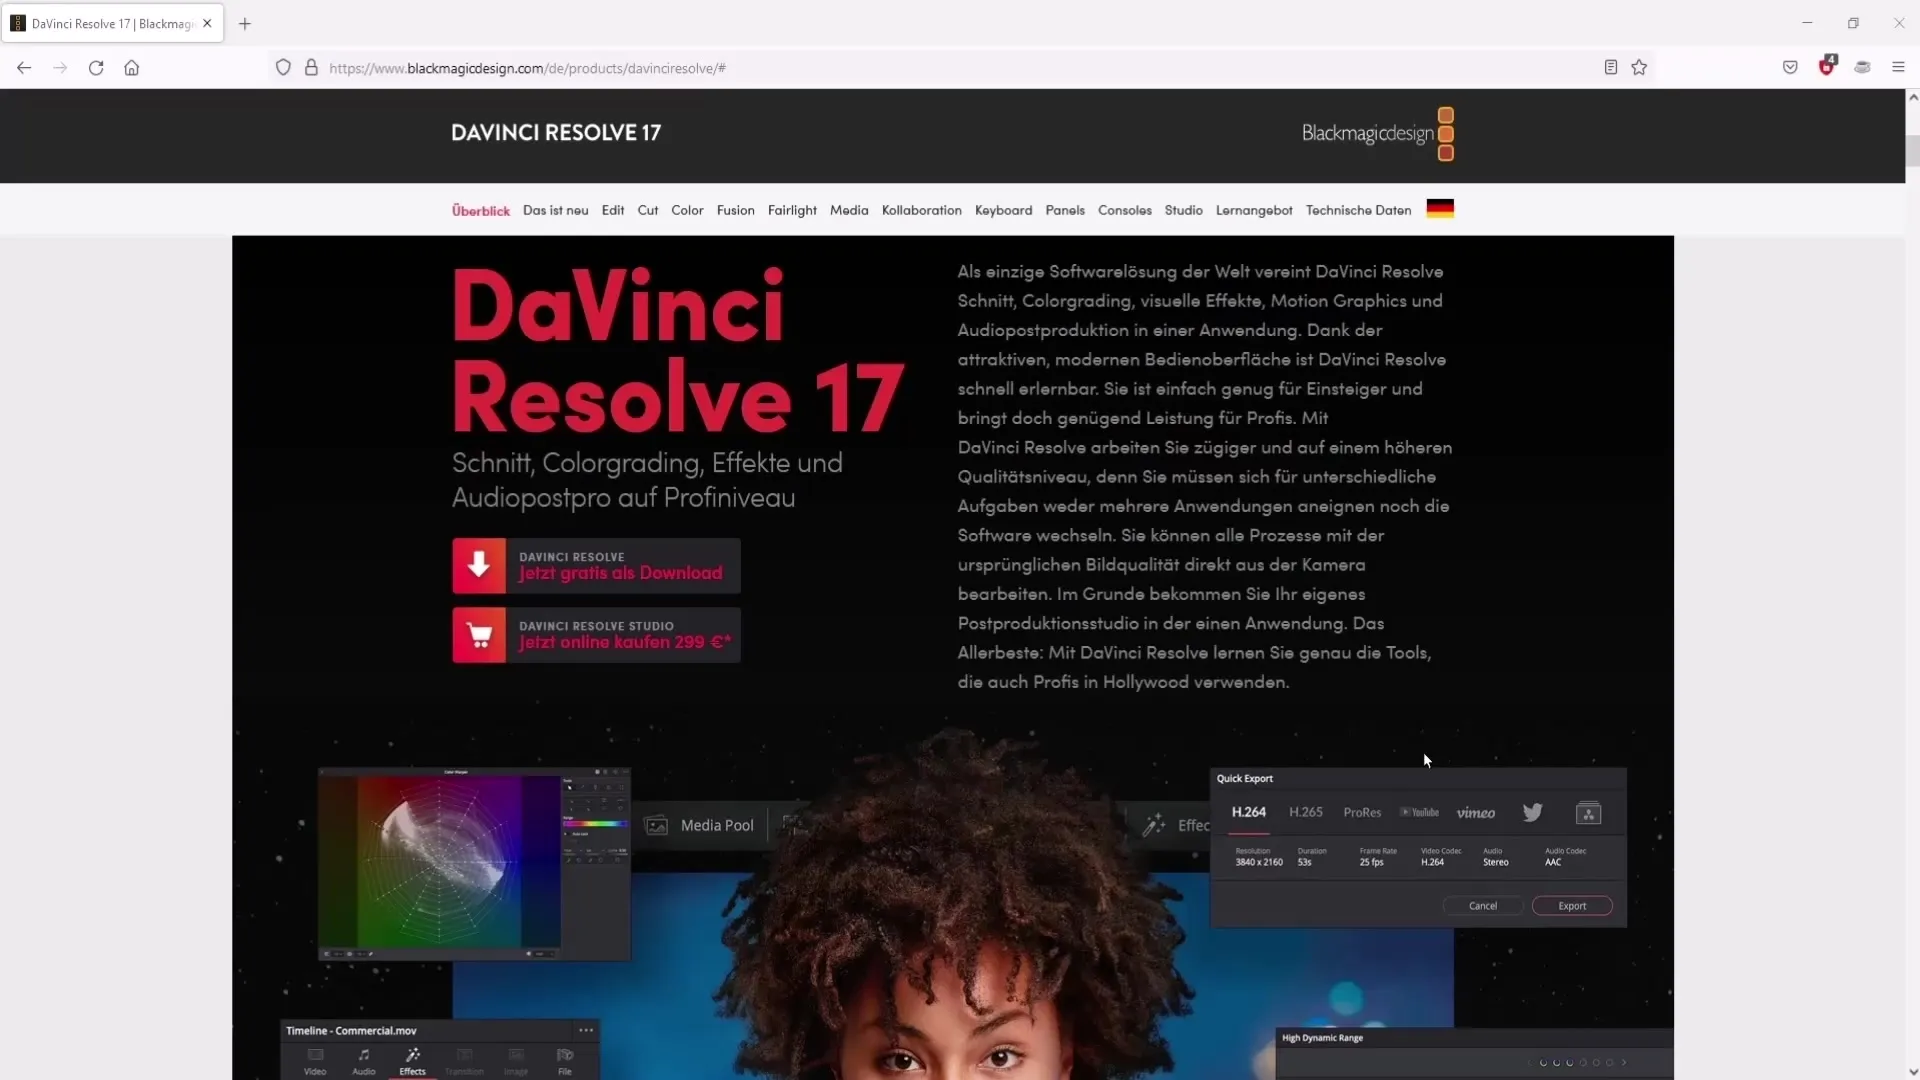
To download the software, click on the corresponding button for the Windows version. Before downloading, make sure you have WinRAR or a similar program installed to later extract the ZIP file.

Step 2: Enter Data for Download
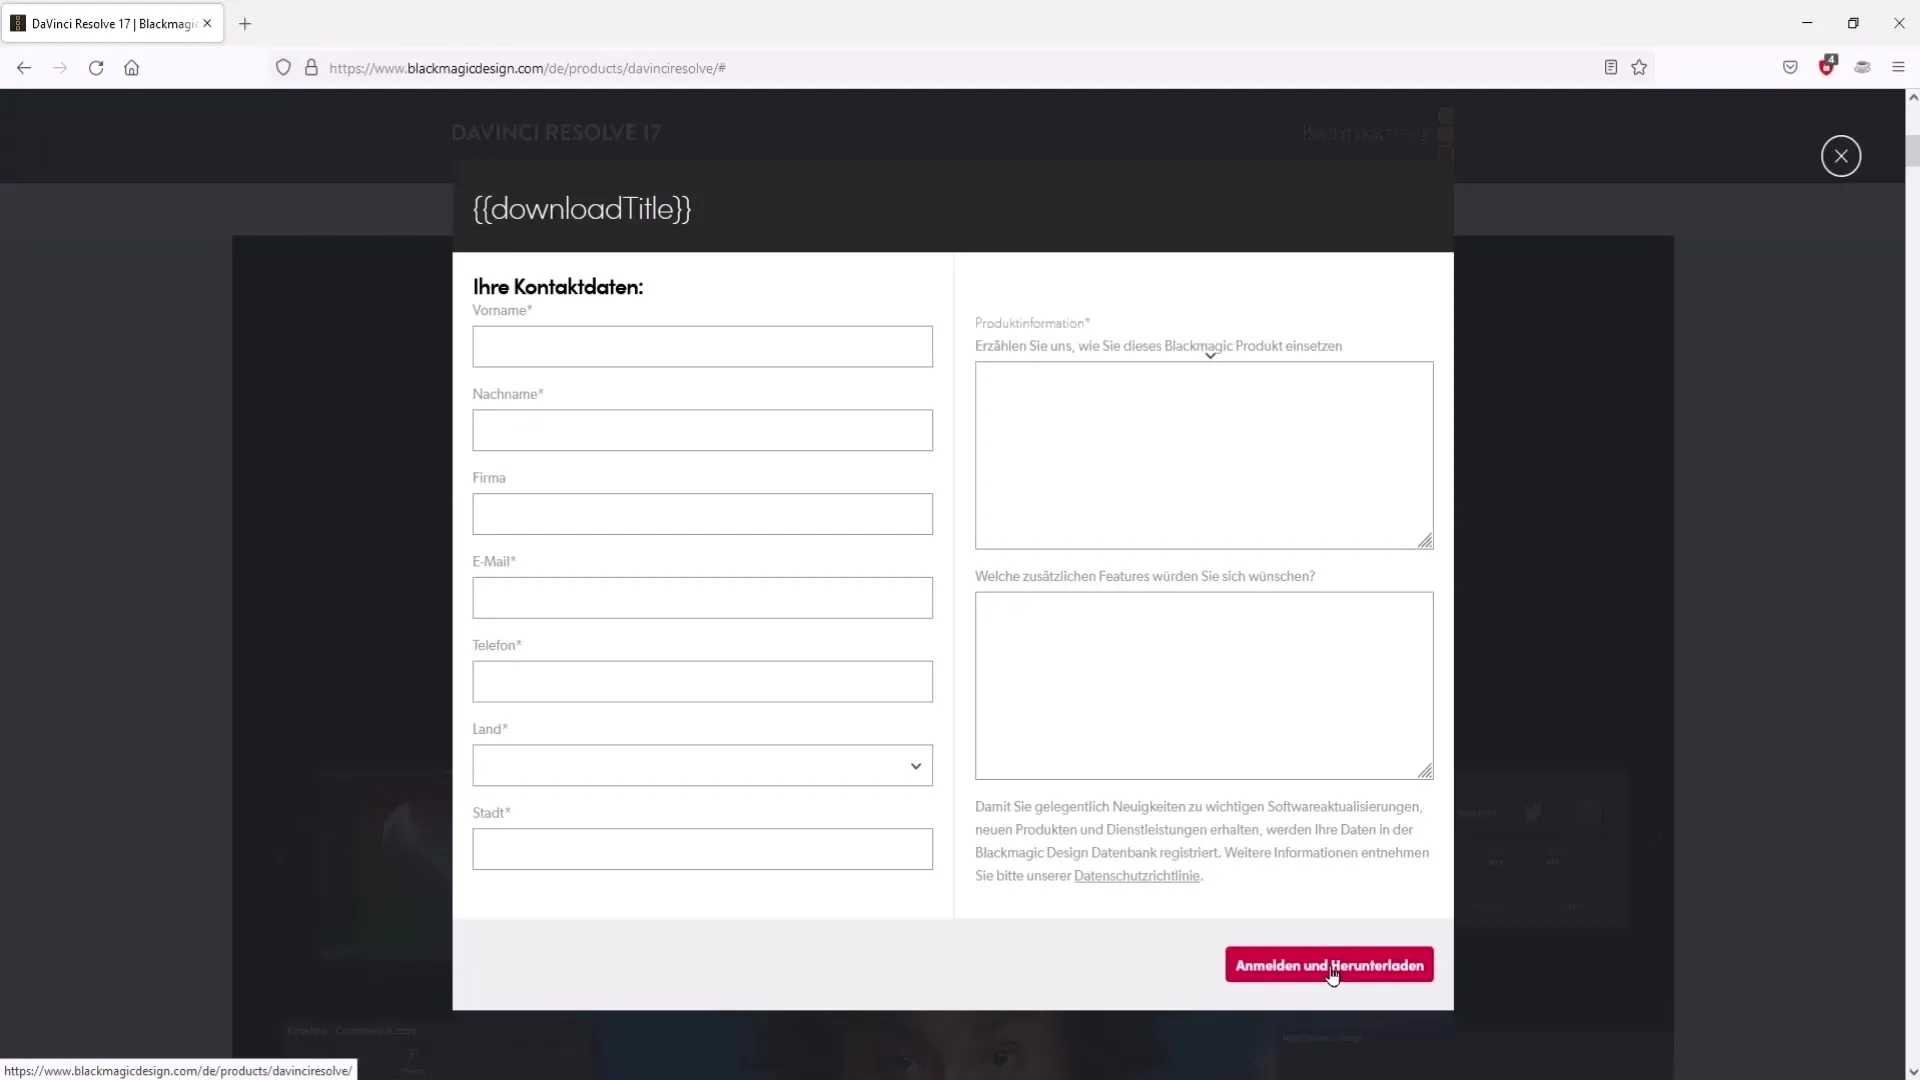
Now it's time to enter your data. There are fields for your first name, last name, and a company (this field is not mandatory). You don't necessarily have to enter your real data, but it can be helpful. After completing everything, click on "Sign in and download".
Step 3: Download the ZIP File
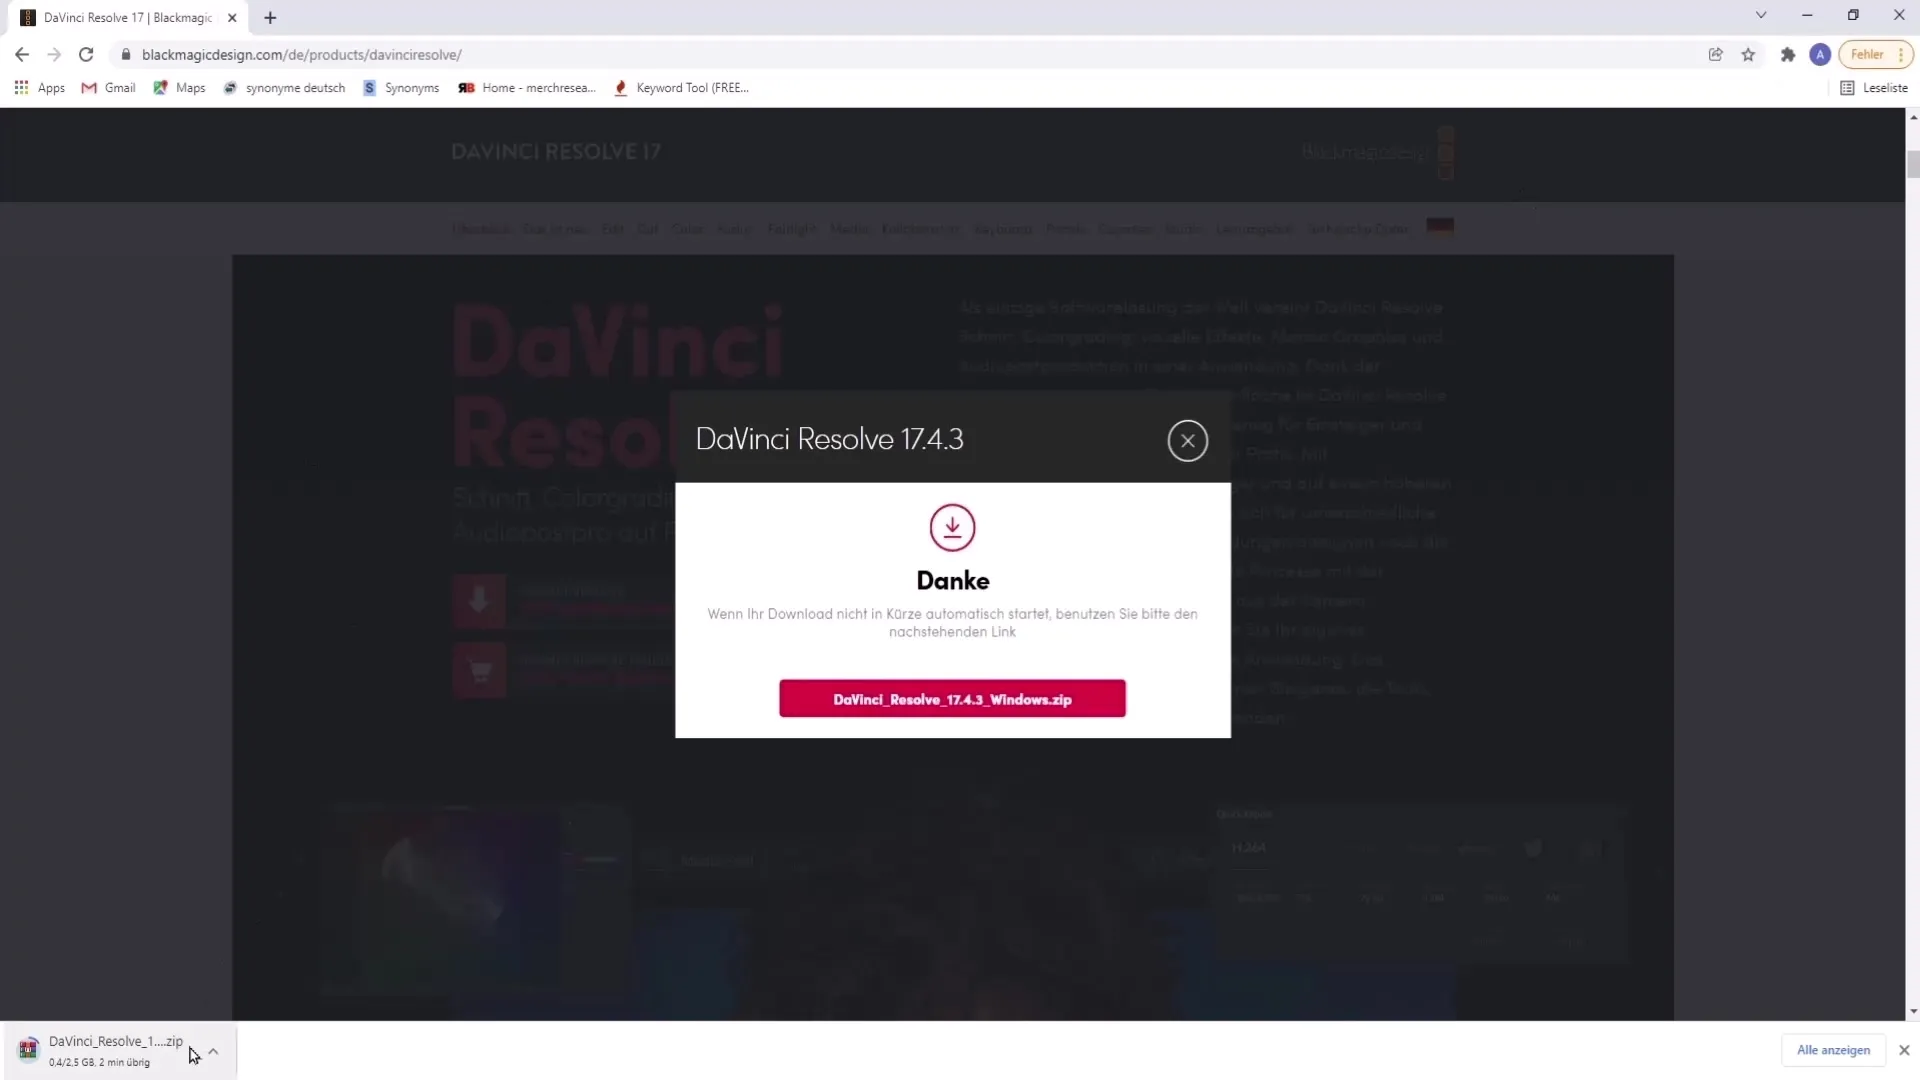
Once you click on "Sign in and download," the download of the ZIP file will begin. The progress will be displayed in the upper corner of your browser. Wait a few minutes until the download is complete.
Step 4: Extract and Install
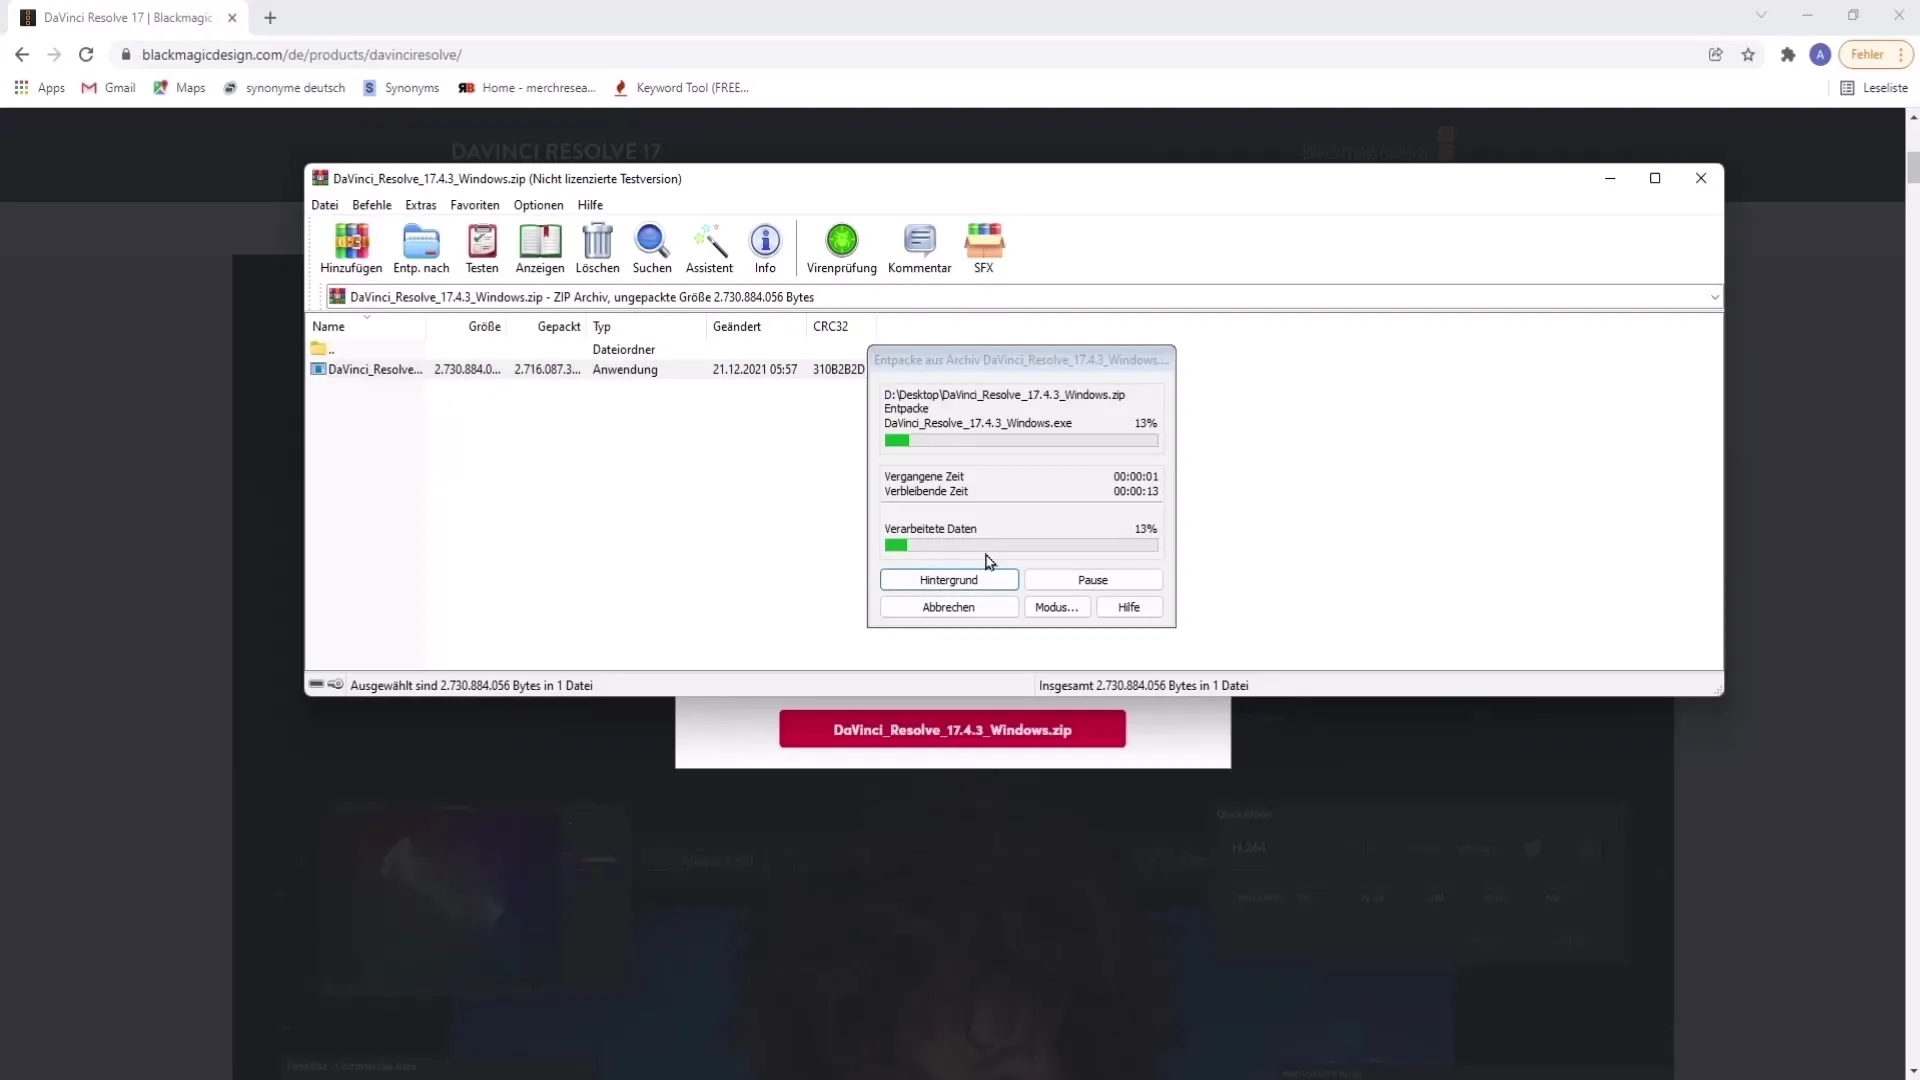
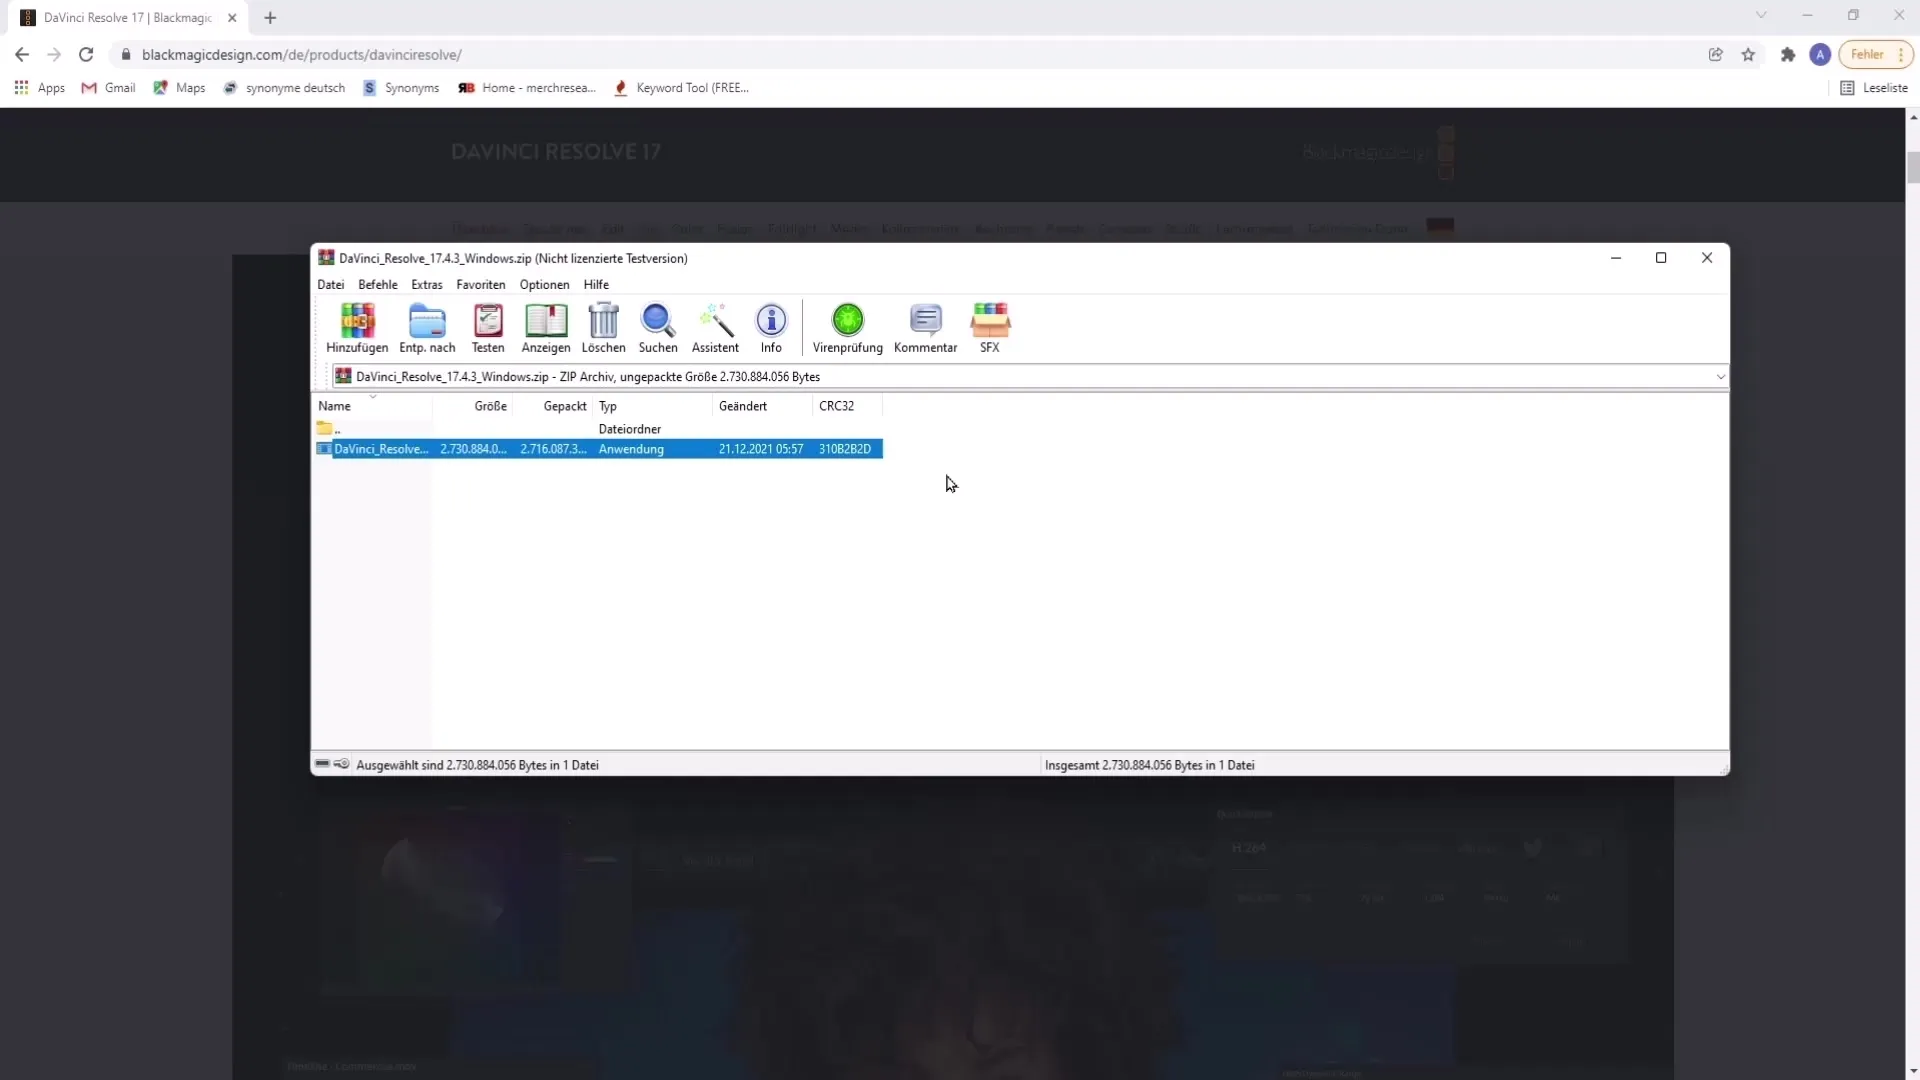
Once the download is complete, you can open the ZIP file. Inside you will find an EXE file that you can start with a double click. The installation process will then start automatically.
Step 5: Install DaVinci Resolve
Follow the instructions of the installation wizard. Make sure to activate all additional tools offered to you. This additional selection is important to access the full features of DaVinci Resolve. After choosing the tools, confirm your selection and click "Next" to continue with the installation.
Step 6: Complete Installation
If all steps have been successfully completed, click on "Install". The installation process may take some time, but soon DaVinci Resolve will be installed on your computer.
Step 7: Find and Launch DaVinci Resolve
After installation, you can easily find DaVinci Resolve. Use the search function of your Windows system and type "DaVinci". Now you should find the software in the search results.
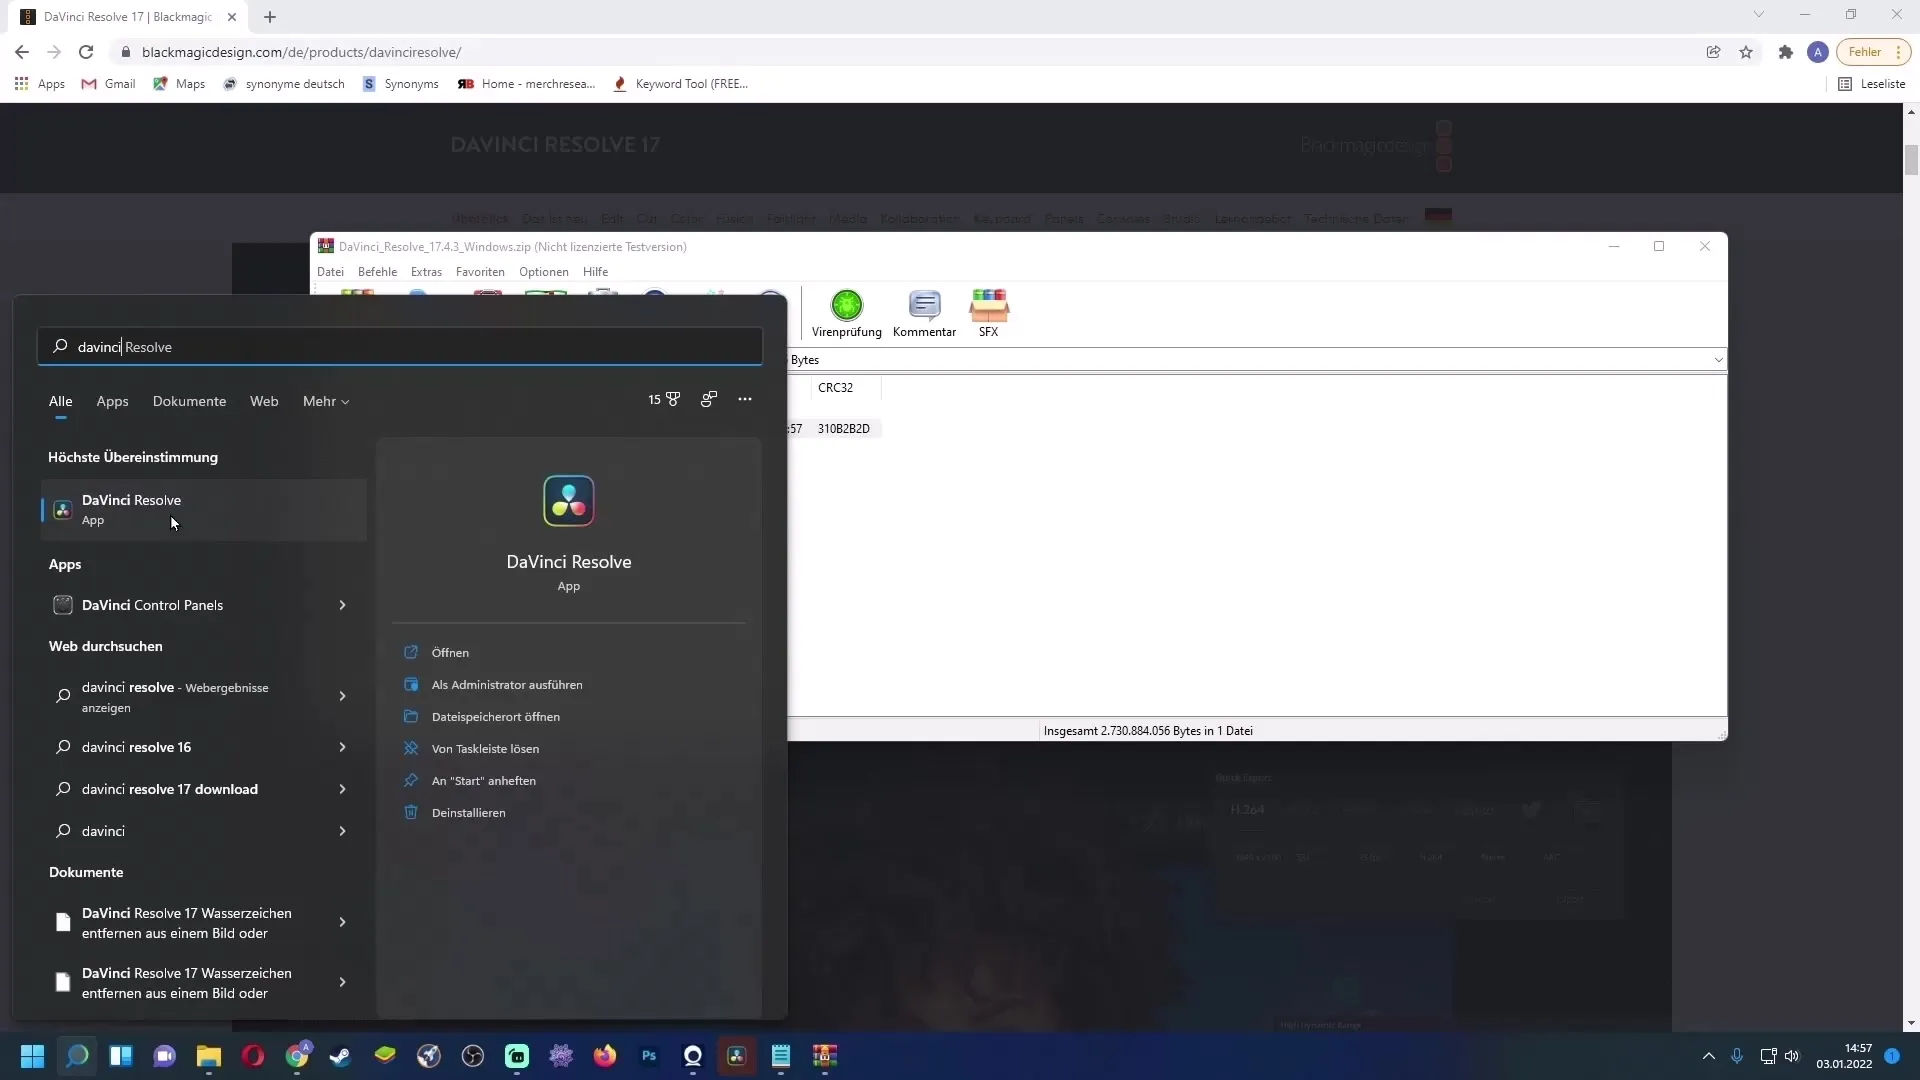
You can drag the DaVinci Resolve shortcut to your desktop for quick access. By double-clicking the icon, you can start the software.
Step 8: Delete ZIP file
If you want to save space, you can delete the downloaded ZIP file after installation. The actual application now runs directly through the EXE file in your program folder.
Summary
You have now gone through all the steps to successfully download and install DaVinci Resolve. With this software, you can professionally edit your video projects without spending any money.
Frequently Asked Questions
How much does the Pro version of DaVinci Resolve cost?The Pro version of DaVinci Resolve usually costs a one-time 299 US dollars.
Is the free version of DaVinci Resolve really sufficient?Yes, the free version offers a variety of features that are completely sufficient for most video projects.
Can I install DaVinci Resolve on a Mac?Yes, DaVinci Resolve is also available for macOS and can also be downloaded for free there.


