Video editing is becoming an increasingly important tool for creative minds and professionals. DaVinci Resolve has established itself as one of the leading software solutions that offers both free and professional features. In this guide, I will provide you with a solid understanding of the basics of DaVinci Resolve to help you get started and streamline your workflow.
Key Insights
- DaVinci Resolve offers a very comprehensive user interface with various pages, each providing different editing functions.
- A well-organized media pool is crucial for a smooth workflow.
- Using keyboard shortcuts can significantly save time and speed up the editing process.
- Color adjustments and audio optimizations are essential steps for high-quality productions.
Step-by-Step Guide
1. Launch DaVinci Resolve and Create a New Project
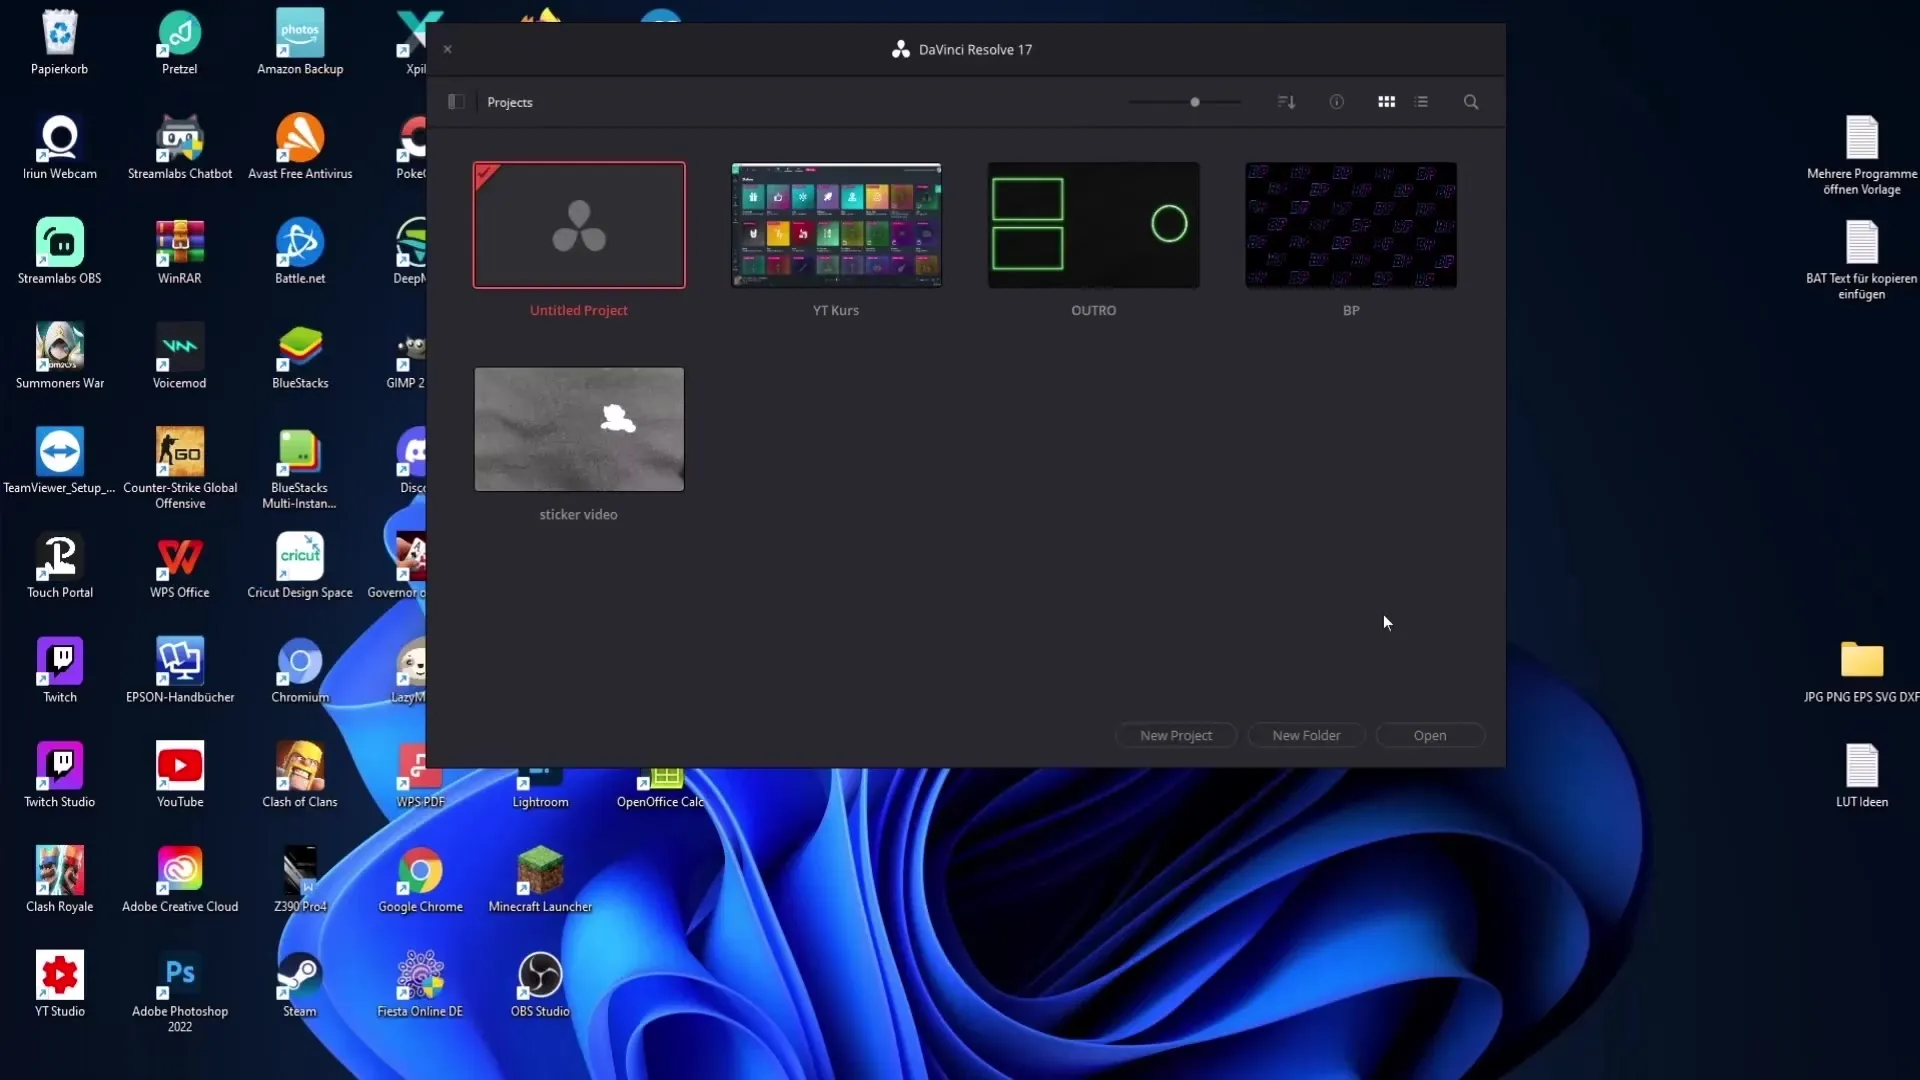
When you open DaVinci Resolve, a window will appear showing all existing projects. You can select an existing project or create a new project by double-clicking on the "Untitled Project".
2. Import Media
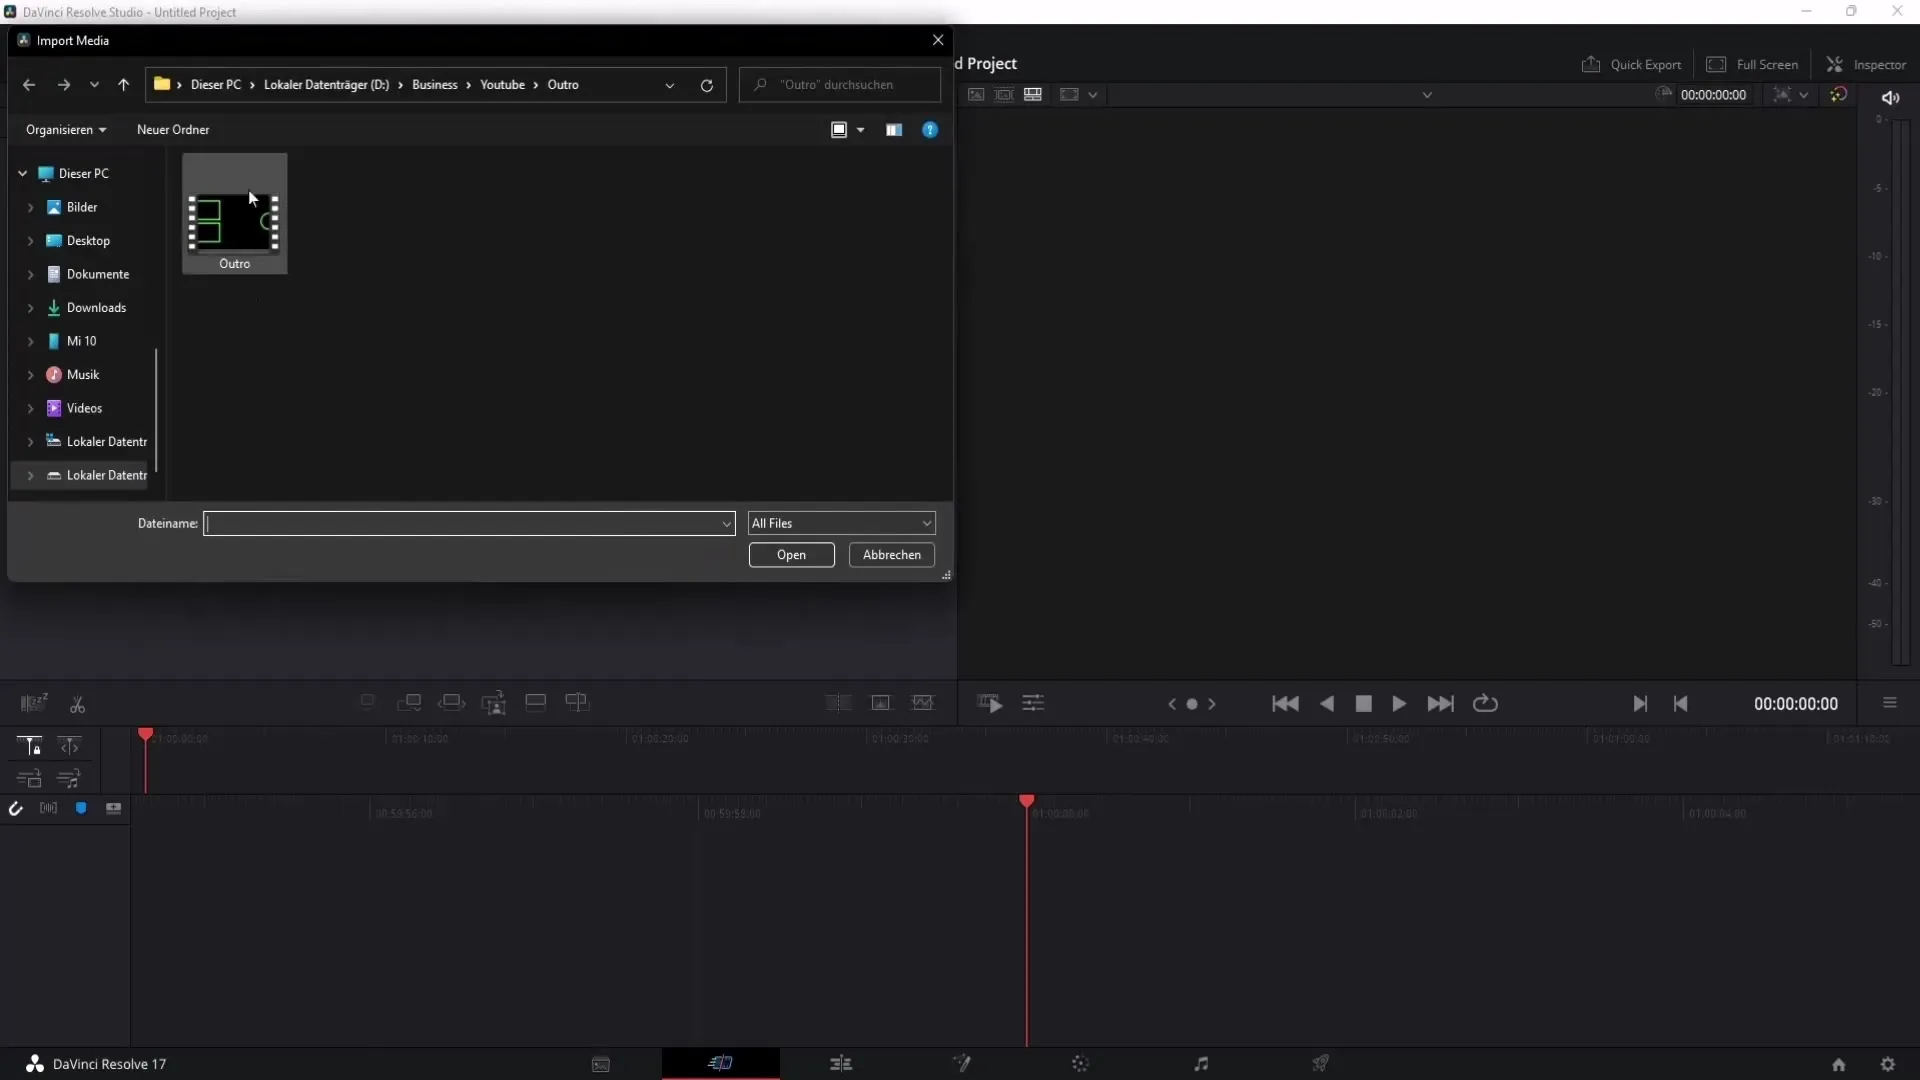
To import media into your project, switch to the Cut Page. There you can go to the Media Pool and right-click on "Import Media". Choose the files from your computer that you need for your project. Note that you can import both videos and images or sound effects.
3. Save Project
To save your project, navigate to "File" at the top left and click on "Save Project". Give it a name and the changes will be saved.
4. Customize Keyboard Shortcuts
Keyboard shortcuts are a helpful tool to optimize your workflow. To customize the keyboard shortcuts, go to the menu, select "DaVinci Resolve", and then "Keyboard Customization". Here you can adjust various shortcuts or add new ones.
5. Navigate Through the User Interface
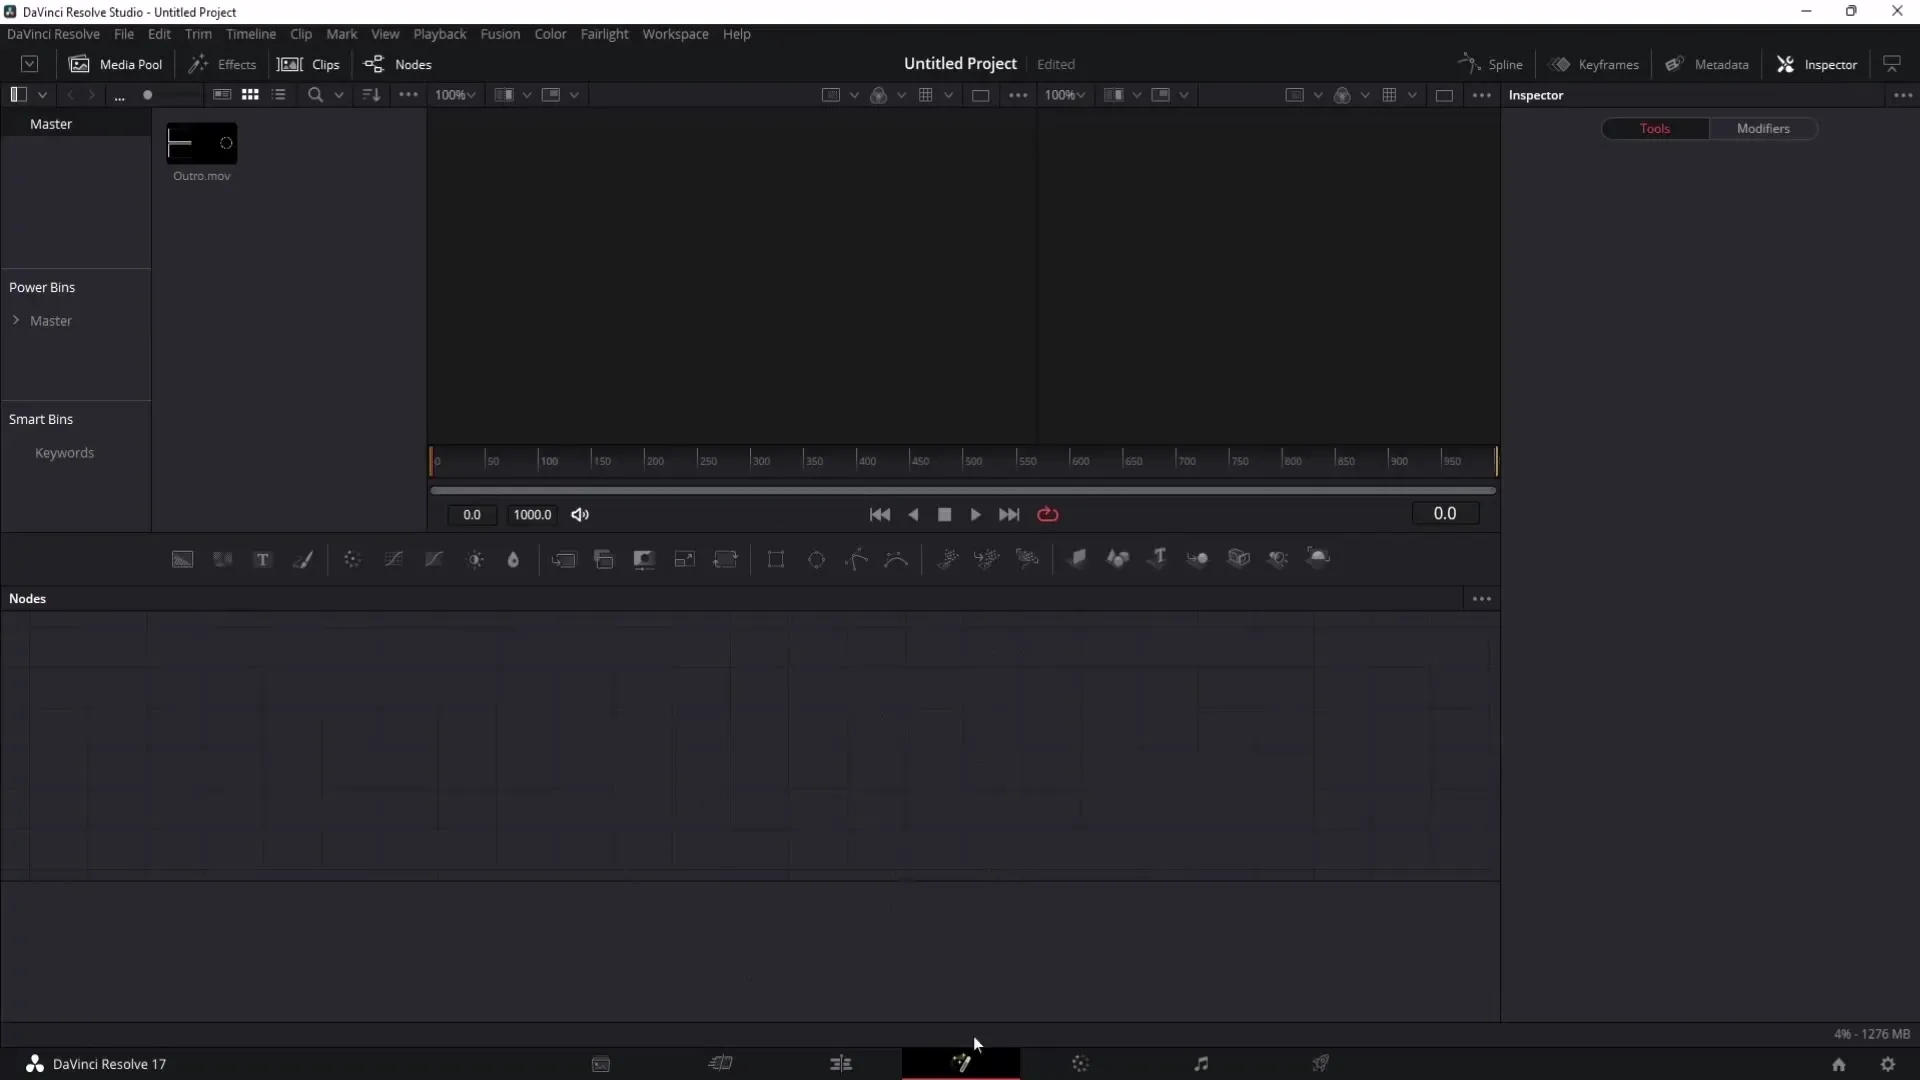
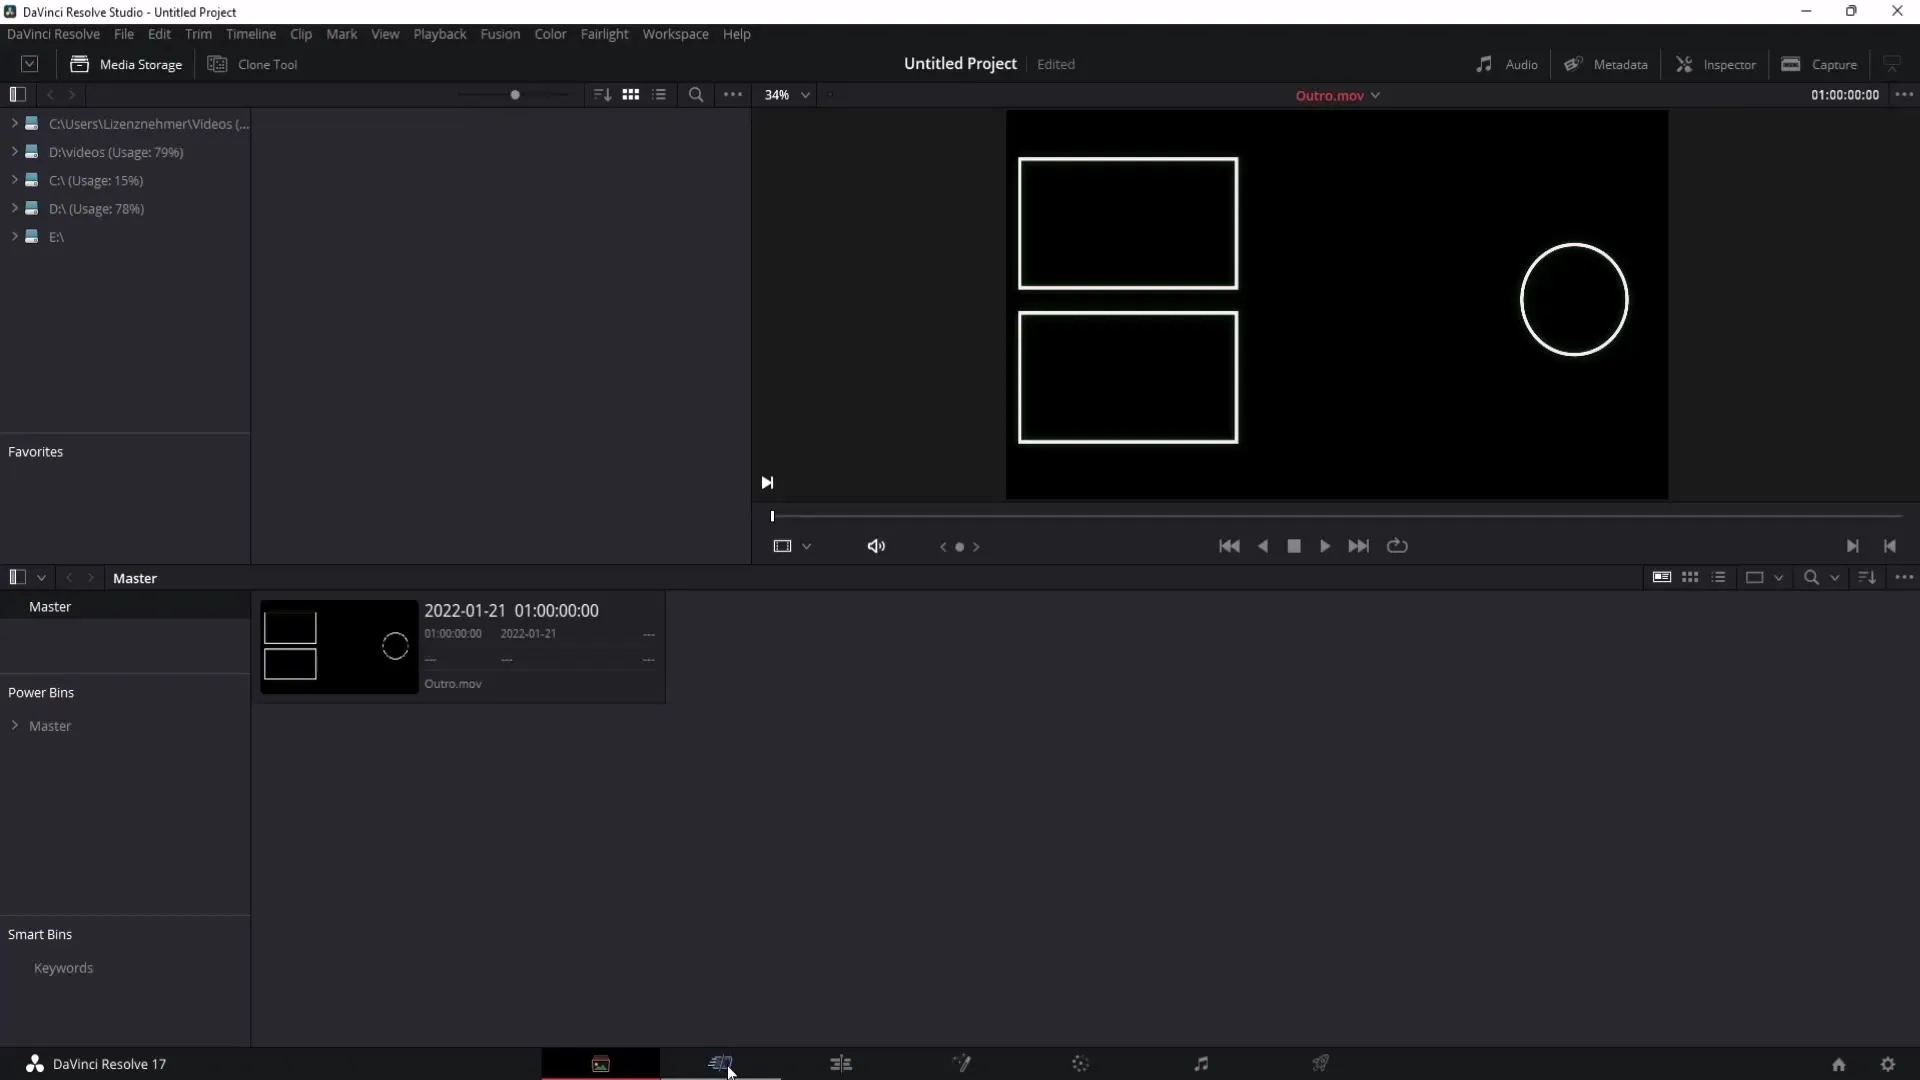
DaVinci Resolve has multiple pages designated for different tasks: Media Page, Cut Page, Edit Page, Fusion, Color, and Fairlight. You can quickly navigate between these pages by pressing the Shift key along with the corresponding number (for example, Shift + 2 for the Media Page).
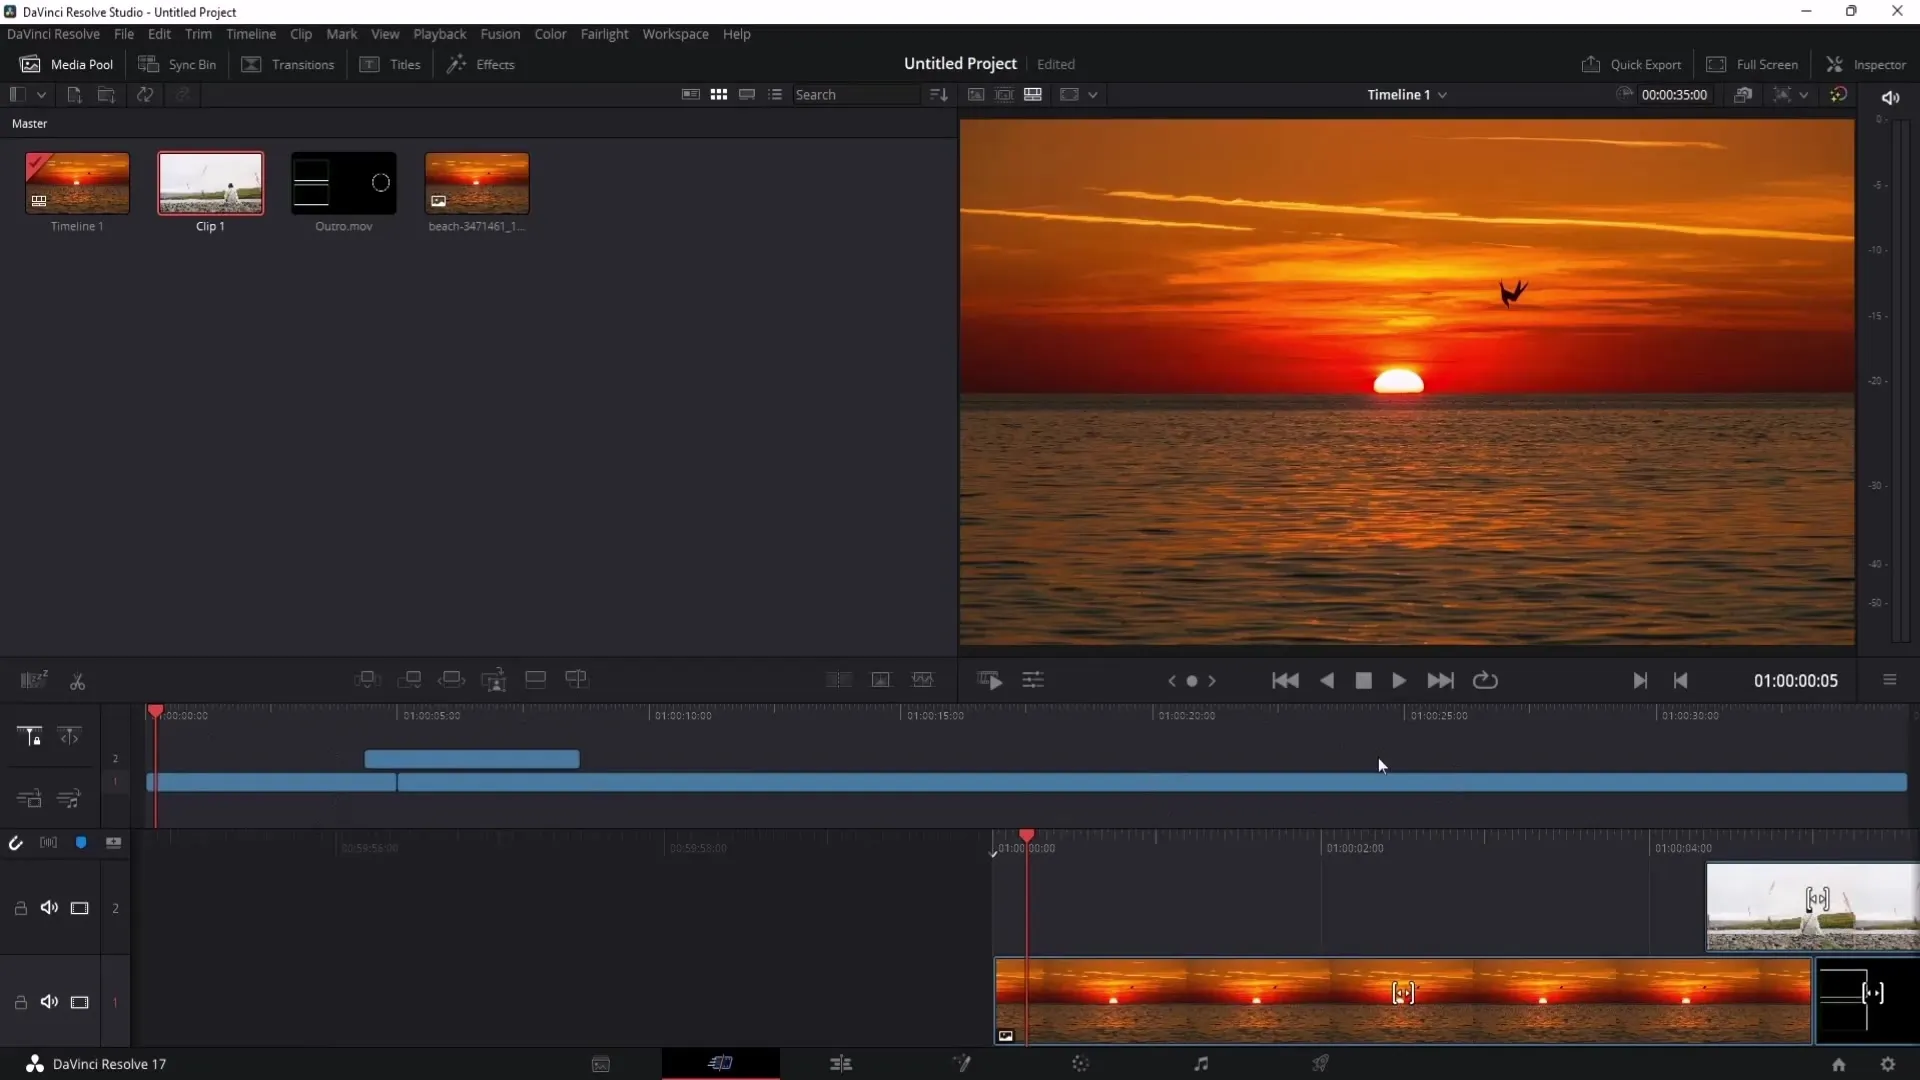
6. Utilize Basic Functions in the Cut Page
In the Cut Page, you can easily drag the selected clips into the timeline. Here you have a small preview and can quickly select and edit clips. This page significantly simplifies the video editing process.
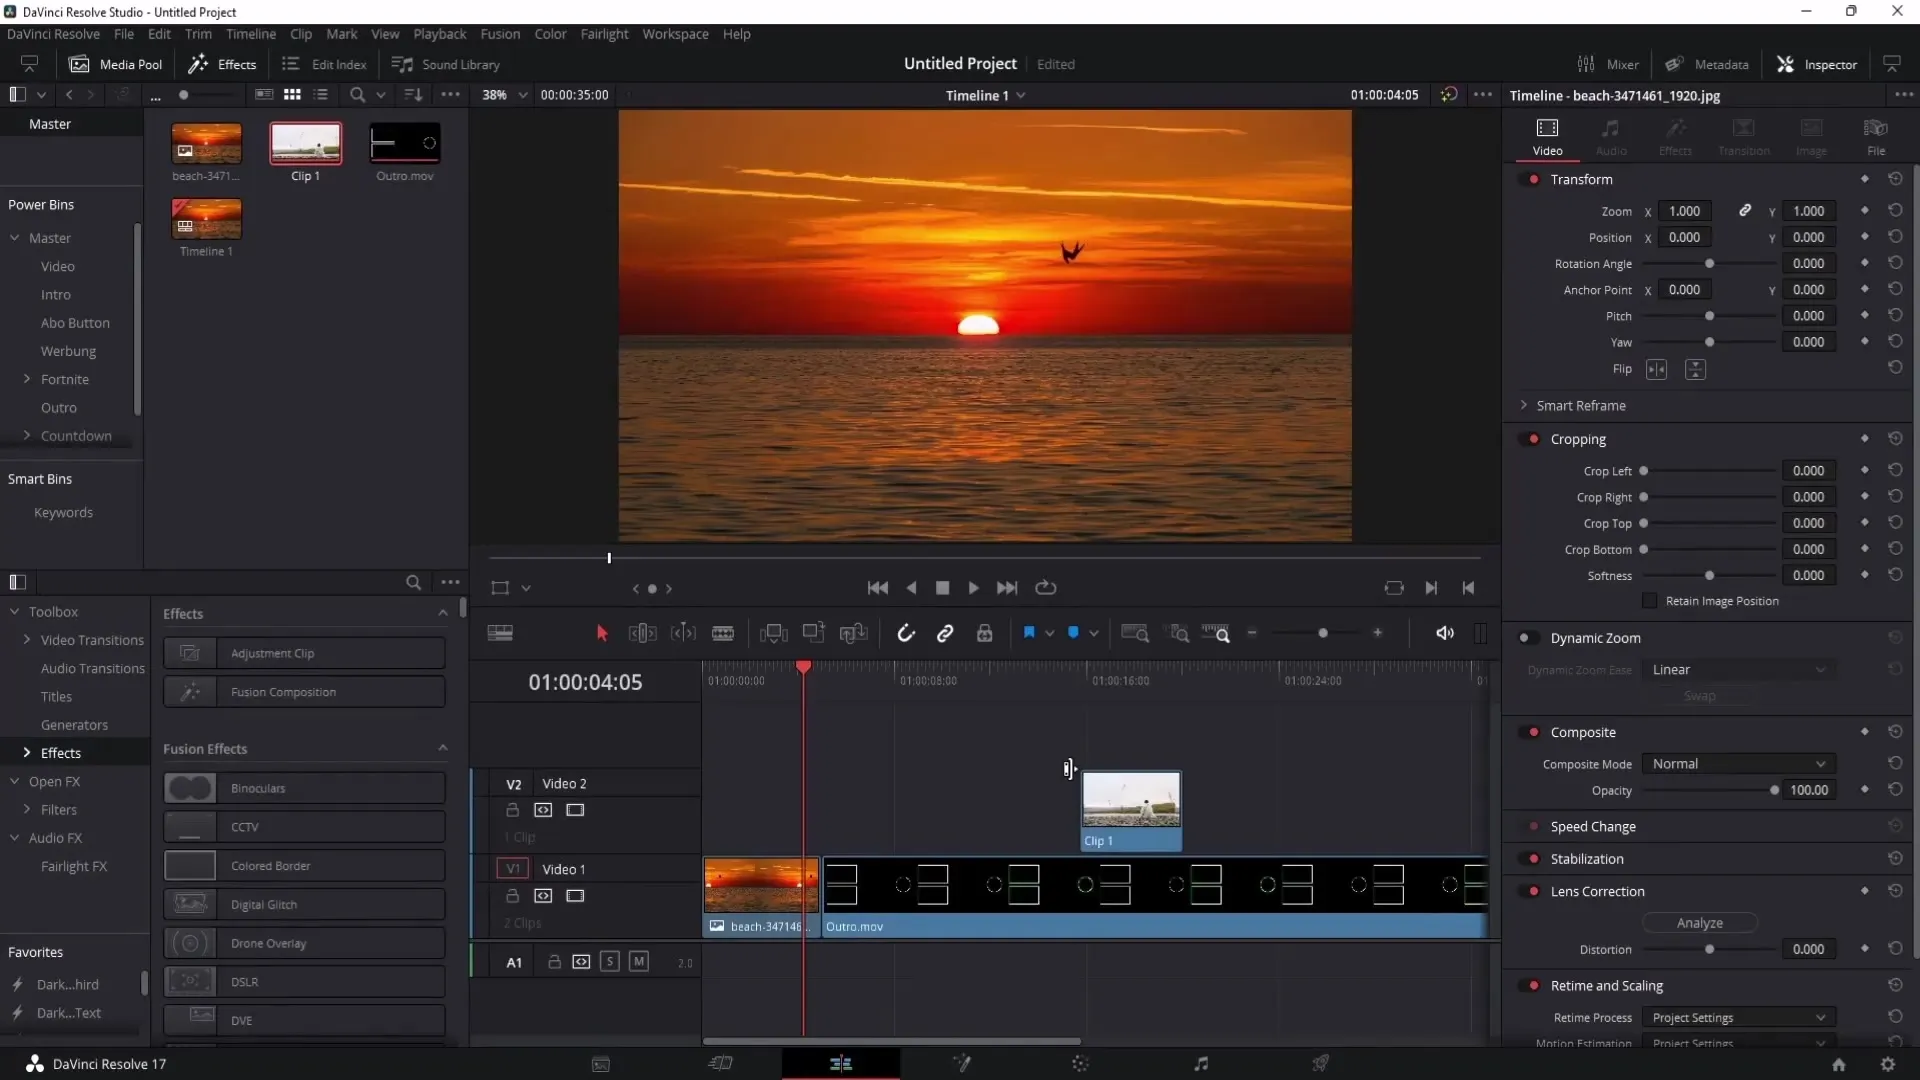
7. Work with the Edit Page
The Edit Page is the central area where you will spend most of your time. Here you can not only cut videos but also access a variety of other functions, including audio and video effects. Import clips as in the Cut Page and start editing.
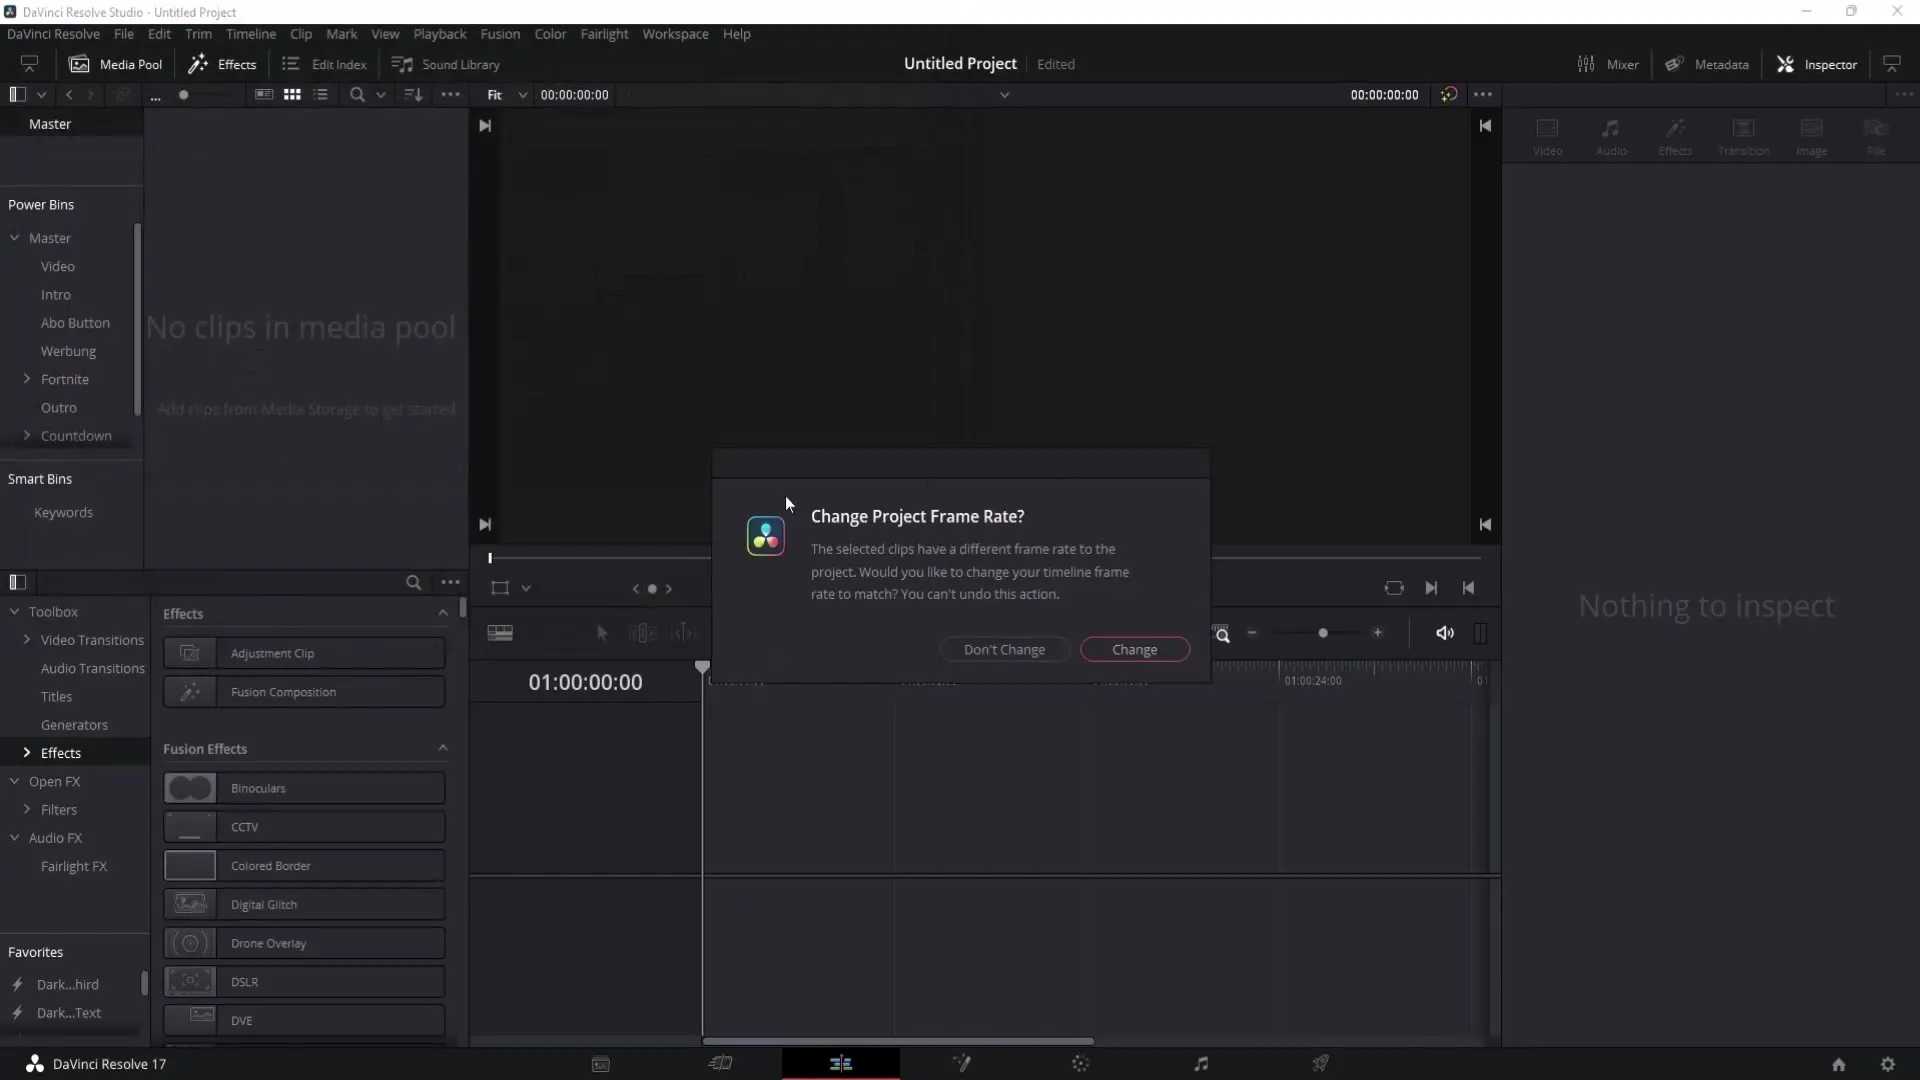
8. Import Media in the Edit Page
To make media changes, you can go to the Media Pool in the Edit Page, right-click on "Import Media", and select your desired files. This works the same as in the Media Pool on the Cut Page.
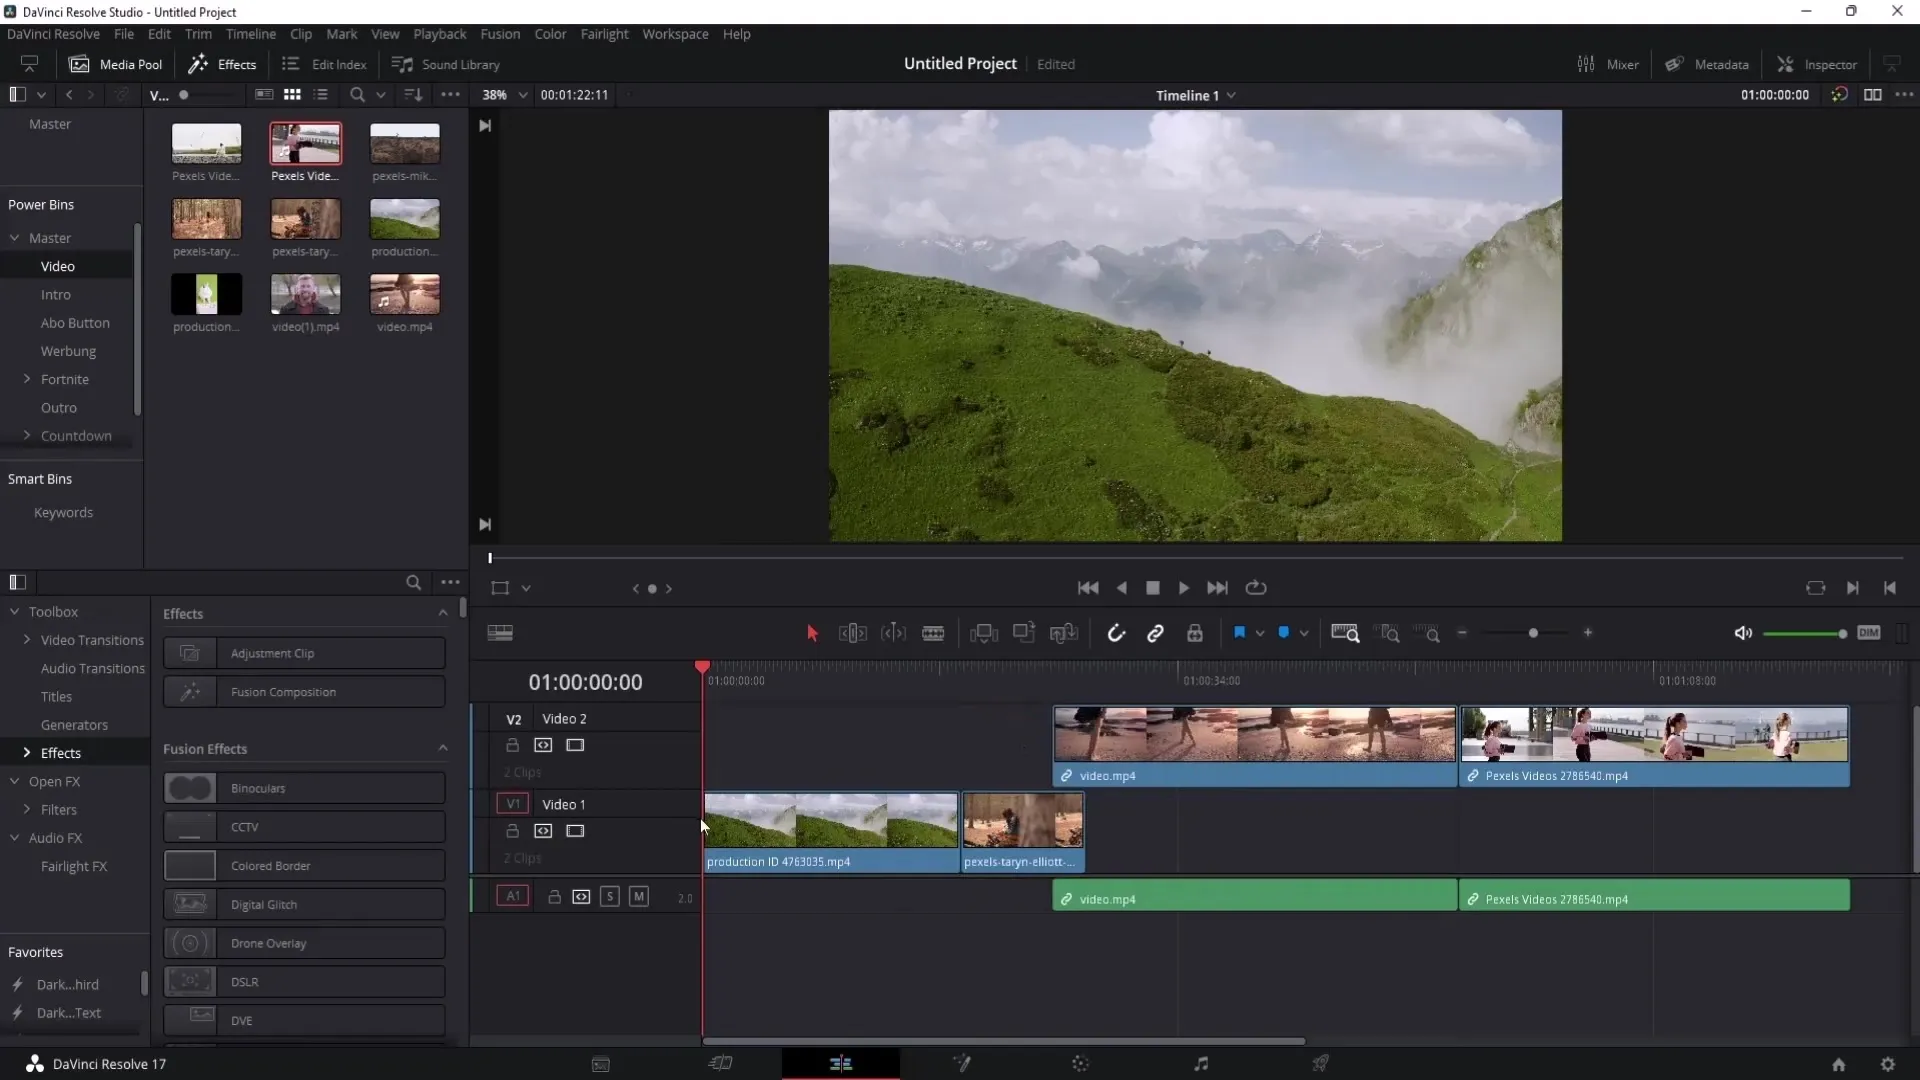
9. Manage and Adjust Clips
In the Edit Page, you can adjust the lengths of your clips in the timeline by simply dragging them. With the selection tool, you can move or trim clips. This is particularly useful for fine-tuning the last details of your video.
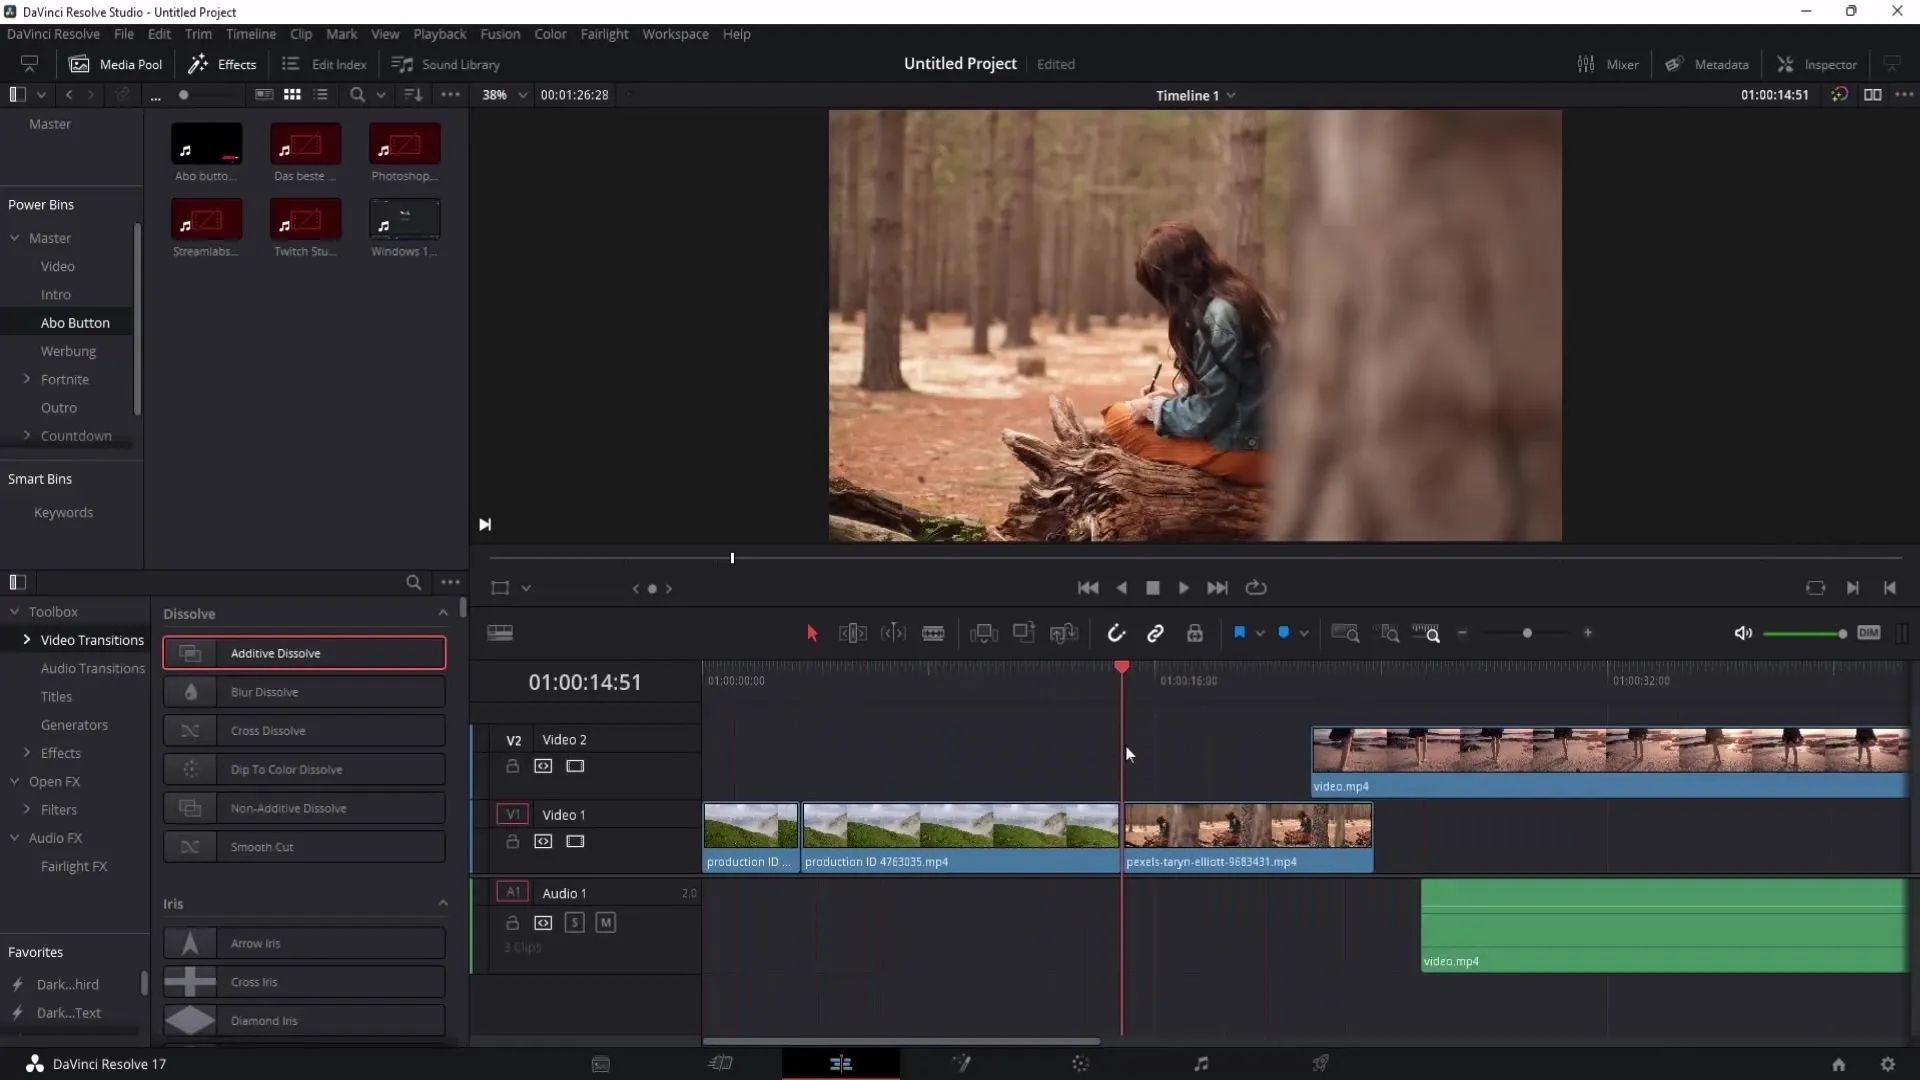
10. Adding Video Transitions and Effects
To add transitions between clips, simply drag a desired transition from the effects library between two clips on the timeline. You can adjust the length of the transition to create a smooth effect.
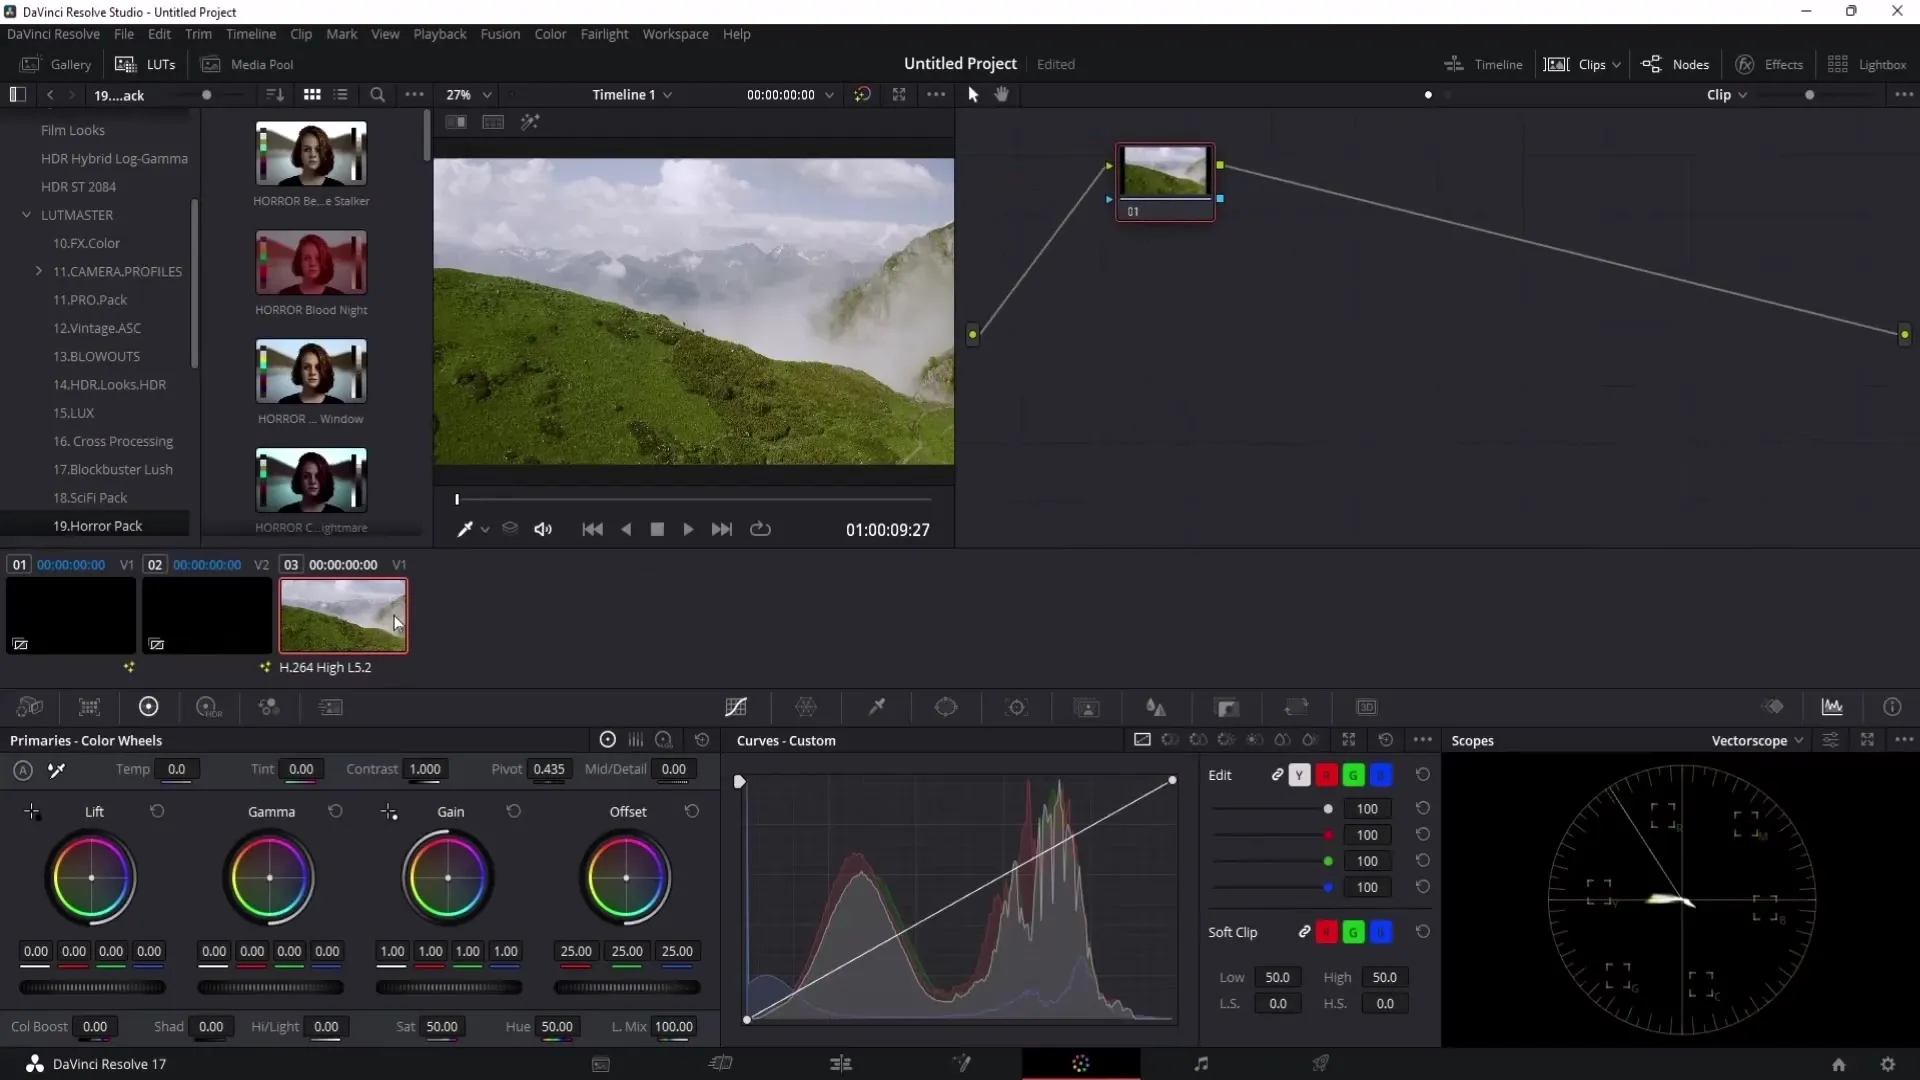
11. Making Color Adjustments
Extensive color corrections can be made in the Color Page. Here, you can use various tools to adjust contrast, color, and brightness. You can also display a large preview of your image to better observe details.
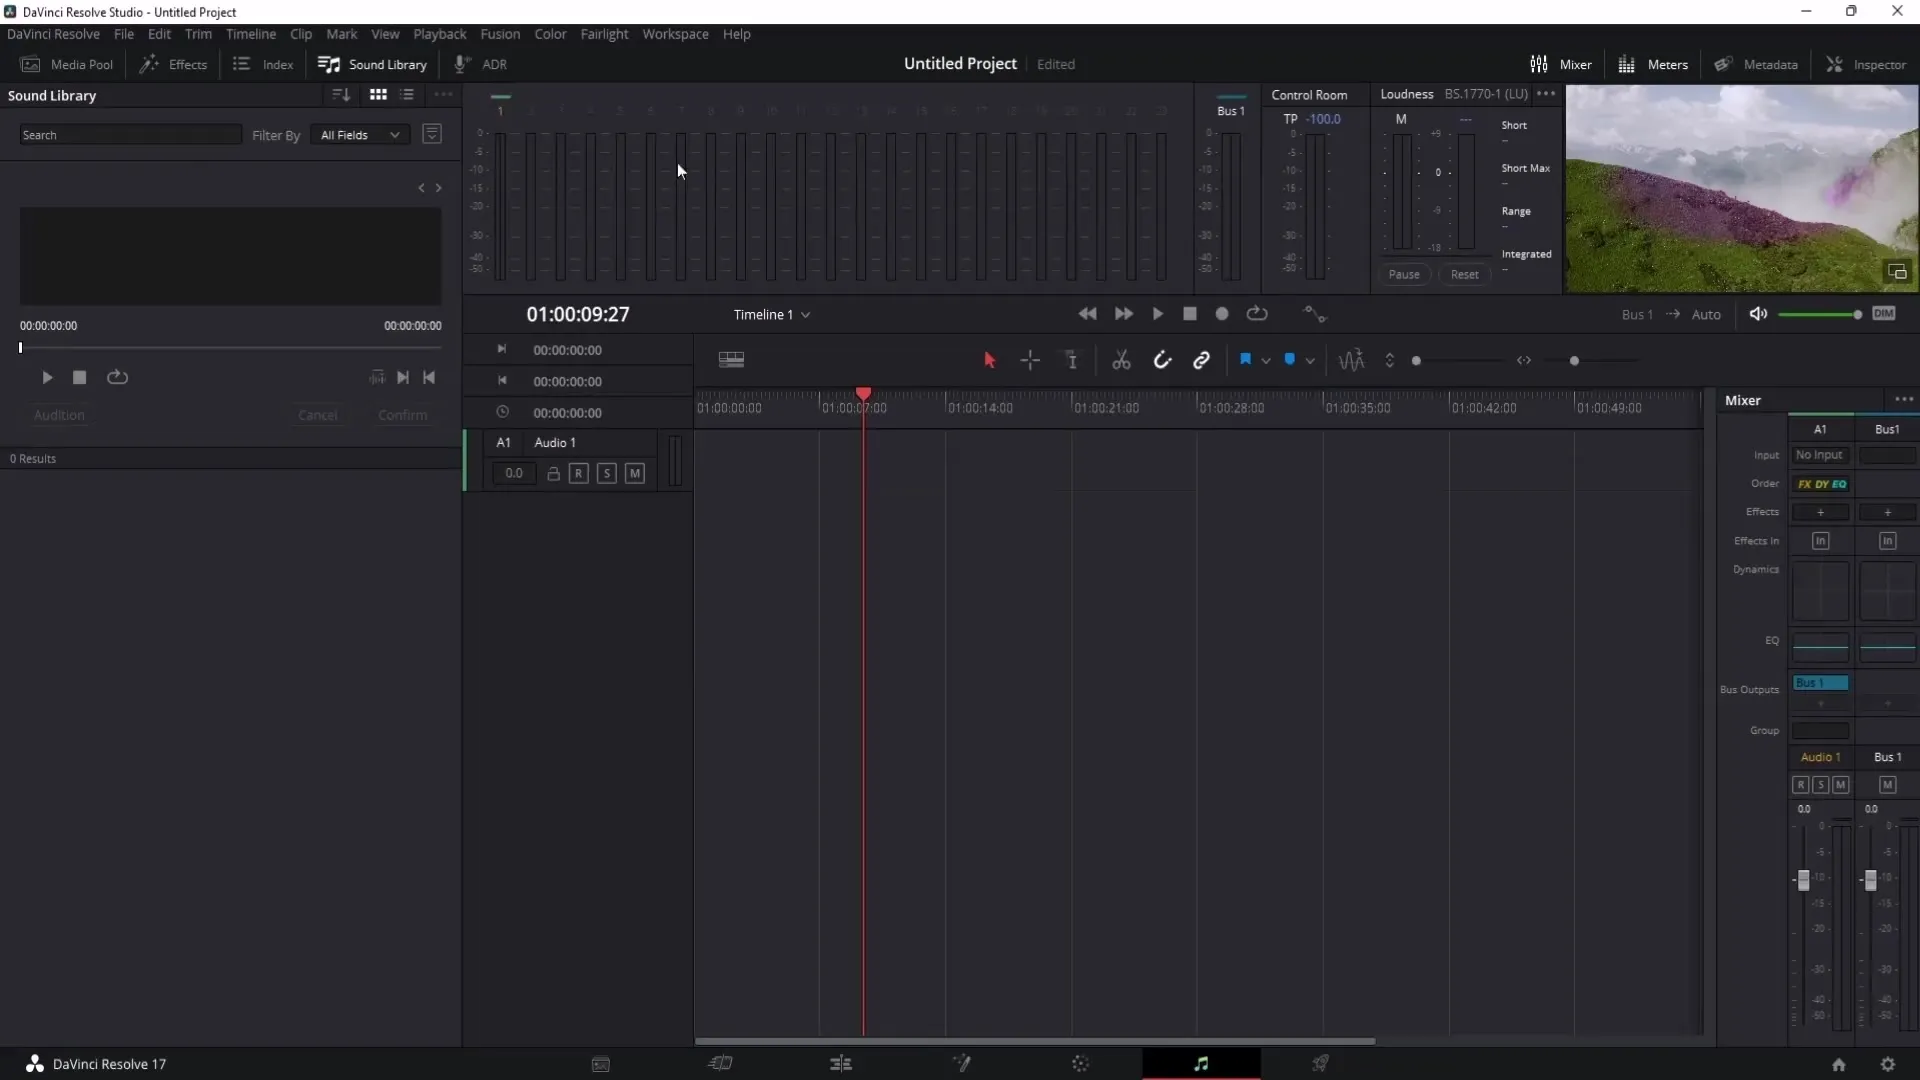
12. Optimizing Audio in the Fairlight Section
The Fairlight section is specifically designed for audio management in DaVinci Resolve. Here you can apply various audio effects, adjust volume, and optimize sound quality.
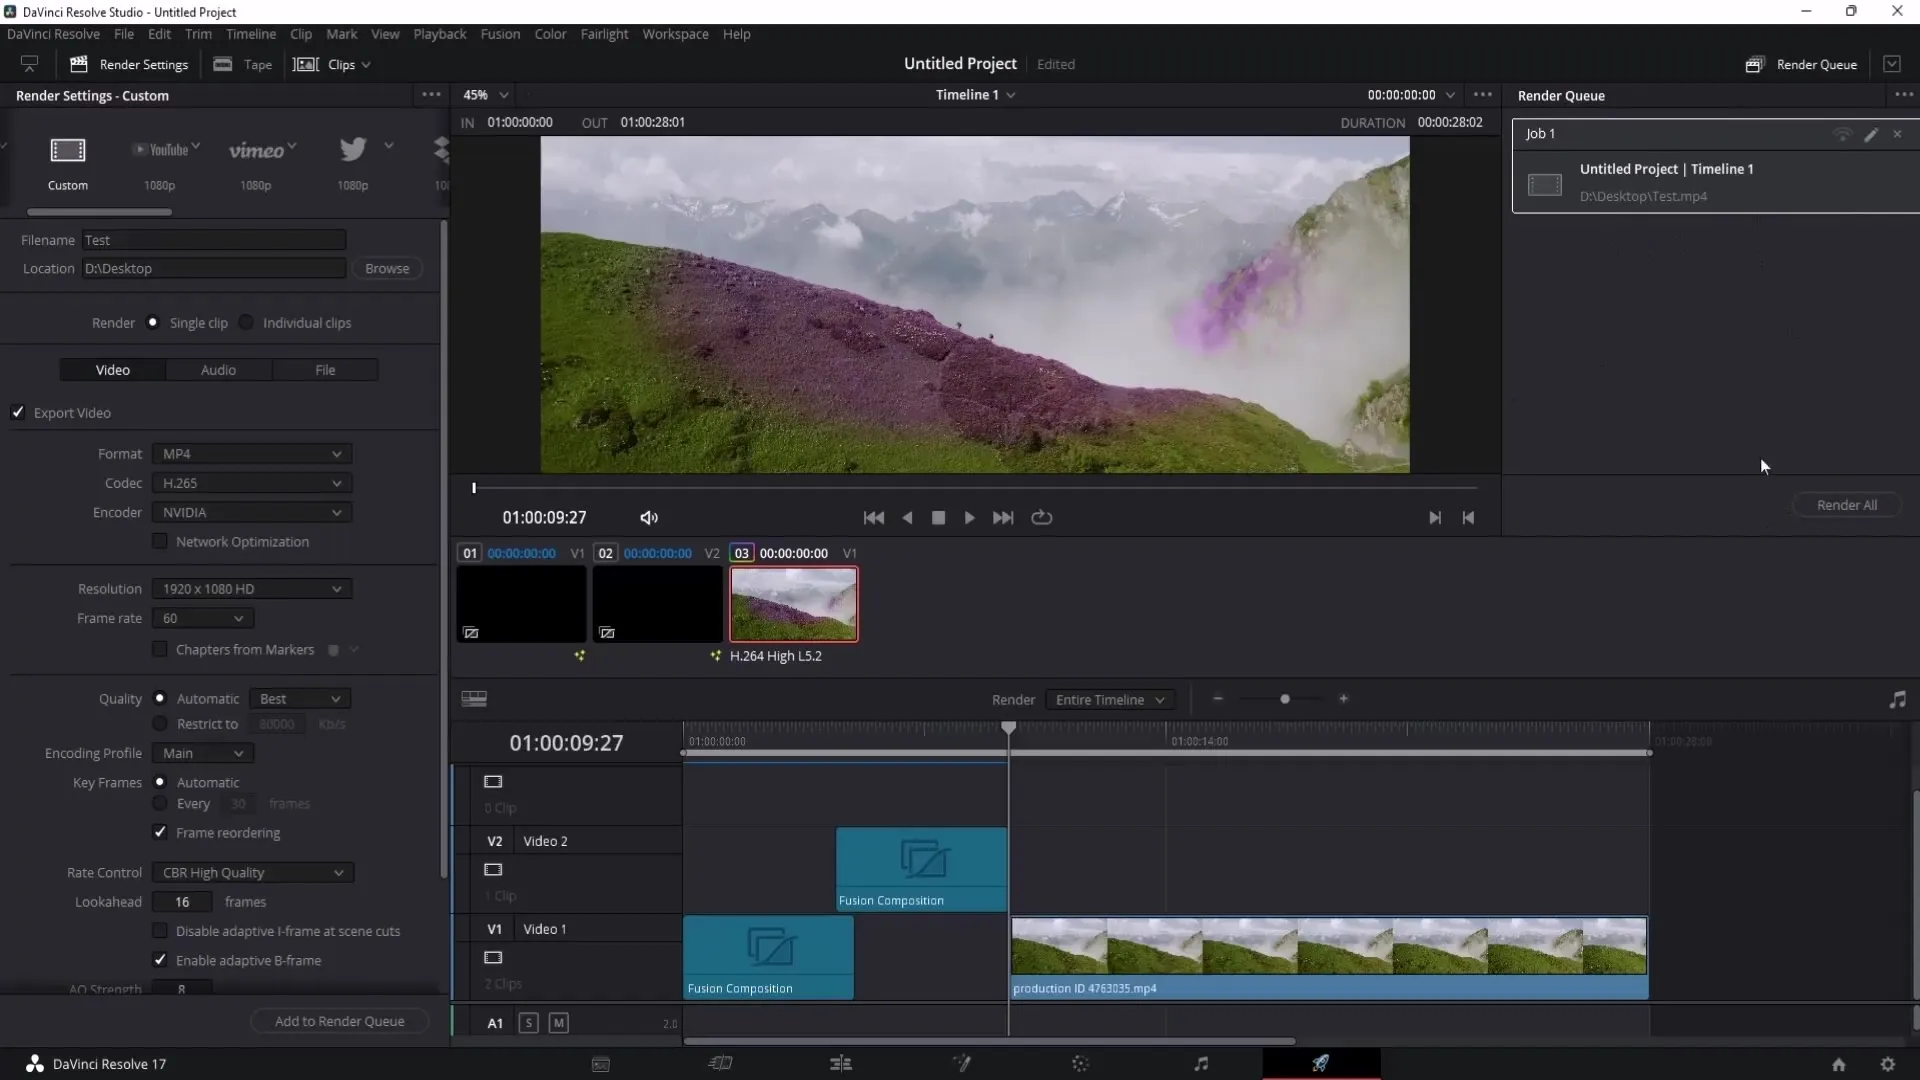
13. Exporting the Project
Once you have finished editing your video, go to the Deliver Page. Here you can set your export settings, specify the file name and storage location. Click on "Add to Render Queue" to export the video.
Summary
In this guide, you have learned the basic steps and functions of DaVinci Resolve that will help you edit your projects more efficiently. With knowledge of the different pages, import and export methods, as well as color and audio adjustment capabilities, you are well-equipped for your first steps in video editing with DaVinci Resolve.
