Editing and publishing videos can become significantly more efficient with the right tools. DaVinci Resolve offers the possibility to directly connect your YouTube channel with the software. This makes uploading finished videos a breeze. Here you can learn how to easily link your YouTube channel with DaVinci Resolve and upload videos directly.
Key Takeaways
- DaVinci Resolve allows for direct upload to YouTube.
- Connecting DaVinci Resolve with your YouTube channel is quick and easy.
- You should initially set videos to private to make changes before they become public.
Step-by-Step Guide
Step 1: Open the Settings in DaVinci Resolve
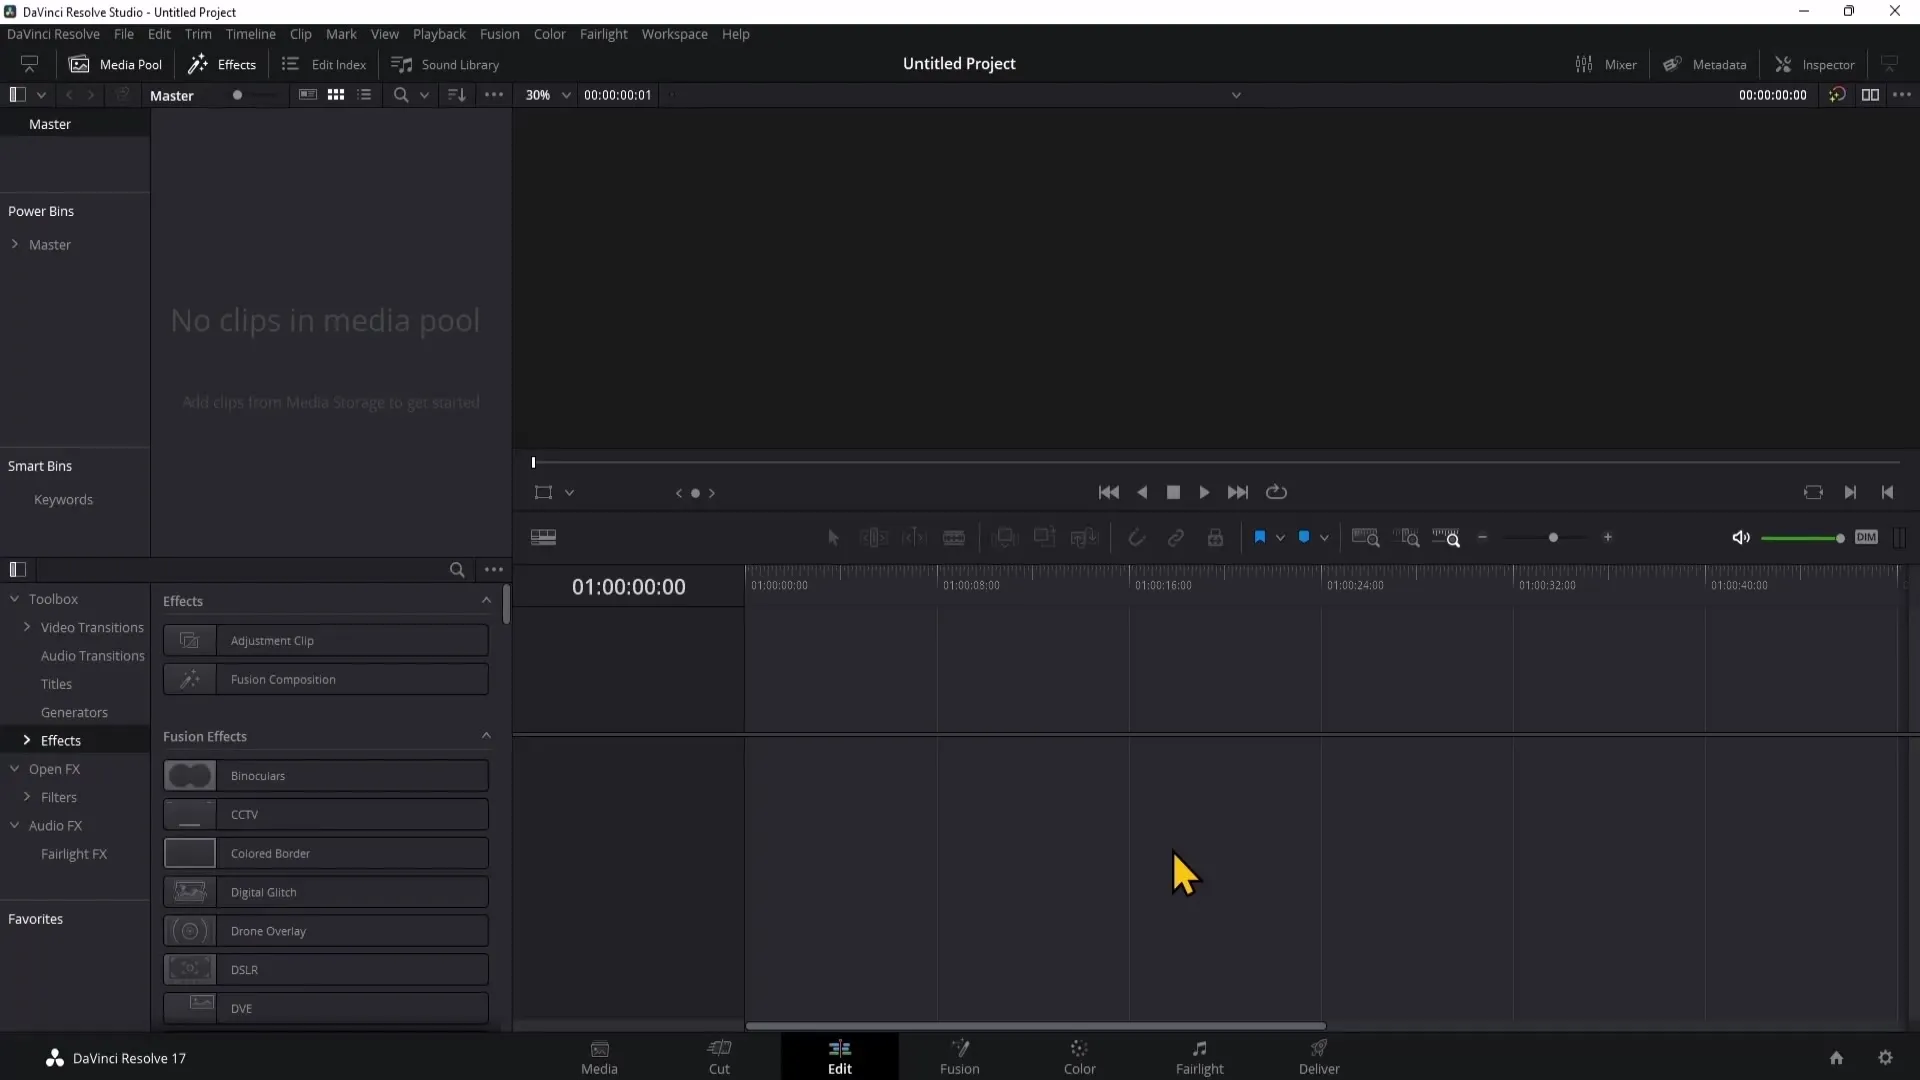
To connect your YouTube channel with DaVinci Resolve, you first need to open the software. Then, click on DaVinci Resolve in the top left corner and navigate to Preferences.

Step 2: Select the Internet Accounts
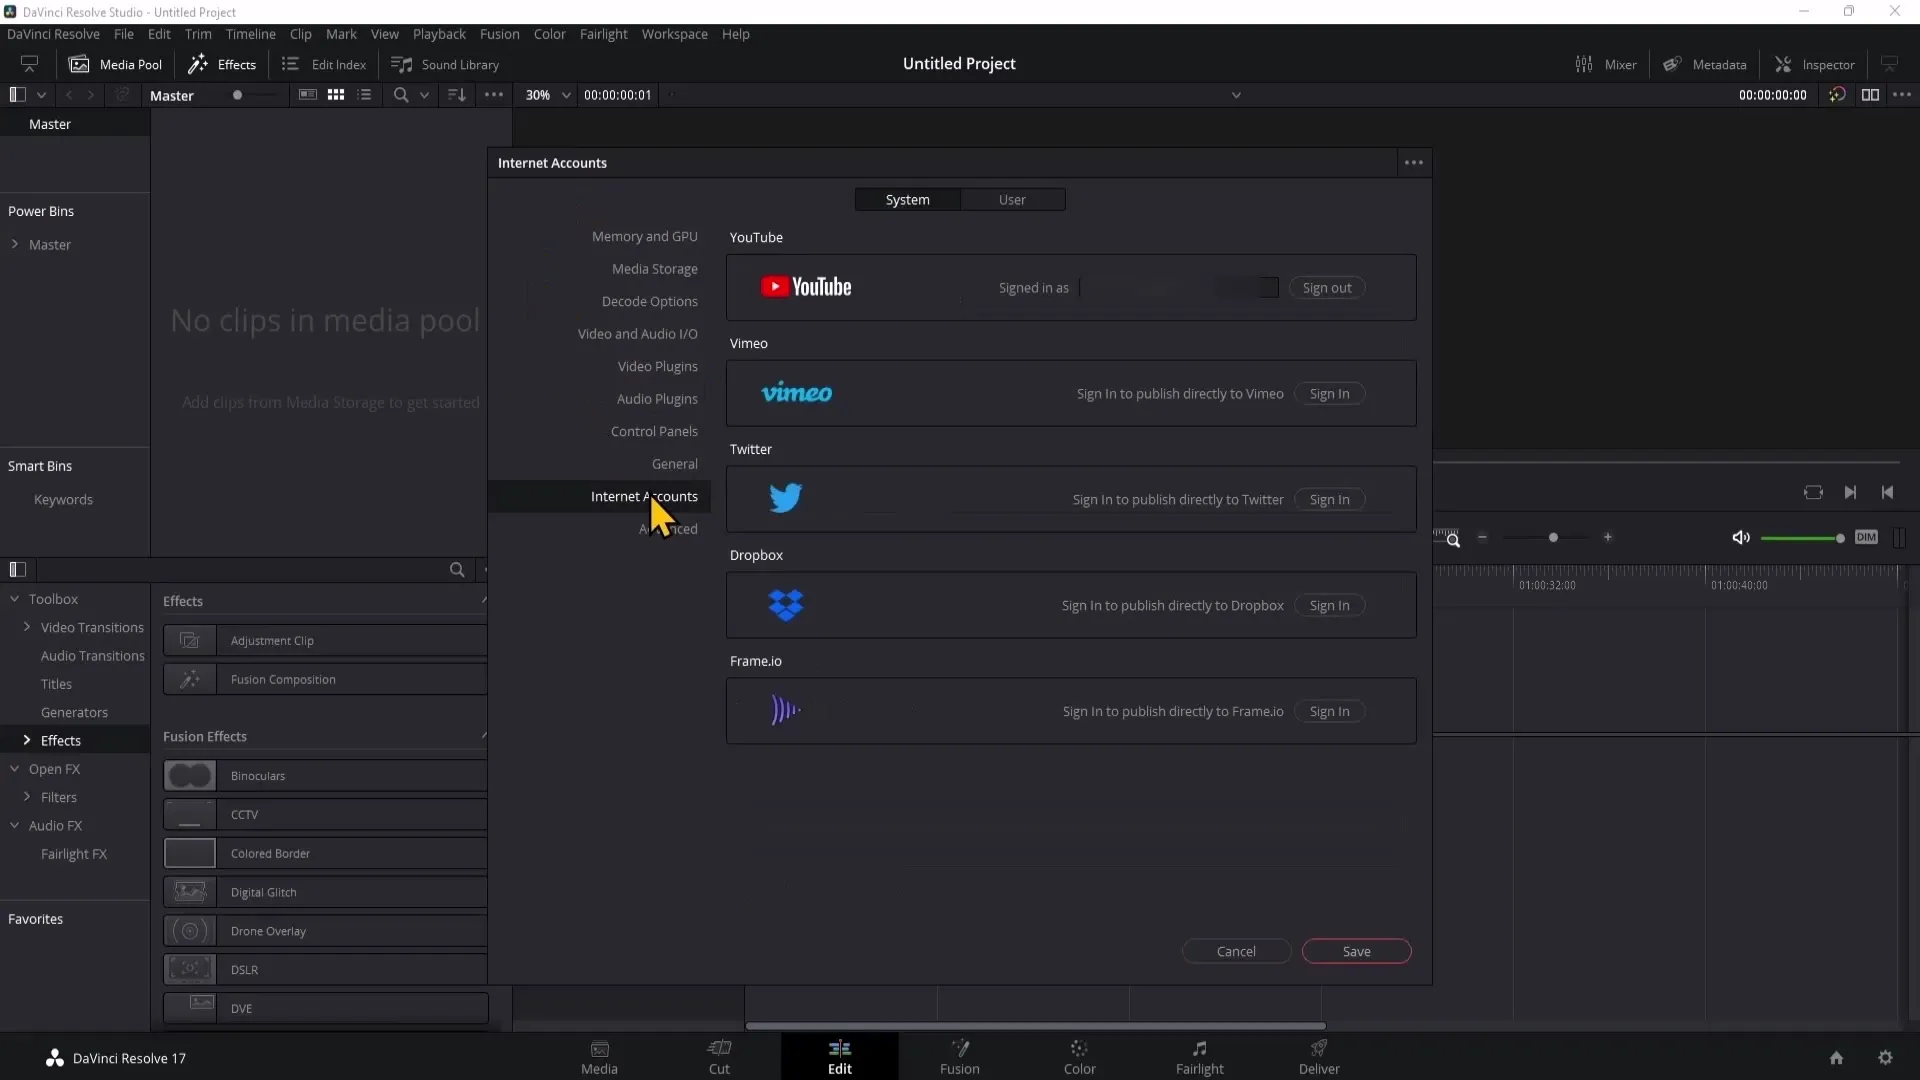
In Preferences, you will find the option Internet Accounts on the left. Click on it to open the account settings. Here you can manage various accounts, including your YouTube account.

Step 3: Add Your YouTube Account
Under Internet Accounts, you will find the optional connection to YouTube. Click on Add Account and select YouTube. You will then be prompted to open a web browser to log in to your YouTube account.
Step 4: Allow Access
After selecting your YouTube account, a popup will appear asking you to grant YouTube the necessary permissions. Make sure to activate the checkbox next to the YouTube logo on the left side so that DaVinci Resolve has the permission to upload videos to your channel. Then click OK.
Step 5: Check the Connection
After confirmation, your YouTube account is connected with DaVinci Resolve. You can close the settings. Verify that your account has been properly added to ensure everything is functioning correctly.
Step 6: Prepare Video for Output
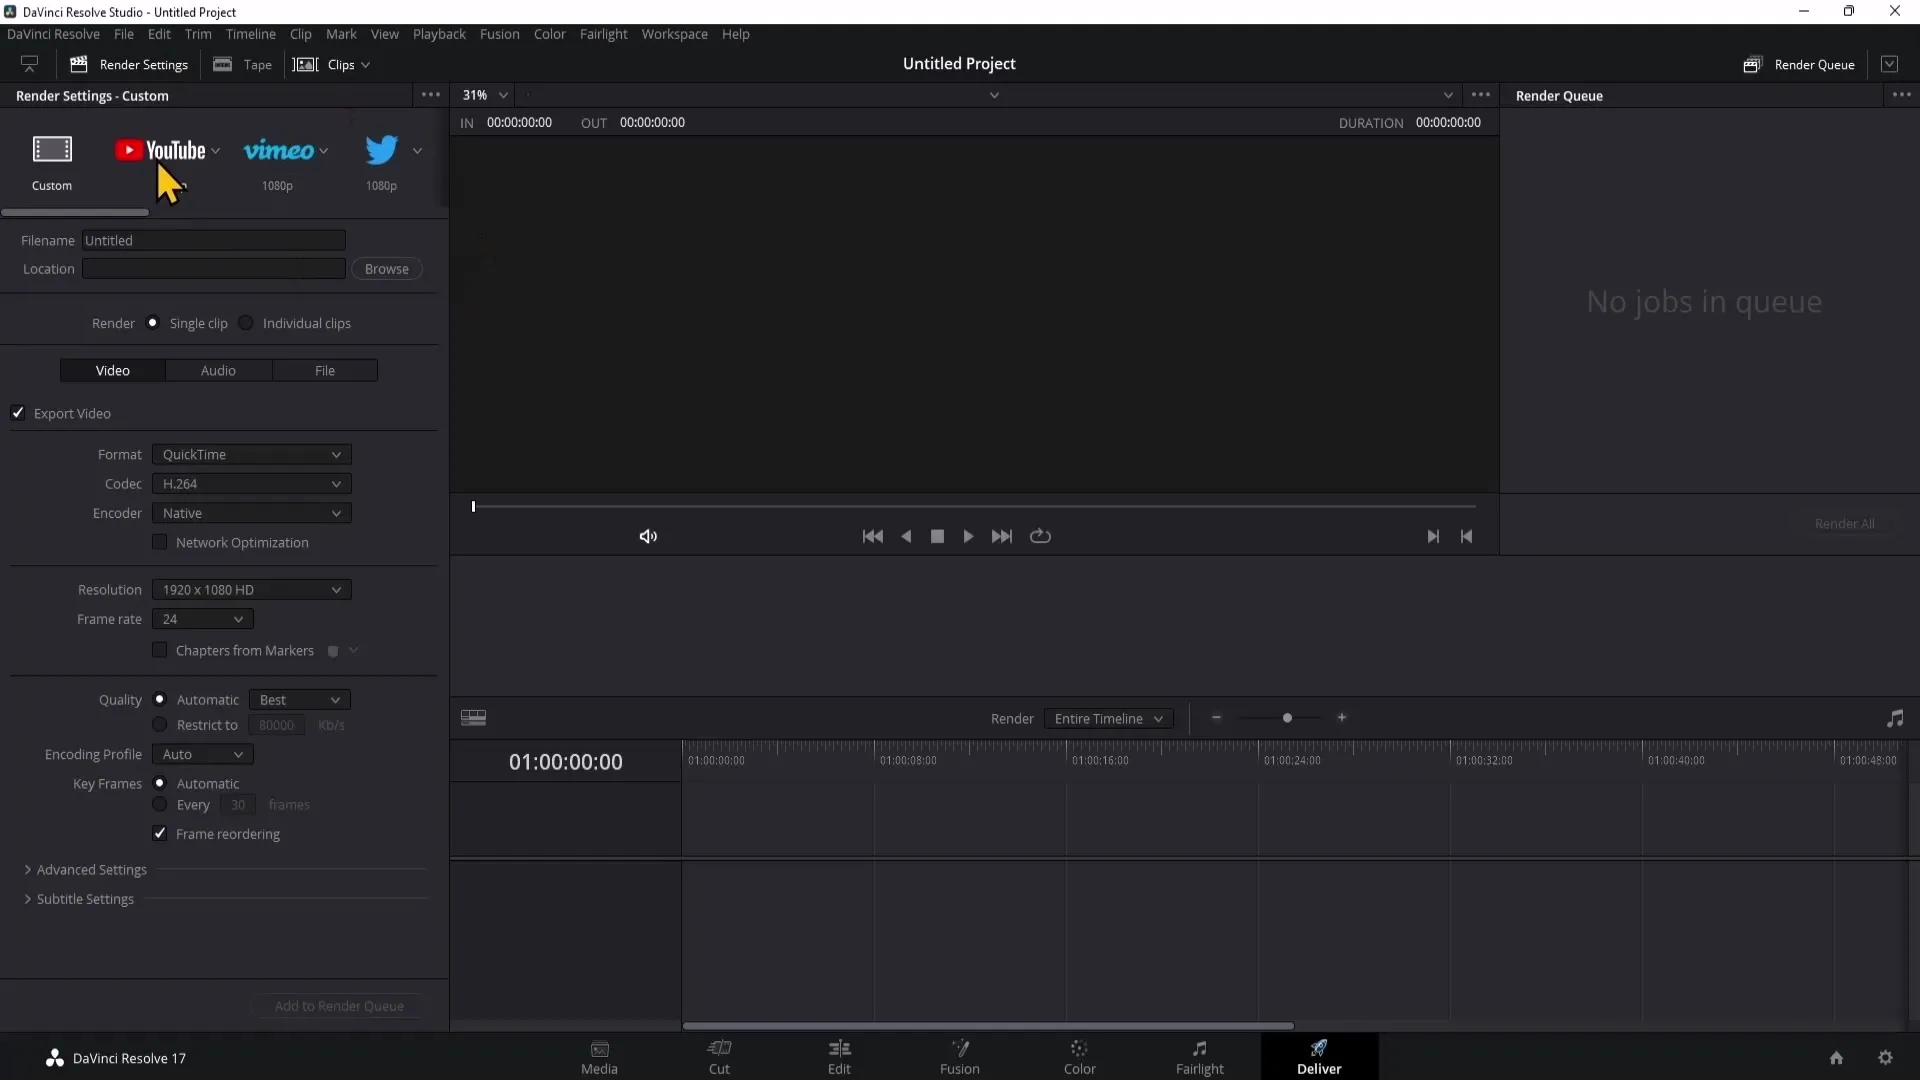
Now navigate to the Deliver area of DaVinci Resolve in the bottom right, where you will find the options for the export screen. Choose the YouTube option here.

Step 7: Export the Video
When you export your video now, it will be saved on your computer and uploaded directly to your YouTube channel. You can set the title, description, visibility, and category during this process.
Step 8: Set Visibility
Make sure to set the visibility to Private until you have entered all the necessary information like tags and descriptions. This is important to ensure your video is optimally prepared for the YouTube algorithm.
Step 9: Finalize Your Video
After making all adjustments and corrections to the title and description, you can make the video public. By doing this, you grant access to the video and ensure that your viewers can see it. However, it is advisable to wait with the upload until everything is complete.
Summary
With this tutorial, you have learned the steps to successfully connect your YouTube channel with DaVinci Resolve. The various options allow you to efficiently edit and upload videos.
Frequently Asked Questions
How do I connect my YouTube channel with DaVinci Resolve?By going to Internet Accounts in Preferences and adding your YouTube account.
Why should I set the visibility of my video to private?To ensure you can edit all details like Title and Tags before the video becomes public.
What happens if I do not grant the permissions?DaVinci Resolve will then not be able to upload videos to your YouTube channel.


